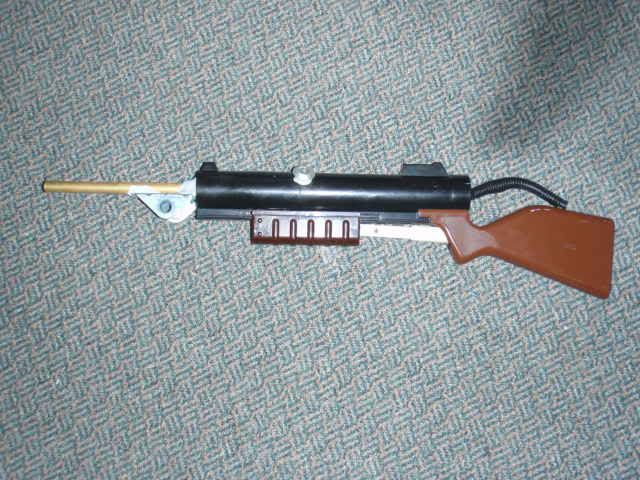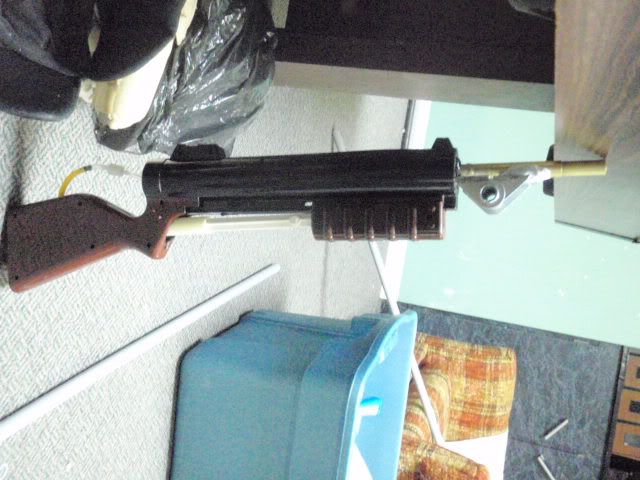
The Redneck Hunting Rifle
#1
Posted 21 February 2011 - 12:55 PM
Now, I love the feel of the PAS. It's great for aiming with, the stock feels great against my shoulder and its really easy to pump. That being said, although the internals are great they tend to break easily and are in constant need of repair. Because of constantly fixing my main primary MR.T I had tons of the PAS shells sticking around and I decided I wanted to make something that had the comfort of the PAS but would last longer then 2-3 wars.
Things you will need:
- A PAS shell
- An AT2K pump
- A Big salvo tank
- A blast button (thanks to XIII for selling me his from his hornet)
- A Check valve
- A 2 way splitter
- Lots of tubing
- Lots of Epoxy putty
- Lots of super glue or other epoxy
- Plumbers goop
- Some sort of cutting device. Dremels work best.
Optional for my Breech
- 1/2 brass
- 17/32 brass
- 9/16 brass
- 19/32 brass
- 5/8 brass
- a hinge of some sort
First thing I did was connected my internals together.
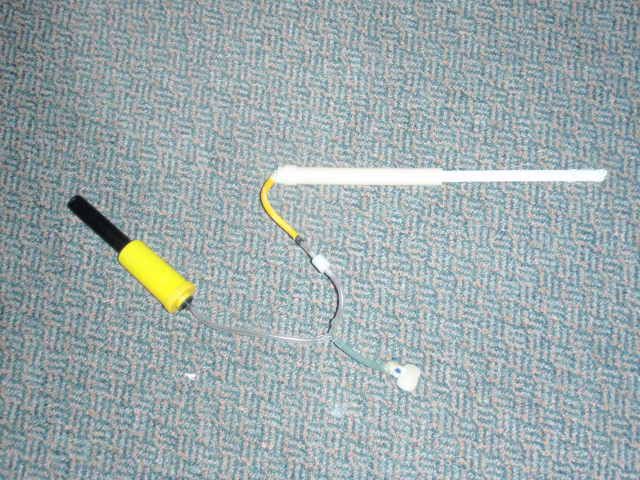
This is probably the easiest part, attach the AT2K pump to the check valve, attach the check valve to the T splitter, and then attach the two parts of the T splitter, one to the blast button and the other to the salvo tank. Don't worry about tubing length right now, we'll figure out all that stuff when we get further along.
Take your PAS shell and grab the brown handle that is used to pump up the gun. Make sure you know which part is the front and the back, dremel out the back part so that there is a large open area for the 2K pump to attach to.
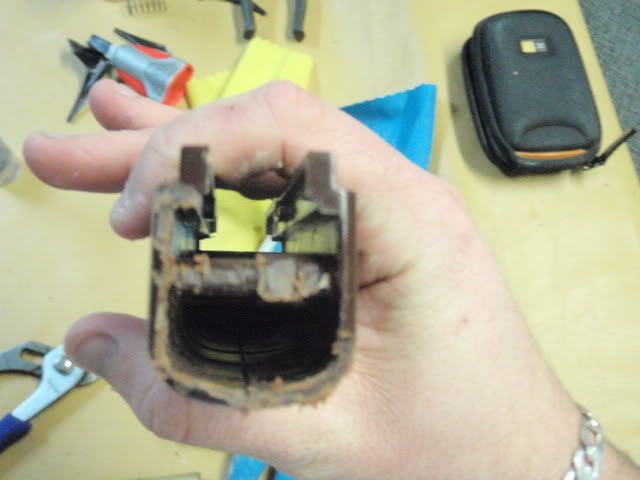
Now, take the end of your 2K pump, the part with the 2 large holes in it and make the holes a little bit bigger until they fit over the screw port on the pump on your PAS. It should look like this when it is done.
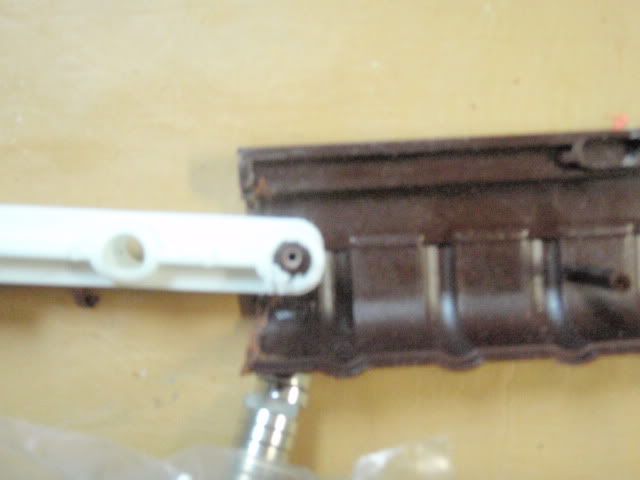
I made the mistake of first trying to sand down the screw port to fit inside of the 2K pump hole, big mistake. The screw ports are hollow on the inside. If you replicate this mod make the hole in the AT2K pump bigger. It should fit on fine after a little tweaking.
Next, you want to remove the trigger guard on the PAS. It will just get in the way of your pumping, use a cutting tool to remove this. After this is done you are going to want to make a large hole where the trigger was in the PAS. This is so that the rest of your AT2K pump will be able to fit in there.
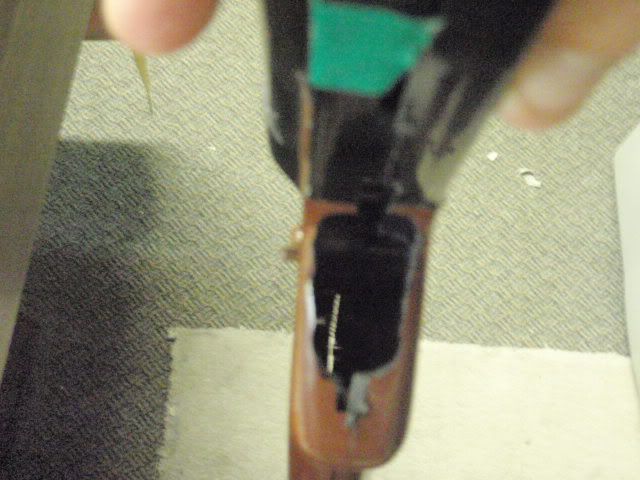
Take your time before you epoxy the rest of the 2K pump to the inside of your PAS shell. This can take some time but you want the PAS shell to be able to close around the 2K pump. Plus, if the 2K pump is on an angle then it will bend and possibly break when you try to pump your gun. My advice is try to get the 2K pump as high up in the gun as possible. If you are having problems with this it may be easier to attach the 2K pump to the middle notch in the PAS pump. It is slightly lower then the screw ports.
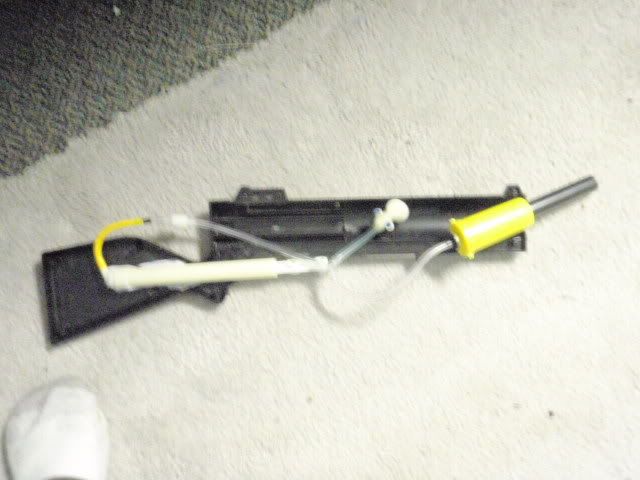
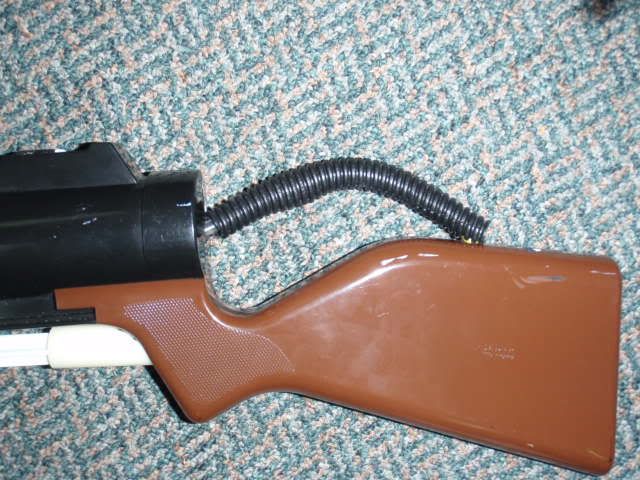
Use your dremel and a drill bit to make a tiny hole in the top of the stock of the PAS. This is where your tubing will come out of.
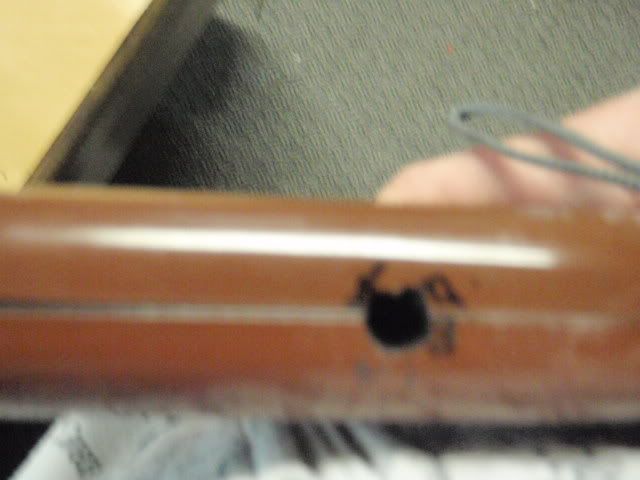
Another hole in the back part of the PAS will allow your tubing to flow seamlessly from the pump back into the gun where you want to put all the good stuff. It should look something like this.
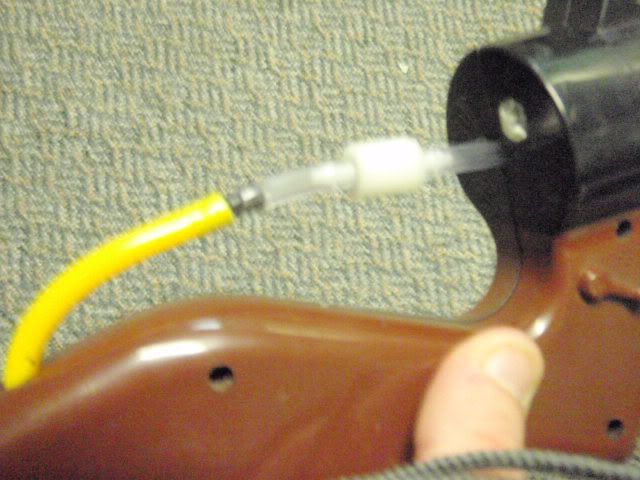
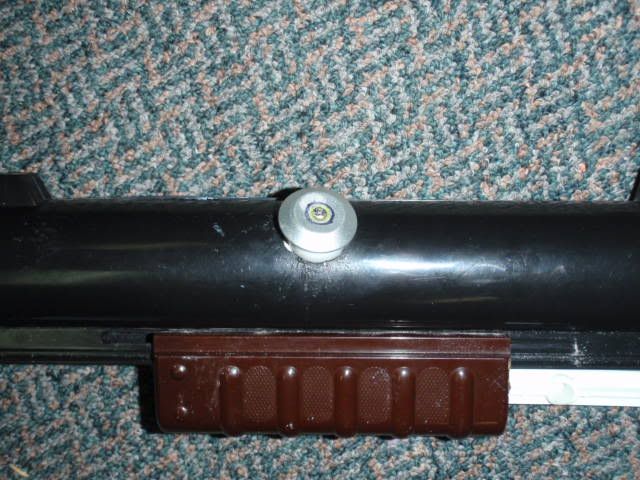
For the blast button I really wanted to put it where the PAS trigger was, either on the side or right on the front, sadly there is only so much you can cram into a PAS shell and I didn't want to put the blast button on the outside on account of too much tubing to get stuck on trees and corners plus it just looks sloppy. My backup spot was on the left side of the gun right near the pump.
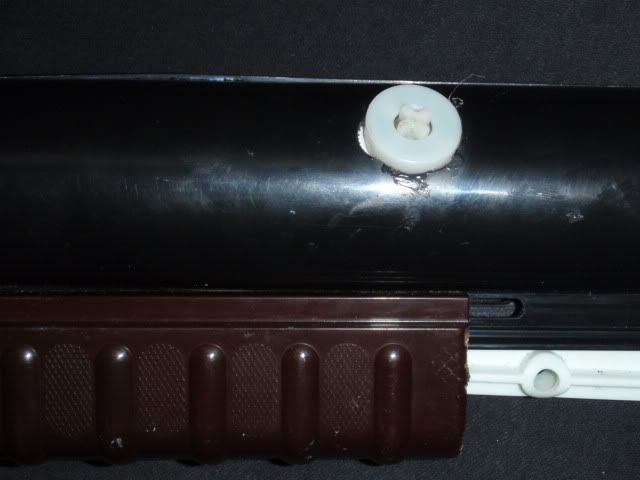
This will allow me to fire quickly after pumping. Its not ideal but its the best place I could come up with. Dremeling a nice snug hole until the blast button fits then anchoring it in with Super glue and epoxy putty will do the trick.
Now one thing I will comment on, which is probably the most difficult part of this mod.
I hate big salvo tanks. They are oddly shaped, they get smaller more towards the front and I have a tough enough time keeping regular barrels straight, keeping the tank straight for these is a nightmare.
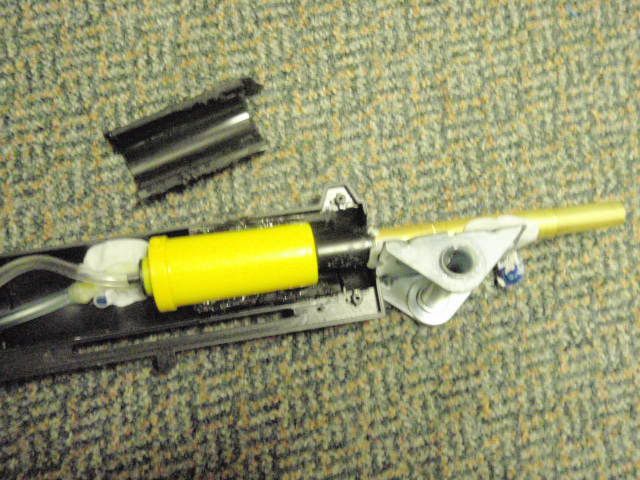
Although I used 2 inch PVC as a sleeve for it I don't really recommend it. It didn't really help. Just eyeball it the best you can and anchor the tank in with some epoxy putty when you have the barrels where you want. Try to make as much of the barrel stick out the front of the gun as possible.
Now you could stop here and have a pretty cool gun by adding your favourite barrel material to the front of this, or you can take this one step further and do what I did.
More to come. Please don't post until finished.
Pearson: Why would you single a doomsayer? Thats like taking a Ferarri and putting family seating in it.
#2
Posted 21 February 2011 - 12:56 PM
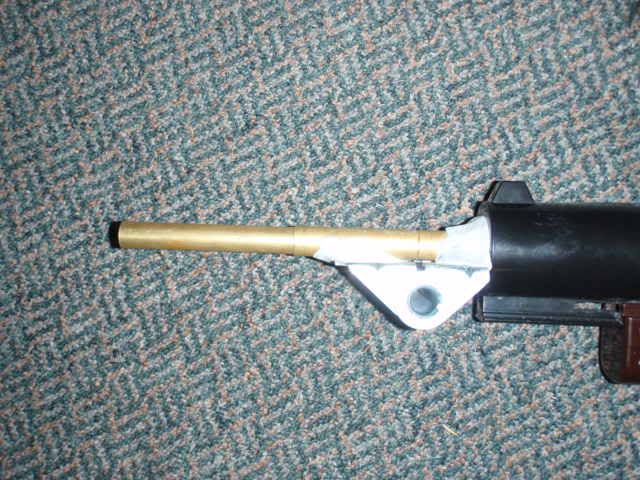
Start off by making a 6 inch demon breech. The measurements are a little different so I'll explain here.
Take 2 inches of 5/8 brass
Take 1 and a half inches of 19/32 and put it in the 5/8 brass
Take 1/2 of an inch of 9/16 brass and put it in the end of the 19/32
take 1/2 of an inch of 17/32 brass and put it in the end of the 9/16
Take 3/4 of an inch of 1/2 inch brass and put it into the 17/32
Cut 6 inches of 9/16 brass. mark on the 9/16 where the 1 and a half inch mark is.
At that mark add a half inch of 19/32 brass.
Cut 2 inches of 5/8 brass.
Add half an inch of 19/32 brass at the end of the 5/8 brass.
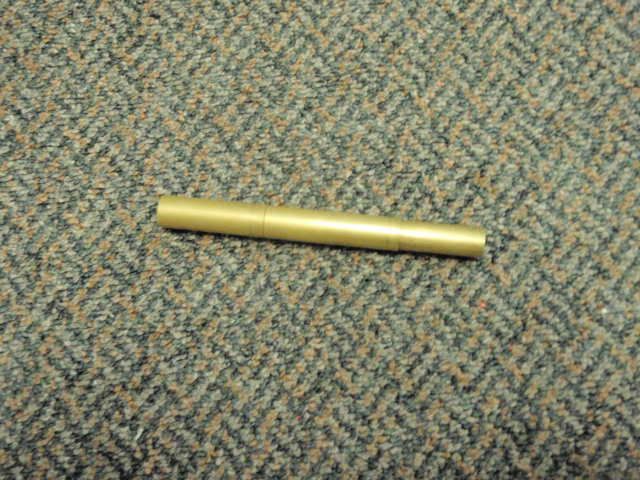
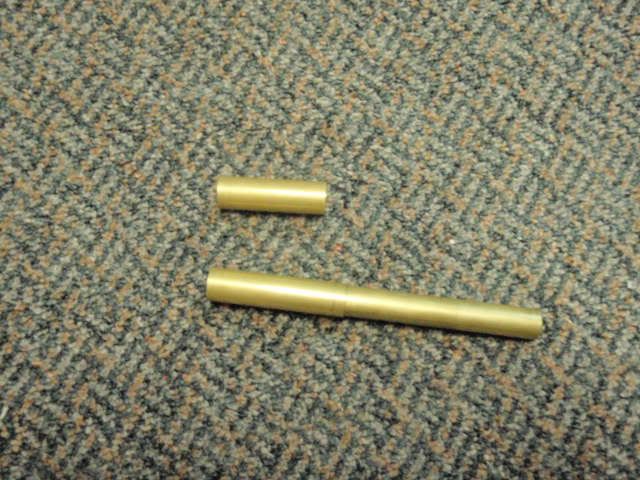
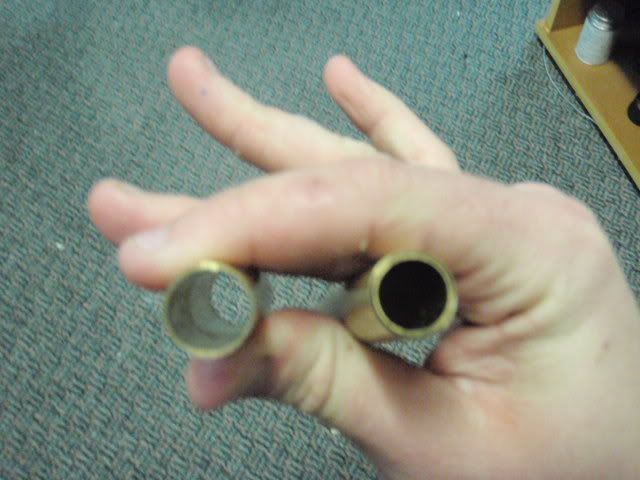
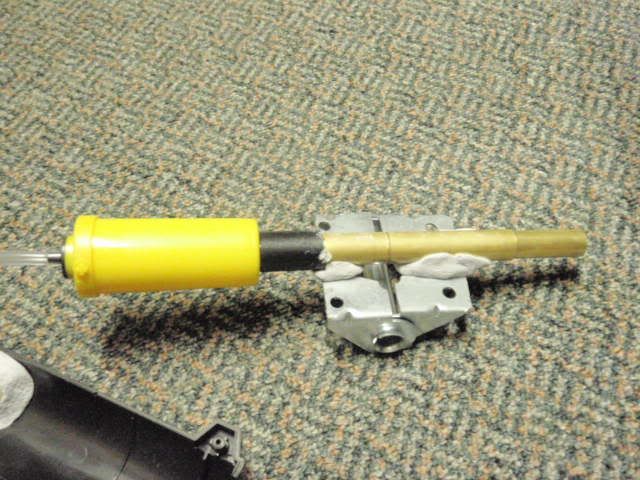
Slide the 9/16 brass into the first contraption with the smaller pieces of brass. Slide the 5/8 with the 19/32 in it over the 9/16. When finished it should look like this.
Together
Apart
End View
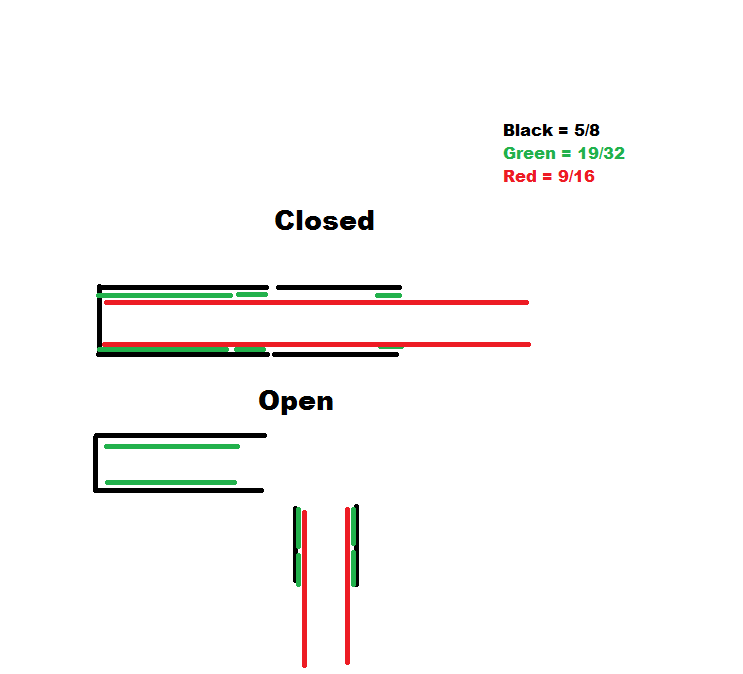
This may sound confusing. I will try to explain it best with an illustration.
The 19/32 is used as a stopper when the breech is pulled out. The 5/8's is the sheath for the breech and the 9/16 is your regular barrel material.
When the breech is opened the 19/32 hit against each other allowing the breech to open but not allowing the 9/16 to fall out.
Now, this is a pretty useless breech unless you add something to hold it all together.
I was able to find a hinge at Home Depot for about $5.00. Its a little big but its all I could find. Make sure the breech is closed when you are doing this so that everything lines up properly.
Take the one part of the breech that has the 5/8, 19/32, 17/32 and 1/2 in it and attach it to one side of the hinge. Make sure not to get any solvent on any other parts of the breech. Make sure to leave about an inch of overhang off the side of the hinge.
Take the other piece of 5/8 and attach it to the other side of the hinge, again making sure that no solvent gets on the other side of the breech.
It should look like this.
Take a hacksaw or a dremel and cut down the barrel end of the Salvo tank to about an inch or so. Enough to fit the overhang that you left on your breech in the barrel.
Take plumbers goop and lather it on the overhanging part of the breech. Put the gooped up breech into the Salvo barrel making sure everything is straight. Let everything dry for 24 hours.
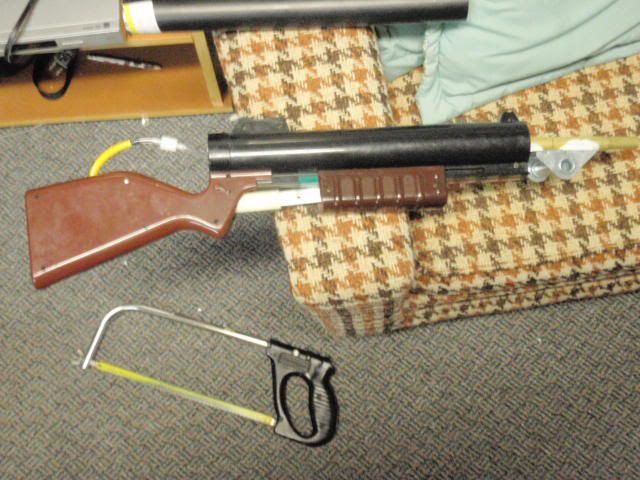
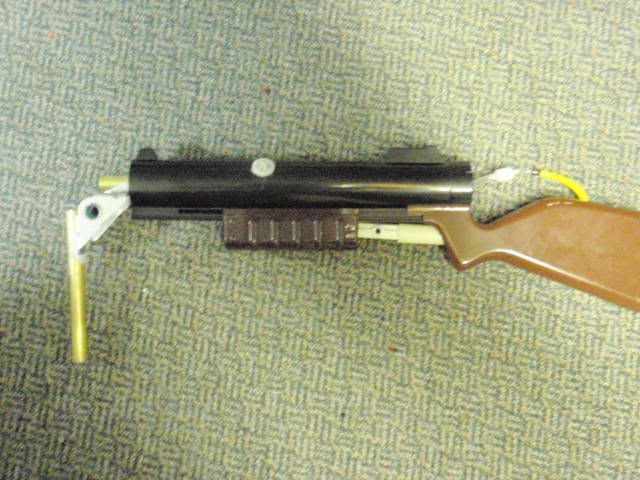
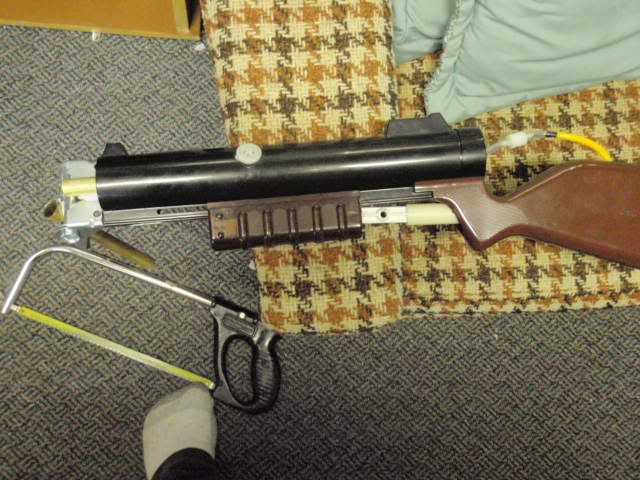
If everything went right your gun should look like this.
Closed breech.
Open breech.
Ranges are to be expected from a big salvo. 70-90 feet depending on dart, weather etc etc. But man does this gun ever feel great. All the comfort of a PAS without worrying about it breaking any time soon.
Comments? Flames? Questions?
Pearson: Why would you single a doomsayer? Thats like taking a Ferarri and putting family seating in it.
#3
Posted 21 February 2011 - 03:27 PM
I love seeing random parts getting put together to make guns.
The blast button location is the only thing that seems to be the problem.
#4
Posted 21 February 2011 - 03:37 PM
Beaver's post claiming Kane's post claiming Demon Lord's post is correct is correct is correct.
Canadian Nerfers-R.I.P.
#5
Posted 21 February 2011 - 04:49 PM
Good choice of name.
I love seeing random parts getting put together to make guns.
The blast button location is the only thing that seems to be the problem.
Thanks. As I said before I really really wanted the blast button to be where the PAS trigger was but the AT2K pump took up too much room so putting that on the inside wasn't possible. Putting it on the outside makes it looks bad and it plus the tubing could get caught on all sorts of stuff so sadly this was the next best spot. It may look awkward but after pumping the gun my finger lines up perfectly with the blast button.
Cheyner, I hate to break it to you but the last pic where the breech is turned on its side is before I plumbers gooped the brass into the salvo barrel. The hinge doesn't turn at all.
Pearson: Why would you single a doomsayer? Thats like taking a Ferarri and putting family seating in it.
#6
Posted 21 February 2011 - 04:58 PM
#7
Posted 21 February 2011 - 05:49 PM
Pearson: Why would you single a doomsayer? Thats like taking a Ferarri and putting family seating in it.
#8
Posted 21 February 2011 - 10:13 PM
#9
Posted 22 February 2011 - 09:50 PM
I suppose it would be possible to RSCB this gun, after the first dart though I think 50-60 feet per shot would be optimistic.
Pearson: Why would you single a doomsayer? Thats like taking a Ferarri and putting family seating in it.
#10
Posted 23 February 2011 - 04:37 AM
I agree, somewhere on the handle by your thumb would be more convenient. Very nice write-up though!.
The blast button location is the only thing that seems to be the problem.
Edited by knexpert66, 23 February 2011 - 04:38 AM.
#11
Posted 23 February 2011 - 10:03 AM
Edited by LT. DAN ICE CREAM!!!, 23 February 2011 - 10:07 AM.
#12
Posted 27 February 2011 - 06:10 PM
Added a 8 inch barrel, 6 didn't seem nearly long enough. I'll do range testing with both when the weather gets warmer.
The longer barrel looks a little nicer too, something needs to be done with the barrels, I'm thinking ends similar to Talos or the Countess but I'll determine that next weekend.
Some black tubing over the vynal tubing protects the tubing and the check valve as well looks a lot nicer.
Now the big one. You'd be surprised how much of a pain in the ass this button was to put on. The bottom part of the button was the same size as the button on the blast button, means I couldn't super glue it or epoxy it as it would just bust off if I put pressure anywhere but the centre of the button so as per the advice of Forsaken Angel I drilled a hole into the middle of the button that I added as well as the middle of the blast button and attempted to put a 1 1/4 screw into it. The biggest problem with this is that the trigger on the blast button twists 360 degrees meaning that whenever I tried to tighten the screw all it did was turned the blast button. With a lot of patience and even more swearing I used my needle nose pliers to hold the trigger while I turned the screw. It took forever and didn't tighten as much as I would have liked but it holds onto the gun and looks to my liking. A little bit of super glue gave the screw a little more grab. If anyone has any ideas as how to get this screw tighter I'd love to hear suggestions.
Pearson: Why would you single a doomsayer? Thats like taking a Ferarri and putting family seating in it.
0 user(s) are reading this topic
0 members, 0 guests, 0 anonymous users