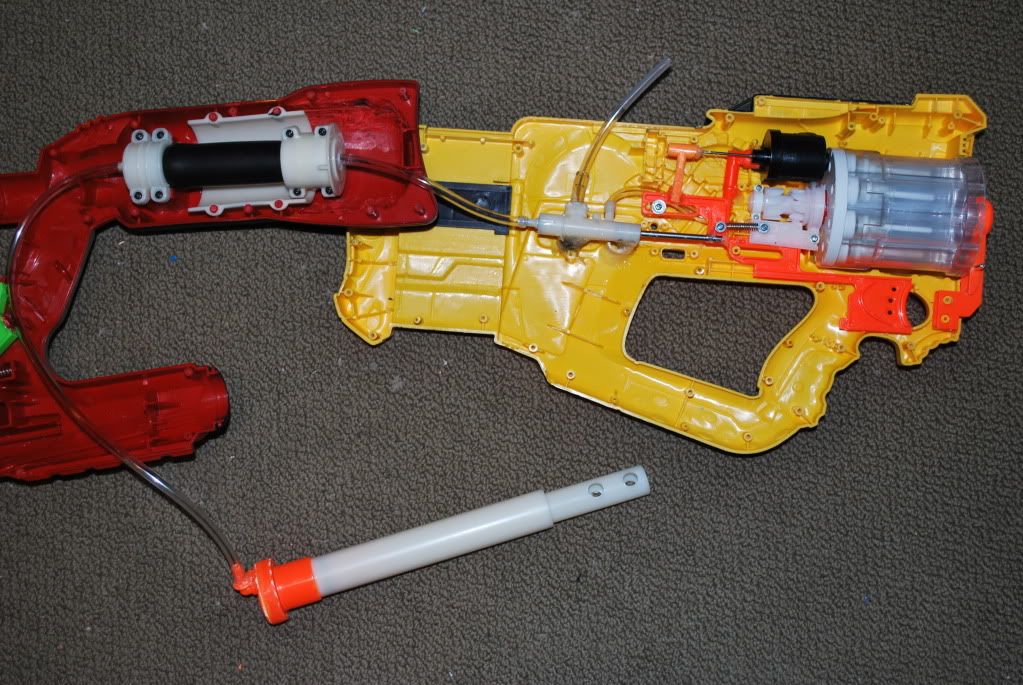
This is mostly a proof of concept and is also for testing purposes.
After seeing this post by southpaw, featuring a true semi-automatic AT2K, I became inspired to create one of my own (well, at least a variation of it). I read that he used a valve from a super soaker, which I did not have, so I set to work on creating one from a hornet trigger system. This is not a complete writeup, but the pictures will hopefully suffice.
This is the basic idea of the whole thing.
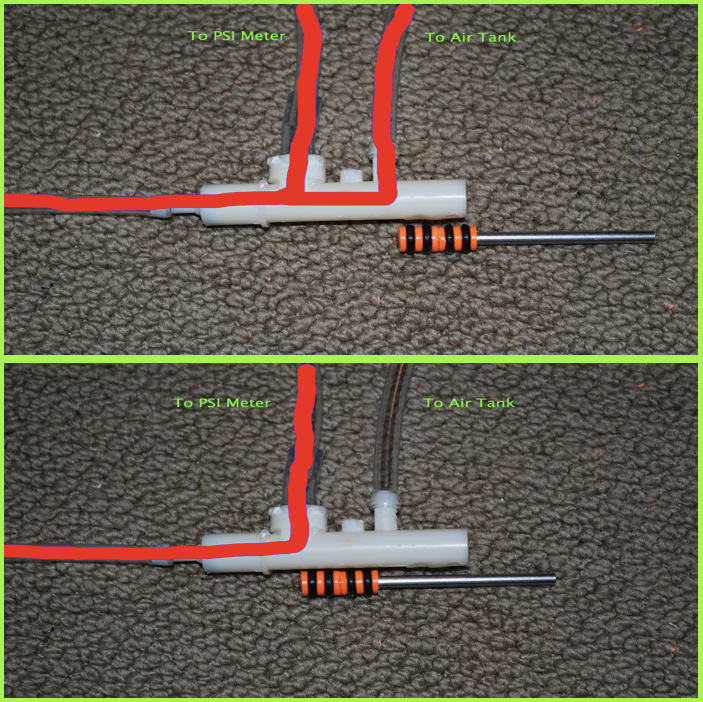
When the trigger is partially pulled, the valve quickly shuts closing the path for the air to reach the tank, then when the trigger is pulled the full way back, the tank is fired. This means that whenever the trigger is in the un-pulled position, the air from the bladder will rush in and fill the tank. However, once the trigger starts to be pulled backwards, it closes the bladder. This system makes the whole semi-auto system much more efficient. By employing this concept, no air is wasted in the entire process of firing and refilling.
Here's the writeup part of this topic:
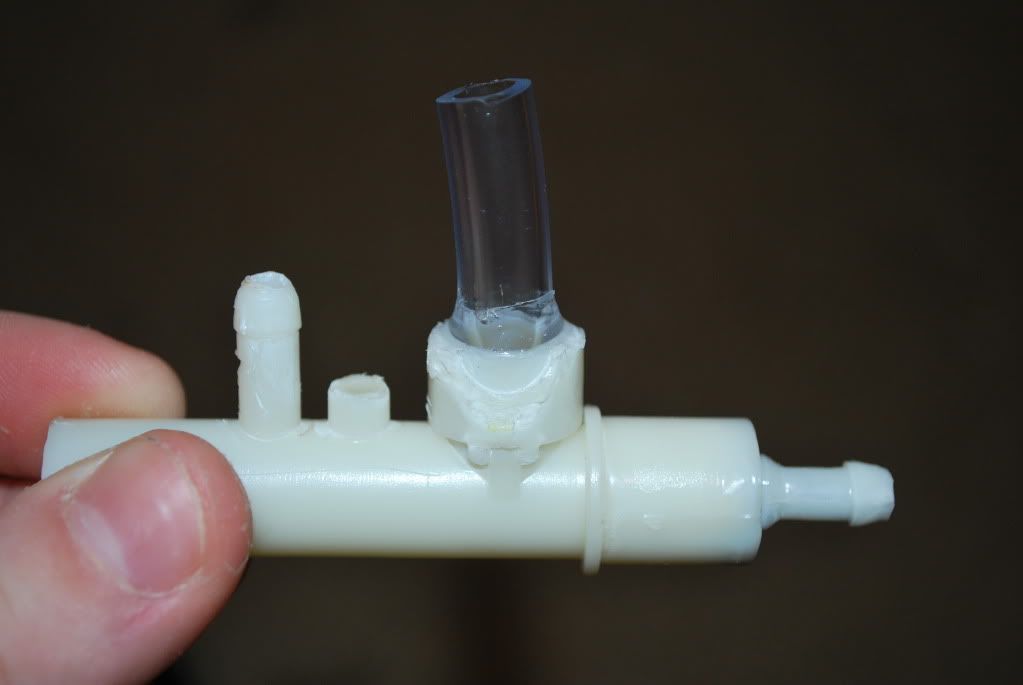
1. Cut your Hornet trigger system to look like this:
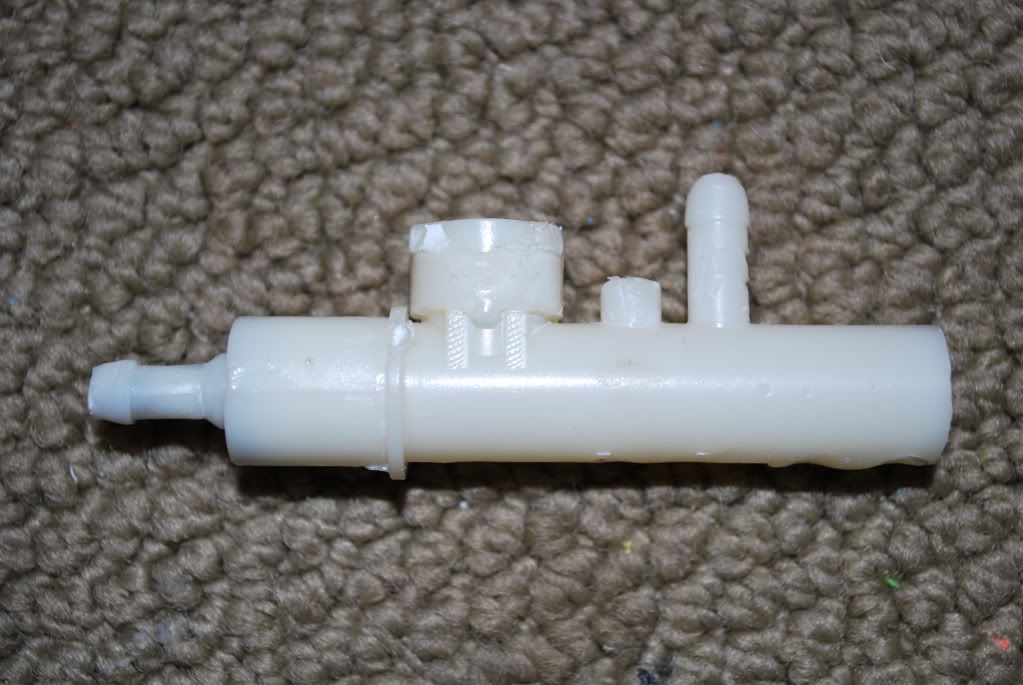
2. Fill the shown holes with hot glue.
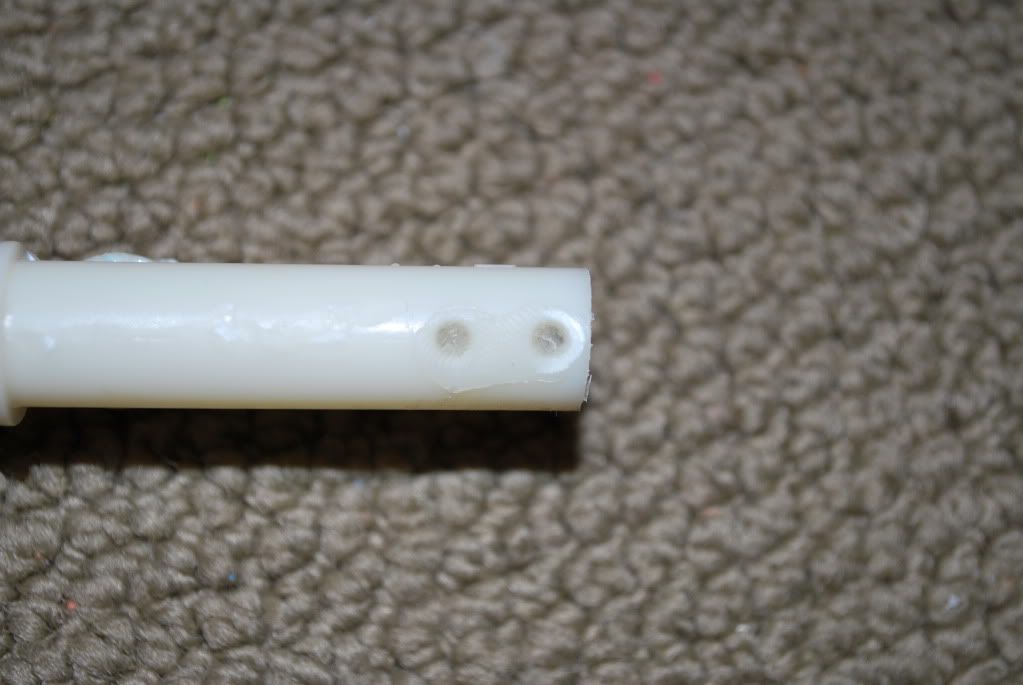
(middle hole in the second pic)
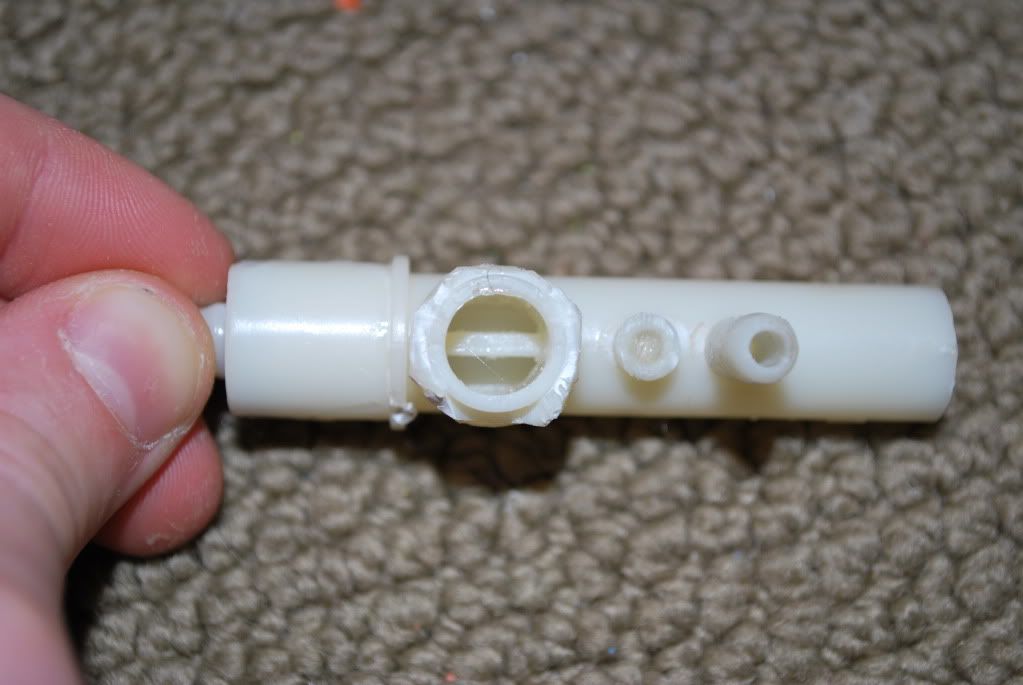
3. Drill a hole through the check valve in the part of the trigger.
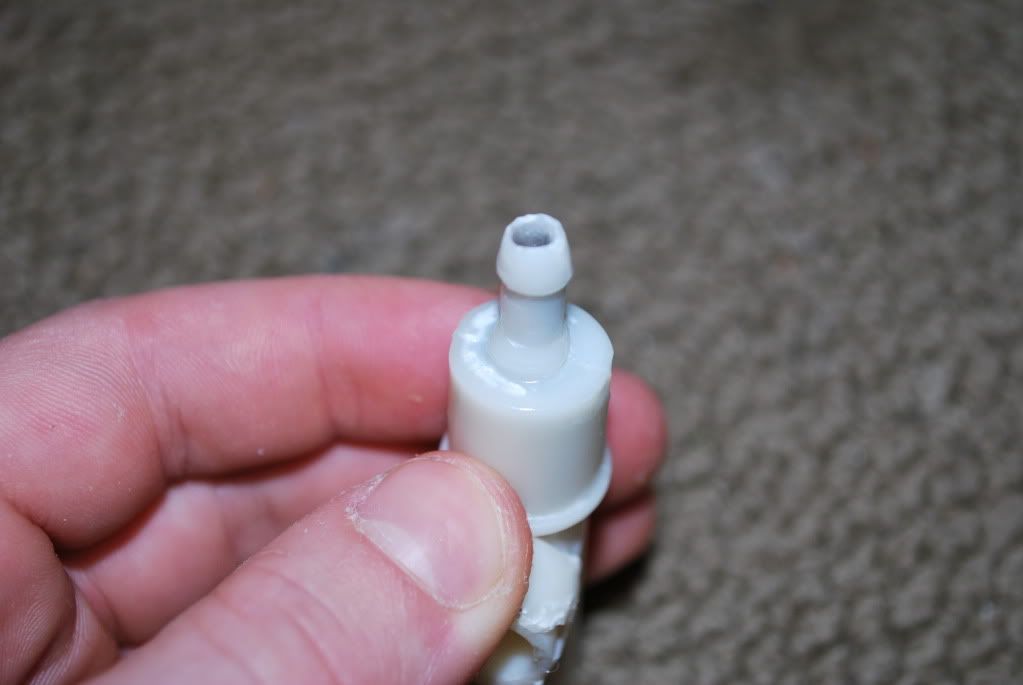
4. (This next part is optional. If you would like to install a PSI meter, then do this, but if not, then just fill the hole with hot glue.) goop a little stub of vinyl tubing the next size up from whatever vinyl tubing you usually use. This will act as a coupler for the vinyl tubing that connects to the PSI meter.
5. Cut off the heads of two hornet triggers.
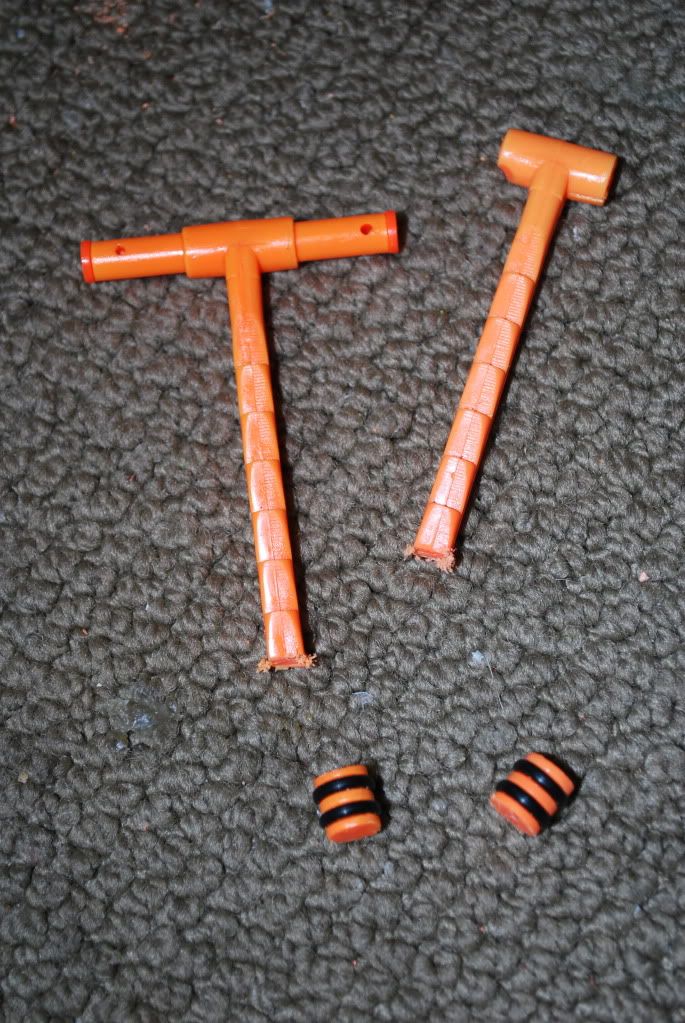
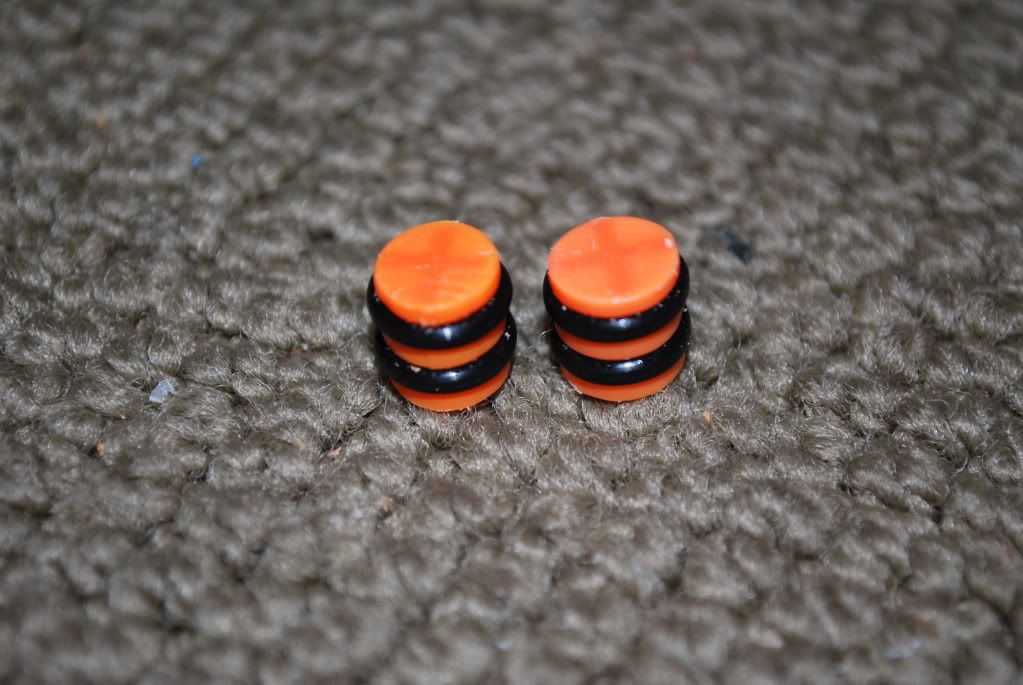
6. Find a long piece of metal rod. The diameter of the rod should be smaller than the diameter of the trigger heads. Drill a hole in both trigger heads that is as large as the diameter of the metal rod you chose.
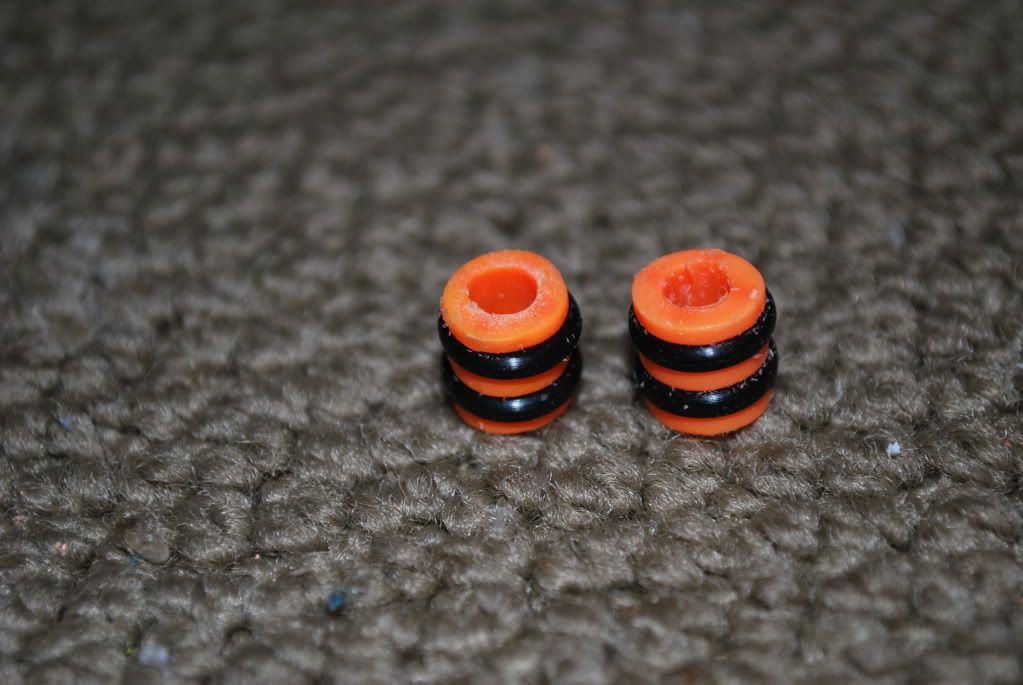
7. Slide both heads onto one end of the metal rod and goop them in place.
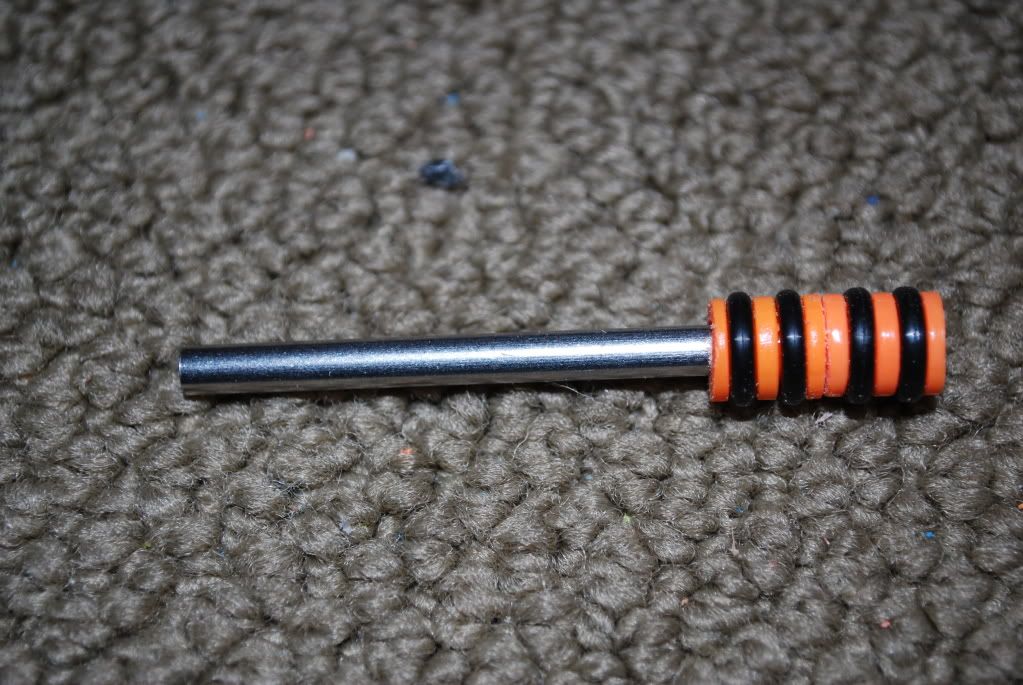
8. Wait for Goop to dry then apply the lubricant of your choice (I used lithium grease) to the O-rings, and insert the new trigger into the tube.
Your trigger system is now complete!
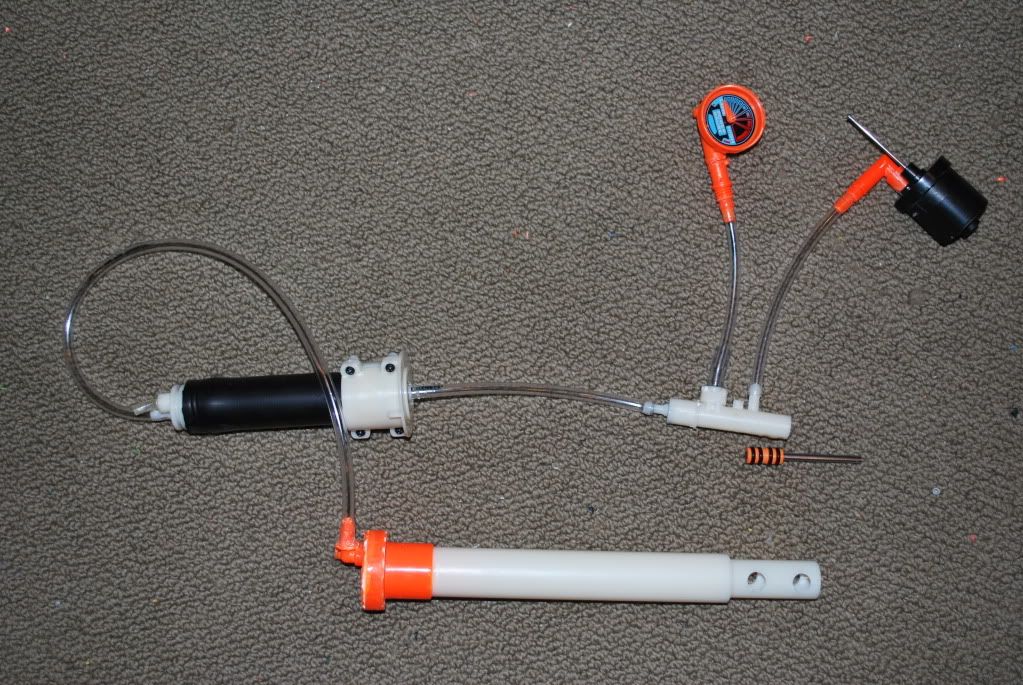
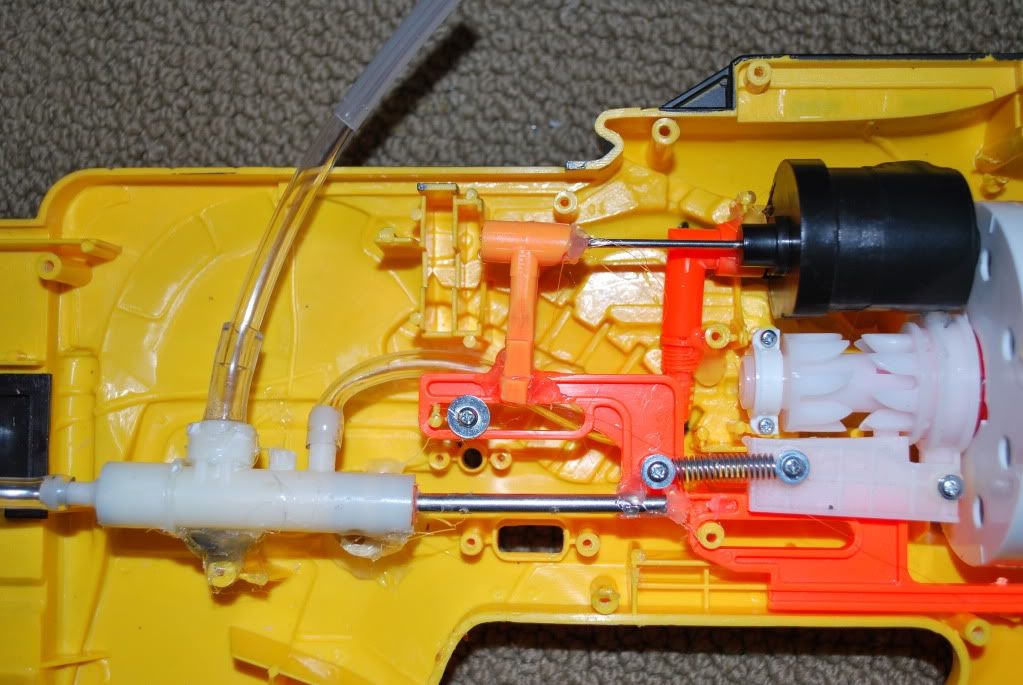
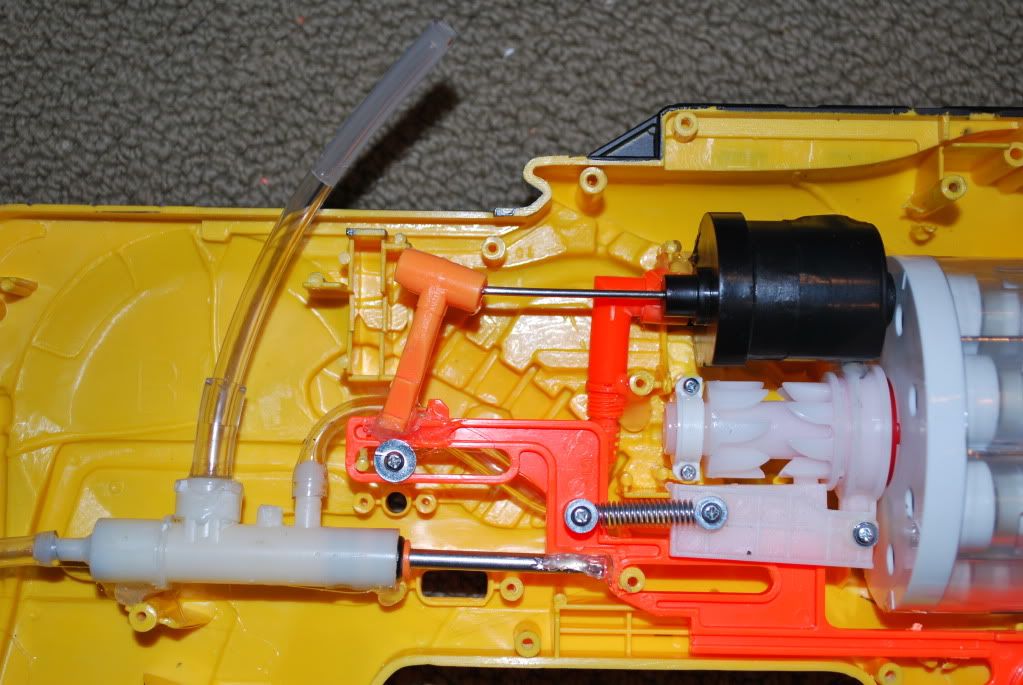
This is the final setup that I will employ in my soon to be primary. Though I pretty much revealed all of it, the rest is a surprise...
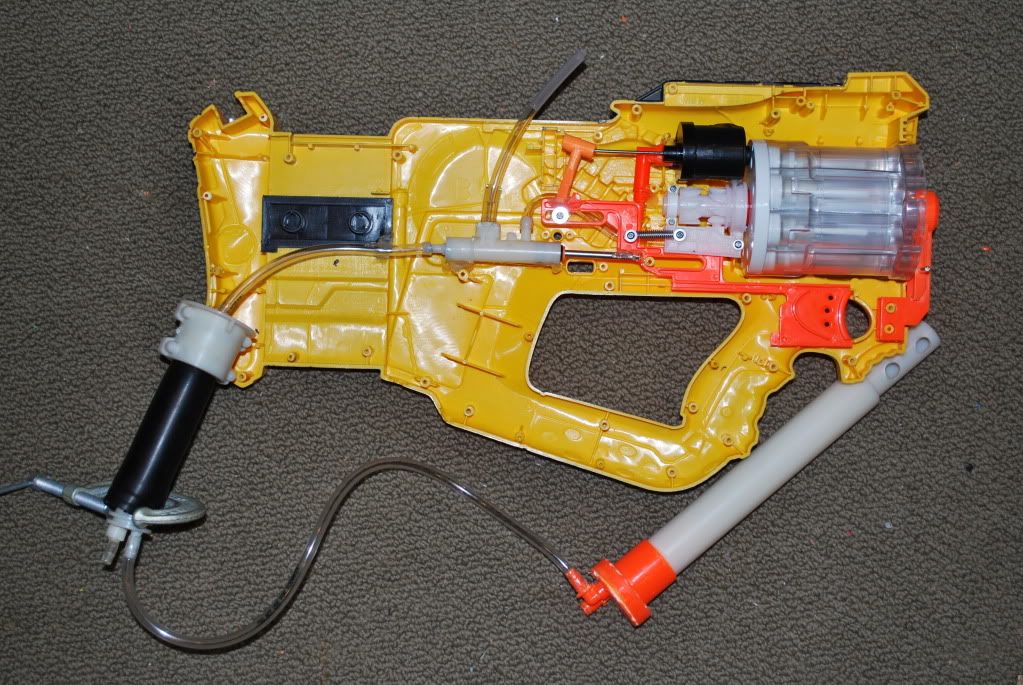
Closeup:

The above picture is once again just a proof of concept. When I actually put this stuff into the Firefly shell, I will make everything more permanent.
Feel free to post with any questions, comments, or suggestions. Thanks.
Edited by cheesypiza001, 25 December 2009 - 12:53 AM.


