Thanks to Cxwq and Forsaken_angel24 for the knowledge and inspiration.
Materials:Lock 'n Load
PVC: 1/2"
Brass: 17/32" & 19/16"
Paperclip
1/16" drill bit
Electrical Tape
Key Ring
Tools:Dremel
Glue: Zap-a-Gap
Files
Step 1: Remove the screws and open up the shell
Open the Lock n' Load and put away the green top shell and the bottom dart holder. These aren't needed. This is also a good time to trim and cut away any excess from the shell as desired. I trimmed the sides and back of the shell.
Step 2: Cut the barrel
Take the orange barrel and cut 1/4" from the plunger tube. Do not throw the barrel away just yet.
Step 3: Create the breech in the barrel
Take your 9/16" brass and cut a 4" length
Take your 17/32" brass and cut a 3 5/8" length (this could be a bit shorter as well)
Take your PVC and cut a 3 5/8" length
Start with the PVC length and measure your dart's (my darts are about 2") length 1/8" away from one end and draw the opening for the breech.
Cut this away and smooth the edges.
Insert the 9/16" brass into the PVC making sure that the two ends are flush at the opposite ends of the breech (away from the opening) and mark the opening on the brass using the PVC as your guide.
Cut this away and smooth the edges.
Use two layers of electrical tape around the 9/16" brass and insert the brass into the PVC. Dry fit the pieces together and once set, use glue on both ends of the breech to secure and make the breech air tight (so that air will only go through the brass and not leak between the brass and the PVC)
Wrap a single layer of electrical tape around the exposed 9/16" brass to give a better fit into the orange barrel.
Step 4: Create the breech opening in the shell
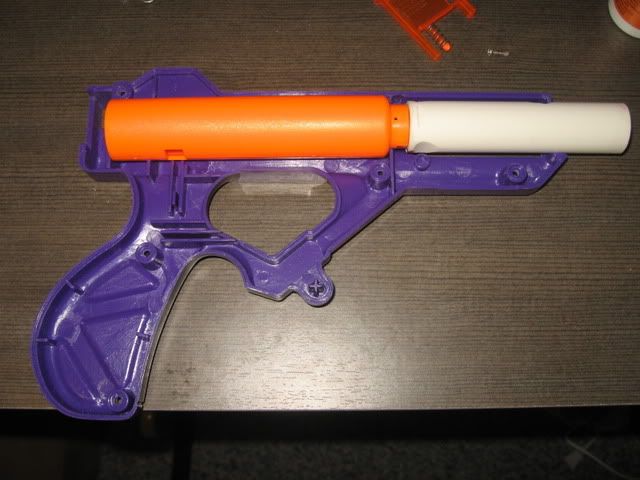
Insert the new barrel into the orange barrel. Make sure to line the opening in the plunger at the bottom and decide which side you want the breech to be on and twist the two pieces until it is to your liking.
And now the scary part.
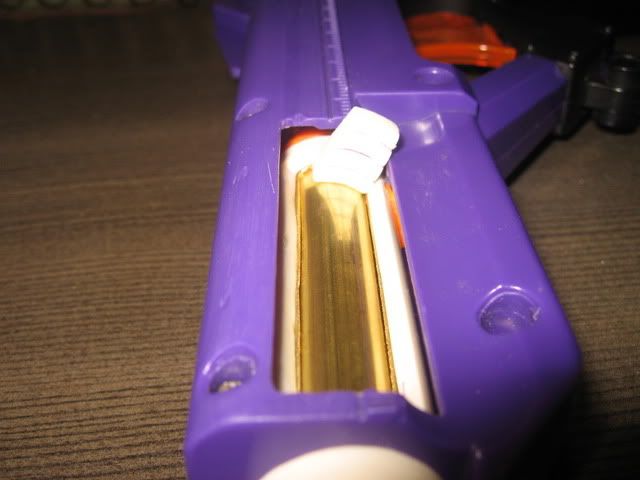
Take a small drill and make a pilot hole into the side of the shell trying to get the center of breech. Hopefully you will see the brass directly below. Take a wider drill and open up the hole so that you can now see where the breech is located.
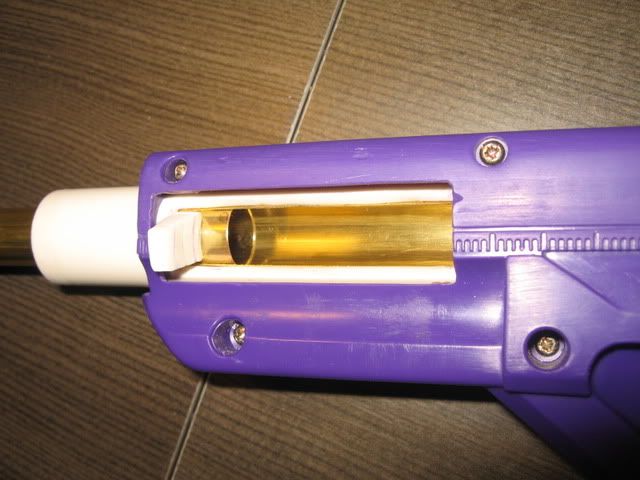
Remove the shell and slowly cut away the shell to expose the entire breech. Measure as many times as you need and go as slow as possible. Remember to take into account any filing or sanding that you might do for the edges so don't try to make your cuts final, let the file make the final edge.
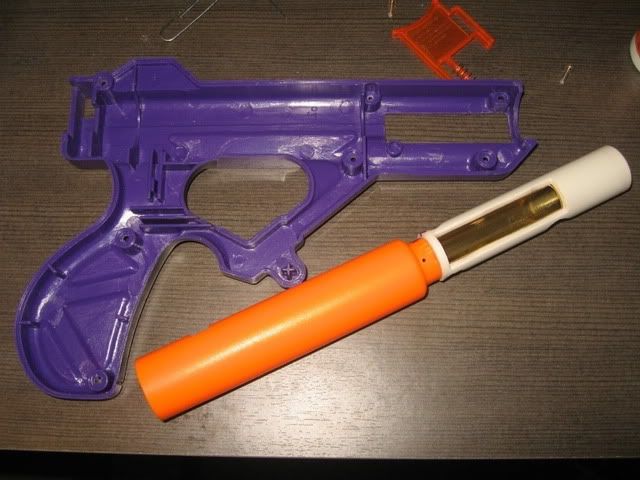
The opening in the shell is about the width of a 9 volt battery as a point of reference.
Step 5: Fit the barrel into the shell
Use your dremel to widen the opening of the blaster to be able to fit the PVC. Work slowly in a full circular motion. The difference isn't too big.
In order to keep the barrel and plunger from spinning, I files two grooves into the PVC. One at the top in front and another at the bottom in the back.
Take the original orange barrel and cut the corresponding posts and trim down any excess flash. And dry fit these in place against the PVC. Make sure to not trim too much away. Once you have the fit, glue these posts to the PVC.
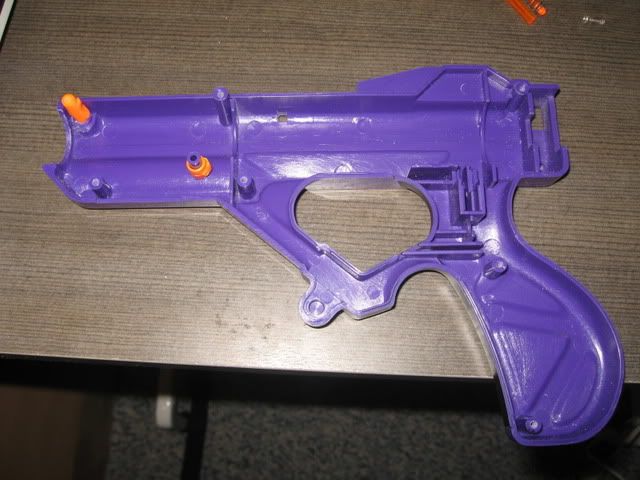
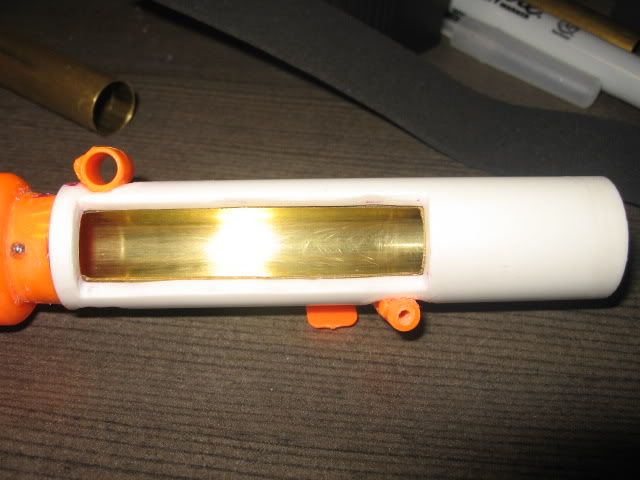
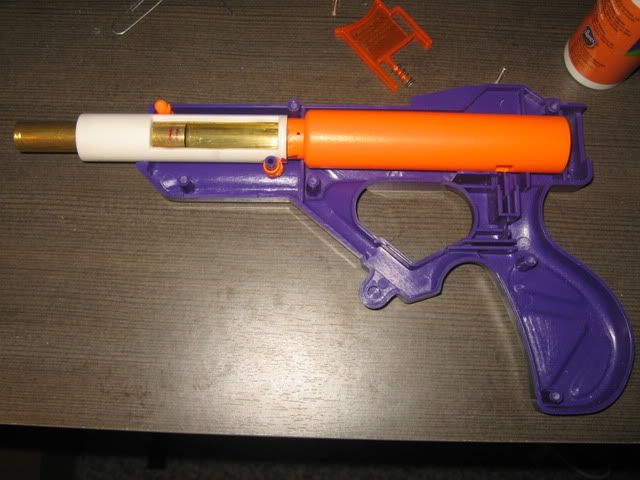
Alternatively, you could just hot glue the PVC against one of the shells to keep it from moving.
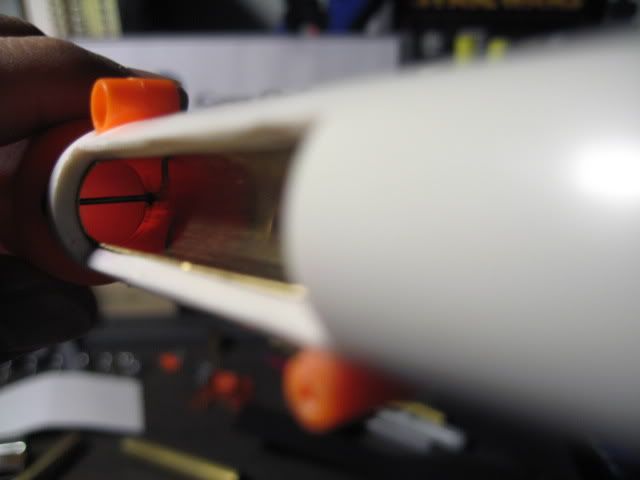
To keep darts from falling into the plunger tube, drill through the orange barrel and through the brass. I used a 1/16" drill bit.
Open your paperclip and insert a straight length through the openings and clip off a length enough so that the wire overhangs the barrel.
Re-insert the paperclip and glue this into place. When the glue is dry, use your dremel to sand the ends of the clip and push down to help fill in the gap and make it flush to the barrel. Add glue to seal it up.
Step 6: Create breech tab
Put the barrel into the shells and close it up.
Insert the 17/32" brass length into the breech and close the opening.
I used the PVC left over from the breech opening and cut four small pieces roughly the same size. These were filed and glued on top of each other. File these into a tab and determine how you want your tab to look and where to position it.
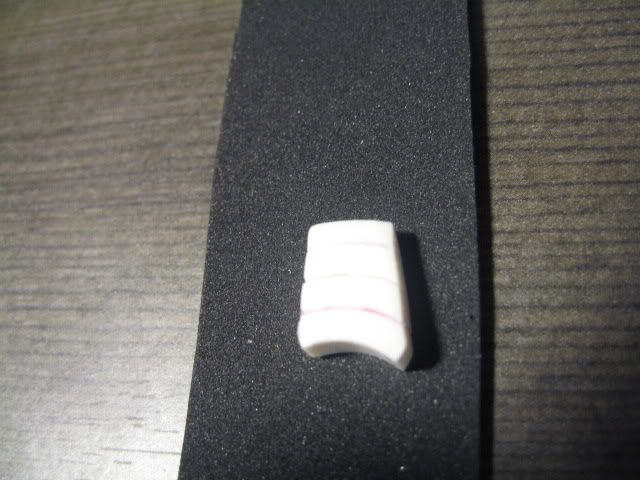
Once you are satisfied with the tab, push the 17/32" length a little past the opening of the breech. This will make sure it is properly sealed. Do not push the length all the way to the back of the barrel because when you open the breech, the opening will smaller due to that plus the tab.
Slide the 17/32" into the middle position, mark where your tab will be and glue it to the brass being sure to not use too much glue.
Step 7: Plunger Rod and Key Ring
Make sure to clean the plunger tube and rod. Wrap two layers of electrical tape around the plunger head for a better seal. If you have an extra or different spring, add that in place. I didn't have a replacement spring for this write up.
If you have a key ring, attach that to the end of the plunger rod.
Assemble all the parts.
Step 8: Finished
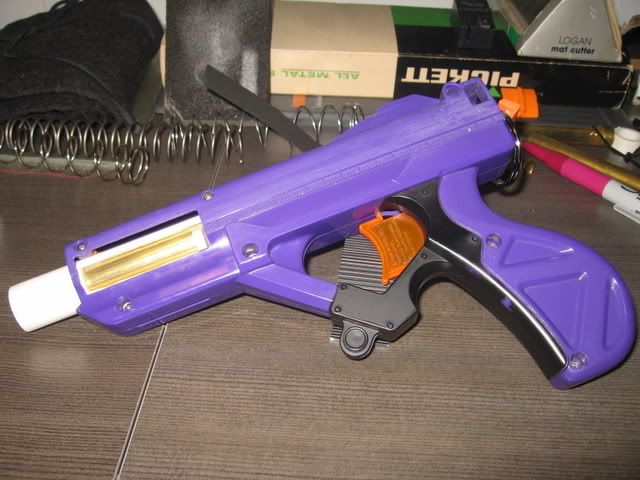
All done! Ranges are about 40 ft flat and very accurate.
UPDATE:
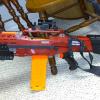
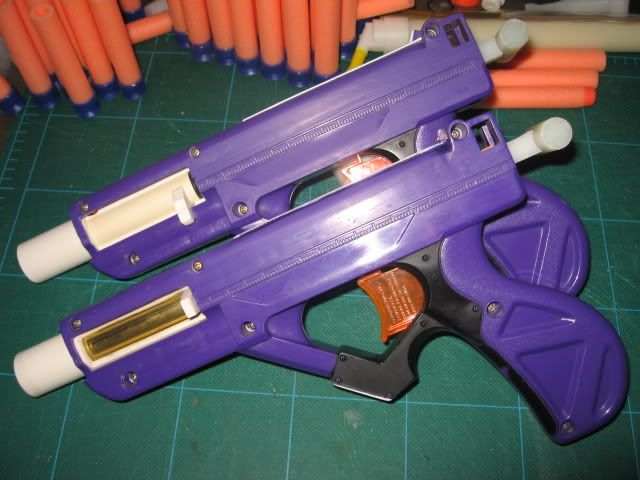
Completed my second LnL with a CPVC breech. Both blasters have chainblazer replacement springs and some shell work. Also, a plunger handle has been added instead of the keyring.
Edited by popatachi, 22 April 2010 - 12:36 PM.


