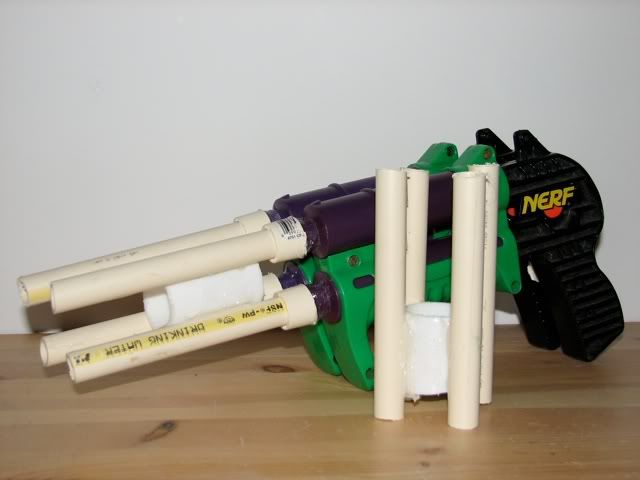
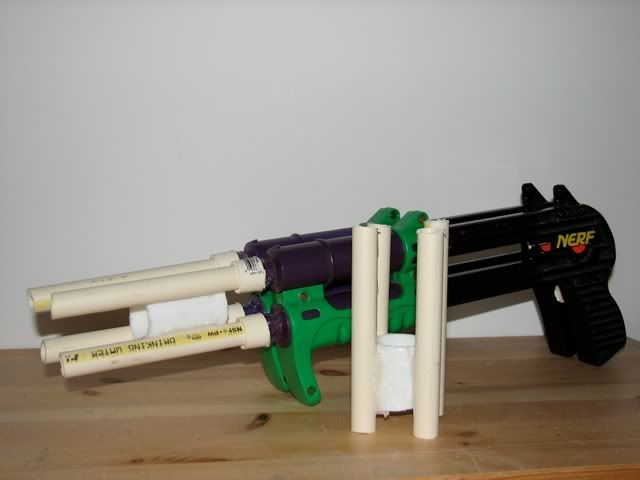
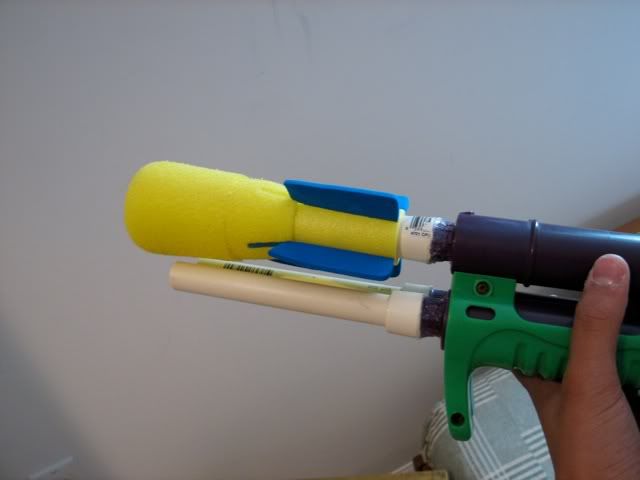
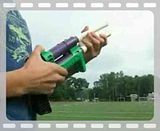
The Double Crossbow is a classic example of a “useless” older Nerf blaster. It fires missiles, is push-pull, and, to be honest, seems to lack potential. Last year, I purchased one through these forums and quickly modified it with CPVC barrels by wrapping duct tape around each stub where the former barrel used to be and then jamming the new barrel on. I was surprised to find that, when each barrel was loaded with four or five stefans, it could achieve respectable ranges of over 50’, with a shotgun spread of about 15’-20’. For a while, I relegated the blaster to use as a sidearm, or last resort, blaster. Recently, I received another of the relatively uncommon blasters. Placing it next to my older one, inspiration hit me. It was a small blaster to begin with—two of them would still be the same size as an Eagle Eye. Why not connect them together by their sides and handles to make a “quadruple crossbow”? A blaster that launches 20 one-inch stefans at a range of 60’ with a spread of 15’ would be undodgeable, and a definite force to reckon with! Soon enough, this is what I had. This write-up will teach the reader how to replicate what I did to make his or her own Quadruple Crossbow. The write up also gives instructions on how to modify a single Double Crossbow, if that is all that the reader wishes to do.
Materials Needed to modify a single Double Crossbow:
-1 NERF Double Crossbow
-1 ½” CPVC coupler
-Epoxy glue
-“Plumber’s Goop” adhesive
-10” of ½” CPVC
Materials Needed to make a Quadruple Crossbow:
-2 NERF Double Crossbows
-2 ½” CPVC couplers
-A tube of epoxy glue, with something to mix it and a mixing surface
-A tube of “Plumber’s Goop” adhesive
-1’ 9” of ½” CPVC (More if you want to make multiple clips)
-A length of PVC with an outer diameter of 1.5”, or an equivalent piece of tubing
Tools Needed:
-A Hacksaw
-A file or piece of sandpaper
Okay, to begin, place your hand on the soft plastic barrel of the stock blaster, like so.
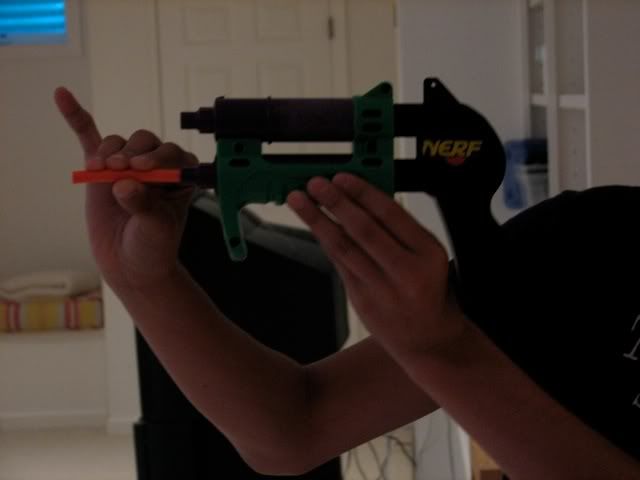
Firmly grasp the tube, then twist and pull it out slowly at the same time, in order to remove the barrel.

Your blasters should now look like this.
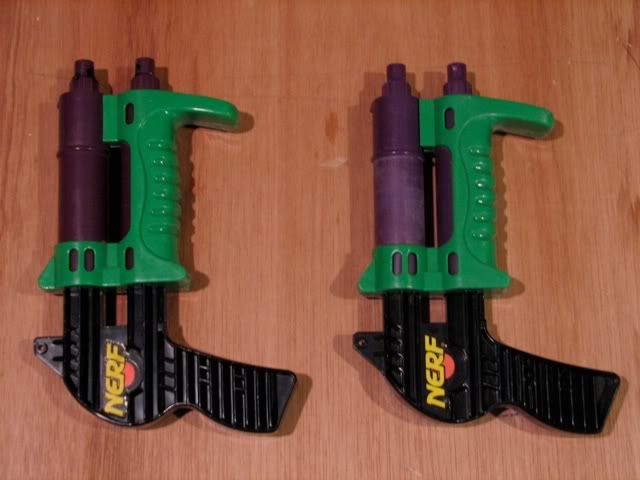
Next, take your CPVC couplers.
Carefully cut the coupler in half, as close to the seam in the middle as possible.
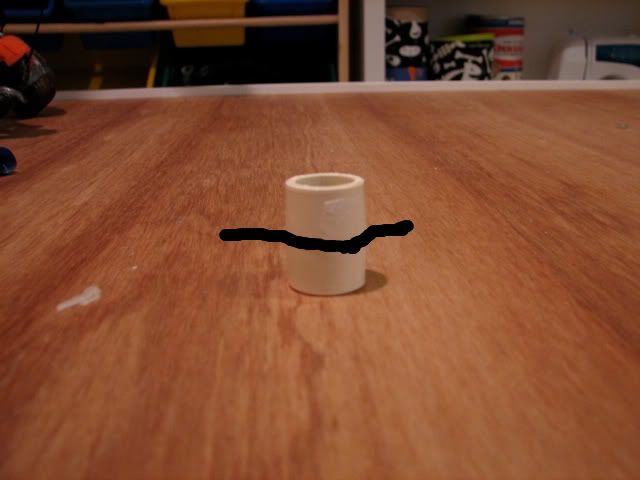

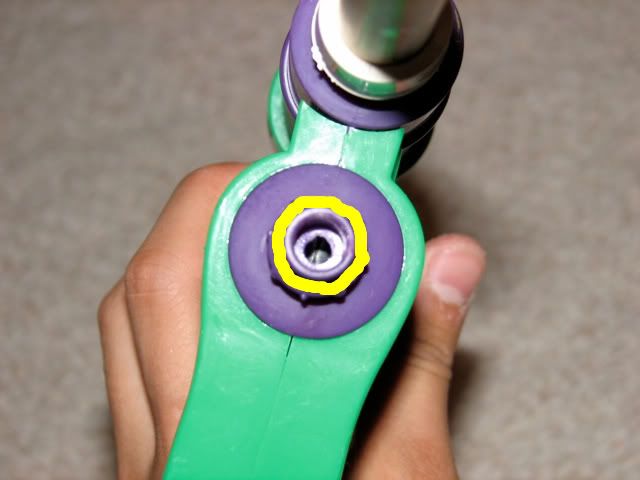
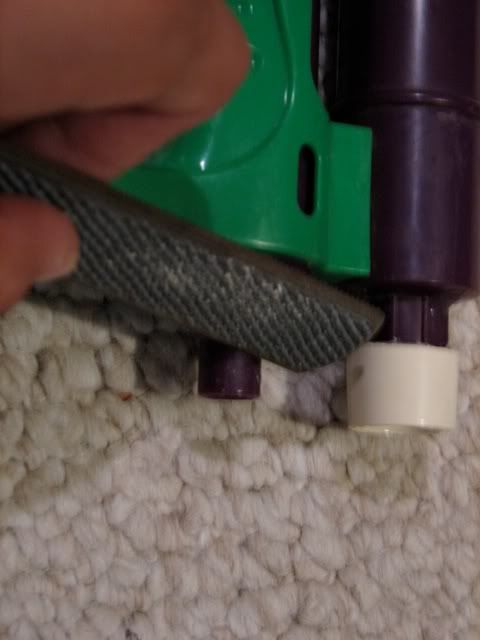
You should now have four half-couplers. Soon, you will glue these half-couplers to the barrel stubs of the blaster. In order to make the bond stronger, use your file or sandpaper to roughen the lip around the stub. That’s this part. (The yellow area is where you should roughen the plastic.)
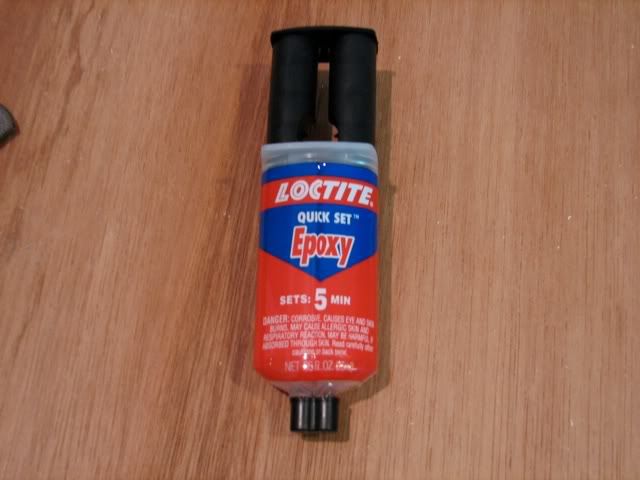
Take out your epoxy glue.
Mix the two parts of the glue together using a stick or brush.
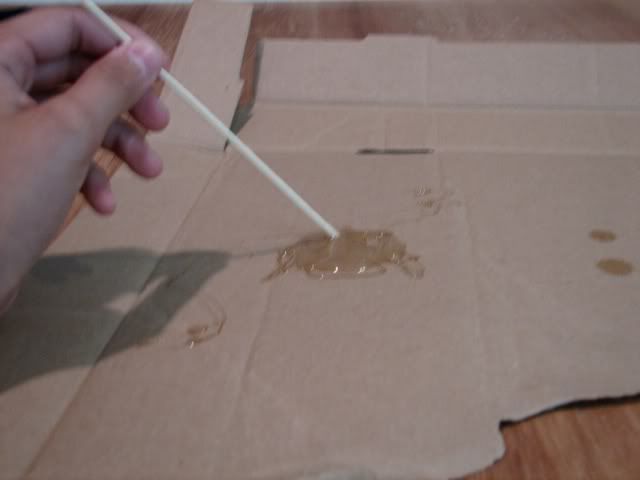
Using this stick or brush, apply glue to the lip around the barrel stub, then place the half-coupler around the stub. Make sure that it is centered. Repeat this step with all four barrel stubs, then let it dry. Afterwards, the blasters should look like this.

In order to make the bond between the couplers and blasters stronger, coat the space between the blaster and coupler with Plumber’s Goop, like this.
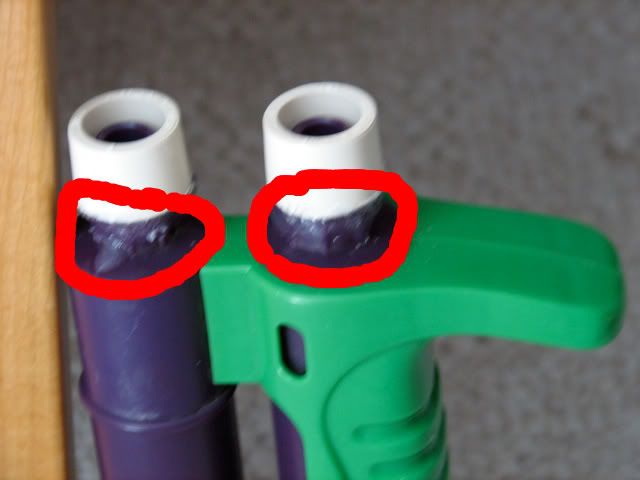
Let the adhesive dry and cure for a day. Make sure to put the blasters in a room with the windows open, or a good ventilation system, as they dry. After drying, Plumber’s Goop is nearly invisible, so you can barely tell that it’s there.
At this point, each blaster could be used separately by simply putting 5” CPVC barrels into the couplers. If you only own one Double Crossbow, or do not wish to make a Quadruple Crossbow, stop reading now—you’re done. If you are going to make a Quadruple Crossbow, read on.
The next thing to do is to connect the two blasters. I used epoxy. However, other kinds of adhesives, such as Goop, could be used. If you are going to use epoxy, please use my previous instructions on how to prepare the glue.
The blasters will be connected by their sides, as shown in this picture.
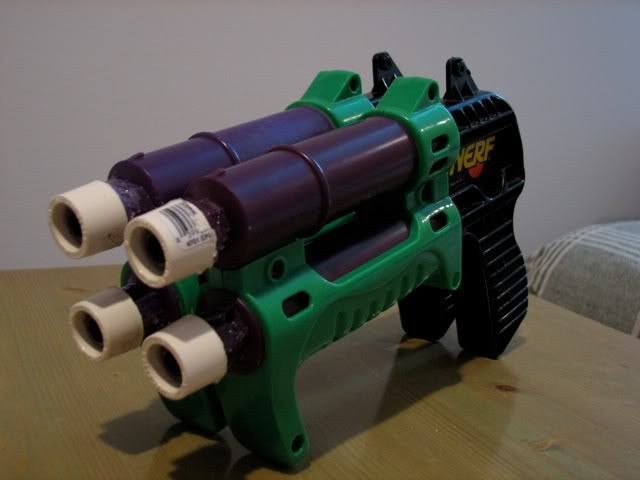
Use your file or sandpaper to roughen the protruding areas on each “inside” side—the side that will touch the other blaster. This will allow the glue to have a stronger bond.

Place your adhesive on each of these protruding areas, as shown in this diagram.

The areas with drawing on them should have adhesive.
Press the two blasters together, making sure that each one lines up with the other, and let the glue dry. Your end result should look like this.

Edited by Ubermensch, 24 August 2009 - 03:13 PM.


