Cloning The Unicorn Stage 1
Every clone needs some tissue and DNA to work with, even if it's not the rarest.
Here is the specimen we will be manipulating...

Specimen photo #2
Specimen photo #3
Specimen photo #4
First, you'll need to remove to specimens flesh and organs.
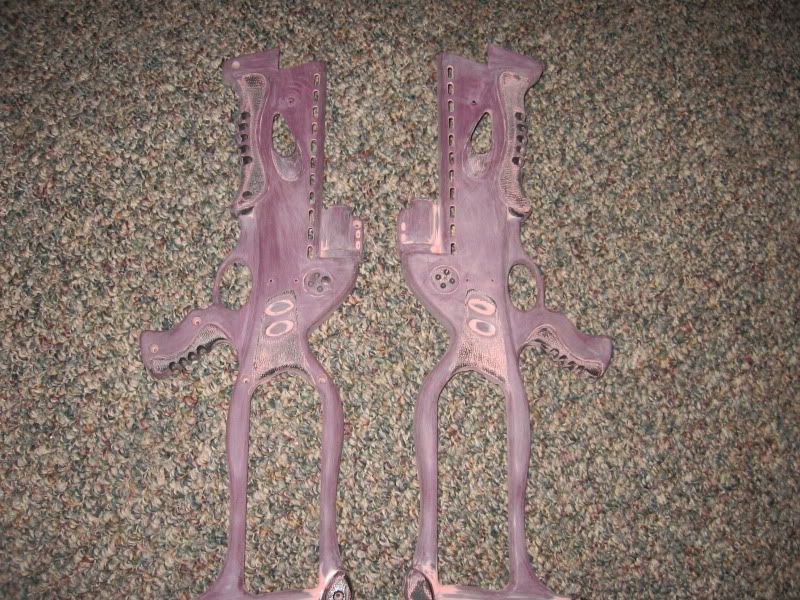
As said in previous modifications, sanding is the longest and biggest pain in the ass of the modification. Steps are simple here, start with course sand paper, slowly move towards fine. I ended with 600 or so.
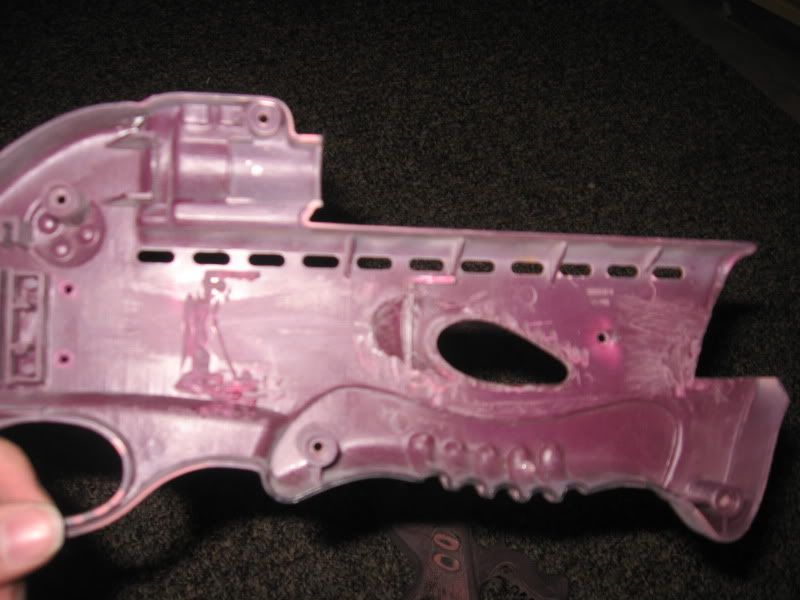
All of the insides of this thing pretty much have to go for what we're doing, for me to finally get this all to work, that's what I had to do. Lots of careful dremeling is in this step. Lots
Next, get yourself one 1 1/2 polycarbonate round tube and PVC hex coupler bushing thing. (IE the plunger tube and coupler used for a +bow)
Cut the poly tube to about the same length as the stock crossbow plunger tube
Now you can use the silver duct tape as shown in the +bow write up, but I used a combination of painters tape and etape. Wrap the coupler until it generally fits snugly into the poly tube. Next, fill up the dead space of the coupler with hot glue. Finally, get some plumbers goop and push that thing in there as deep as it'll go.
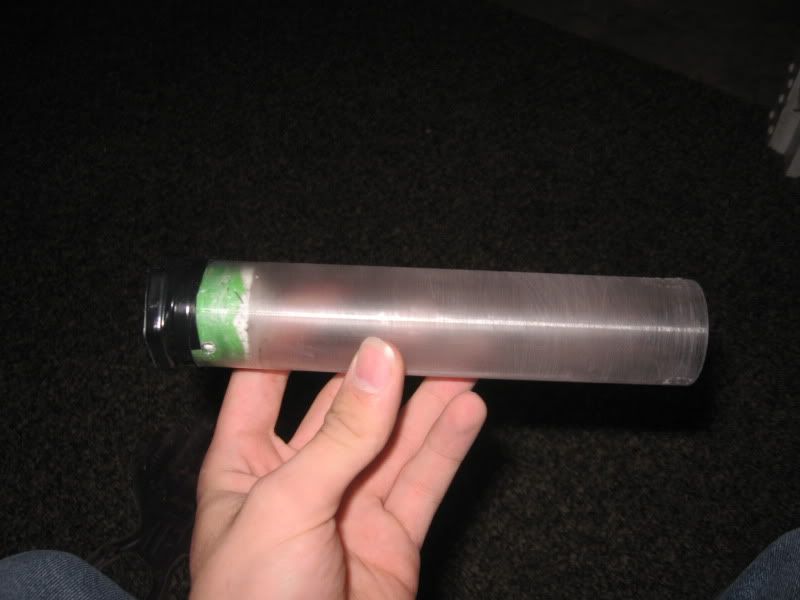
Size comparison #1
Size comparison #2
Next, since we had to really gun this thing, we gotta make sure it's straight and in place where it should be. For this, put some lubricant on the outside of the new plunger tube so it won't stick to hotglue, put it where it should be, and dump some hot glue near the sides, let harden, and take the tube away and you should have something like this.
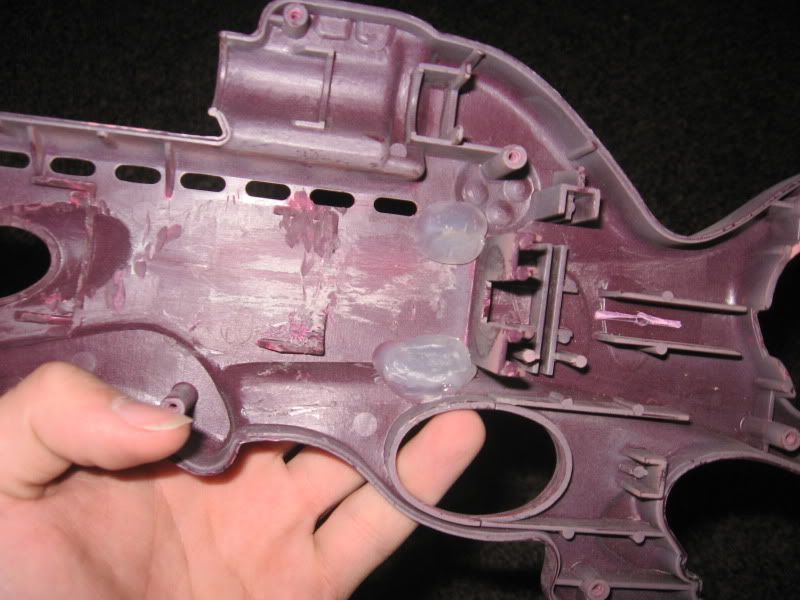
That should keep the back of the plunger tube in place.
Now to keep the front of the plunger tube in place. Put on your barrel of choice, doesn't matter. Keep positioning until you're 100% sure that's where you want it to go. Glue it in place a little bit with hot glue (just enough to keep it in that spot for a few minutes really)
Put both sides of the crossbow together, and etape it togther extremely tightly. Not, get a drill bit, pray to your god, hold you breath, hope you marked the right spot on the gun to drill through, and drill all the way through the gun.
.......YES, YOU'VE DONE IT!
Now take your 2 inch metal screw or threaded row and twist it through the whole gun and bolt it together
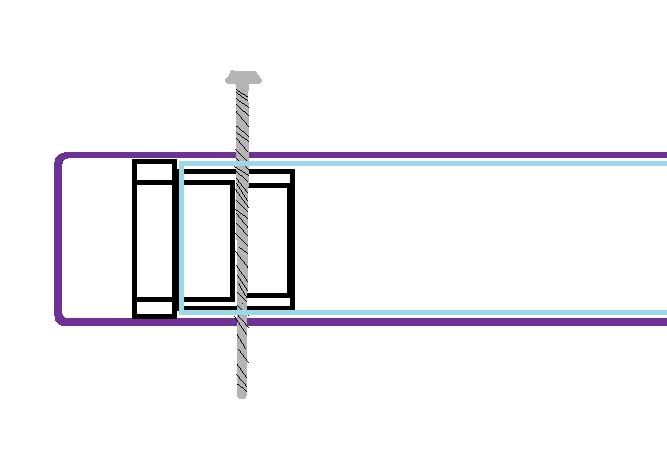
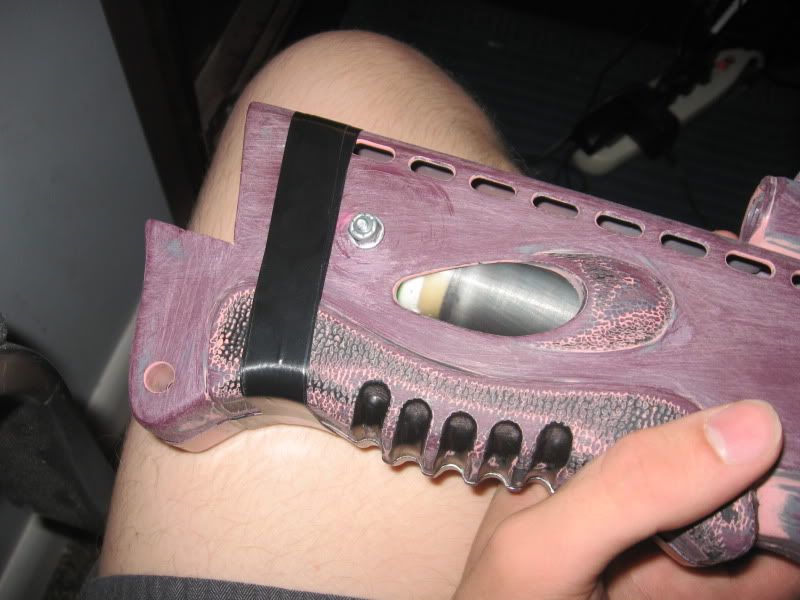
As far as that step is concerned. It really is a gamble, but it's the most efficient way to put this plunger tube securely into the gun. Lots of measuring and marking and placement is key. I did all 3 a hundred times over, and my screw isn't EXACTLY where I wanted it, but it's close enough
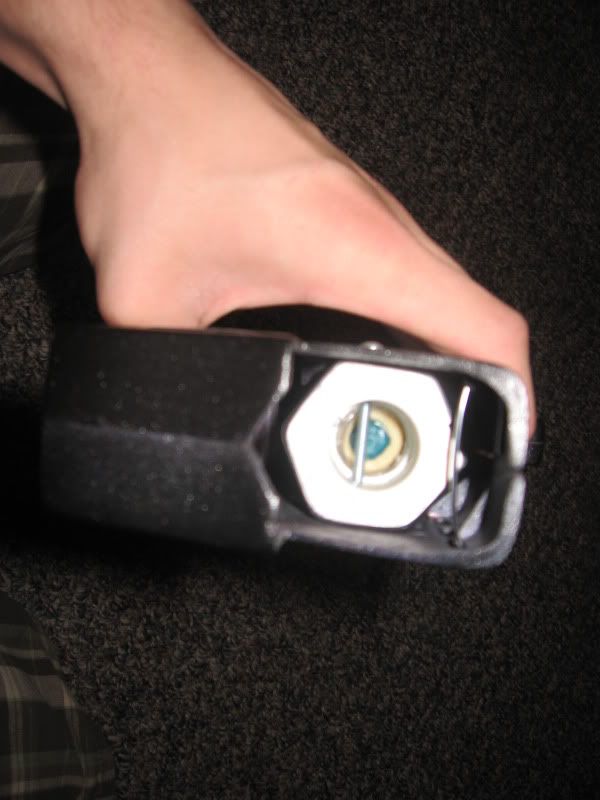
Next we'll be covering the plunger rod and spring set up
Most use metal sheeting, but that's just not my style. I used polycarbonate
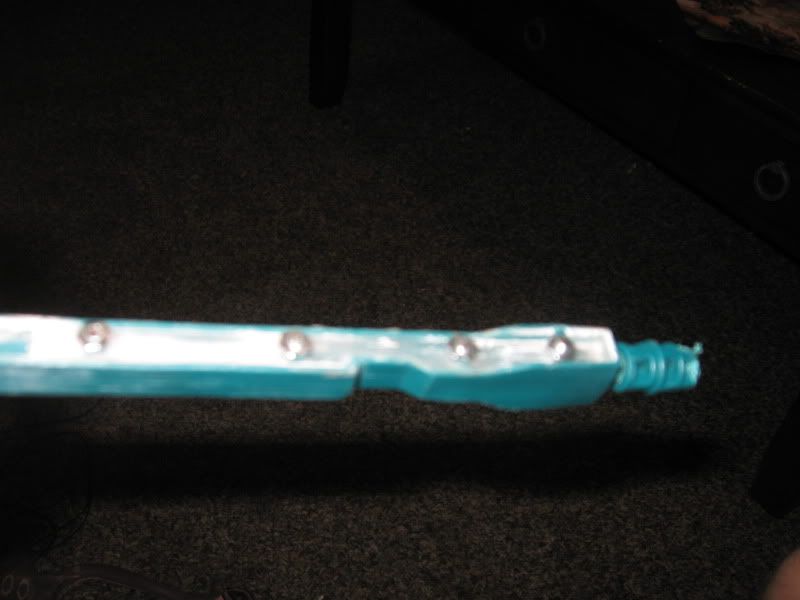
Lots of dremeling and careful fitting is key here. Once it fits it rather tightly, drill some small holes and add some nuts and bolts in key spots. I also put industrial super glue under the poly. This thing is ROCK solid.
Onto the plunger head
There's a piece of plastic used to keep the spring in this gun, however, it's not the strongest. Time to beef it up with a washer. Just cut it to the correct size, and goop it on. I clamped it to the plastic over night as well.
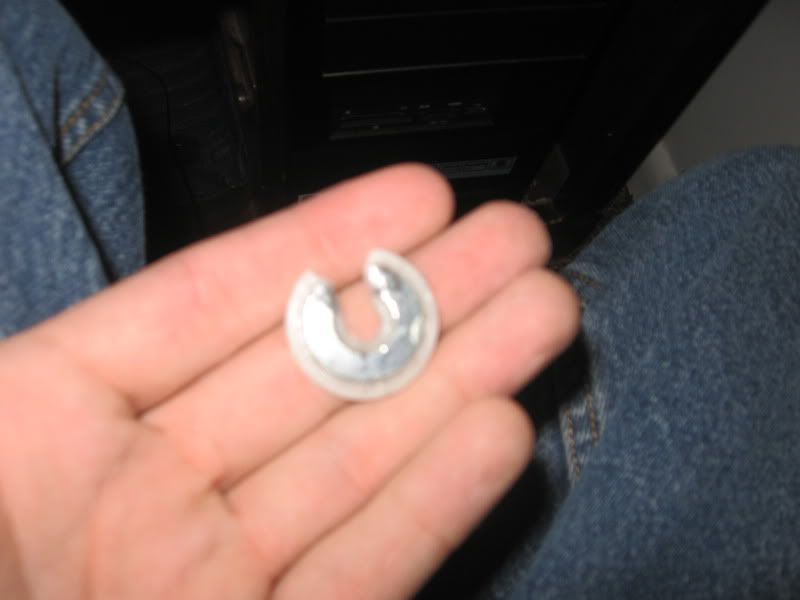
To keep my extra springs in, reduce overall stress, and add a lot of strength, I used a circular piece of steel I found inside of an old hard drive.
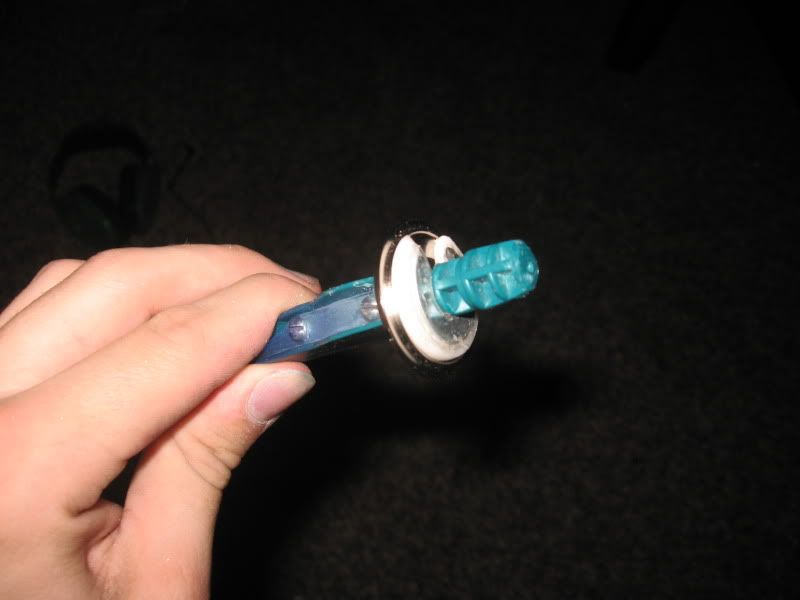
Get yourself a 1-3/8 rubber washer (yet again the same in a +bow) and put it in front of the original plastic thing that holds the springs in, follow by the other rubber things used as the plunger head in a stock crossbow
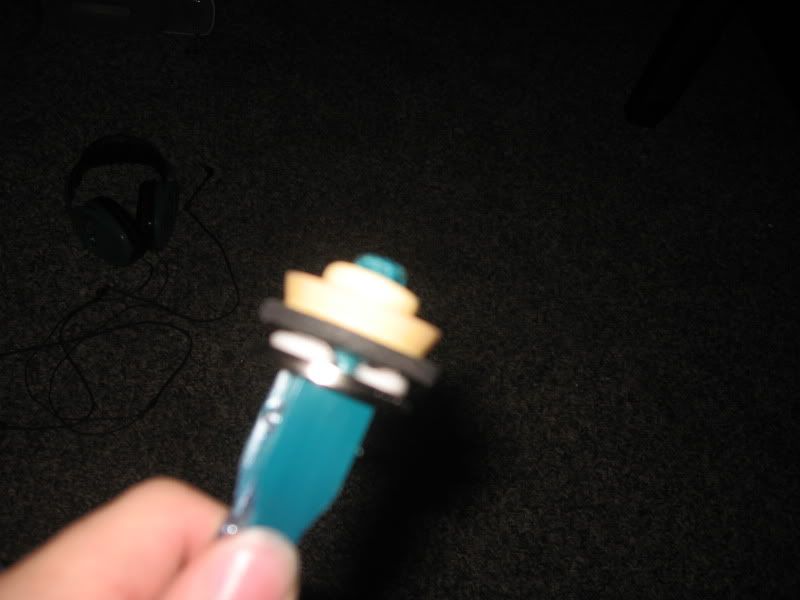
As you see, I cut off some of the plastic on the tip of the plunger rod. Eliminates some dead space, and it prevents the thing from hitting against the screw going through the coupler.
Springs used: Crossbow spring + longshot spring
Don't forget to add strength bolts behind the rest plate to prevent breaking, put this beast back together and give it an insane Soothsayer paint job. Oh wait, you can't. Just paint it as best as you can haha
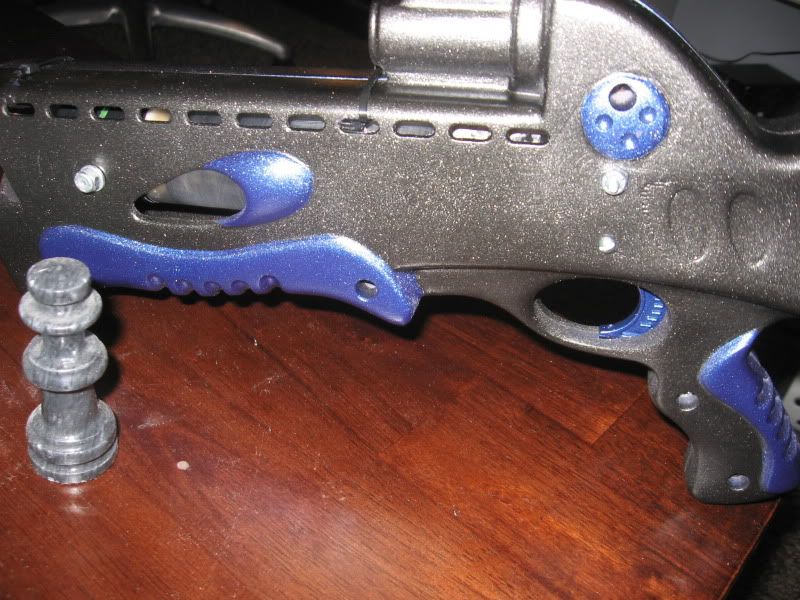
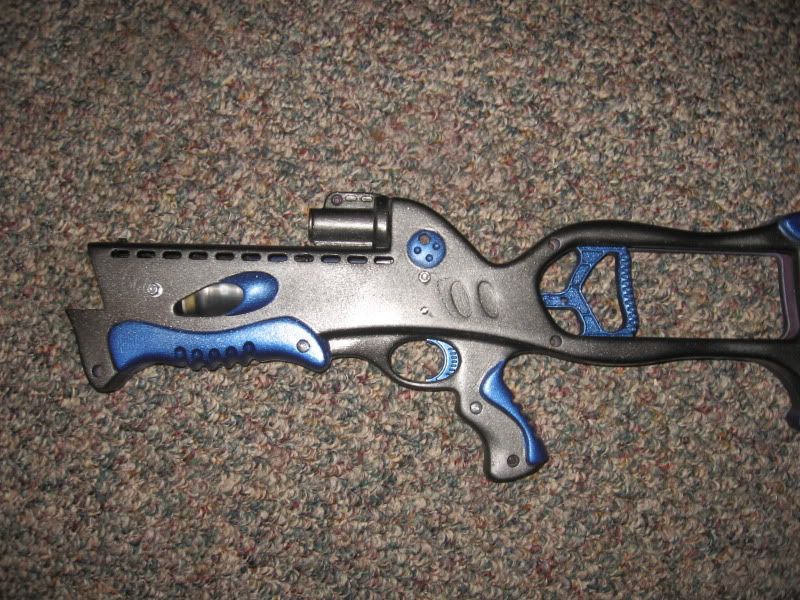
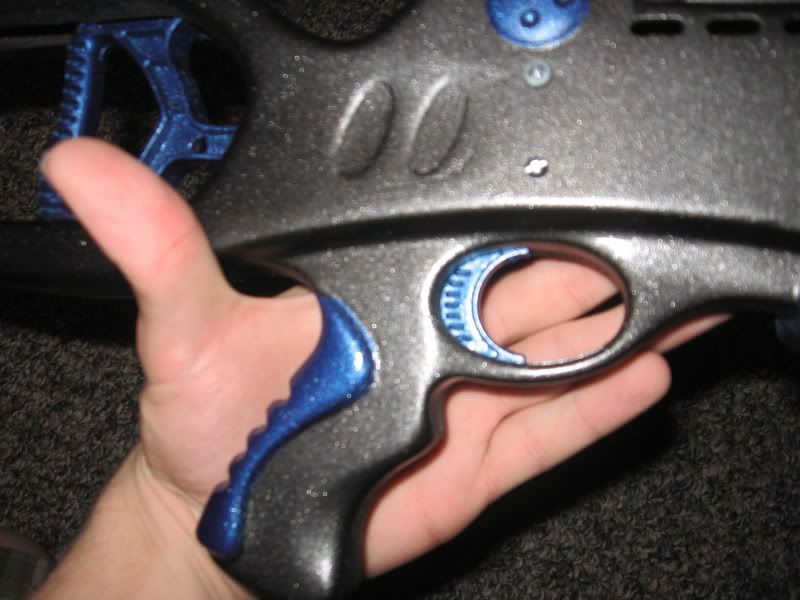
more photos #1
more photos #2
The barrel on this thing is pretty much perfectly horizontal and straight thanks to the method in which the internals are installed.
Ranges: 110-115ft
1 bungee: 120-124ft
2 bungee: 130ft-ish
Ranges have been edited. I have since then gotten a better seal with the rubber washer using better lubricant.
All ranges done with a 12 inch PETG barrel. I'm suspecting that a 9 inch CPVC barrel may improve my ranges, but I'll get back to you all on that soon..
I'd like to mention, this is stage 1. I have ordered the stock barrel and crossbow arms and they are on their way, once they are here, stage 2 will be installed. Trust me, once finished, this blaster will send chills down your spine.
I'd ALSO like mention, once this gun is complete, much more detailing like some of my previous guns will be added. Name painted on side, small detailing, maybe some epoxy putty cosmetic work. It will look orgasmic
Edited by Soothsayer, 24 July 2009 - 08:00 PM.


