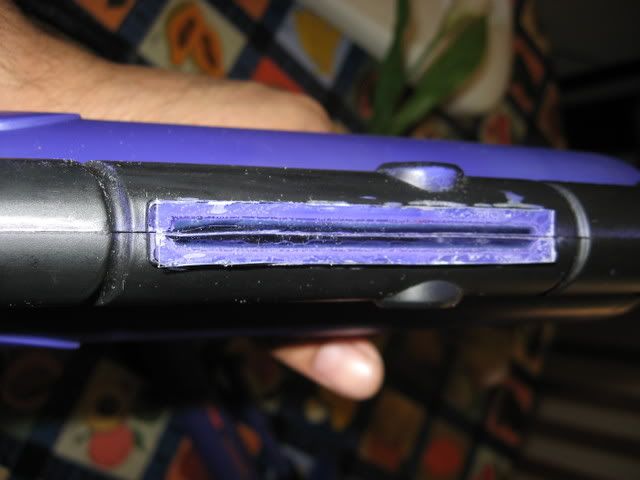
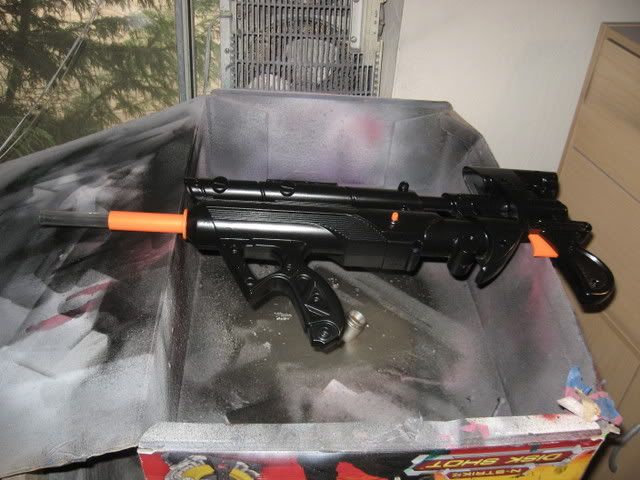
Then we will move onto the barrel itself. I felt that the barrel should merit its own detailing since after all it can be applied to any coupled blaster.
Then finally a little on the paint and cosmetics.
So first off. We take your standard BBB.

Internally the BBB is a great blaster, large plunger tube good seal and plunger head and of course that strong spring. Now adding springs to the BBB can prove to be a pain in the ass and a let down on performance since its hard to shove a lot of interlacing metal in there. the nightfinder springs can kind of work but ehh..
So to get more oomph behind the plunger I replaced it with and industrial spring similar to the one used in the plus bow. I had to take large pliers and flare out the end that was to go against the rear of the plunger tube or it would slip thru the opening. This was very hard task to do by hand.

Of course this extra power behind the plunger head is going to require some reinforcement at the plunger head itself.
So a steel washer under the plastic one. And a little something at the head of the plunger to keep it on when vacuum loading darts. I apoligise for not having the sizes of these washers. I don't generally look at the size I just look at if it will fit and buy based on that. All of these can be found at your local ace or lowes. Ace is better if you just want one or two.

The front of the plunger head I shaved down and added some reinforcement

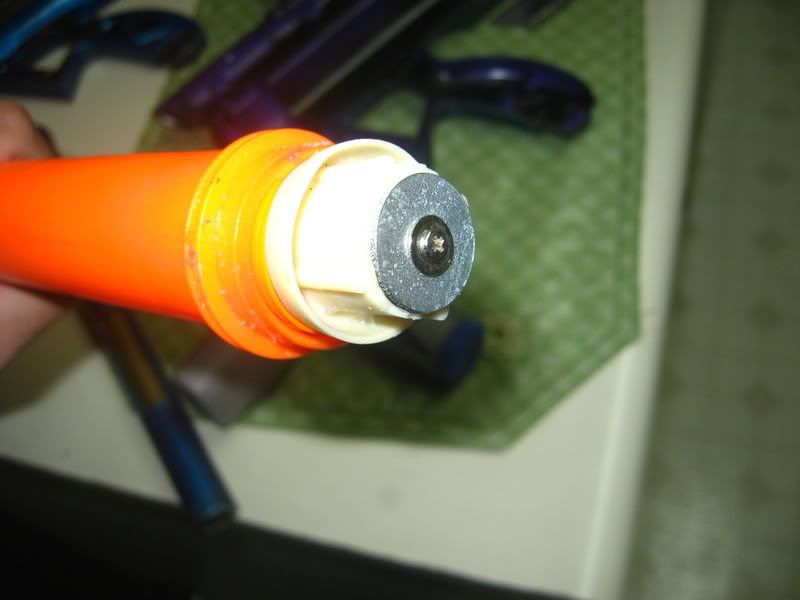
With all this extra beef hitting the front of the plunger tube that was obviously also going to require some beefing up. So lets move on to the PH.
Here I like to remove as much deadspace as possible. I also like to redirect the airflow directly to the rear of the barrel. So
to do so you must drill out the white plunger stop dead center and fill the exterior with something strong and airtight. Goop or hot glue works fine here.
The original barrel itself is of course chopped down. And fitted with a coupler.that has been bored out to allow the original barrel to center it.
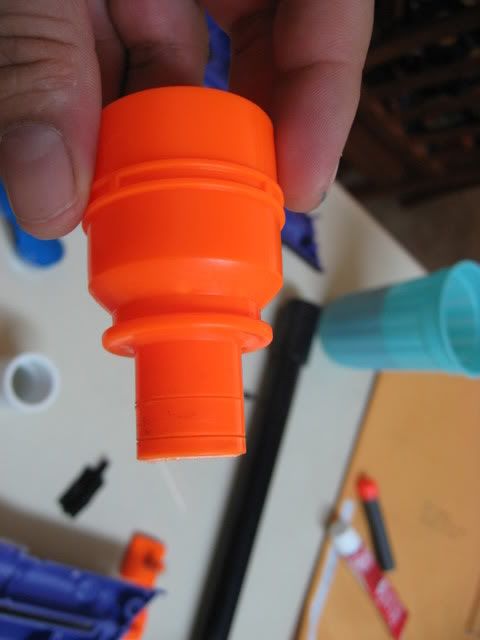
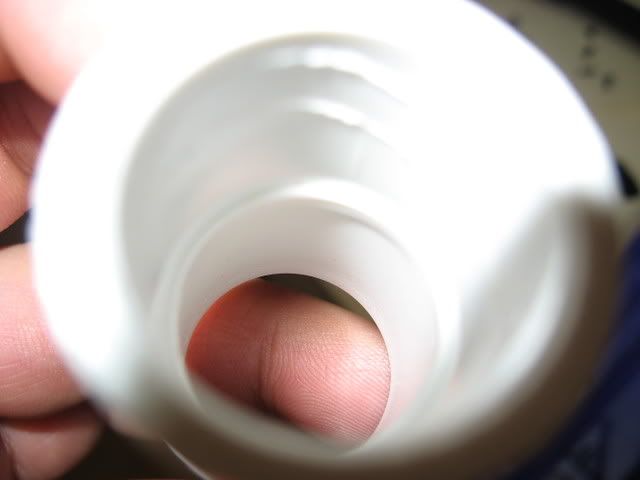
Now for the dead space I have opted to use a small petg barrel about 2" long with a steel wire thru it attached to the hole drilled in the plunger stop. This extends thru the original barrel and to the center of the coupler.
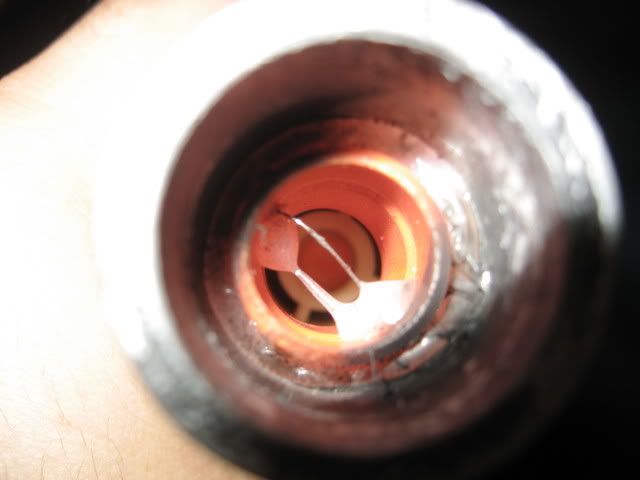 *
*(*I didn't get a good picture of it on this blaster so I am using an example from the solarflare BBB I made a while back.)
Now since there was going to be metal slamming into the front of the plunger tube I felt a little padding on the receiving end could be a good idea. So I took some handy thick craft foam that can be found at Joann's Fabric cut out a circle in the right size and super glued it in place.

Now to seal it all up and make sure that air continues to flow in the direction I want it I sealed the front of the plunger tube to the rear with a ring of Elmers rubber cement and then wrapped it all in some super 2" wide electrical tape.


That is our power delivery system.
Edited by Blacksunshine, 12 February 2009 - 07:02 AM.


