
Let's make up a list of materials and tools needed for this modification, shall we?
Materials:
-Nitefinder
-Barrel material of choice (I used CPVC)
-Hot glue (I would recommend using a stronger glue like epoxy or plumbers goop)
-Super glue
-Scrap plastic or plastic sheeting of some kind
-Craft foam
-Other materials needed for a standard Nitefinder modification
Tools:
-Dremel
-Hot glue gun
-Screwdriver
-Power drill with bits
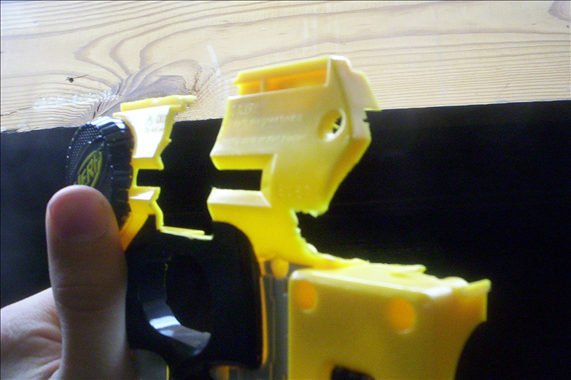
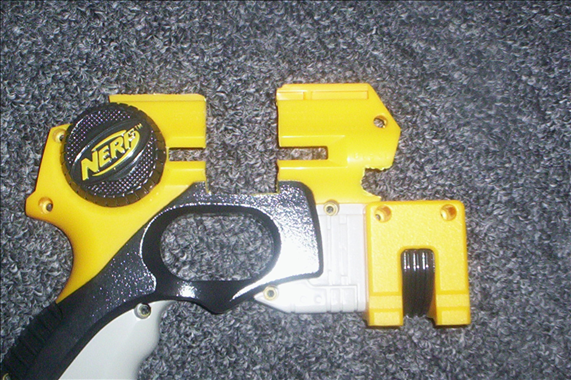
Alright, now that we have gotten all materials and tools needed, we can begin the modification. Start by taking apart the Nitefinder. This is standard procedure, not very hard.
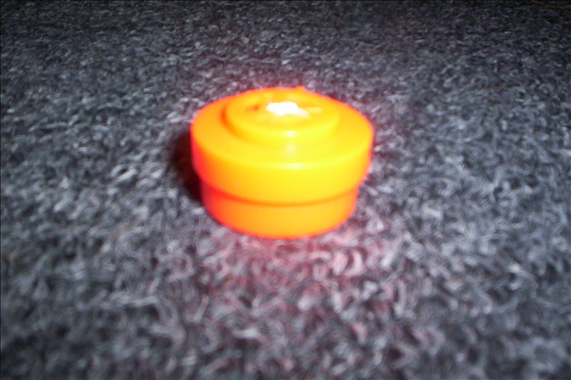
Next, take the AR out and drill only the inner cylinder out on this part:
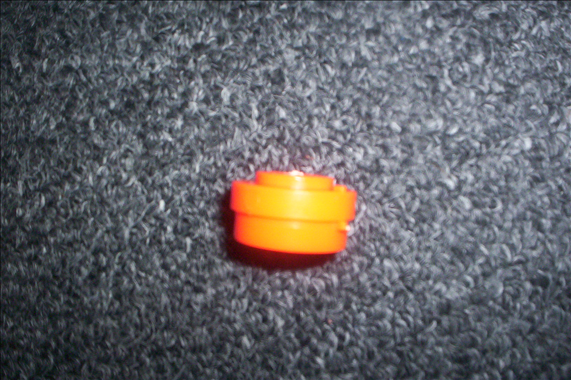
In the picture above, do you see that gap in between the supports for the inner cylinder and the top of the outer cylinder? It's length should be about 1/16''. Grab a piece of scrap plastic that is about 1/16'' thick and cut a circle out of it. This circle should have a diameter of about 7/8'' and fit snugly into the AR piece like so:
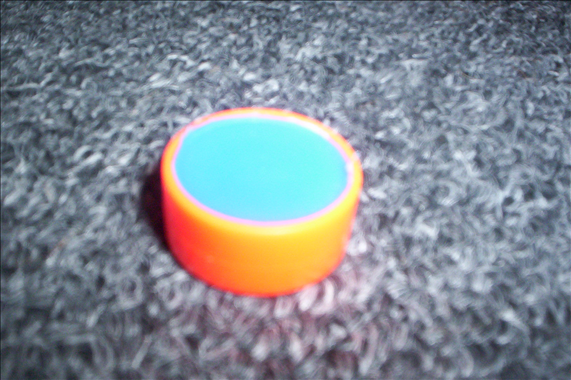
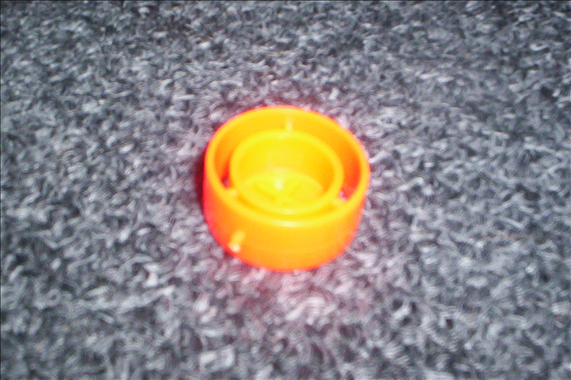
I used a water bottle cap for this writeup just to show what it looks like. The plastic I used in the Trifinder is scrap Nerf plastic. I'm sure the water bottle cap would work fine.
Next we need to super glue the scrap plastic into the AR piece. Do this, and then super glue the end cap of the barrel onto the end of the AR piece. It should now be one solid piece.
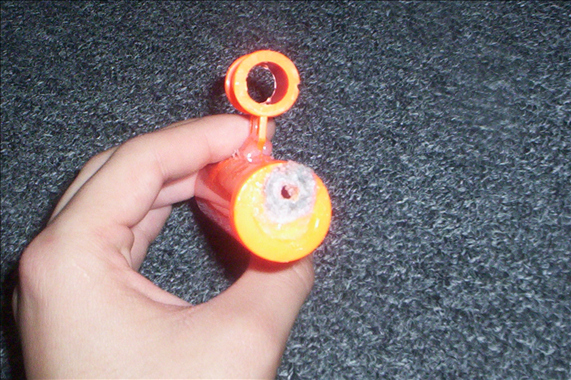
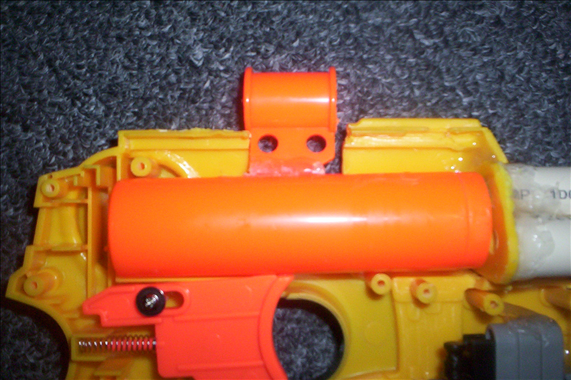
The end cap needs to be nice and flat. There is a bit coming out the top of it as seen in this picture:
Go ahead and flatten that out. You should be left with a "hole" in the end of the tube. I filled the hole with hot glue, but I'm sure epoxy or sheet plastic would work to fill it.
Now drill a hole in the end of it. The hole is 3/16'' in diameter and 3/16'' away from the edge of the end cap. This means that the center of the circle is about 9/32'' away from the edge of the end cap. Take a look (Notice that I have worn FBR surrounding it to seal it. I really should be using craft foam, but the FBR works good enough for now. Go ahead and do this as well.):
(another picture if you need it: http://i271.photobuc...8246Resized.png )
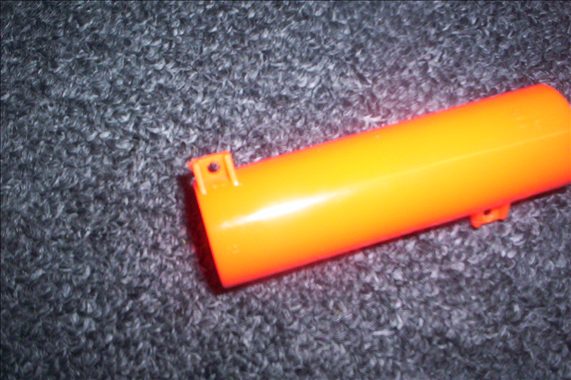
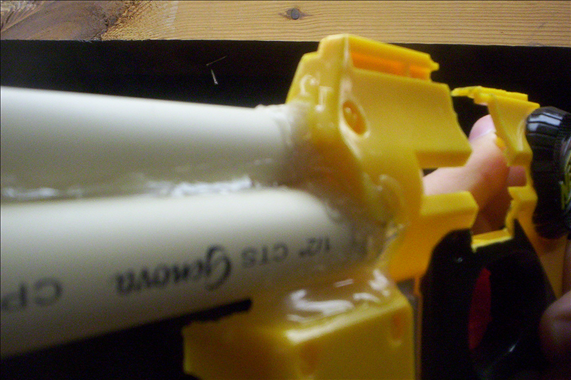
Next we need to super glue the end piece onto the plunger tube like in the above picture. Do this, and then cut/dremel off the tabs off of the tube like so:

Now that that's done, we'll move to the barrels. Cut 3 4'' pieces of your barrel material of choice. I used CPVC. Glue them together in a triangular fashion, and make sure one end is completely flat when set on a flat surface.
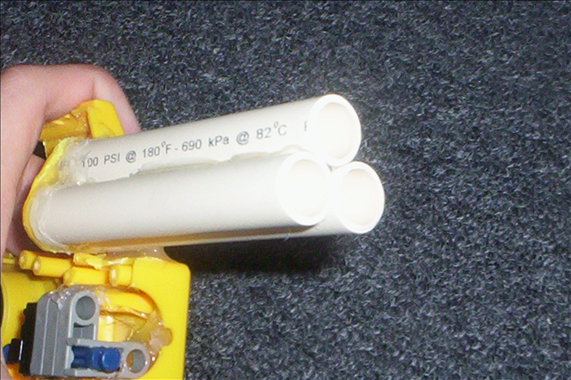
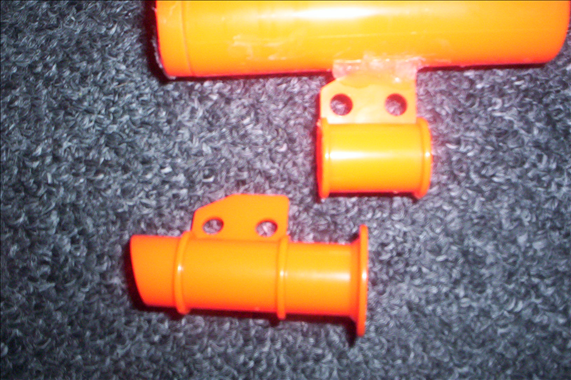
Now we need something to put the barrels on, so we'll get som more scrap/sheet plastic and cut out the "triangular piece".
Get a sheet of paper and your barrels. Trace around the flat end of the barrels and complete the shape. Cut it out.
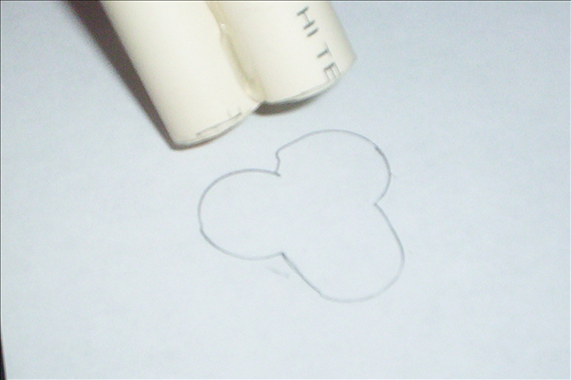

Go ahead and tape/glue/whatever the piece of paper onto your scrap plastic. Cut out the shape.
IMPORTANT: The shape is to be roughly 1/16'' LARGER than the template. It's one of those measure twice, cut once things.
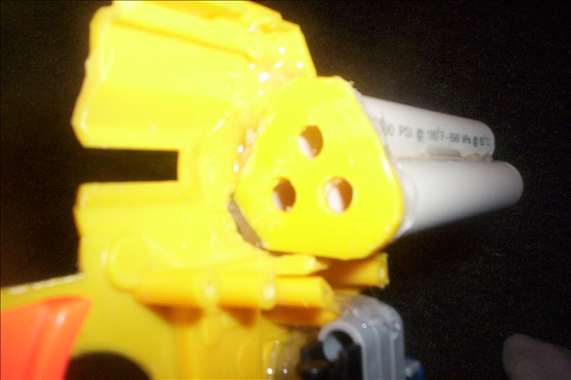
Alright, here's where it gets tricky. The three holes that are needed to be cut out of the piece need to be in specific locations to produce optimum airflow when the end of the plunger tube and this piece come together. It may be a bit hard for me to explain this.
This is what the piece is supposed to look like when completed:
I've made a quick paint picture to explain what's going on:
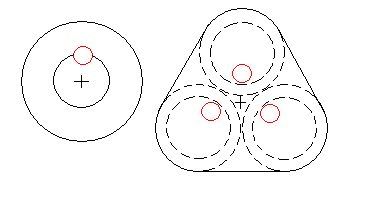
Basically, the plus signs are the centers of the pieces. The circle is the plunger tube with a hole in it, the triangle is the triangle piece. You can see how the barrels are placed on top of the triangle piece, and how the red holes are inside the barrels. The red holes must be in this position, yet be in the same spot as the hole on the plunger tube no matter what position it is in when rotated. The plus sign on the plunger tube is the axis it rotates on.
Through trial and error with measurements you need to find the perfect places for these holes, and drill them. Once again, I used a 3/16'' bit.
The next thing to do is cut the shell. We first need to cut it to accommodate the new barrels, so cut off the front piece and the part where the barrels will come out to fit them in the gun. Make small cuts at a time to ensure that it fits tightly and correctly.
(Picture limit)
Now we will continue to cut the shell, Decide where you want the barrel selector to be at and then cut a larghe slot in the side of the shell where you decide you want to put it. My slot is about an inch long. You can choose to leave the dart holders or get rid of them. I trashed them.
Do this to both halves.
Next we'll make the actual barrel selector. You can use anything you want for this, but I used a part of the old barrel for it. I super glued it into place, then put hot glue over it:
It should fit nicely.
All that's left to do is glue it together. Use above pictures to see where the barrels are to be glued onto the gun. I would recommend not using hot glue as I did, but instead using epoxy or a stronger alternative.
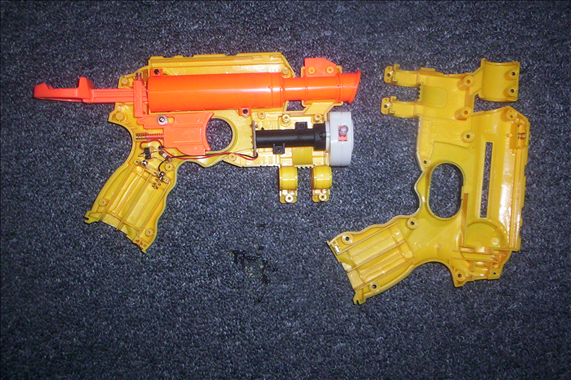
The internals should look like this when completed:
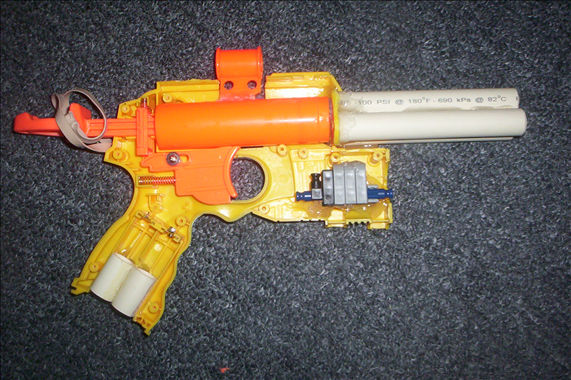
Now you can finish the gun by doing any other standard modifications to it (another o-ring, e-tape on plunger head, add a spring, etc.).
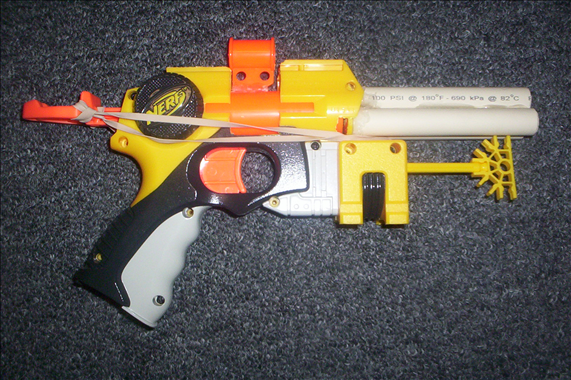
If you're planning on banding it, be sure to band it like I have in the first picture, so that the bands are not in the way of the barrel selector. Do not add to many bands, we do not want our plunger to bend downward.
Time for ranges and all that bullshit. I don't think I need to do extensive tests and whatnot to tell you that the ranges are in the mid 40's. I've only banded it as far as power goes, so there is definitely room for improvement. Here's a video.
Finally, I'd like to apologize if any of the write up is unclear. I was working with a stock Nitefinder and the already modded Trifinder here. Hopefully that was enough.
Lastly, Enjoy!


