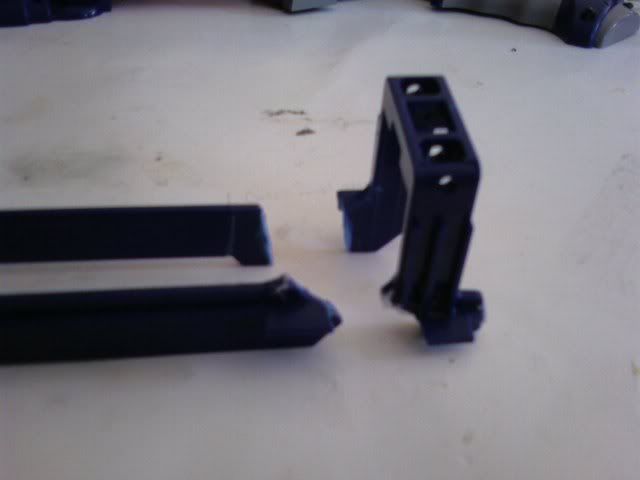
I recently recieve a longshot with a broken bolt sled from a friend who had given up trying to fix it.
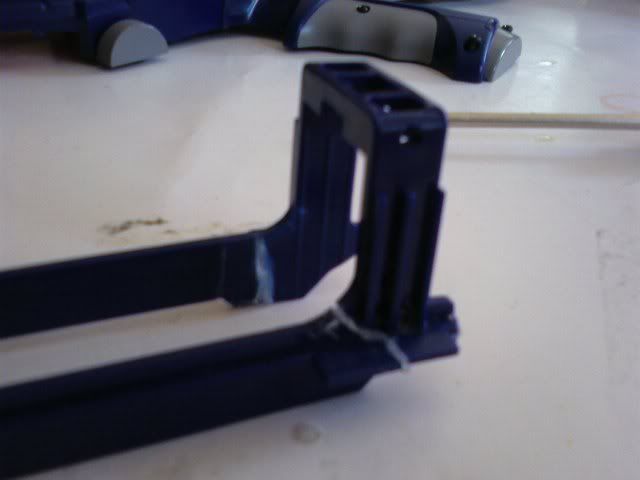
First thing first, hot glue it together to hold it in place while you work. This is NOT structural.
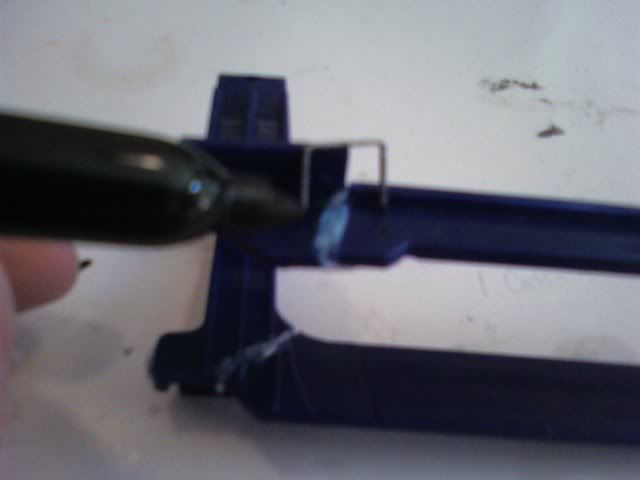
Take several 3/8" industrial staples and mark where the points will go in the plastic. It's important that you make the holes a little wider than the width of the staple for the tightest fit possible. You will want a staple at every point that will be under stress when used. I used four in this bolt sled at the corners of the bend.
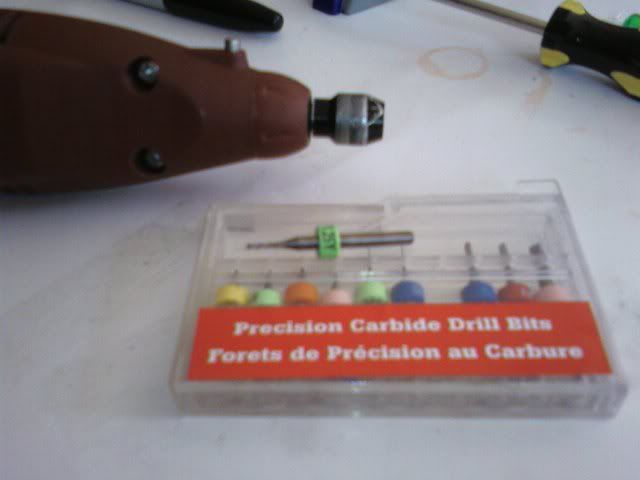
For this part, you will need a dremmel and very tiny drill bits. I was using a set that came in the accessory pack labeled "Precision Carbide Drill Bits" and the specific piece was labled 1.25 Y. Once you've got that, drill out all the holes you've marked.
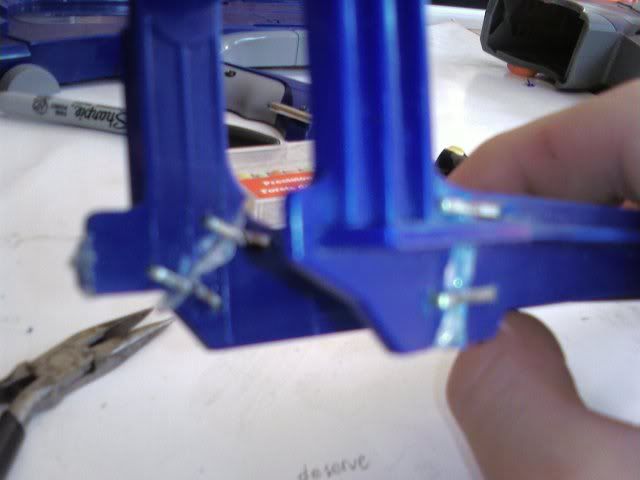
Insert the staples into the holes. If they are too loose, use pliers to shorten their width until it is a tight fit. When everything is set, bend down the points with pliers.
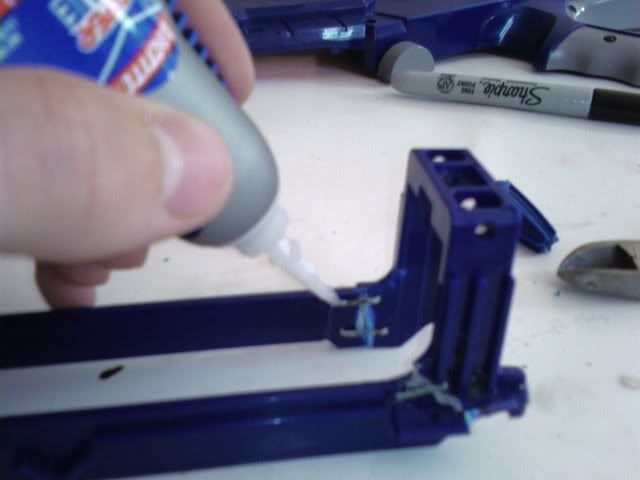
With your staples in place, select your adhesive of choice (I used super glue) and glue them down. Be sure to get inside the holes and underneath the bends in the staple. I stopped here and put the ls back together only to find that it wouldn't catch.
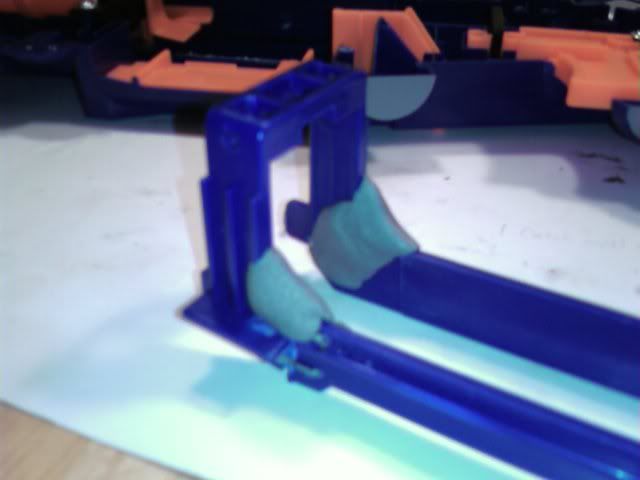
The bold sled was still bending. I tried adding epoxy putty on the inside of the bend. This requires sanding so the bolt sled will still fit around the chamber once the epoxy dries.
Unfortunately, I still haven't gotten the LS to catch yet, but the bolt sled has held up just fine.
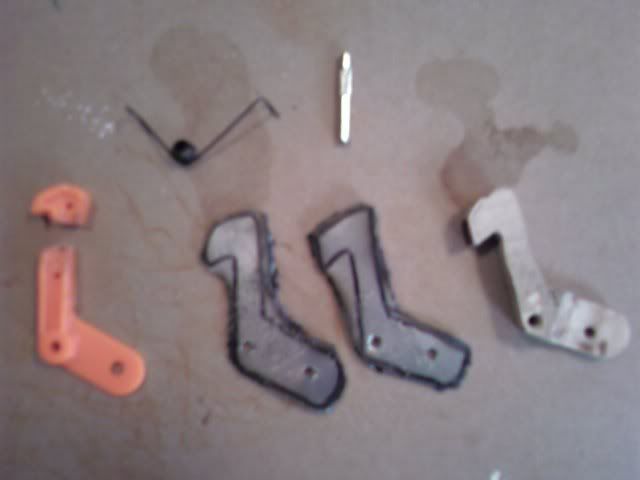
Here are some more examples of this method in action:
Alright, here's a broken catch of my Rapid Fire Rifle. I broke it more than a year ago when I put too powerful of a spring in it and I never had the motivation to fix it if it would only be mediocre. To the left are all my previous attempts of fixing it: I tried giving it a sheet metal coat and finally just carved a new one. Neither worked.
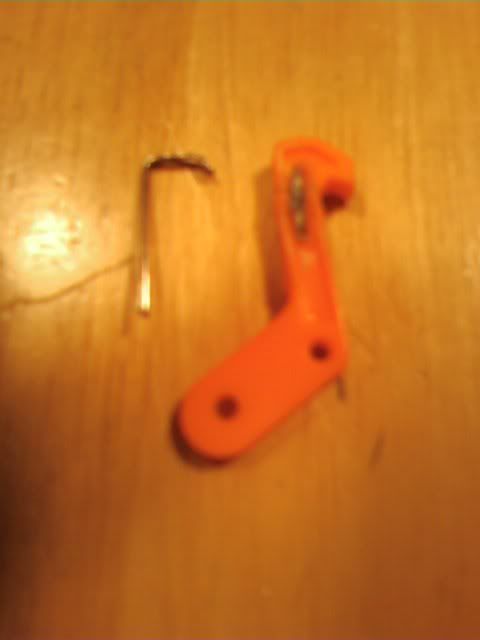
Using the method outlined above, I put the catch back together. But to add strength, I contoured a small piece of metal to the bends of the catch and glued it on the back.
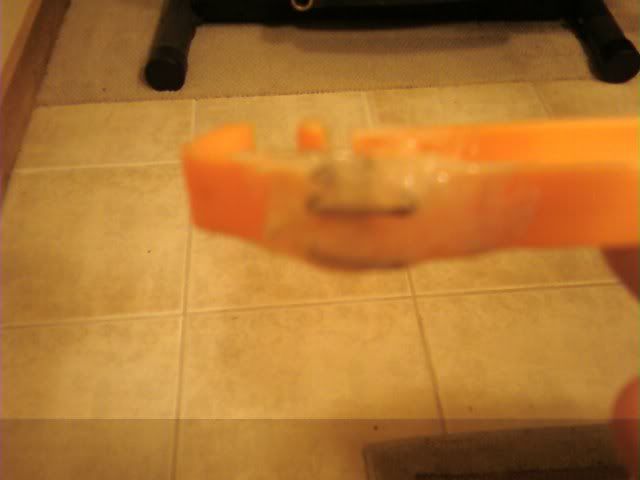
My final example is the plunger rod of my beloved Lnl. Once again, I used all the steps outlined above, but I actually innovated two more steps into the process. Both take place before any of the steps mentioned. Unfortunately, I don't have pictures to support them.
Before I stuck it back together, I cut apart a needle and drilled tiny holes in both sides of the break. I stuck the bits of needle in the holes and then closed the gap. This acts like rebar in reinforced concrete.
Finally, I did my own "Plastic weld", if you will. I heated up my soldering iron and melted the plastic back together.
I hope this help all of you with tiny broken parts. Questions? Flames? Sorry about the picture quality!
Edited by BlackFox, 14 August 2008 - 03:42 PM.


