Anyway,
I work with a bunch of people who like to Nerf and paintball. We do a fair share or both. I still get a lot of use out of the BS line of Nerf Guns. I mainly use the SCAR and the NTS. I lend the GNS out to whoever wants it. The FARihas been pretty much retired. It has taken a beating through the years. Still works, but has developed some cracks in places and I retired it to the wall. The SCAR is much more durable. I`ve actually dropped it on concrete a few times.
For a change of pace I decided to take a crack at building a paintball gun. If this is not fit for the homemade section because of the word "paintball" then feel free to kick it to Off topic or delete it altogether. I built this gun with the idea in mind of being able to breach load nerf darts for indoor nerf battle use, which works quite well by just taking the paintball magazine off.
SO, what we have is a magazine-fed bolt-action CO2-powered paintball rifle with the ability to single shot nerf darts. I`ll be honest, this is a paintball gun first, but I figured you guys would still be interested as a lot of it could be carried over to a primarily nerf rifle.
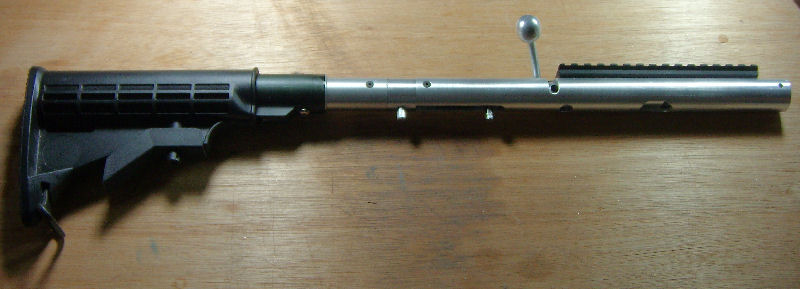
Excluding the obvious exceptions, the entire rifle is fabricated from aluminum stock. The barrel is 2024 T3 tubing with an inner diameter of 0.68 inches. Convenient for paintballs of 68 caliber. Is also a hell of a fit for mega stefans. The upper receiver, forend, stock tube, magazine, valve, and striker tube are all fabricated from 7075 T6 1" OD (0.125" wall thickness) pipe and 1" round stock. The lower receiver and FCG are cut from 1/4" 7075 T6 plate. I turned all of the round bar parts on a small lathe (Sherline 9" bed). Most of the turned pieces are 1" round bar of no more than 3 inches long. The largest piece I turned was the outside of the barrel for insertion into the receiver. Heavy use of the bandsaw, drill press, and dremel did the rest. The lathe will convert to a vertical mill and I made some use of this, but mounting parts on the cross slide is difficult and not accurate. I need a multi axis cross slide for milling. The rifle is assembled with countersunk socket head screws. They look awesome flush with the surface.
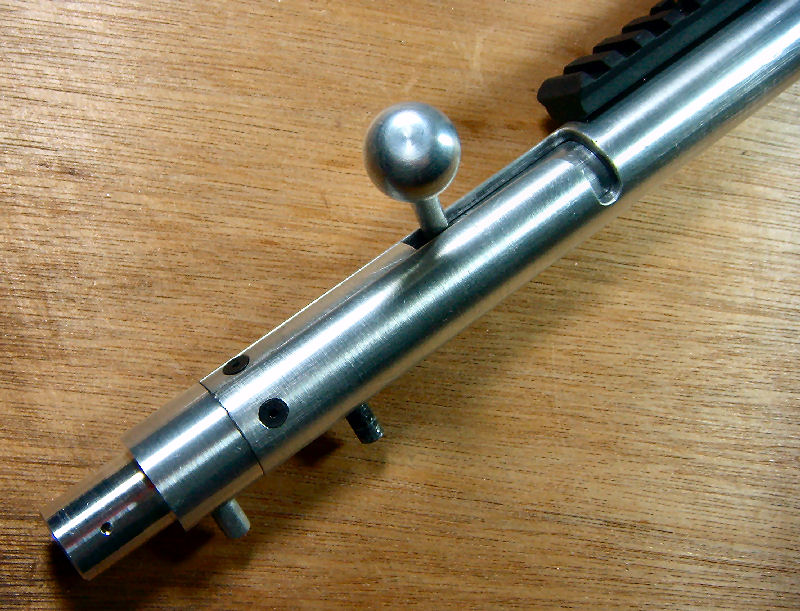
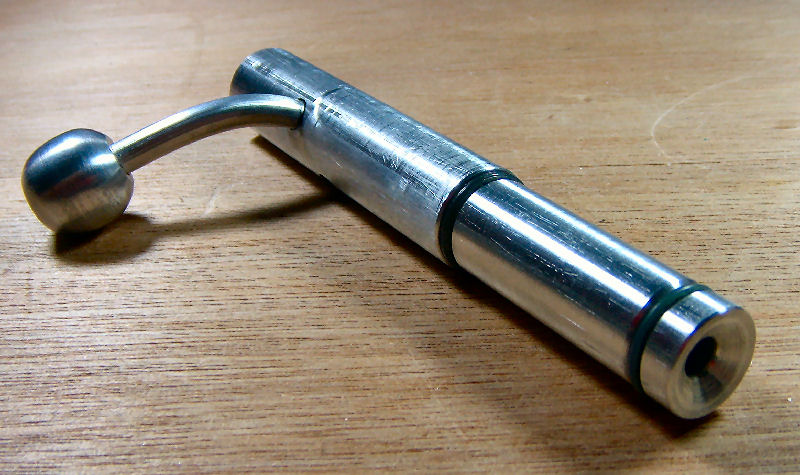
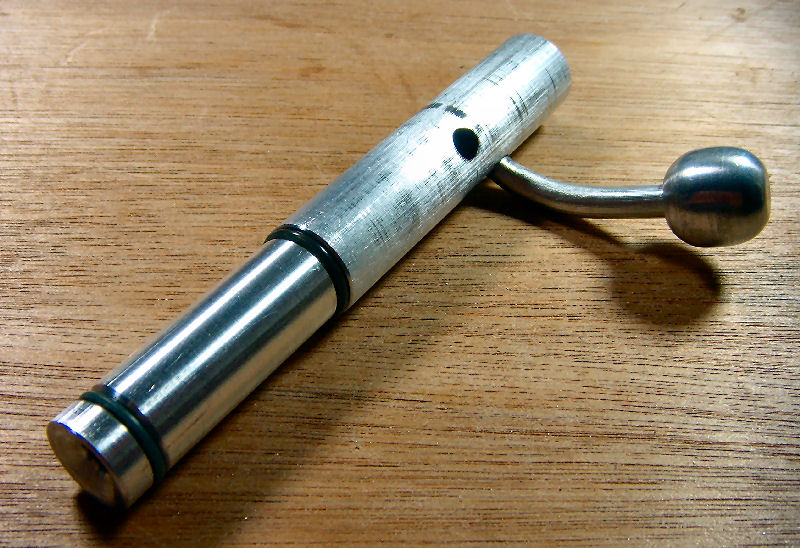
The rifle works much like any other paintball or CO2 gun. A striker is propelled via spring and impacts a valve stem that very briefly opens and releases some propellant gas. One of the images below shows the component break down of the rifle. The valve is positioned in the center of the rifle with the striker behind it. The trigger releases the striker and the bolt pulls it back when you retract the bolt to chamber a new round. It all works pretty fluidly. The magazine is a fixed tube magazine that will hold 10 paintballs. It is positioned ahead of the valve and under the barrel. Very shotgun-esque. When the bolt is retracted a ramp guides the next ball up through a hole in the receiver and into the chamber. Closing the bolt pushes the ball forward and seals the port. The magazine is loaded by retracting the follower all the way and inserting balls through a port in the right hand side.
The rifle works better than I had ever thought. The cycling works great. Have yet to chop a ball. Ranges are around 100 yards. Accurate out to 40-50 yards. I had some initial trouble with leakage around the valve seals, but a little RTV fixed that problem quickly. The little 2.5 ounce tank will last for 50-60 rounds or so with large time intervals between shots.
The next course of action is to touch up the blemishes and hard coat it flat black
Pictures ensue:

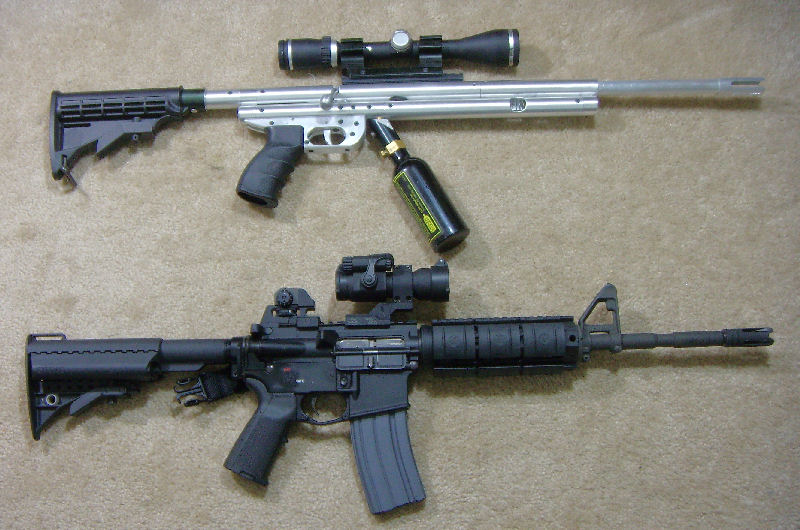
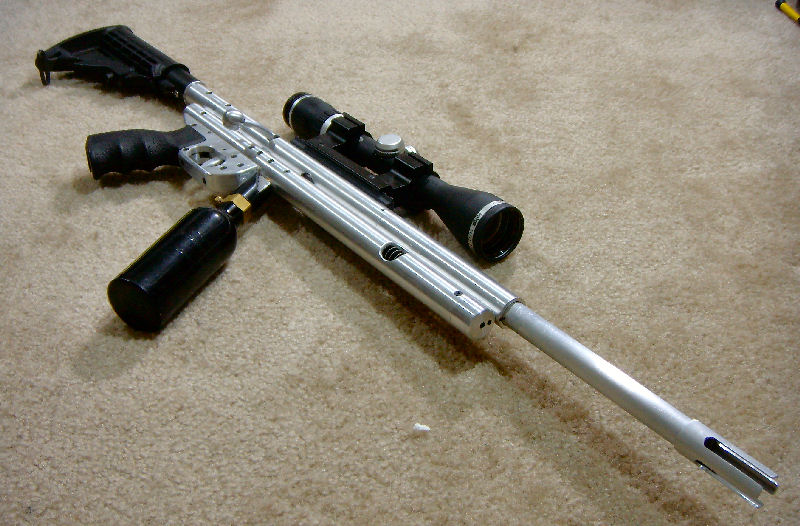
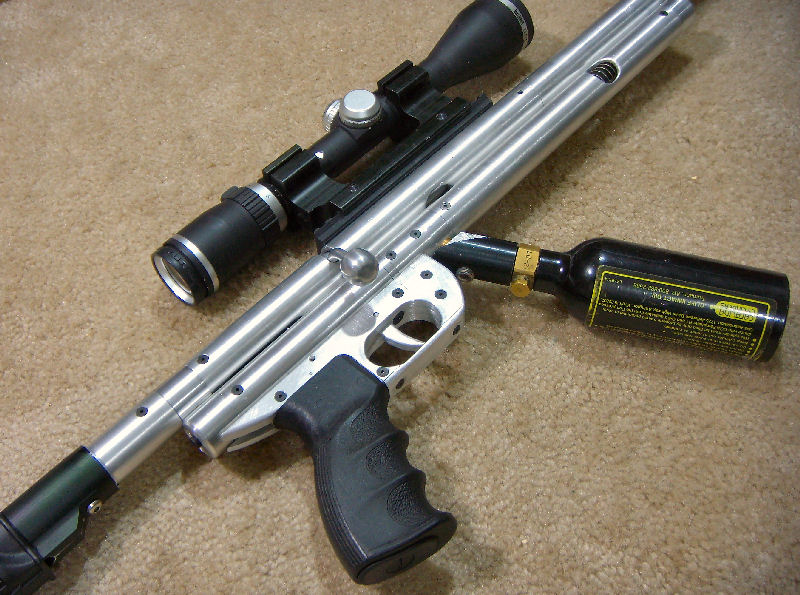
Major Components

All 51 pieces plus screws

Fire Control Group. The sear is a modified T68 sear. The rest is hand made.
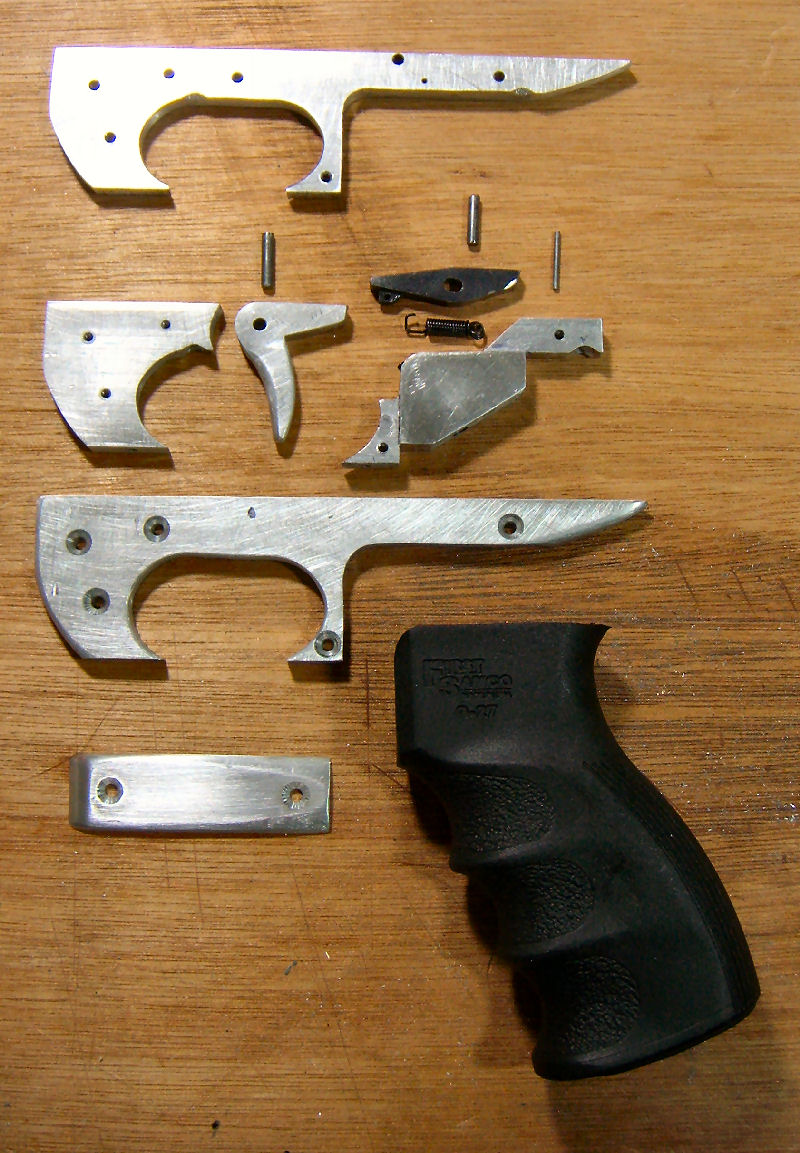

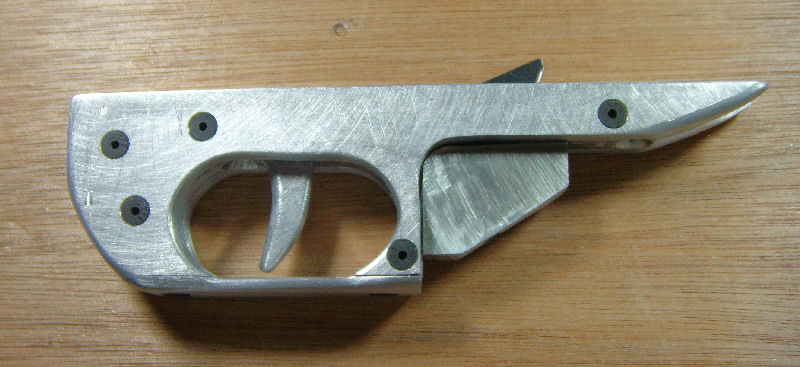

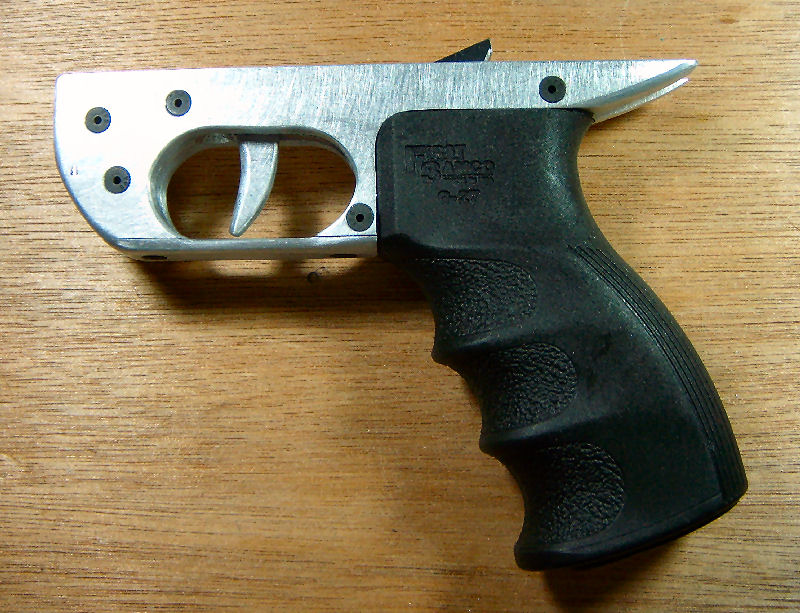
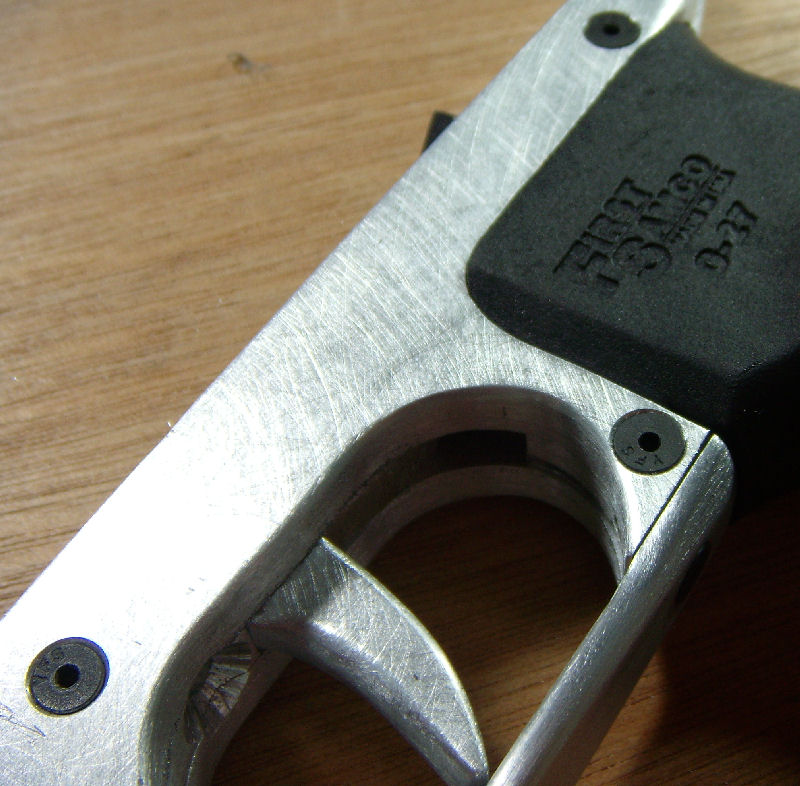
CO2 Valve. The valve body was the most complex piece to fabricate. The tolerances has to be incredibly tight on the valve seat in order to insure a good seal. Plus the gas port had to make a 90 degree turn to re route the gas into the upper receiver.
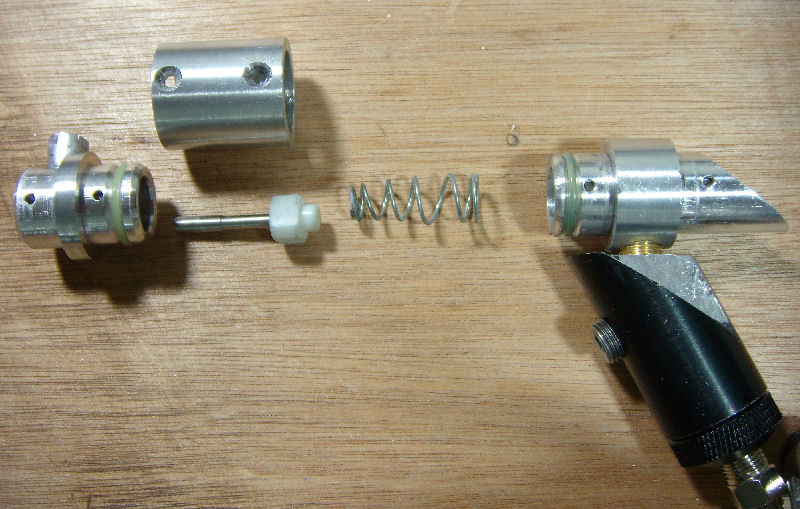
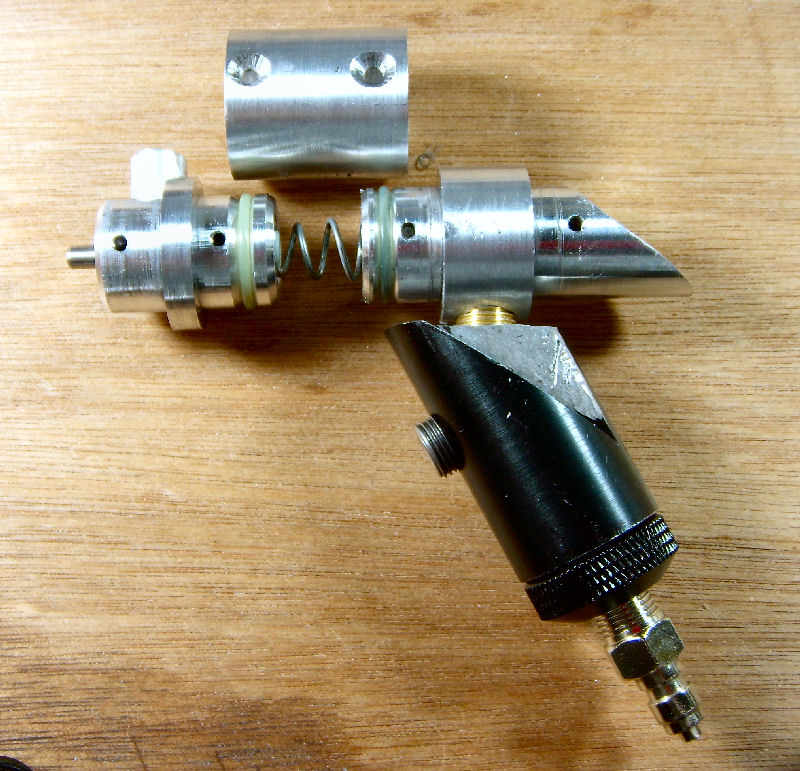

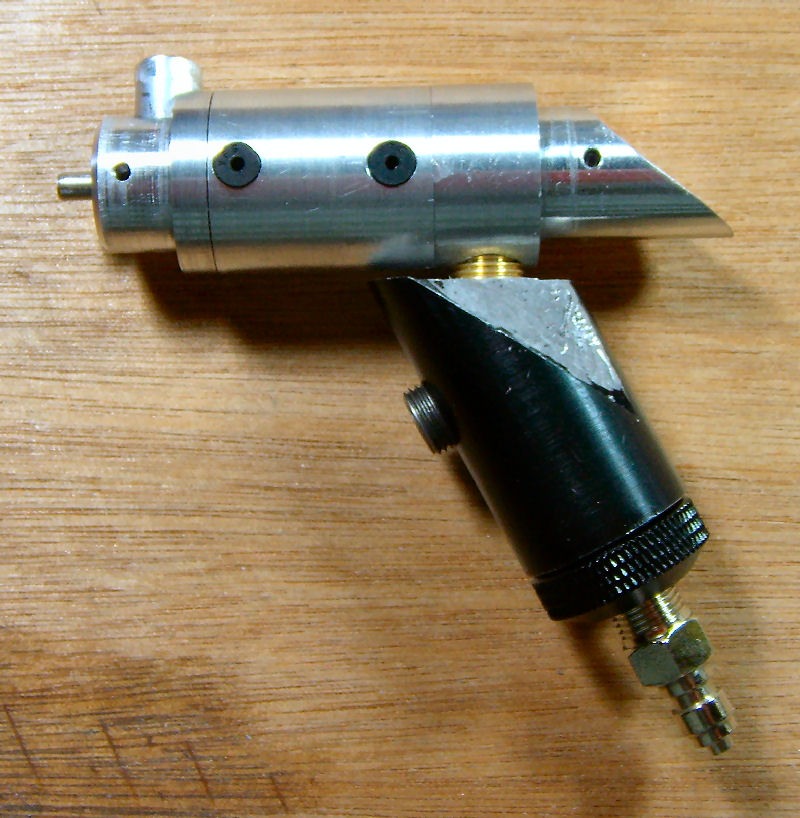
Striker. I copped out and used a pre-made striker from a T68. Mainly because I didn`t have the steel stock to cut one. The striker tube was too large for the striker. It fit too loosely in the tube. I inset a piece of tubing in the striker tube to bring the ID down so the striker had better guidance. The striker tube itself required a lot of cuts and opening to allow the follower pin and sear to engage the striker from top and bottom. Pressure release holes are drilled in the forward end of the striker tube to release pressure ahead of the stiker when it is released.
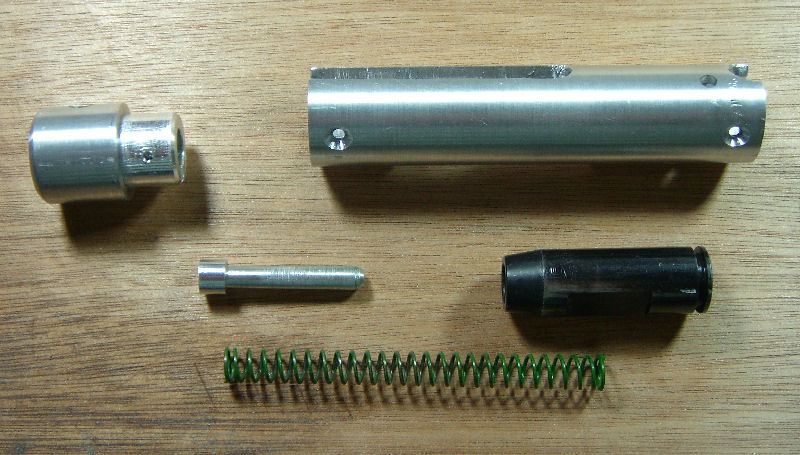
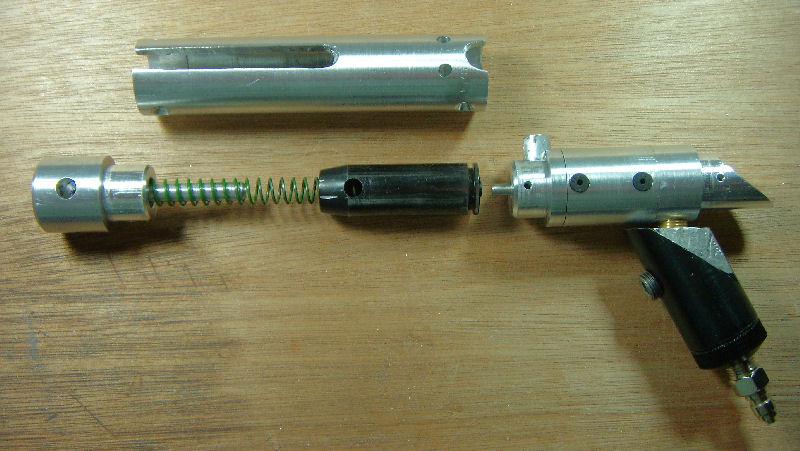
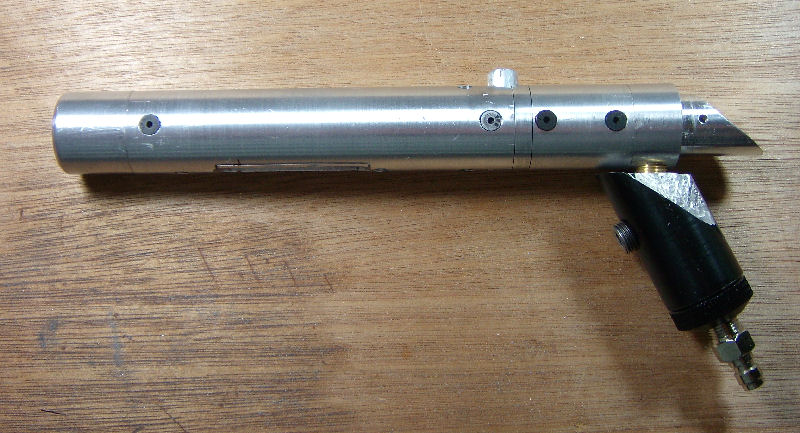
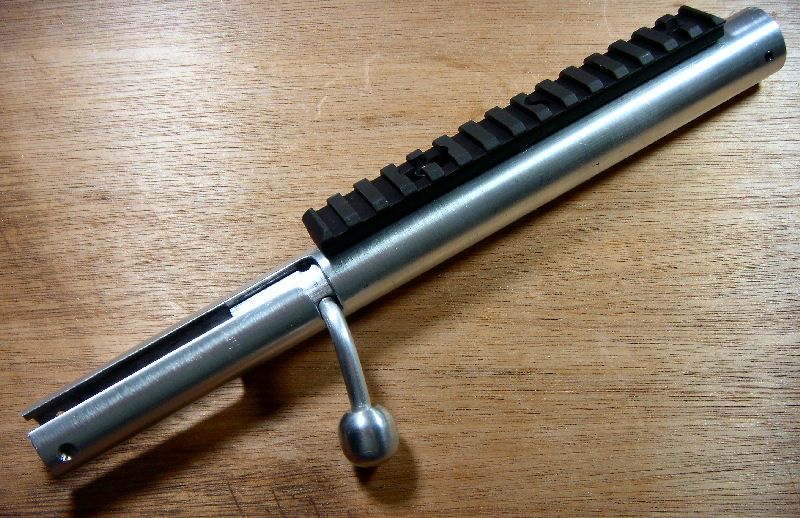
Upper Receiver. The upper receiver contatins the bolt and the barrel. It is also what the stock attaches to. the bolt was the first component I fabricatied back in April sometime.
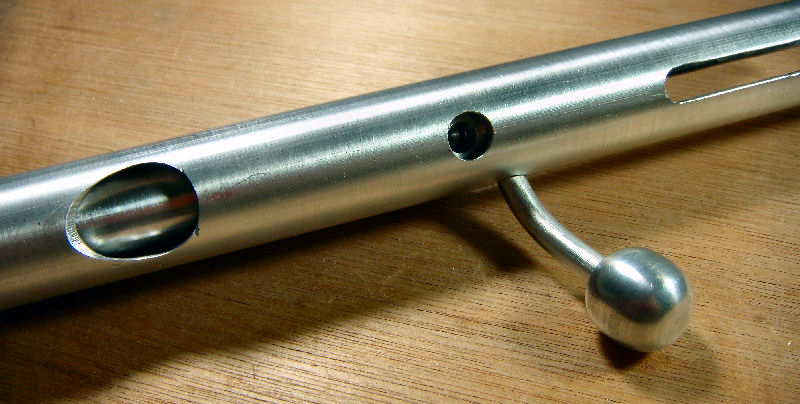
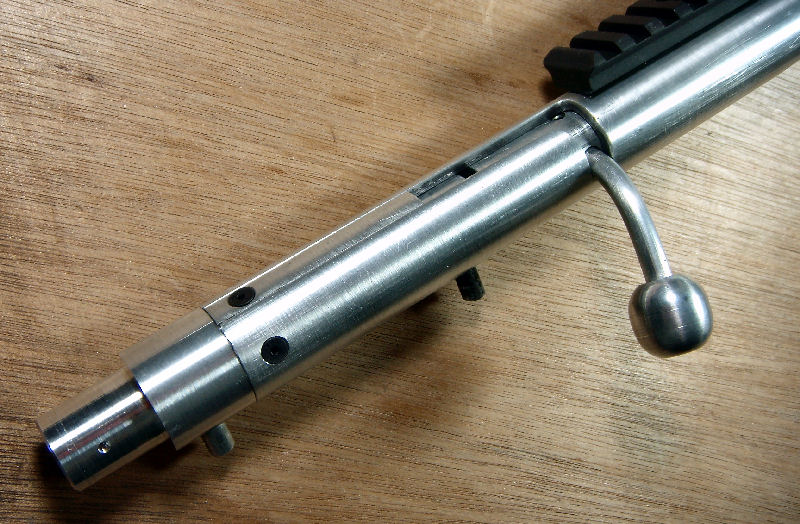
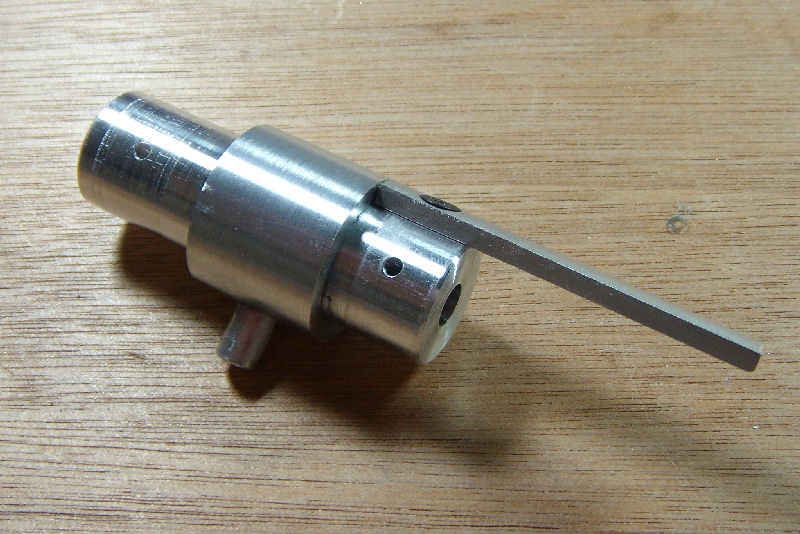
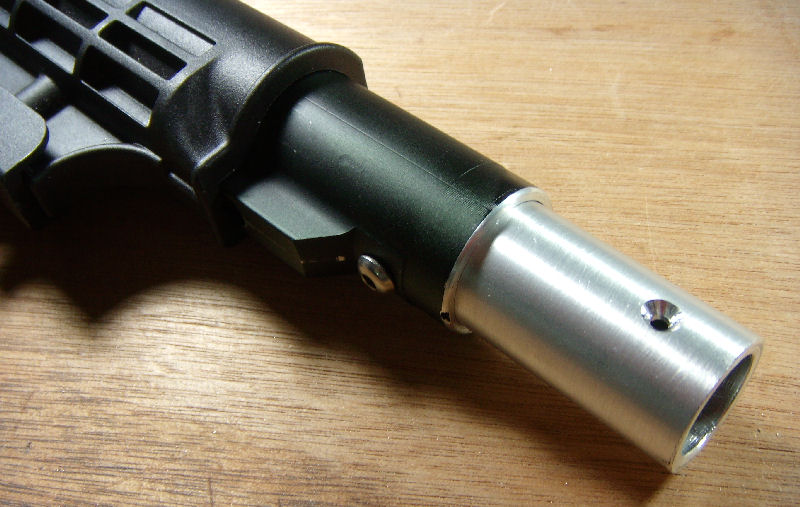
Barrel. The flash hider was cut free hand. Would have been a great project for the mill but I need a better cross slide to be able to do the operation.


Magazine

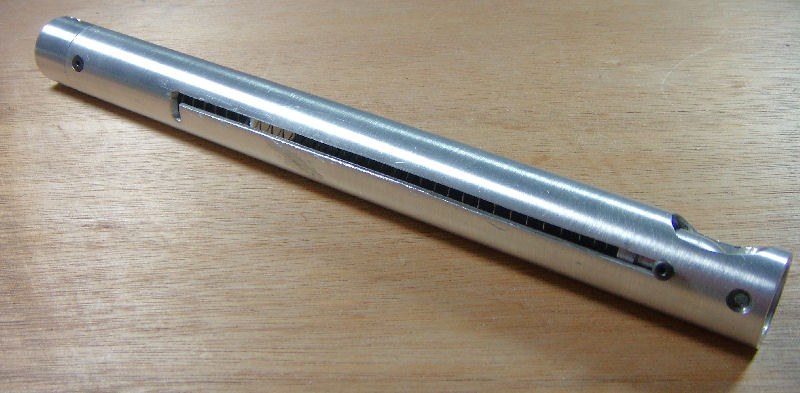
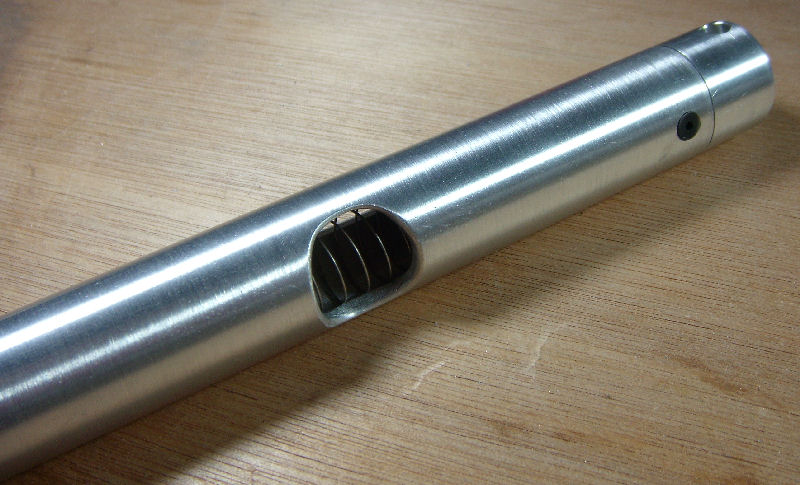
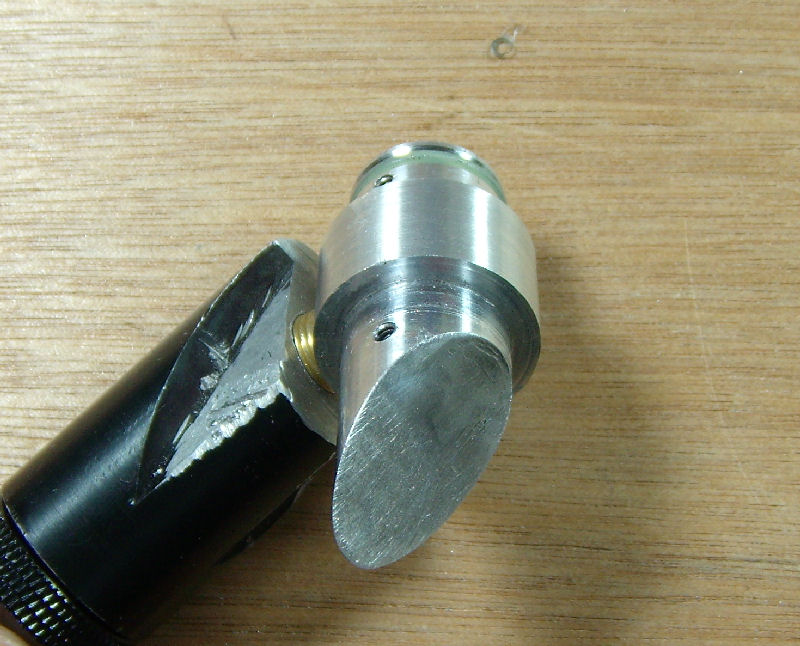
Coming Together
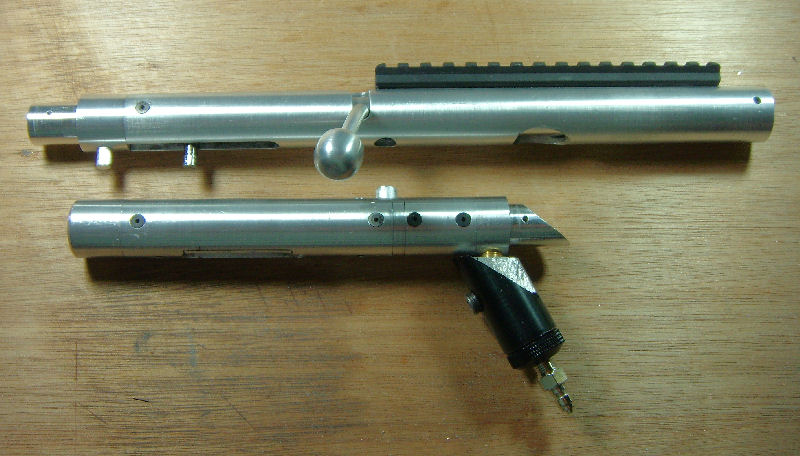

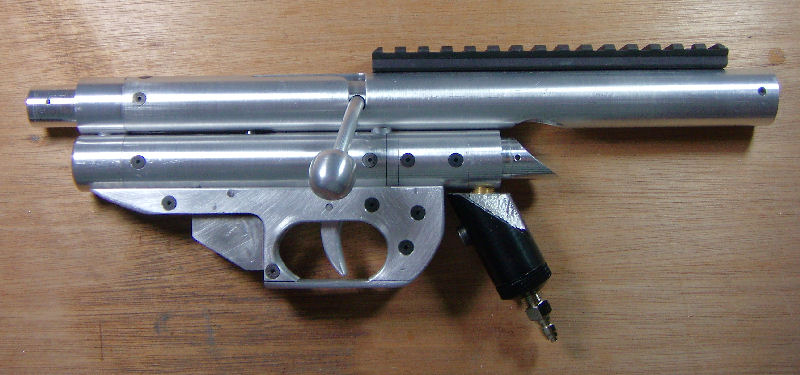
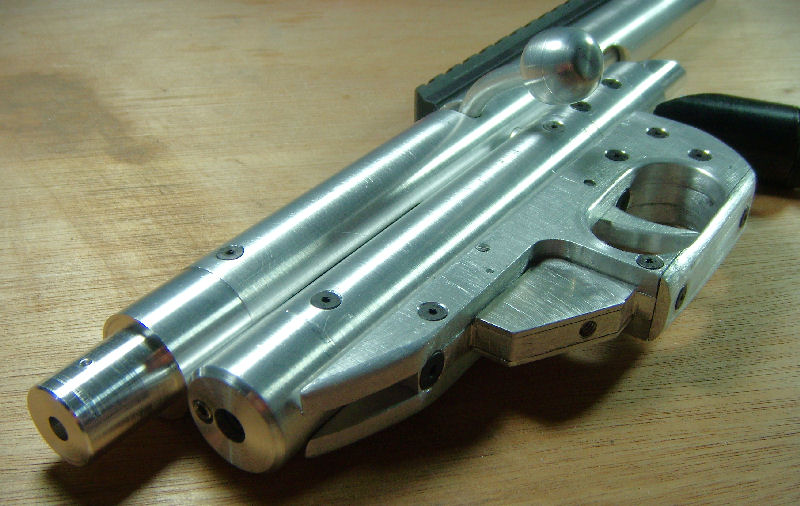
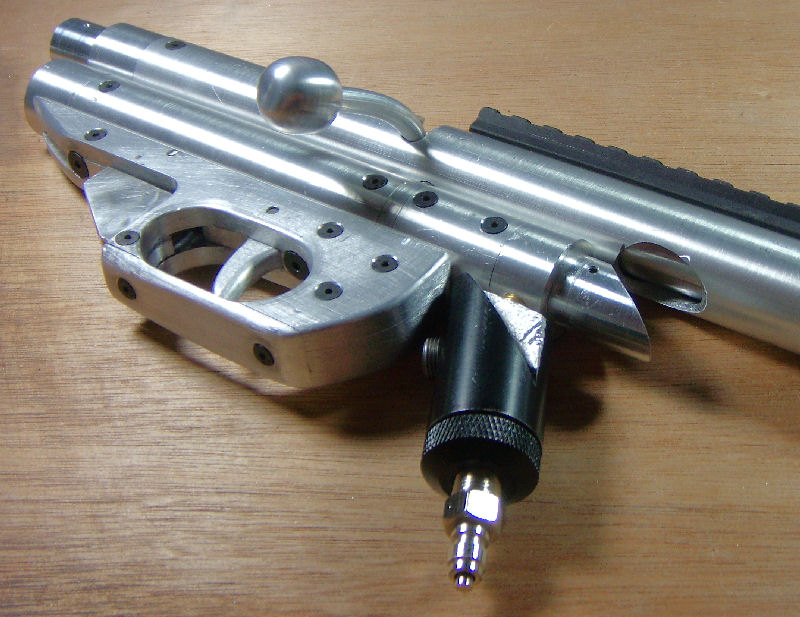
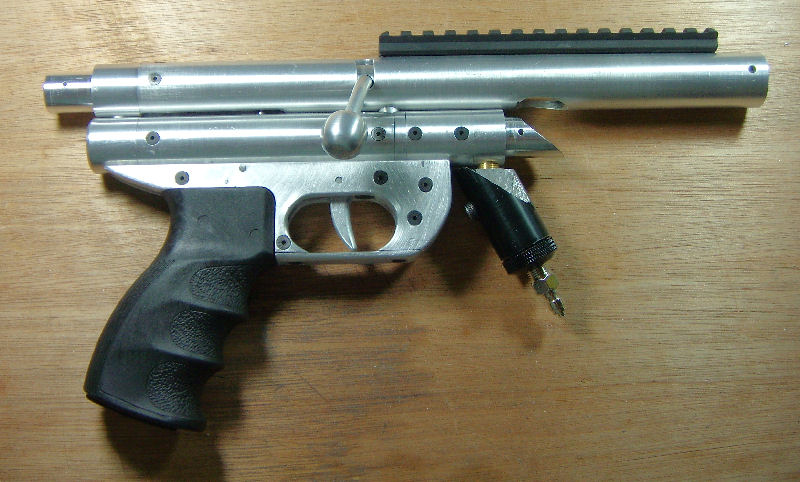
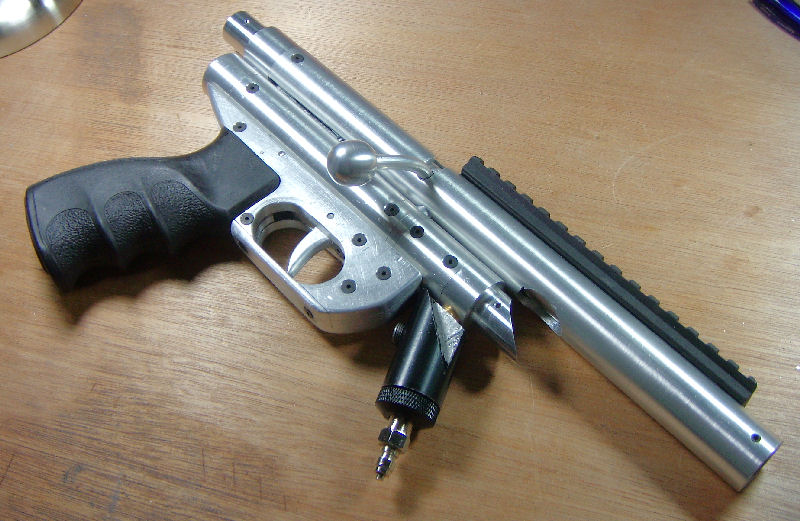

I`ve got many more pictures and I can always take more. I`ll try to get some video of it cycling and firing.
I`ve also got this baby...
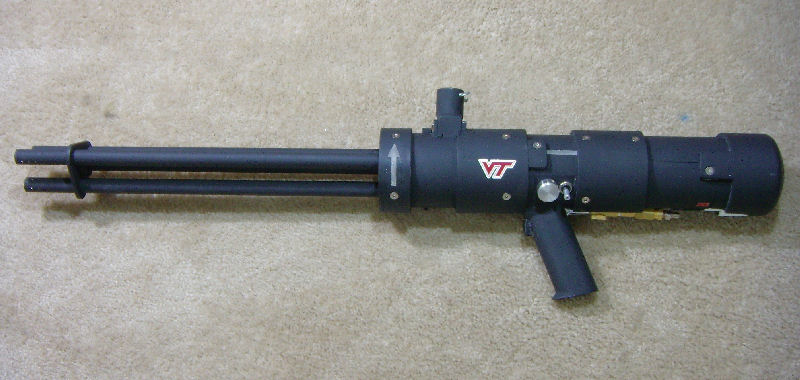
I need to work on a topic for her too.
I`ve got another strictly nerf rifle in the works. Similar to this one in construction.
Edited by CaptainSlug, 20 November 2018 - 02:40 PM.


