Materials Needed:
Dremel+attachments
screwdriver(s)
duct tape/gorilla tape
rebel trooper blaster
nightfinder plunger tube
handyman spring from home depot
rubber bands (Staples #84 are my preferred weapon of choice)
lube
sandpaper
machine screws with matching nuts
drill/drill bits
xacto knife
Okay, before we start, here's a reference picture:
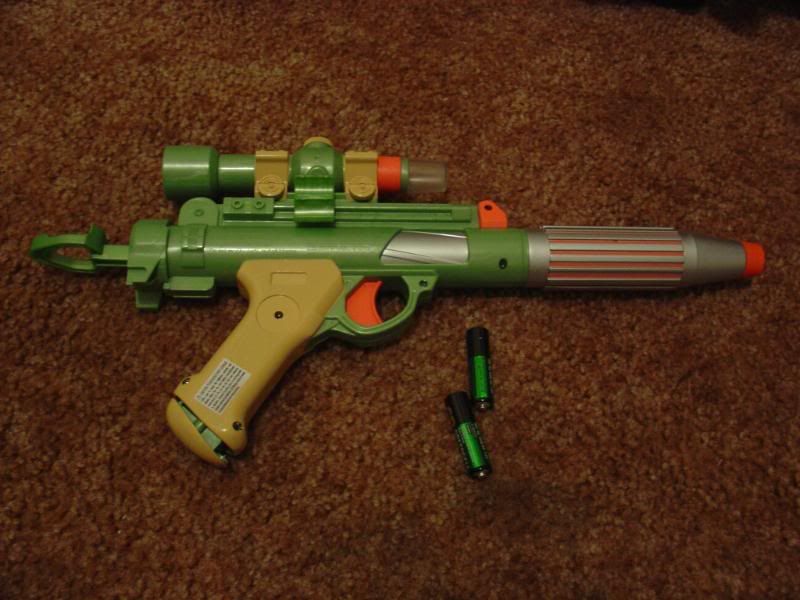
Now, open this guy up. I couldn't for the life of me pry off any of the end caps (there's an orange one at the front, a big one in back and the top is attached to itself somehow as well), so I just cut them. I cut along the centerline of the gun for the front and the back, and just hacked off the dinky light portion. Looks much better, eh?
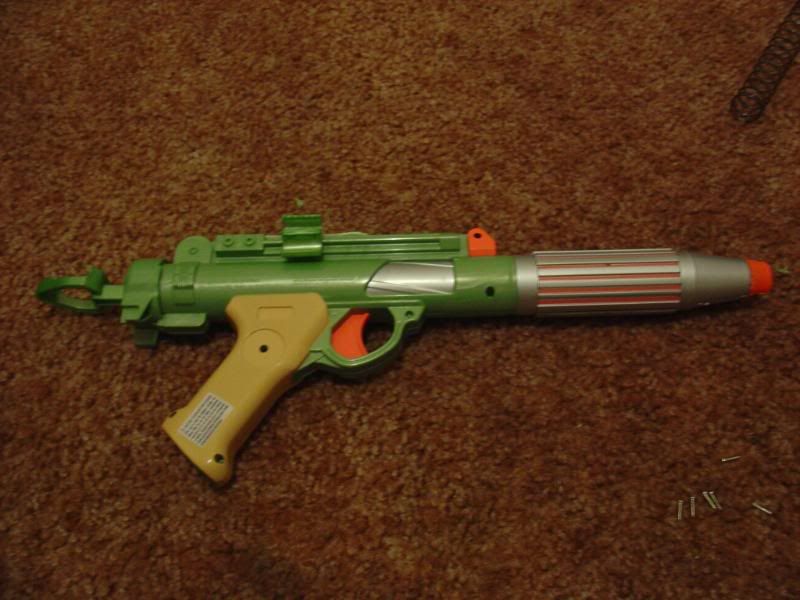
The gun opened up, for reference (notice the tiny plunger tube!):
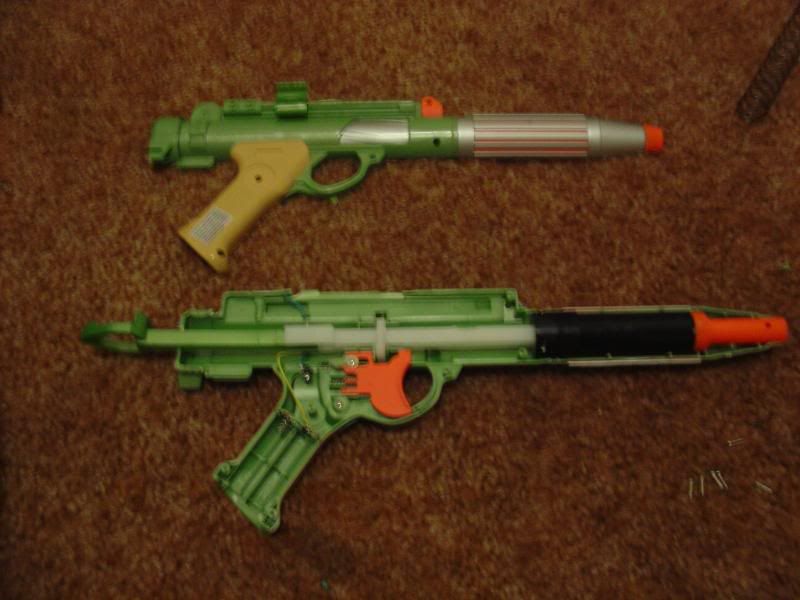
Now, if you have a spare nightfinder, take it out and take out the plunger tube, as shown below. You'll be needing it later.
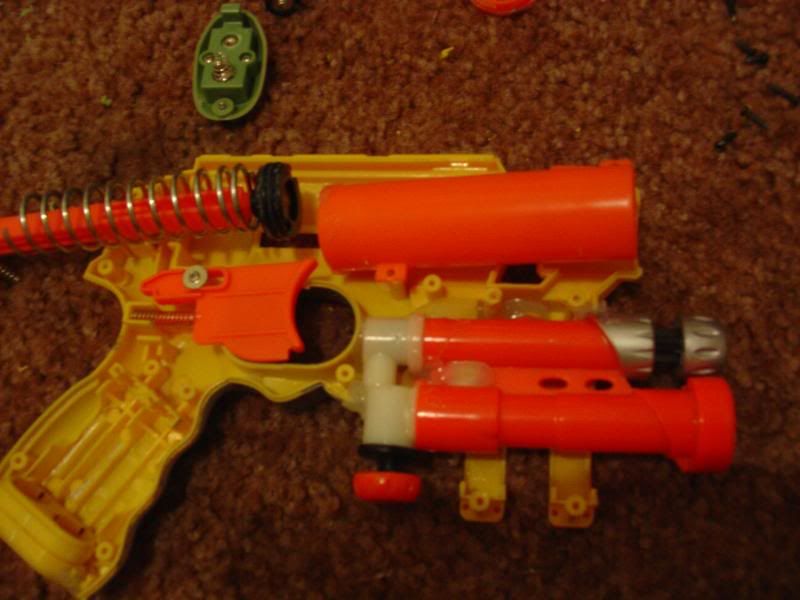
Next, take out the plunger tube from your star wars blaster by removing the two screws and the black plastic cover holding it down. Line it up with your nf plunger tube. Looks familiar, huh?
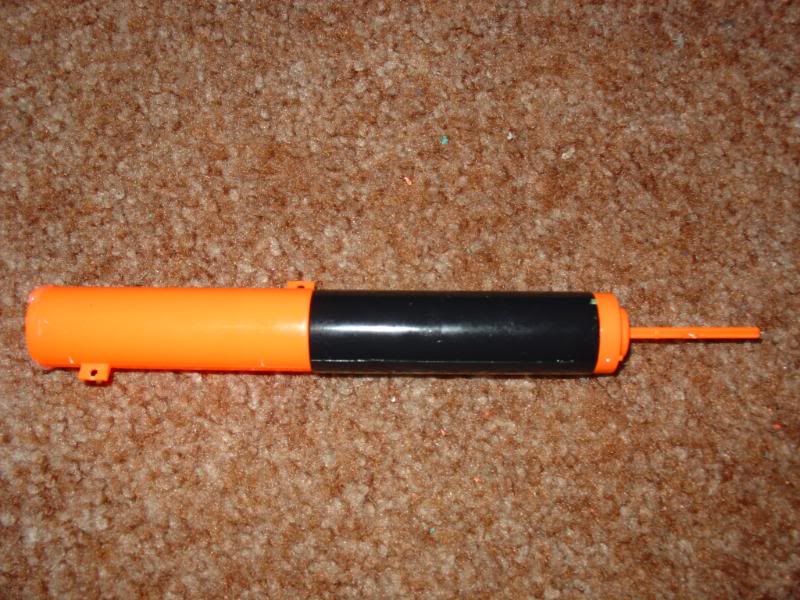
Next, we need to sand down the edges of the tubes where they'll be connecting. Take your sandpaper and sand down the insides of the back end of one (I chose to use the back of the star wars one, and the front of the nf one). For this, one of the plunger tubes will not need the extra attachments at front. In my case, it was the nf tube. You can also (and should) sand down the screw ports on the nf plunger tube. You won't be needing those.
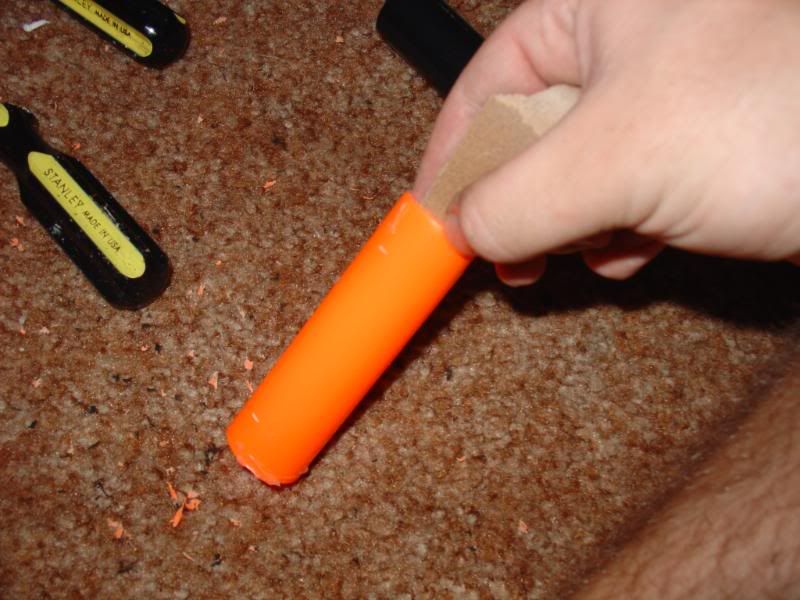
Once they're both sanded down, take and test fit the two up next to each other. The nf tube should be in the back, and the star wars tube in front if you did it like me. Take and line them up, tape them together with your gorilla tape, and check to make sure the plunger rod slides relatively smoothly through both of them. If so, you don't have to adjust them!
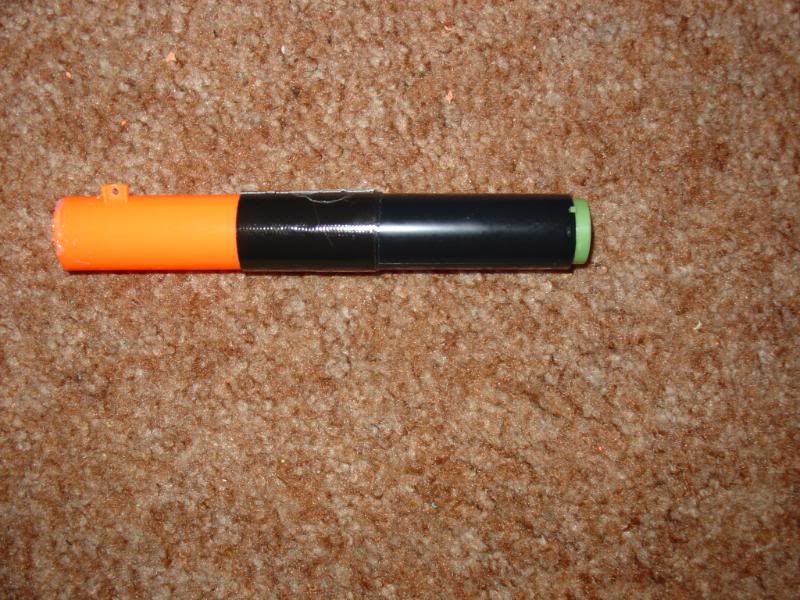
Here they are attached. Nice and smooth:
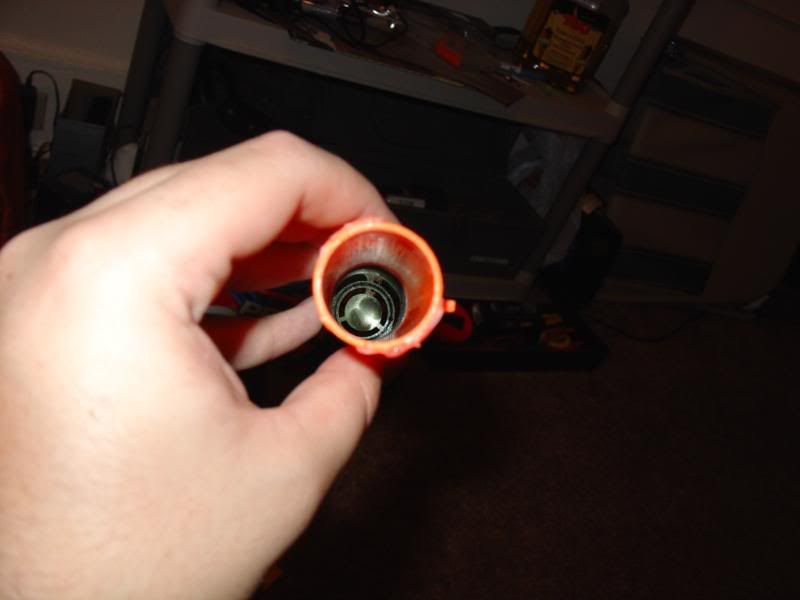
Now it's time to work on the plunger rod. Take out a ruler and place a mark two inches from the back of the plunger head on the plunger rod. This will be your reference mark for cutting later.
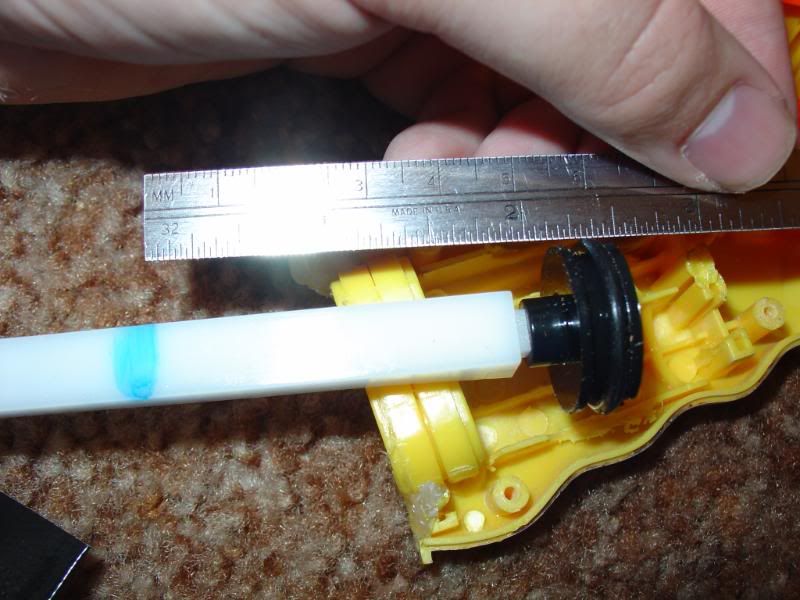
Now, with this extra power comes extra responsibility (to not have your foamy weapon blow up in your face), so let's reinforce where the catch will "catch". I had a convenient metal rod that fit perfectly inside of the plunger rod:
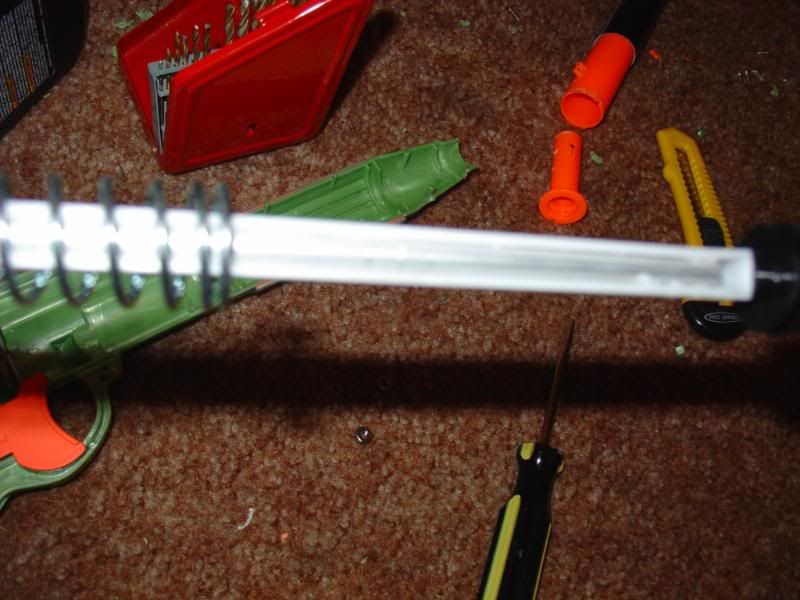
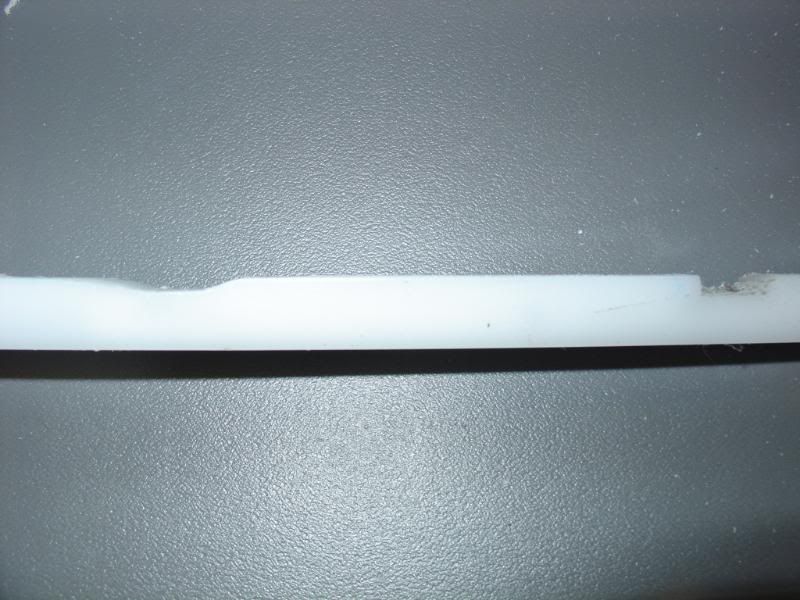
Now, after that's done drying and fits well, it's time to cut and sand your plunger shaft. We need to sand down the old catch portion. Do this with a dremel or sandpaper, but I prefer the dremel. All you really need to do is make sure it's not sticking out anymore and make sure that it's smooth. Once this is done, take and make a reference cut at the mark you previously made, the same depth as the old catch (about 2-3mm, maybe a bit more). You will need to cut about .5-1cm forward of this cut as well, to give the catch some room, as shown below:
Now we're done with the plunger shaft. Only one more part to go, and that's the case. Time to dremel all of the useless stuff out of there to make room for the extra plunger shaft! So, start by dremeling out everything that would get in the way of the plunger shaft, like so:
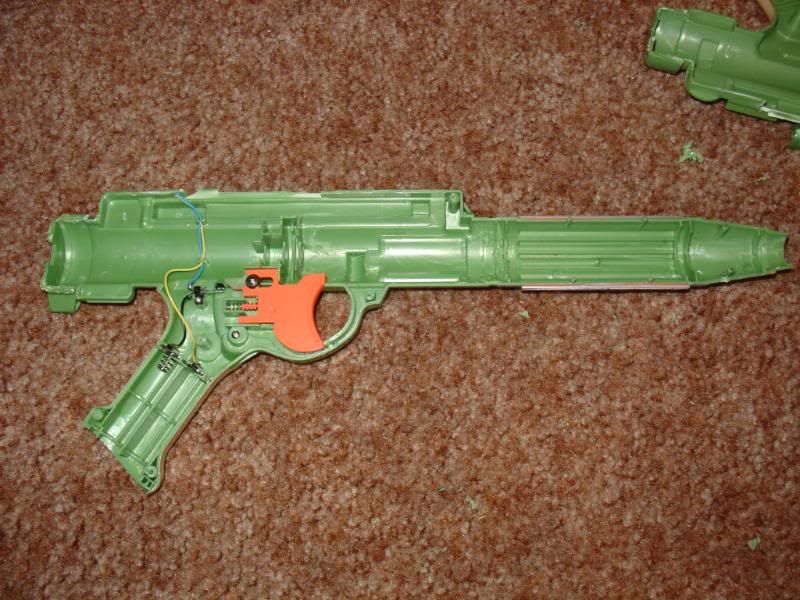
Test fit the double plunger tube, and make sure it fits in with BOTH HALVES of the shell. If it does, you'll need to continue to dremel out the rear of the casing, where the plunger rod exits the case when you cock it. Widen this part enough so the large part of the plunger rod (with the screws that attach) fits through cleanly.
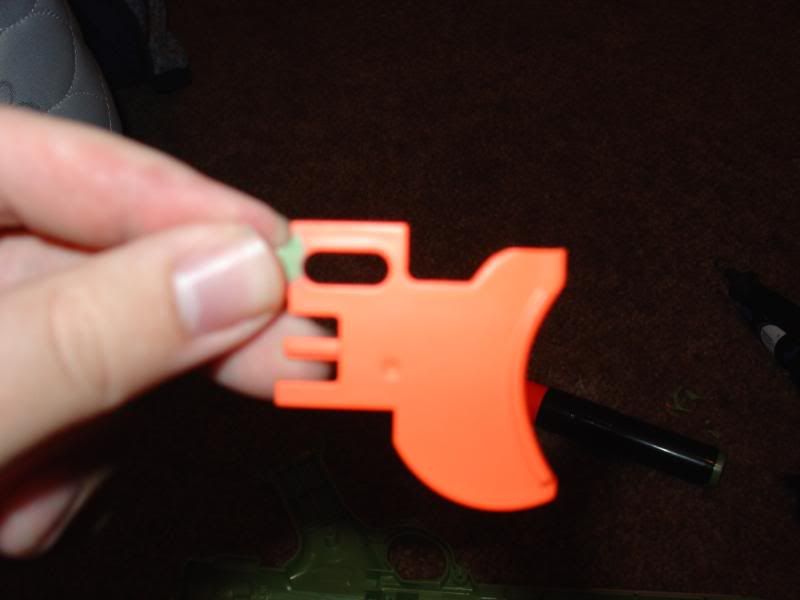
Now, we also need to modify the trigger, as you've probably noticed. Cut off the top tab on the trigger, as shown:
Now, something for the huge spring to rest against. Take your machine screws, and find a drill bit that is relatively the same size, but a tad smaller if you must. Drill two holes on either side of the plastic holders by the catch, and insert the screws to test fit:
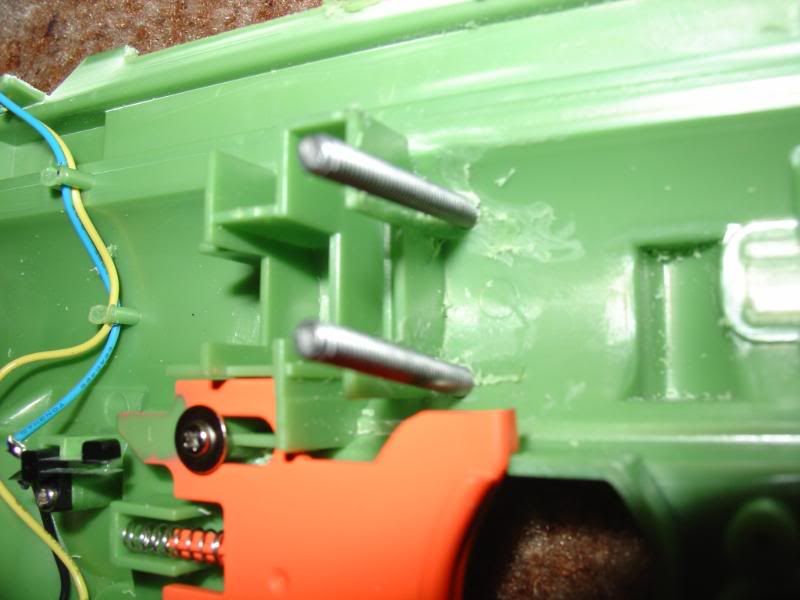
Make sure the screws don't catch on the plunger rod when you pull it through, or else it could wear out the plastic prematurely.
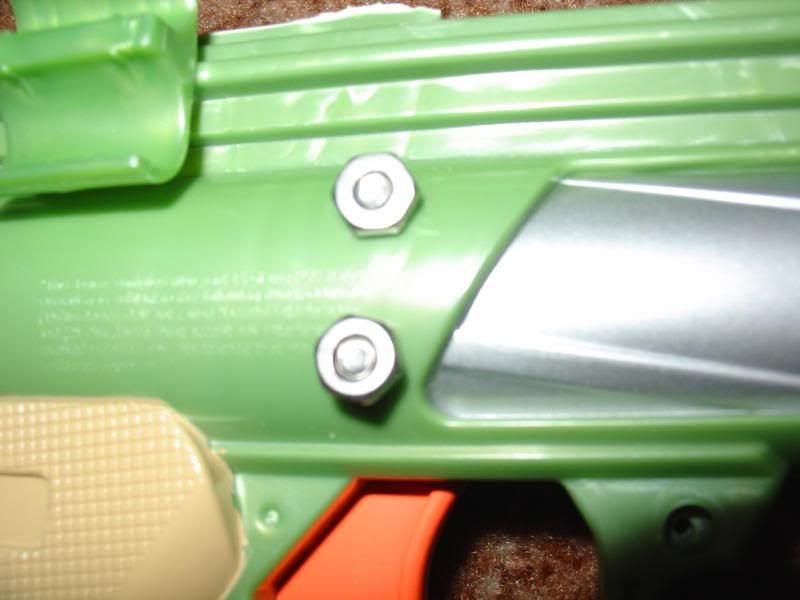
Next, we need to drill exit holes in the other side of the case to attach the screws, and to add ease of shell removal. So, take some paint and put it on the ends of your machine screws, and place the other half of the case on top so the screws make a mark where they would hit. Drill two more holes in here, test fit, drill again if necessary, and close up the case with nuts on the bolts. If you've done everything right, the spring should rest against these screws, which go through the entire width of the gun, and can be removed to reopen the shell:
Finally, we need to drill out the air restrictors and the barrel post. Do this with any tool you want, same process as a nightfinder:
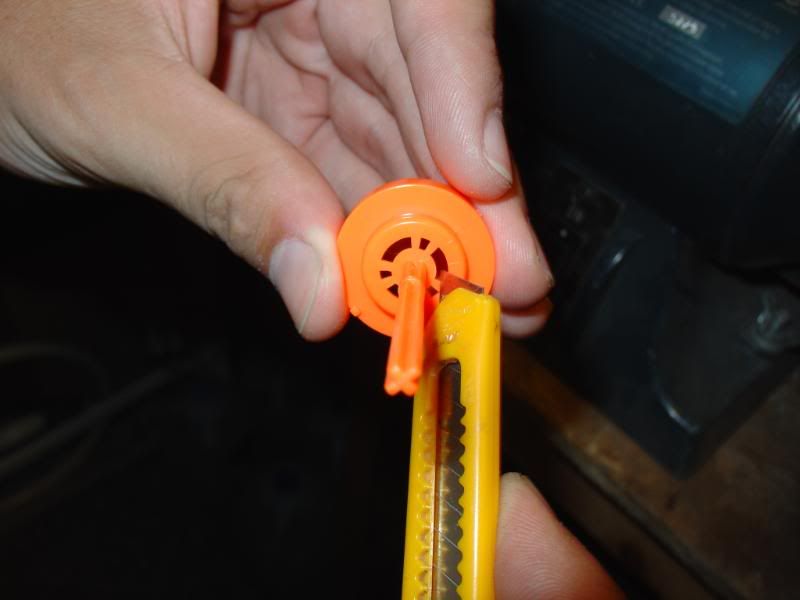
Finished product should look something like this:
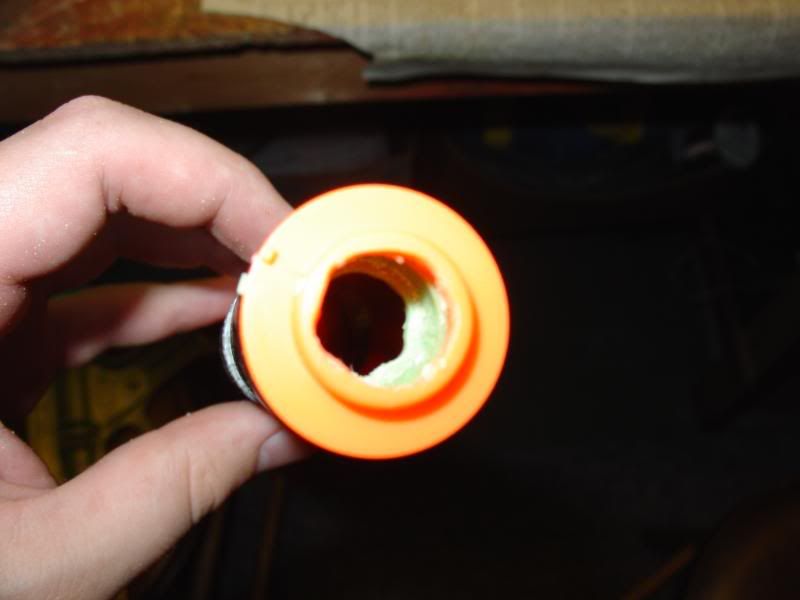
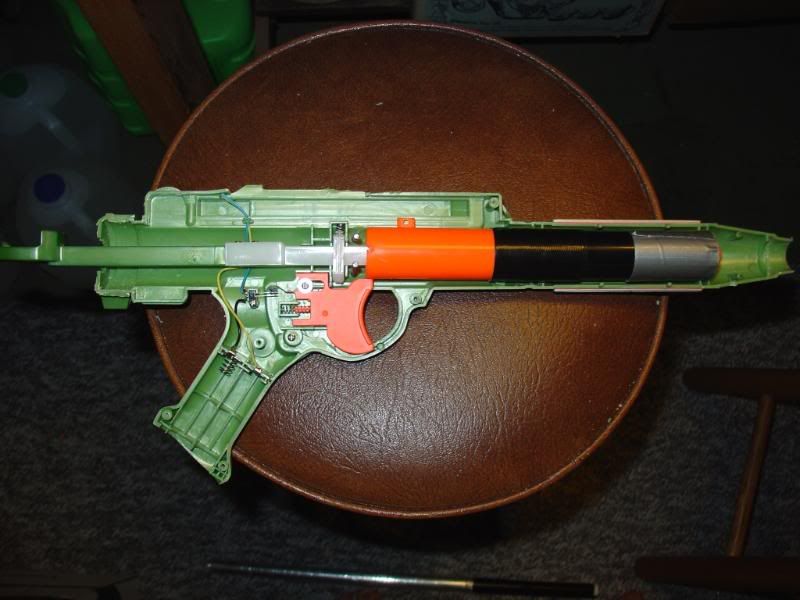
All that's left is to put everything in the case and close her up! Now, notice that I didn't glue down/secure the plunger tube, and that's because it fits snugly in the case with duct tape around it. You should also add a screw/bolt to the rear of the gun, right above the hole for the plunger rod to go through, and definitely secure the front. I chose to use my favorite weapon of choice, duct tape. Internals assembled:
And the final gun itself, cocked:
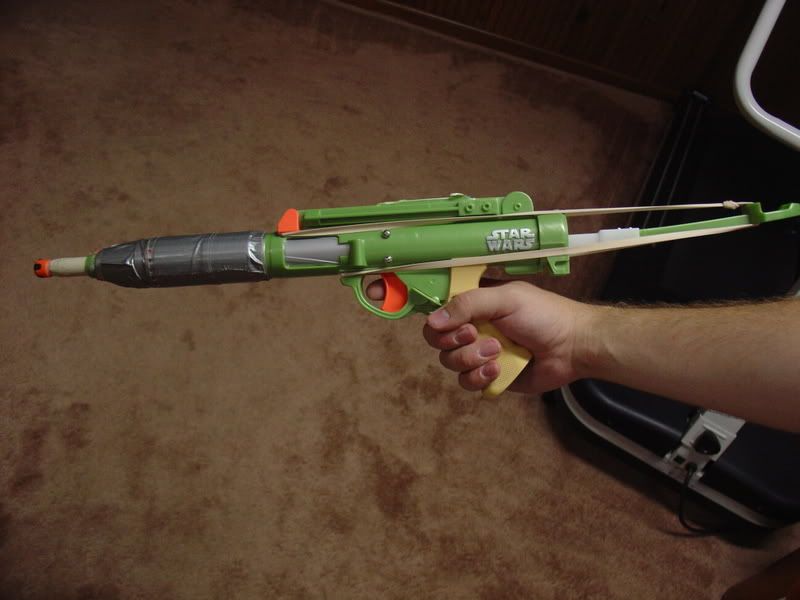
Now, you'll need to add rubber bands to get the full effect, because the handyman spring will only propel the plunger halfway down, and you want that full length to be mercilessly attacked. Make sure the rubber bands spread the tension evenly, not pulling the plunger rod upwards (I fixed this, just forgot to take a picture of it). Add a barrel of your choice, and voila! A small-ish spring powered gun, with great ranges! I test fired this gun against my maxshot, both with cpvc barrels, and this definitely outranged the maxshot and outpowered it. No official ranges yet, though.
Oh, and just for kicks, a couple of firing vids (short) in my basement. For reference, my basement is about 45' long, and the second shot hits the opposite wall, level, with hardly any decrease in vertical height. That should give you some idea of the power of this gun.
Cocking/firing:
Shorter vid, but the better shot:
As always, keep up the great modding, and if you have any questions ask away.


