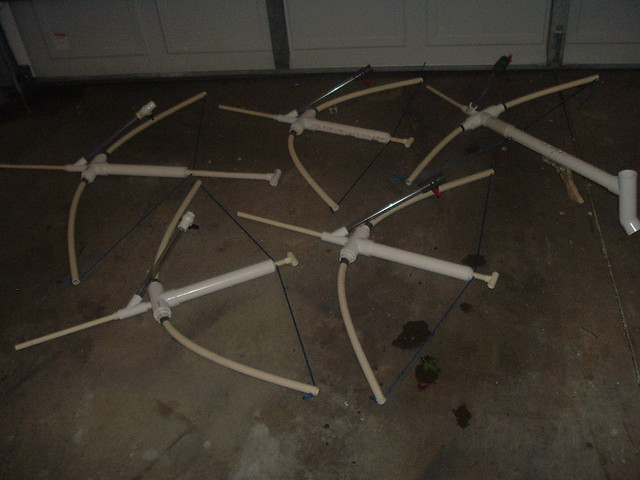
My aim here is to elaborate on the design by KaneTheMediocre. The original Aabow write-up was not very in-depth and the pictures, as of recently, are all broken. I've seen several different ways people make their bows, but this way is still relatively simple, takes a short amount of time, and is entirely mechanically fastened which means you can swap out parts and can have more customization such as changing out different bow arm lengths, adding a stabilizer, or re-tensioning the string.
End product is a 4' bow powered blaster with ~10" of draw.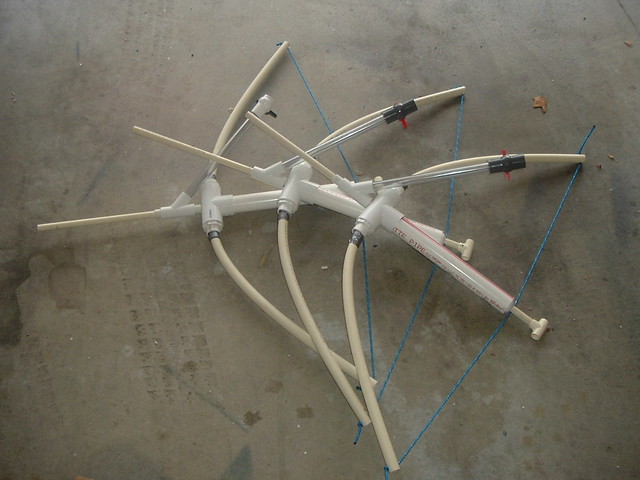 AAbow (1) by Naturalman_7, on Flickr
Materials:
- 4x #6-32 x 3/8-in Machine Screws
- #8- 32 x 1/2-in Machine Screw
- #8 Finishing Washer
- 1" x 1/2" PVC Bushing
- 6" of 1" x 10-ft PVC
- 12"+5.5" of 1/2" CPVC
- 1/2" CPVC Endcap
- 1/2" CPVC Tee
- 2x .75" of 1/2" PVC
- 13" of 1-1/4" PVC
- 1-1/4-in PVC Tee
- 2x 1-1/4-in x 1-in PVC Bushings
- 3/16-in x 1-1/2-in Rubber Washer
- 3/16-in x 1-1/4-in Fender Washer
- 3.5' of 3/16-in x 75-ft Braided Polypropylene Rope
- 4' of 3/4" CPVC
- 3/4" PVC Endcap
- Duct Tape
Cost:
Total cost is just over $10. I've sold several of these to people locally for $20 ea.
Tools:
The only tools I use for these bows are a hacksaw, drill, and dremel sanding wheel - sand paper may also work. I used 1/8", 3/16", and 1/4" drill bits and a 5/8" spade bit. I also use a mallet for fittings that are unusually tight.
Procedure:
After cutting the necessary sections of pipe, I like to make the cross for the arms first.
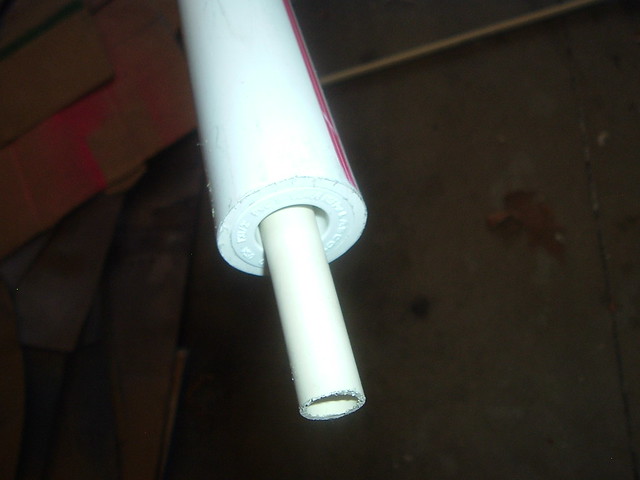
Take the two 1-1/4-in x 1-in PVC Bushings and sand down the inside so the 1" PVC can fit. I use a dremel sanding wheel, but sand paper could also work.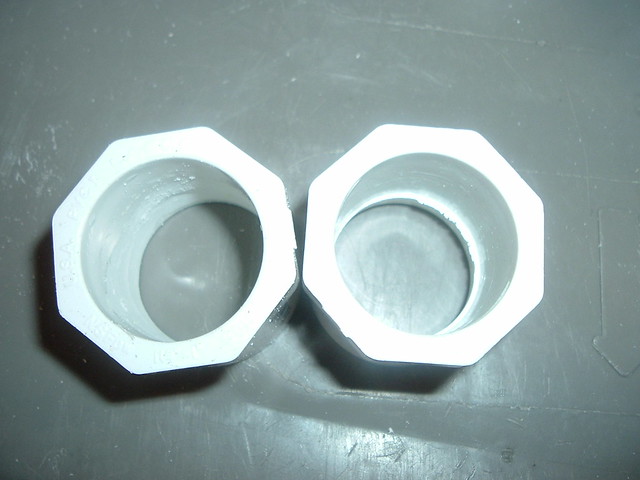 AAbow (2) by Naturalman_7, on Flickr
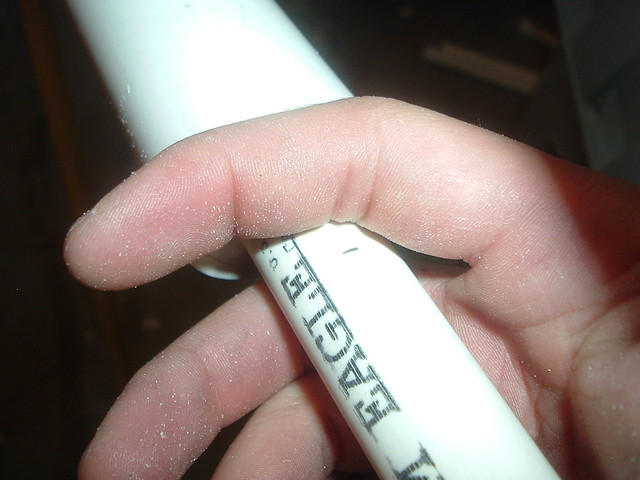
It should fit fairly easily on 1" PVC.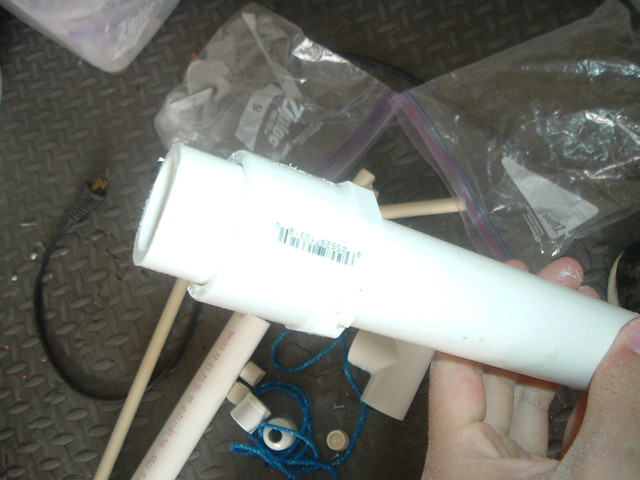 AAbow (3) by Naturalman_7, on Flickr
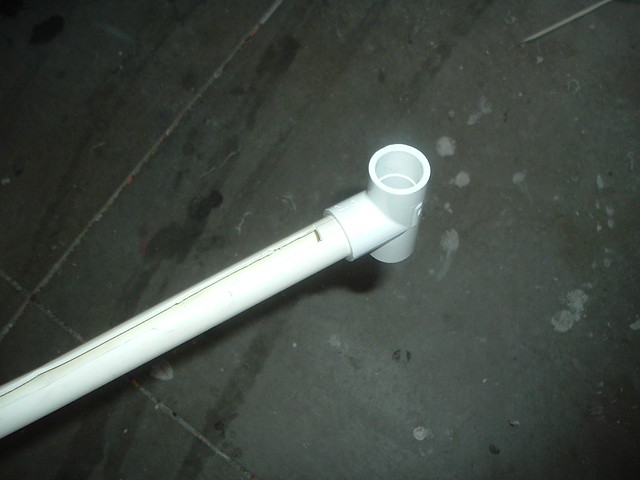
Push these fittings into the ends of the PVC tee and add the 1" section of PVC.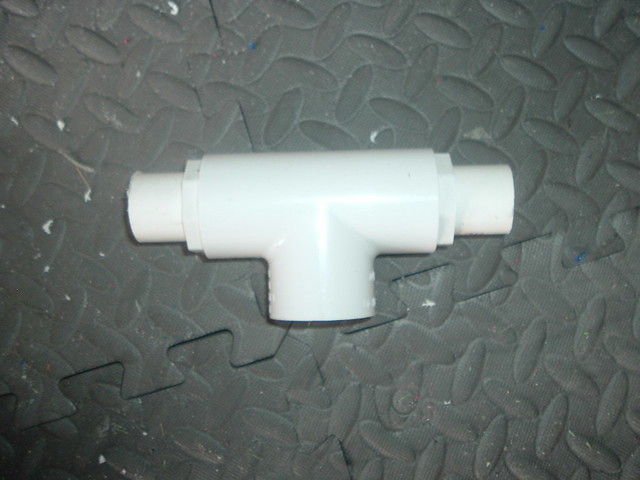 AAbow (4) by Naturalman_7, on Flickr
Drill a 5/8" hole through the center of this tee assembly.
I use this series of reducer bushings and PVC to make a centered hole.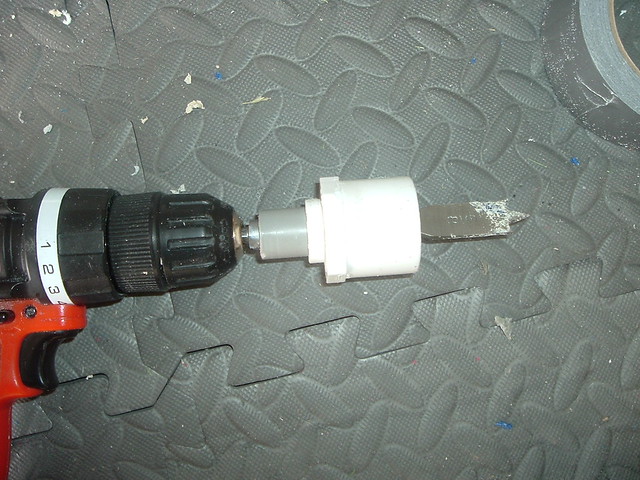 AAbow (10) by Naturalman_7, on Flickr
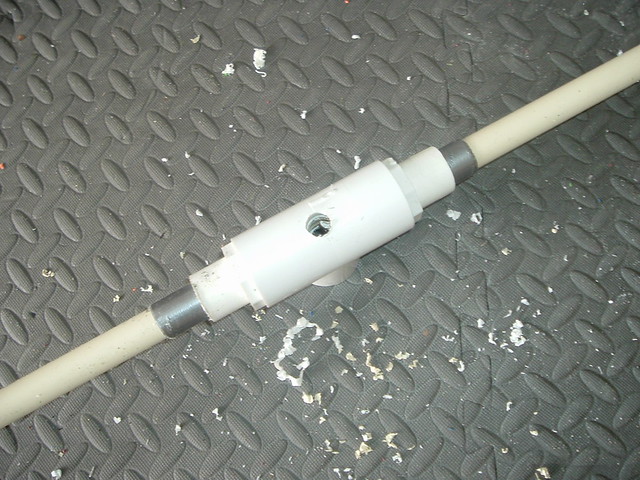
Once I'm through most of the way, I remove the centering rig and continue drilling the hole because the rig stops the bit from drilling all the way through. Just take a pair a pliers and pull out the bushings, then continue the hole.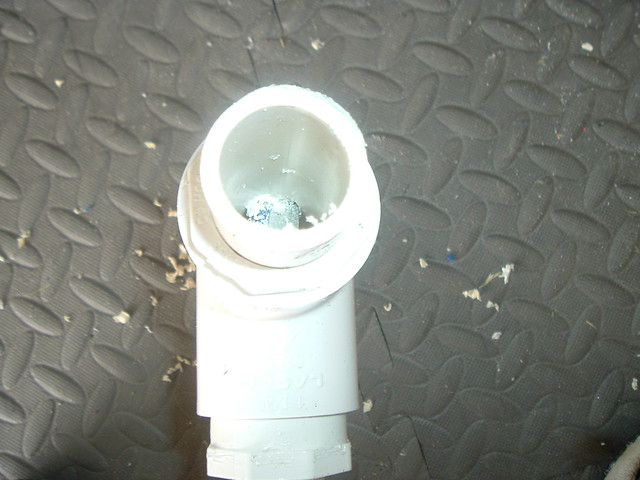 AAbow (11) by Naturalman_7, on Flickr
 AAbow (12) by Naturalman_7, on Flickr
At this point, make sure that 1/2" CPVC can fit through the hole centered and with relatively little friction. If not, take a dremel or a file and sand the inside of the hole and check fit again.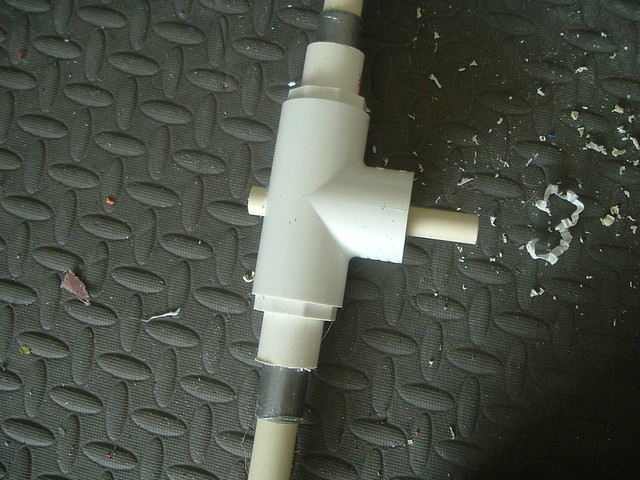 AAbow (13) by Naturalman_7, on Flickr
Take the bow arms, measure the middle, then wrap duct tape around 3.5 inches on either side of the middle. The arms should fit inside of the 1" PVC. The measuring should put the marks where pictured. AAbow (5) by Naturalman_7, on Flickr
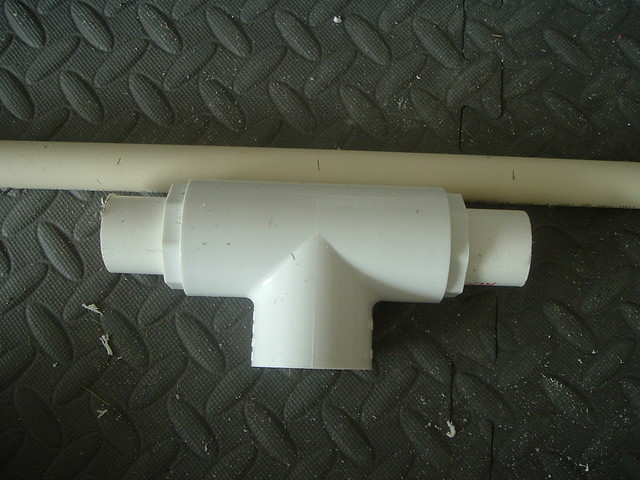 AAbow (6) by Naturalman_7, on Flickr
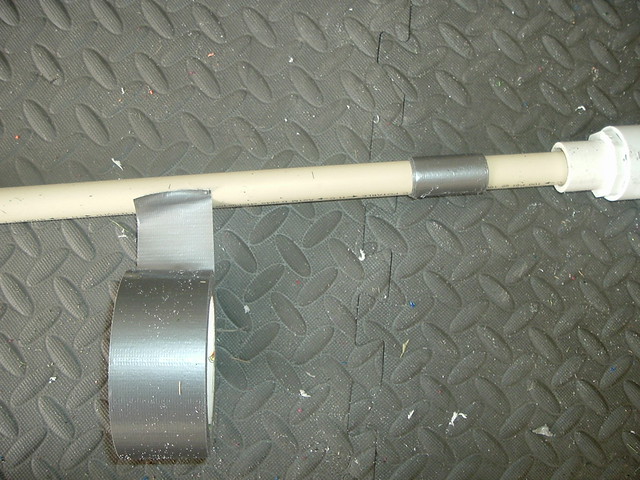 AAbow (7) by Naturalman_7, on Flickr
Drill another 5/8" hole in the arms. It's okay if the hole isn't clean.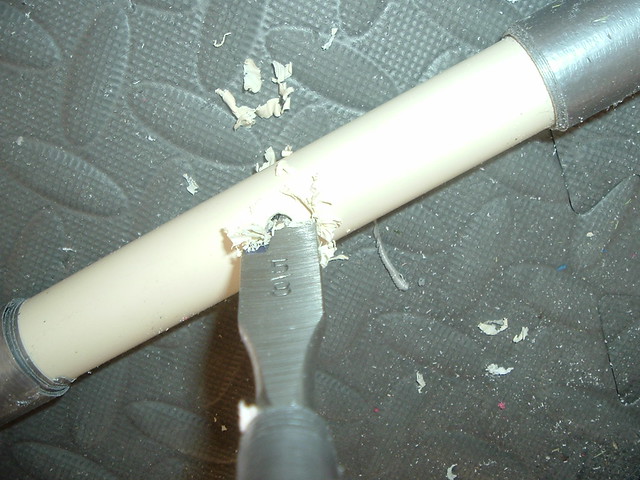 AAbow (8) by Naturalman_7, on Flickr
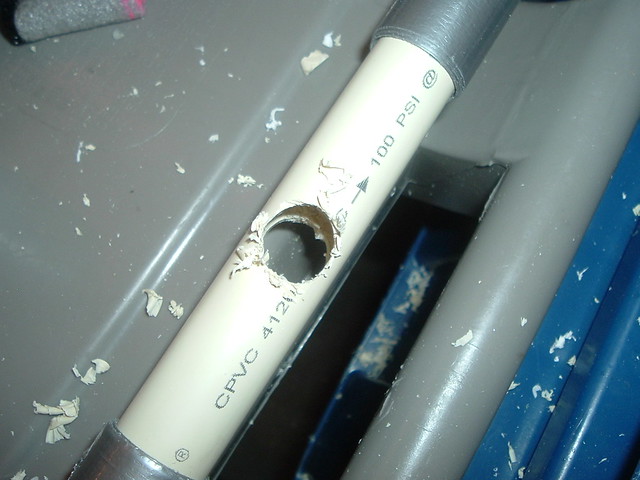 AAbow (9) by Naturalman_7, on Flickr
Take the CPVC endcap and drill a 1/8" hole as centered in it as possible. I try to make a center mark by putting a sharpie through a section of CPVC to mark the center.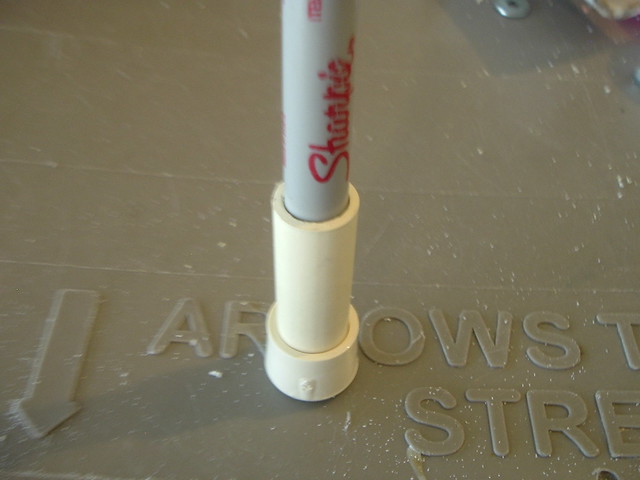 AAbow (16) by Naturalman_7, on Flickr
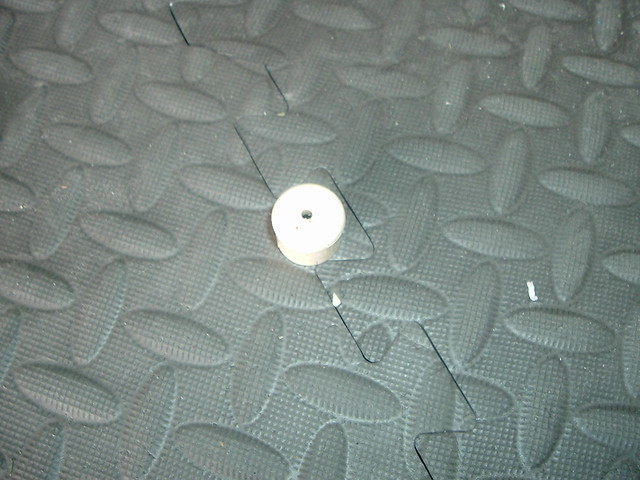 AAbow (17) by Naturalman_7, on Flickr
After drilling a hole in the CPVC endcap, attach it to the end of the CPVC pipe and drill 1/8" pilot holes for a #6 machine screw or two. Then add the screws.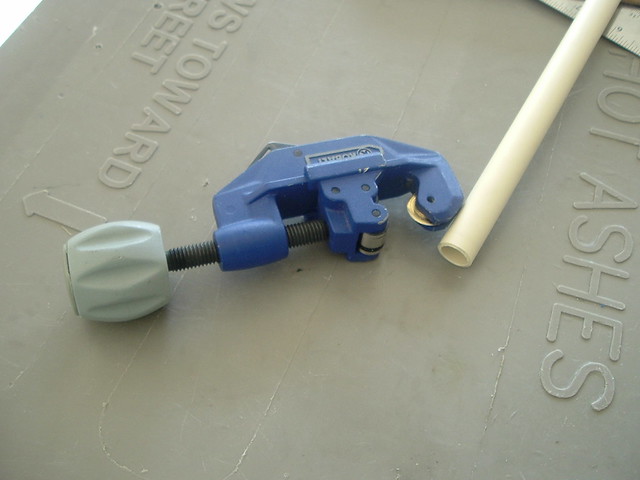 AAbow (14) by Naturalman_7, on Flickr
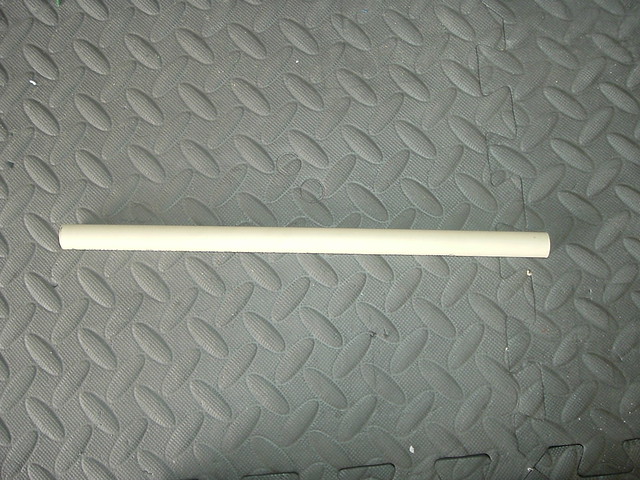 AAbow (15) by Naturalman_7, on Flickr
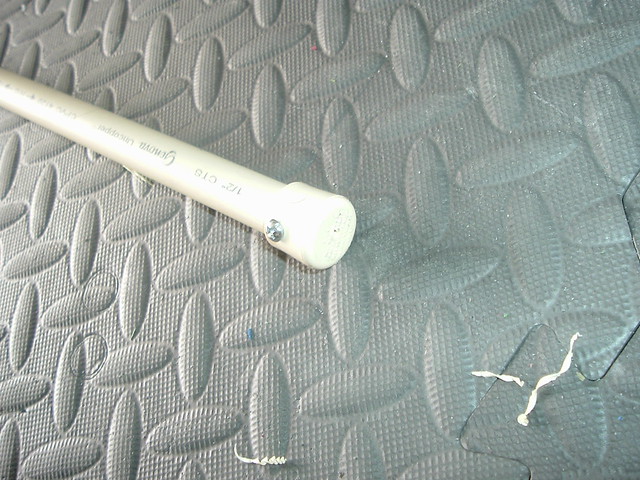 AAbow (18) by Naturalman_7, on Flickr
Place the metal fender washer, rubber washer, and finishing washer (or in this photo, #8 fender washer) on the plunger head in this order. Secure this assembly with the #8 machine screw. The rubber washer will form a slight cup shape when tightened properly.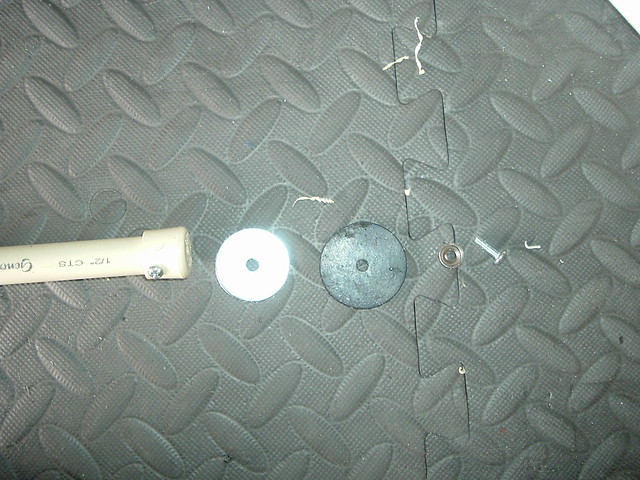 AAbow (19) by Naturalman_7, on Flickr
Lubricate this assembly and slide it into the 1-1/4" PVC so that the cup shape is maintained. The 1-1/4" PVC may have debris in it from sanding and/or cutting. You'll want to make sure everything is clean when you assemble it.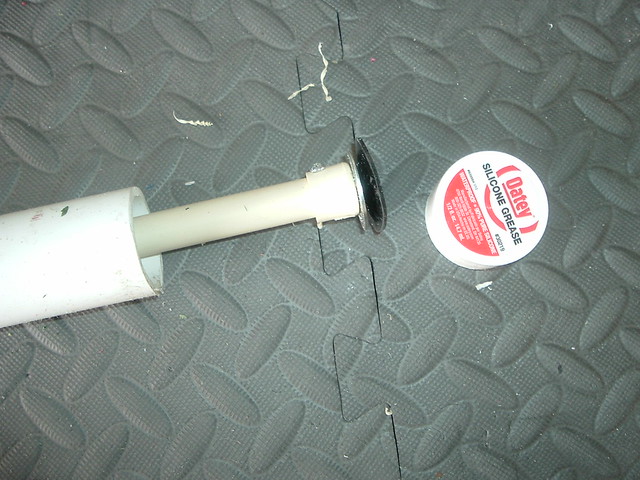 AAbow (20) by Naturalman_7, on Flickr
At this point, take the last reducer bushing, a section of PVC and the section of CPVC and assembly them together as shown.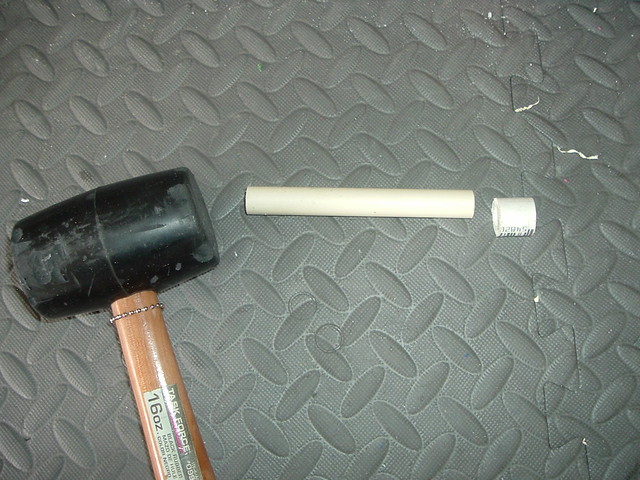 AAbow (21) by Naturalman_7, on Flickr
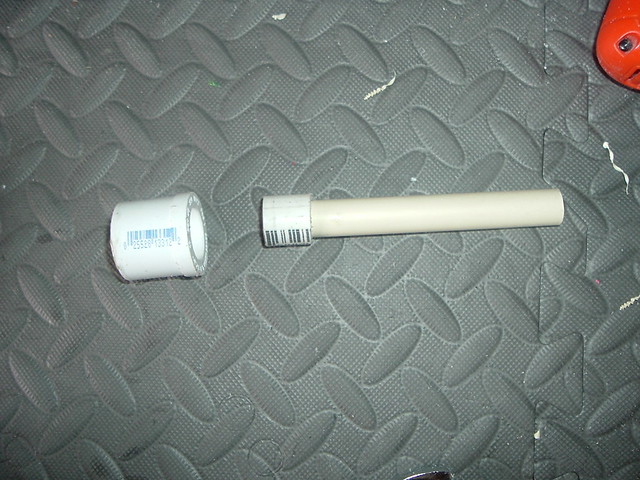 AAbow (22) by Naturalman_7, on Flickr
Place this assembly onto the front of the 1-1/4" PVC. Do this by taking a section of 3/4" PVC or another similarly sized pipe and pushing it so that it is flush with the end of the pipe. The lip of the reducer bushing will create a seal with the 1-1/4" PVC. This piece should sit flush with the PVC.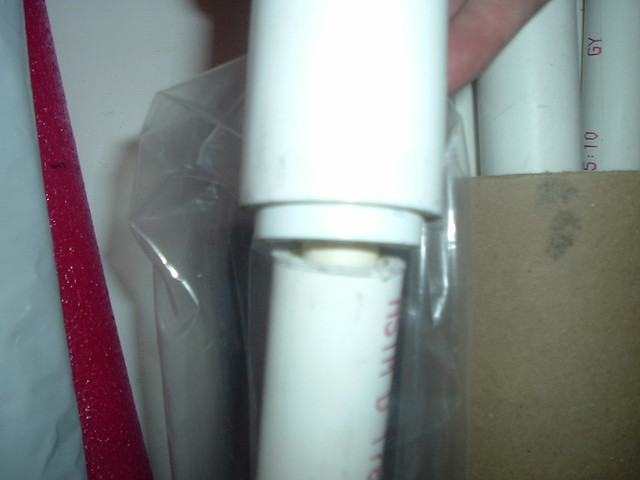 AAbow (23) by Naturalman_7, on Flickr
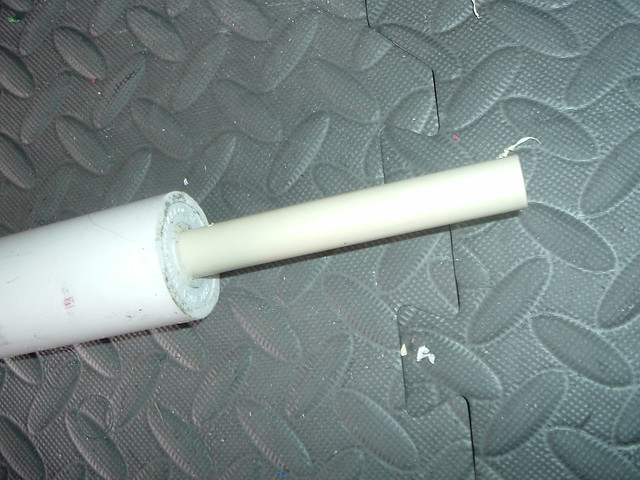 AAbow (24) by Naturalman_7, on Flickr
Take the 3/4" PVC endcap, sand the edges down so that it fits inside the 1-1/4" PVC, and drill a 5/8" hole centered in it. Sand and/or drill out the hole so that it fits loosely around the 1/2" CPVC. You can use a similar method for drilling the 5/8" hole for marking the center of the endcap.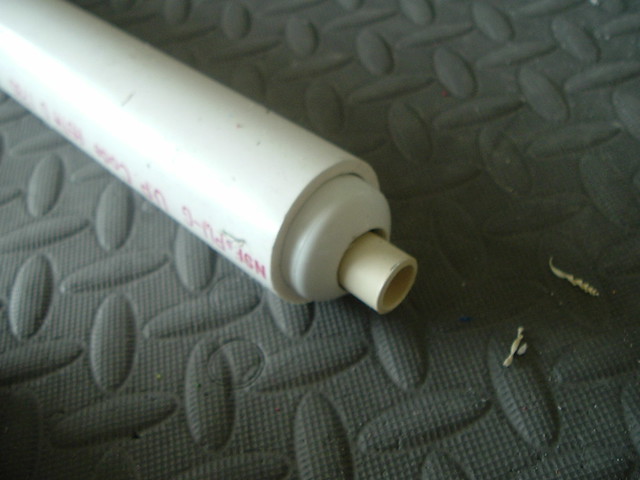 AAbow (25) by Naturalman_7, on Flickr
Drill a 1/8" pilot hole through the 1-1/4" PVC and endcap and secure it with a #6 machine screw.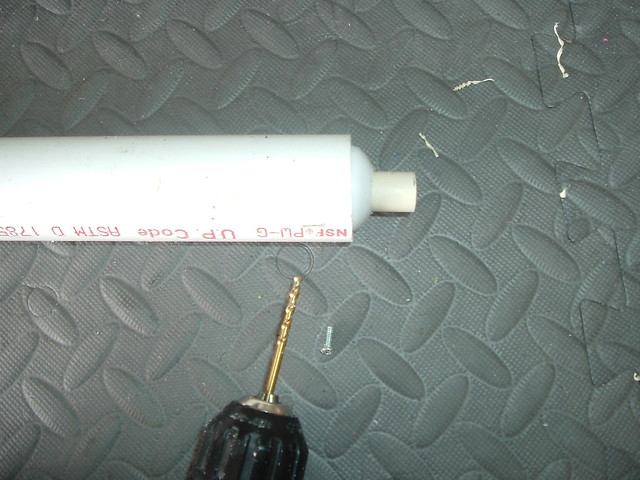 AAbow (26) by Naturalman_7, on Flickr
Place the CPVC tee on the other end of the CPVC, drill a 1/8" pilot hole, and attach the tee with a #6 screw.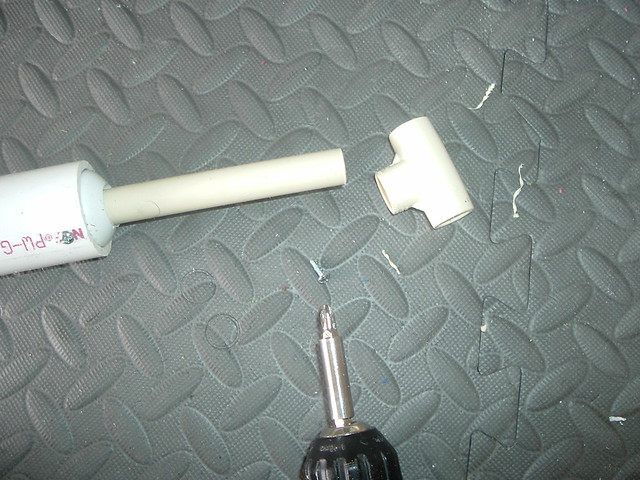 AAbow (27) by Naturalman_7, on Flickr
With the arms and mainbody assemblies done, attach the two together by pushing/hammering the arms onto the top of the 1-1/4" PVC.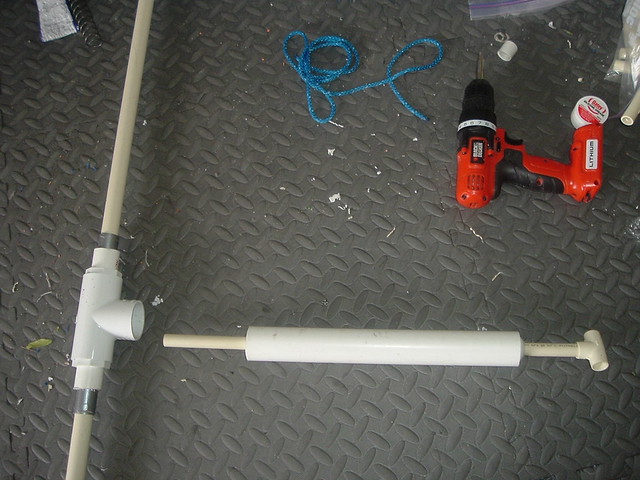 AAbow (28) by Naturalman_7, on Flickr
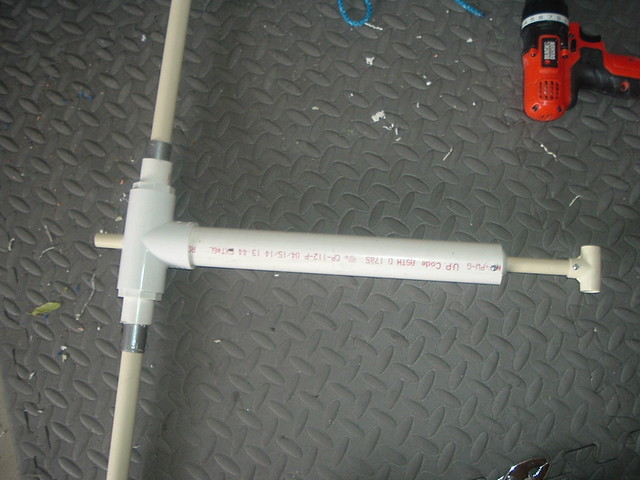 AAbow (29) by Naturalman_7, on Flickr
After these two parts are attached, take the last little stub of PVC, measure where the excess CPVC is, cut it, and hammer it onto the end of the CPVC by the arms. This step isn't necessary if you use an exact sized piece of CPVC, but I find that it works pretty much just as well this way and saves me the hassle of finding or cutting an exact piece of CPVC and makes it so I can just use a scrap piece of CPVC and not worry about the length.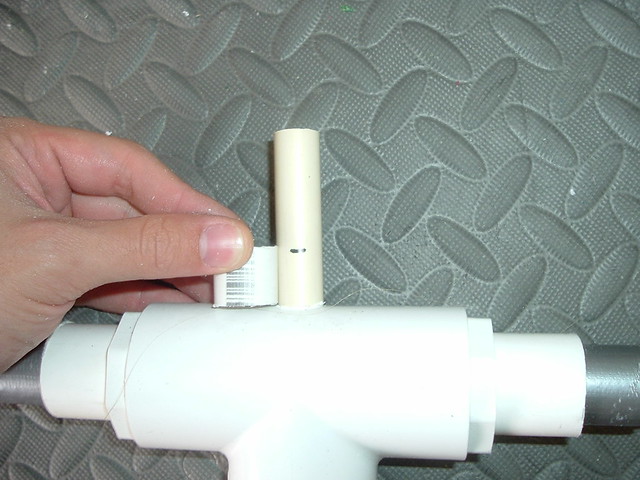 AAbow (30) by Naturalman_7, on Flickr
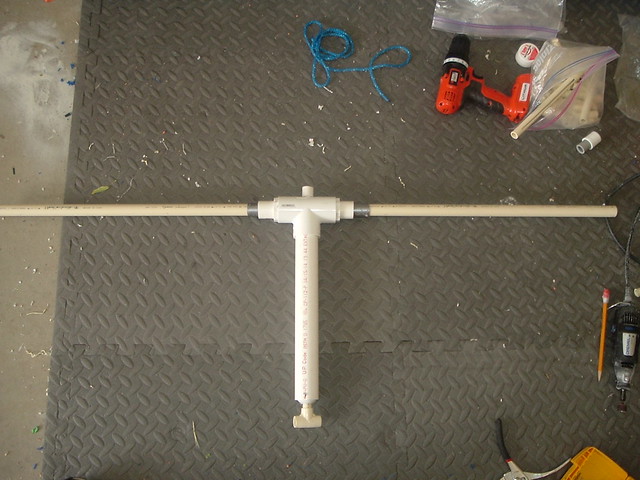 AAbow (31) by Naturalman_7, on Flickr
Drill 3/16" holes on both ends of the arms and cut wide notches for the bow string. The string will be pushed through the notches and the knots in the string will sit on the holes. You can optionally only cut notches on one end of the arms and just thread the string through the holes on the side without notches. I've done both ways, and I prefer to be able to completely un-string both ends if desired.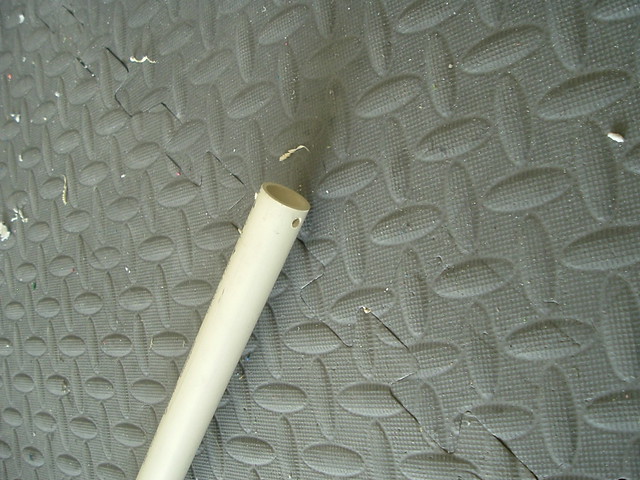 AAbow (32) by Naturalman_7, on Flickr
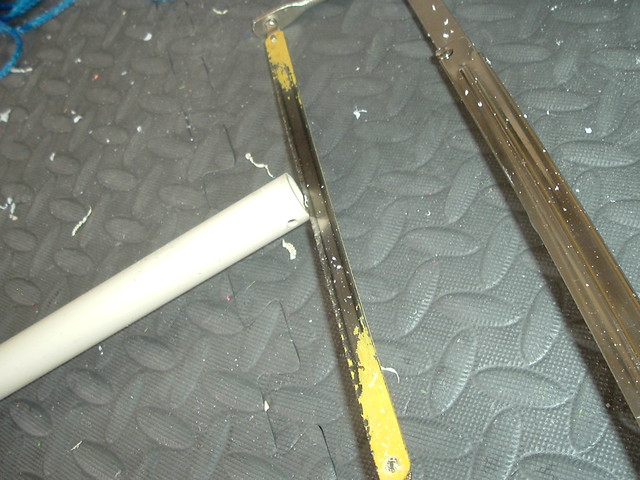 AAbow (33) by Naturalman_7, on Flickr
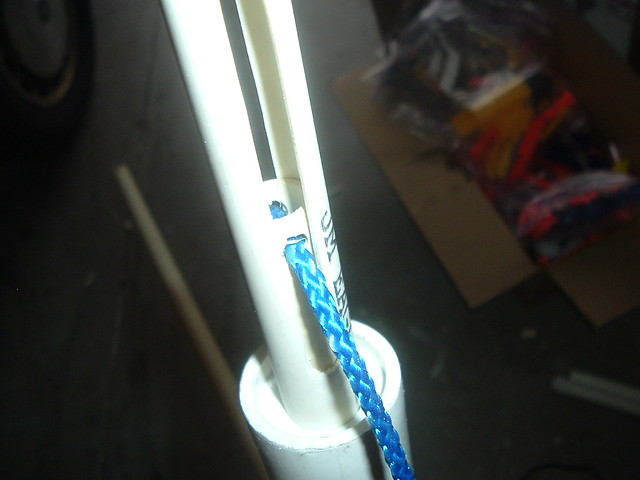
Next, string the bow. Tie a knot in one end of the string and place it in one of the ends of the arms. Thread the other end of the string through the hole by the tee, tie a knot in the other end of the string and place it on the end of the arm. Place the second knot so that when strung, the bow arms are a little before the end of the 1-1/4" PVC. With the plunger assembly pushed all the way to the front, mark and drill a 1/4" hole in the end of the plunger rod. The hole should be parallel with to the tee and perpendicular to the CPVC. Place the hole just in front of the endcap so that the bow string stops the plunger before the front of the plunger impacts the front of the bow.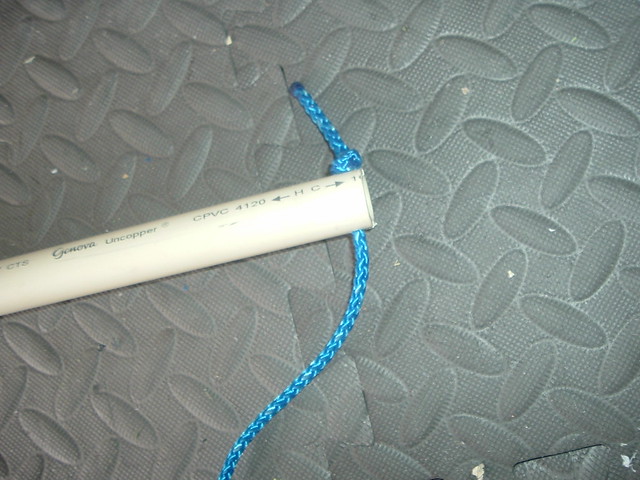 AAbow (34) by Naturalman_7, on Flickr
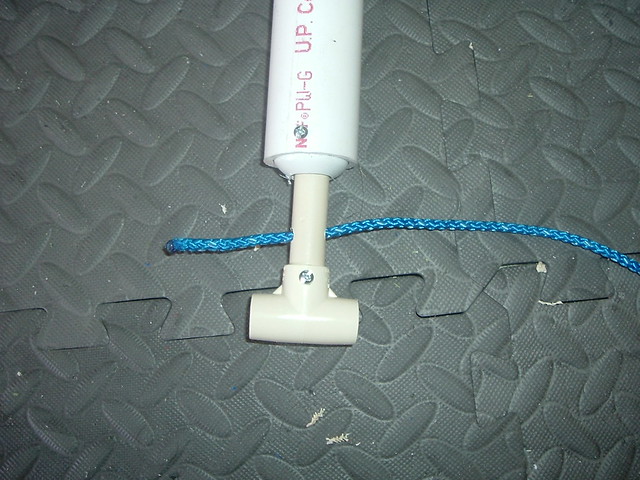 AAbow (35) by Naturalman_7, on Flickr
One optional step at this point, is to add something to protect the string from wearing out from impact. I found this vinyl tubing works well.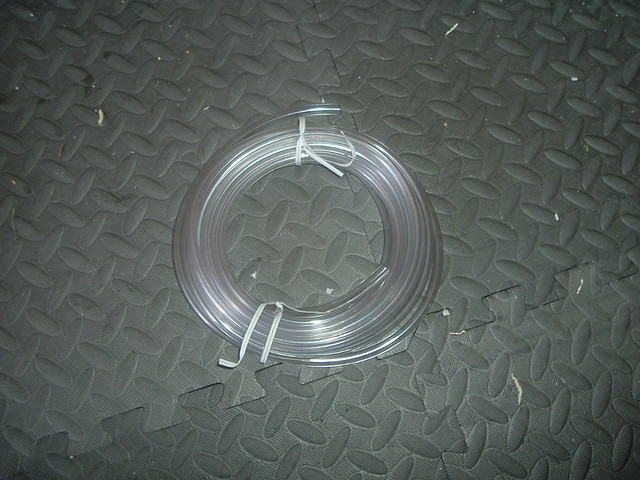 AAbow (36) by Naturalman_7, on Flickr
Cut a section of the tubing, and push the rope through. I use a drill bit because it's small and pointy.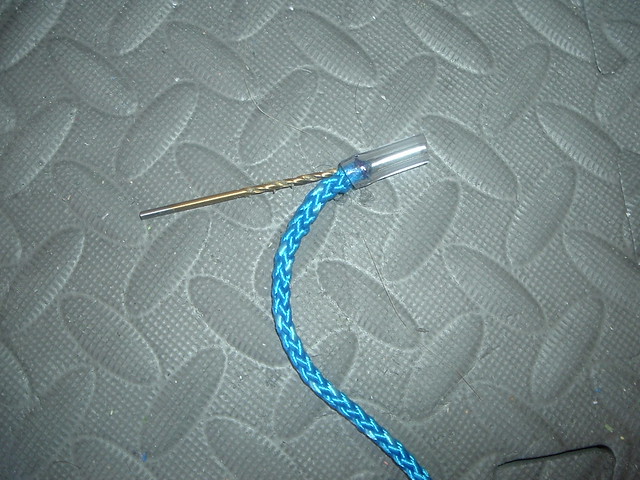 AAbow (37) by Naturalman_7, on Flickr
String the bow like normal but drill the hole in the CPVC slightly larger. If you drill a perfectly sized hole, the tubing will be able to sit snug and stay there.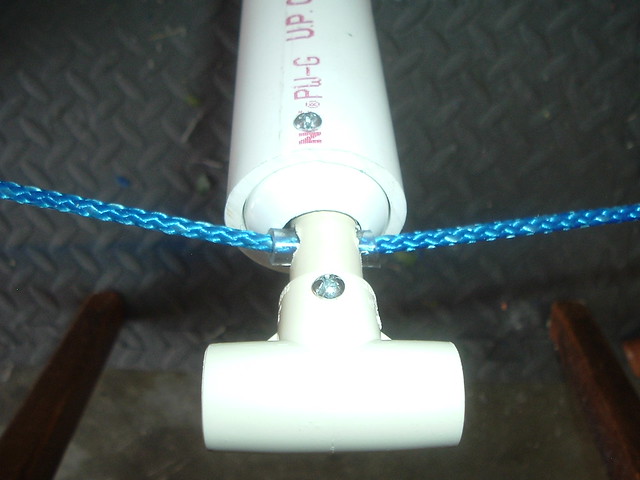 AAbow (38) by Naturalman_7, on Flickr
If you don't have a perfect sized drill bit, applying a little bit of glue like hot glue will keep it in place.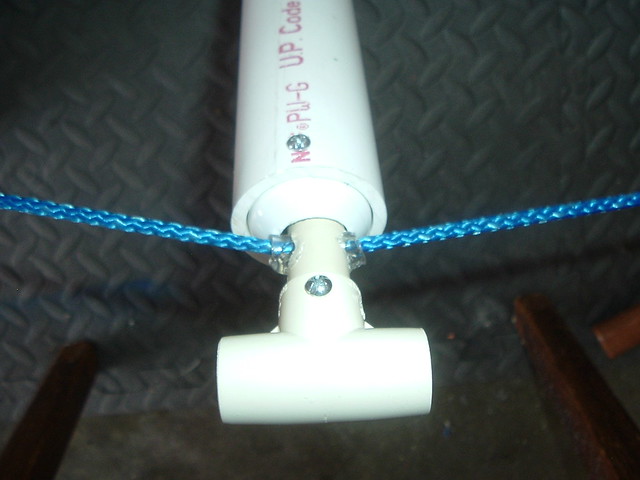 AAbow (39) by Naturalman_7, on Flickr
Finished.
There it is, A completed AABow writeup that can be found on Nerfhaven.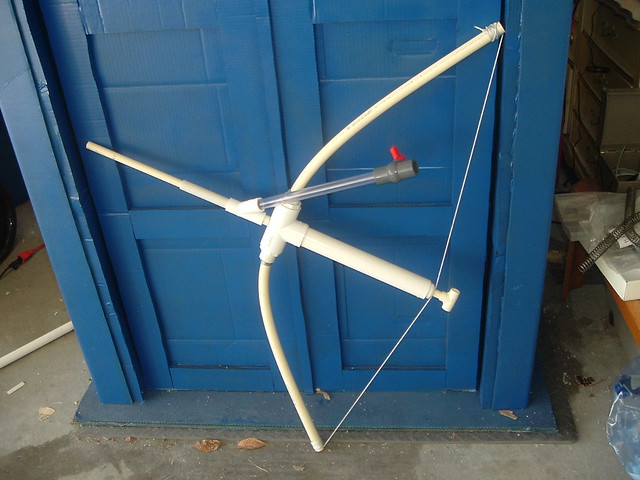 AAbow (40) by Naturalman_7, on Flickr
I apologize for the brevity of this write-up; time does not allow me to create as lengthy write-ups as I would like. I will, of course, continue to lengthen and edit my write-ups continually in the future. Expect at least 3 more write-ups soon (a twist on the original Rainbow Pump, a competitive war-worthy sidearm, and a non-expensive Pump-action Crossbow).
Edited by Aeromech, 23 November 2015 - 01:20 AM.


