Sup guys,
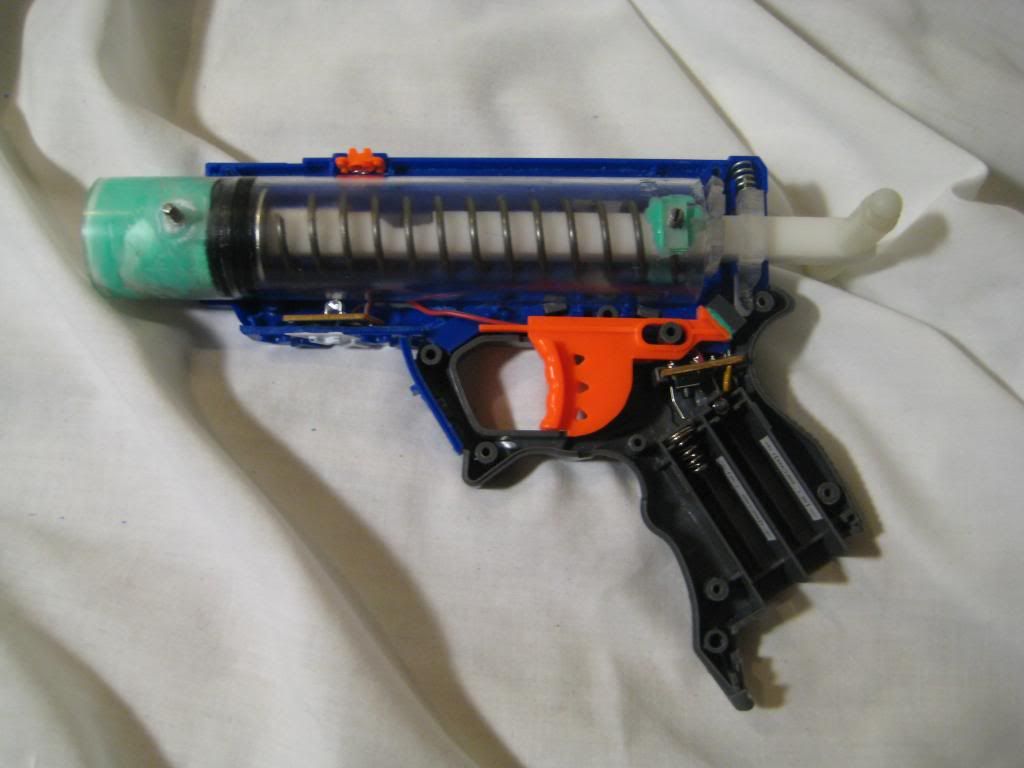
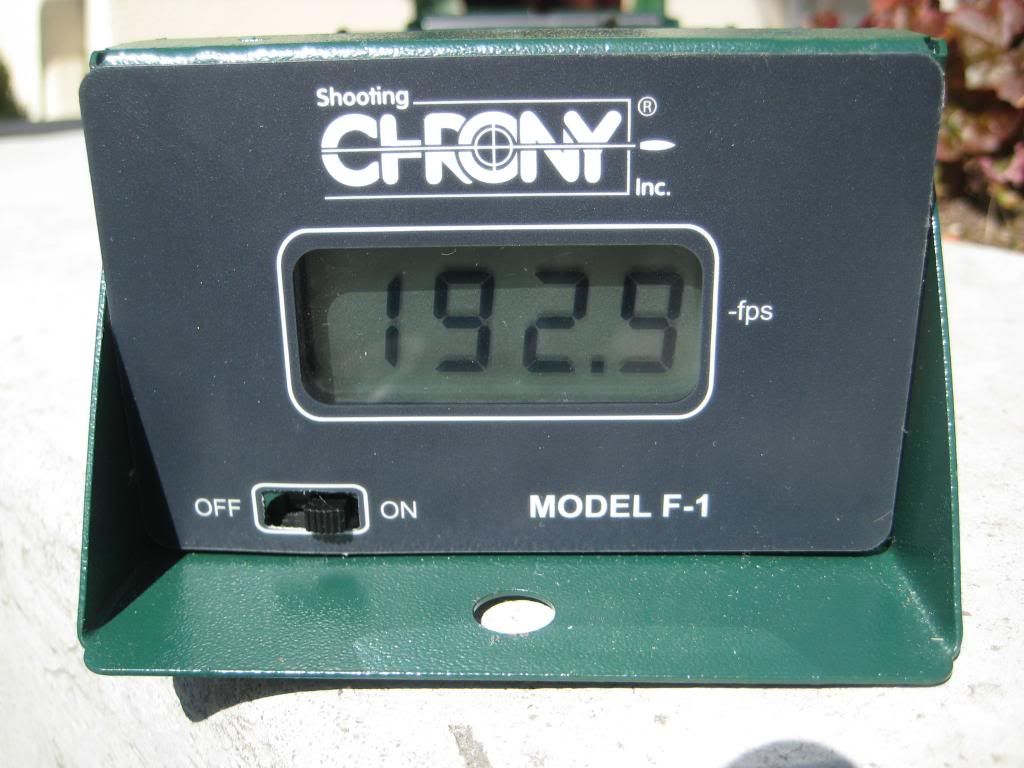
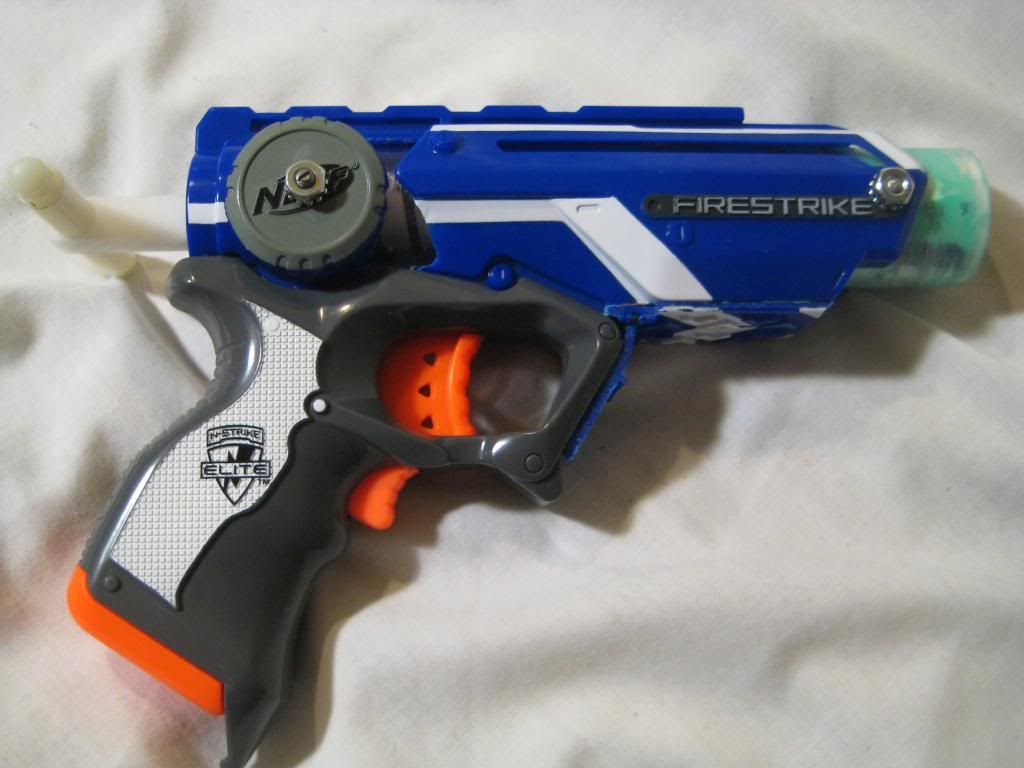
It seems like the Firestrike is a pretty popular new blaster nowadays and a semi-worthy replacement for the Nite Finder. A few weeks ago I decided that I wasn't showing pistols enough love, so I decide to take one to the absolute max. This mod is one of my finest to date, and I went through a lot of trouble to get this thing functional. Here are some of its wonderful properties:
- 1 1/4'' polycarbonate plunger tube
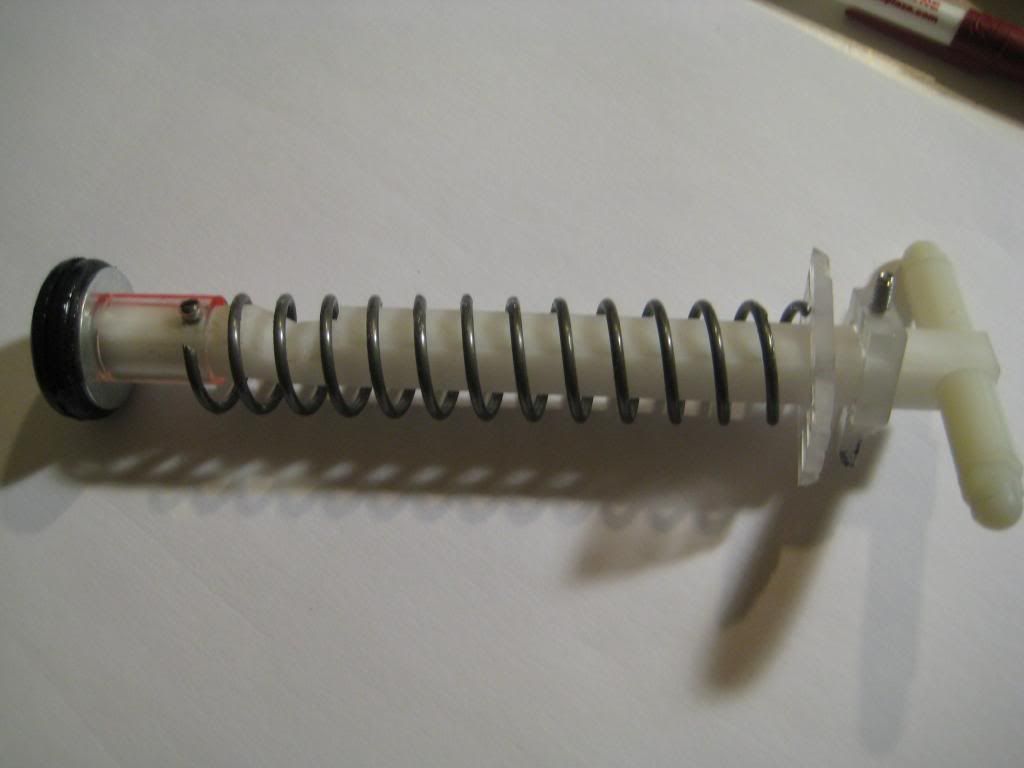
- Delrin plunger rod
- 4 1/4'' [k26] at full compression
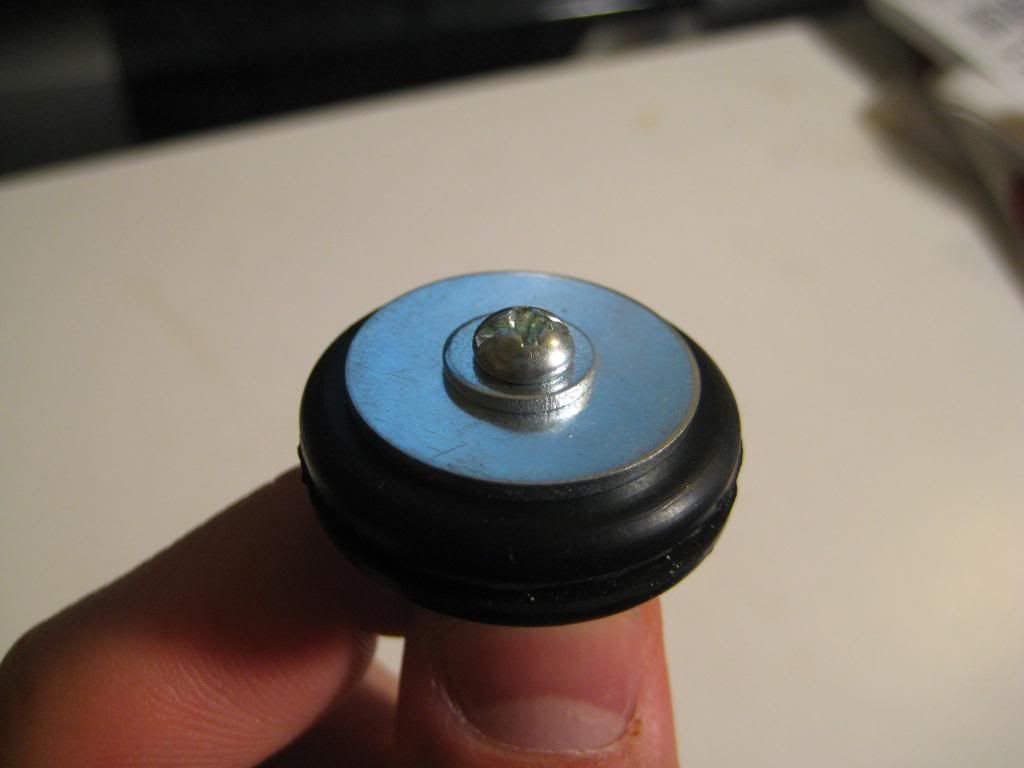
- 1 1/8'' rubber grommet seal
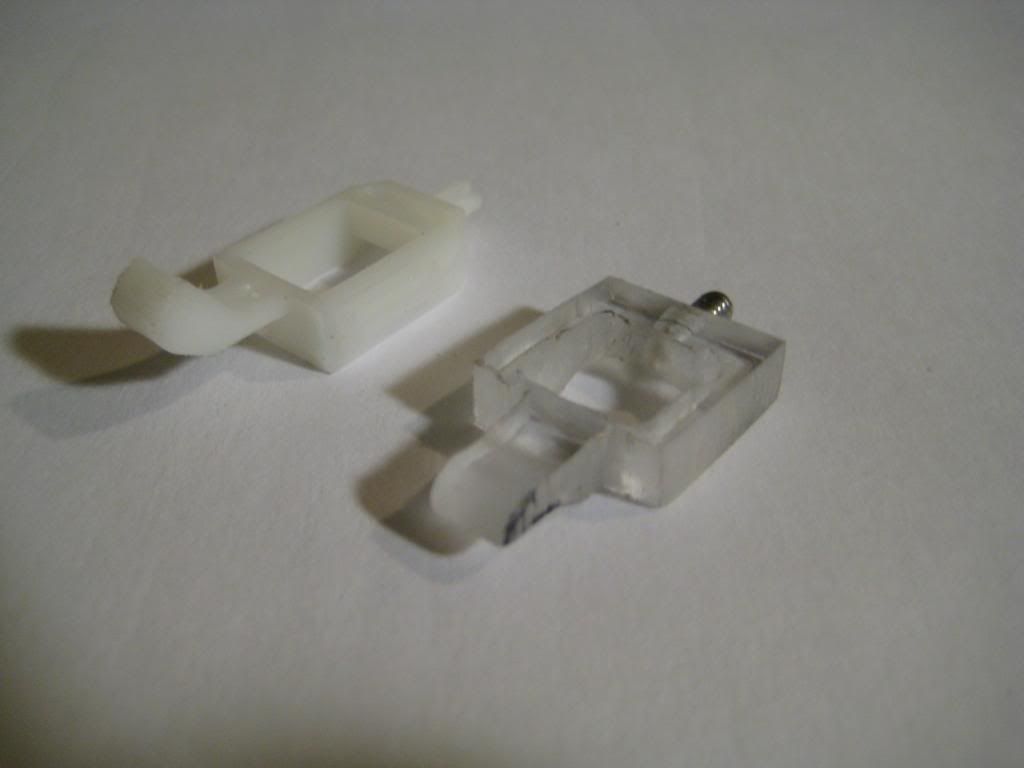
- Custom front spring spacer
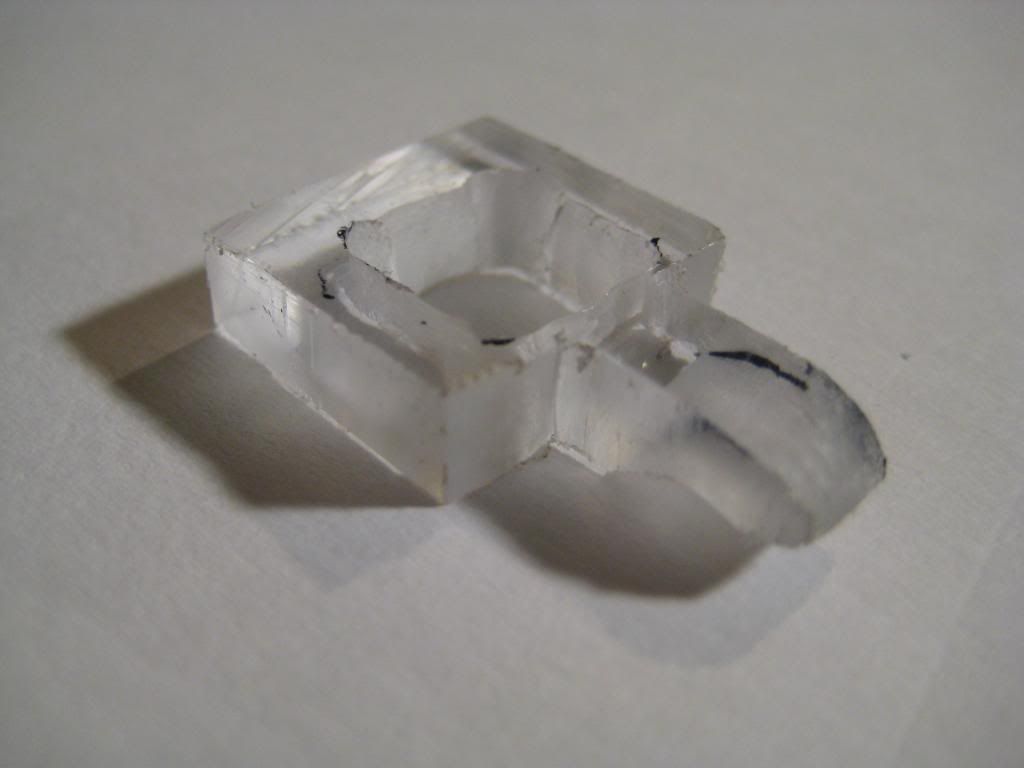
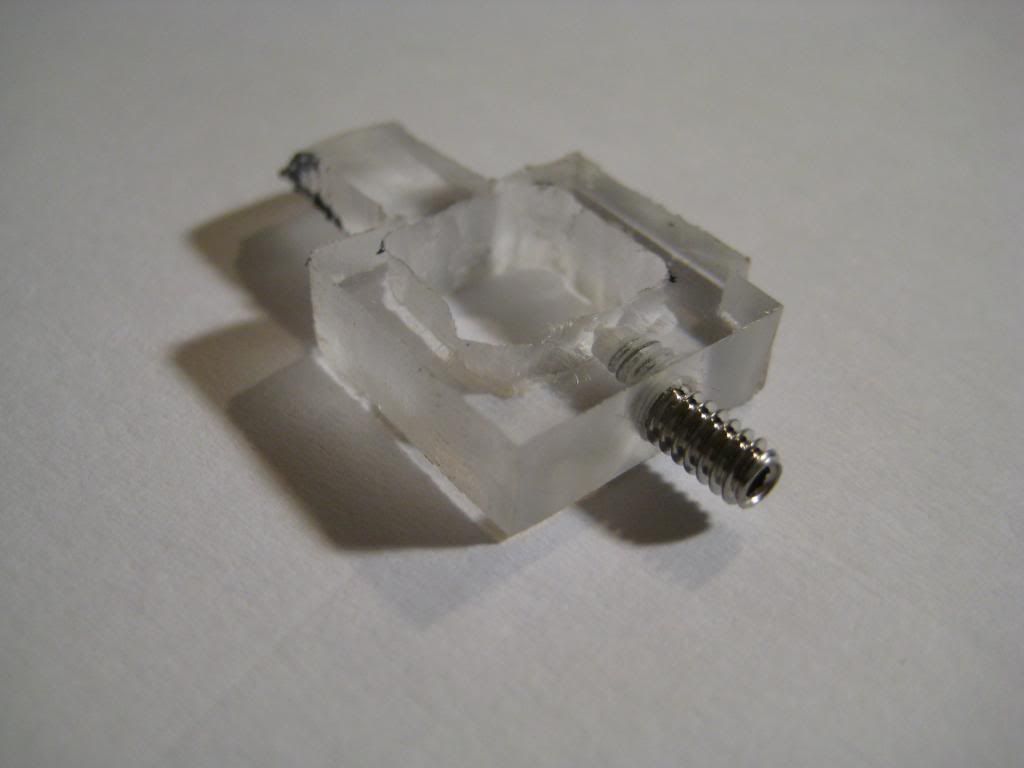
- Custom rear spring blocker
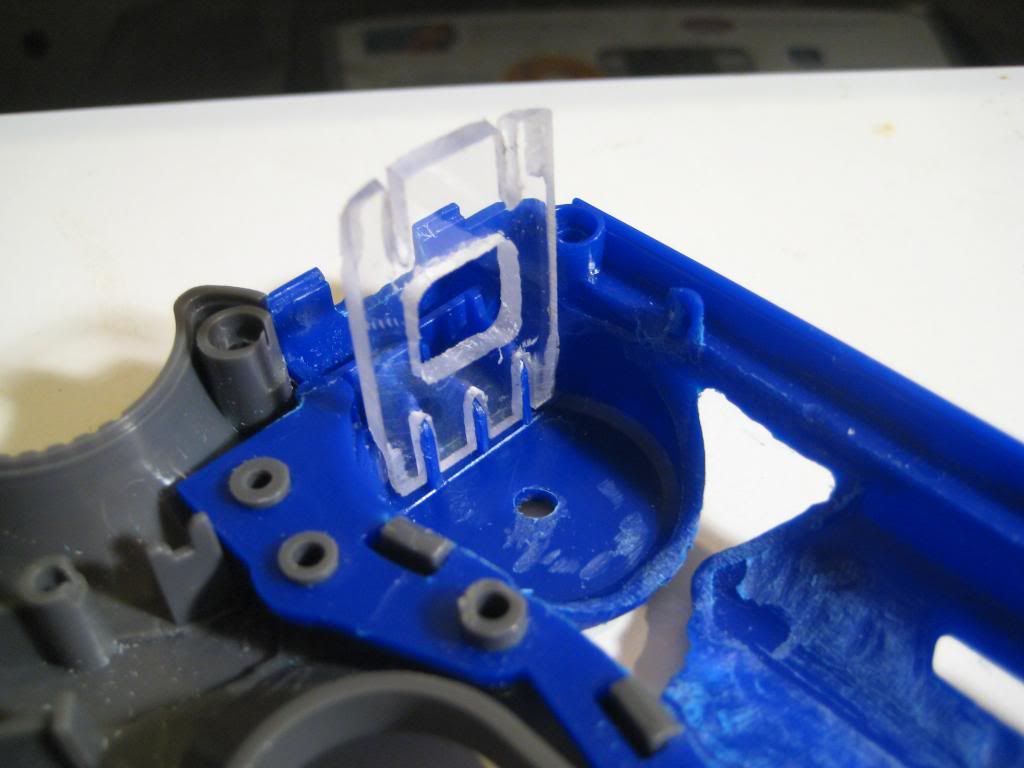
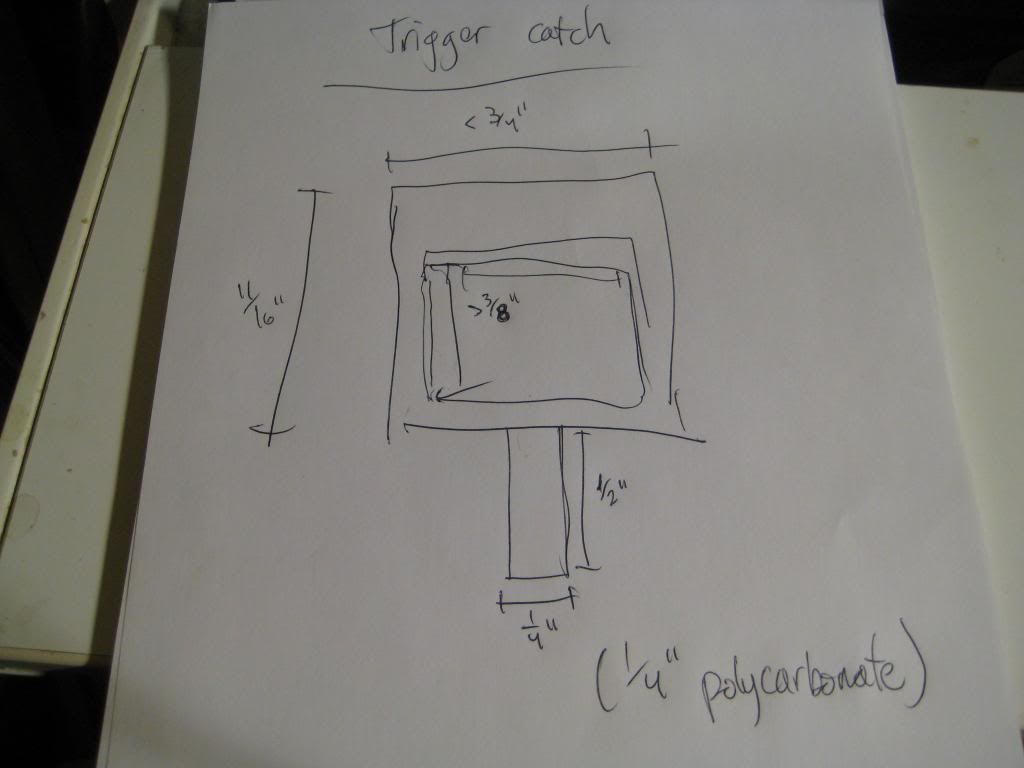
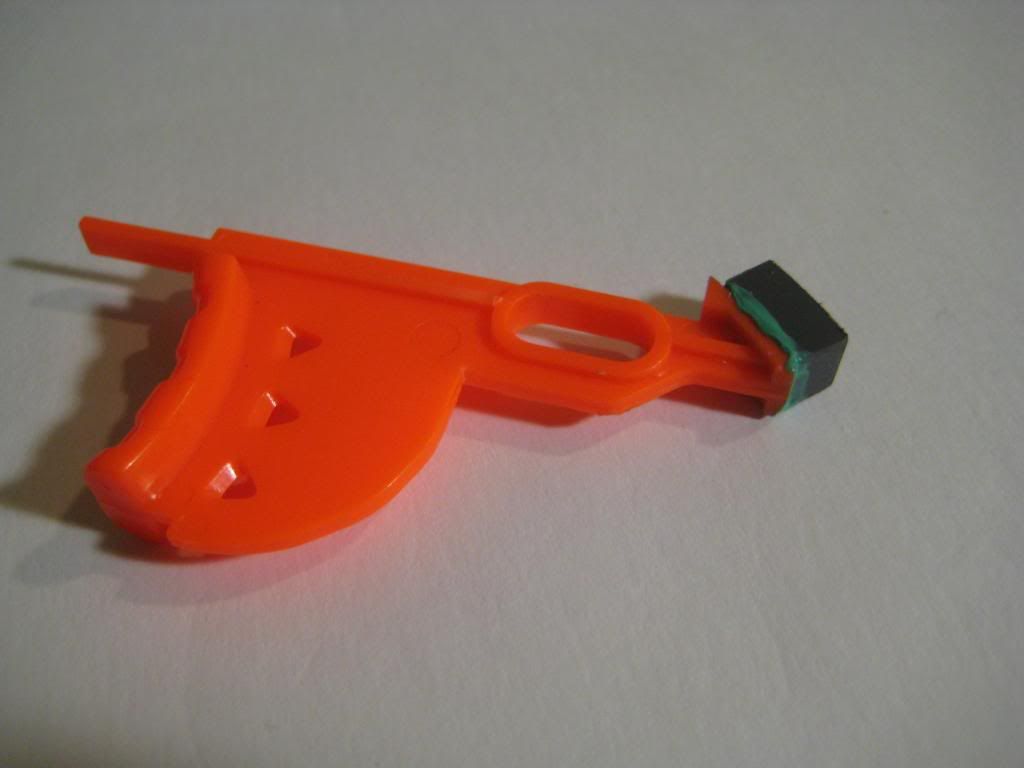
- Custom trigger catch
Required Materials:
- 1 1/4'' diameter polycarbonate tubing
- 1/2'' PVC coupler
- 1/4'' PVC sheet
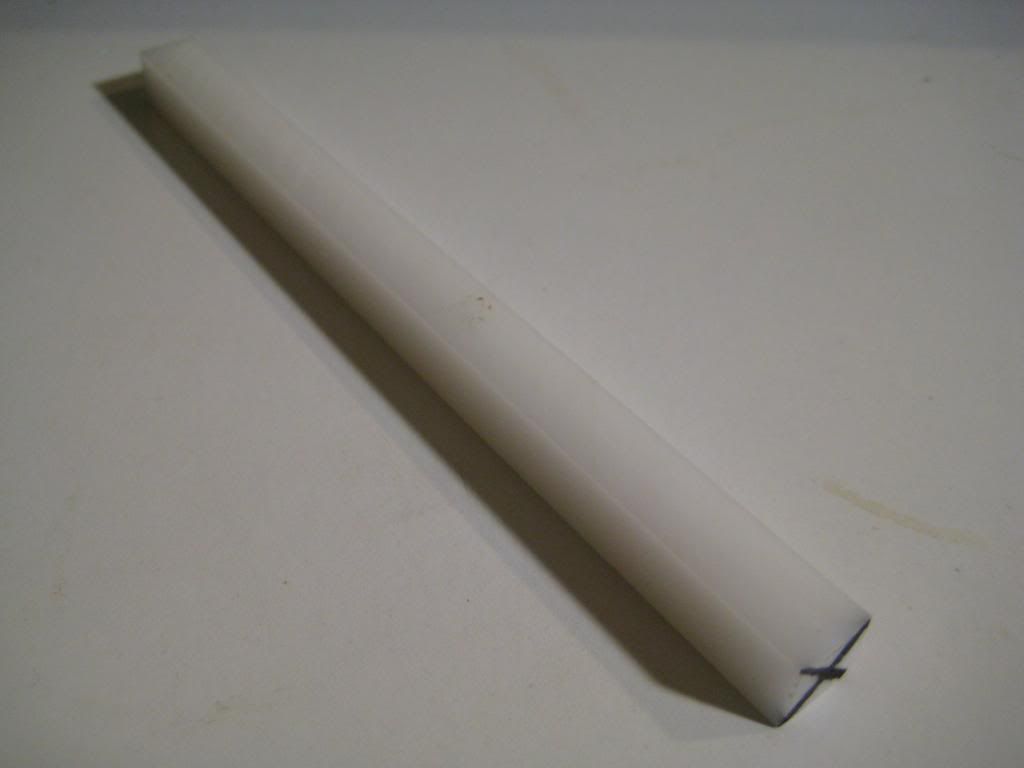
- 3/8'' Delrin rod
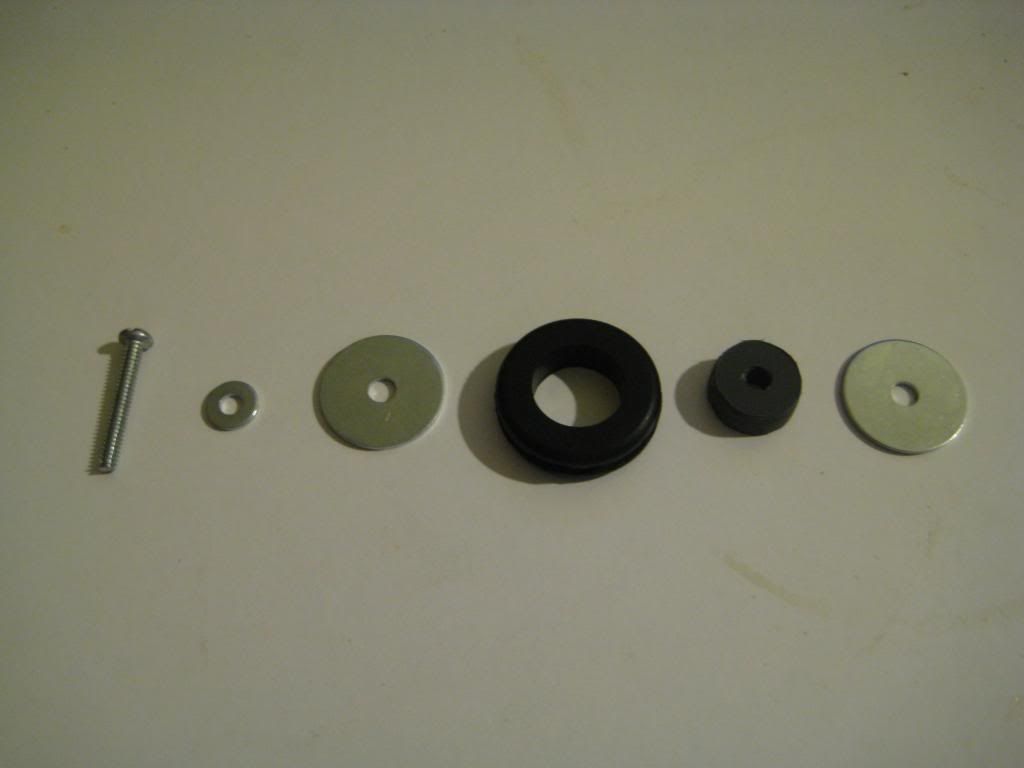
- 1'' 6-32 pan-head screw
- #6 washer
- 3/4'' fender washer
- 1'' fender washer
- 1 1/8'' O.D. rubber grommet
- 1/4'' polycarbonate sheet
- 1/8'' polycarbonate sheet
- 3'' 6-32 threaded rod x2
- 3/4'' length, 3/8'' thickness 6-32 nylon spacers x2
- 6-32 nylon acorn nut x2
- PVC/ABS solvent
- 1/8'' natural gum foam
- 1/2'' I.D., 5/8'' O.D. polycarbonate tubing or CPVC
- 1/4'' 6-32 set screw
- 3/8'' 6-32set screw x3
- 1/2'' 6-32 set screw x2
- 6-32 Keps (K-lock) nut x4
- Replacement catch spring
- [k26] mainspring
Required Tools:
- Scroll saw
- Dremel
- Drill or drill press
- 6-32 tap
- 3/4'' hole saw
Start by gutting that bitch:
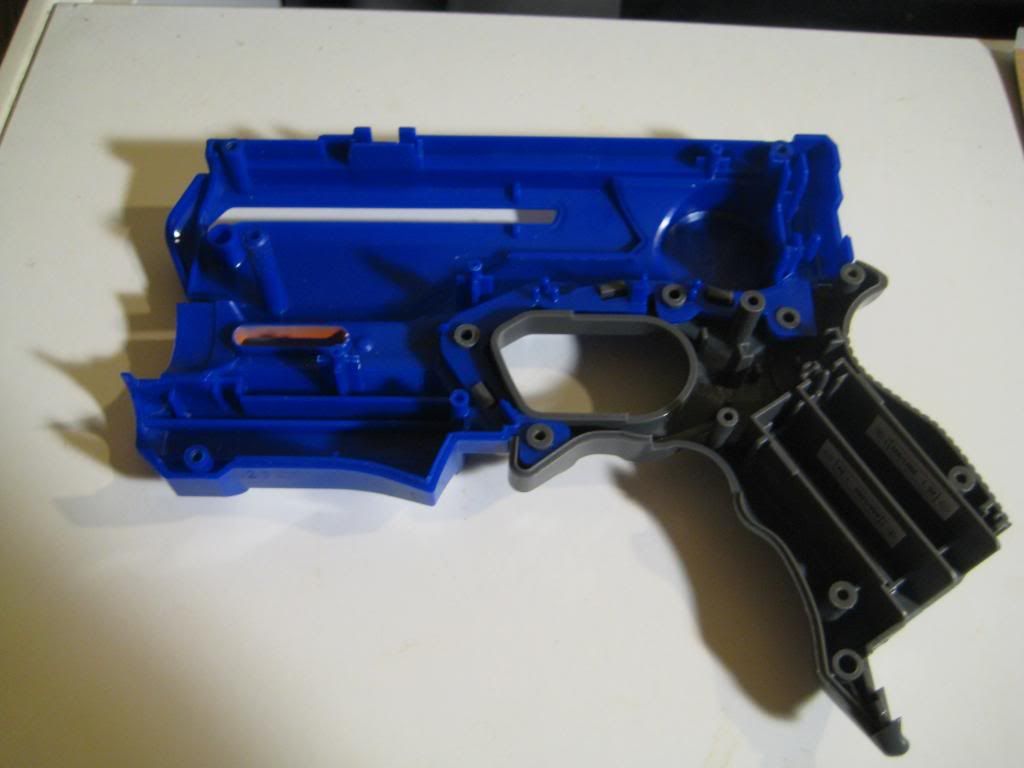
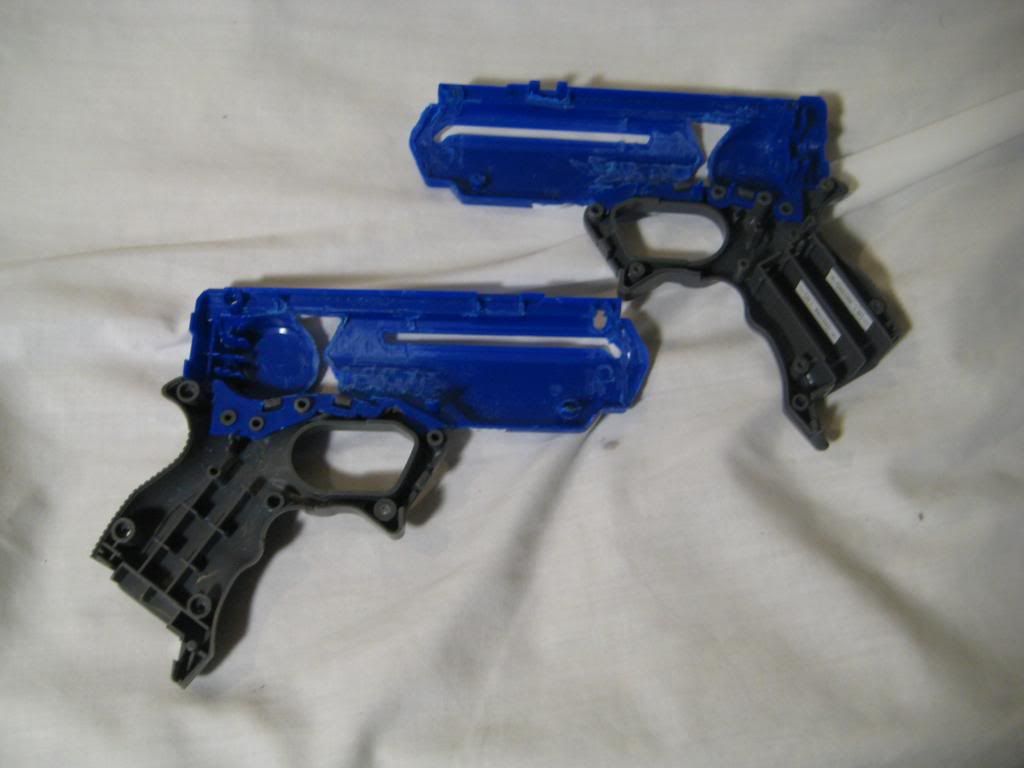
Undo the gray tabs holding the two halves together to separate the shell:
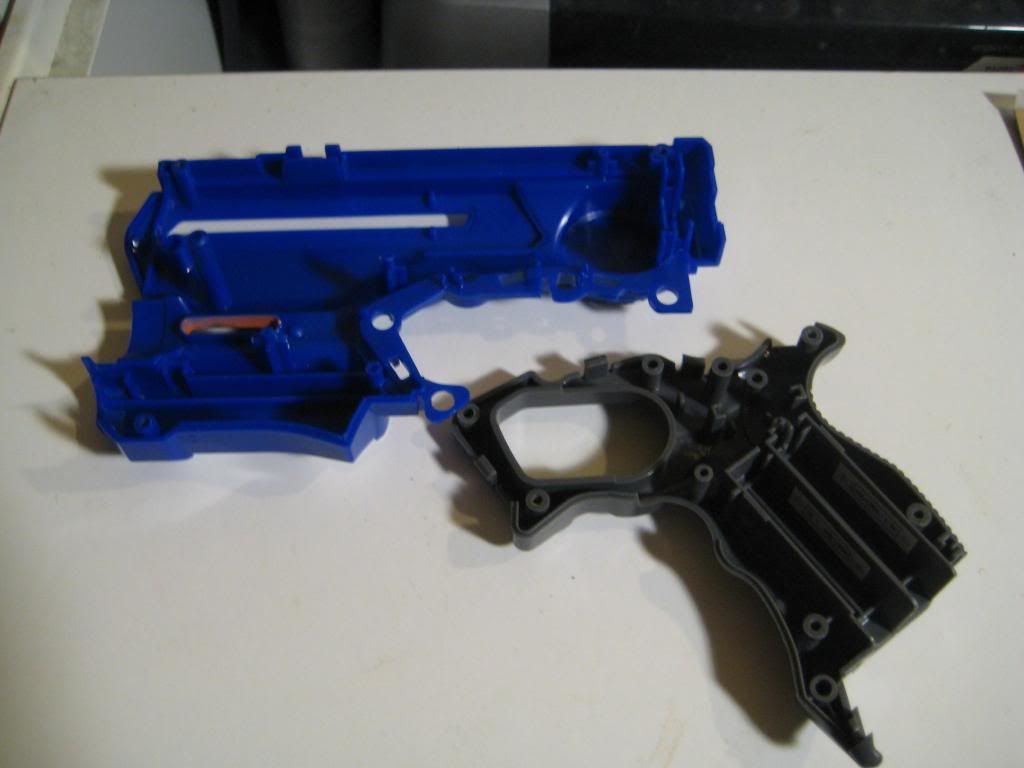
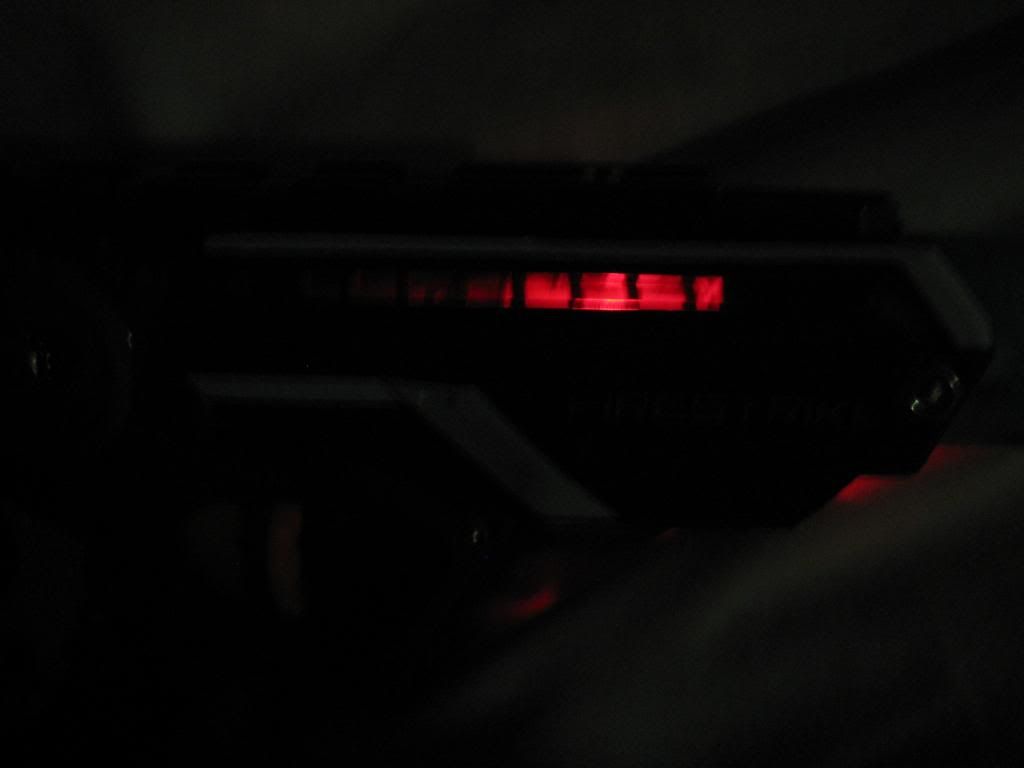
Now Dremel off the part the houses the light unit. Do it cleanly, as you will be reusing it!
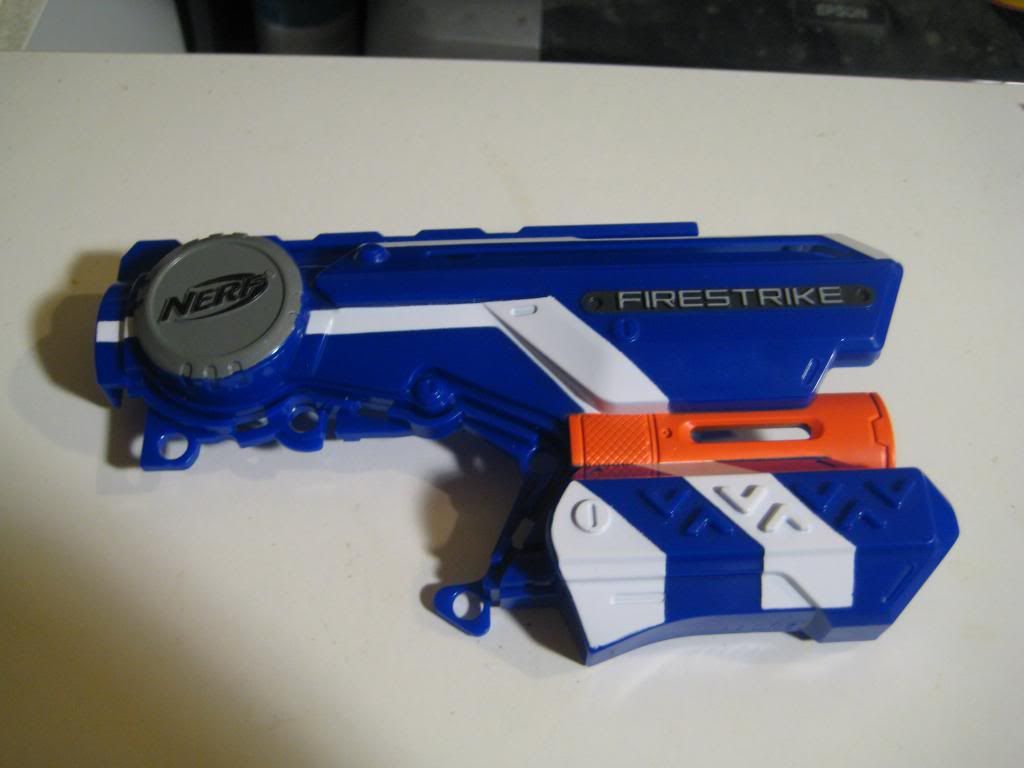
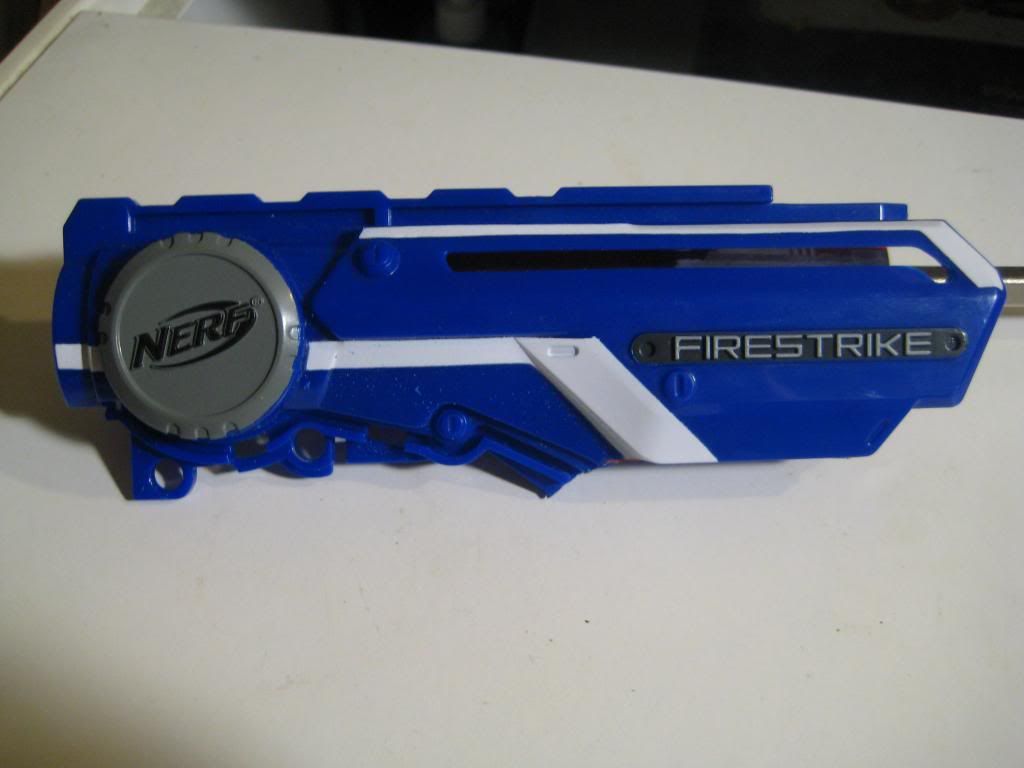
Here are the pieces you will need from the light unit:
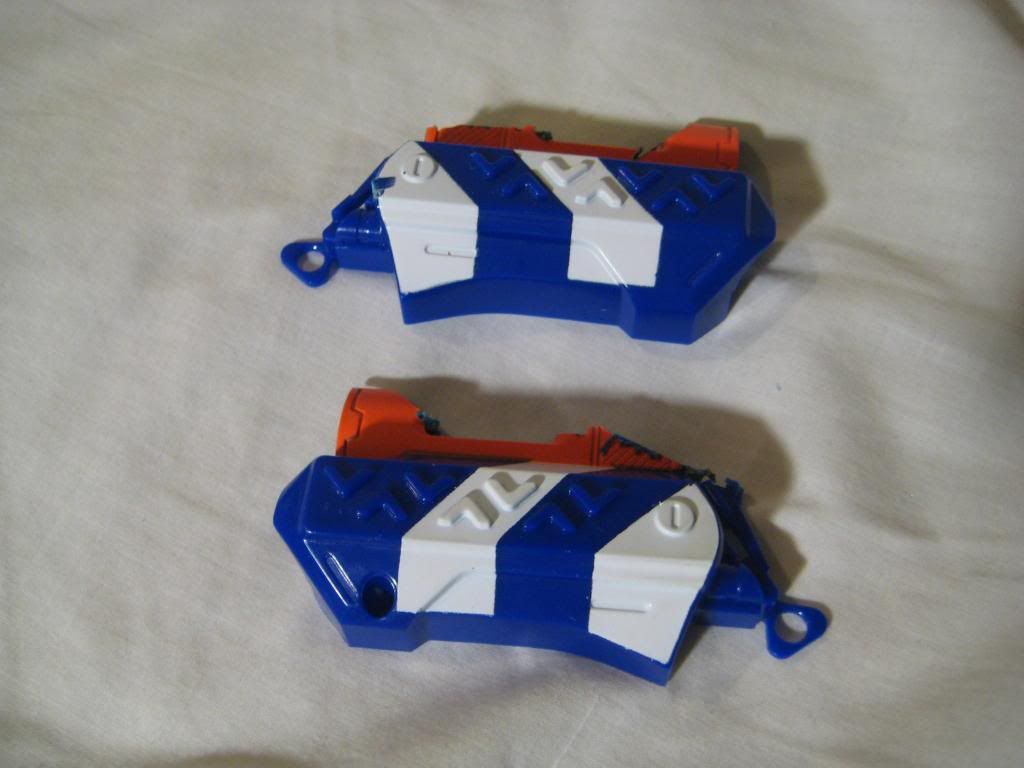
Snap the shell halves back together:
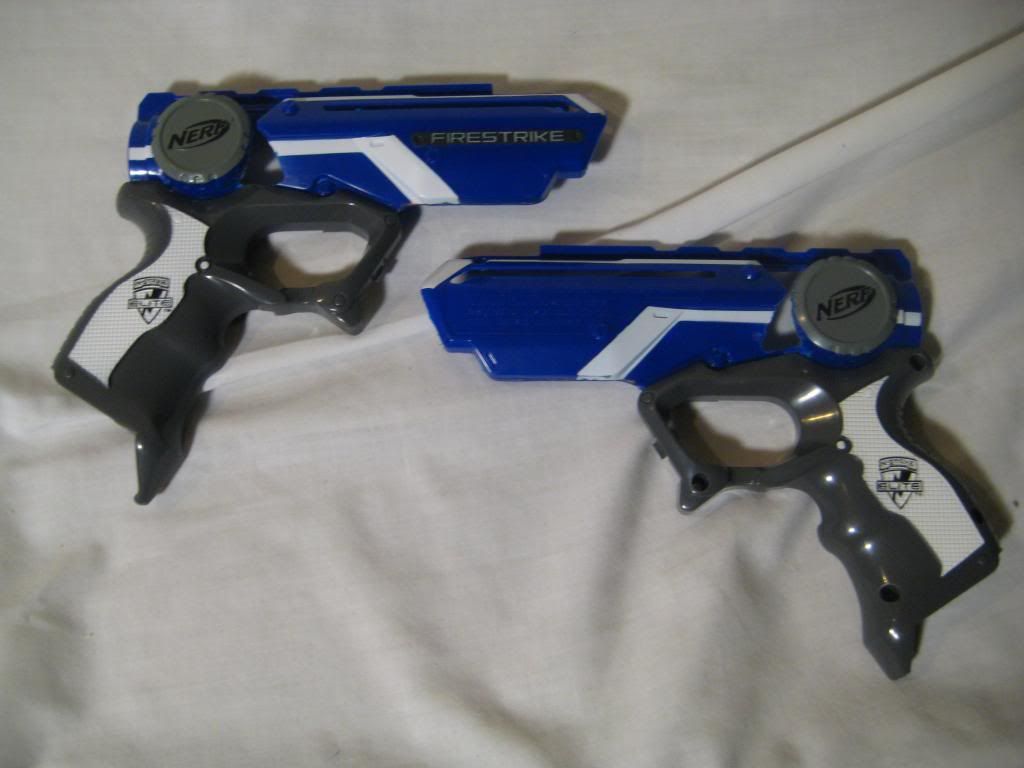
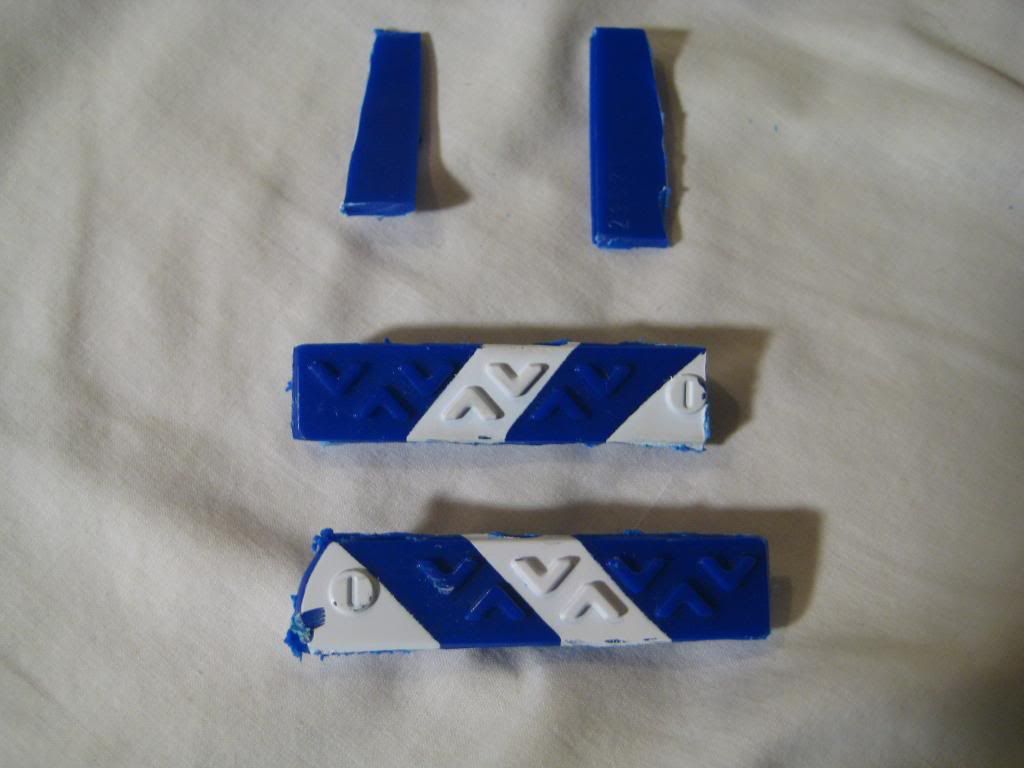
Now to cover the gaps in the shell--chop down the two striped pieces from the light unit like so:
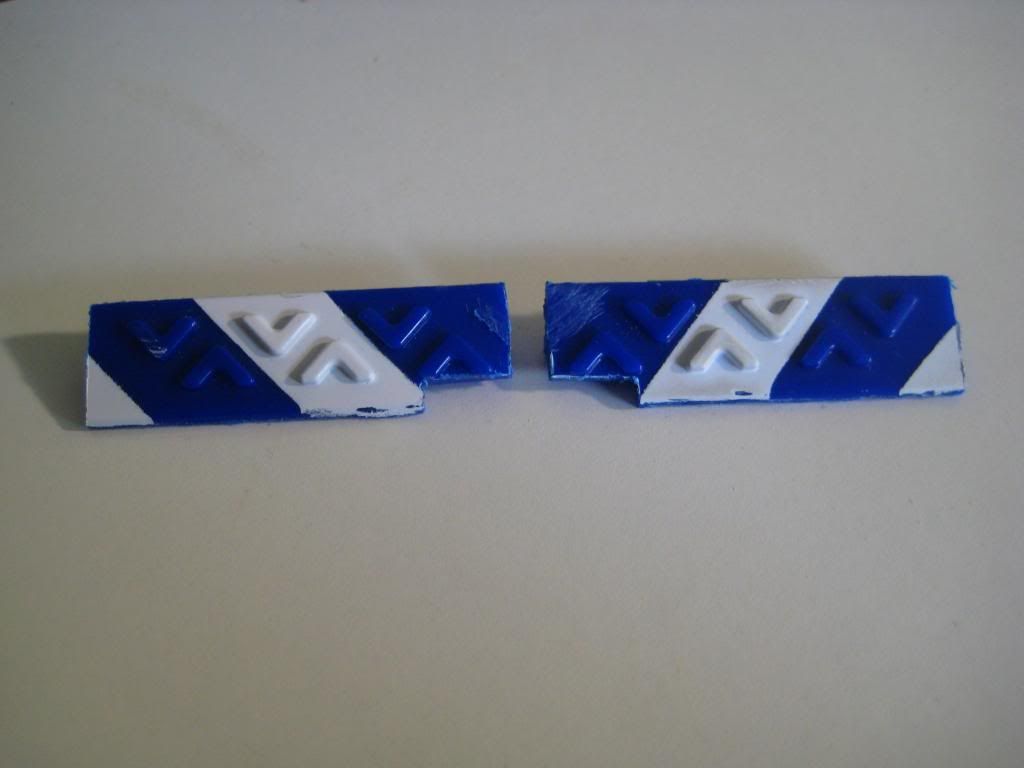
Then use the PVC/ABS solvent to weld it to both halves of the shell. Notice how I lined up the stripes--yes I am OCD like that sometimes!
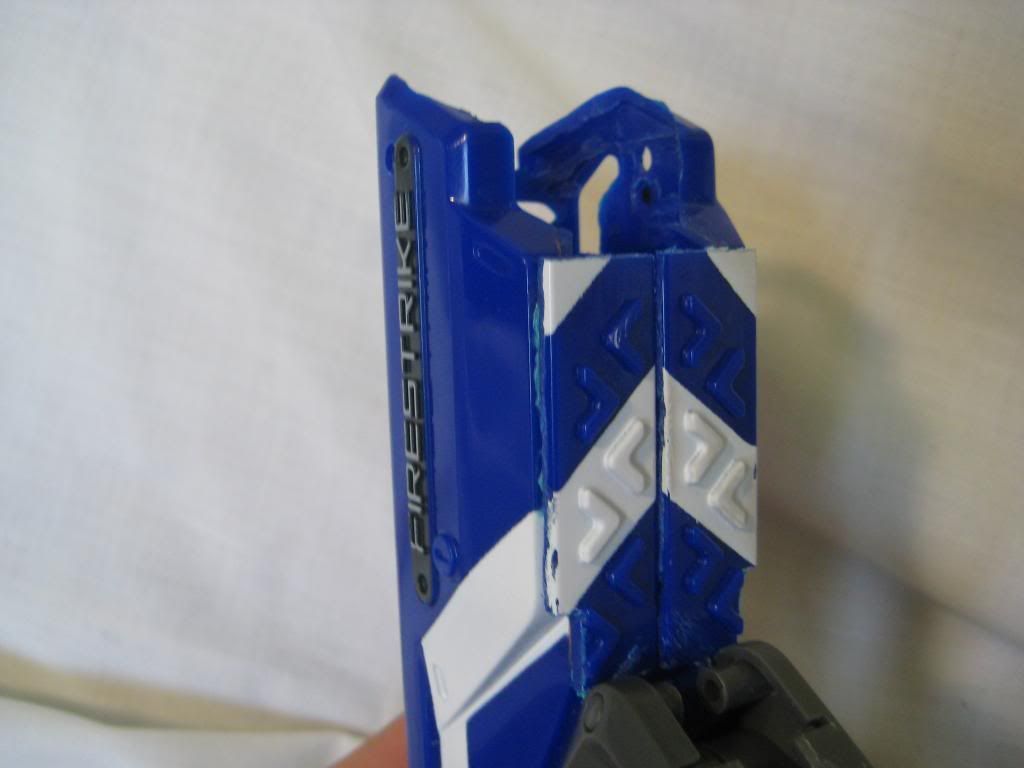
Trim down the other two pieces:
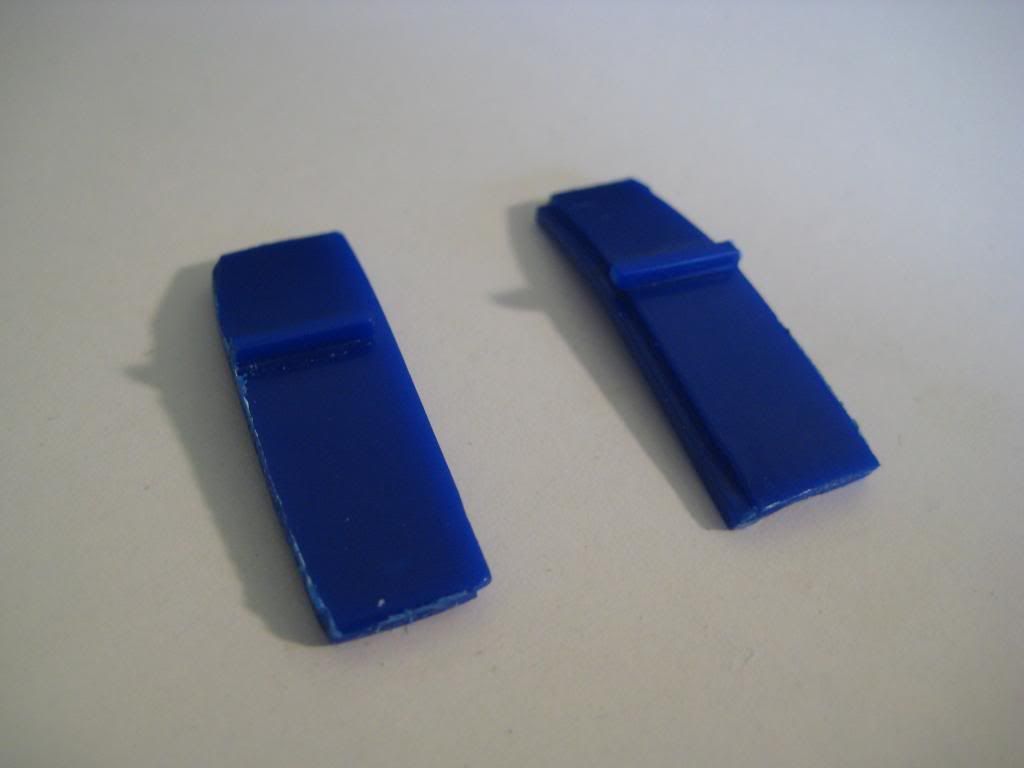
And attach:
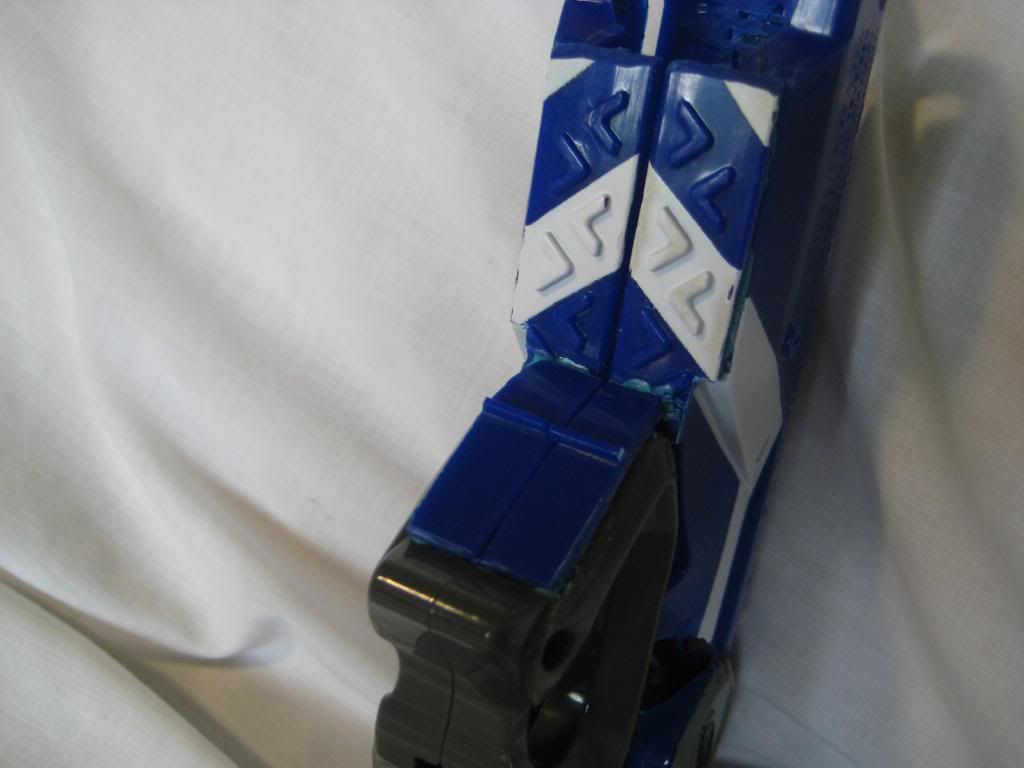
At this point it would behoove you to cut the plunger tube. 6'' is the length I went with--just long enough to keep the pistol compact:
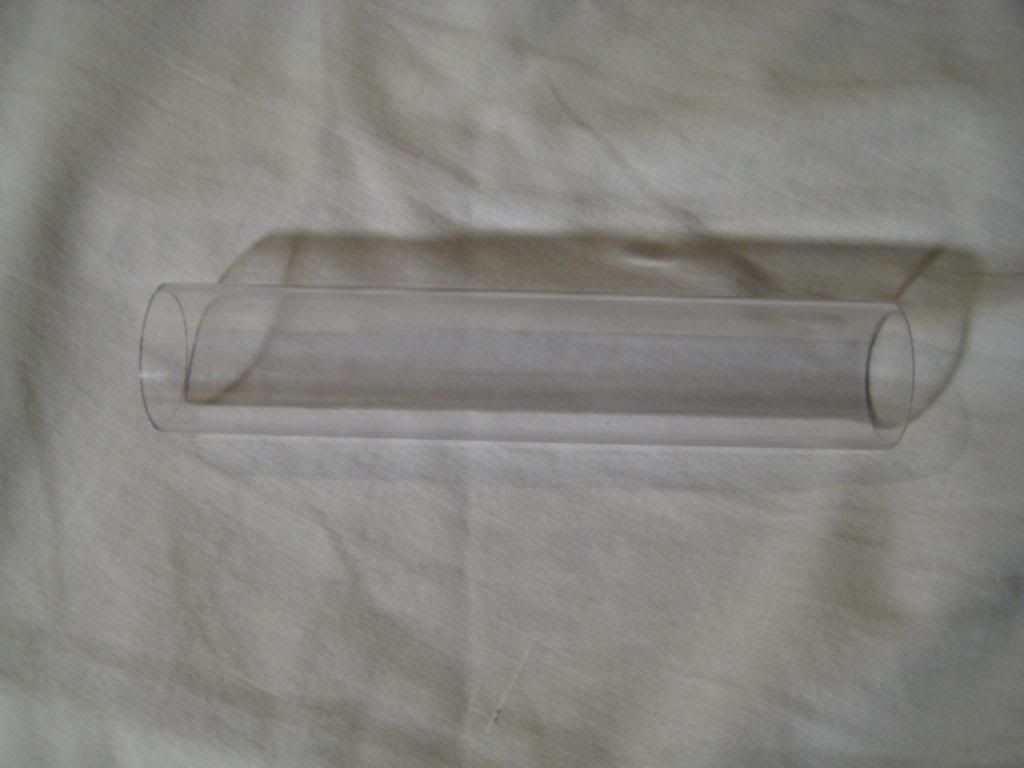
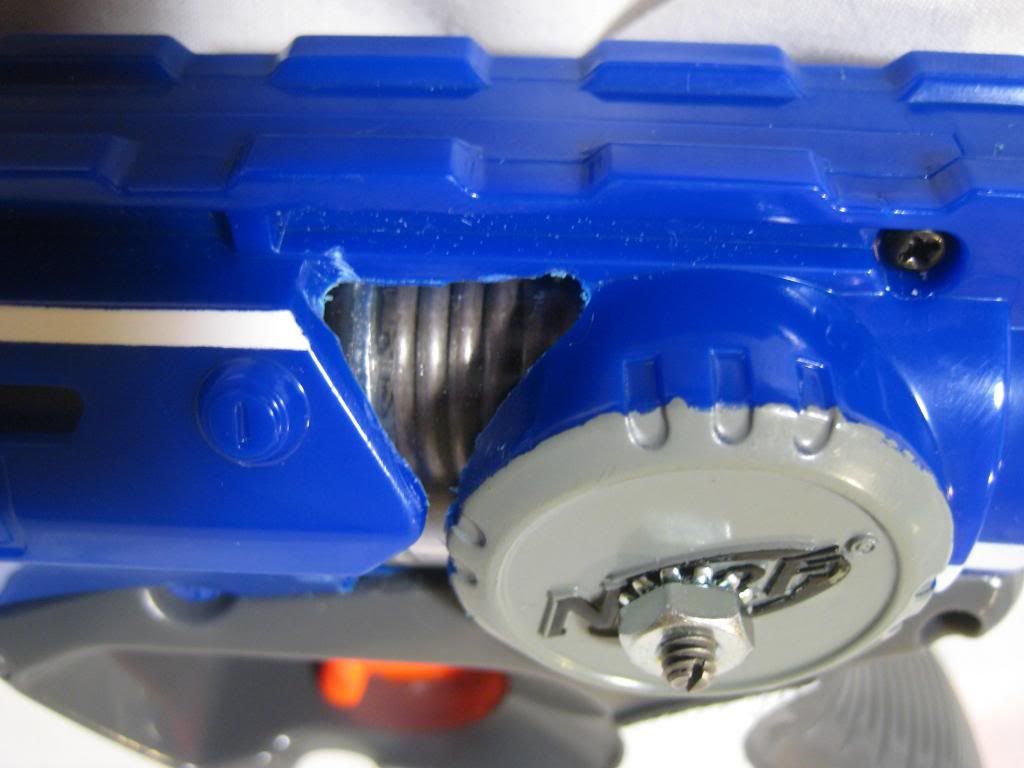
Now for one of the most time-consuming parts of the mod--Dremeling the shell down to the fit the plunger tube. Use the plunger tube to constantly test the fit. The part right in front of the round section with the Nerf logo gets Dremeled so thin that I just cleared it out to look like an hourglass on both sides. One tip I can provide is to look straight down the front of the shell and look for a perfect U-shape all the way back to the rear of the shell.
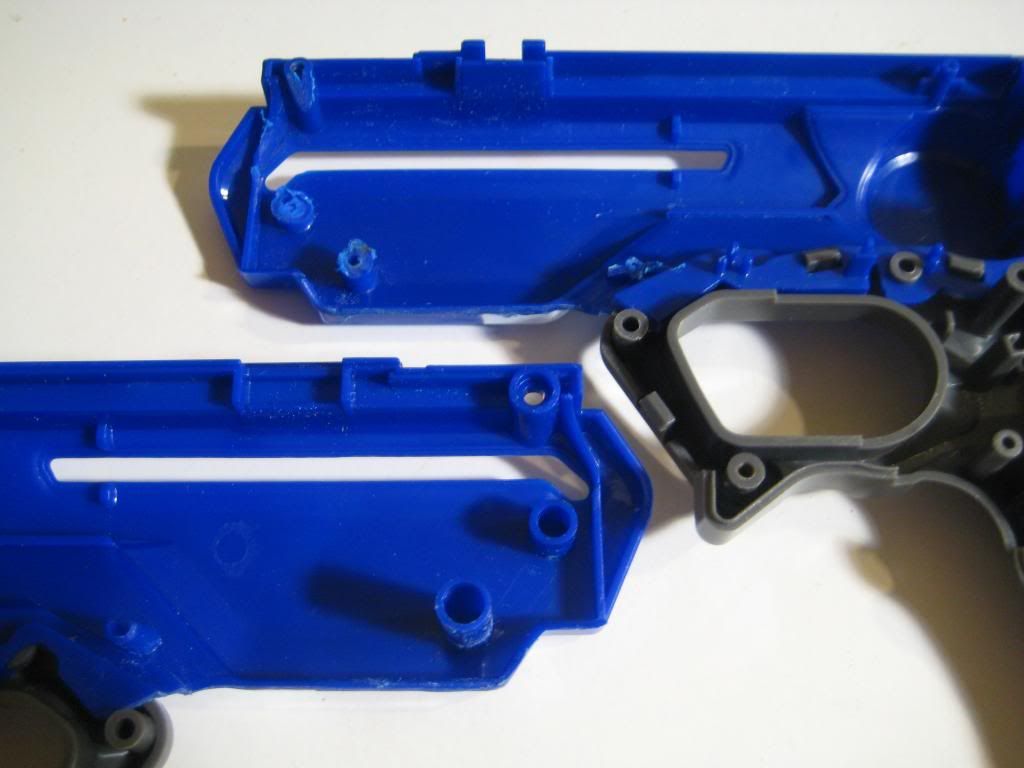
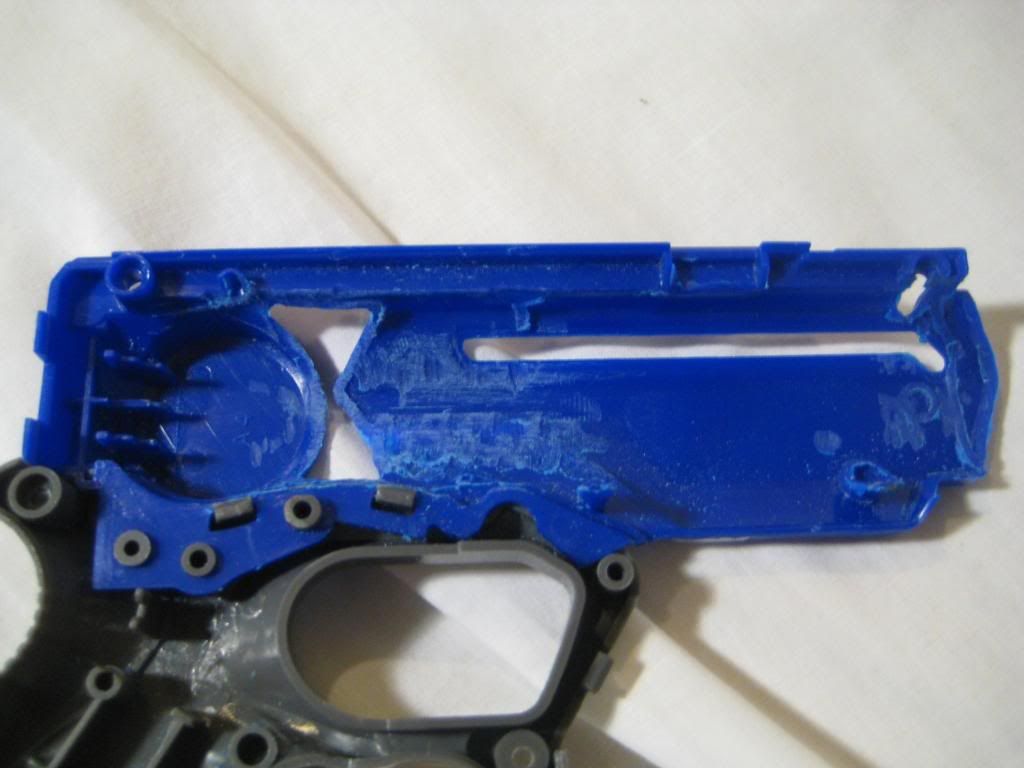
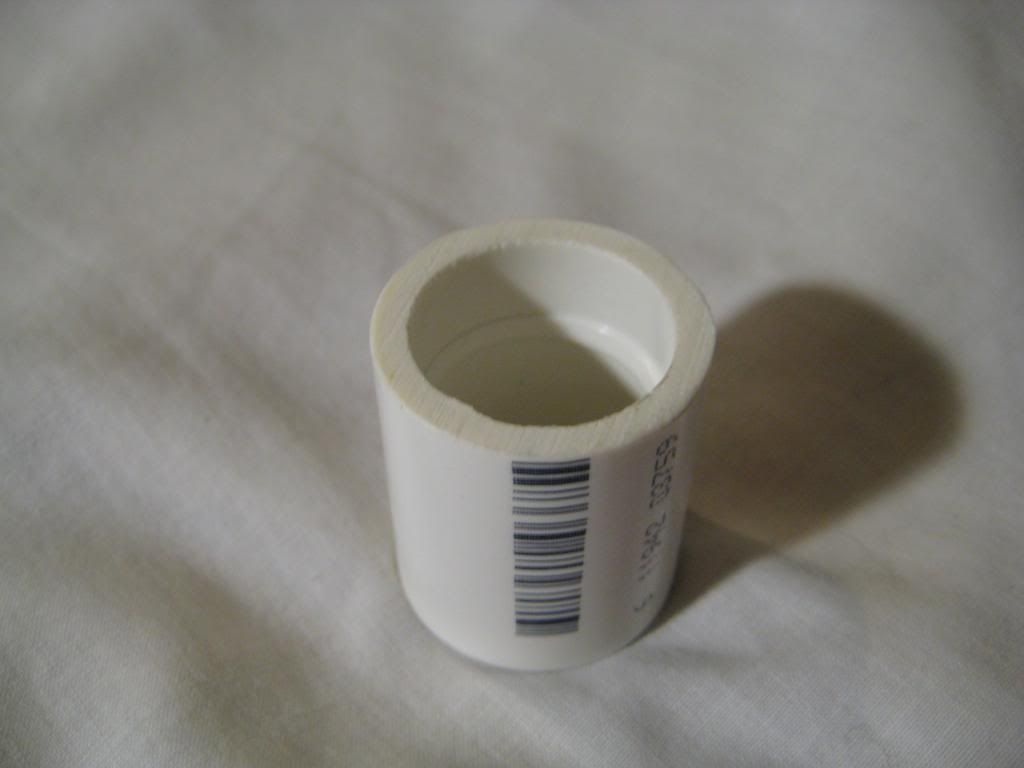
At this point let's tackle the plunger tube. Cut down a 1/2'' PVC coupler and leave enough room for a 6-32 threaded rod to pass through:
Use the PVC/ABS solvent to permanently weld the coupler into the end of the plunger tube. As it turns out, the fit is perfect! Use a lot of solvent, as the seal must be airtight. When the solvent cures after a day, drill through the plunger tube with a 7/64'' drill bit and tap it with the 6-32 tap:
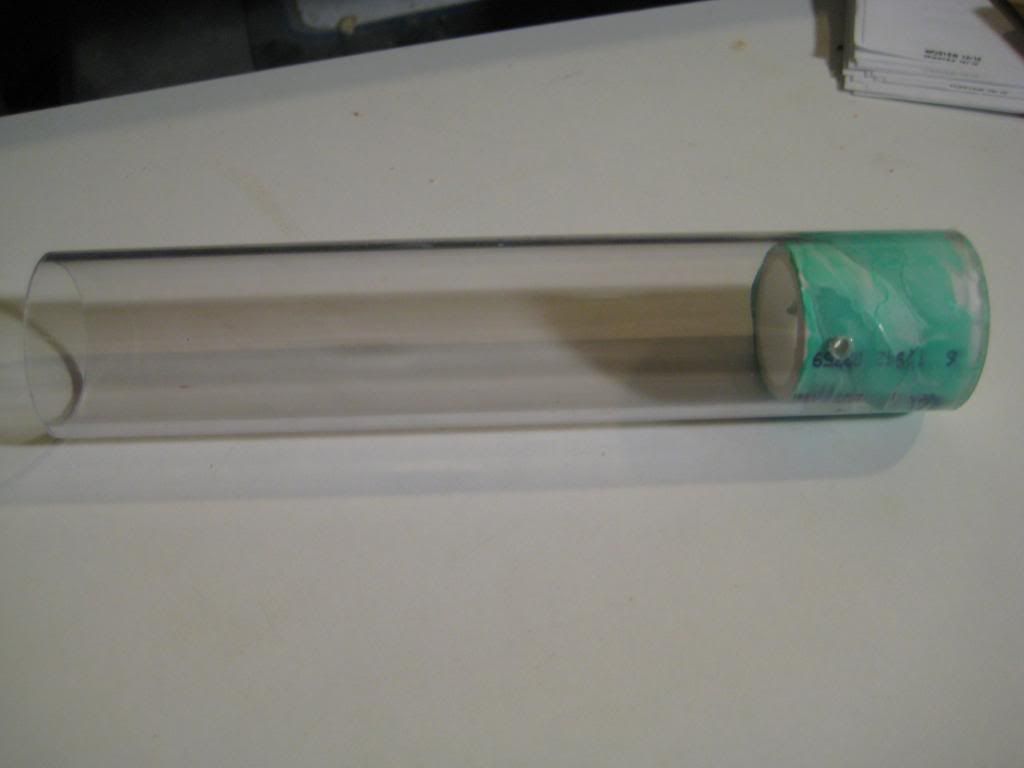
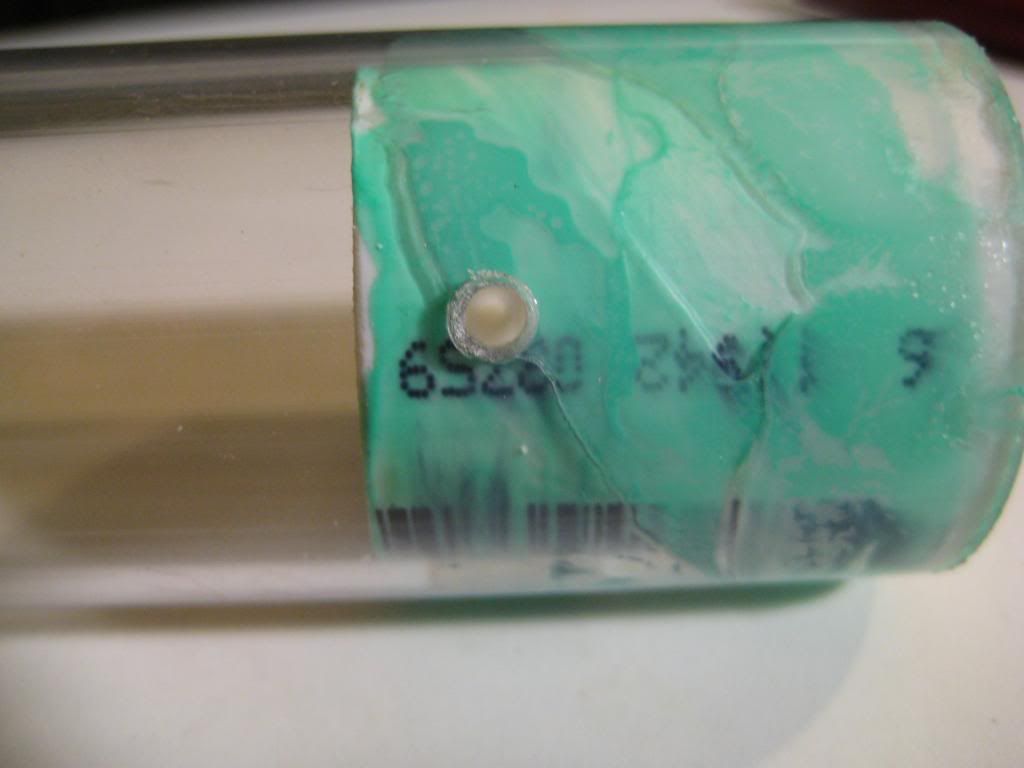
Insert the 6-32 threaded rod through the plunger tube. I used two hex nuts and tightened them together. Then I used a wrench on the rear nut and threaded it through:
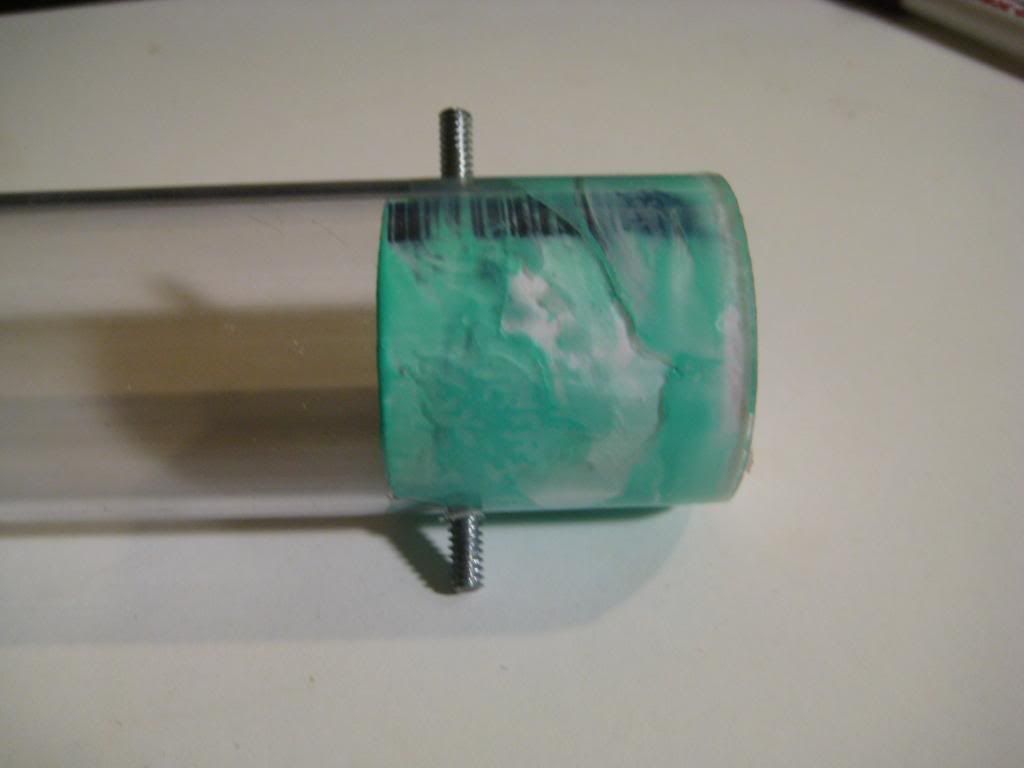
Before the next step, you will need to drill some holes in the shell. The purpose of the holes is the support the force of the plunger rod, as you will see later. Here is where I drilled my holes--they are perfectly in line with the middle of the plunger tube:
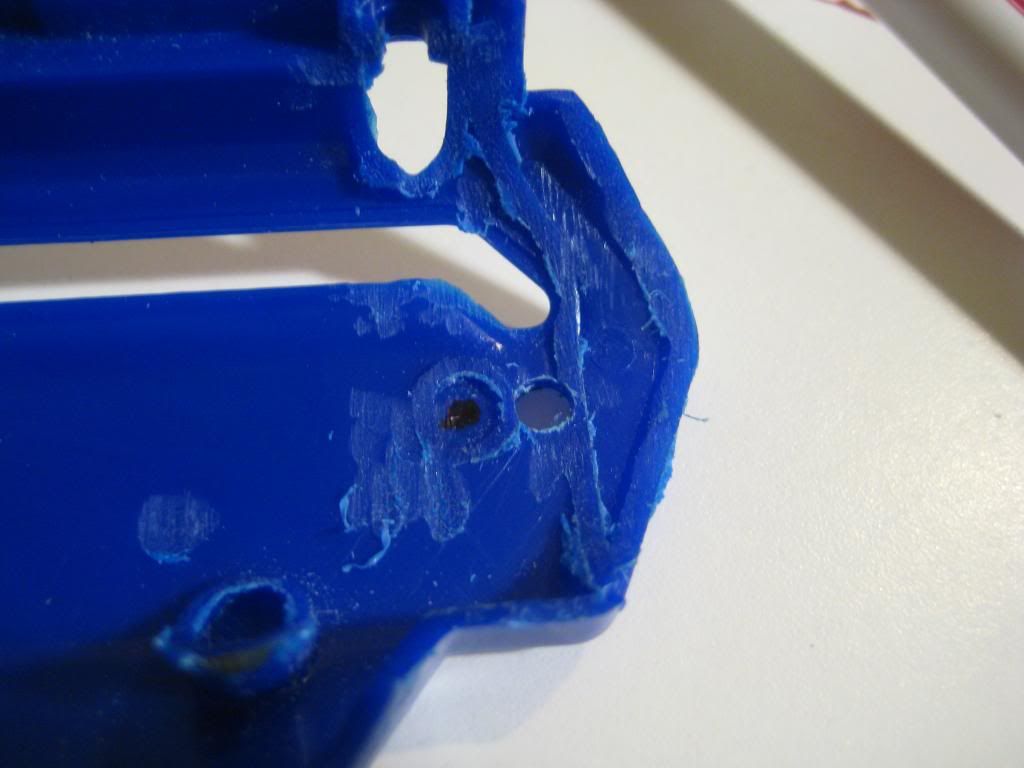
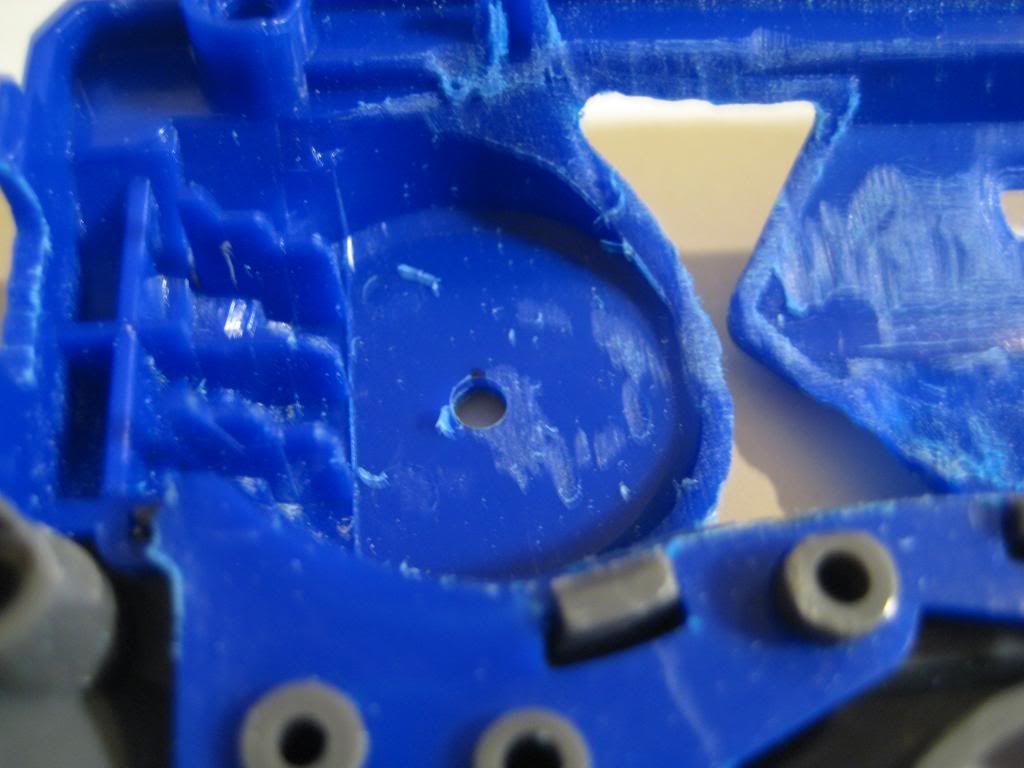
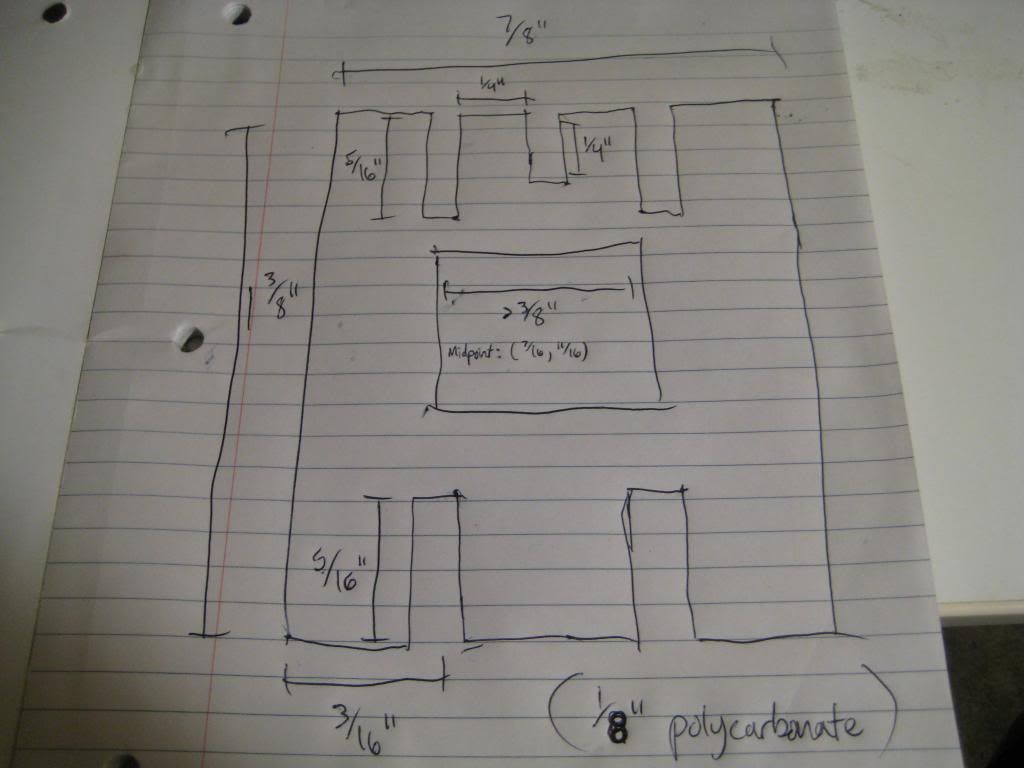
You will now need to fabricate the rear plunger tube supports. They will be made from 1/4'' polycarbonate and follow this schematic:
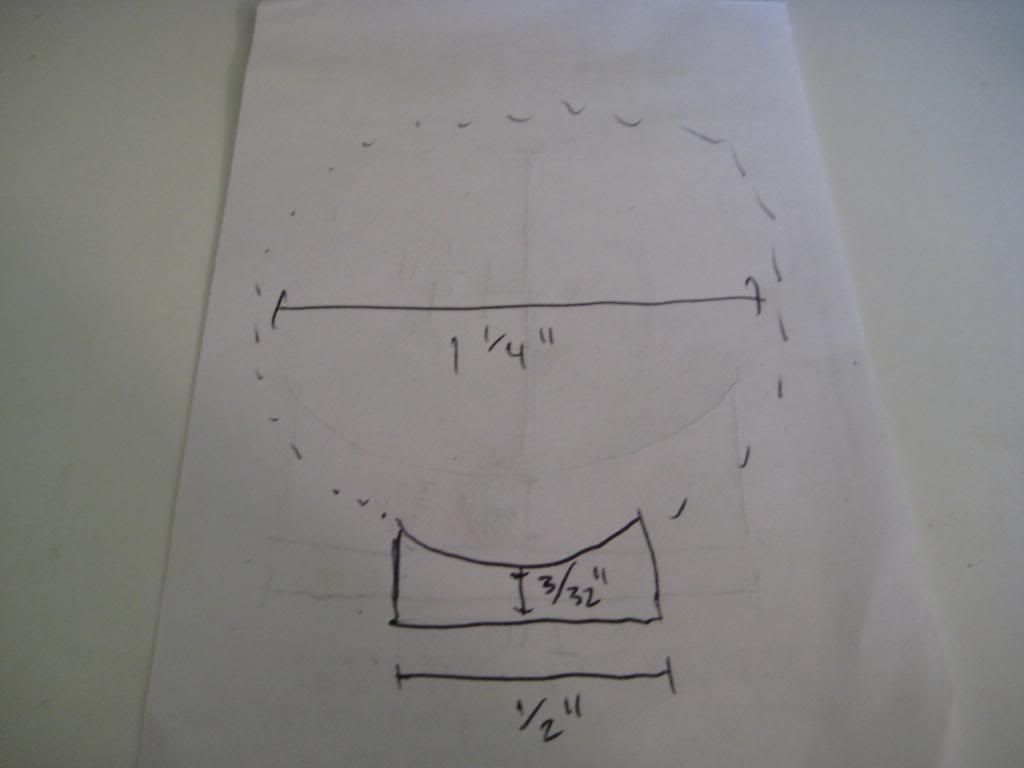
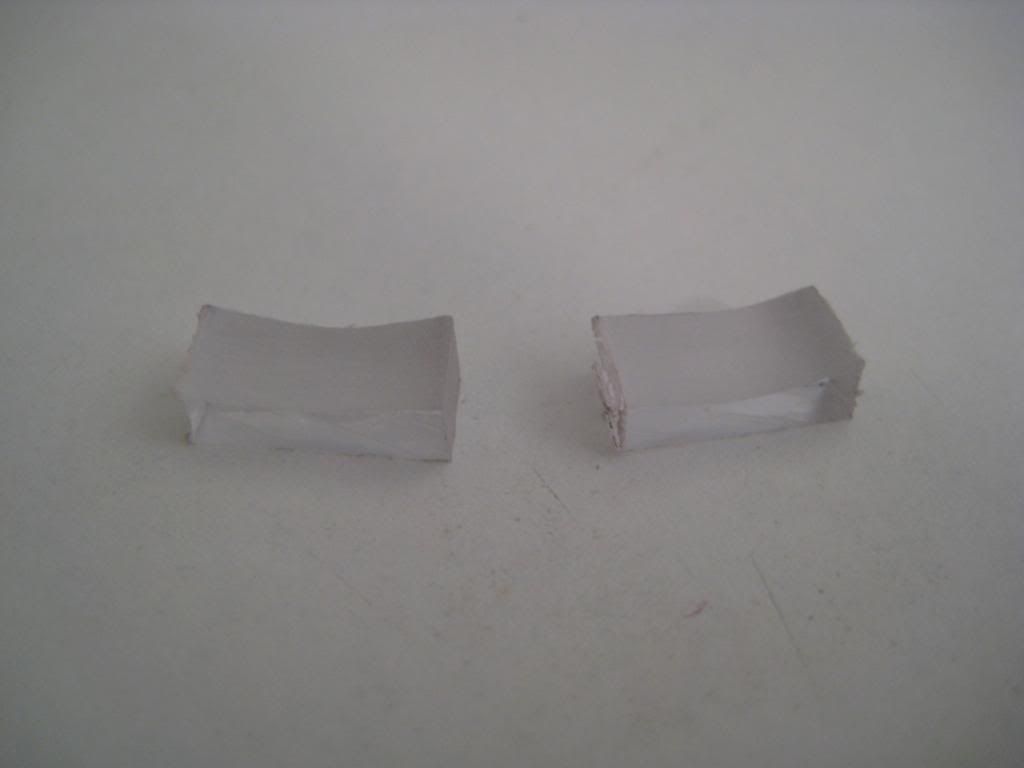
Here they are!
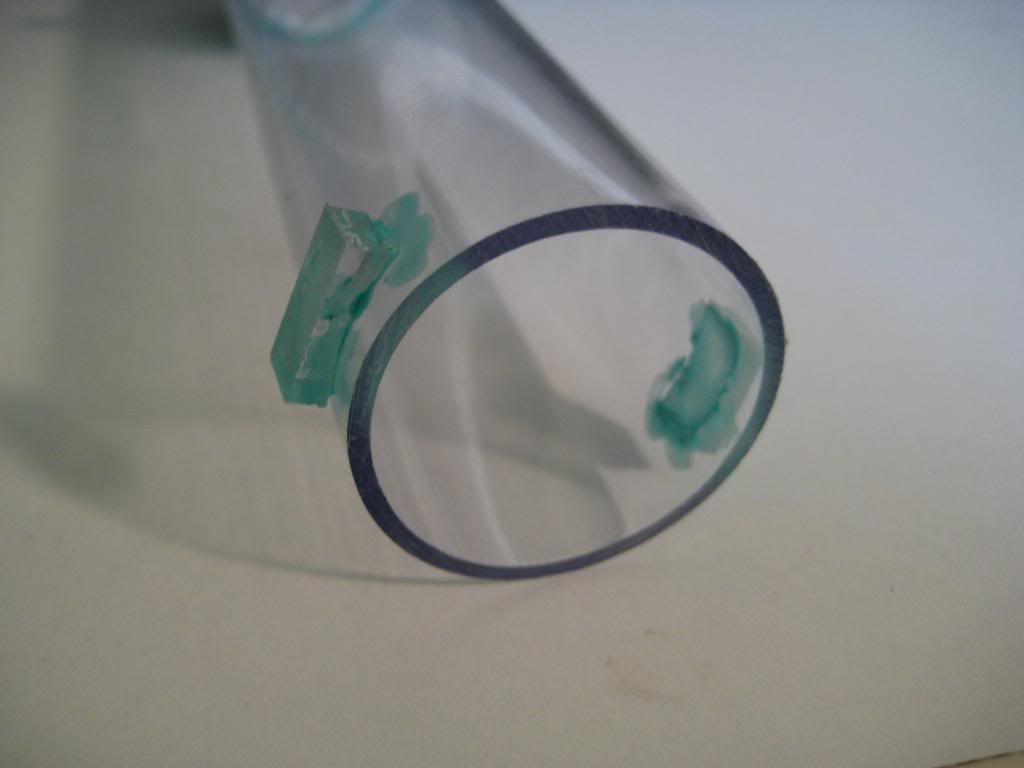
Now take plunger tube and put it into place and close the shell. Make a mark on both sides through the rear hole on both side to designate a spot of importance. Then take your polycarbonate pieces and solvent weld them into place:
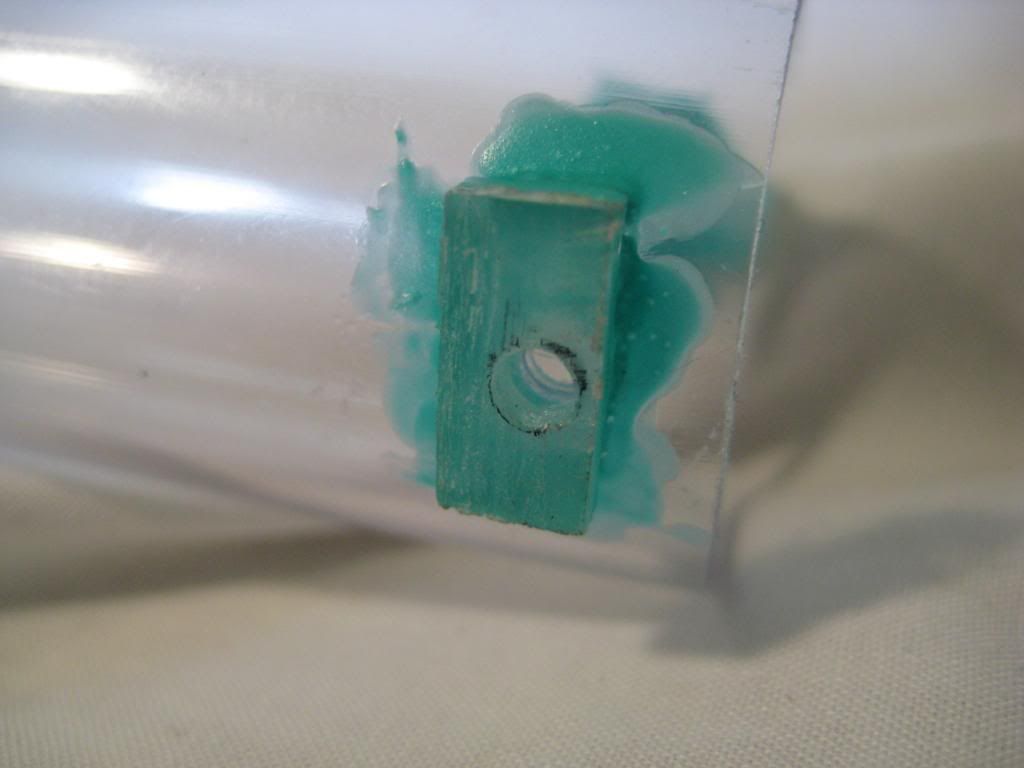
When the solvent cures, put the plunger tube back in the shell and close it up. Make two marks just like before--through the back holes. Drill and tap through the marks you made with the 7/64'' drill bit and 6-32 tap:
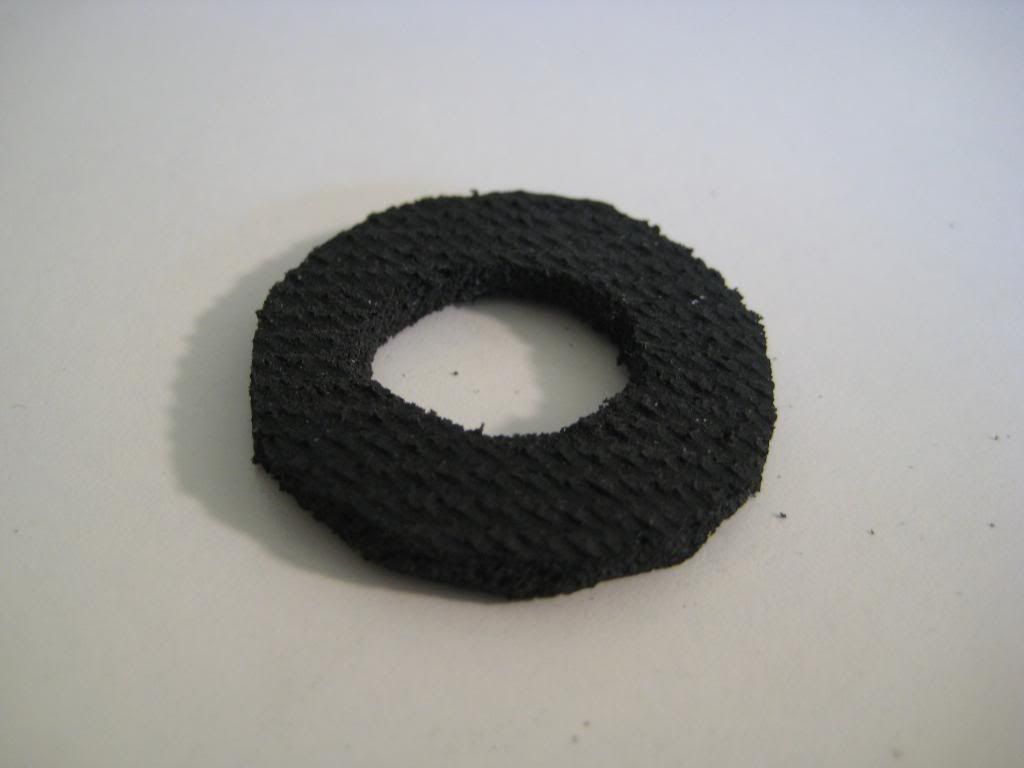
I forgot to take a picture of it, but you should insert a 1/2'' set screw into each of the holes you just made. Make sure that they don't protrude into the plunger tube or the spring will get snagged! The final step for the plunger is to cut yourself some plunger padding and insert it down behind the 1/2'' PVC coupler:
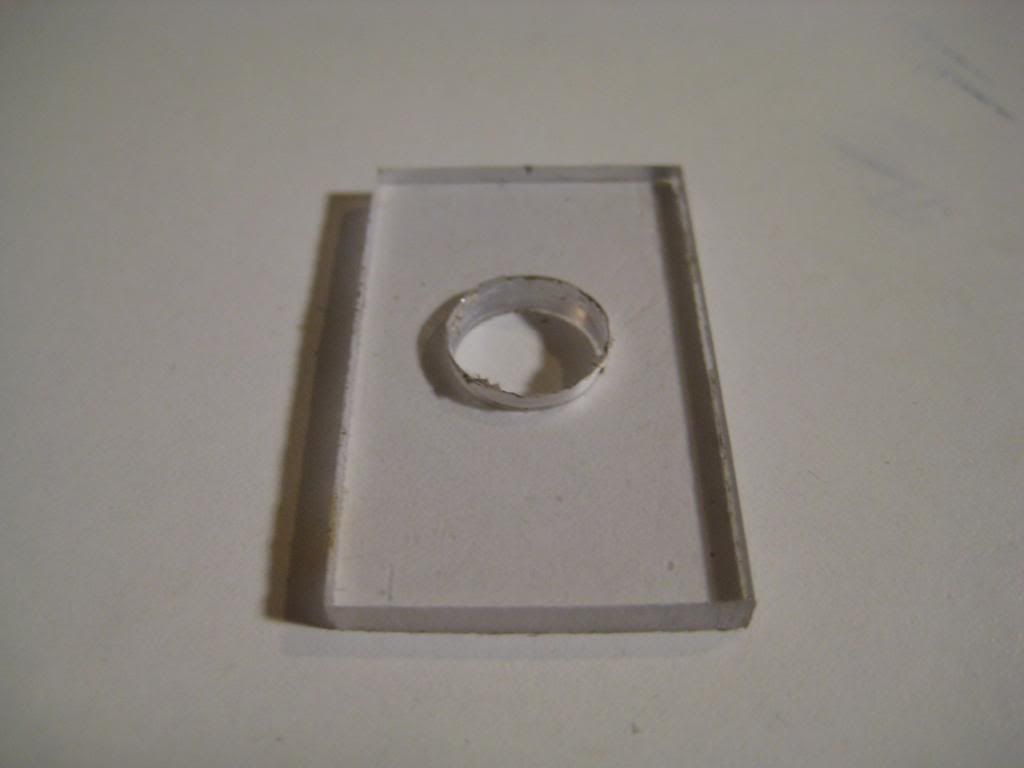
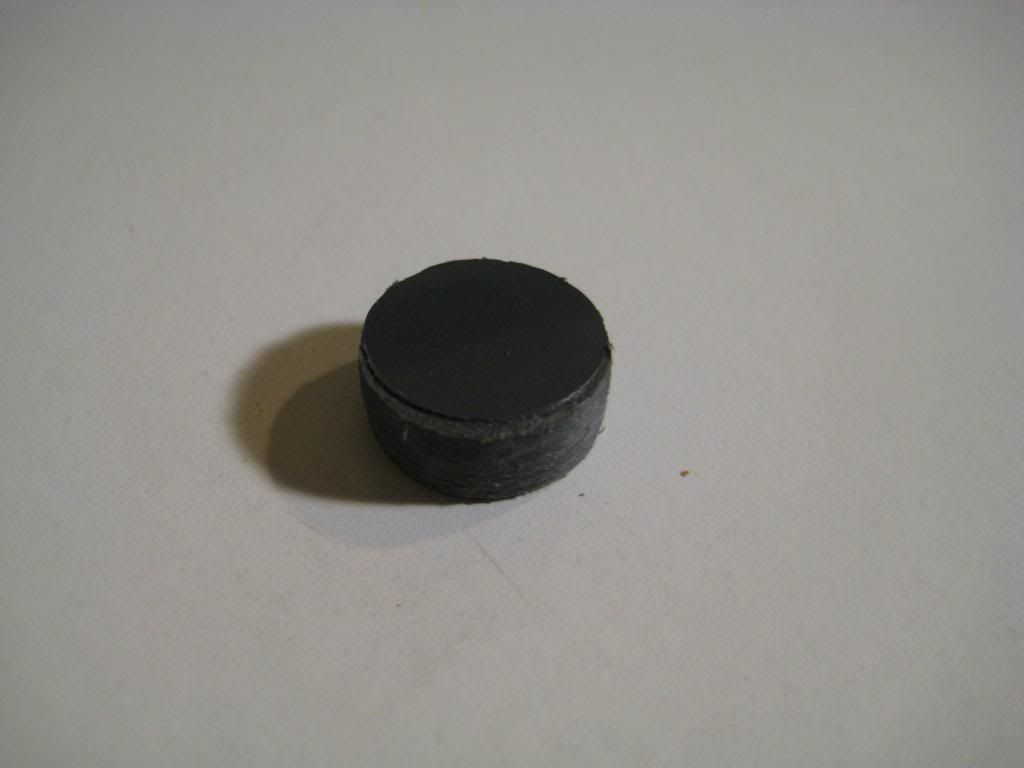
Next up is the plunger rod. Take your 3/4'' hole saw and cut a circle out of your 1/4'' PVC sheet. This will serve as a spacer that sits inside the rubber grommet:
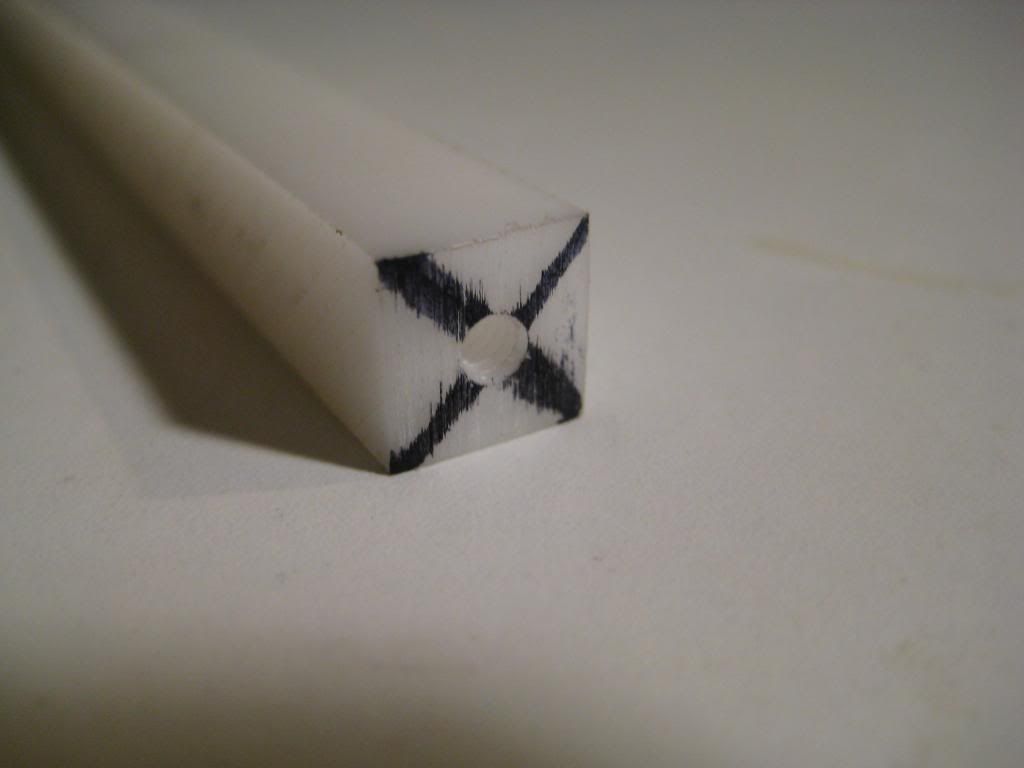
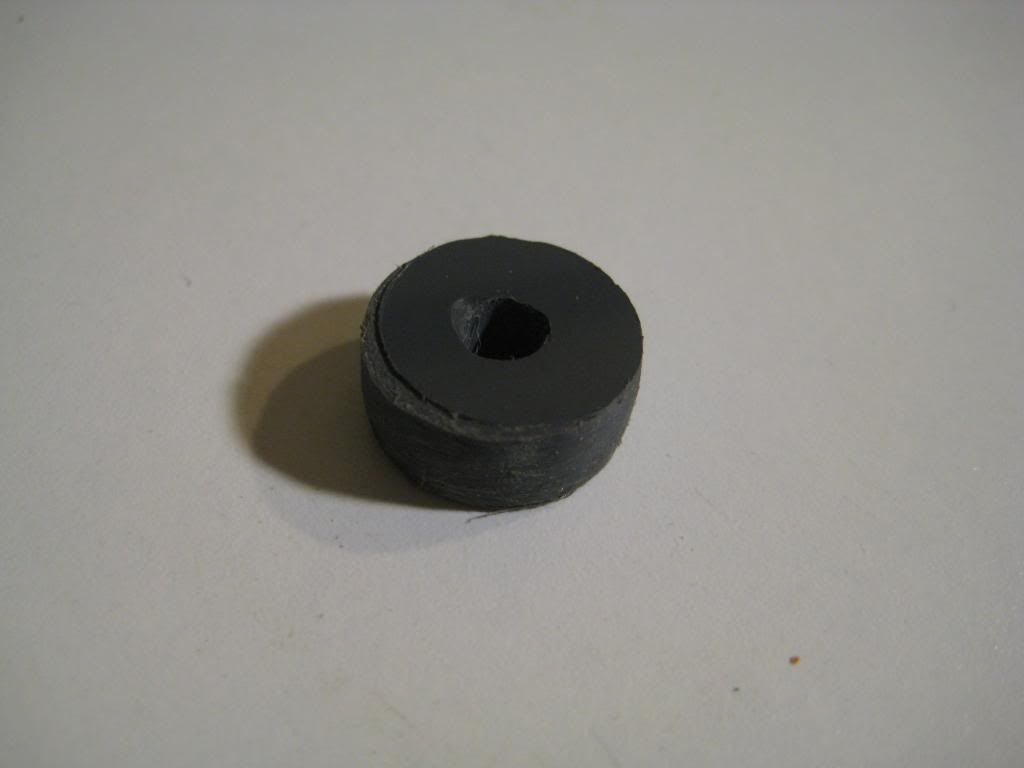
Drill a 9/64'' hole right through the middle:
DO NOT POST! THIS WILL BE A TOTAL OF 2 POSTS!


