Jump to content


Photo

RAD-V1, and V2+video

Video!

23 replies to this topic

#1 hamoidar

hamoidar

    Member

  • Members
  • 367 posts

Posted 11 October 2012 - 04:12 PM

Please Note: This write up is huge! I would recommend you scroll to the end and see the finished product first, and if you like/want to build the gun, go back and read it in its entirety.

This project has been in the works for about a month now, and I can safely say it turned out pretty good.
The whole point of this gun was to create a reliable primary that could shoot straight up, fire with decent range, and without all the internal stress of a Springer. The only option that would fill all those criteria would be a clip-fed air-gun. (plus I really felt like building something, that helps two!) Without further ado: the RAD-V1 write-up!

Parts list:
McMaster number or store.
Amount:

2] 12” by 12”, 1/8” thick polycarbonate sheets. 8574K26
1] 12” by 6” , ¼” thick polycarbonate sheet. 8574K282
1] 9/16” brass tube. 8859K35
1] 19/32” bras tube. 8859K36
1] 5’, 7/16” Nylon rod 8538K17
1] ½” thick cutting board. Wal-Mart
100] 3/8” long pan-head Phillips screws. Lowes
1] Scrap of 1/16” Plexiglas aka acrylic
2] ½” cpvc tees VVVV
1] ½” cpvc pipe
1] 1”pvc
2] 1” pvc end-cap
1] 4’ of ¼” vinyl tubing
3] ¼” tubing coupler
1] Electrical tape
1] ½” pvc elbow
1] ½” pvc coupler
1] ½” pvc end-cap
1] ½” pvc pipe
1] AT3k tank OR Robomans aluminum At2k tank. Nerf parts bin.
1] AT3k pump OR equivalent VVVV
1] AS-20 bleed valve
?] Assorted small springs, all the ones I used are from an AT3k.
1] Alpha-trooper magazine dart pusher thingy (the black piece with the constant-force spring)
------------------------
Tools.
Band saw or scroll saw, although I guess you could do all the cutting with a dremel. : P
Dremel, with a few bits.
Assorted pliers and screwdrivers.
Ruler
Pens, markers and pencils.
Sandpaper
Drill
Drill bits
Razor blade
Straight edge
A lot of patience!
-----------------------
Bonding agents:
Super glue
PVC solvent
Epoxy (optional)
White glue (for the templates)


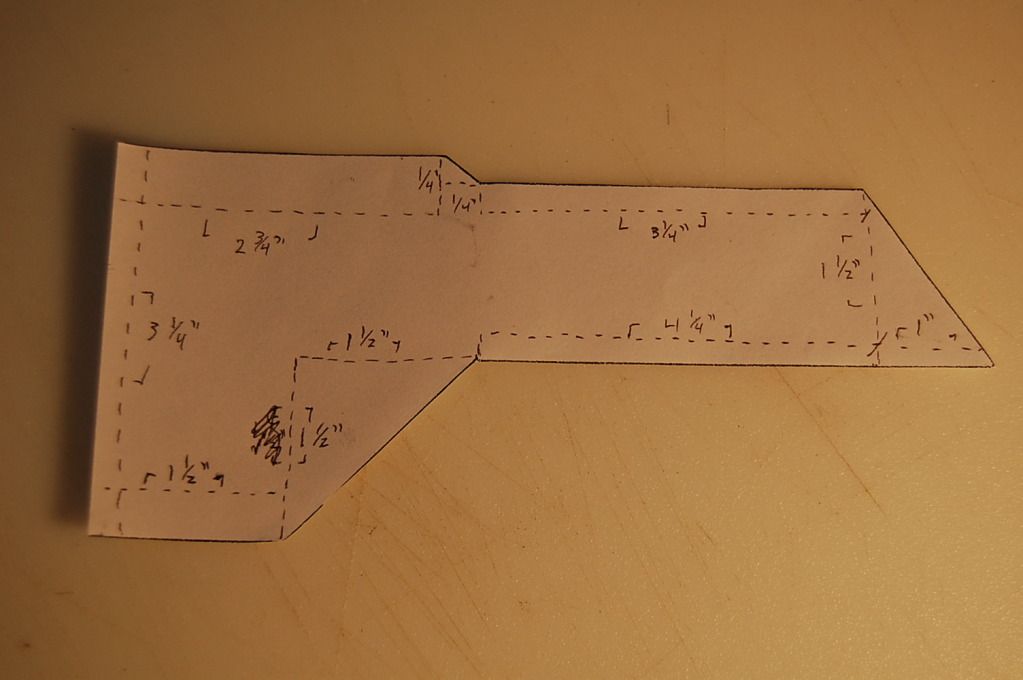
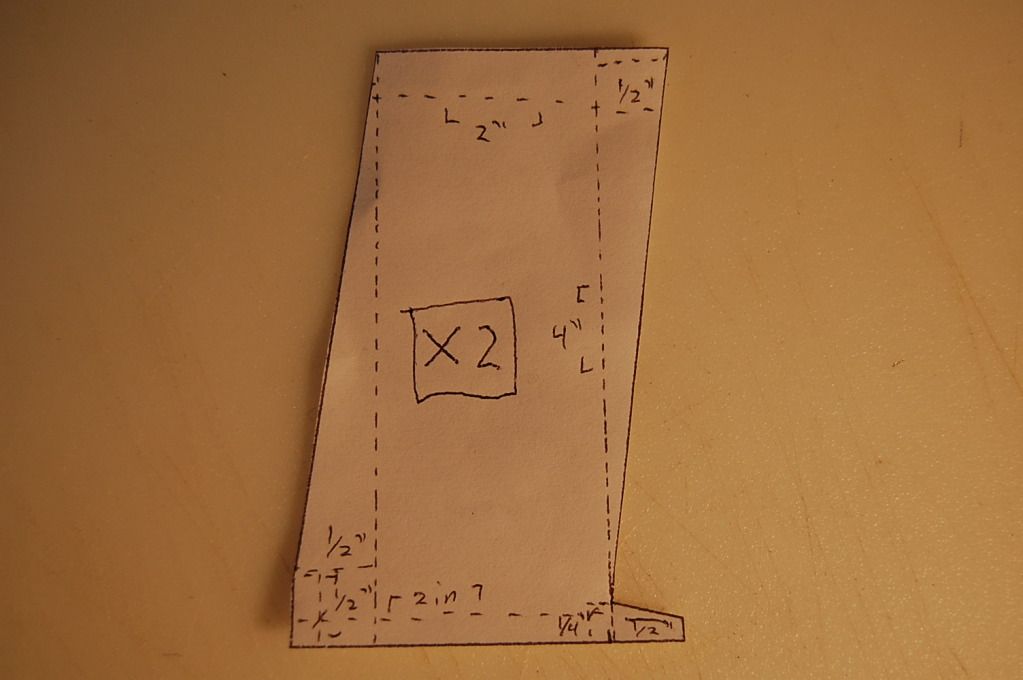
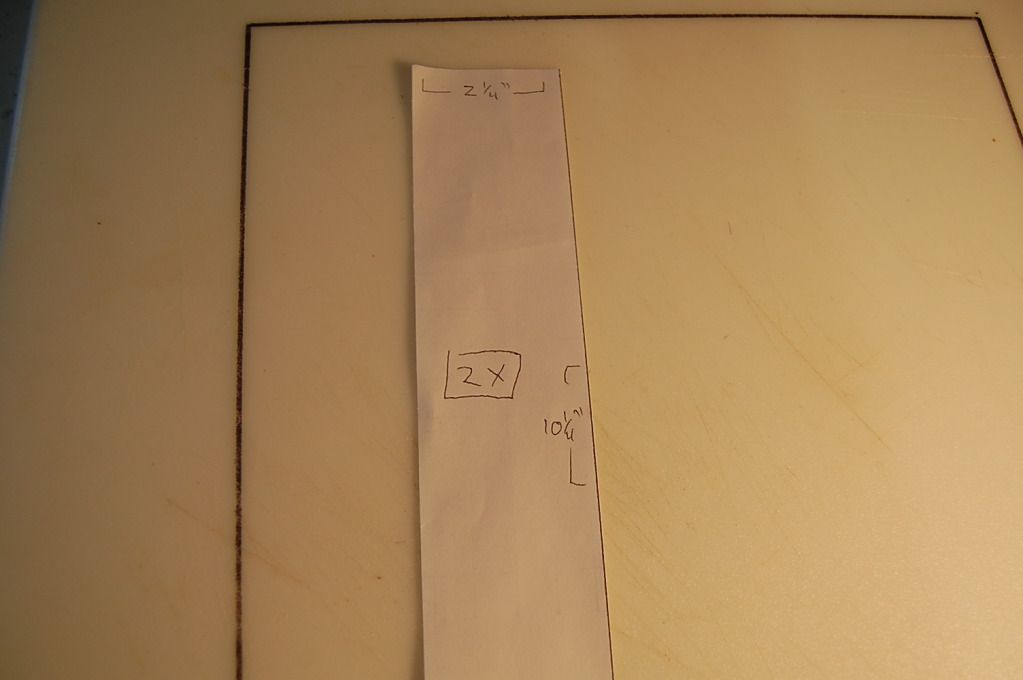
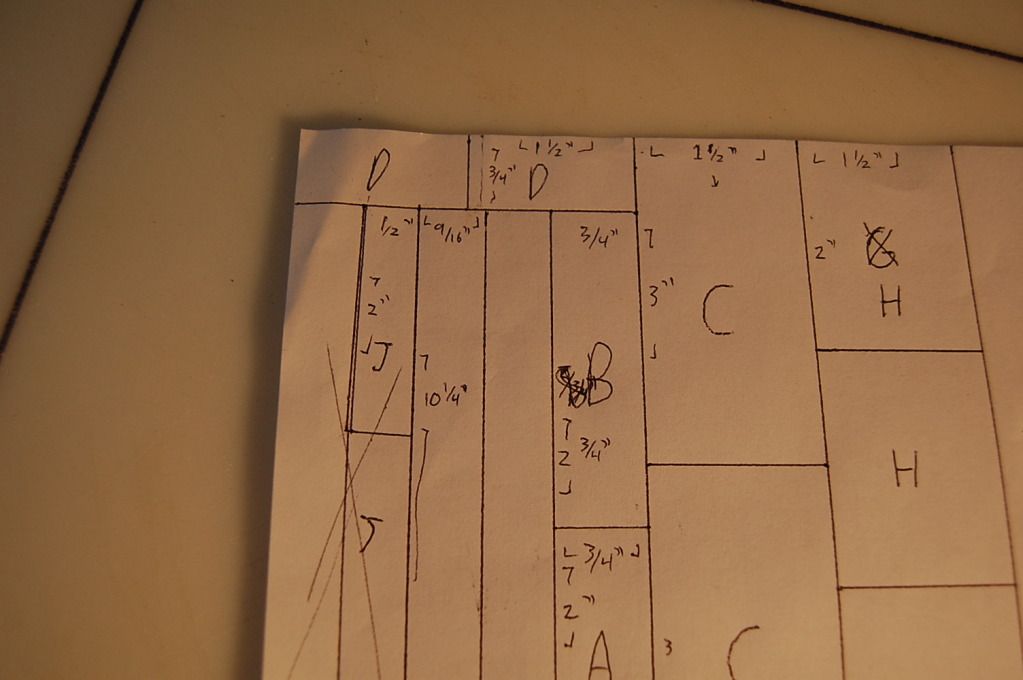
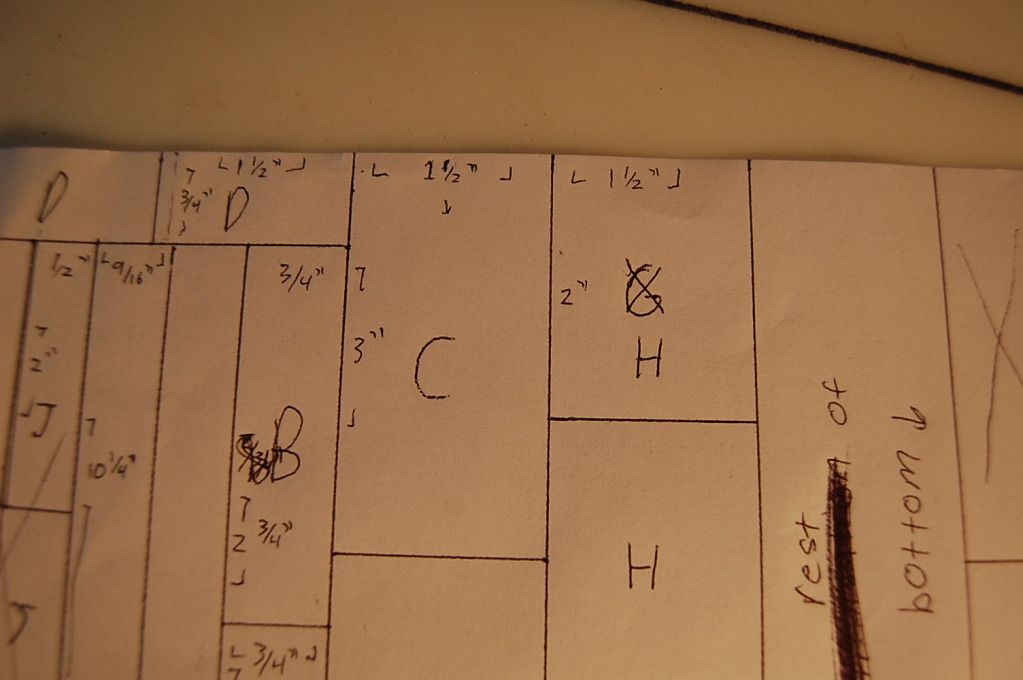
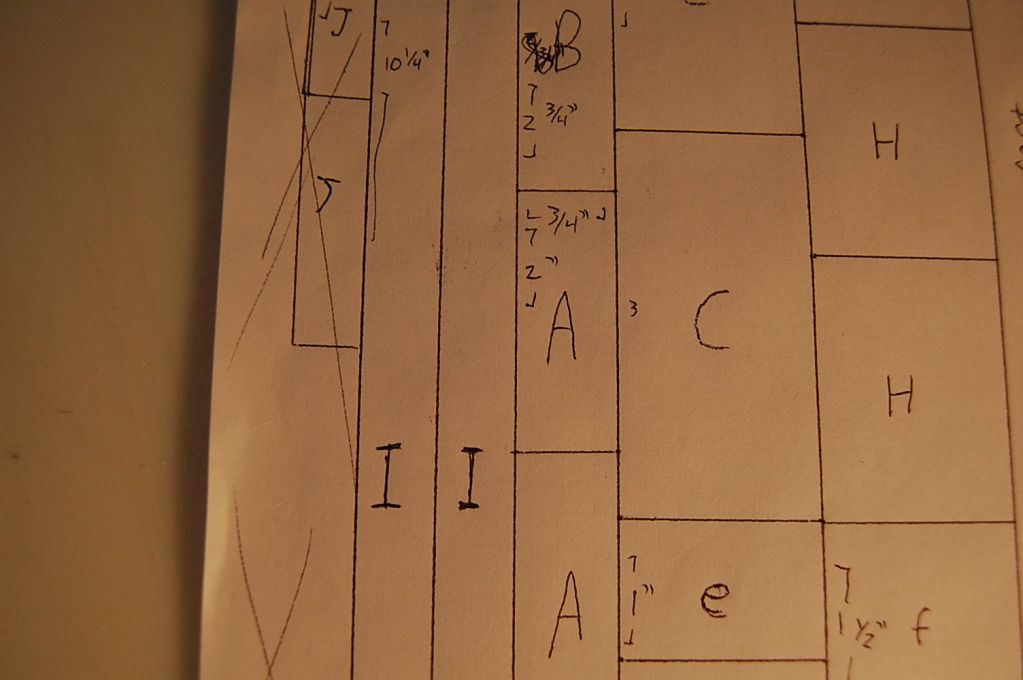
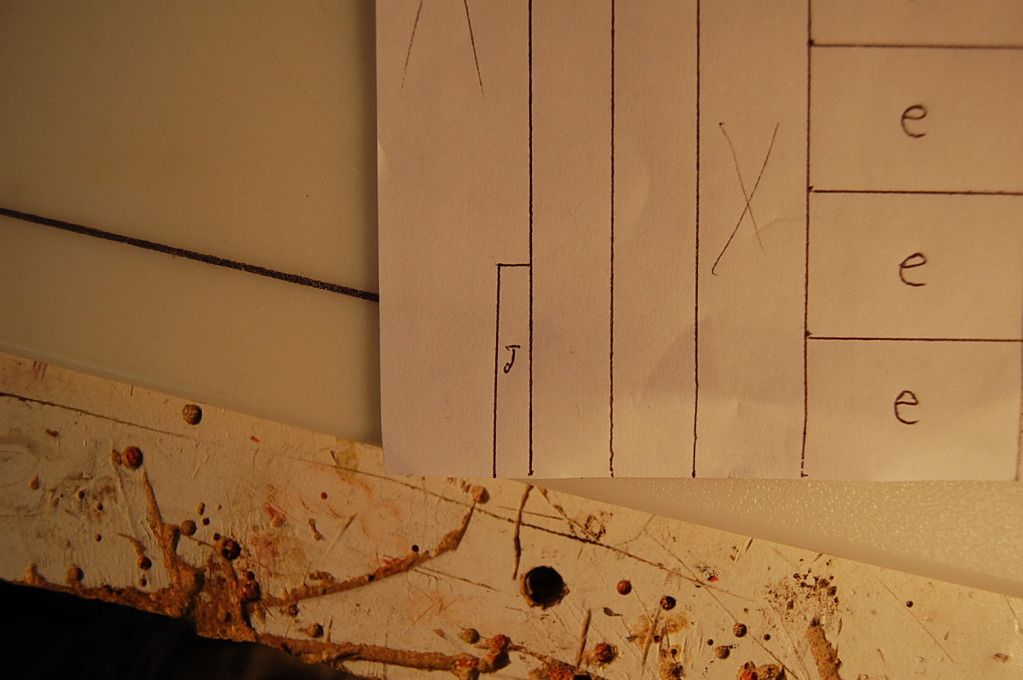
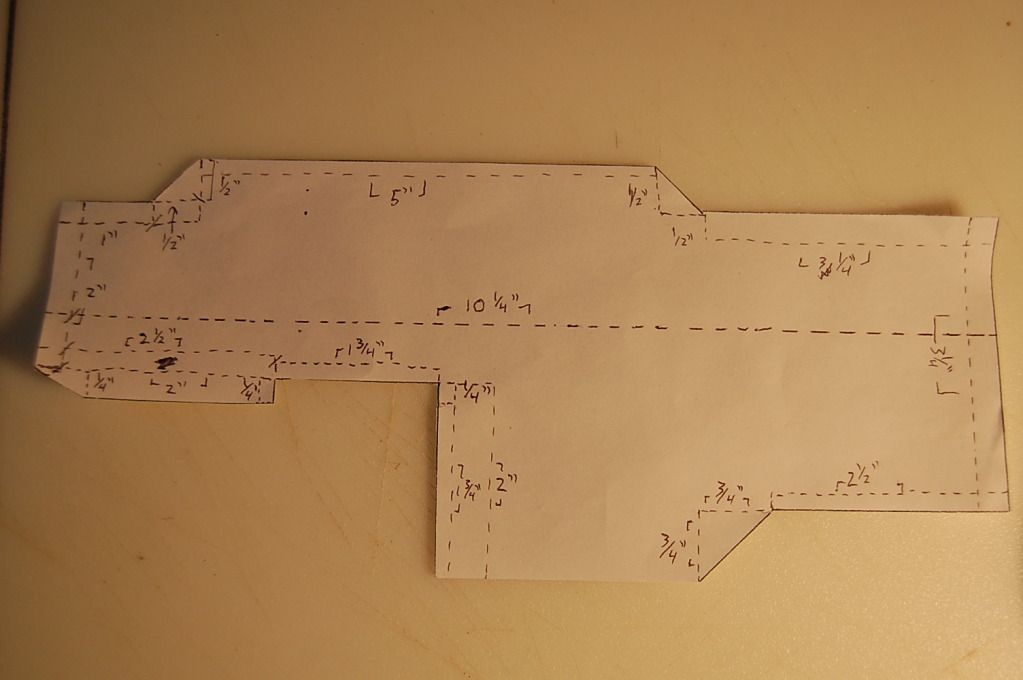
Alright, time to start! I painstakingly made all the templates for this gun by hand, and here are pictures of all of them. Most of the main body of the gun is made from 1/8” polycarb, and all the standoffs are made from ¼” polycarb.
Here is the first template:
Make two of these.
Posted Image

Front of gun:
Make two of these.
Posted Image

Handle:
Make two of these.
Posted Image

Magazine sides:
make two of these
Posted Image

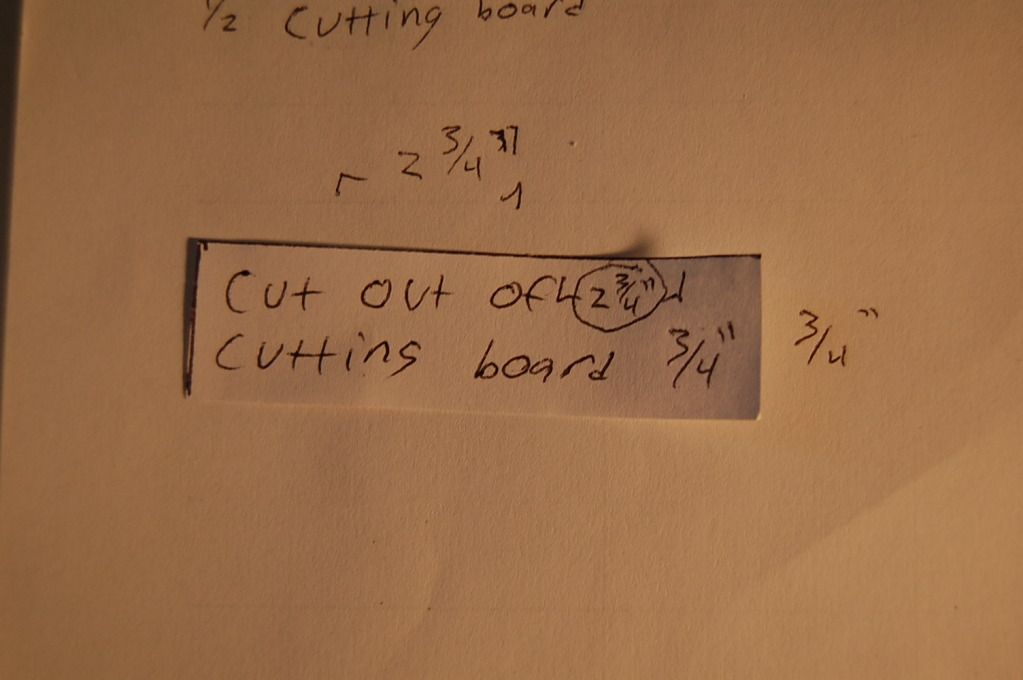
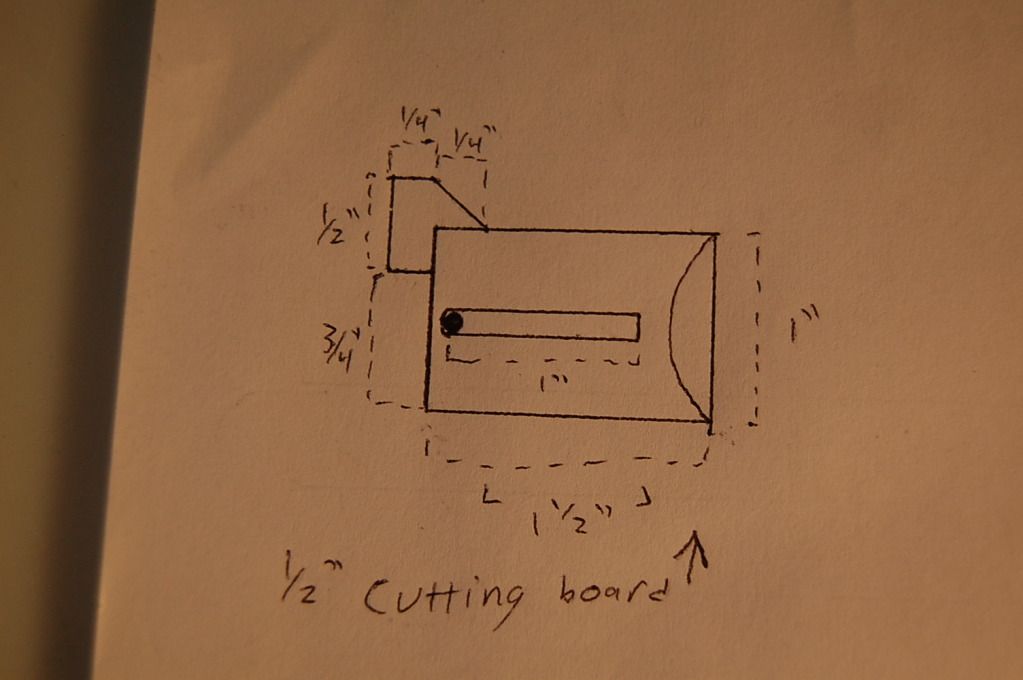
Parts made from cutting board:

Trigger;
Make one of these
Posted Image

Stock mount:
make one of these
Posted Image

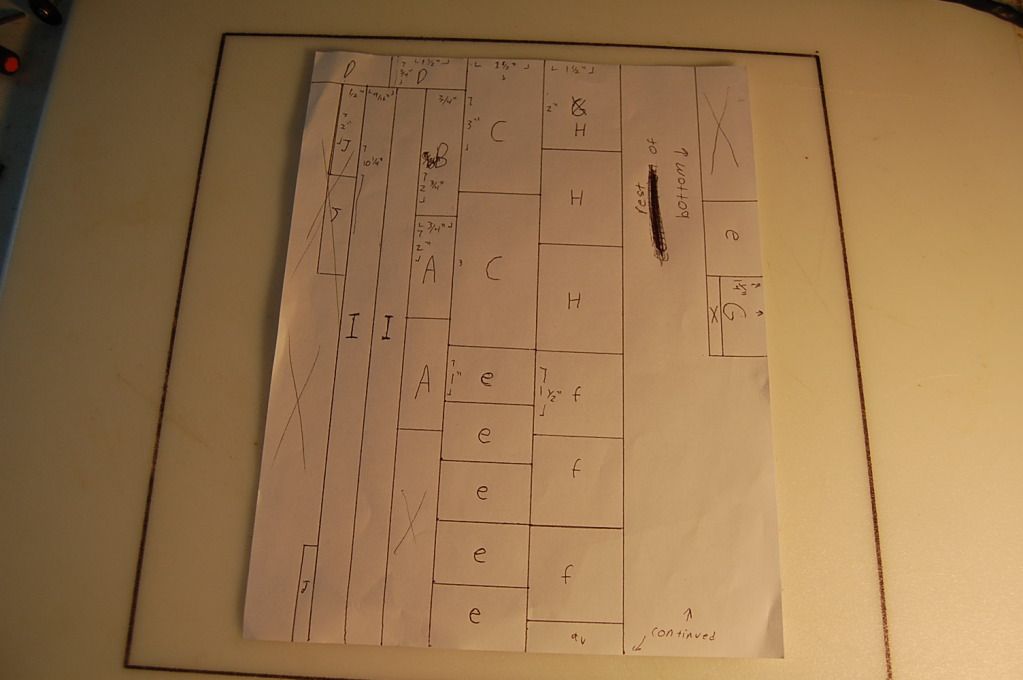
Parts made from ¼” polycarb: (save all the scraps, as you will need them later)

All the standoffs:
Posted Image

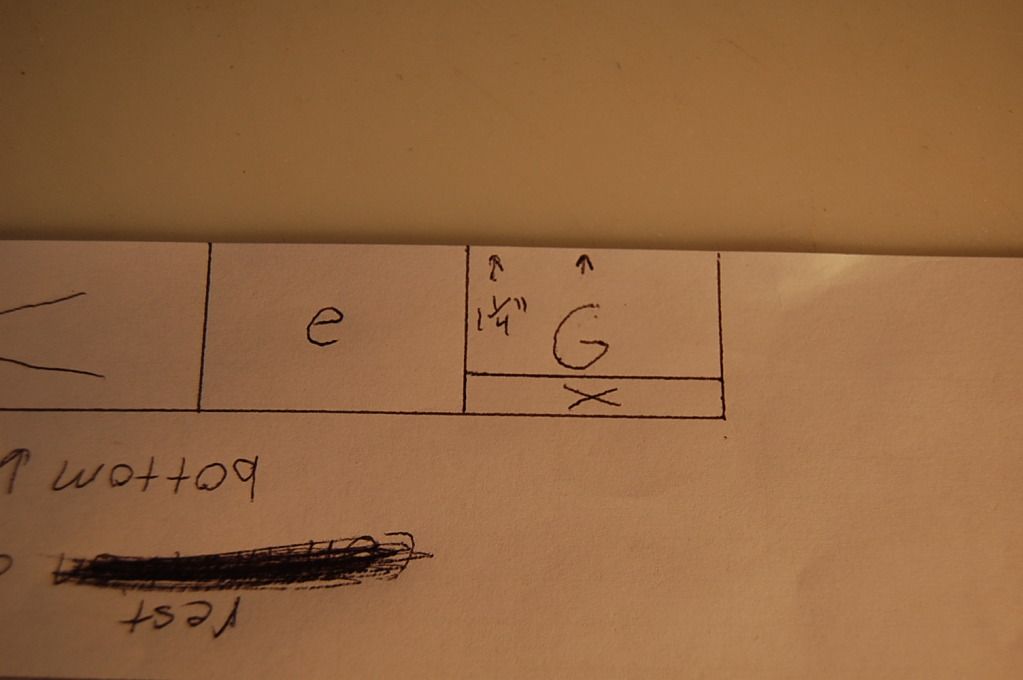
A few zoomed shots:

Continuation of bottom of sheet. Tape this to the bottom of the main template.
Posted Image

Random stuff:
Posted Image

Posted Image

Posted Image

Posted Image

Posted Image

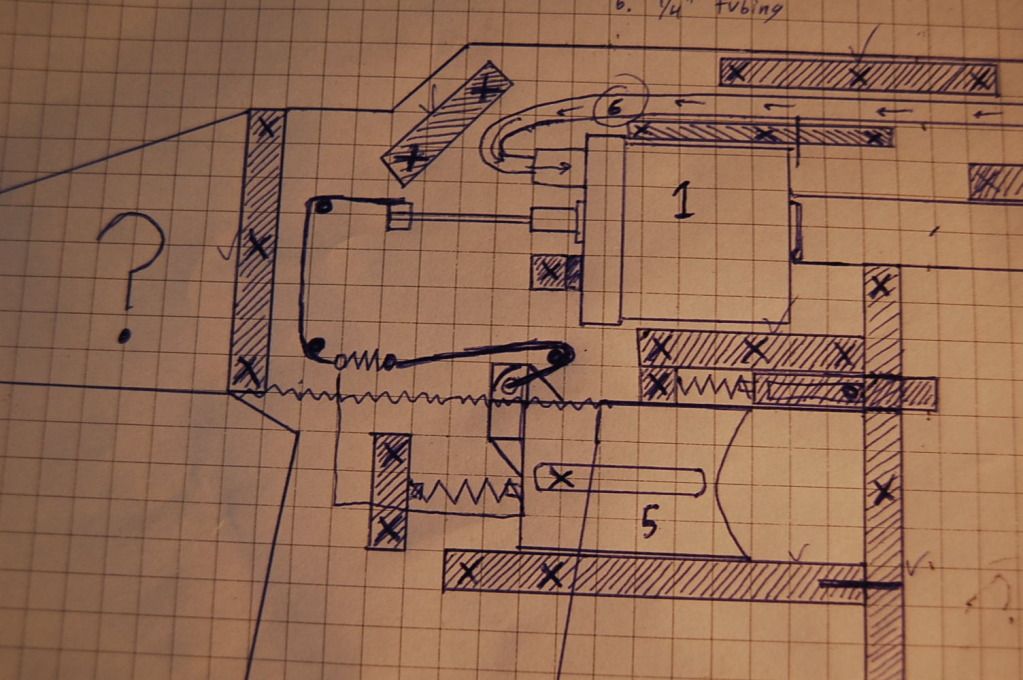
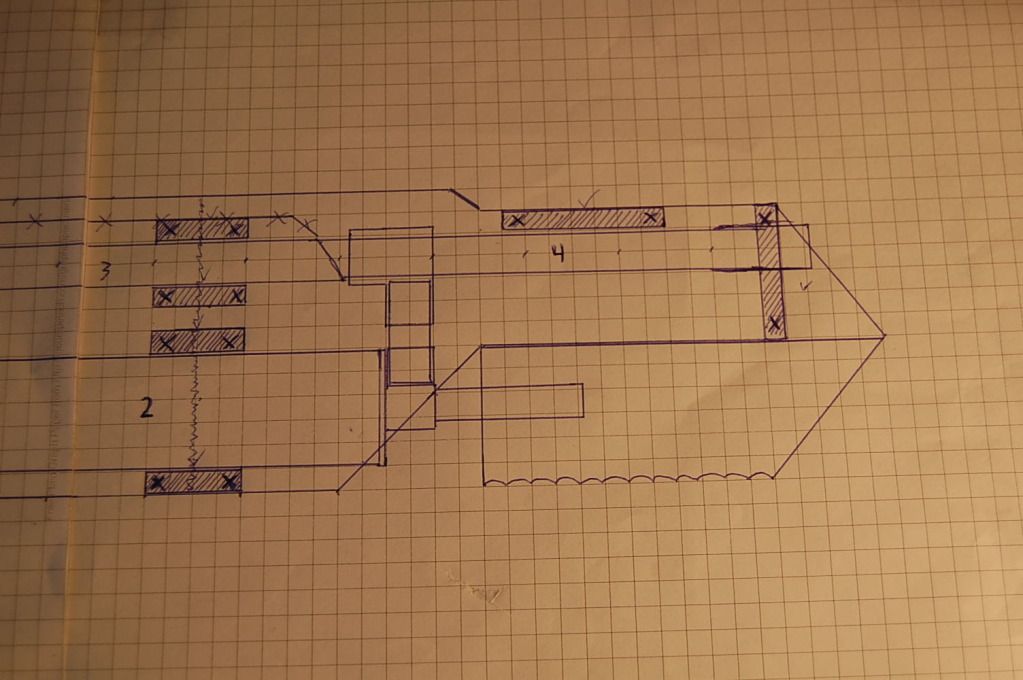
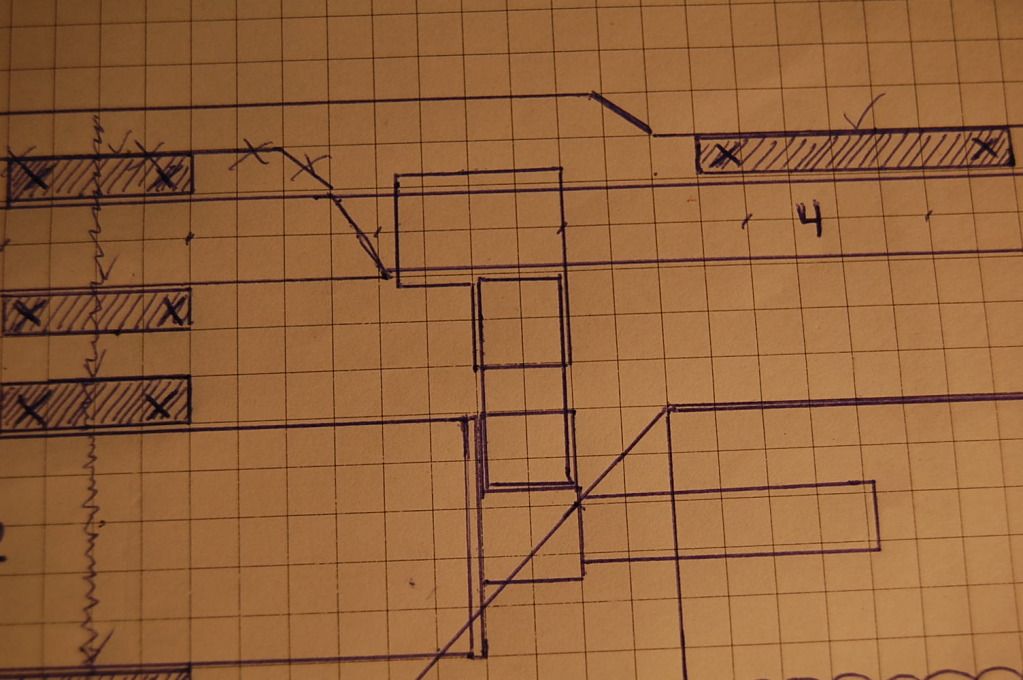
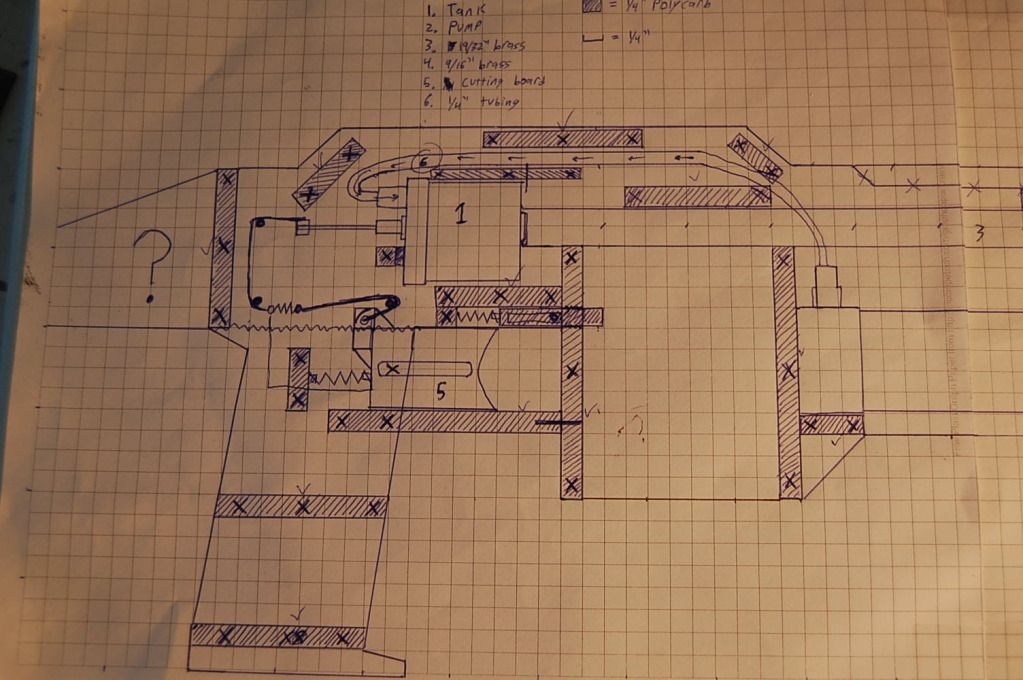
Finally, here is the master plan. Each square represents 1/4” by 1/4”.
Shaded parts are made of ¼” polycarb. In the write-up, I changed a few things, so don’t make the gun directly from this schematic.

Rear of gun:
Posted Image

Posted Image

Front of gun:
Posted Image

Posted Image

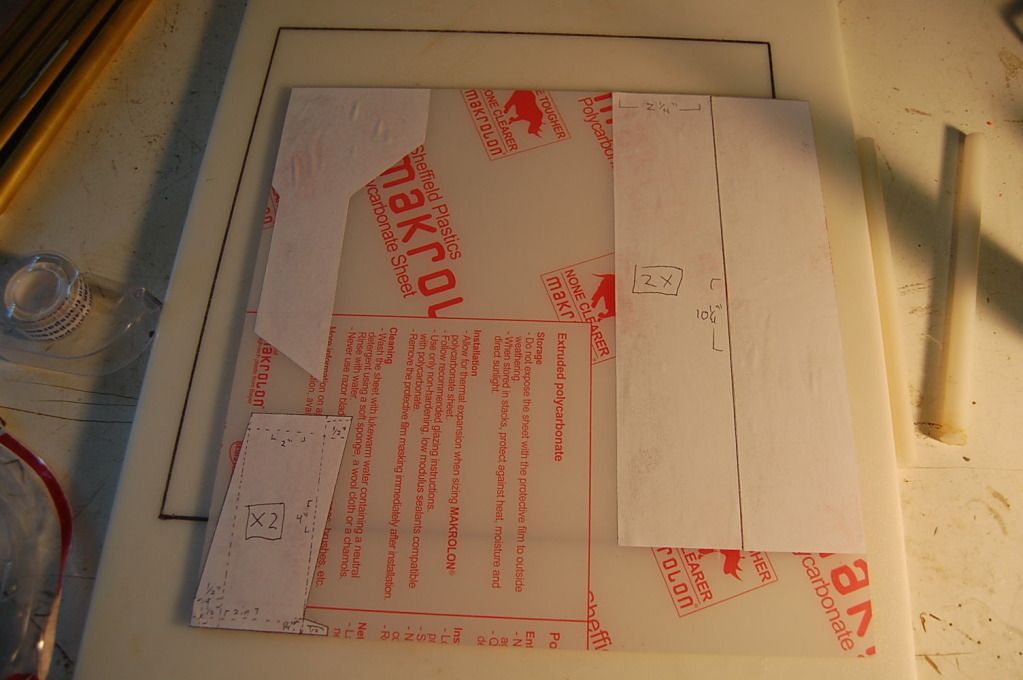
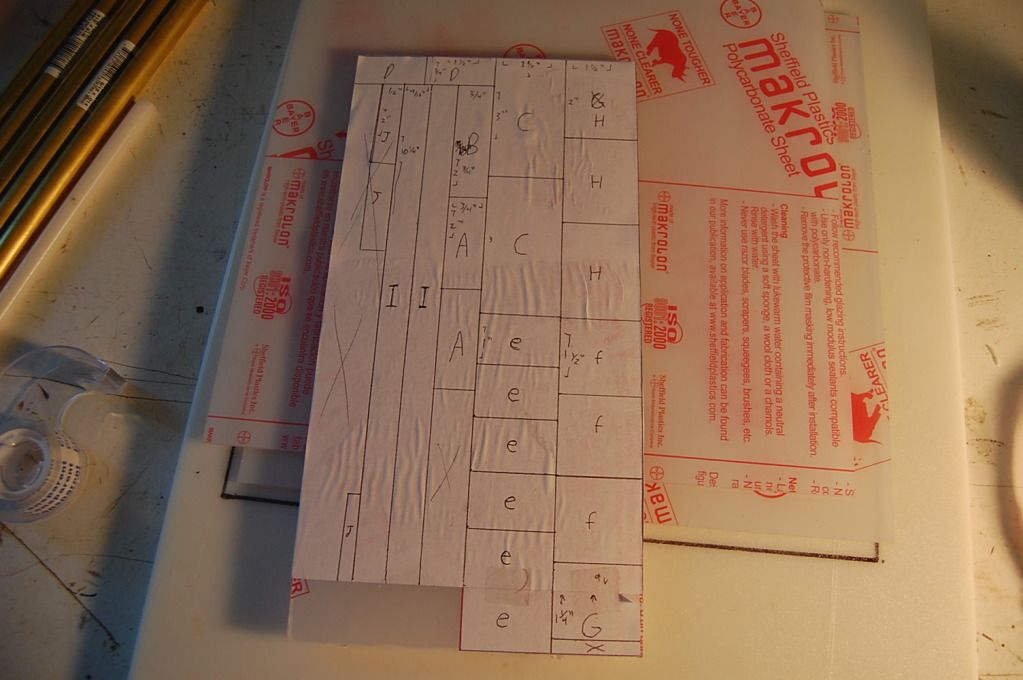
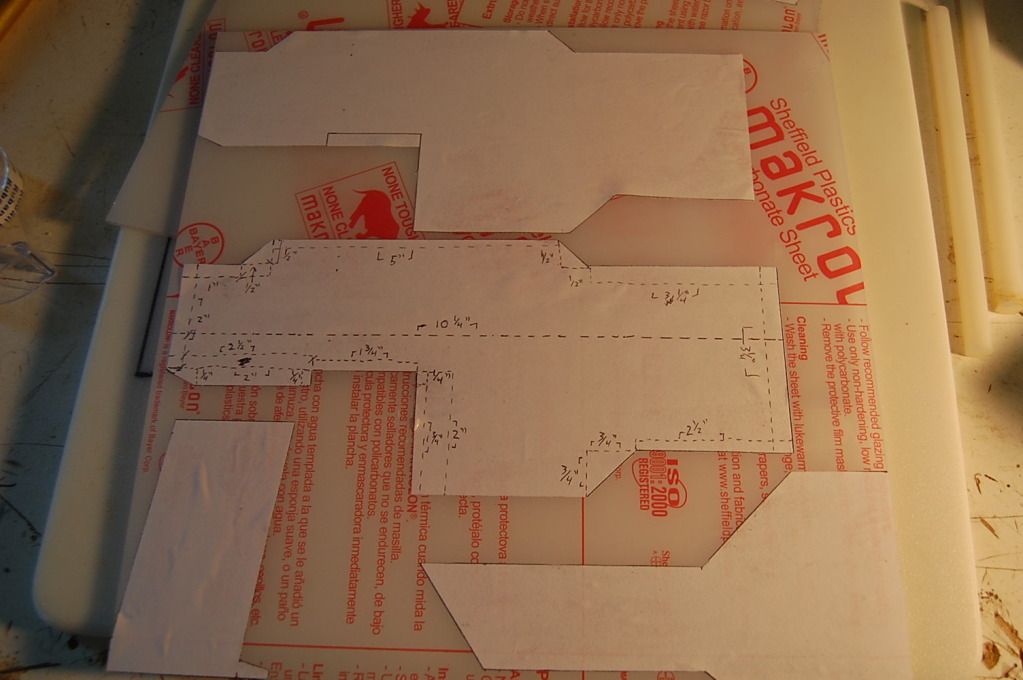
Here’s how the templates are laid out on the polycarb:
Sheet number one:
Posted Image

Sheet number two:
Posted Image

¼” sheet:
Posted Image

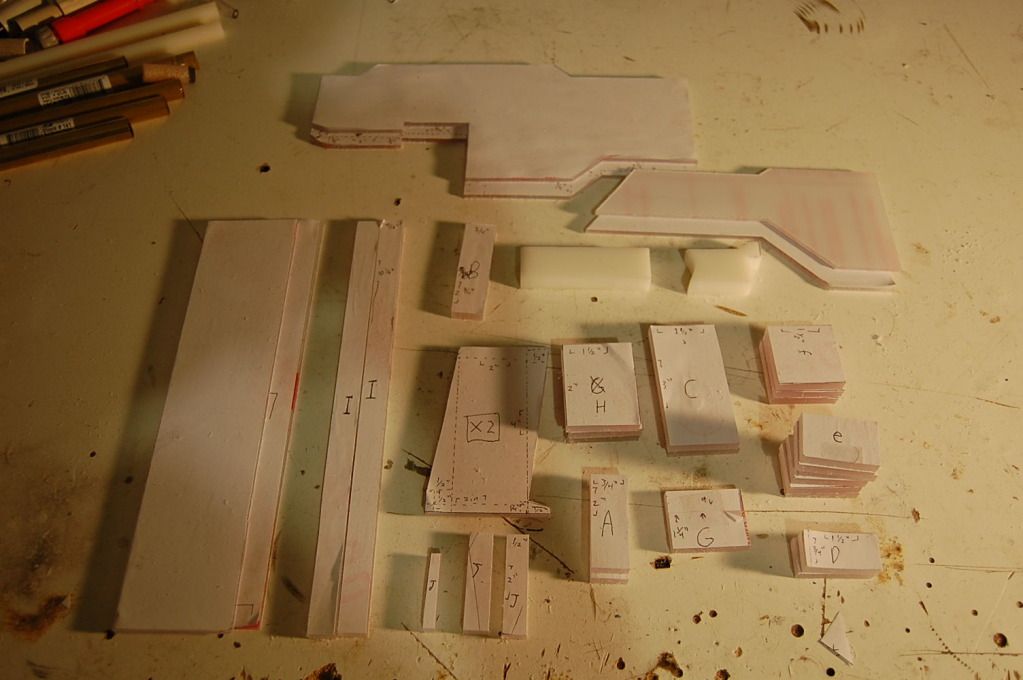
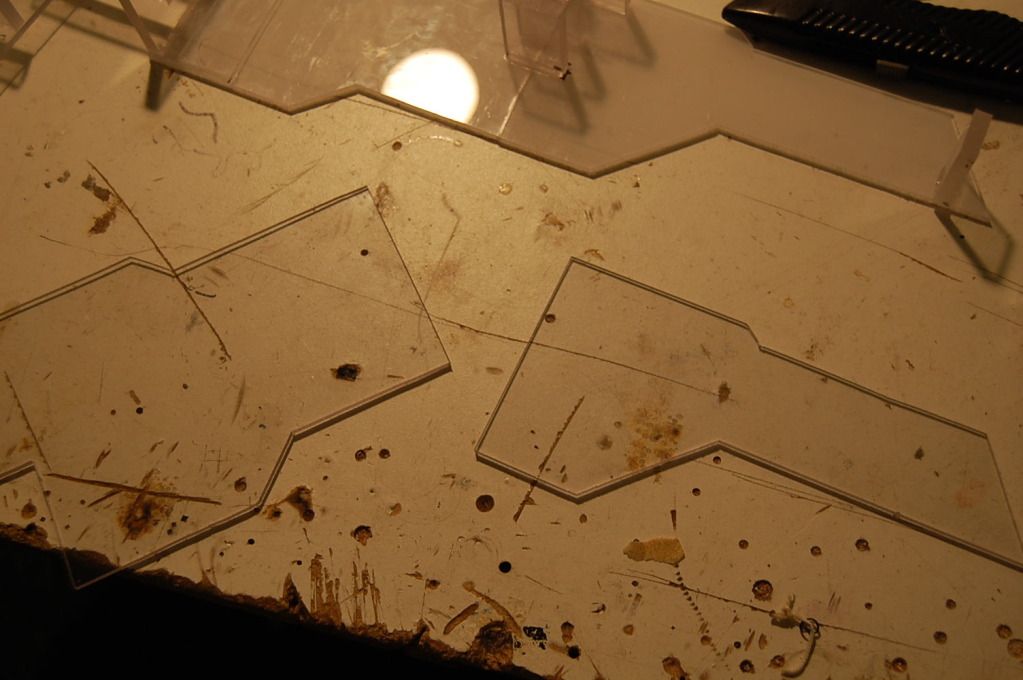
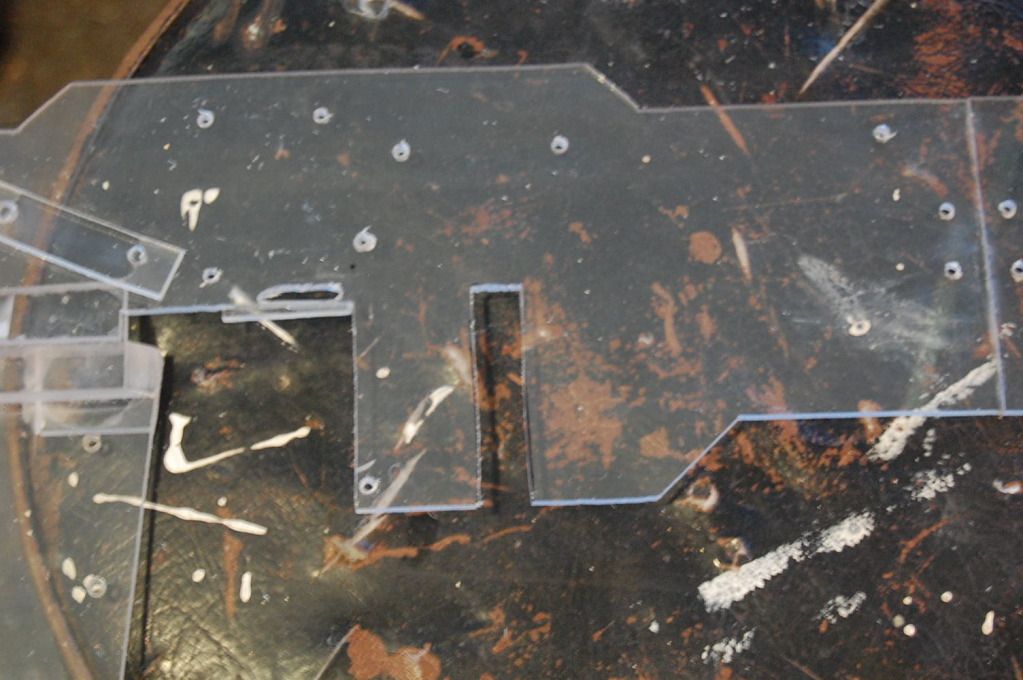
Here’s all the parts cut out:
Posted Image

Posted Image

Posted Image

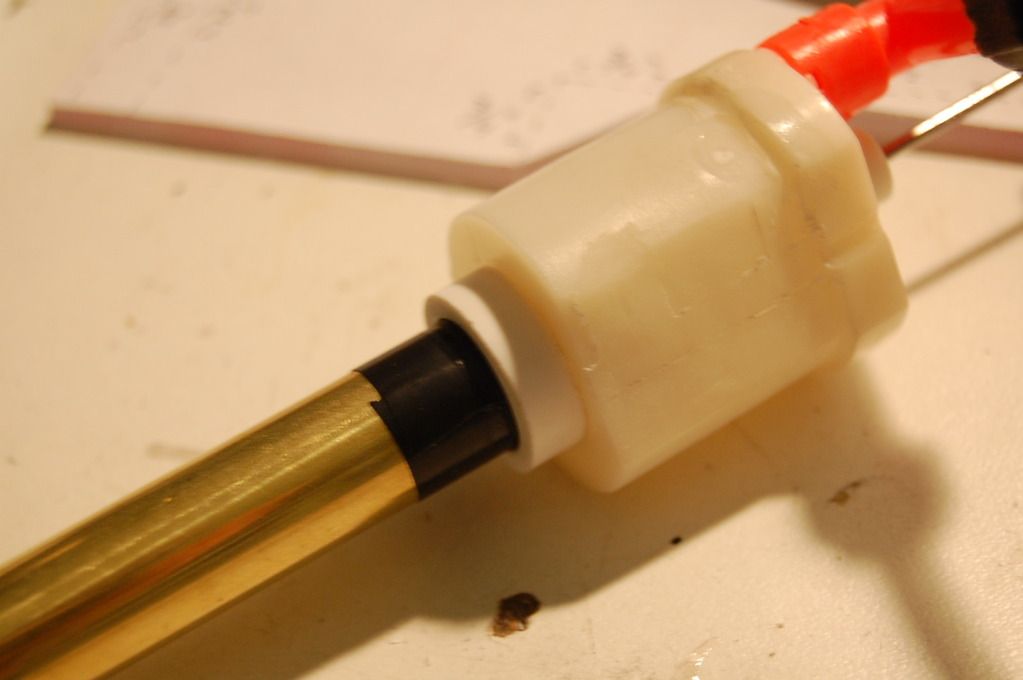
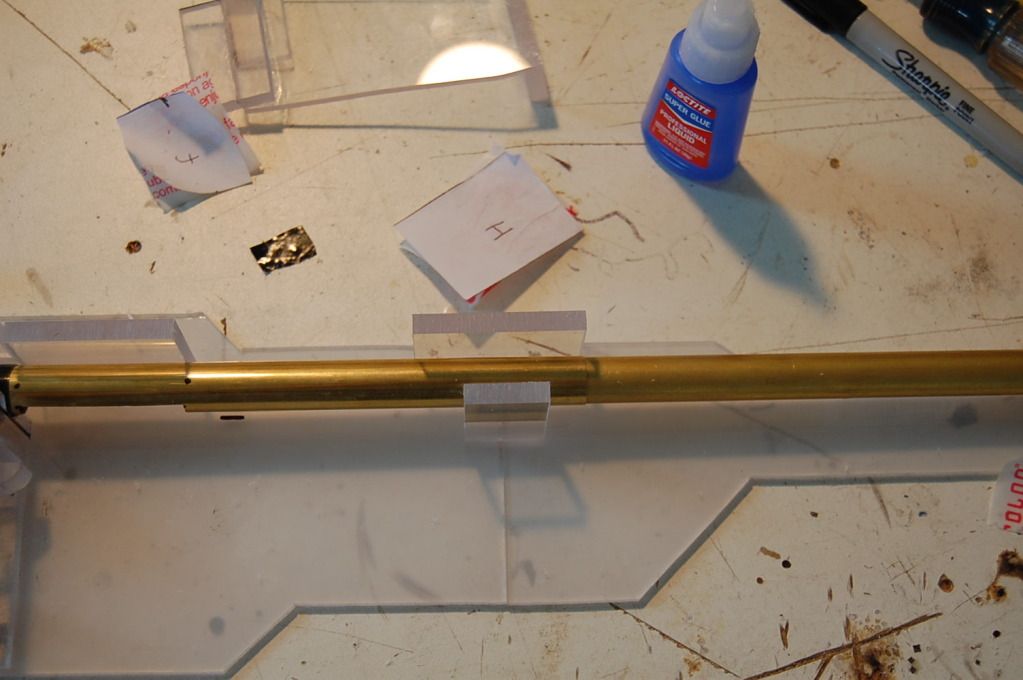
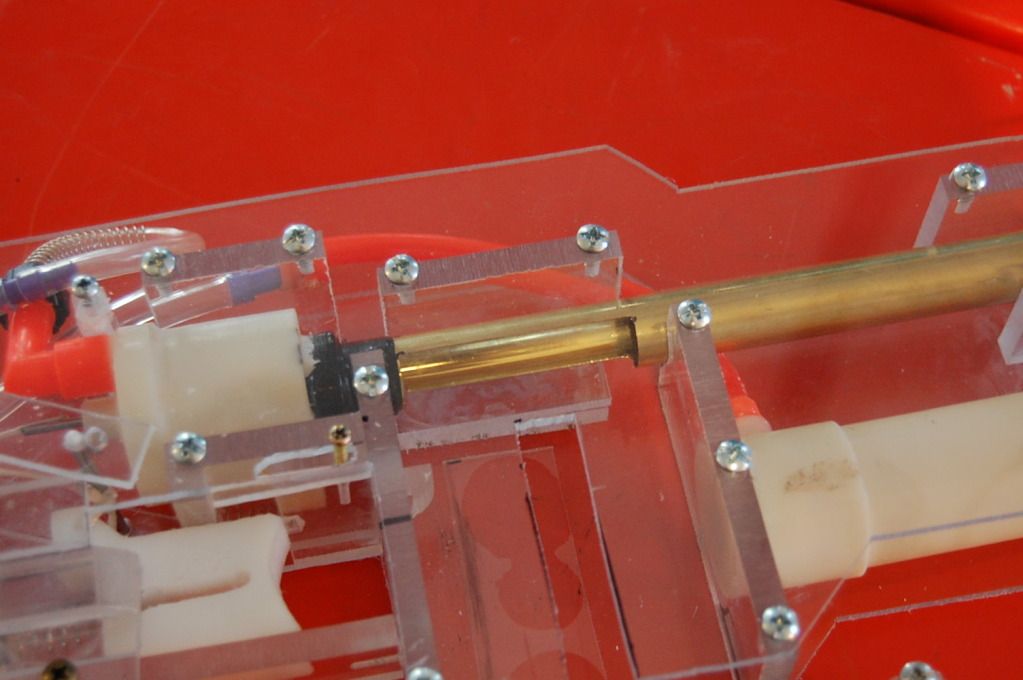
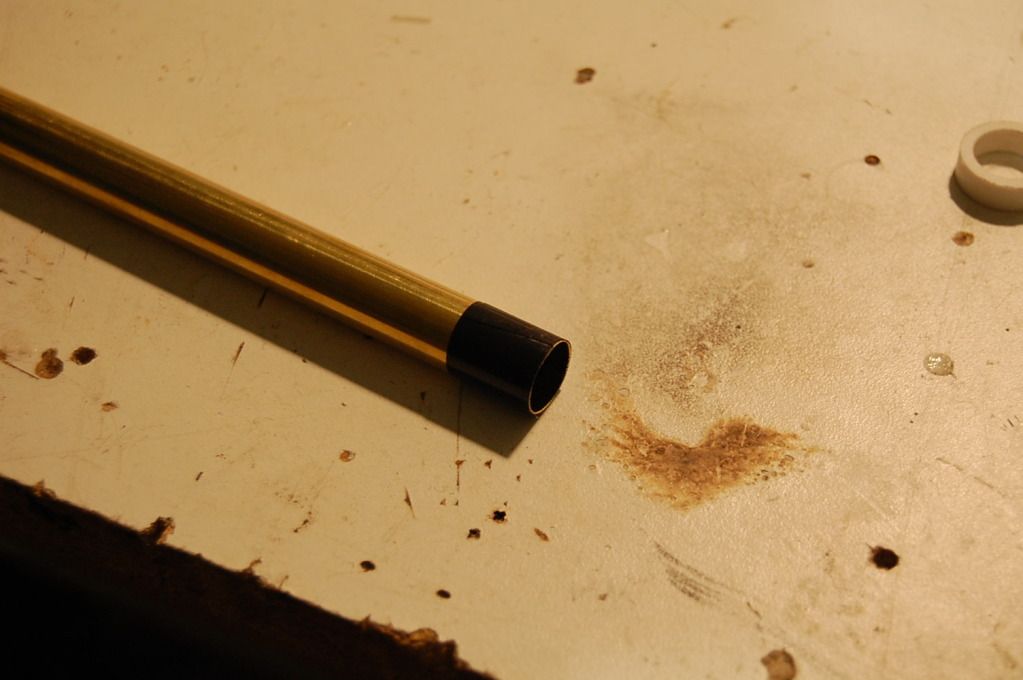
Now, cut 7 ½” of 19/32” brass and wrap the end with a bit of electrical tape.
Posted Image

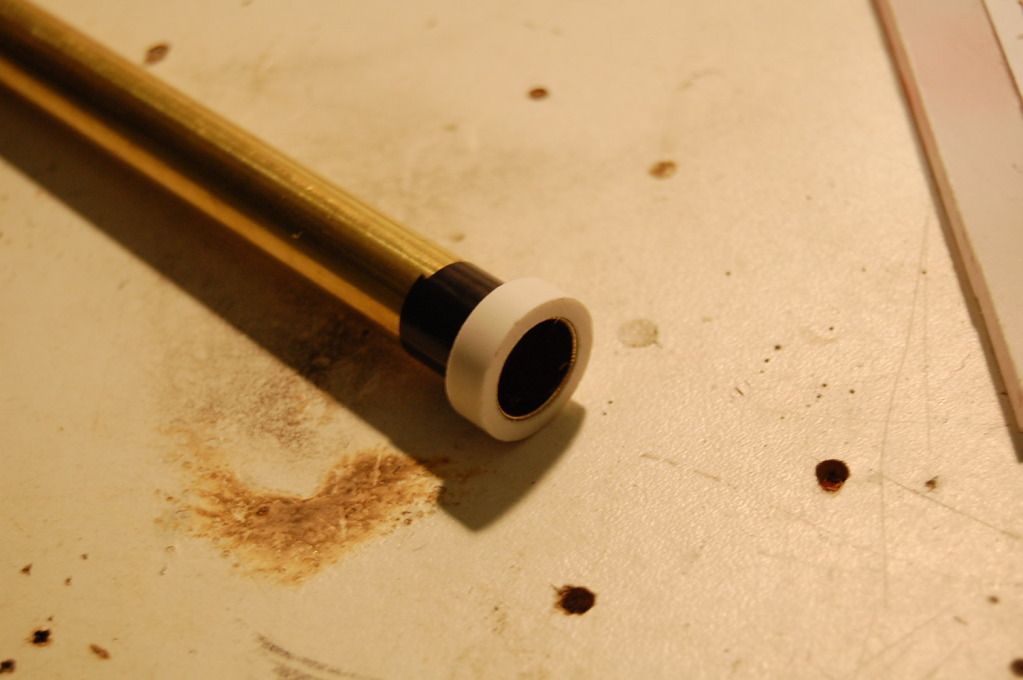
Cut a ¼” thick sliver of ½” PVC, and glue it the brass.
Posted Image

Then glue that to the tank.
Posted Image

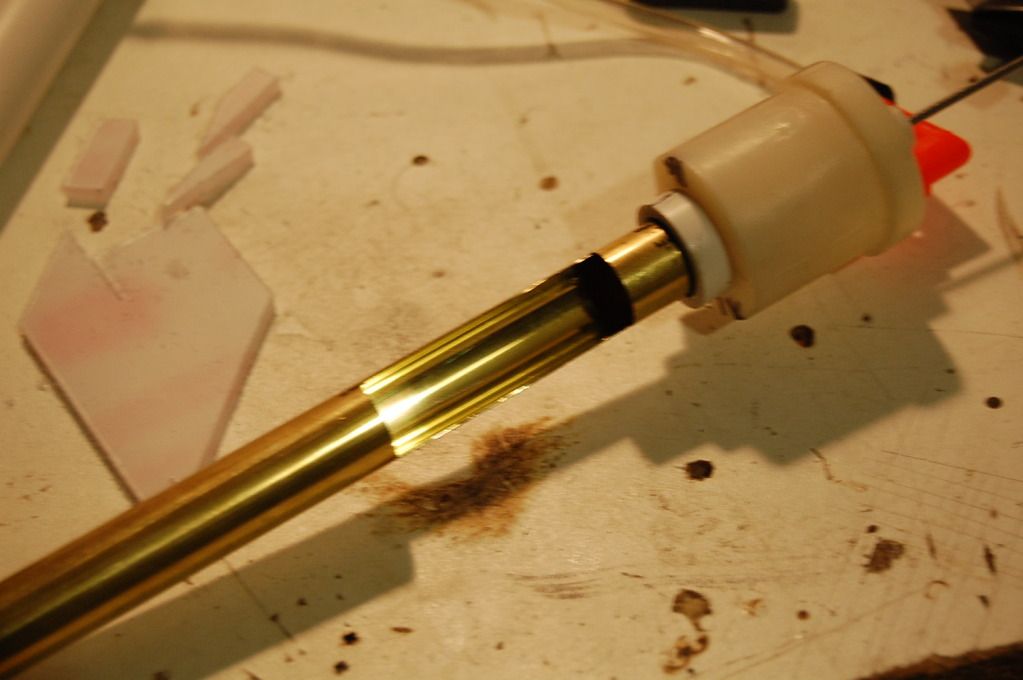
Cut a 2” long slot in the brass, ¾” from the tank.
Posted Image

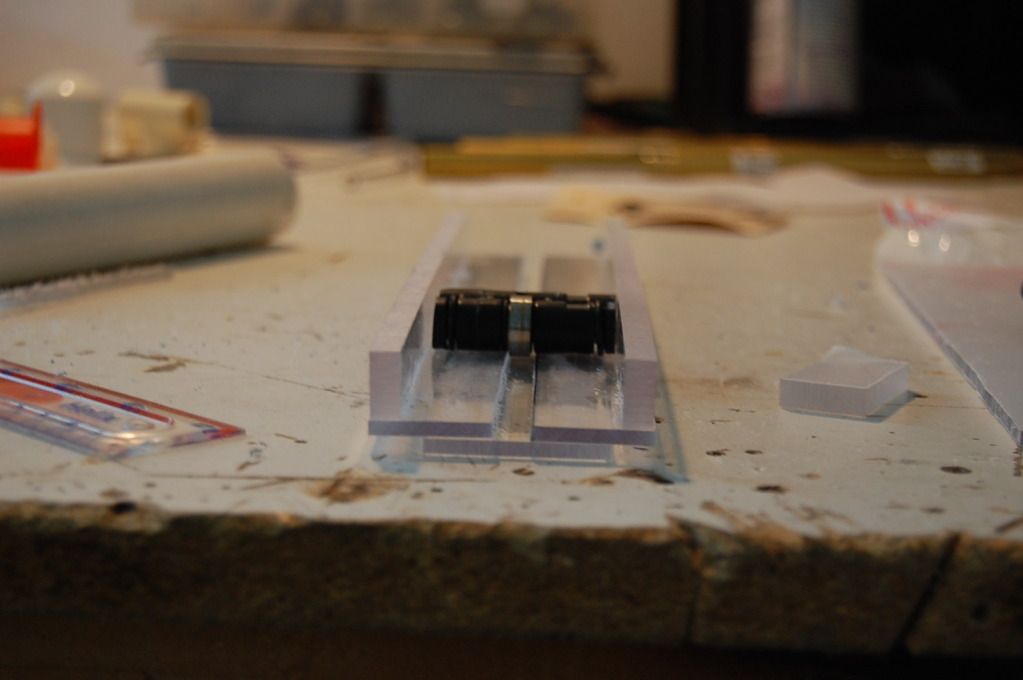
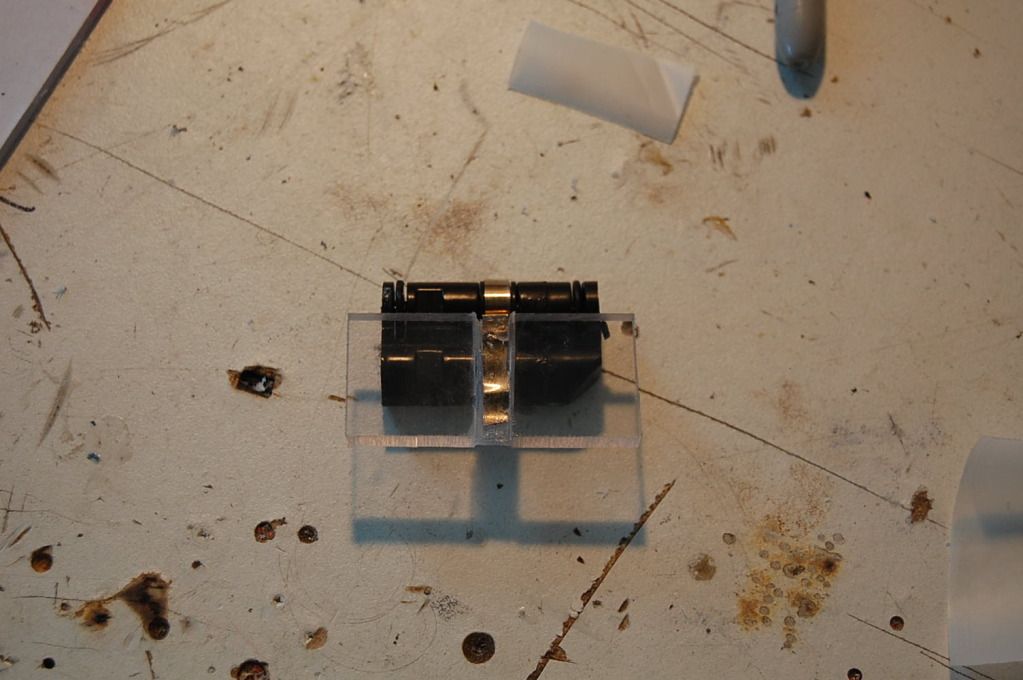
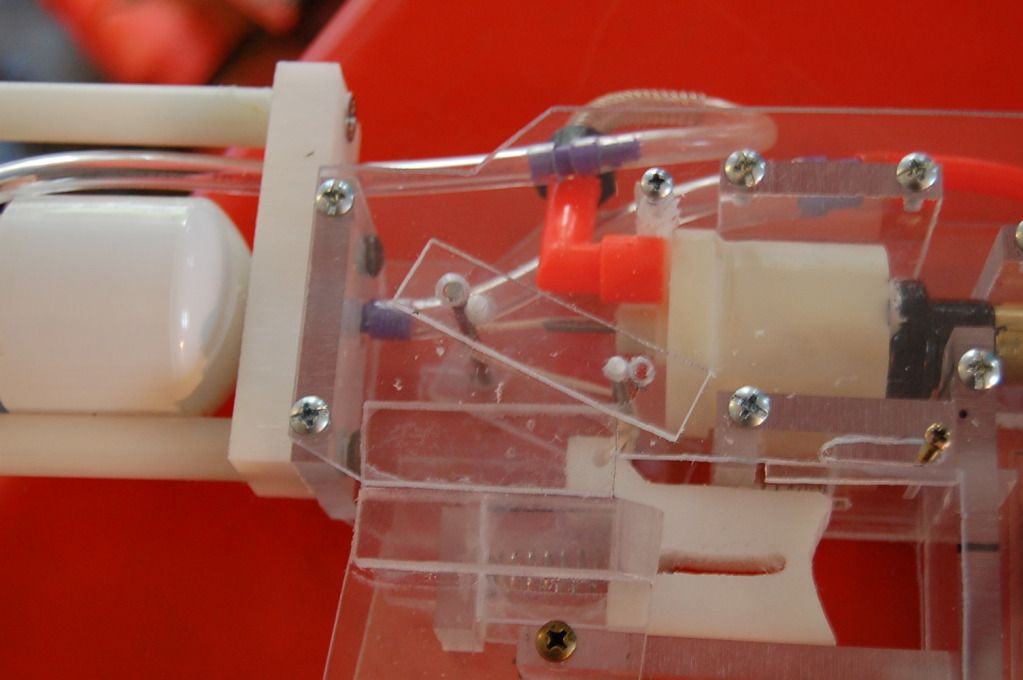
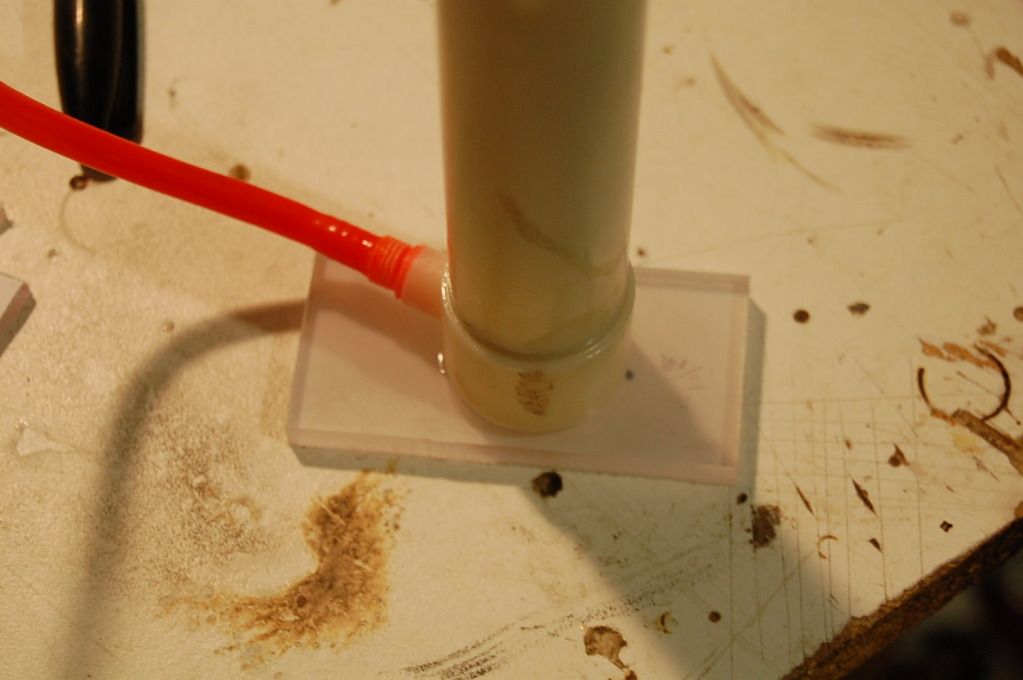
Now take ¼” polycarb piece C, and glue the pump to the center:
Posted Image

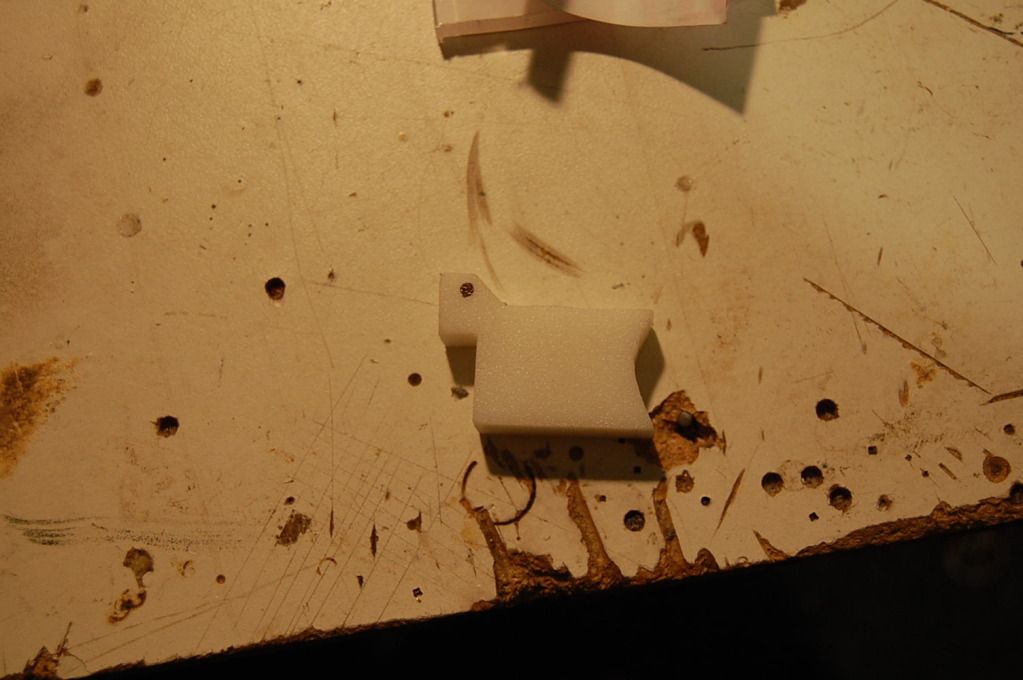
Cut out the 1/8” in 1” slot in the trigger.
Posted Image

As well as drilling a 1/8” hole in the back:
Posted Image

Edited by hamoidar, 15 October 2012 - 04:17 PM.

  • 0
NerfHaven > Your control panel > Profile > Change Signature > Inserts dumb sig > What! No pictures! > Inserts next best thing: http://nerfhaven.com...howuser=114052' class='bbc_url' title='External link' rel='nofollow external'>Best thing on Nerfhaven!

#2 hamoidar

hamoidar

    Member

  • Members
  • 367 posts

Posted 11 October 2012 - 04:16 PM

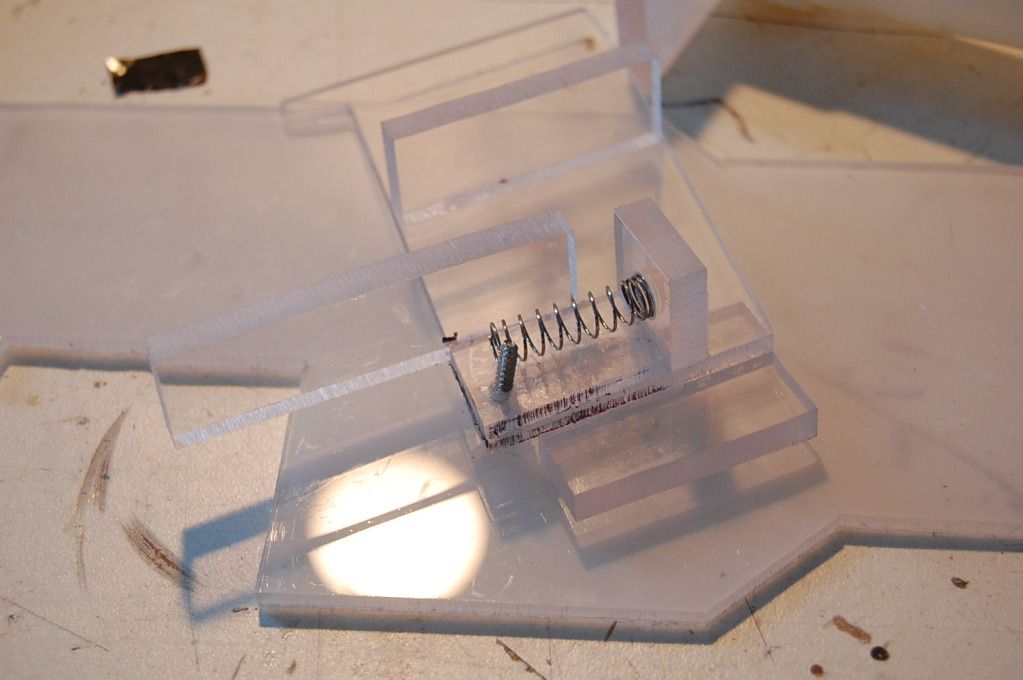
Cut piece D in half and glue an AT3K trigger spring in the center:
Posted Image

Take pieces A and glue them to the bottom and a bit up on the handle.
Posted Image

Posted Image

Glue piece B then the D/spring piece on to the handle.
Posted Image

You will notice that there is a bit of scrap 1/8” polycarb underneath the spring, with sharpie on it.
You will need to cut out along the sharpie lines, then glue the resulting piece to the handle.


Glue an identical piece to the opposite handle piece.
Posted Image

Test fit the two handle parts together:
Posted Image

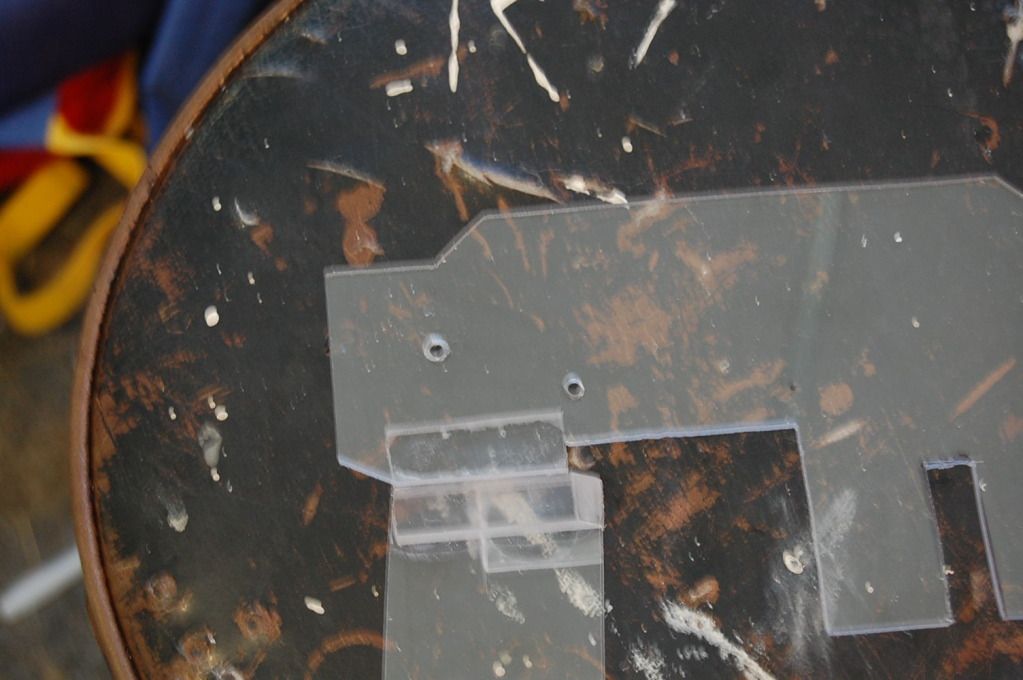
Now, take parts J, and bevel one side of each.
Posted Image

Glue on to each side of the top of the handle:
Posted Image
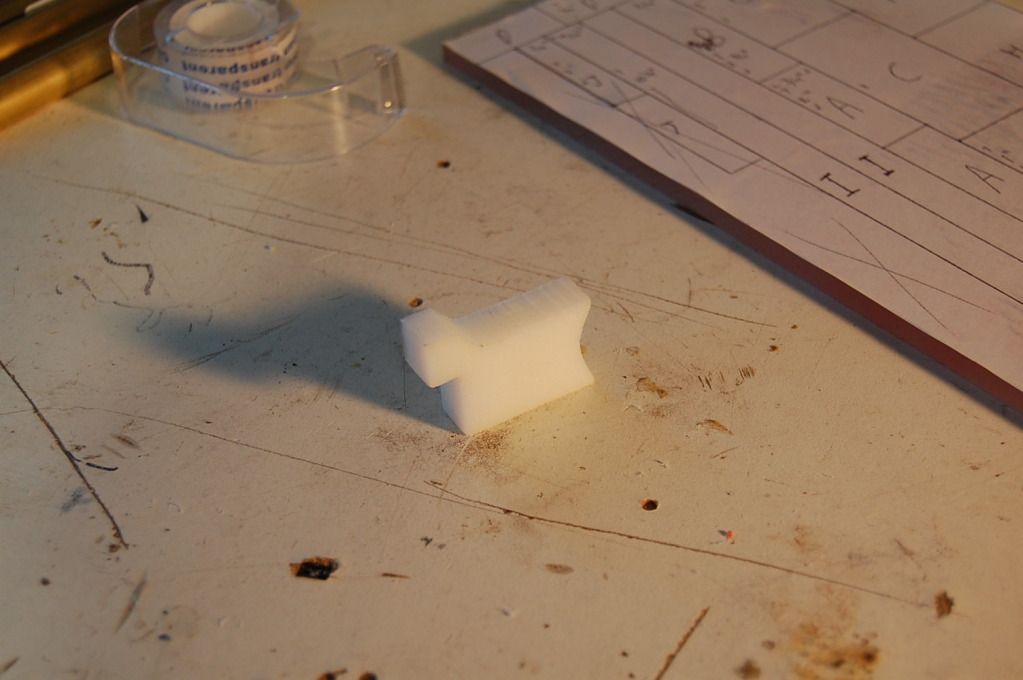
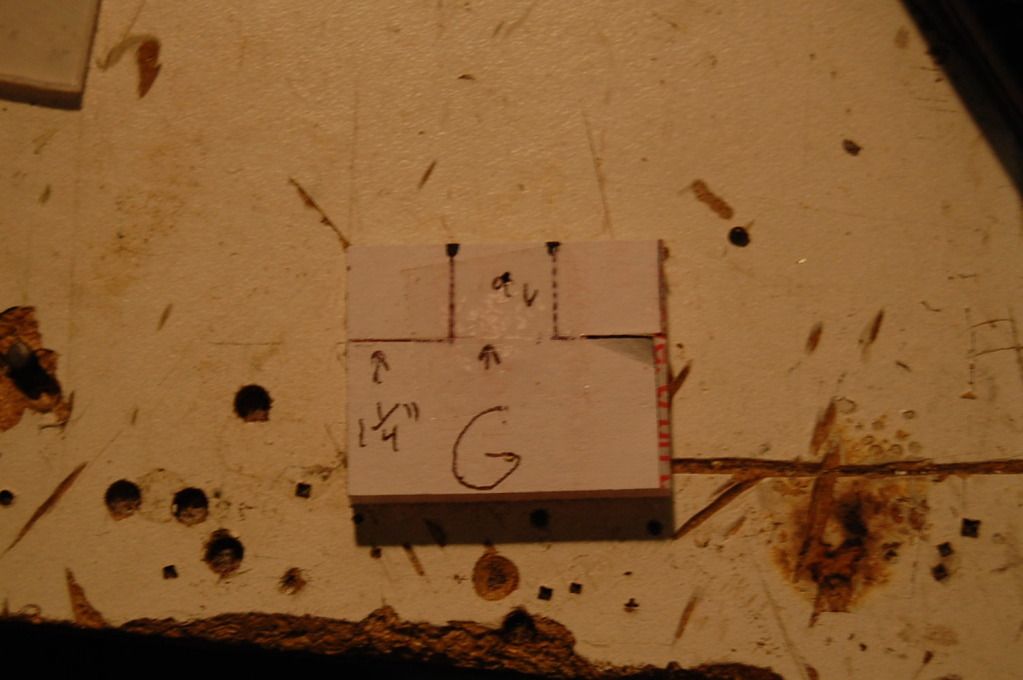
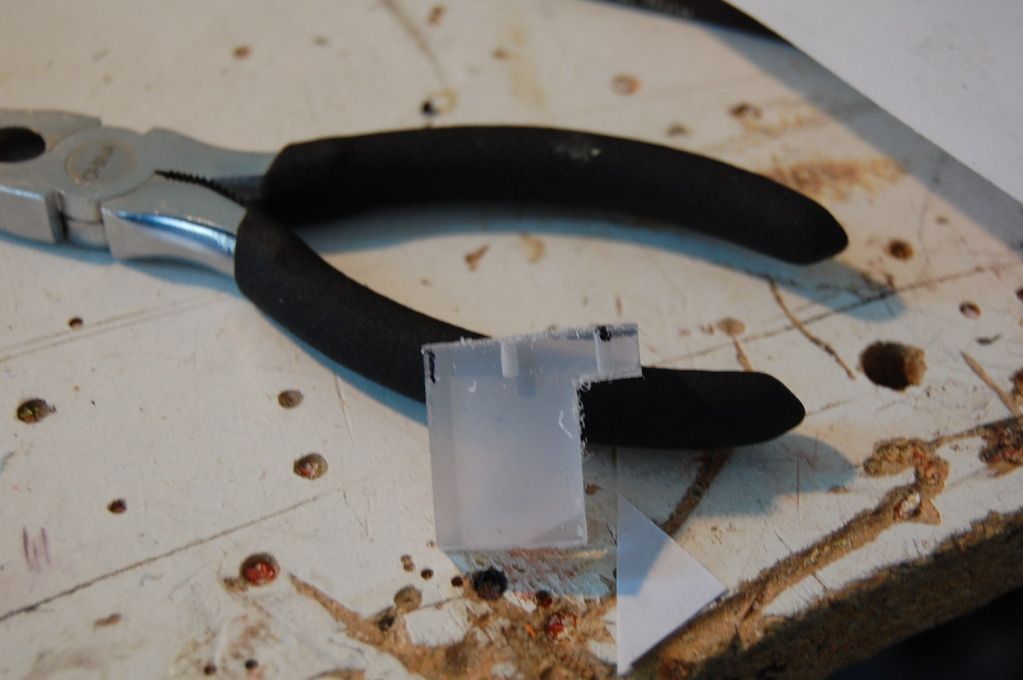
Now, take ¼” polycarb piece G, and cut it as pictured:
Posted Image

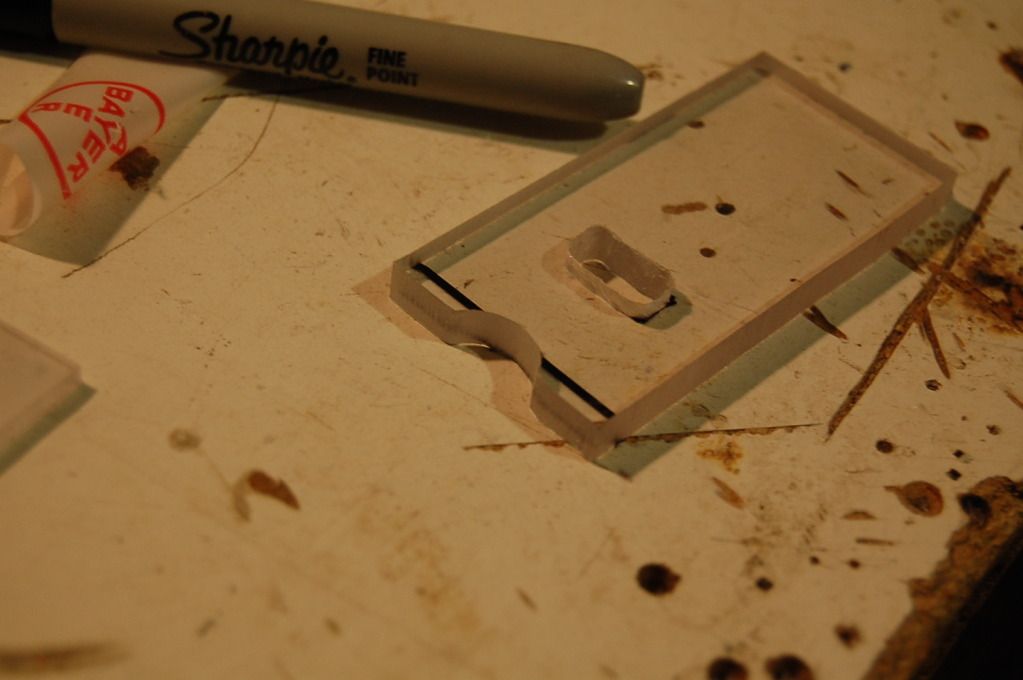
Cut out the square pictured; in piece C.
Posted Image
(PM me for measurements of this square if you can’t figure it out from the main schematic.)

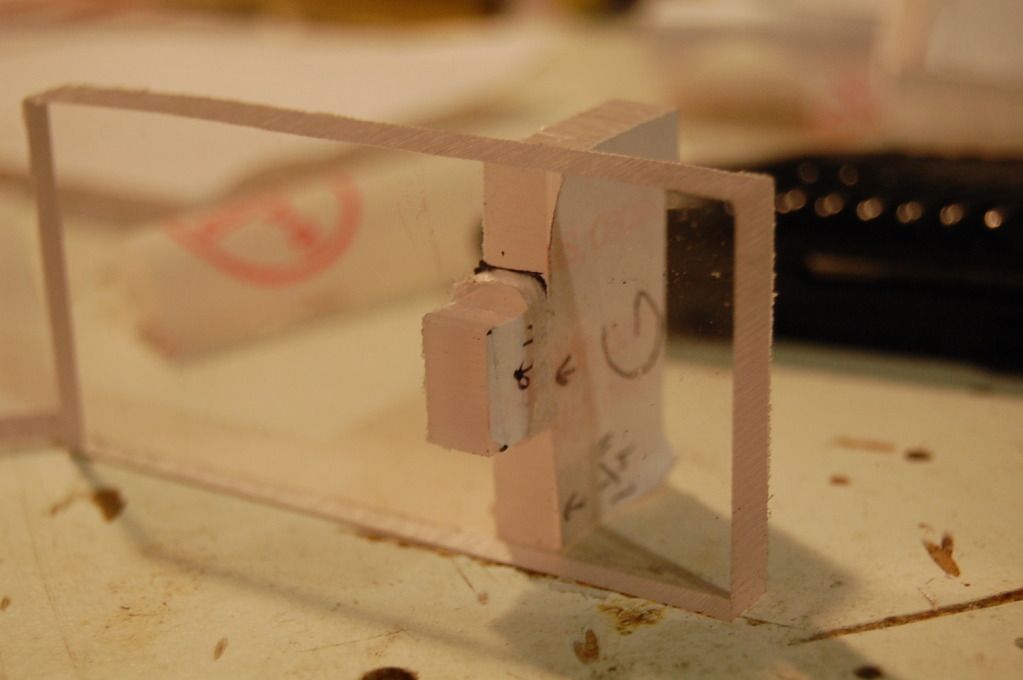
Test fit G in C:
Posted Image

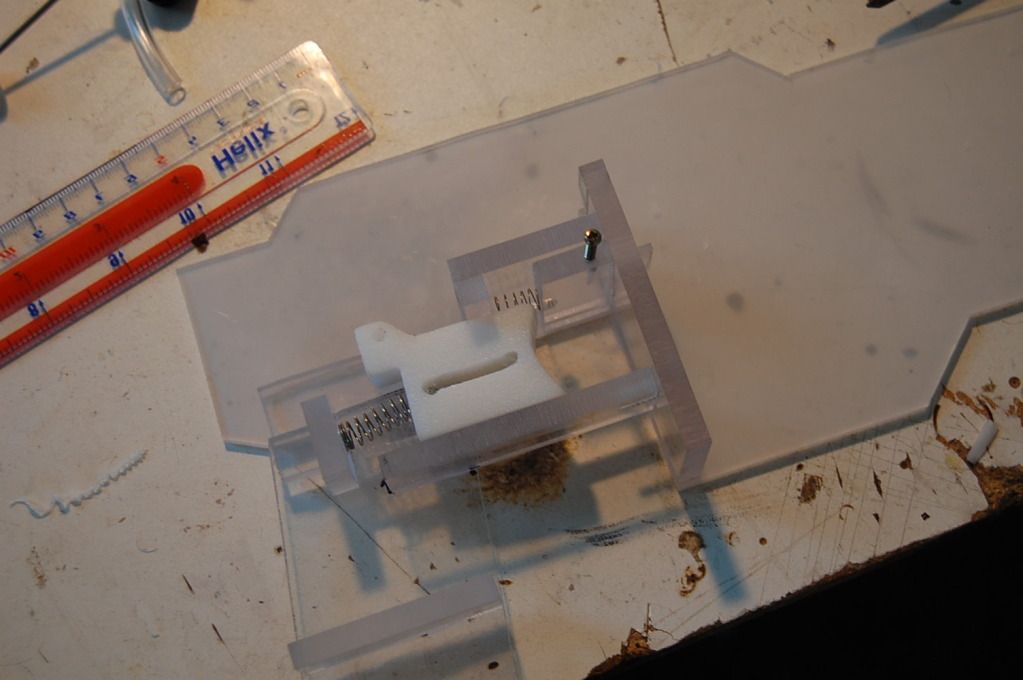
Next make a 1/8” dip in the top middle of C.
Posted Image

Now, take piece F and glue it directly above the square, on piece C.
Posted Image

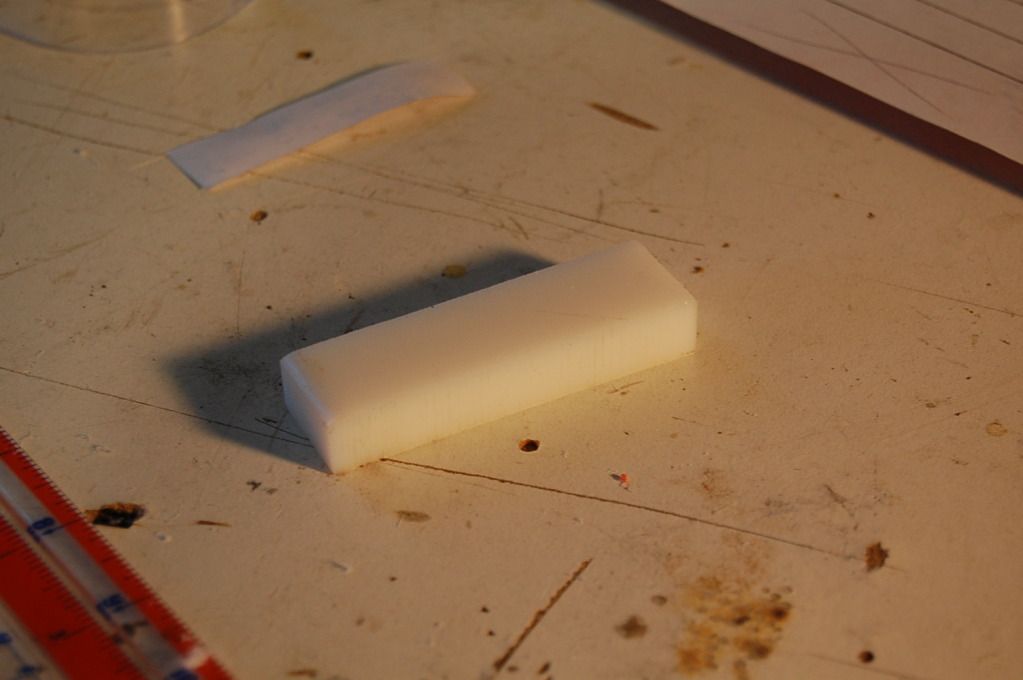
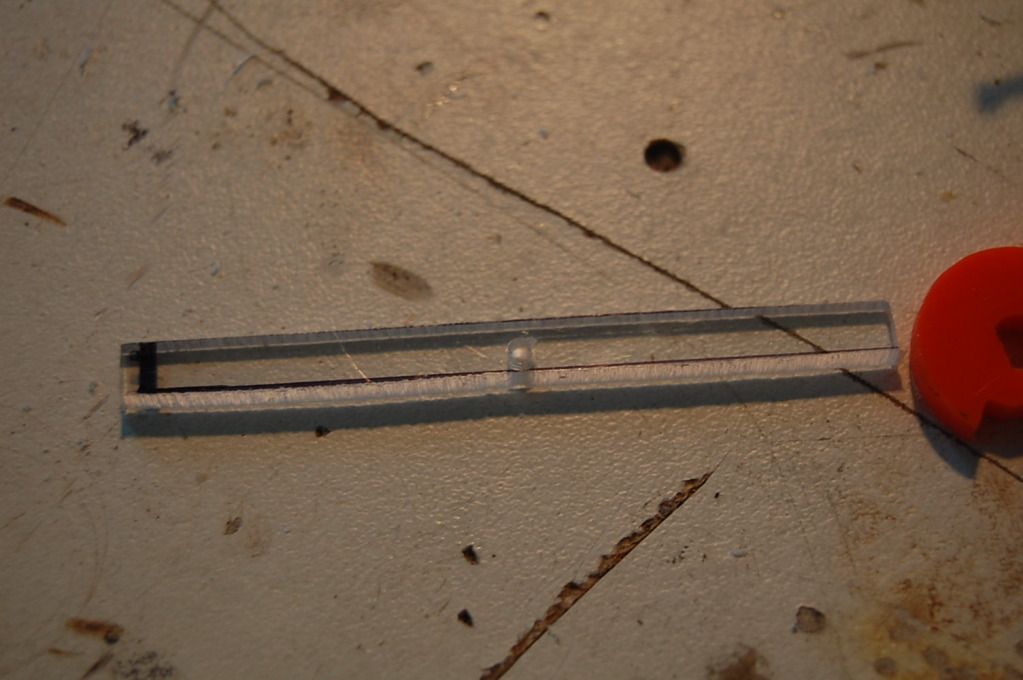
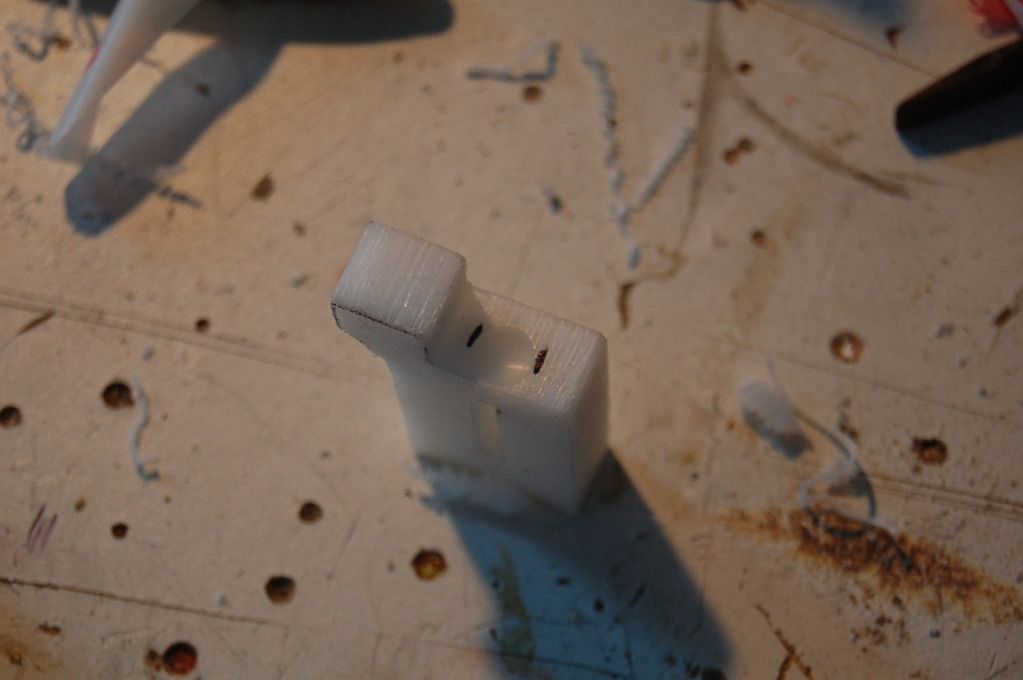
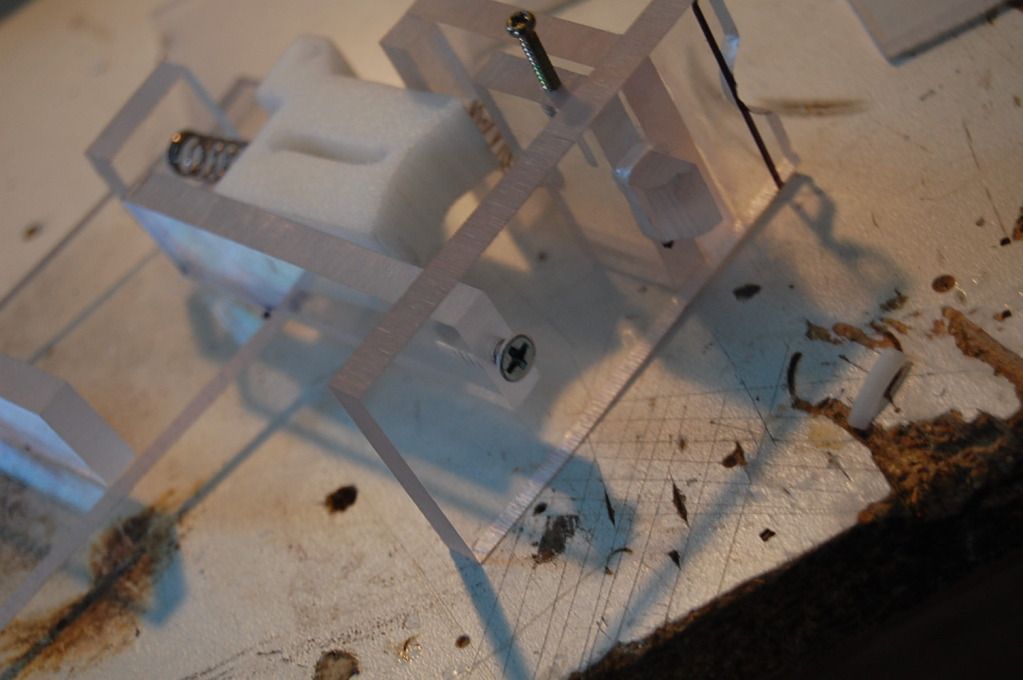
Take a ¼” by1/4” by 1 ½” piece of polycarbonate, and drill a ¼” divot in the center.
Posted Image

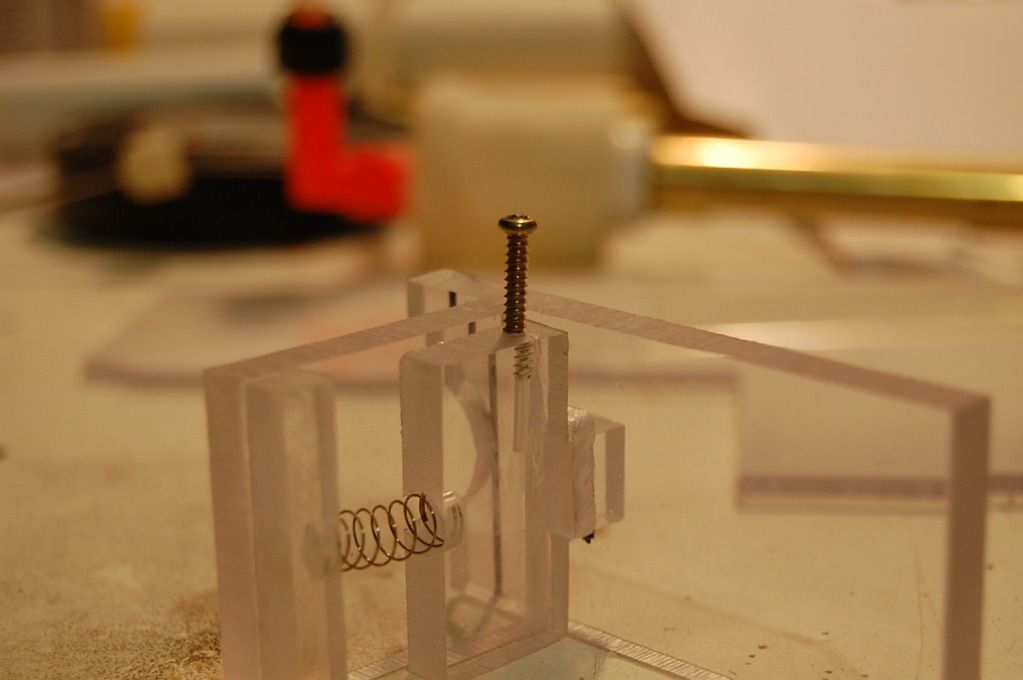
Drill a corresponding divot in piece G, and test fit the spring. (Rotation mech spring from at3k)
Posted Image

Slide G into it’s slot in C and glue the ¼ by ¼” square onto the back of J.
Posted Image

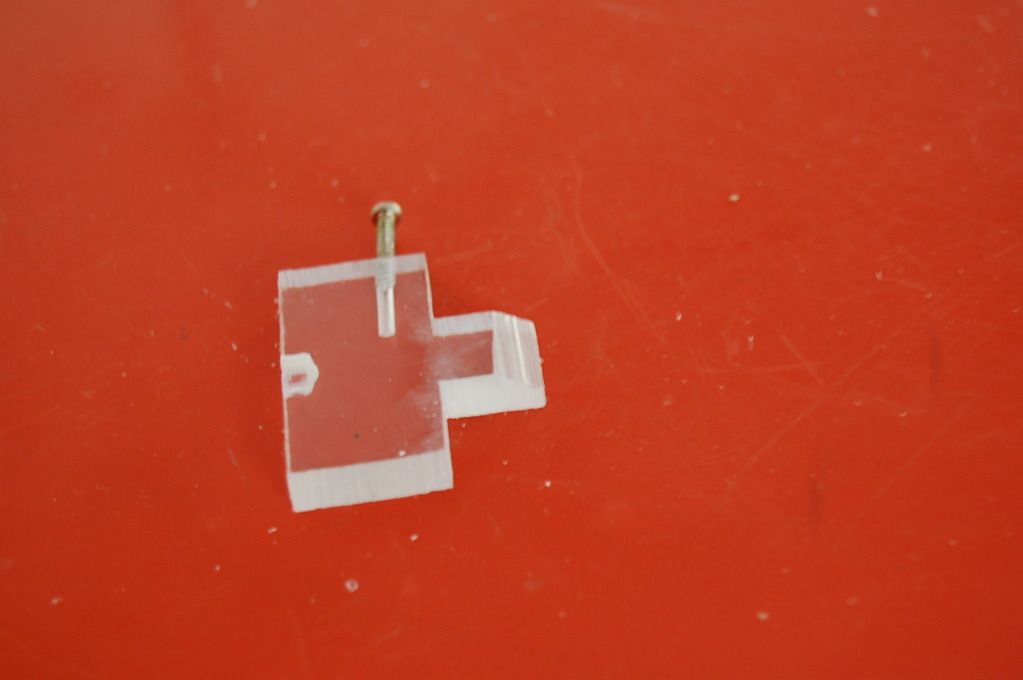
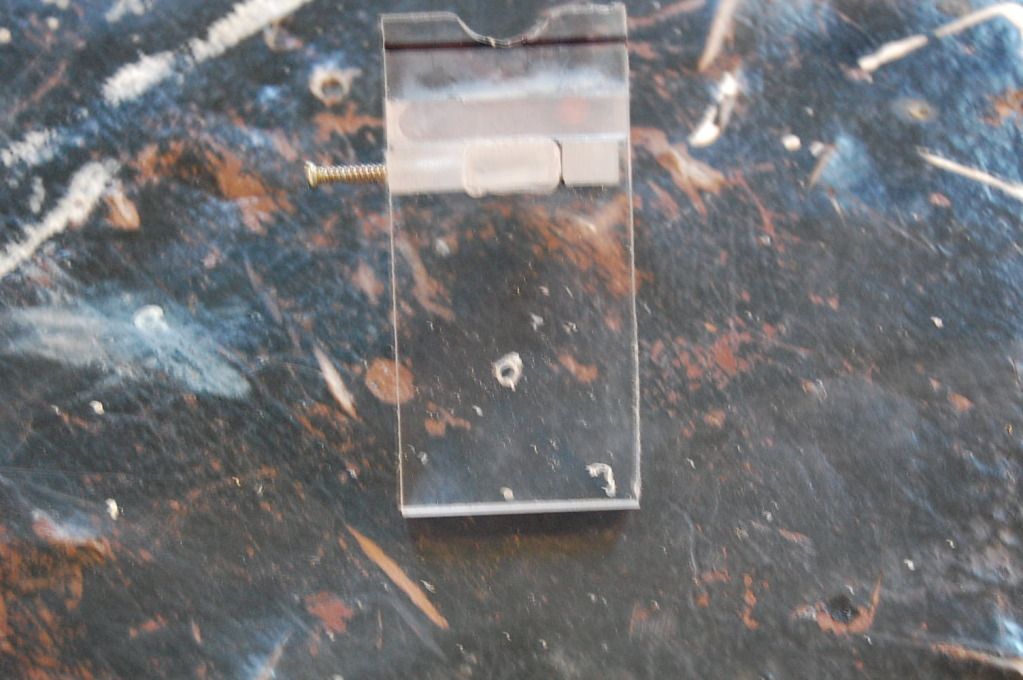
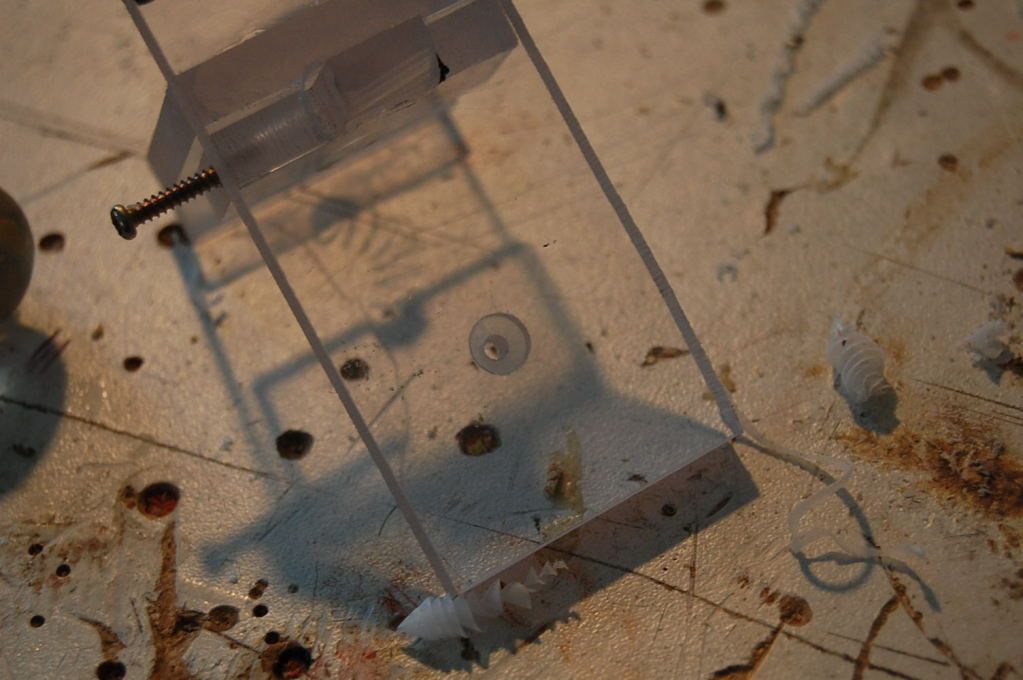
Drill a hole in the side of G and put a small/long screw in to it.
Posted Image

Bevel the edge of G, like so:
Posted Image

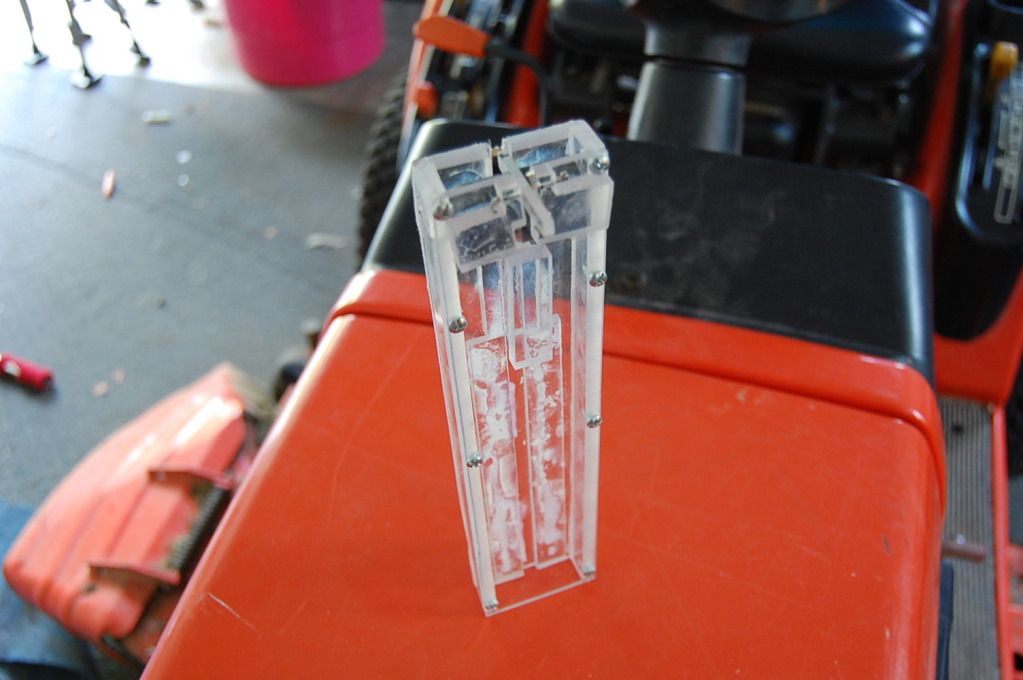
Time for the magazine:
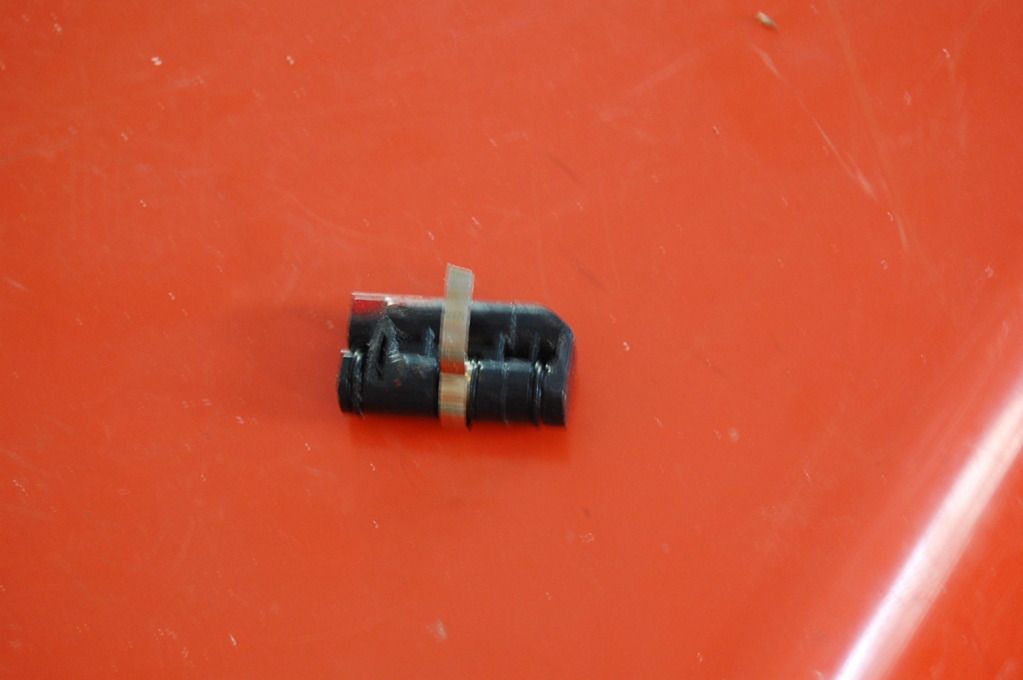
Take an alpha-trooper magazine spring/dart pusher and cut/glue it until it is just under 1 3/4” wide.
Posted Image
Finished:
Posted Image

You will need the following pieces for the magazine:
Posted Image

Glue both thin pieces to the edges of the wide part:
Posted Image

Now cut a ¼” slot down the entire side of the mag:
Posted Image

Splice it back together with a scrap of 1/8” polycarb.
Posted Image

Take a scrap of ¼” polycarb and cut it as pictured:
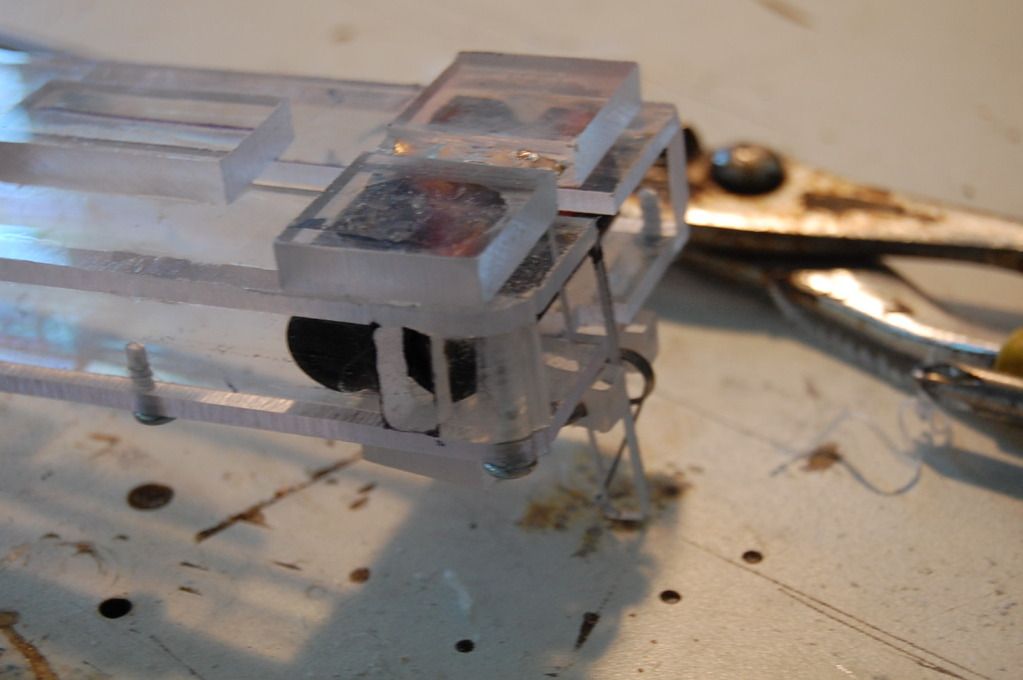
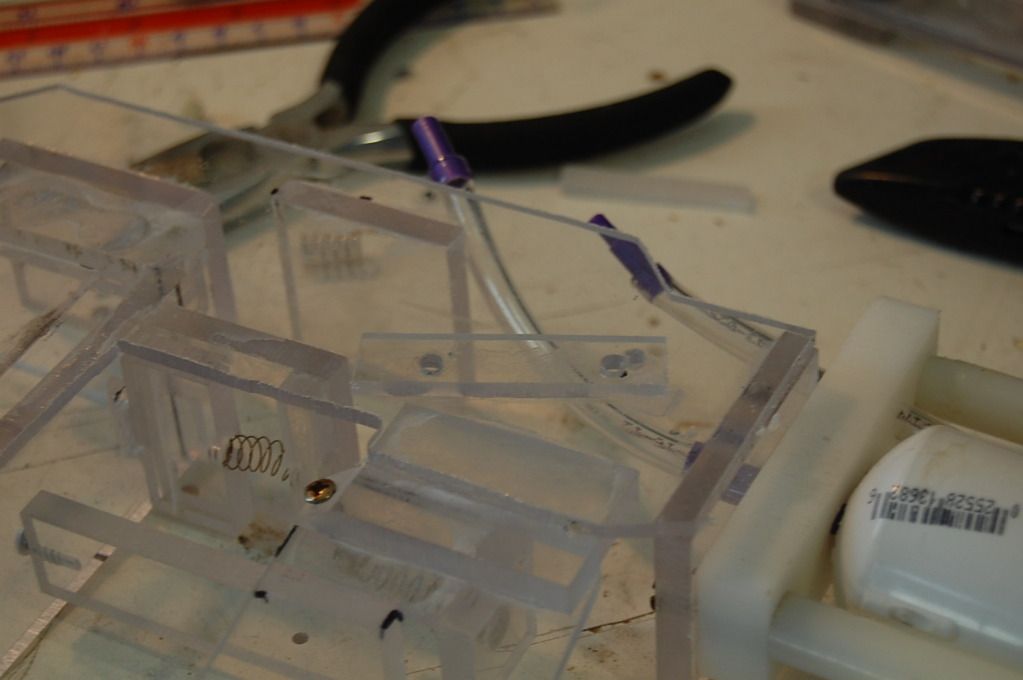
Posted Image

Glue the mag spring into the slots:
Posted Image

Then glue the ¼” scrap onto the magazine, at the top:
Posted Image

Glue a scrap of ¼” poly carb to the magazine, as pictured:
Posted Image

Cut the following scrap of polycarb as pictured. (you just need to get it similar not exact)
Posted Image

Drill 1/8” holes in the thin parts:
Posted Image

Edited by hamoidar, 11 October 2012 - 04:19 PM.

  • 0
NerfHaven > Your control panel > Profile > Change Signature > Inserts dumb sig > What! No pictures! > Inserts next best thing: http://nerfhaven.com...howuser=114052' class='bbc_url' title='External link' rel='nofollow external'>Best thing on Nerfhaven!

#3 hamoidar

hamoidar

    Member

  • Members
  • 367 posts

Posted 11 October 2012 - 04:18 PM

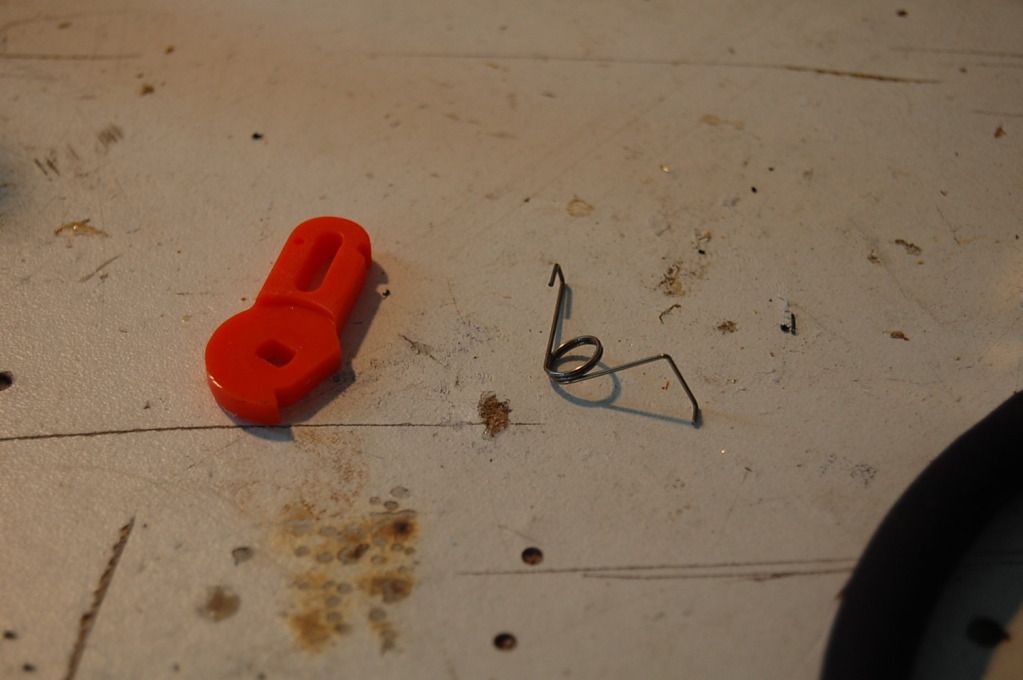
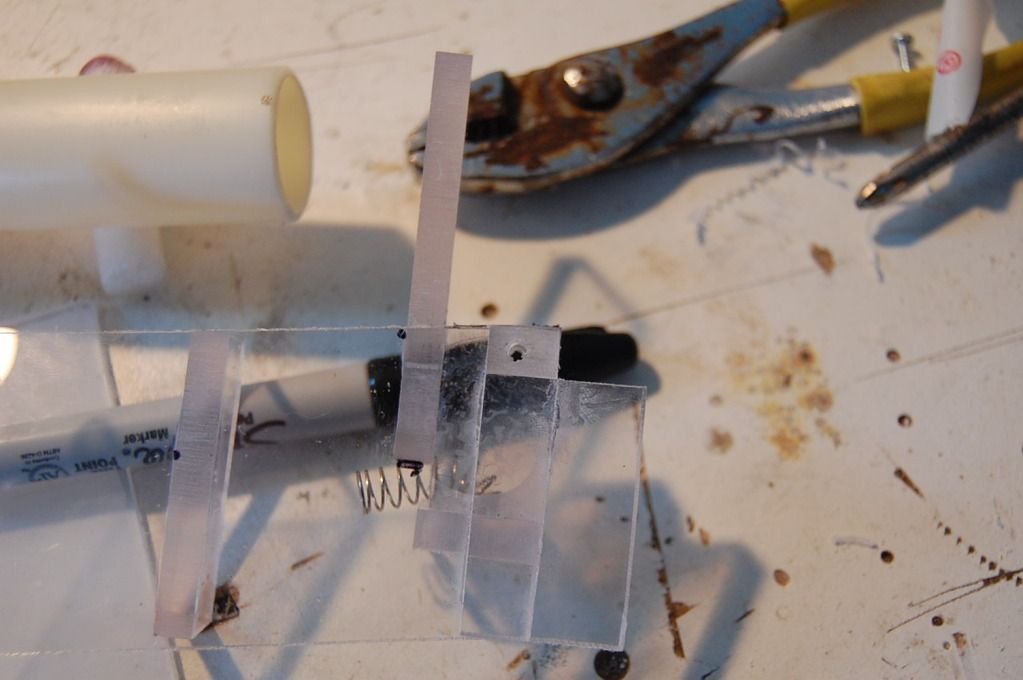
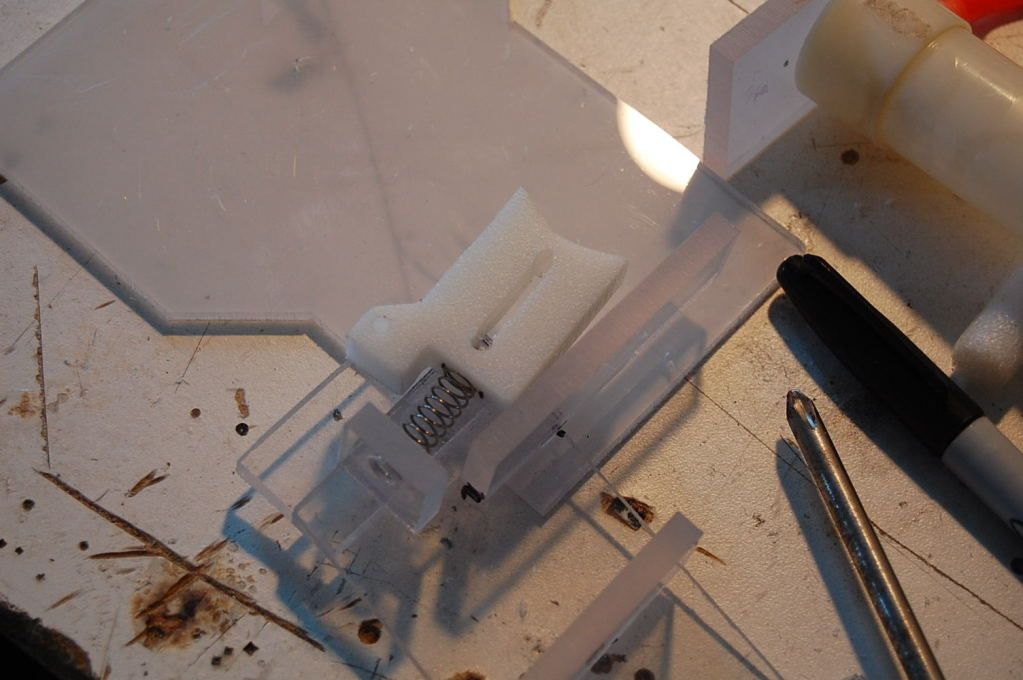
Now, take the spring that is on the orange piece pictured: (from an at3k)
Posted Image

And cut it like so:
Posted Image

Drill a 1/8” hole in a scrap of 1/8” polycarb:
Posted Image

Now, drill a 1/8” hole in one of the ¼” pieces, as pictured:
Posted Image

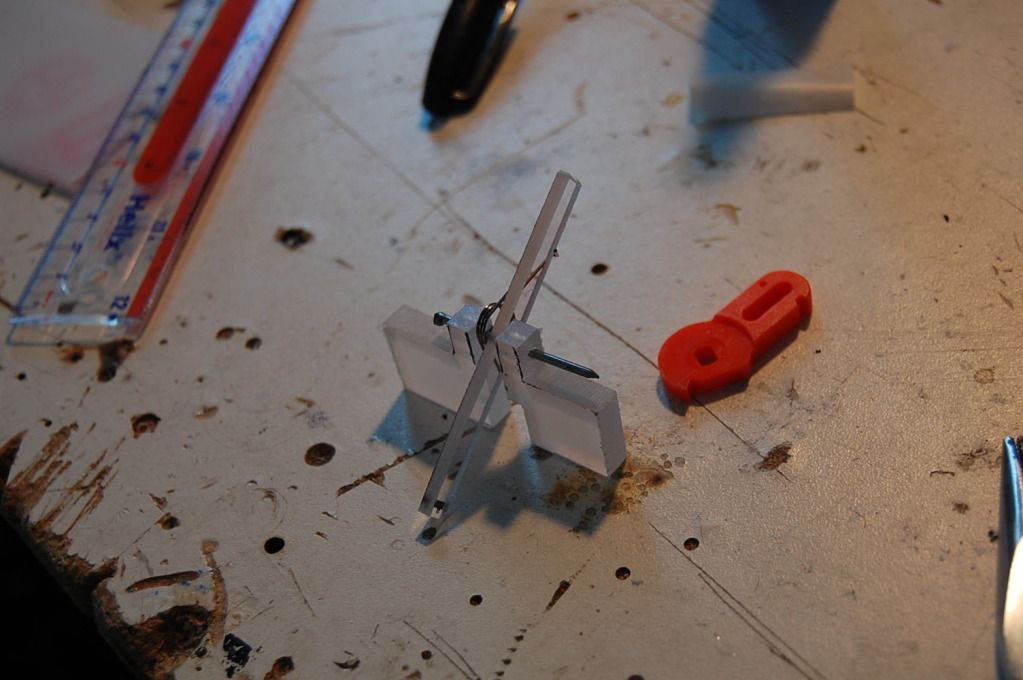
Now use a nail to connect all the parts:
Posted Image

Cut a notch in the second wide magazine side, as pictured:
Posted Image

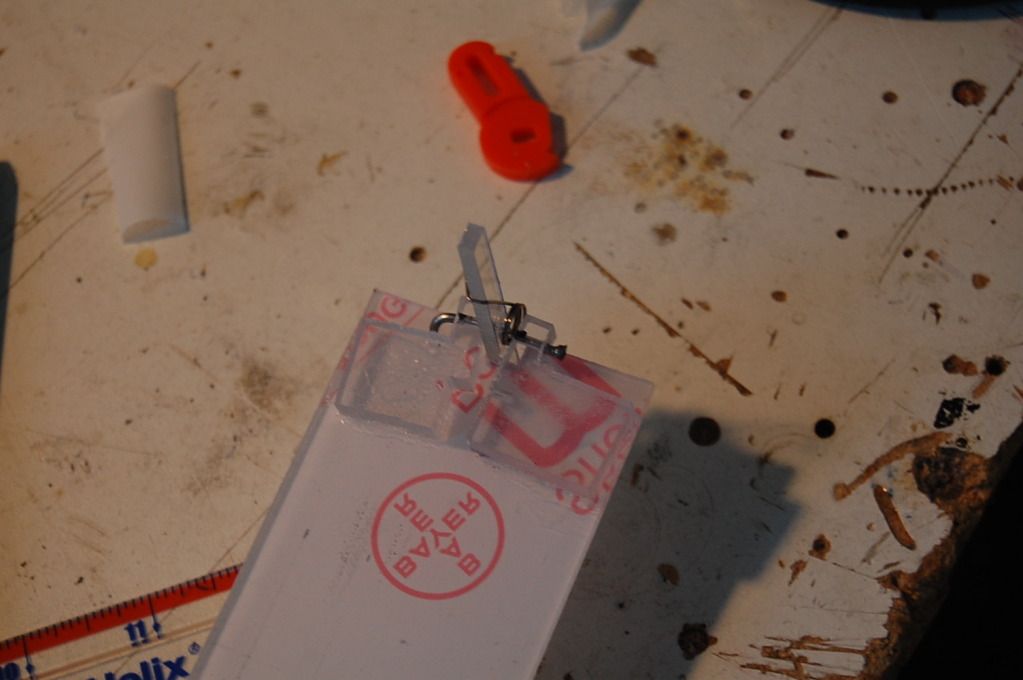
Glue the mech into place:
Posted Image

Screw the magazine together:
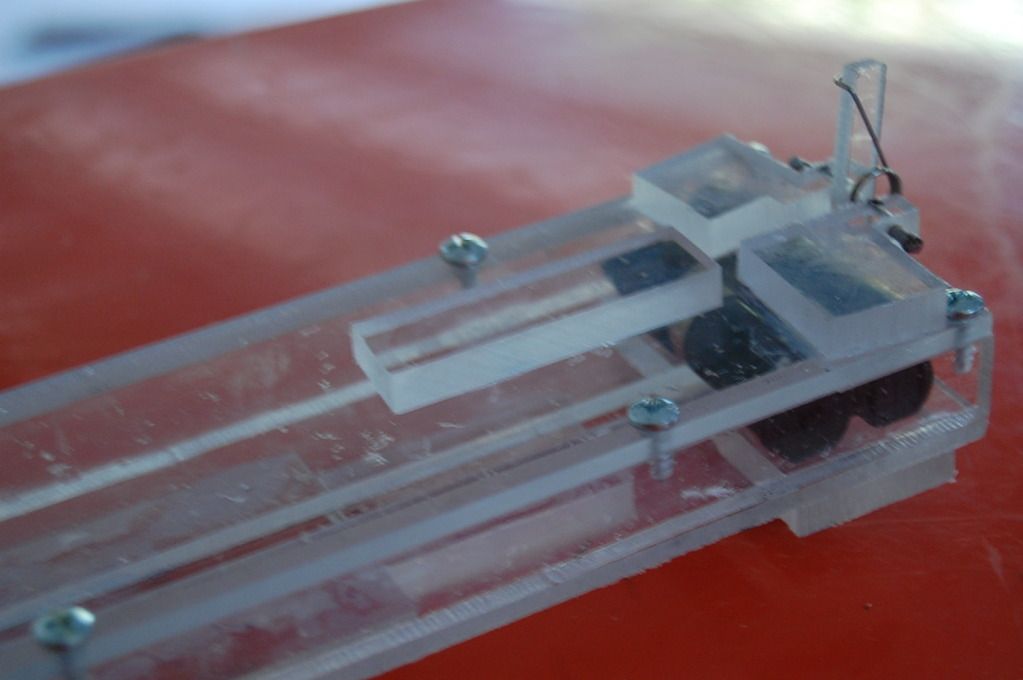
Posted Image

Make sure to add a piece of scrap ¼” pol carb to the mech side:
Posted Image

Cut a rectangle hole which corresponds to the hole in C, when the magazine is pushed flush with the breech:
Also, bevel the edge above the hole:
Posted Image

Don’t forget to cut the 1/8” bar to length! (make sure it just barely holds the darts when it is down)

Done:
Posted Image


Drill a hole in the beveled piece on the handle:
Posted Image

Put a screw through the hole:
Posted Image

Divot the back of the trigger with a ¼” drill bit:
Posted Image

Put the trigger onto the handle”
Posted Image

Drill a hole in piece C: (the part with G on it)
Posted Image

Countersink the hole:
Posted Image

Now screw C onto B/ the handle:
Posted Image

Now glue the handle and C onto the rear body panel:
Posted Image

Glue part F 1 1/8” above the other F:
Posted Image

Now glue part H so that It just barely touches the barrel:
Posted Image

Bevel the pump plate, like so:
Posted Image

Glue the front body panel to the rear body panel.
Posted Image

Glue F and E as shown:
Posted Image

Time for the stock!

You will need these parts:
Posted Image

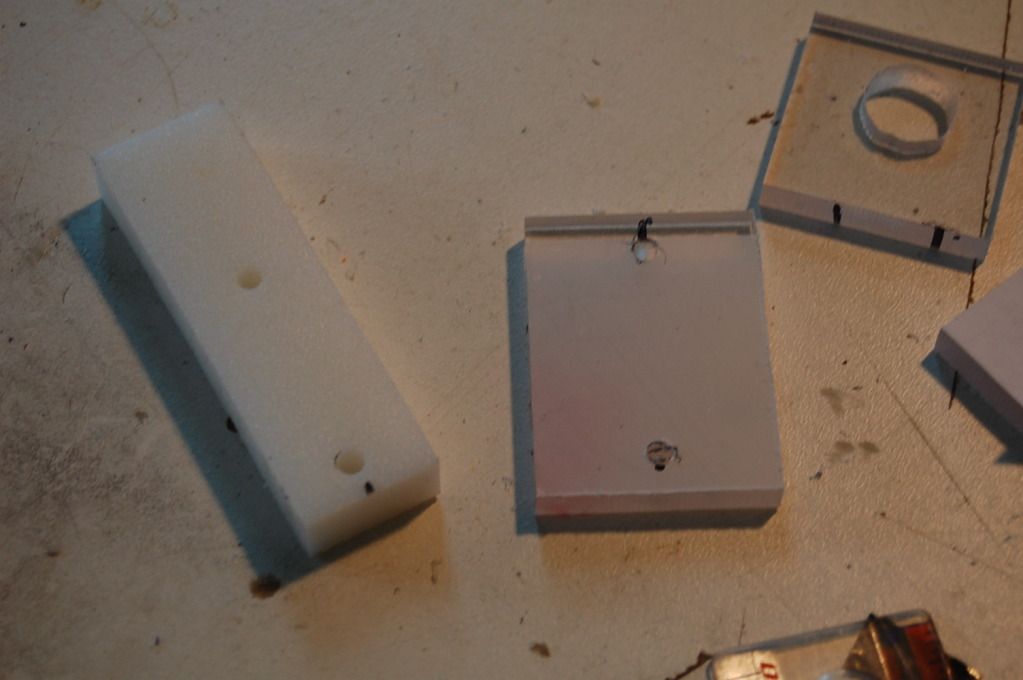
Drill corresponding holes in both the polycarb and the cutting board.
Posted Image

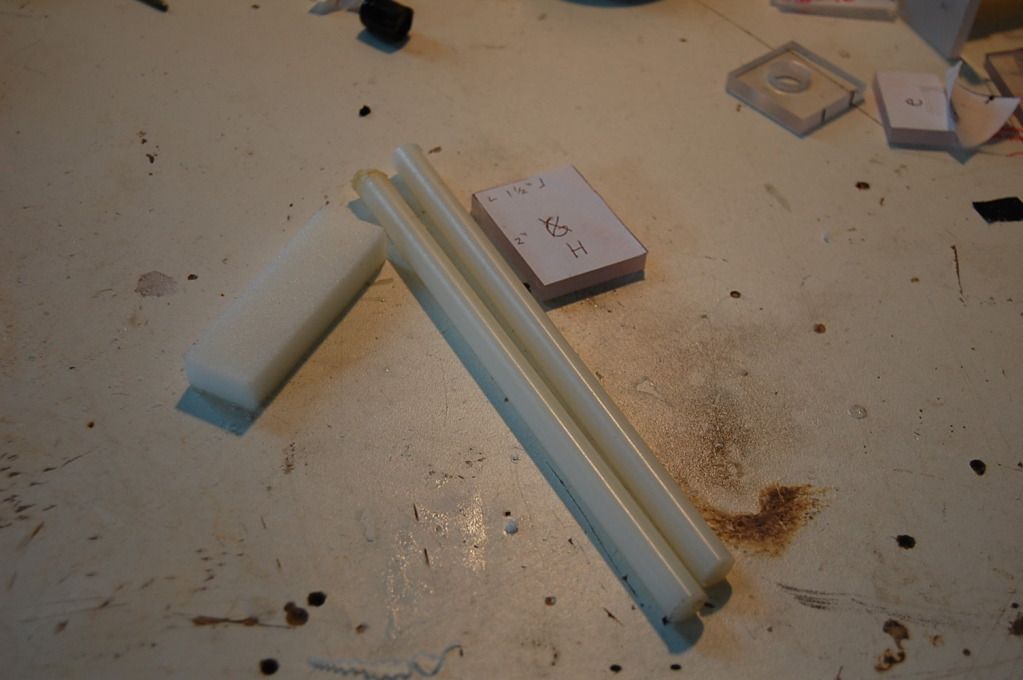
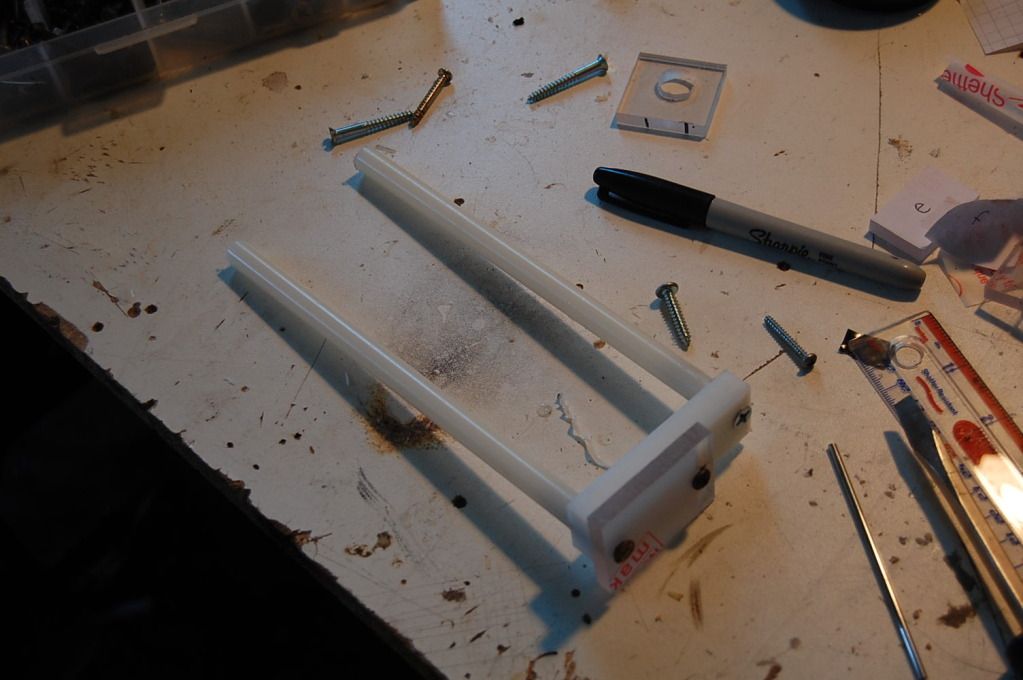
Screw on two nylon rods, each about 8” long:
Posted Image

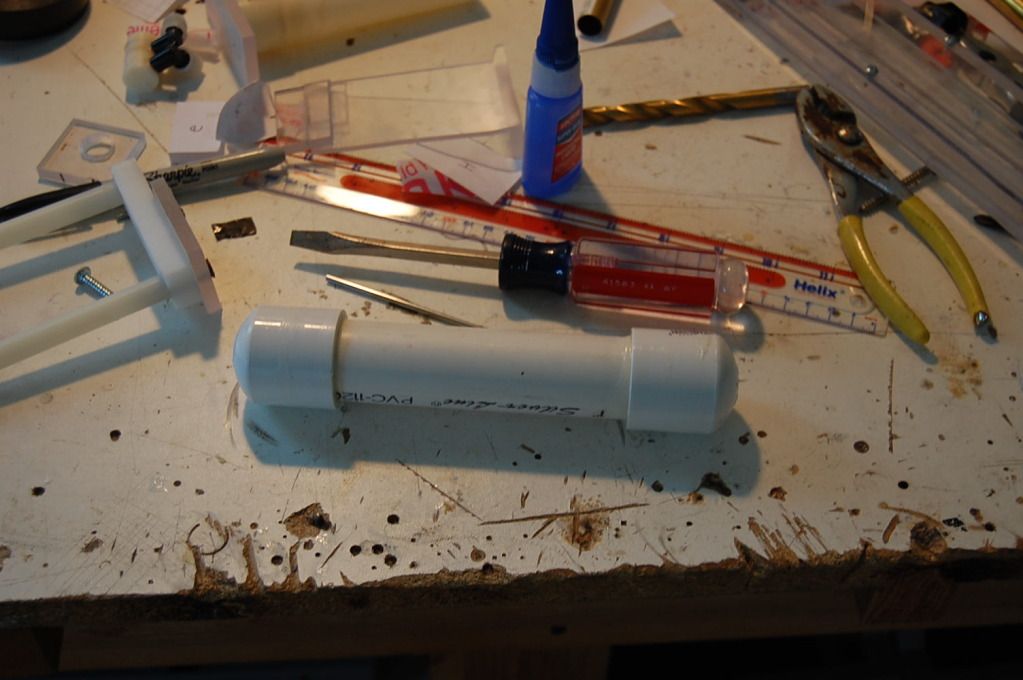
Now make the air tank, It needs to be about 8” long as well.
There has been a big stink about PVC air tanks lately. This gun utilizes the stock OPV and shouldn’t reach dangerous pressures. I personally am not concerned or alarmed by their alleged danger and do not intend to stop using them. Do not take my word as sacred, please do your own research, and decide for yourself. If you are uncomfortable with using one, please use a different material. I really don’t want this thread to become a discussion about pvc air tanks, so if you disagree, please keep your comments to yourself. Thanks.
Posted Image

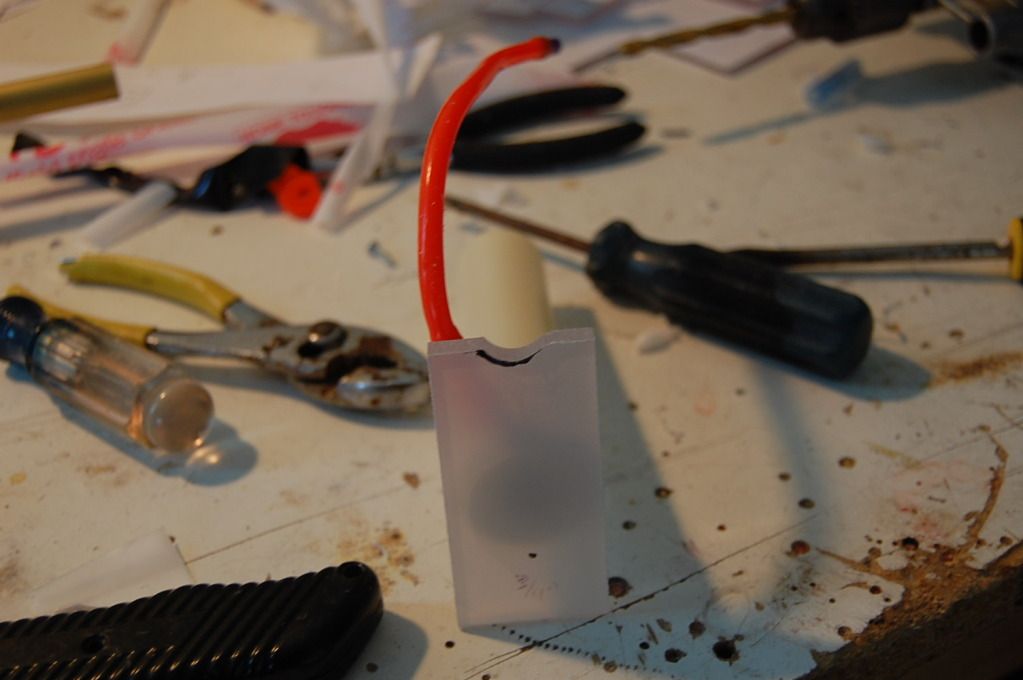
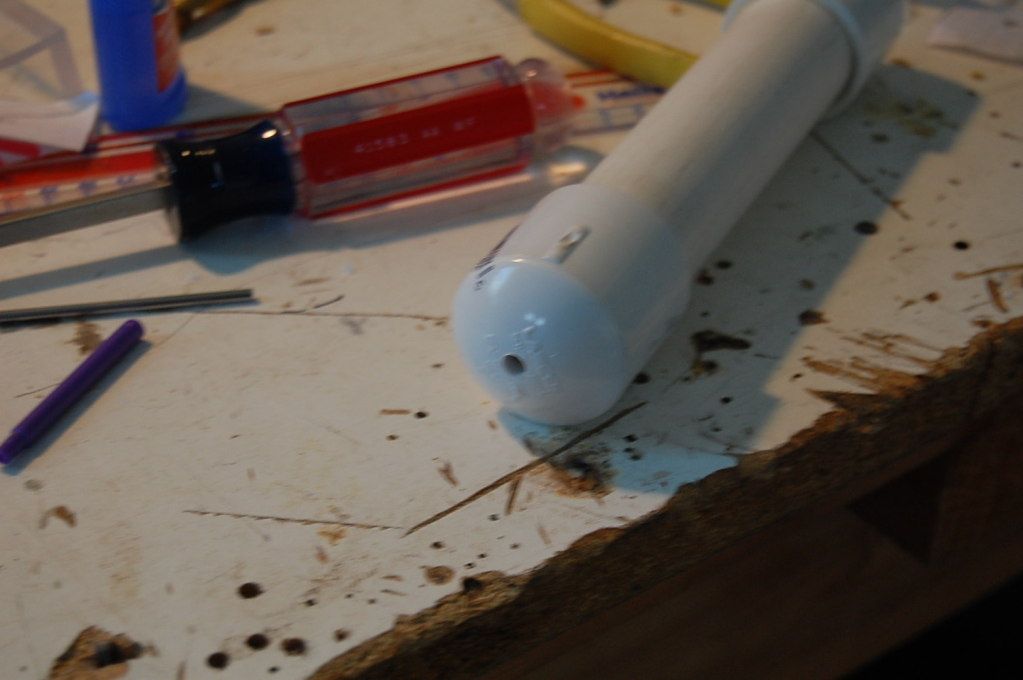
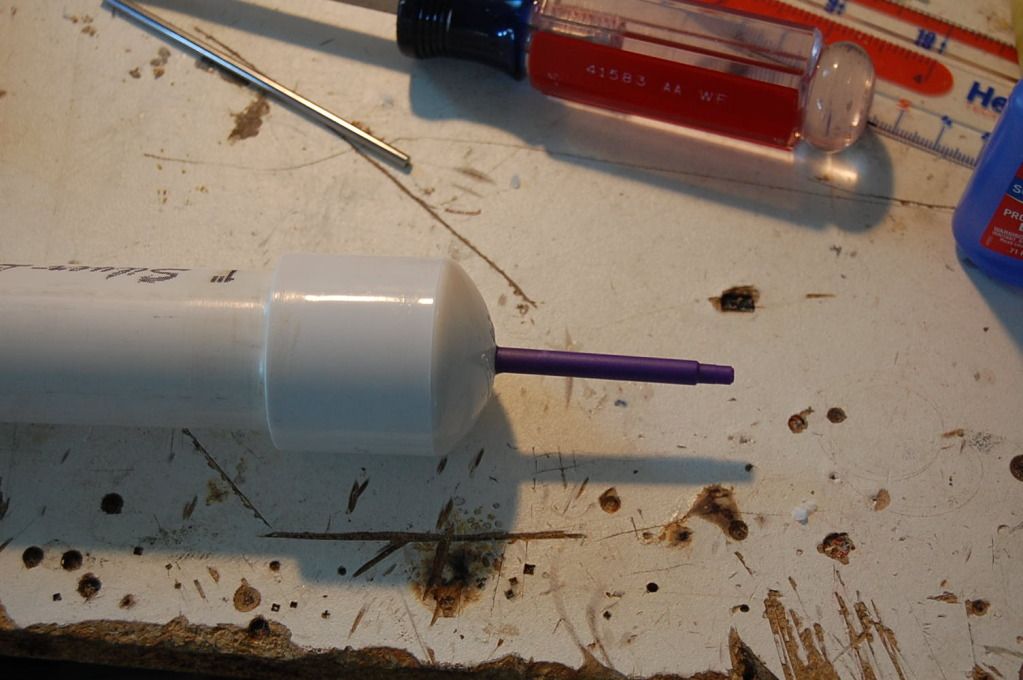
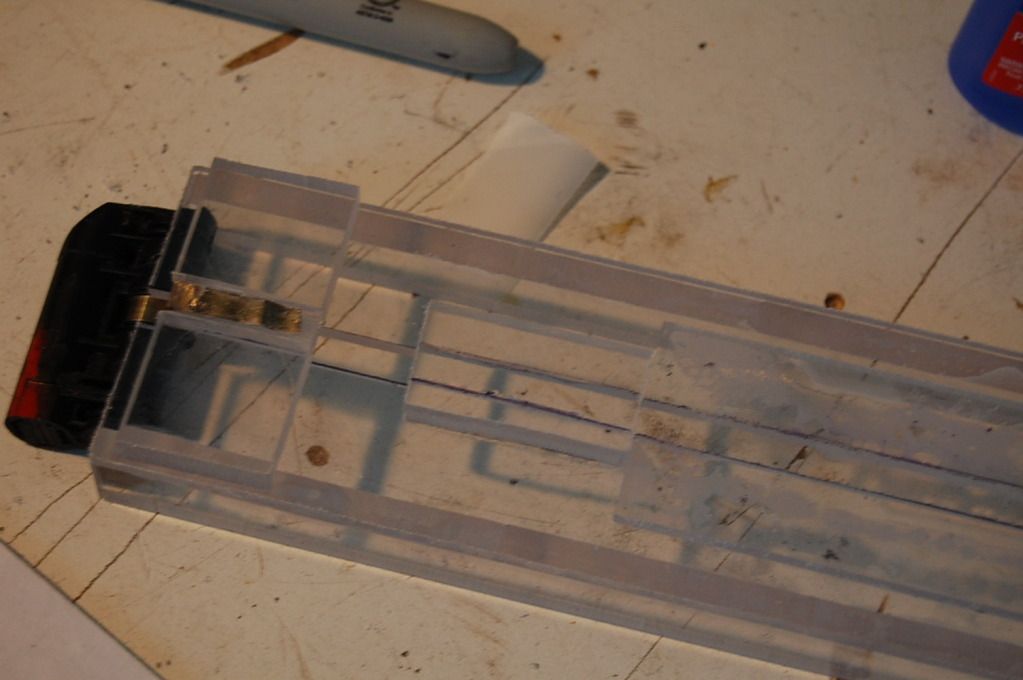
Drill a hole in one cap, big enough for whatever you are using for tubing connectors.
Posted Image

Put in a tubing coupler:
Posted Image

Edited by hamoidar, 11 October 2012 - 04:22 PM.
  • 0
NerfHaven > Your control panel > Profile > Change Signature > Inserts dumb sig > What! No pictures! > Inserts next best thing: http://nerfhaven.com...howuser=114052' class='bbc_url' title='External link' rel='nofollow external'>Best thing on Nerfhaven!

#4 hamoidar

hamoidar

    Member

  • Members
  • 367 posts

Posted 11 October 2012 - 04:21 PM

Drill a hole in the stock plates, and test fit the tank:
Posted Image

Drill a second hole in the stock plates, big enough for ¼” tubing.
Posted Image

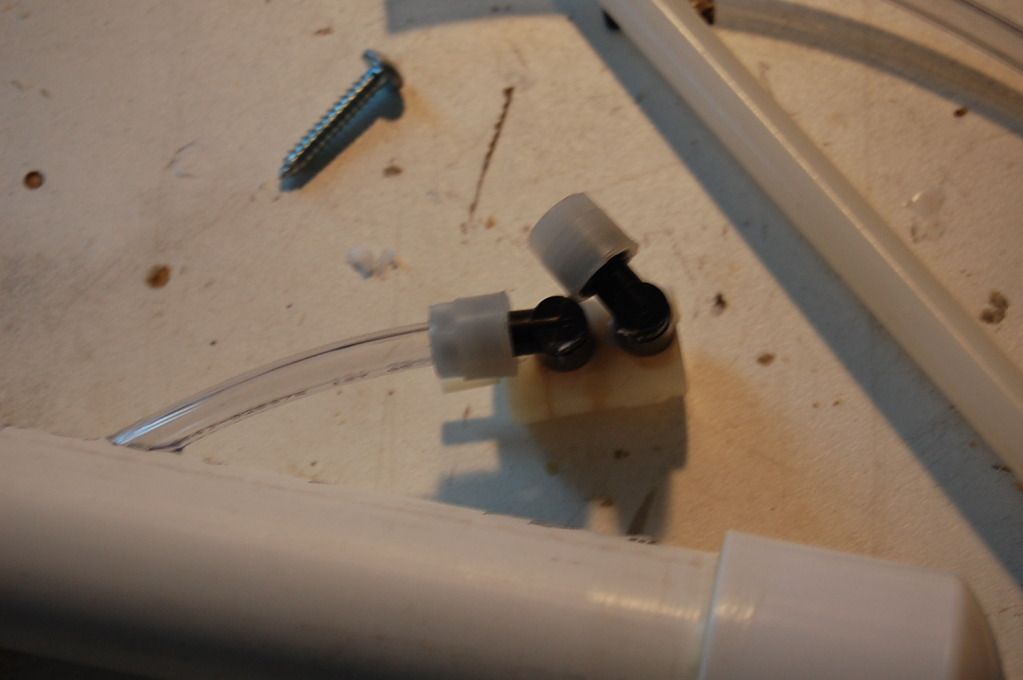
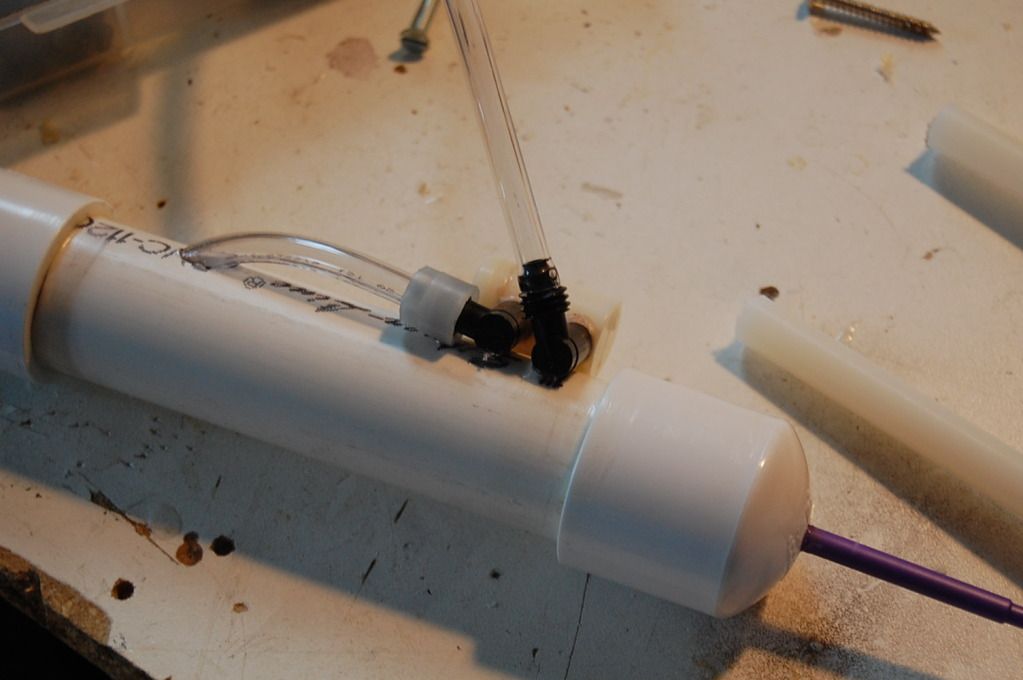
Drill a hole in your tank side and glue in a piece of ¼” tubing. Connect the tubing to a AS-20 bleed valve.
Posted Image

Glue the bleed valve to the tank:
Posted Image

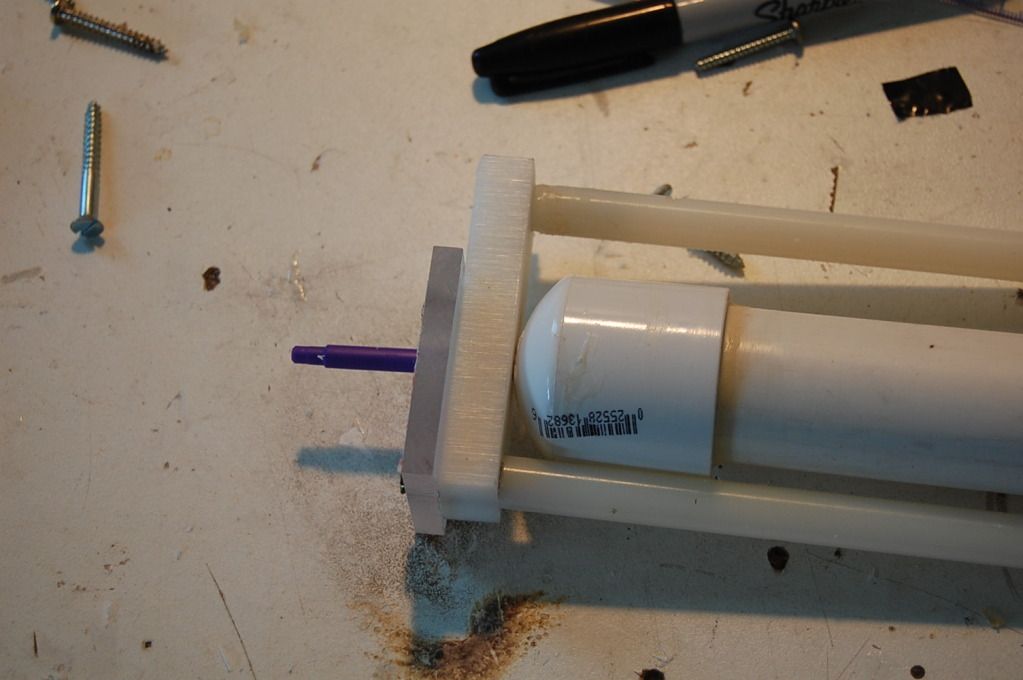
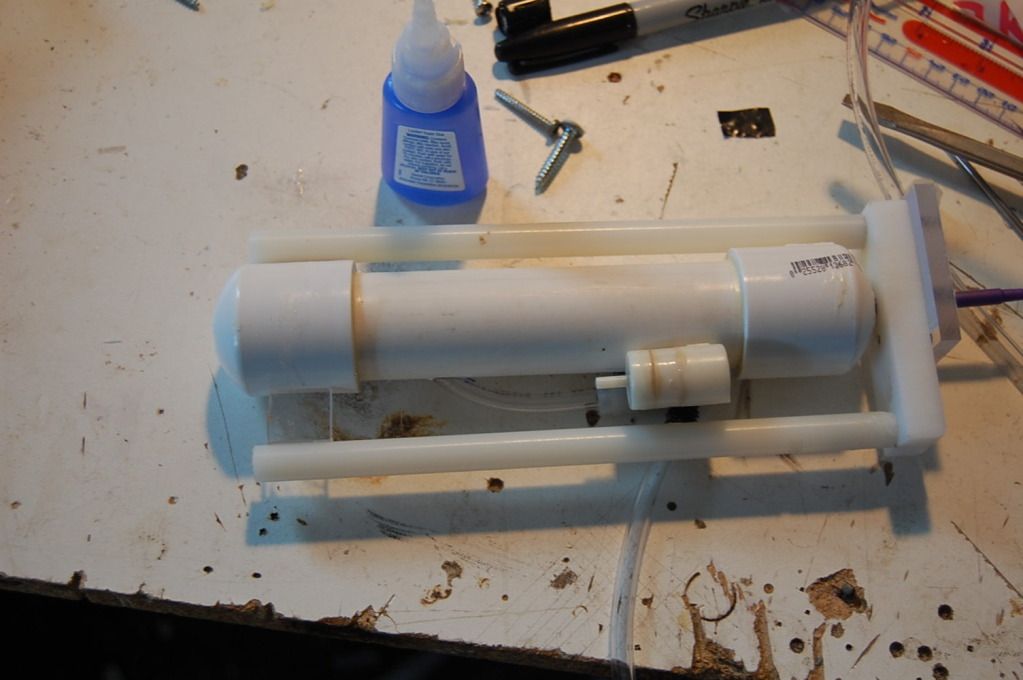
Glue the tank/bleed valve into the stock. Next, thread a bit of ¼” tubing through the hole in the stock, then connect it to the bleed valve.
Posted Image

Finished stock:
Posted Image

Find a washer that fits over the pump rod nicely. It needs to be under 1 ½” wide.
Posted Image

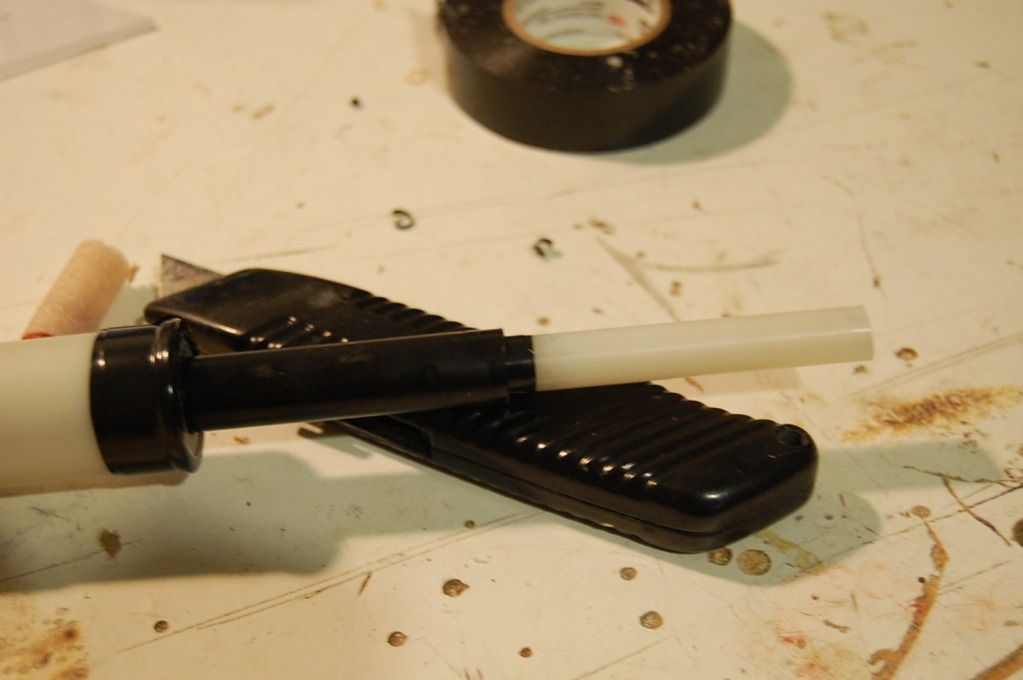
Glue a section of ½” nylon rod into the pump rod.
Posted Image

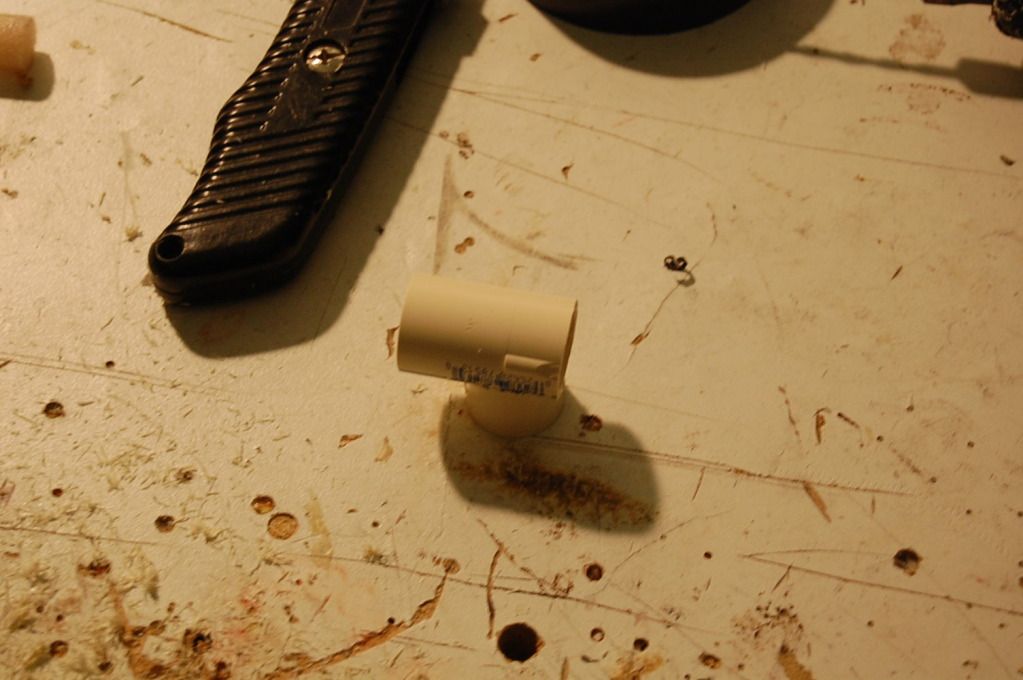
Take two ½” CPVC tees, and cut off one side of each tee.
Posted Image

Glue one of the tees to the pump rod.
Posted Image

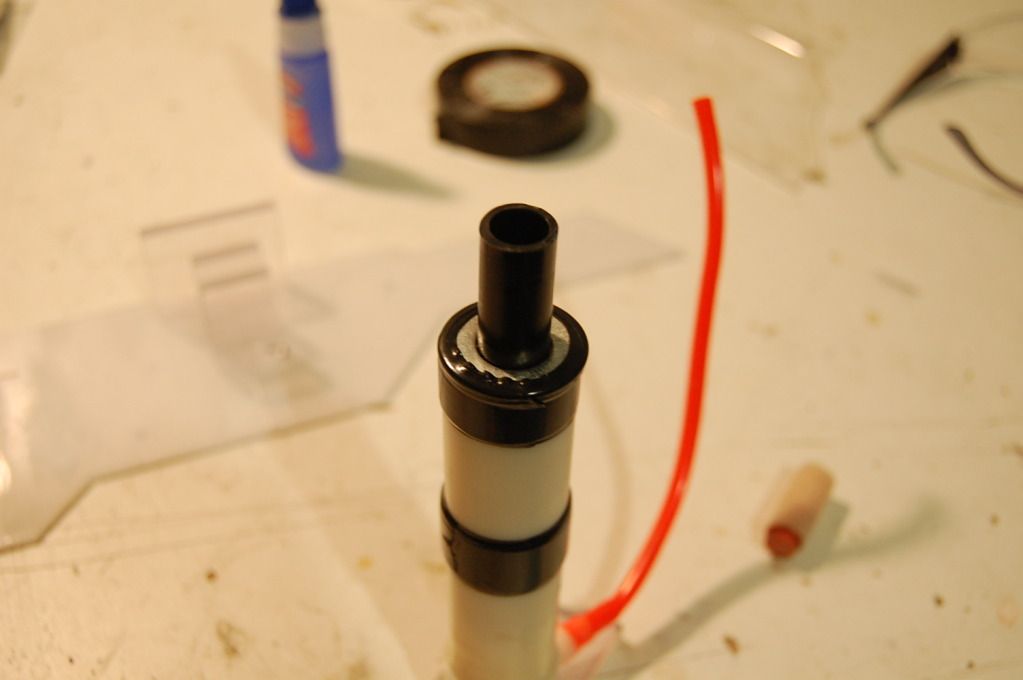
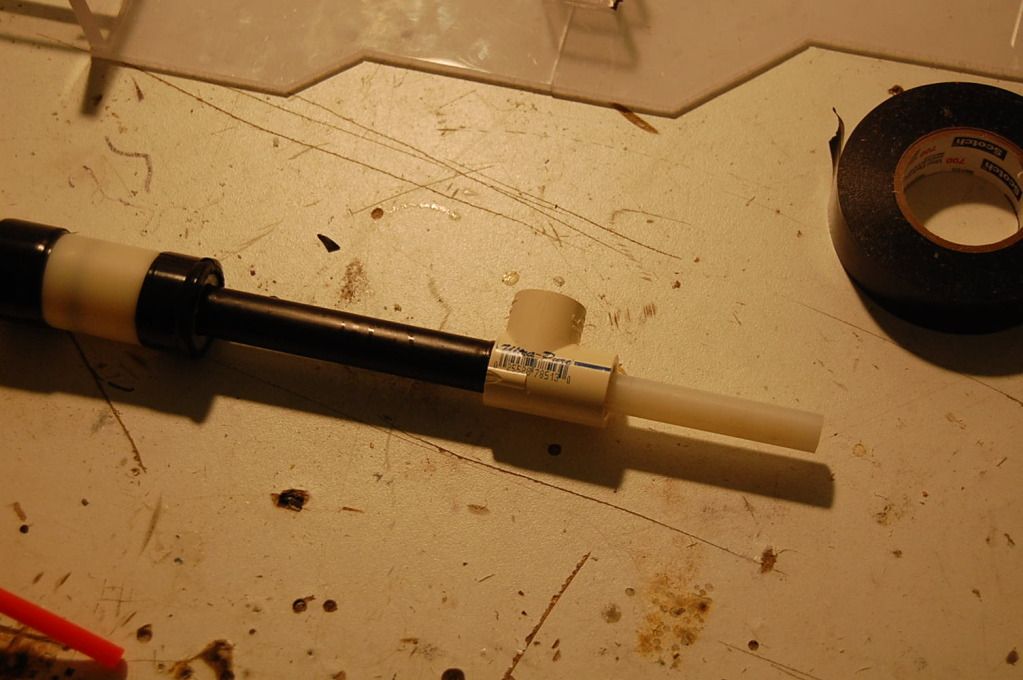
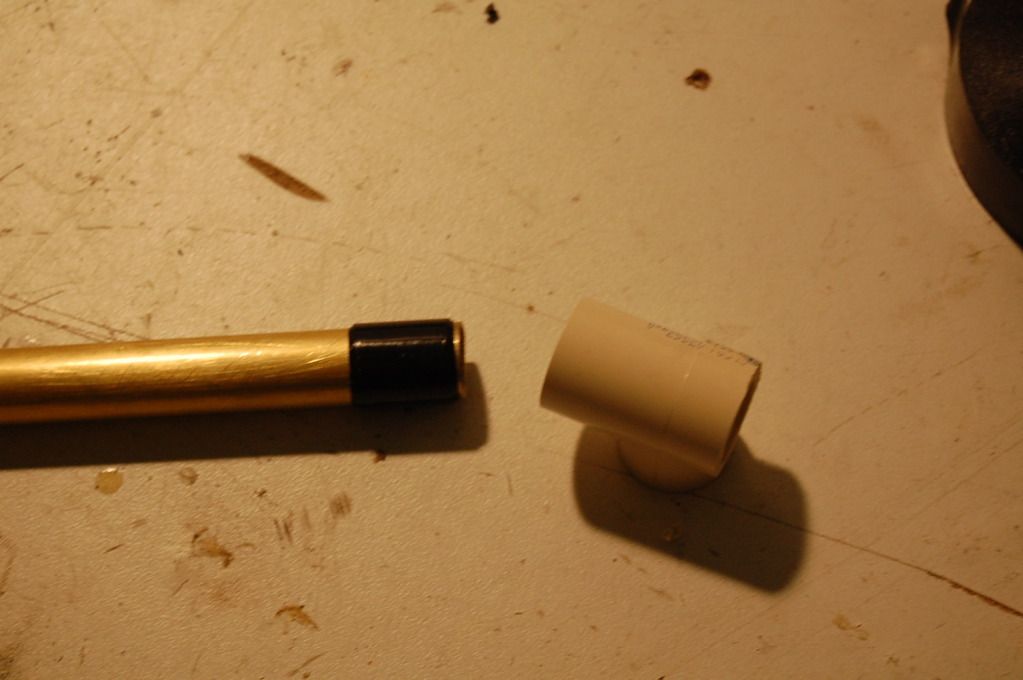
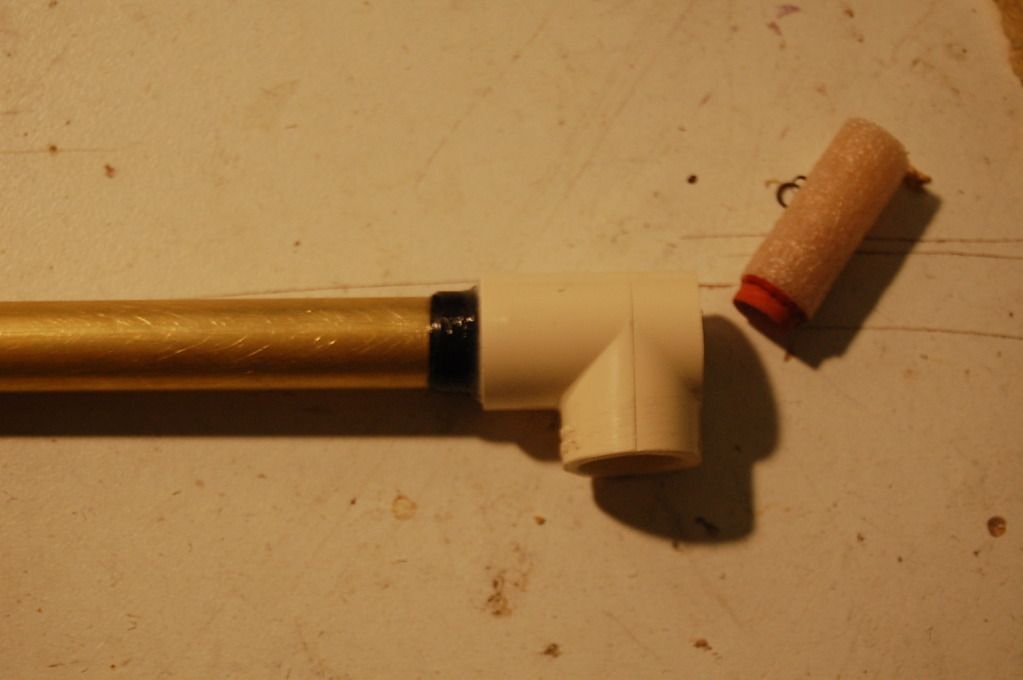
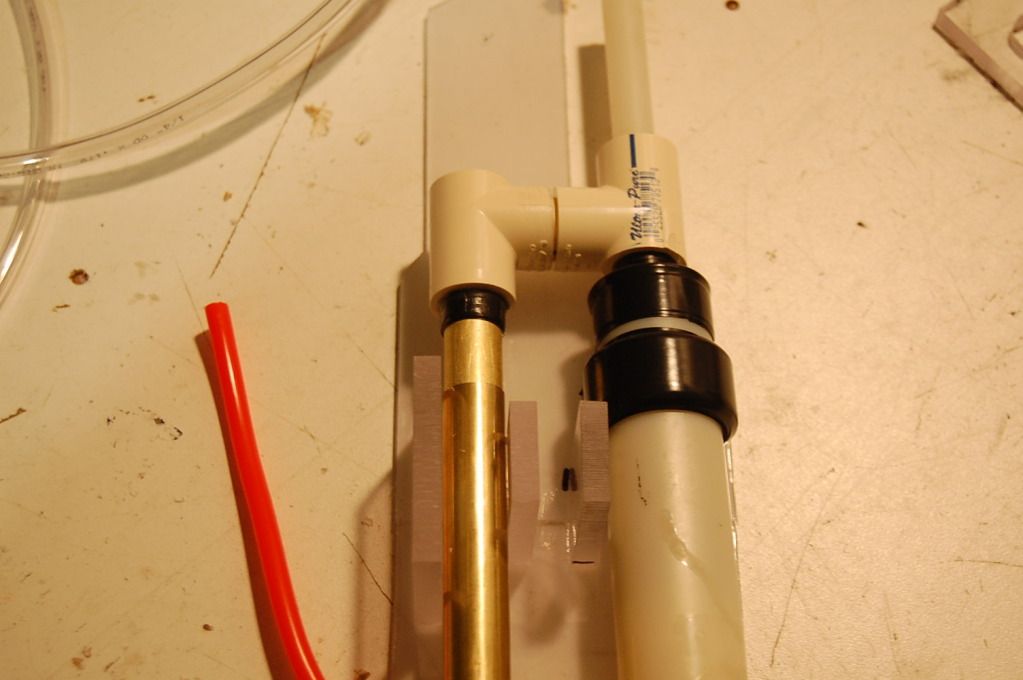
Take an 8” length of 9/16” brass, and wrap a few turns of E-tape around one end. (so that it fits into the tee nicely)
Posted Image

Glue the second tee to the brass:
Posted Image

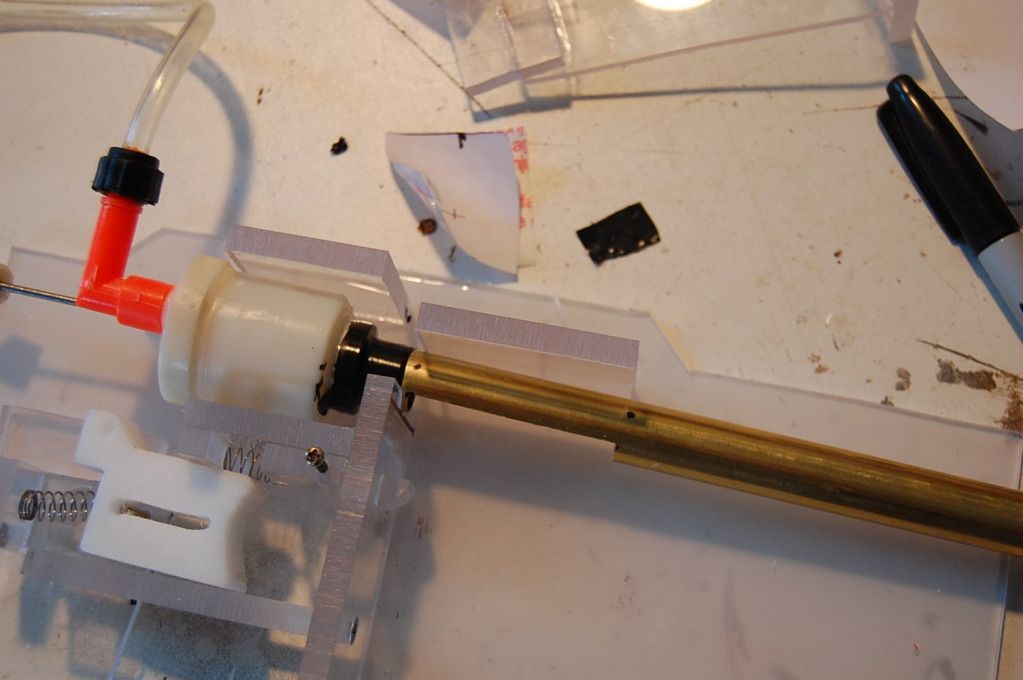
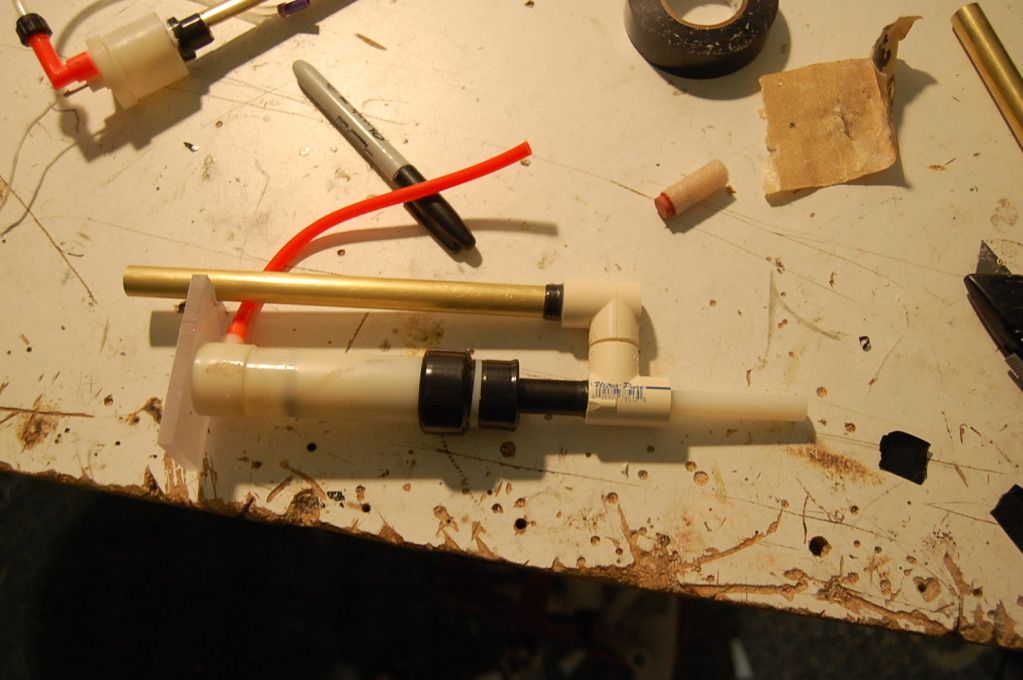
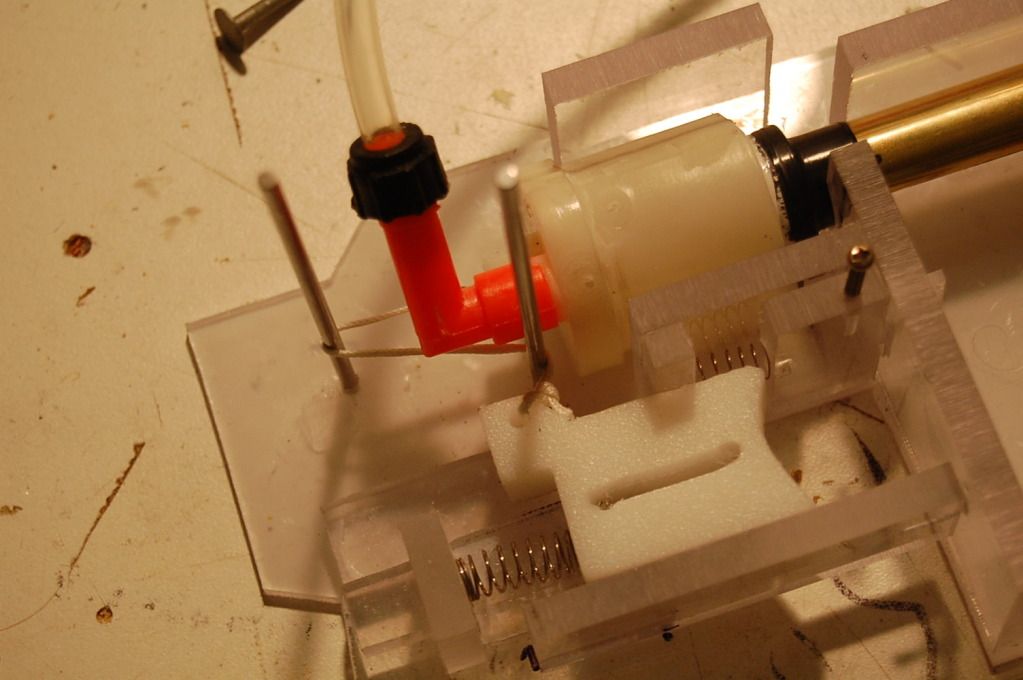
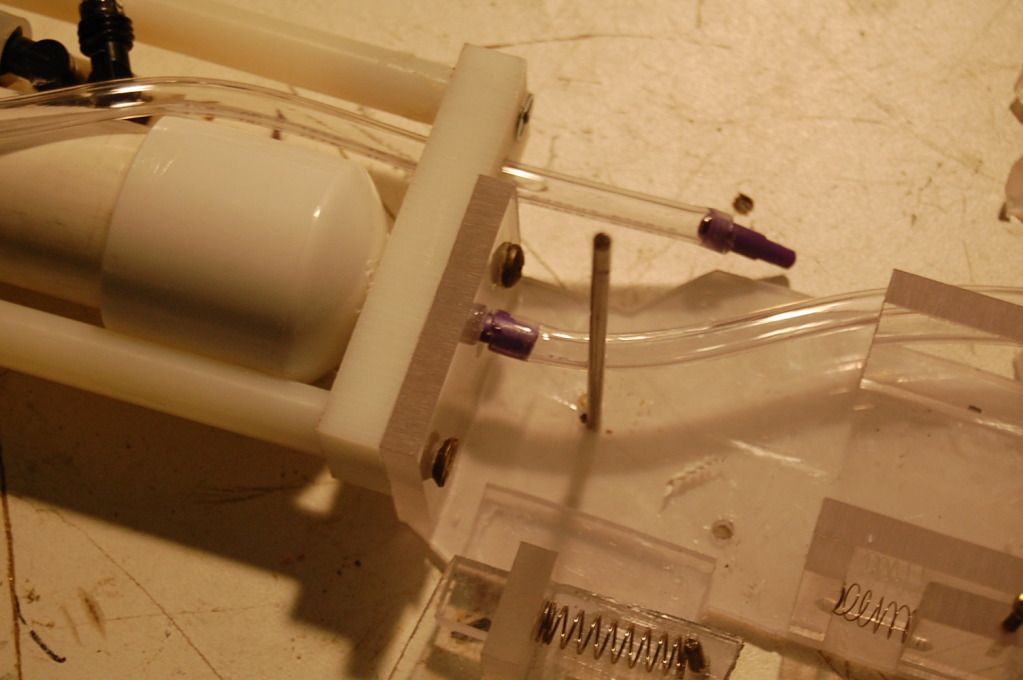
Connect the barrel to the pump; with a bit of ½” CPVC.
Posted Image

Add an E piece to support the pump. WARNING: don’t glue the pump on yet!
Posted Image

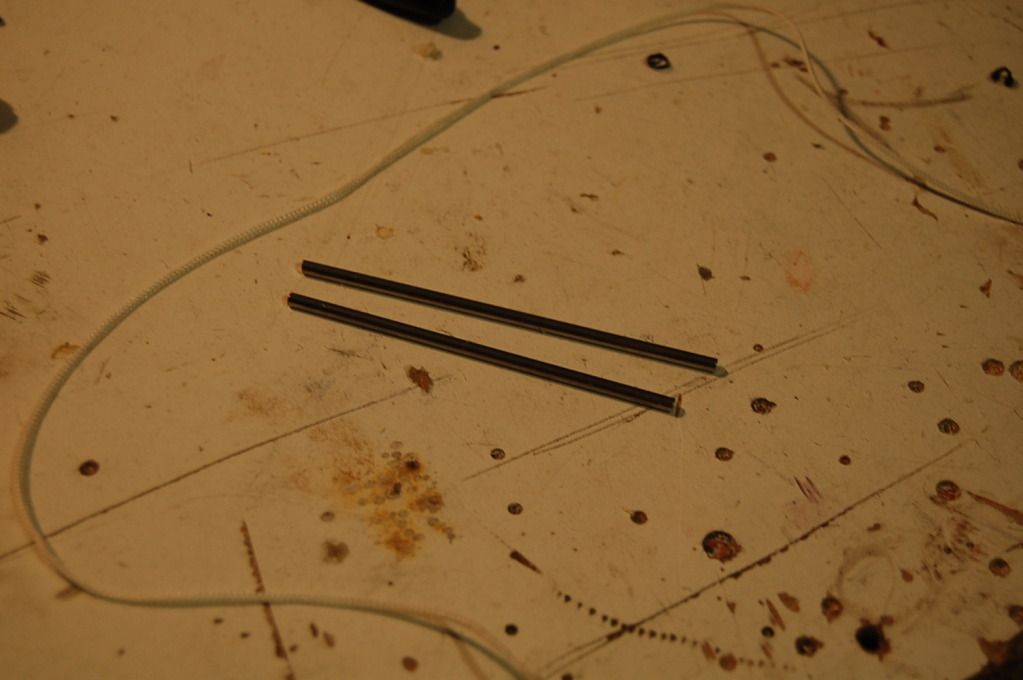
Your now going to need two 1/8” metal rods which are both 1 ¾” long. Plus some nylon string.
Posted Image

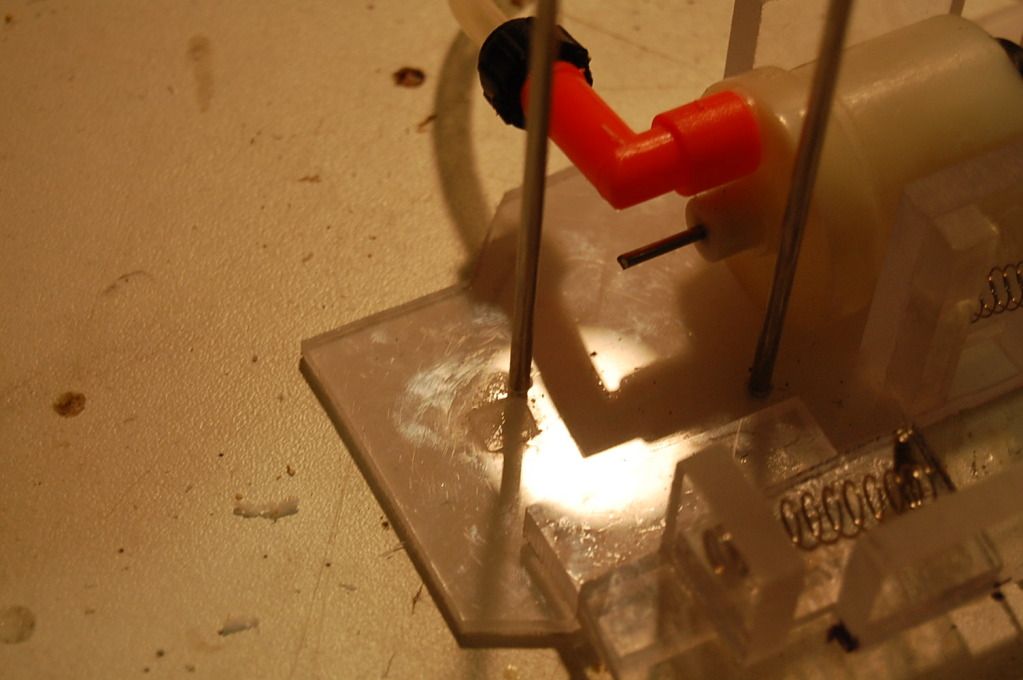
Drill to 9/64” holes in the following arrangement. And insert the metal rods.
Posted Image

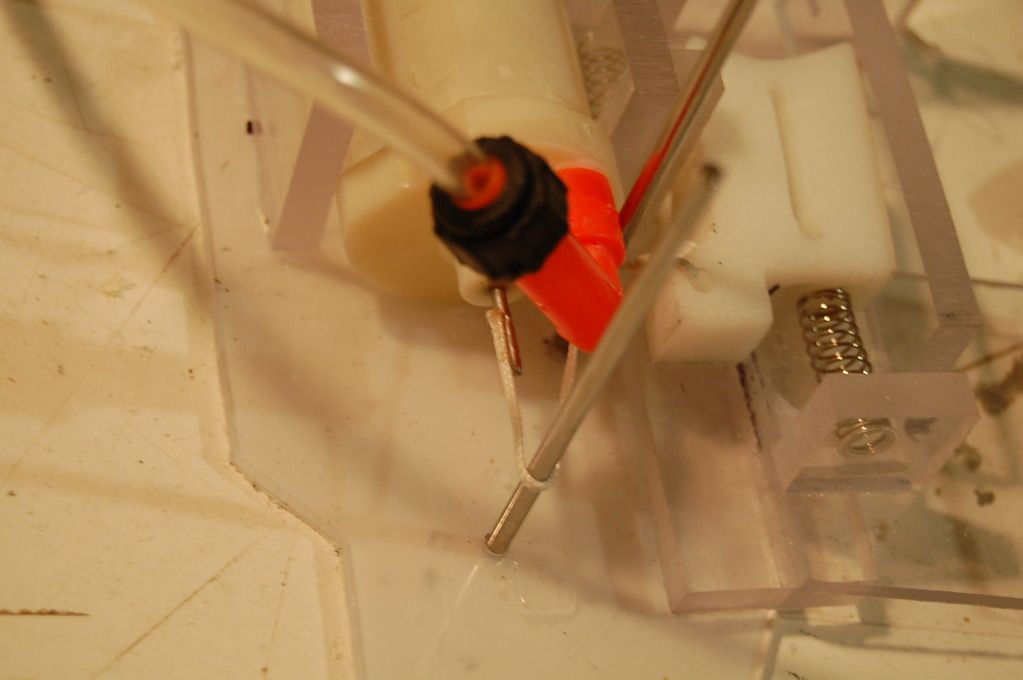
Tie the string to the trigger and glue it to the AT3K tank’s firing pin. (Which should be cut down to about ½”.)
Posted Image
Posted Image

You will now want to glue the other side of the handle to the second rear body panel.
Posted Image

Then glue the front panel to the rear.
Posted Image

Glue a bit of 1/6” Plexiglas in the mag-well.
Posted Image

As well as a scrap of ¼” polycarb with a piece of 1/8” polycarb stacked on top of it.
Posted Image

Glue on the stock.
Posted Image

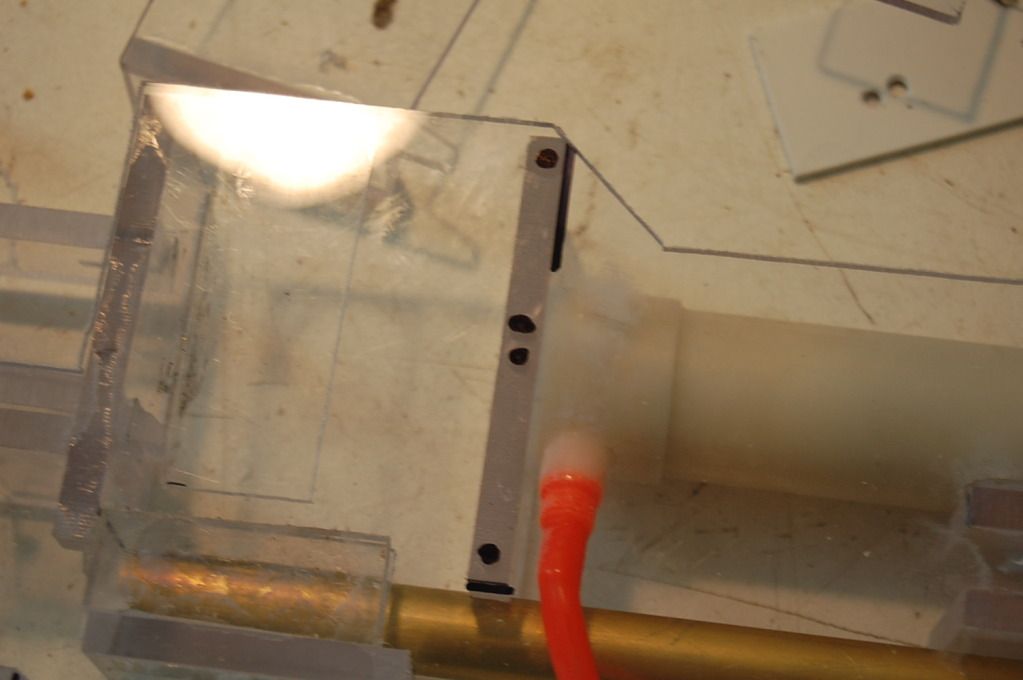
Glue an E piece to the front of the gun. Make sure it is below the barrel!
http://i1054.photobu.../DSC_0014-1.jpg

Mark were the pump will sit , and drill holes for screws:
Posted Image

Drill holes on the second rear body panel that correspond with those on the opposite side. (these are for the trigger pulleys)
Posted Image

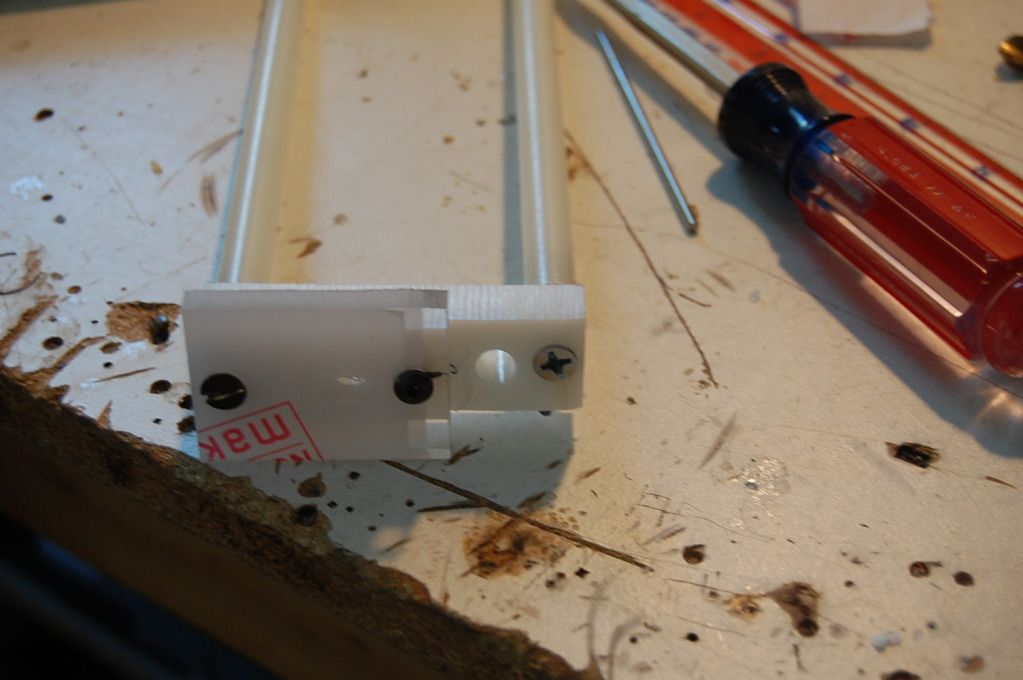
Cut a slot for the magazine release screw.
Posted Image

Glue a scrap of 1/8” polycarb over the trigger pulley holes; on both sides of the gun.
Posted Image

Take a ¼” by ¼” by 1 ½” and drill a 1/8” hole in both sides:
Posted Image

Drill a 1/8” hole behind the tank, above the hose outlet.
Posted Image

Screw the aforementioned piece of polycarb to the rear panel.
Posted Image

Don't post yet! picture Limit!
  • 0
NerfHaven > Your control panel > Profile > Change Signature > Inserts dumb sig > What! No pictures! > Inserts next best thing: http://nerfhaven.com...howuser=114052' class='bbc_url' title='External link' rel='nofollow external'>Best thing on Nerfhaven!

#5 hamoidar

hamoidar

    Member

  • Members
  • 367 posts

Posted 11 October 2012 - 04:23 PM

Make a handle out of whatever you want, I chose PVC.
Posted Image

Finally, screw the pump in place.
Posted Image

Cut a 2” long slot in the mag well of the second rear panel.
Posted Image

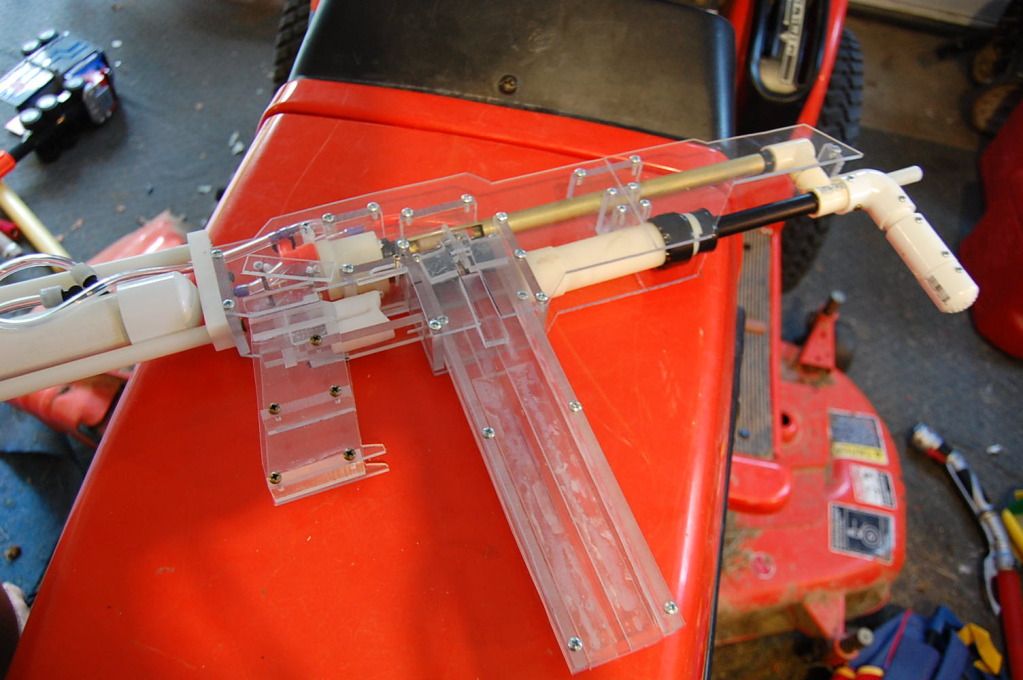
DONE!!!!!!!!!!!!!!!!!!!!!!!!!!!!!!!!!!!!!!!!!!!!!!!!!!!!!!!!!!!!
Posted Image

Posted Image

Posted Image

Posted Image

Posted Image

If need any additional stuff just PM me. (measurements, pictures, specs, whatever)
OR you can comment here!
  • 0
NerfHaven > Your control panel > Profile > Change Signature > Inserts dumb sig > What! No pictures! > Inserts next best thing: http://nerfhaven.com...howuser=114052' class='bbc_url' title='External link' rel='nofollow external'>Best thing on Nerfhaven!

#6 andtheherois

andtheherois

    Member

  • Banned
  • 821 posts

Posted 11 October 2012 - 05:08 PM

All the gluing puts me off a bit, However this is a pretty sweet blaster. I personally would have gone with some kind of lever trigger rather than the pulley but that's just my preference.

Questions:

1. How comfortable is that stock? I guess you don't need to have it n your shoulder like a pump action springer so it probably doesn't matter as much.

2. Has this been war tested yet?

3. How many shots per tank/clip do you get without having to fully pump it?

4. How well do the darts feed?

I do enjoy seeing more polycarb work though, so overall, great job!
The YooToobz
Photobucket

Winning rounds is rewarding, deal with it. We don't play fucking patty cake over here.


#7 Mully

Mully

    Member

  • Members
  • 342 posts

Posted 11 October 2012 - 06:05 PM

Wow, totally cool.
But as usual, what ranges does it get?
  • 0
S.C.U.N.

#8 therealnerfjunkies

therealnerfjunkies

    Member

  • Members
  • 122 posts

Posted 11 October 2012 - 09:03 PM

Wow, this is awesome. I really like the clip idea. Good job! One question: Do you think that the clip idea would work with angel breached longshots if the polycarb had different dimensions and stuff? I know it's impractical but I'm just wondering if it's possible. :)

Off topic: Wow, we have the same rulers!

Edited by therealnerfjunkies, 11 October 2012 - 09:05 PM.

  • 0
"You forgot the one rule of making a remake. Don't fuck with the original."

#9 CigarBaby

CigarBaby

    Member

  • Members
  • 52 posts

Posted 11 October 2012 - 11:11 PM

Absolutely awesome. That's one sexy blaster. How long did it take you to make this beast?
  • 0

#10 hamoidar

hamoidar

    Member

  • Members
  • 367 posts

Posted 11 October 2012 - 11:38 PM

All the gluing puts me off a bit, However this is a pretty sweet blaster. I personally would have gone with some kind of lever trigger rather than the pulley but that's just my preference.

Questions:

1. How comfortable is that stock? I guess you don't need to have it n your shoulder like a pump action springer so it probably doesn't matter as much.

2. Has this been war tested yet?

3. How many shots per tank/clip do you get without having to fully pump it?

4. How well do the darts feed?

I do enjoy seeing more polycarb work though, so overall, great job!


Well I used super glue for most of it, so drying time is tiny. As for the trigger, the pulley system is slightly more complex than a lever, it is alot more cool. It also takes up less space.
1. The stock is pretty comfy, since the end-cap protruds past the nylon.

2. Nope, I plan to take it to my next war, although they arn't doing it this week because of fall break.

3. Currently I get four shots which have good range (70-120ft) with the rest decreasing proportionally. I plan to add an external pump so that I can keep the tank at max pressure.

4. The darts feed great! I need to make the opening in the brass a little longer but it can fire a whole clip without jamming.

Wow, totally cool.
But as usual, what ranges does it get?

Thanks! The first shot is the best, at 110-120ft, with each subsequent shot getting less range. (120, 100, 80, 70)ect.

Wow, this is awesome. I really like the clip idea. Good job! One question: Do you think that the clip idea would work with angel breached longshots if the polycarb had different dimensions and stuff? I know it's impractical but I'm just wondering if it's possible. :)

Off topic: Wow, we have the same rulers!

Yeah, I think that you could make a clip for the longshot. Of course, it depends on the type of clip you need. If you want one like the one I made in this write-up, then you would need to add polycarb to each side, so that it would fit snugly in the longer opening of the lonshot clip-well.

Off topic: that awsome!

Absolutely awesome. That's one sexy blaster. How long did it take you to make this beast?

Thanks! It took about a week to design, and another week to fabricate.
  • 0
NerfHaven > Your control panel > Profile > Change Signature > Inserts dumb sig > What! No pictures! > Inserts next best thing: http://nerfhaven.com...howuser=114052' class='bbc_url' title='External link' rel='nofollow external'>Best thing on Nerfhaven!

#11 Xellah

Xellah

    They call his chin.... Captain Underpants

  • Members
  • 178 posts

Posted 12 October 2012 - 09:51 AM

What happens mid-round when your magazine is empty?

Clip-fed airguns are cool (I'm looking at you, ABP5k) but were made obsolete with the advent of hopper magazines. It's the same reason why nobody uses clip-fed blasters at wars: the magazines have to be held in some sort of apparatus during play and refilled mid-round or between rounds. Refilling a hopper takes seconds and the entire magazine is attached to your blaster.

If you stuck a wye to the front of the 3k tank this blaster would be infinitely more war practical (opinion). You'll save yourself the hassle of reloading your magazine as you're getting shot at mid-round or building more than one magazine (which looks time consuming).

I do like your use of the bleed valve though.

Edited by Xellah, 12 October 2012 - 10:00 AM.

  • 0
Ultimator Duel

it cant be as bad as reloading an ak-47 on the run


#12 Curly

Curly

    Member

  • Members
  • 201 posts

Posted 12 October 2012 - 02:49 PM

Excellent take on the idea. Like Hero said some of the connections could be better, but it's easy enough to work around. I would suggest you work on simplifying the blaster a little, especially with the amount of cutting needed.

Using N-Strike magazines would aid in that dramatically, but there are reasons to opt for a homemade one. A Magstrike bladder would get you a more consistent PSI, and an OPV if you set it up correctly. With a singled 3K tank you don't really need any more than a direct-pull trigger, but it can't hurt to use one. A wooden insert between the handle pieces will be more comfortable and require no screws in the middle of the handle.

I think the stock puts too much pressure on the 1/4" plate it's attached to. I might extend the sideplates out and drill into the side of the nylon which is probably better suited to the task. Standoffs would also be better than 1/4" polycarb for the spacing and retention plates (such as the two holding the barrel). You can also wrap them in E-tape if your measurements are a little off.
  • 0

#13 hamoidar

hamoidar

    Member

  • Members
  • 367 posts

Posted 12 October 2012 - 03:54 PM

What happens mid-round when your magazine is empty?

Clip-fed airguns are cool (I'm looking at you, ABP5k) but were made obsolete with the advent of hopper magazines. It's the same reason why nobody uses clip-fed blasters at wars: the magazines have to be held in some sort of apparatus during play and refilled mid-round or between rounds. Refilling a hopper takes seconds and the entire magazine is attached to your blaster.

If you stuck a wye to the front of the 3k tank this blaster would be infinitely more war practical (opinion). You'll save yourself the hassle of reloading your magazine as you're getting shot at mid-round or building more than one magazine (which looks time consuming).

I do like your use of the bleed valve though.

Well, I play at an indoor war, with around 10-20 people. You typically don't need more than 10 darts in one round, (excluding hvz's) and there is usually plenty of time to reload during a round. Outdoor wars may be different, I haven’t been to one of those. The building I play in has three stories, with three stairwells (one one either side and one in the middle) so you do a lot of "uphill" shooting. My sgn-r3l, which is hoppered, cannot shoot straight up. I'm a big fan of precision shooting, and fancy accuracy over rate of fire, and even range. Without a hopper, You can sight along the barrel very easily.

Excellent take on the idea. Like Hero said some of the connections could be better, but it's easy enough to work around. I would suggest you work on simplifying the blaster a little, especially with the amount of cutting needed.

Using N-Strike magazines would aid in that dramatically, but there are reasons to opt for a homemade one. A Magstrike bladder would get you a more consistent PSI, and an OPV if you set it up correctly. With a singled 3K tank you don't really need any more than a direct-pull trigger, but it can't hurt to use one. A wooden insert between the handle pieces will be more comfortable and require no screws in the middle of the handle.

I think the stock puts too much pressure on the 1/4" plate it's attached to. I might extend the sideplates out and drill into the side of the nylon which is probably better suited to the task. Standoffs would also be better than 1/4" polycarb for the spacing and retention plates (such as the two holding the barrel). You can also wrap them in E-tape if your measurements are a little off.

Thanks! The cutting only took me about an hour, using a band saw, so it really wasn't that bad. V2 is going to be MUCH simpler, without the extra tank or bleed valve, as well as a simplified front-end. I'm not sure what you mean about the trigger, but I will say again that the pulley system works great, as well as being really cool, and not that hard to make. It also allows less internal friction and therefore a very smooth trigger pull, which is essential for accuracy. Yeah, the stock is pretty heavy, but it is solid; no wiggle or sag. In V2, the stock is going to be just a simple nylon and cutting board arrangement; without the tank. Standoffs are a good idea, but couldn’t be used in a lot of the parts, i.e.: handle, magazine catch, magazine well, stock connector, pump support, ect.
  • 0
NerfHaven > Your control panel > Profile > Change Signature > Inserts dumb sig > What! No pictures! > Inserts next best thing: http://nerfhaven.com...howuser=114052' class='bbc_url' title='External link' rel='nofollow external'>Best thing on Nerfhaven!

#14 Curly

Curly

    Member

  • Members
  • 201 posts

Posted 12 October 2012 - 05:03 PM

Thanks! The cutting only took me about an hour, using a band saw, so it really wasn't that bad. V2 is going to be MUCH simpler, without the extra tank or bleed valve, as well as a simplified front-end. I'm not sure what you mean about the trigger, but I will say again that the pulley system works great, as well as being really cool, and not that hard to make. It also allows less internal friction and therefore a very smooth trigger pull, which is essential for accuracy. Yeah, the stock is pretty heavy, but it is solid; no wiggle or sag. In V2, the stock is going to be just a simple nylon and cutting board arrangement; without the tank. Standoffs are a good idea, but couldn’t be used in a lot of the parts, i.e.: handle, magazine catch, magazine well, stock connector, pump support, ect.

I meant that a 3K tank doesn't require any extra leverage and you could get similar results without a pulley or lever. I find stocks and foregrips stabilize blasters enough that the trigger strength doesn't matter much. My 3K hits farther than I like to to already, and the turret seal is awful.

I don't know if this is what you meant, but a blaster made from two cutting boards(or a similar amount of polycarb) would be awesome in my opinion. Machining time would be very low, especially with a simple trigger. If the stock has no functional components I implore you to use threaded PVC couplers (1" perhaps) to allow the removal of the stock for transport/rushing. Important parts being easily changed without dissembling the blaster is huge for me.

You can use standoffs for the pump/barrel supports, in fact I suggest it. It'll be a little harder to get in position, but like I said a wrapping of E-tape will let you tune them to be used effectively.
  • 0

#15 hamoidar

hamoidar

    Member

  • Members
  • 367 posts

Posted 13 October 2012 - 03:28 PM

I meant that a 3K tank doesn't require any extra leverage and you could get similar results without a pulley or lever. I find stocks and foregrips stabilize blasters enough that the trigger strength doesn't matter much. My 3K hits farther than I like to to already, and the turret seal is awful.

I don't think you understand about the trigger system. It does not increase the pulling force, it simply transmits it. I made it like that to save space.
  • 0
NerfHaven > Your control panel > Profile > Change Signature > Inserts dumb sig > What! No pictures! > Inserts next best thing: http://nerfhaven.com...howuser=114052' class='bbc_url' title='External link' rel='nofollow external'>Best thing on Nerfhaven!

#16 hamoidar

hamoidar

    Member

  • Members
  • 367 posts

Posted 14 October 2012 - 08:47 PM

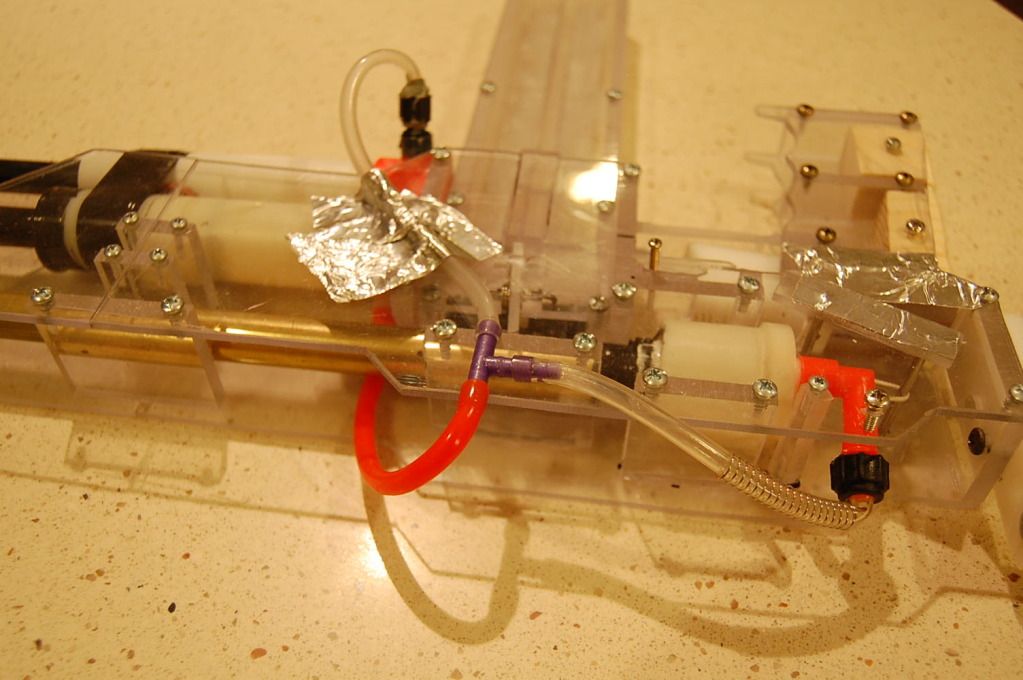
So, I have listened to all of you guys(girls?) ideas, and have turned RAD-V1 into RAD-V2!
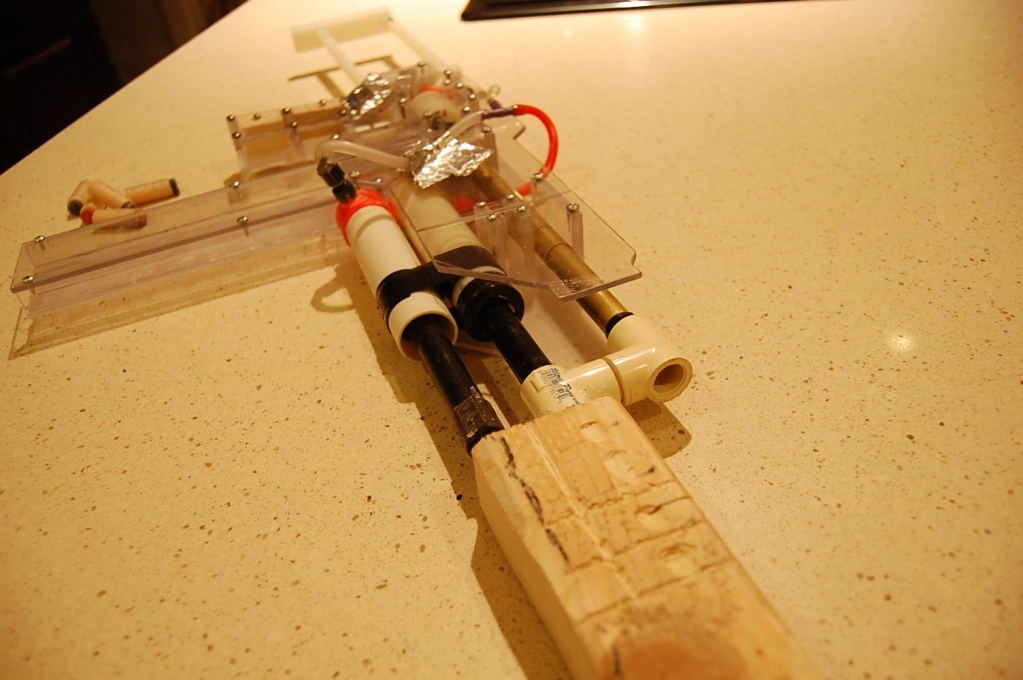
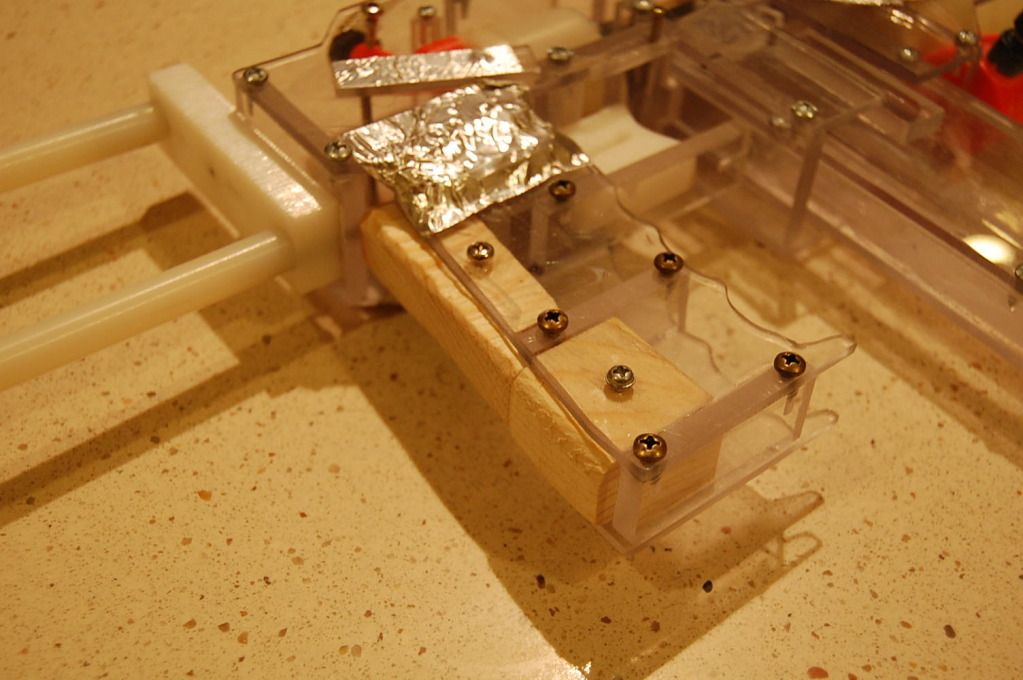
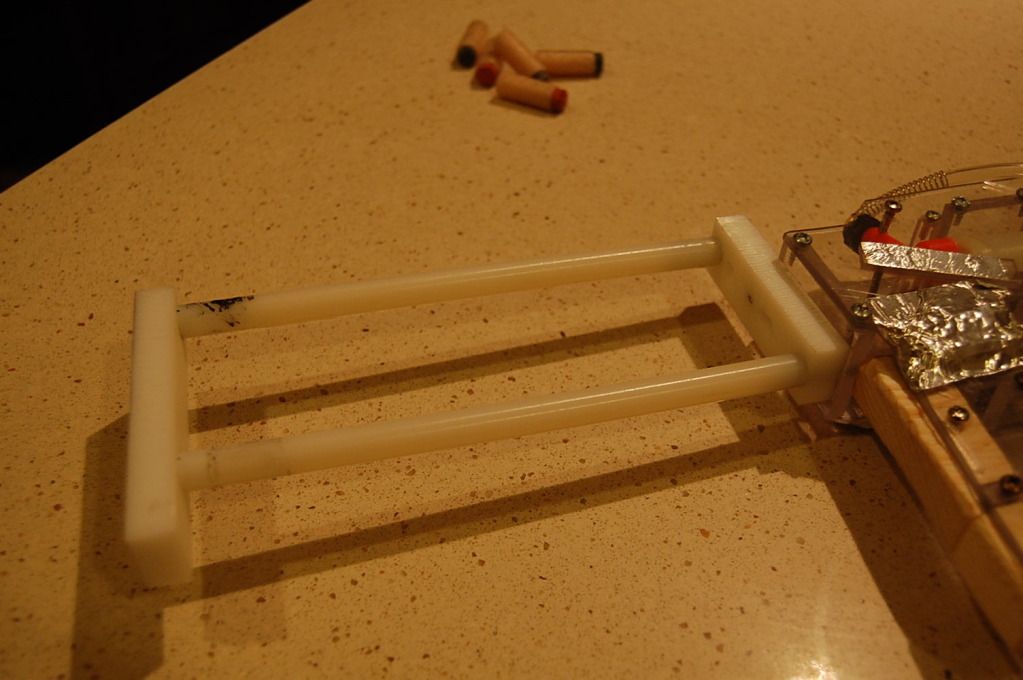
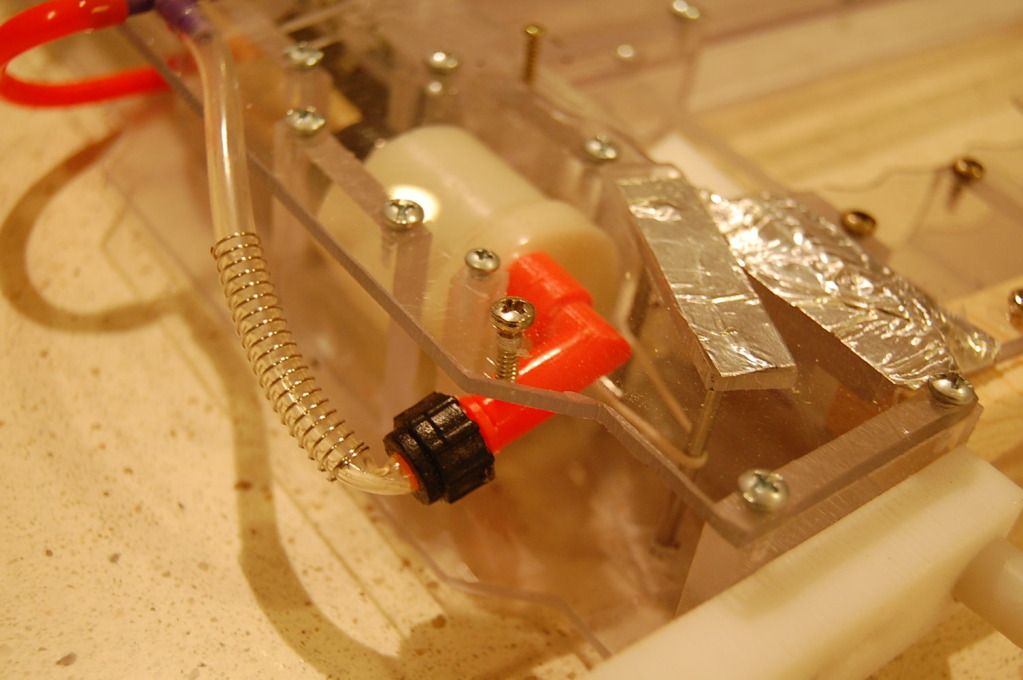
It now has; wood-insert handle, double pump, comfy pump grip, simplified air system, adjustible breech angle, strengthened handle, it's shorter and lighter, and a new stock design.

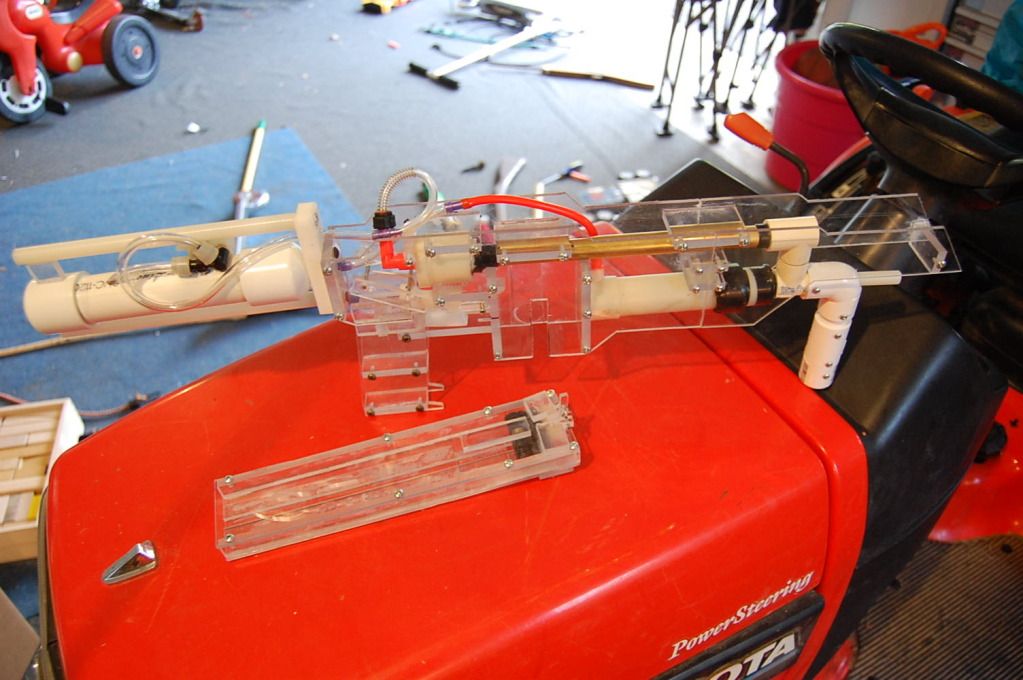
Here is the completed gun:
Posted Image

New pump-grip:
Posted Image

Wood-insert handle:
Posted Image

New stock:
Posted Image

Breech adjusting screw: (I'll explain how in video[coming soon])
Posted Image

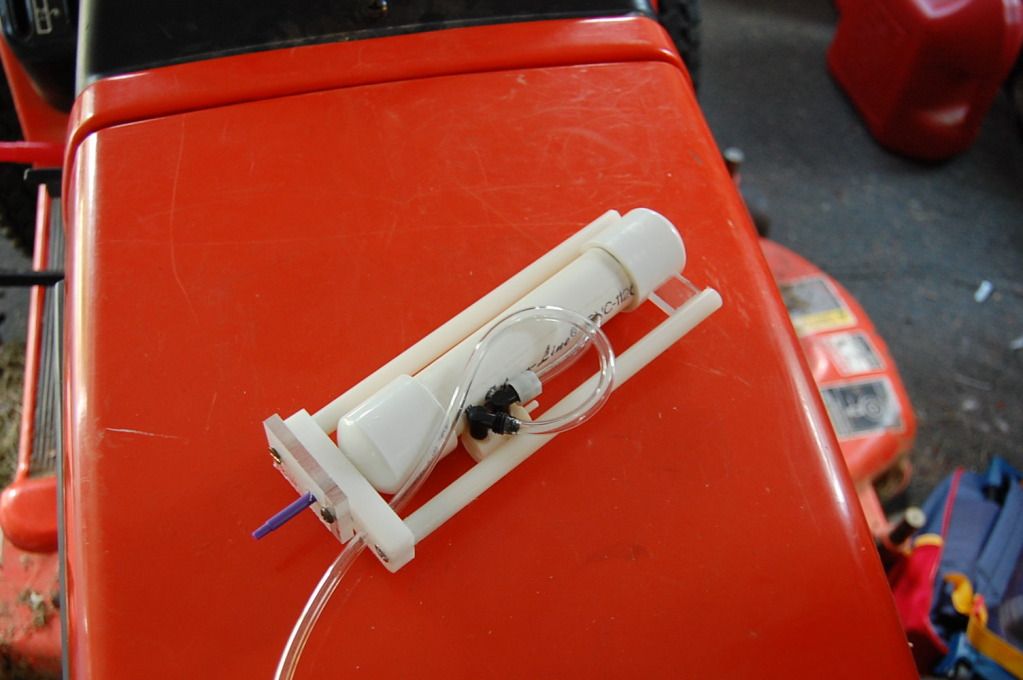
New air system, with homemade tee:
Posted Image

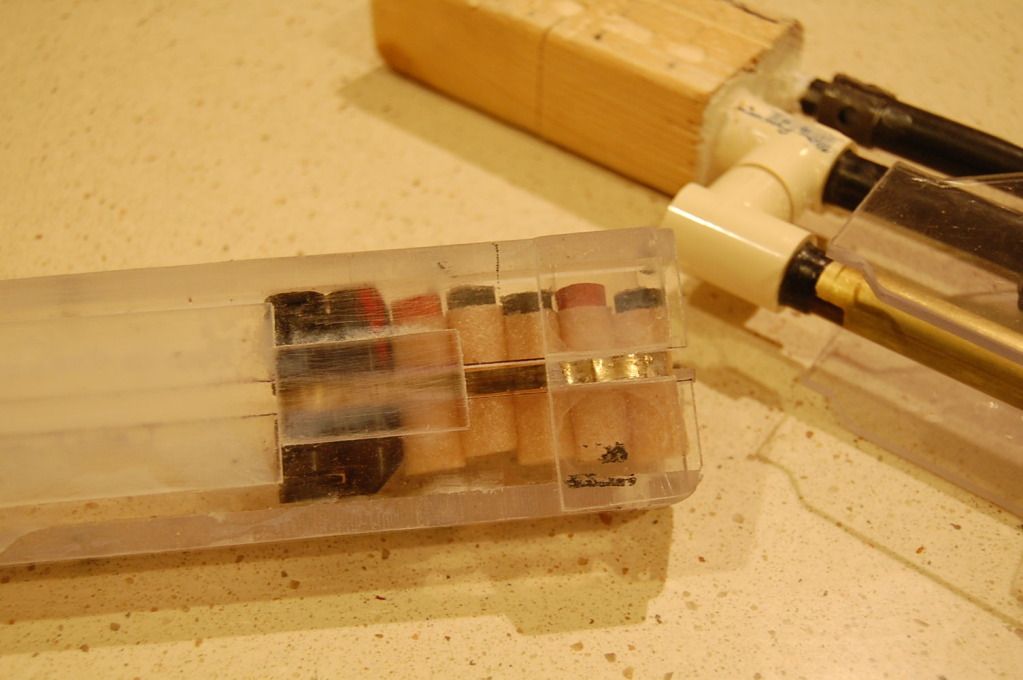
Some darts in the mag:
Posted Image

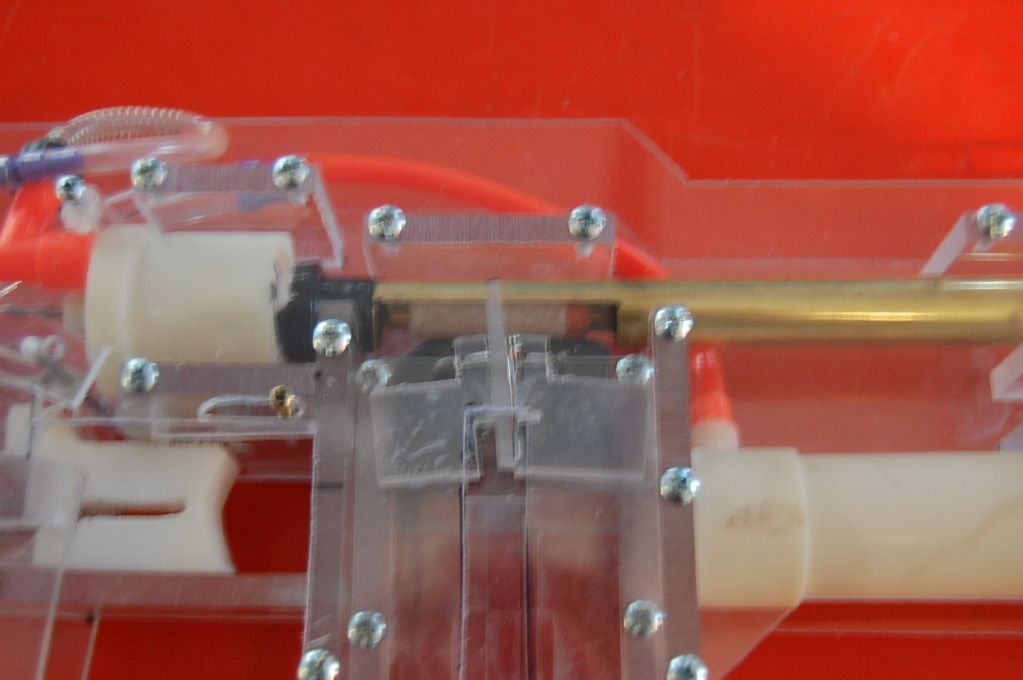
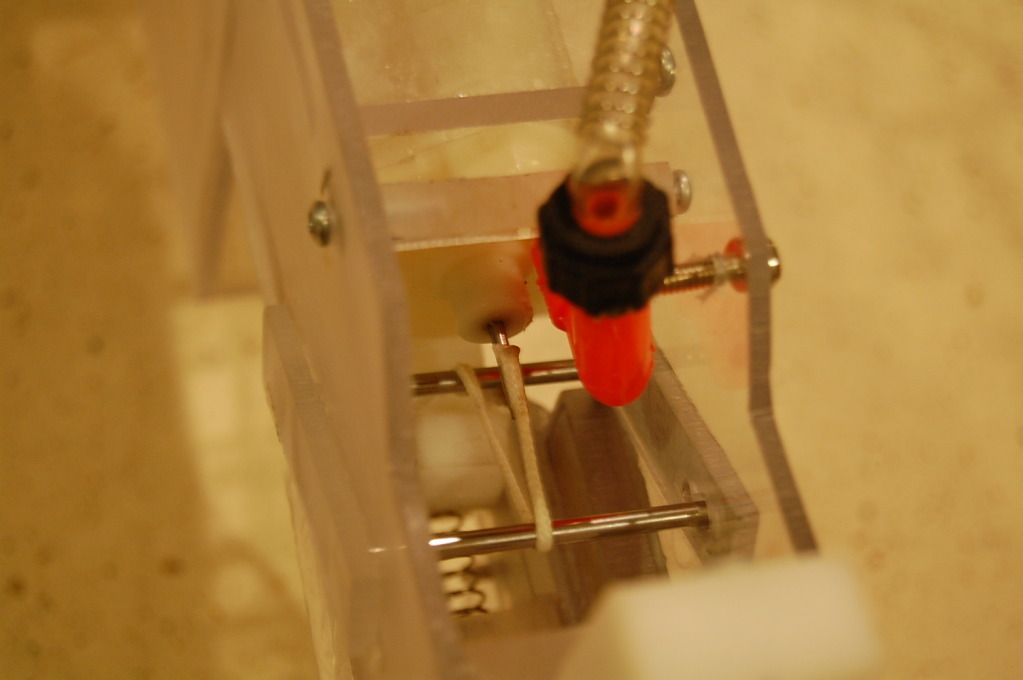
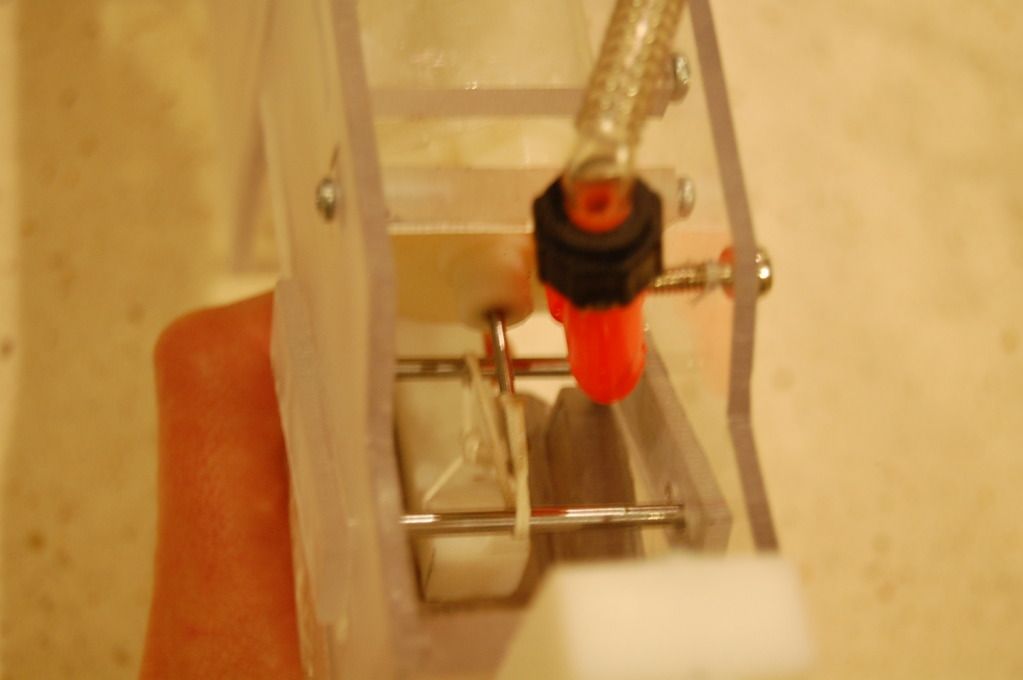
Heres how the trigger works:
Posted Image
Posted Image
  • 0
NerfHaven > Your control panel > Profile > Change Signature > Inserts dumb sig > What! No pictures! > Inserts next best thing: http://nerfhaven.com...howuser=114052' class='bbc_url' title='External link' rel='nofollow external'>Best thing on Nerfhaven!

#17 b1g13en

b1g13en

    Member

  • Members
  • 268 posts

Posted 14 October 2012 - 10:53 PM

Any chance you can post a firing video?
  • 0

#18 hamoidar

hamoidar

    Member

  • Members
  • 367 posts

Posted 15 October 2012 - 08:34 AM

Any chance you can post a firing video?

Yeah, I will. I should have it up by the end of the week.
  • 0
NerfHaven > Your control panel > Profile > Change Signature > Inserts dumb sig > What! No pictures! > Inserts next best thing: http://nerfhaven.com...howuser=114052' class='bbc_url' title='External link' rel='nofollow external'>Best thing on Nerfhaven!

#19 Meaker VI

Meaker VI

    Member

  • Moderators
  • 1,192 posts

Posted 15 October 2012 - 10:34 AM

IMAGE


I love that you have a block of wood holding the front together.

Good job on this.

Edited by Meaker VI, 15 October 2012 - 10:35 AM.

  • 0

#20 hamoidar

hamoidar

    Member

  • Members
  • 367 posts

Posted 15 October 2012 - 01:46 PM

I love that you have a block of wood holding the front together.

Good job on this.

Well, the block of wood is just the pump-grip, but yeah, I guess it's pretty weird looking. :P
  • 0
NerfHaven > Your control panel > Profile > Change Signature > Inserts dumb sig > What! No pictures! > Inserts next best thing: http://nerfhaven.com...howuser=114052' class='bbc_url' title='External link' rel='nofollow external'>Best thing on Nerfhaven!

#21 hamoidar

hamoidar

    Member

  • Members
  • 367 posts

Posted 15 October 2012 - 04:21 PM

Here is the firing/demo video: Enjoy!

Edited by hamoidar, 17 October 2012 - 10:45 AM.

  • 0
NerfHaven > Your control panel > Profile > Change Signature > Inserts dumb sig > What! No pictures! > Inserts next best thing: http://nerfhaven.com...howuser=114052' class='bbc_url' title='External link' rel='nofollow external'>Best thing on Nerfhaven!

#22 lionhawk

lionhawk

    Member

  • Members
  • 218 posts

Posted 15 October 2012 - 07:53 PM

Wow totally sweet, looks nice and powerful. I have a feeling the clip system would need several of them pre-loaded for a war though.
  • 0

#23 ricochet

ricochet

    Member

  • Members
  • 108 posts

Posted 20 October 2012 - 11:25 AM

So this is what I miss when I'm away from the forum...man am I missing out! Quality job, I really like the design! I actually wanted to do a similar build, but nothing came to fruition. Glad to see someone pulled it off! Nice job!
  • 0

#24 Mully

Mully

    Member

  • Members
  • 342 posts

Posted 22 October 2012 - 07:25 PM

Thanks for the video, it's very helpful.
  • 0
S.C.U.N.


1 user(s) are reading this topic

0 members, 1 guests, 0 anonymous users