
_________________________________________________________________
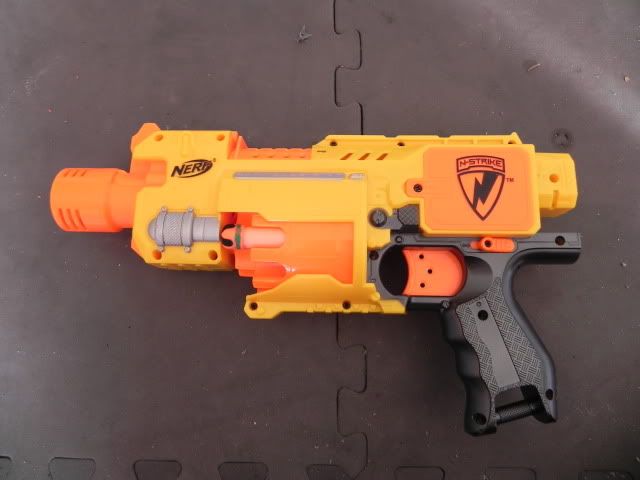
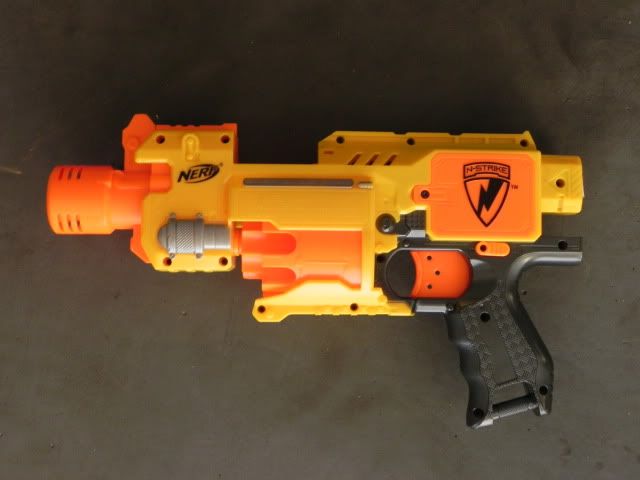
The Nerf Baricade, first released in 2010, it's one of the few flywheel blasters in Nerf's lineup. My first real foray into the world of blasters was pretty heavily based around the BuzzBee Tommy20, so I'm relatively fond of a good old set of flywheels. I know they aren't as efficient as most other types of blasters, they make a lot of noise and take a little while to spin up, but they're still good fun.
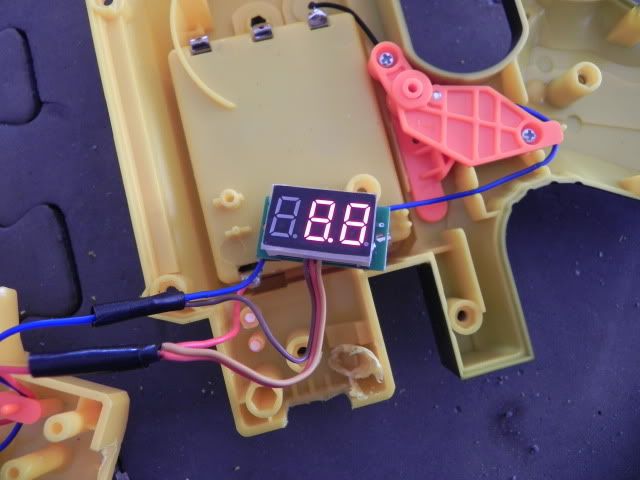
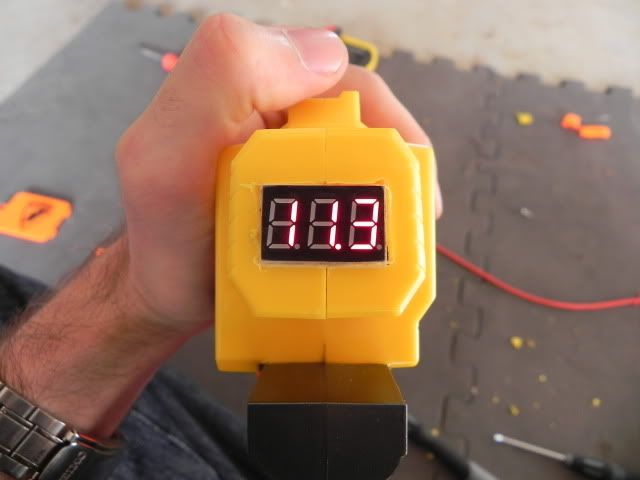
I first picked up a pair of Barricades last year after a group I play with decided to have a day of dart tag games. I needed something that would fire taggers and the Barricade seemed like an easy option (the Dart Tag series of blasters still hasn't been released in Australia yet, scheduled this year). Throwing in a few Trustfire AA's quickly upped the voltage and away I went. The day as a whole went pretty well, the Barricades mostly functioning as intended. Only problems were when darts got jammed but the barrel still rotated, they were a pain to get out; and that the jam door sometimes fell ajar, meaning the flywheels would turn off. During the day I also found myself having the remove the batteries and check how much juice they had left with a multimeter. While significantly better than going flat mid game, still rather time consuming and somewhat annoying. All of these problems I've since rectified on this blaster.
________________________________________________________________________
Tools/Materials needed
Screwdrivers (flat and phillips heads)
3 x Trustfire batteries
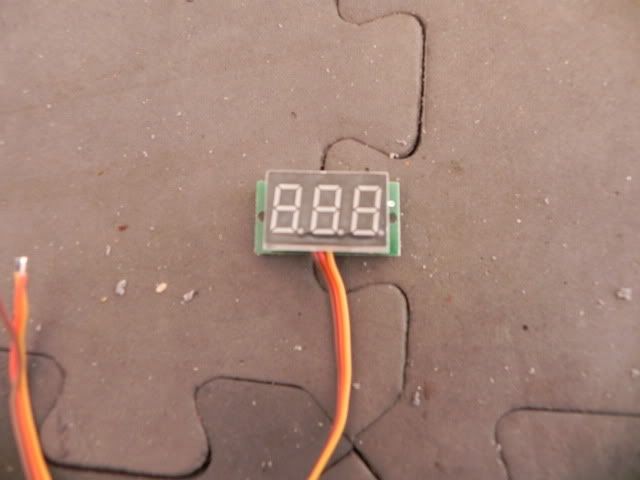
Digital voltmeter
Soldering iron and solder
Electrical tape
Wire cutters/strippers
Dremel with cutting tool
________________________________________________________________________
We'll kick off with the blaster itself.
Start by removing the battery cover.
In this case I'm using 3 Trustfire AA's.
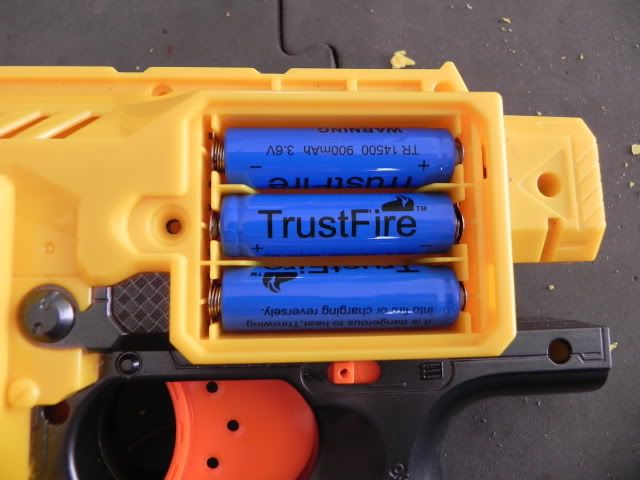
We'll need to remove them too.
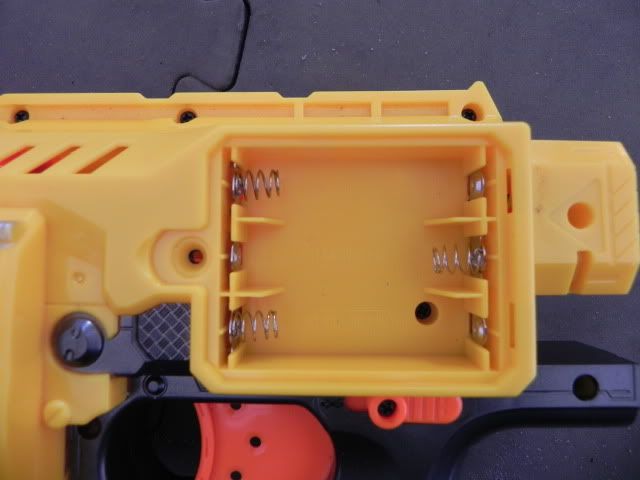
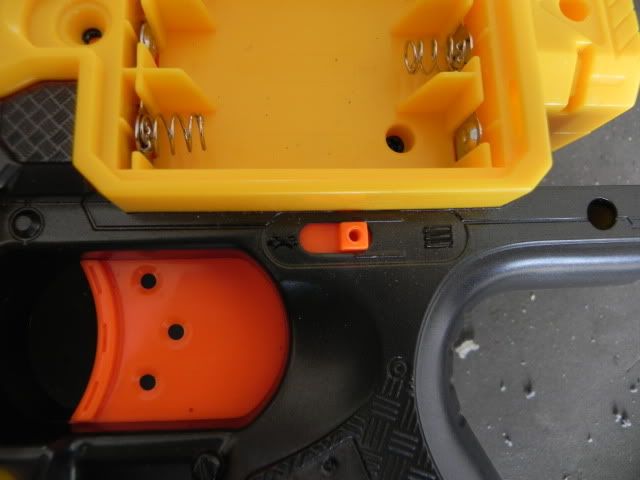
Then the external part of the on/off switch.
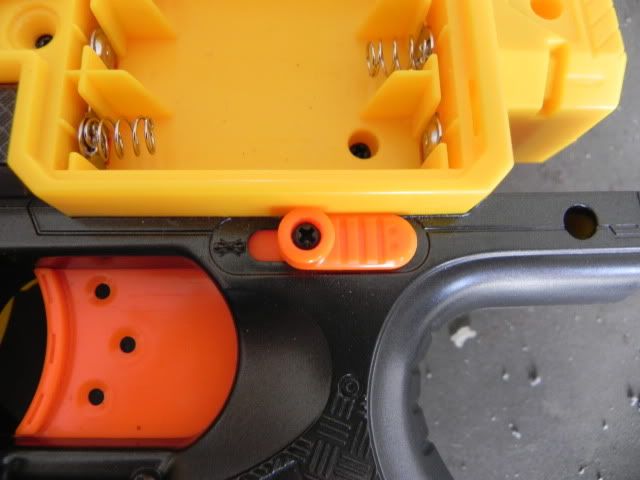
Like so.
Then remove all of the screws holding the two halves of the shell together. There should be about 15 screws. Because the switch and battery compartment is on the left side of the shell and there obviously needs to be wires between the two, we have to keep the two halves close by.
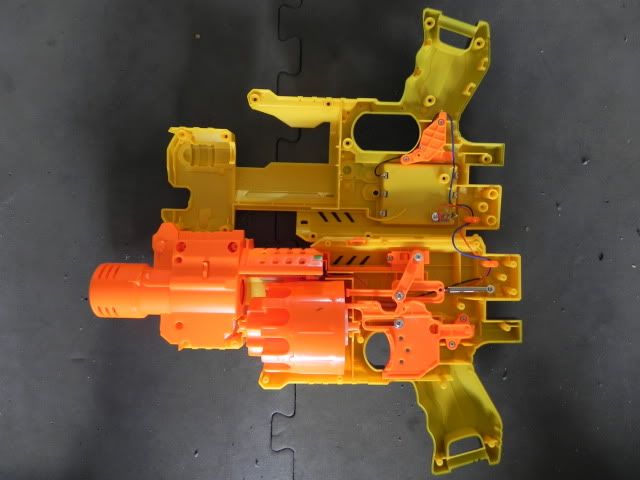
As always, take a moment to familiarise yourself with the insides and try to get an understanding of how it works.


Happy? Good.
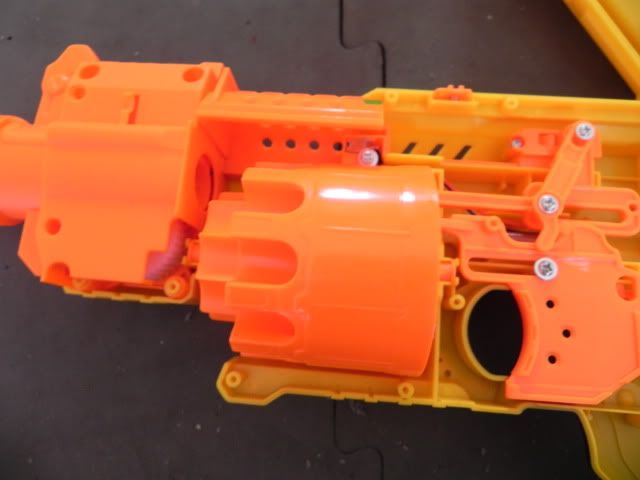
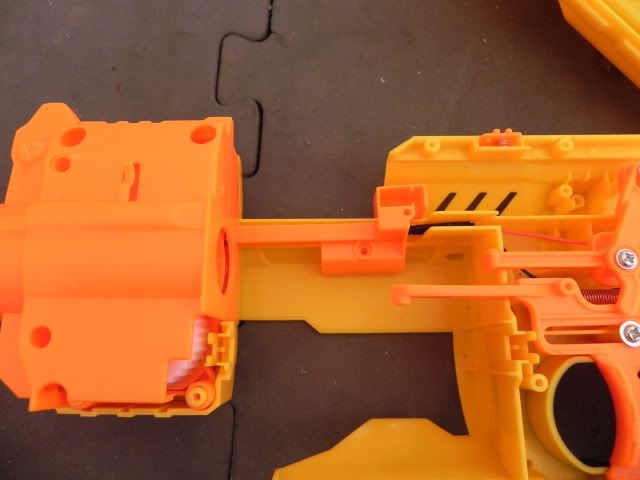
Next step is to remove the rotating barrel. We'll need to lift the front end up first, then pull the barrel out towards the front of the blaster.
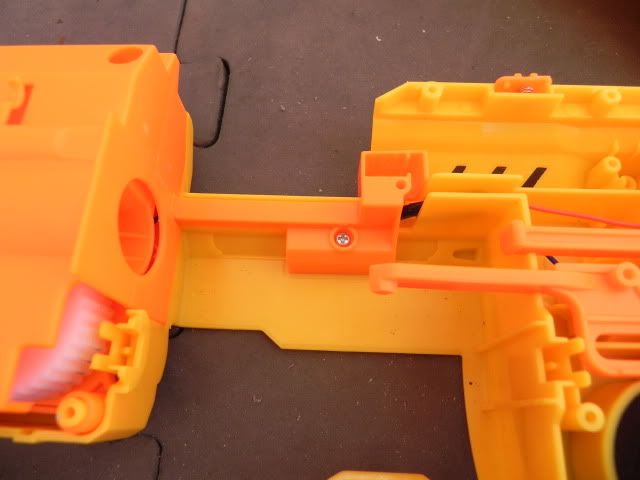
Then remove these two screws.
Like so.
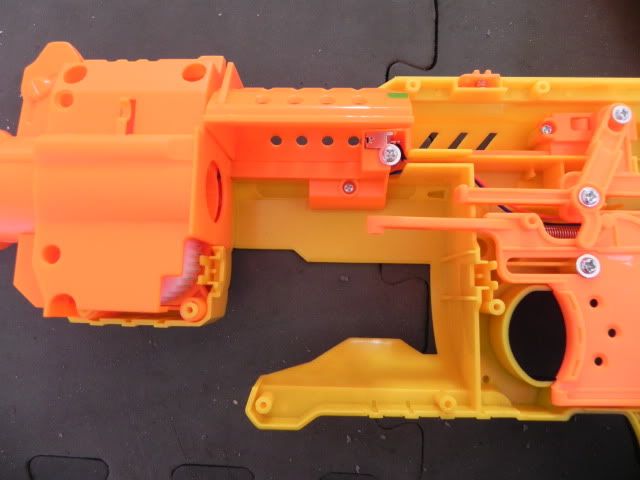
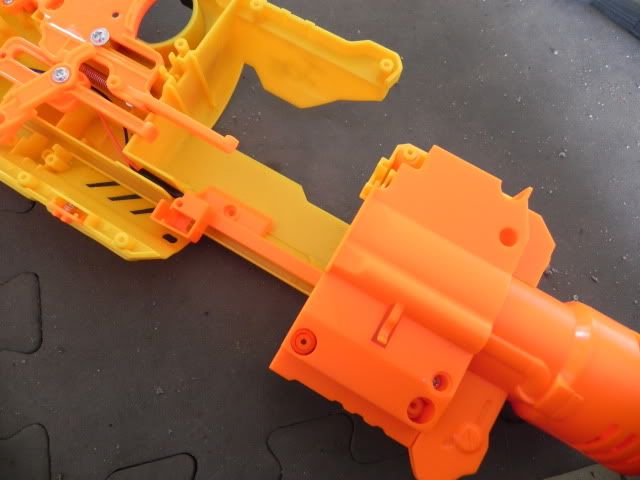
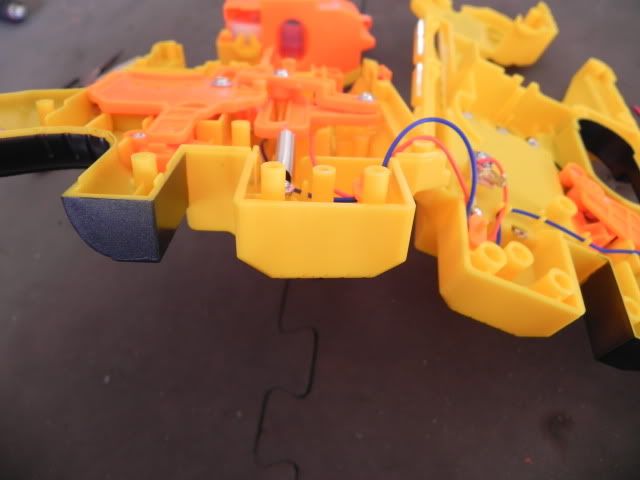
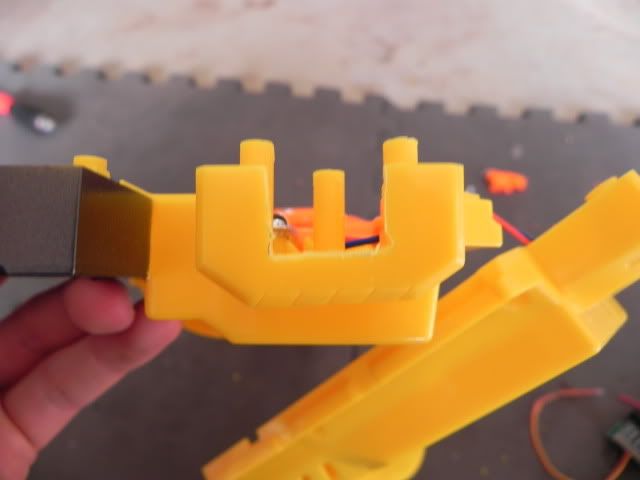
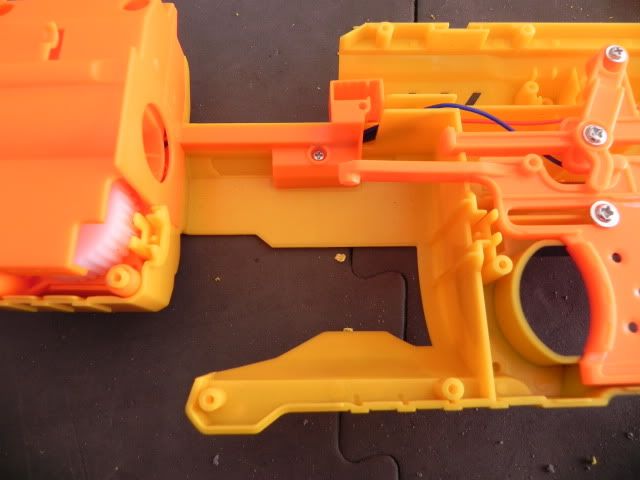
We'll now be able to remove the whole front section of the blaster. This is where the flywheels are located
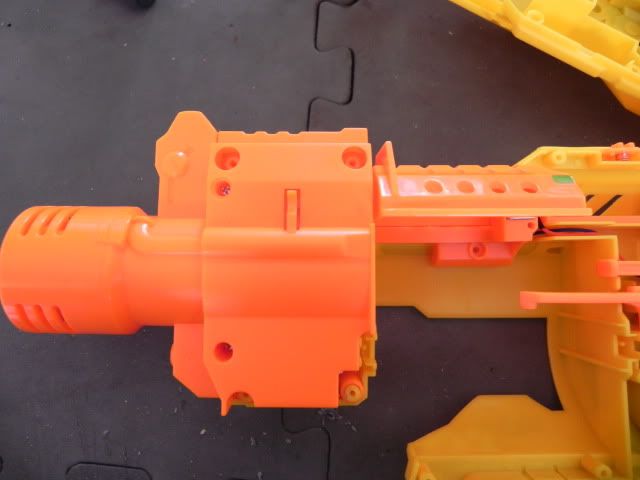
Like so.
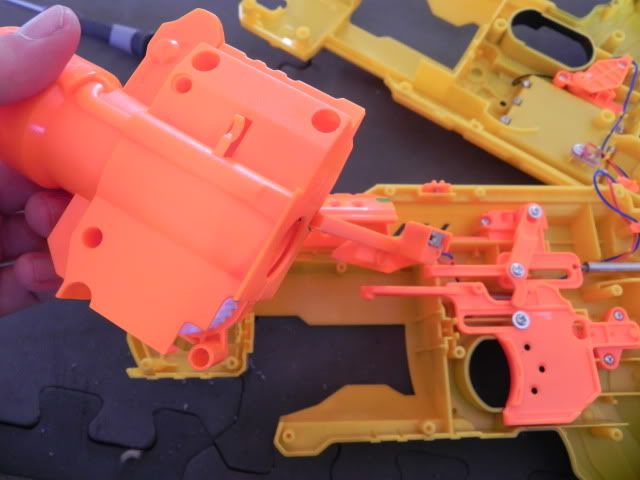
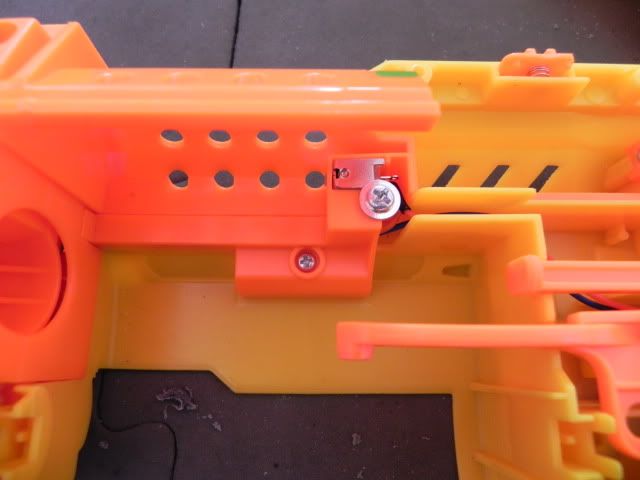
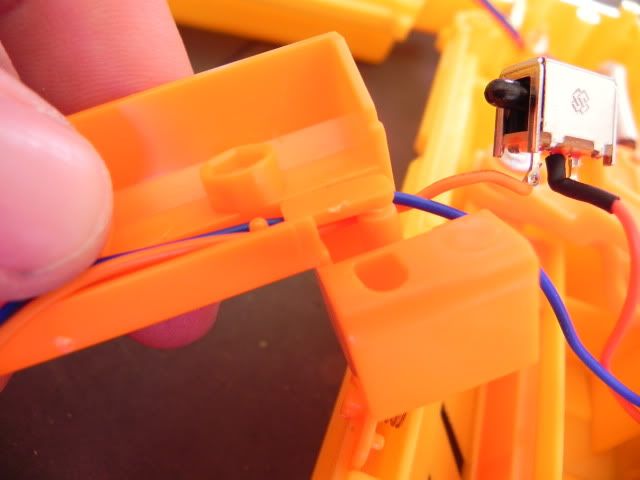
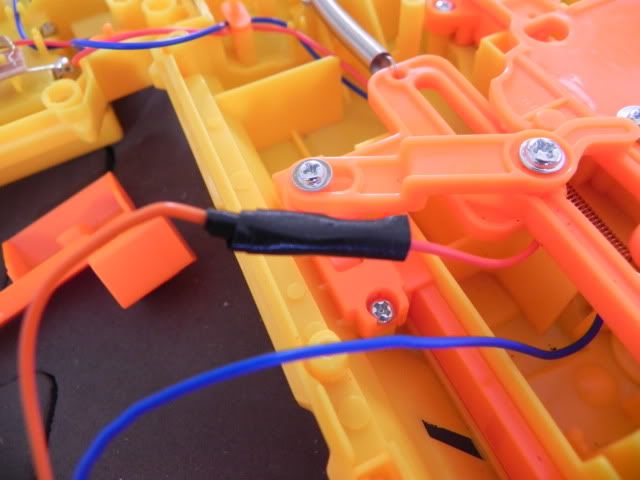
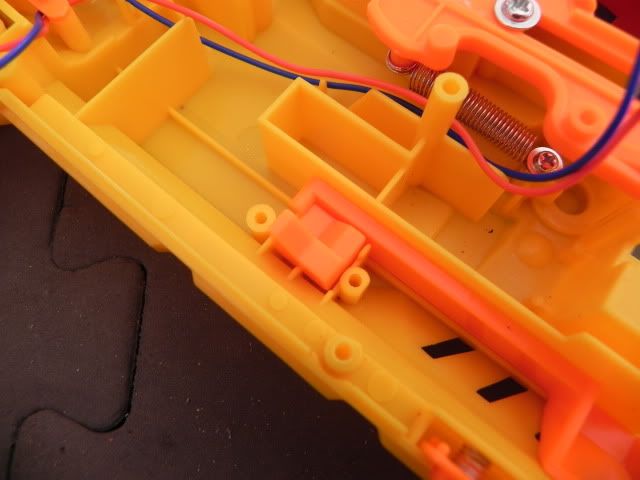
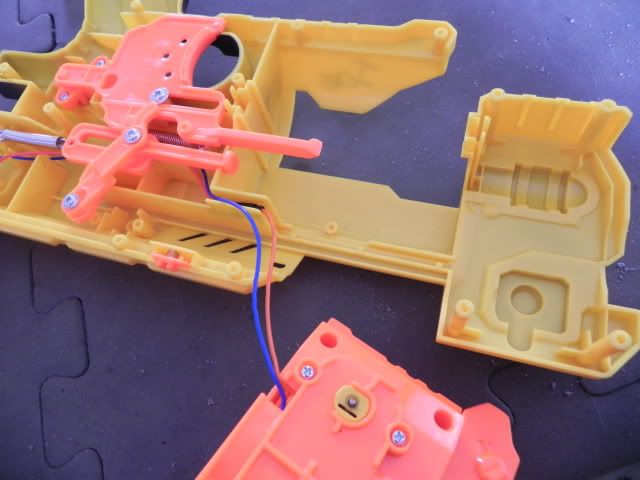
The wires for the flywheels are kept safe under this cover. The small black thing poking up here is a microswitch that checks if the jam door is closed; if it isn't triggered, the flywheels won't turn. Since I was having troubles with the jam door popping slightly ajar of it's own accord, I decided to remove this safety.
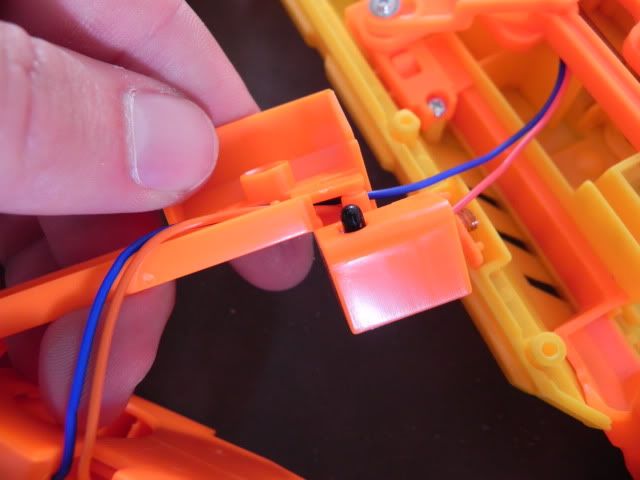
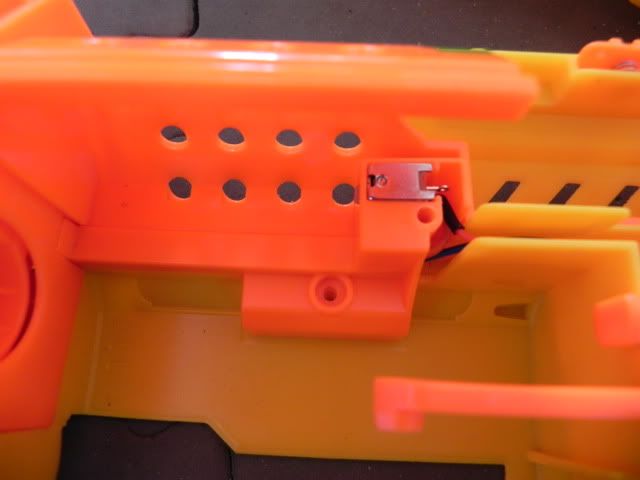
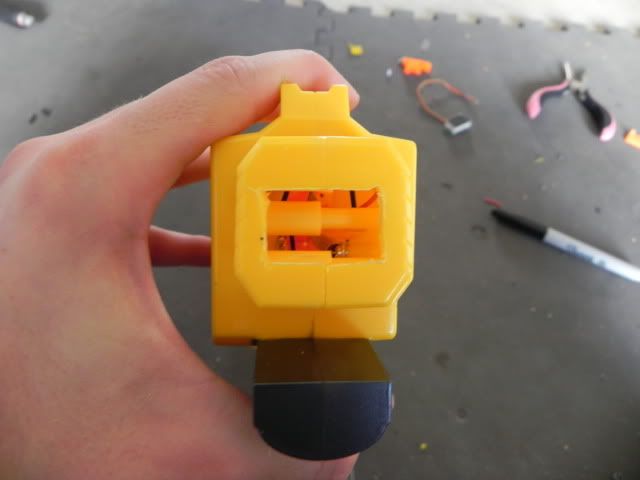
Here you can see the switch from the back.
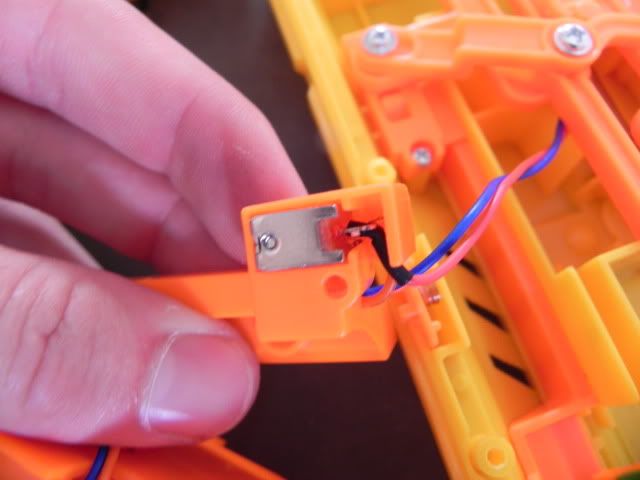
Pry it out with your screwdriver.
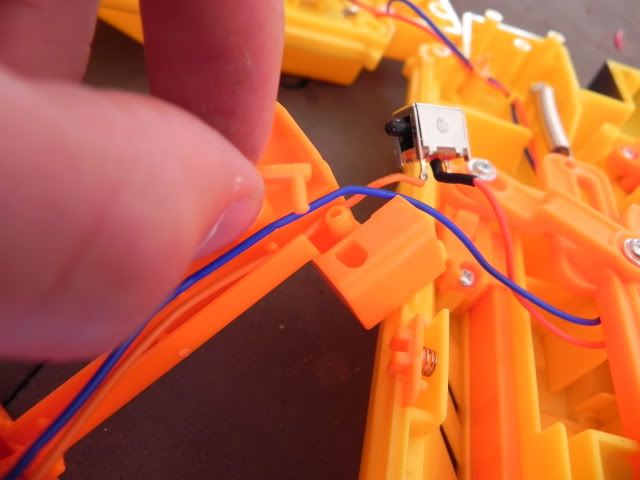
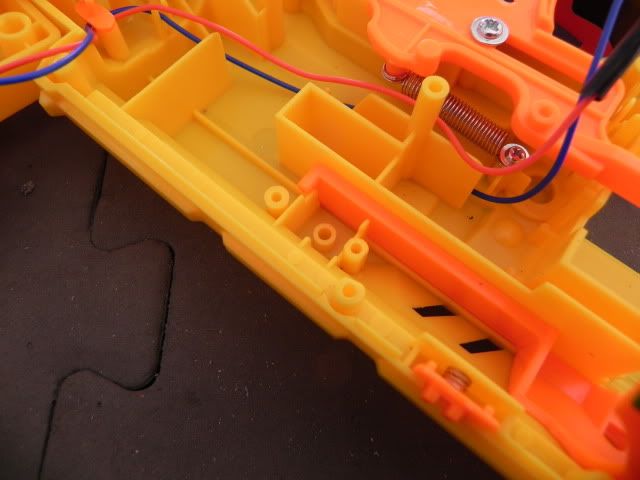
Then we'll need to remove this cover that hold the wires in place.
Pry it part way with your screwdriver.
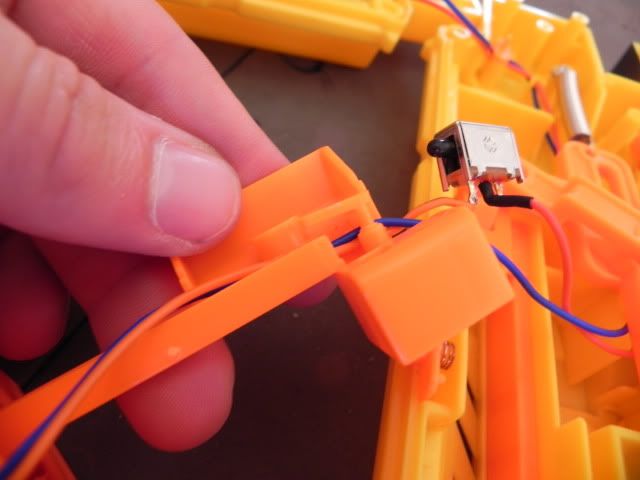
Then just pull it off by hand.
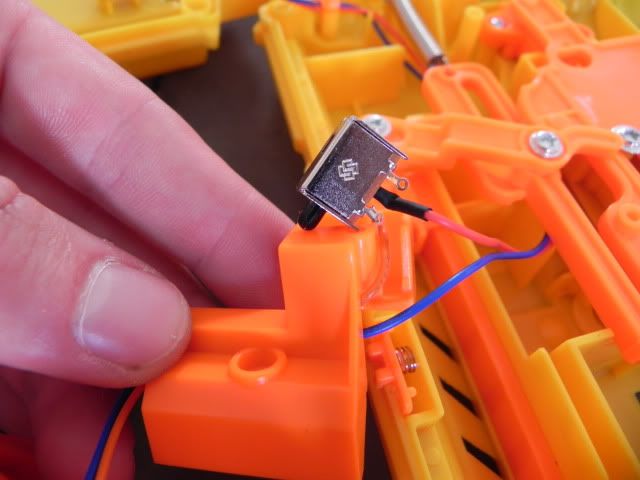
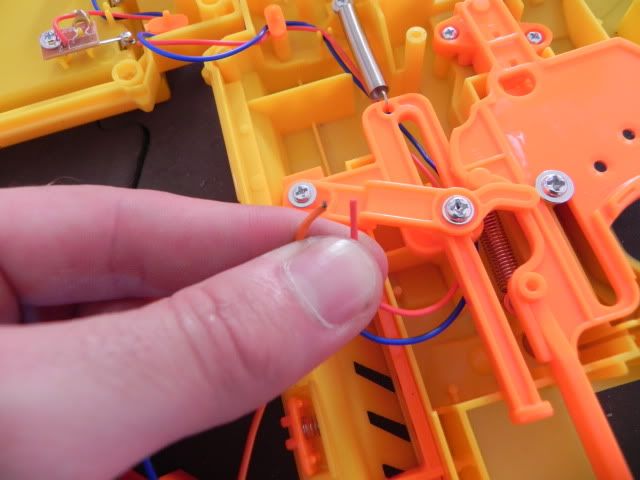
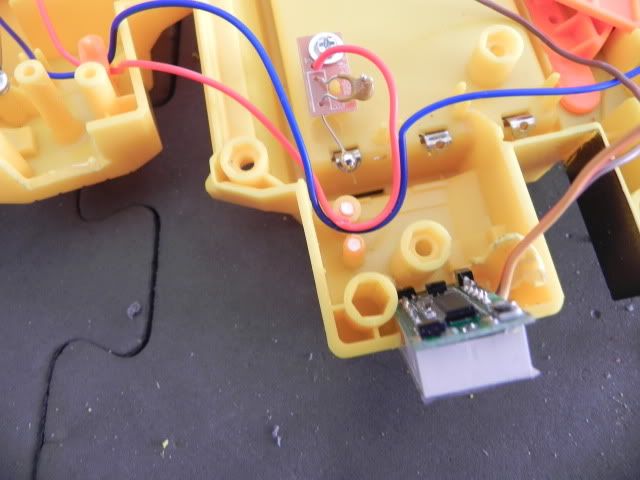
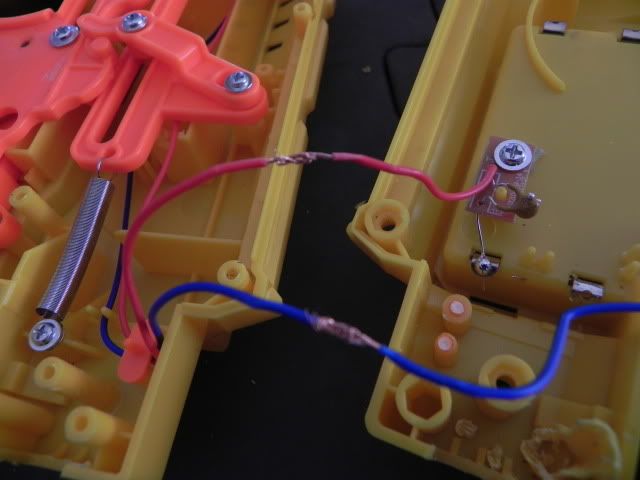
Tada! One mircoswitch, free from it's original housing. It's a very simple circuit that only lets power flow from the red wire (from the battery) to the orange wire (going to the flywheels) when the button is depressed.
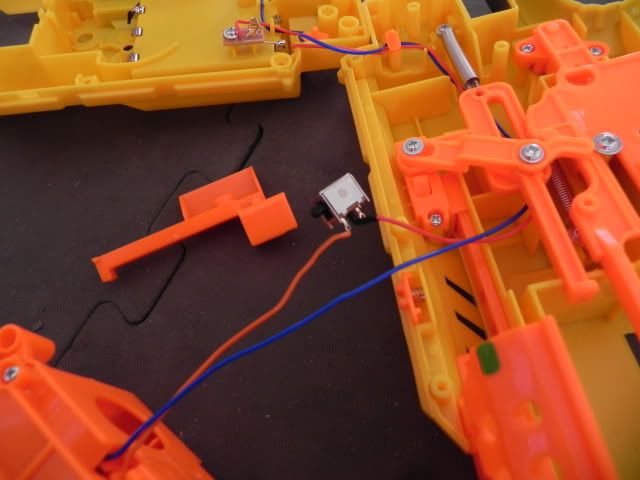
We want that connection to be on all the time, so simply cut the switch out.
Strip back a little of the covering from each wire.
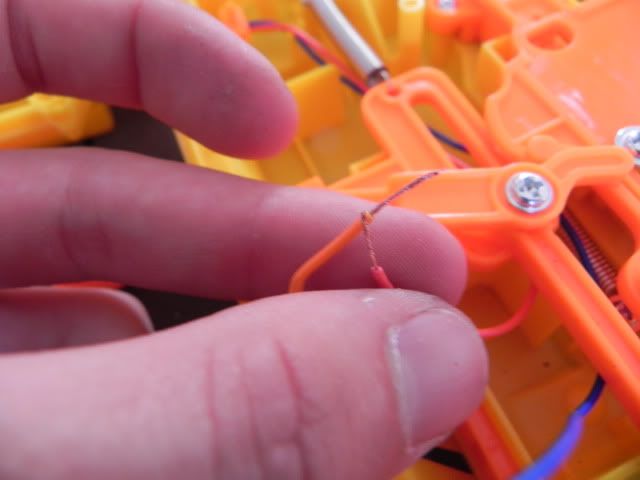
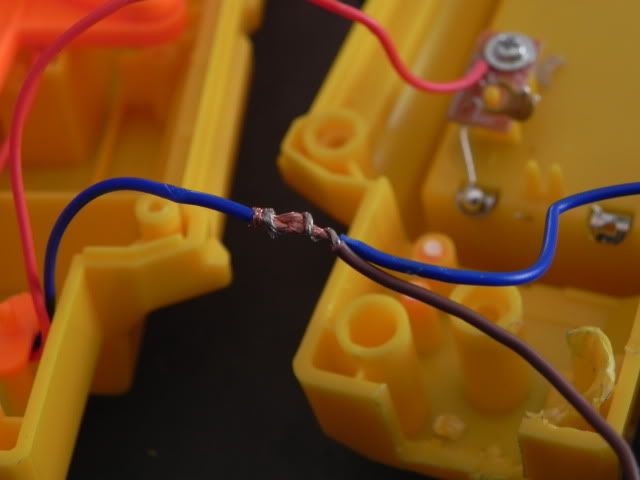
Twist them together.
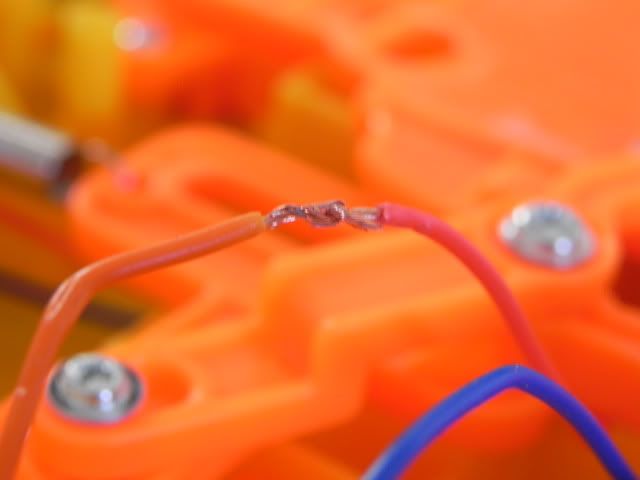
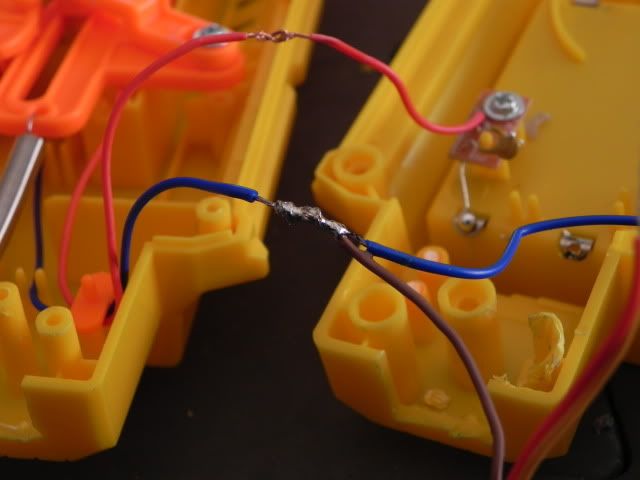
Then solder the join.
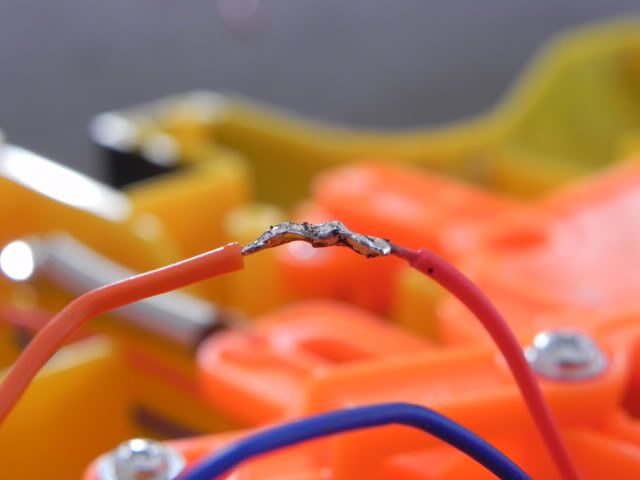
Then protect the join with some tape.
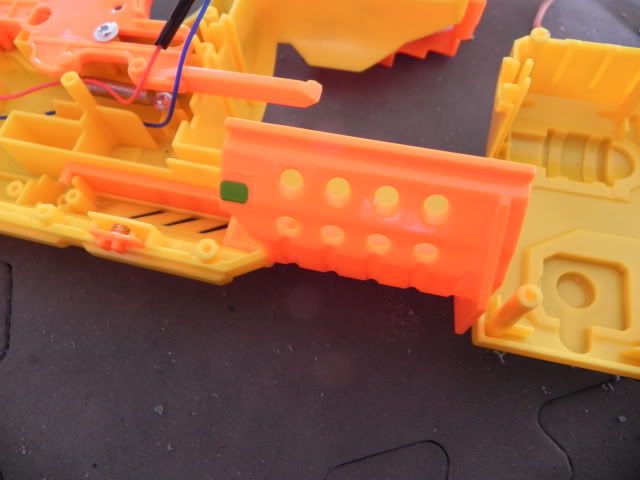
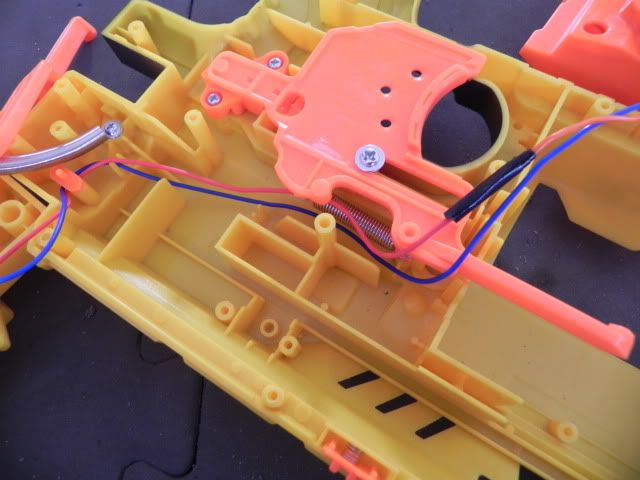
Now we'll move to the back half of the jam door mechanism. Start by removing these two screws and the arm they're securing. This arm is what actuates the dart pusher.
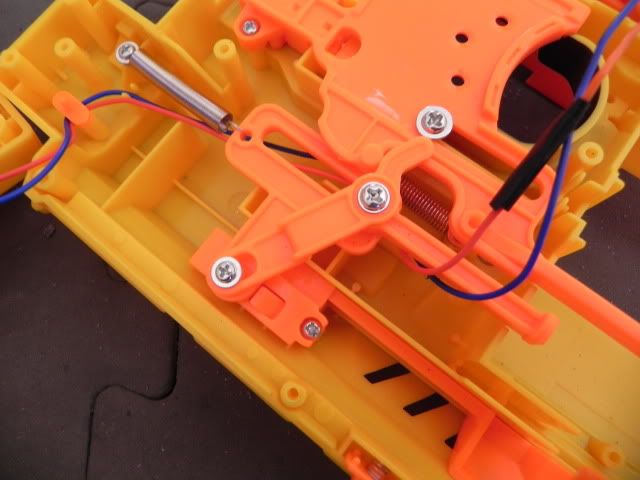
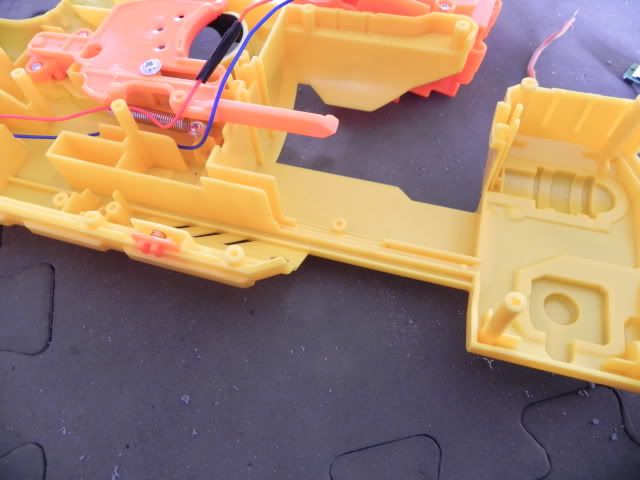
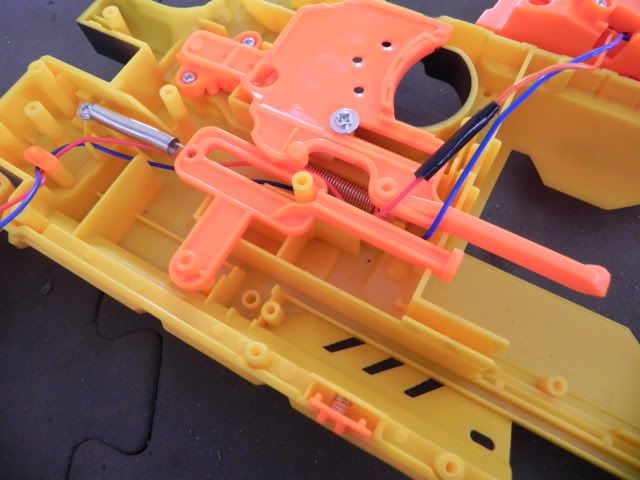
Then remove the dart pusher itself.
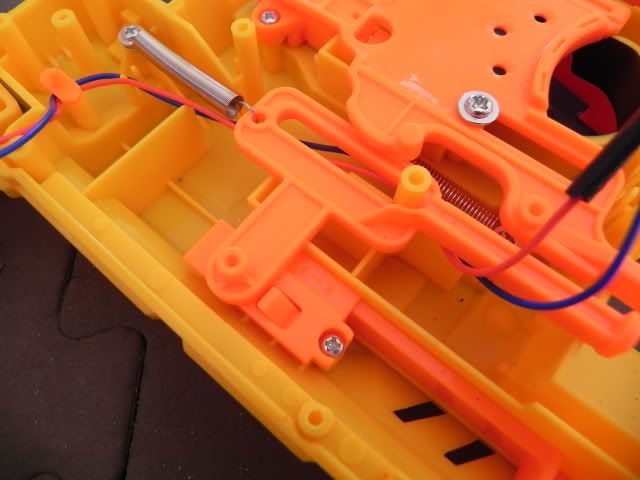
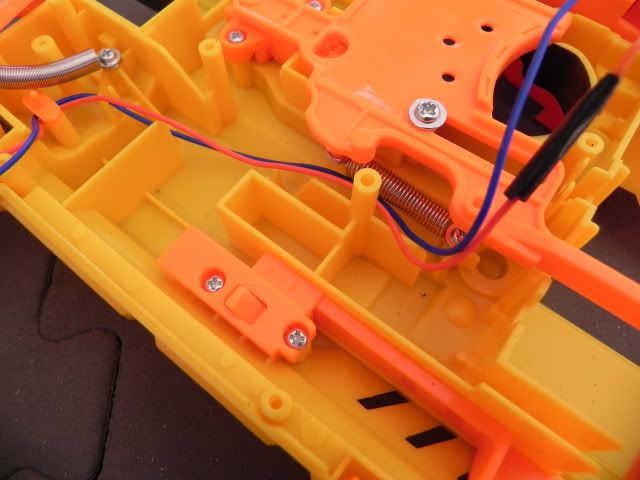
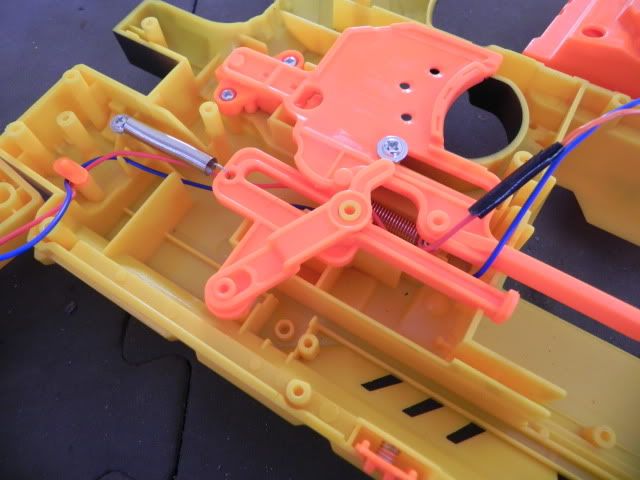
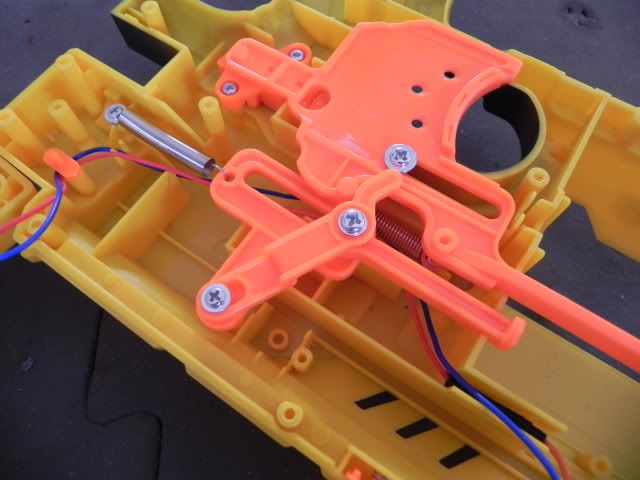
Then these two screws holding the jam door slider in place.
Edited by Jeo, 13 March 2012 - 05:49 AM.


