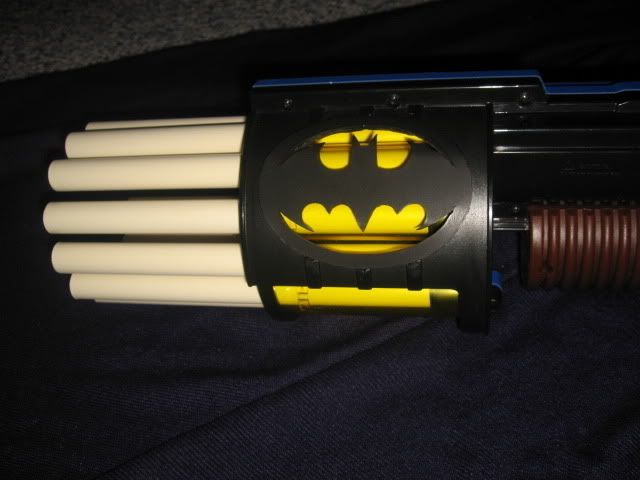
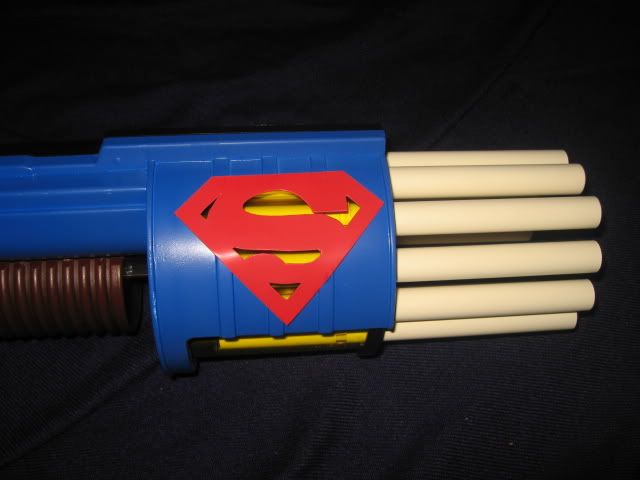
Thanks to ForsakenAngel_24 for the original write up and others whom I contacted for their input.
Materials:Ertl RFSG
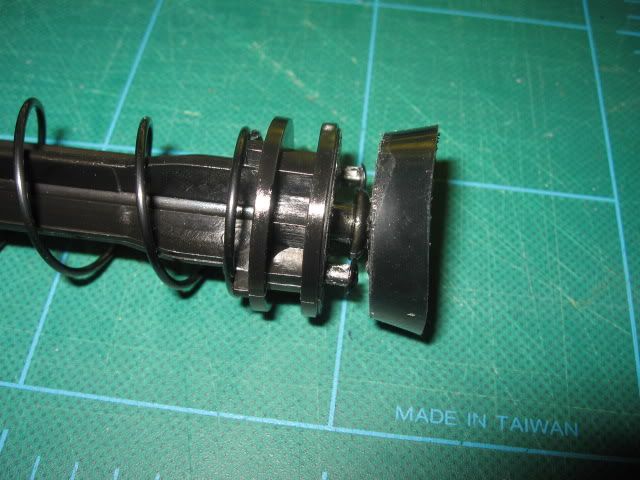
CPVC (12 8" barrels plus a small length for a spacer)
Extra Springs (LS and BBB)
O-ring (1 x 13/16 x 3/32) - Product specific: Danco #57
O-ring (5/8 x 1/2 x 1/16) - Product specific: Danco #28
Pushnut Fastener (3/8" O.D. #8 Pushnut Fastener)
Electrical Tape
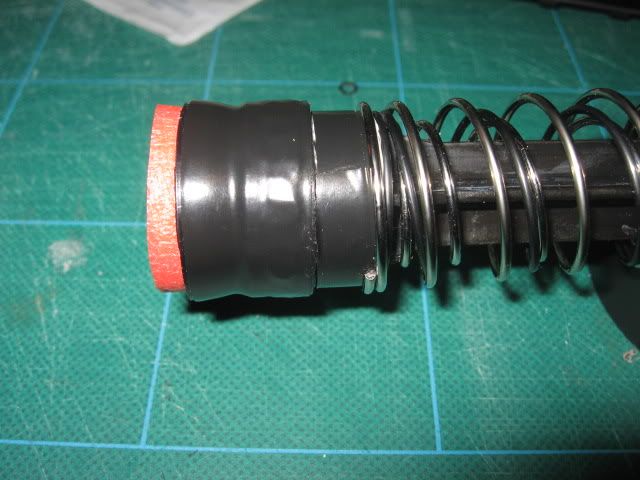
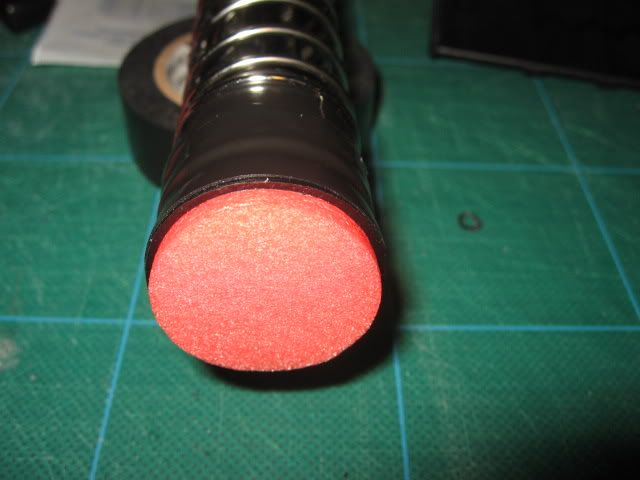
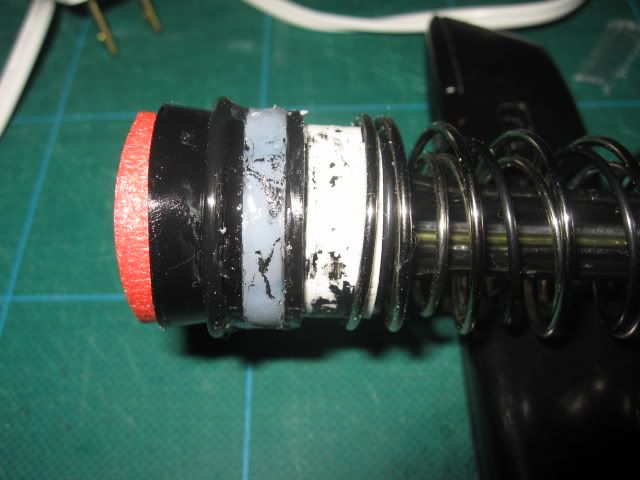
Padding for Plunger Head (BBB arrow)
Tools:Glue (Goop and Zap-a-Gap and Hot)
Dremel
Hand Saw
Screwdriver
Step 1. Take it apart and cut it down
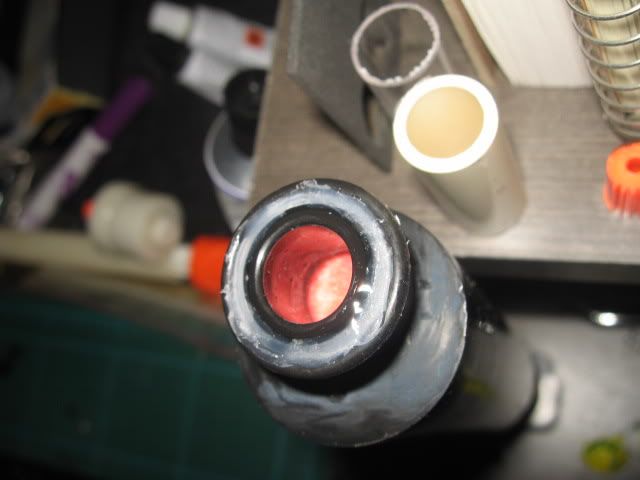
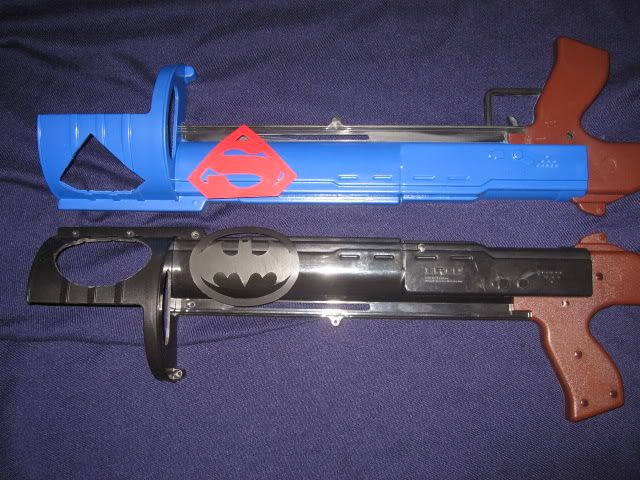
In order to remove the shell, you will need to cut the orange tip, slip it off. Then remove the foregrip and the rest of the screws to get to the internals.
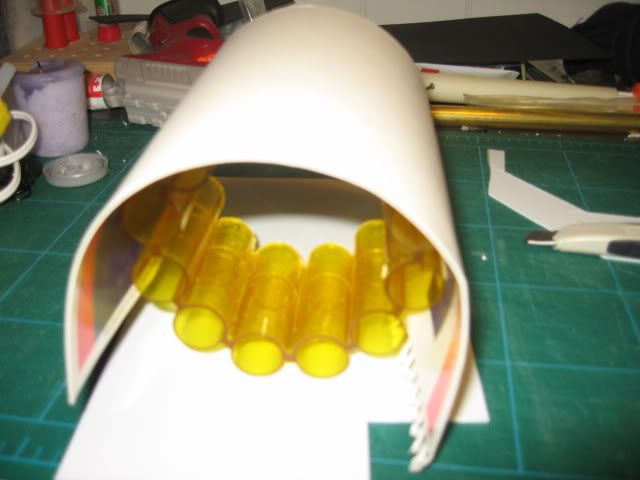
Cut down the front of the shell in order to expose all the barrels. Leave a small lip in the front to help hold the turret.
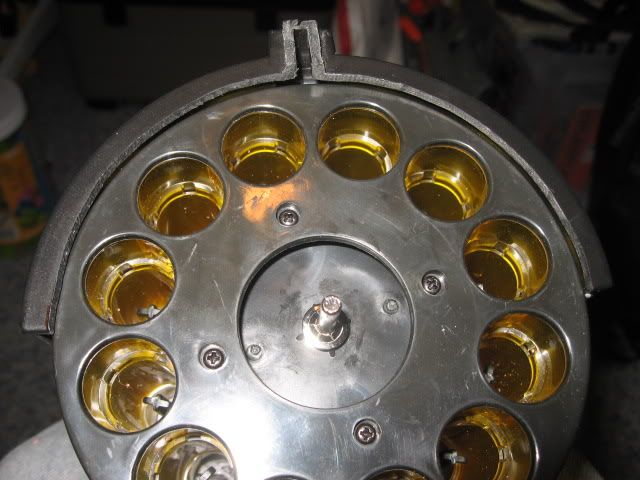
Step 2. Rotation Mech
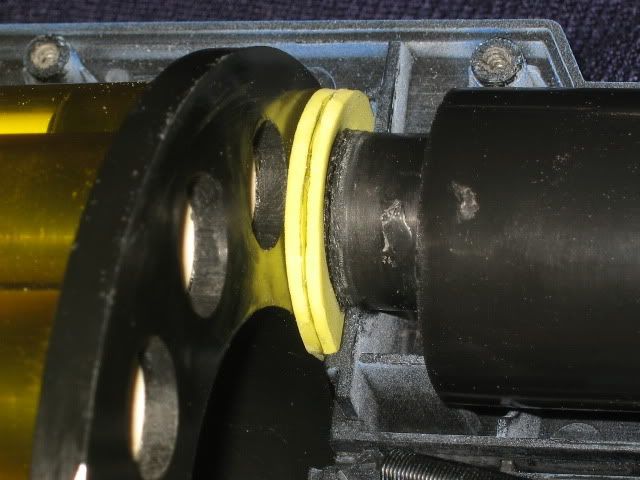
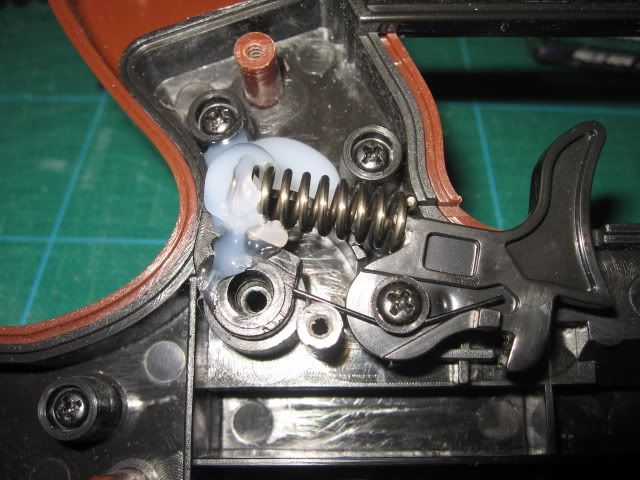
In order to remove the rotation mech, you will need to cut the pushnut fastener off. Once removed, you can get to the spring at the bottom of the pile. The original write up calls for hotglue to secure the spring. I opted to use a matching length of CPVC instead. Stack everything together and test the rotation. I opted to not put the pushnut fastener on until after the turret was completed in order to test with the final weight of the barrels.
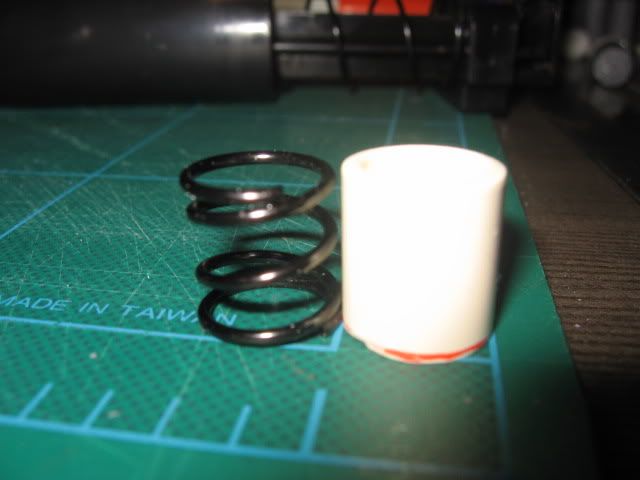
Step 3. Turret
Disassemble the turret and remove the AR's from the inner barrels. In order to get CPVC to fit, you can either sand down the inner barrels or you can cut the barrels down. I opted for the "cut" method after attempting the sanding method. The area is too far up the barrel for my Dremel, so I used hand files and that took way too long. So stick in a length of CPVC to find the point where it sticks (be sure you are cutting the bottom area), mark it and cut all the way through.
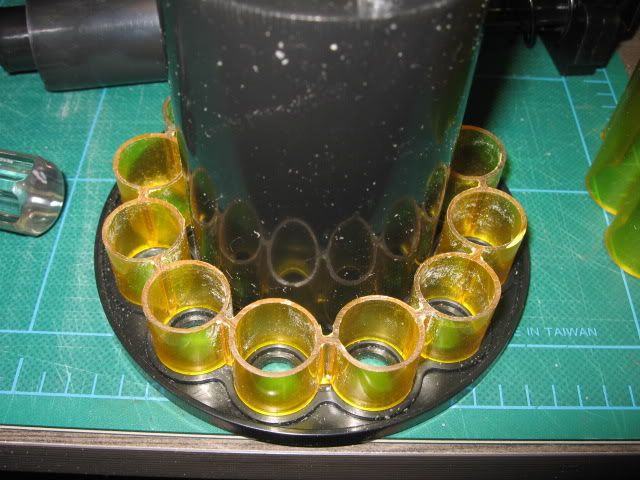
Once you have that, set it aside and take the bottom piece and widen the holes in the back in order to make it rear loading.
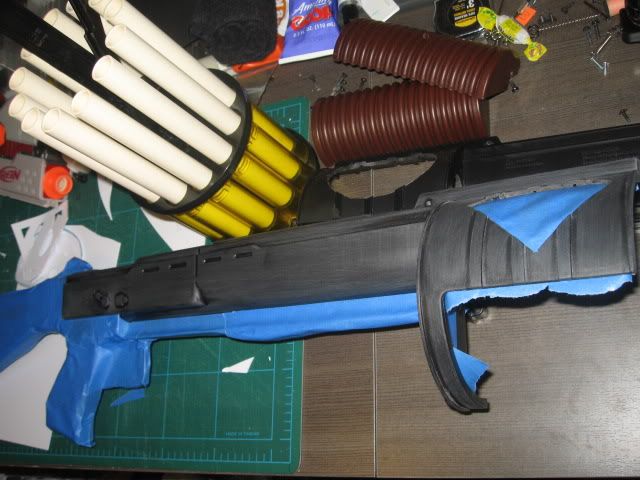
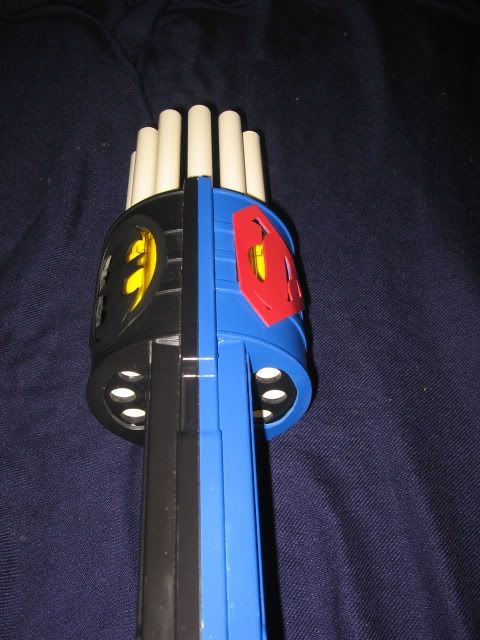
I opted to use 8" CPVC barrels with the bottoms coned out for easier loading of darts. Test fit with your CPVC and inspect for the fit. You will need to add electrical tape to the bottom of the CPVC to properly secure the CPVC in the turret. Use Goop to secure the bottom ring to the turret base and for the CPVC to the bottom ring. You can also glue the CPVC to the top of the outer ring if you want.
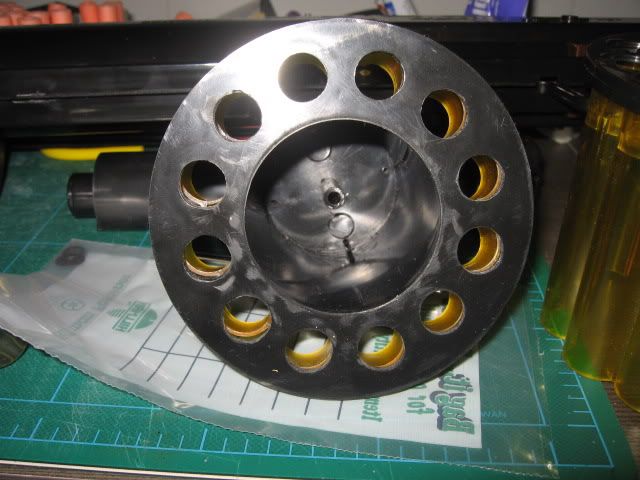
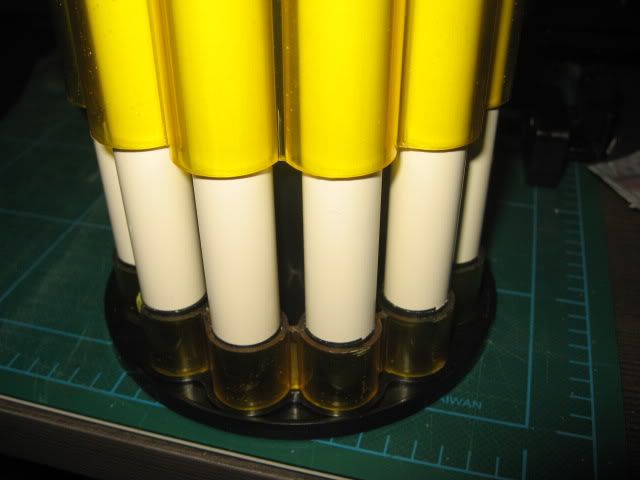

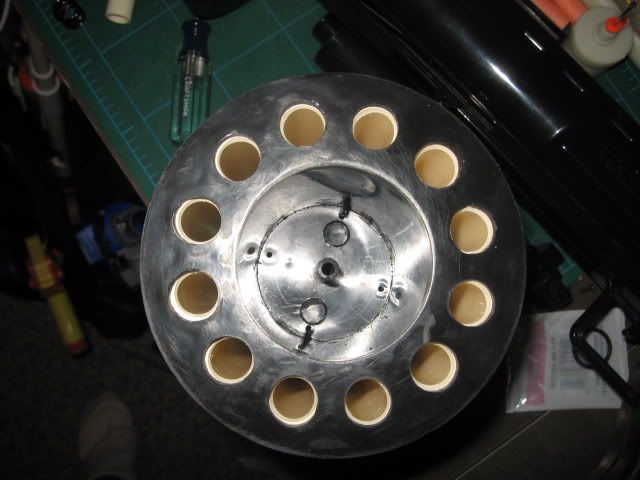
Allow this to dry overnight.
Step 4. Rear loading
Reassemble the rotation gear and add a couple pushnut fasteners. To get the fasteners on, I used a small ratcheting screw driver that accepts multiple heads. Just press down and it will slip on really easily.
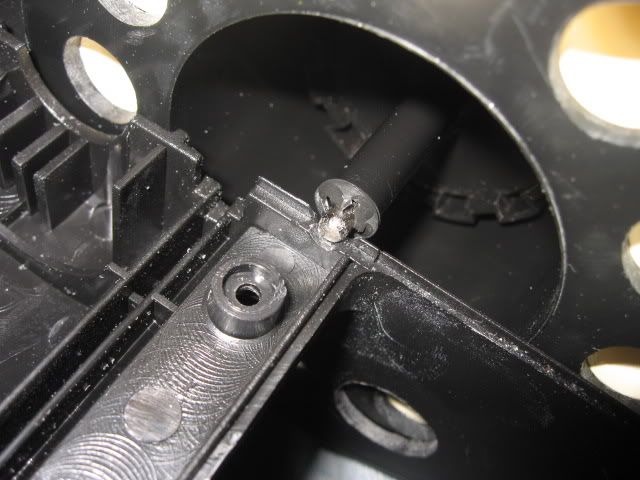
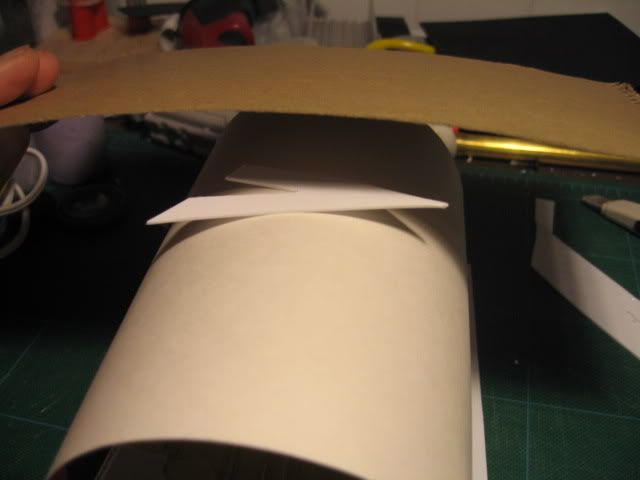
With the completed turret, fit this into your shell and check the fit and rotation. I found that because of the weight, the turret had a little too much room. It tilted down just a tiny bit. To help with this problem, I sanded down the bar rest on the shell and added spacers behind the turret to keep it aligned correctly.
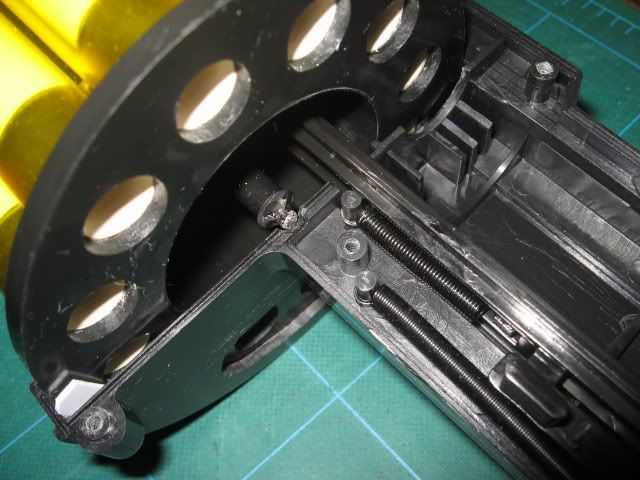
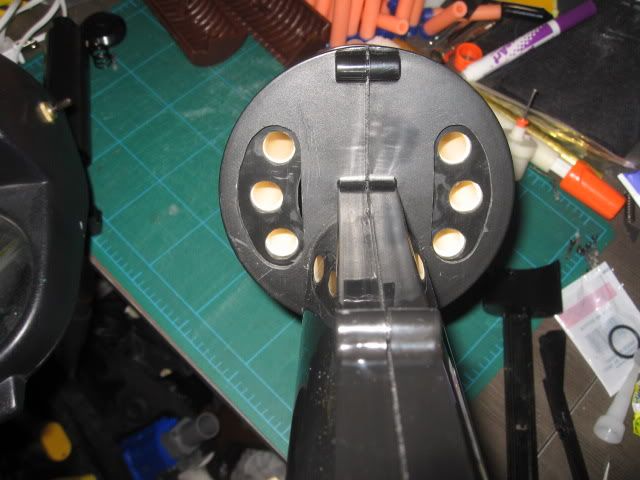
After that is set, find a thin marker that can fit down your barrels. The one I used was for a small dry erase board in the house. Line up the firing barrel and drop the marker down the following barrels (imaging the barrels as a clock face): 2, 3, 4 and 8, 9, 10. You could add 5 and 7 to get four rear loading slots if you want. When you drop the marker, find a pen to gently press down on the marker to make sure that you get a visible spot.
When you've got the marks, drill a pilot hole through the shell and make sure you've got the holes lined up correctly with your turret. If it's good, use a dremel or hand files to widen the holes to fit the barrels. This can be as neat or messy as you see fit.
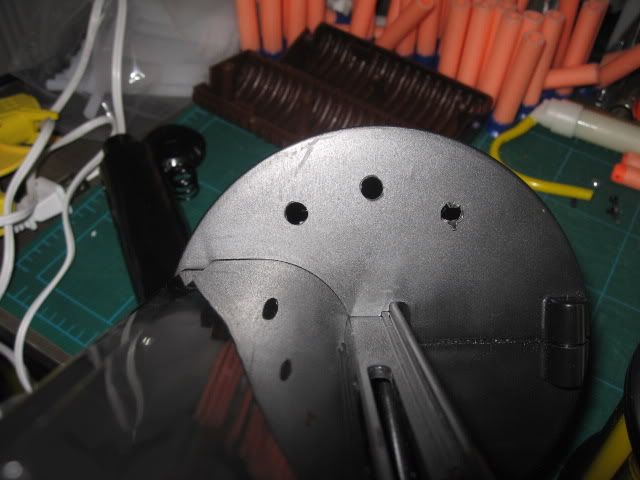
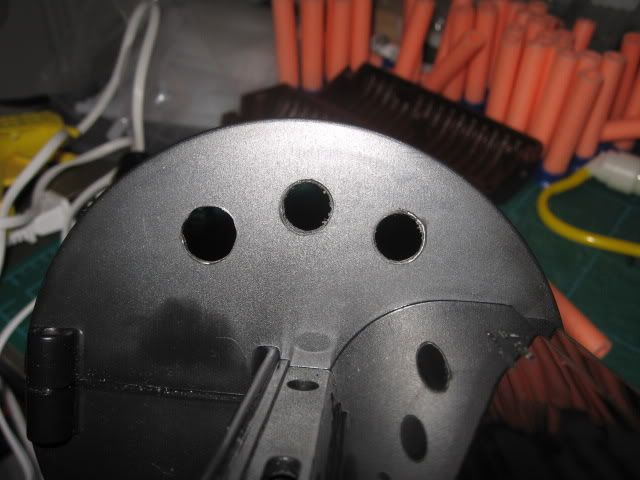
I wasn't able to keep the slots centered with the barrels so I opened it up. I like this much better.
Edited by popatachi, 20 May 2010 - 10:36 PM.


