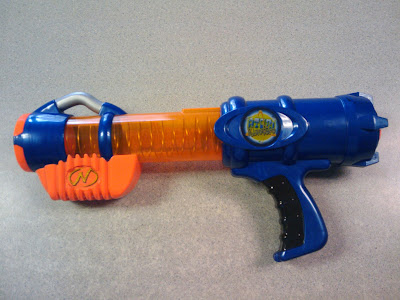
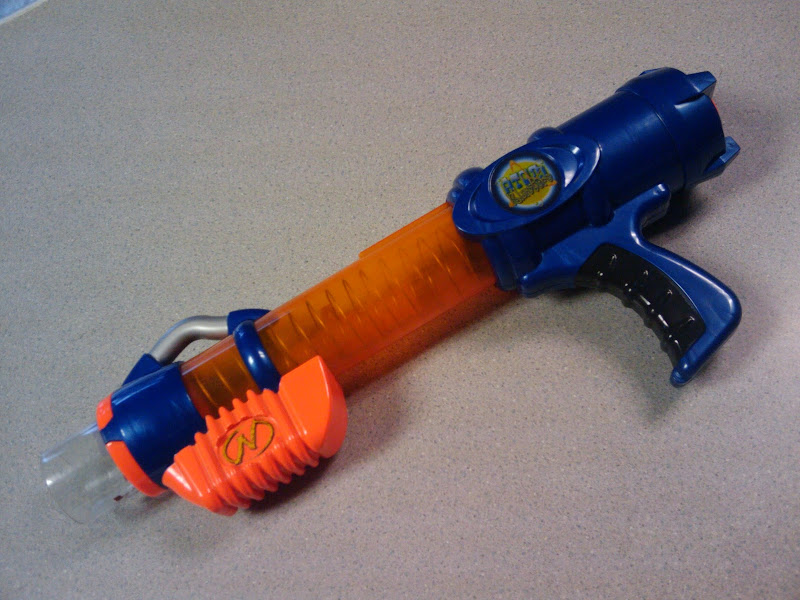
The molds for the Reactor were first used to produce the shells for the AirTech Ball Blaster in 2003. There have been three different decoration patterns throughout the years, and now there are many of these blasters in the wild. At 15-20 feet for average range, they aren't the best ballguns ever produced, but they are certainly the most prolific, and one of the few still in production. I rarely purchase any blasters new, but I've never actually purchased a new ballgun. So if you are like me, then your Reactors are likely to have a questionable plunger seal. Just like with any other blasters, the first step is to open up the shell.
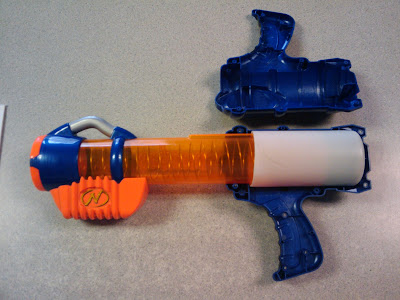
Then clean the crap out of the plunger assembly.
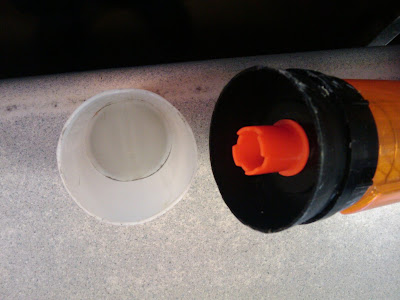
You will no doubt notice that there is some empty space back here, not to mention a funny plastic pipe jutting out. Now, the inside diameter of this orifice is about 5/8", which is one major reason why I am content with 1/2" PVC for feed piping on the ball RSCBs. The pipe's purpose is to keep the consumer from destroying the skirt of the plunger seal by collapsing the thing at the end of the compression stroke.
We, however, are less concerned with longevity, and more with performance. So let's get rid of the dead space with two simple tasks... Cut down the pipe so it doesn't halt the travel prior to full compression, down to the edge of the skirt. One half of an inch should be plenty.
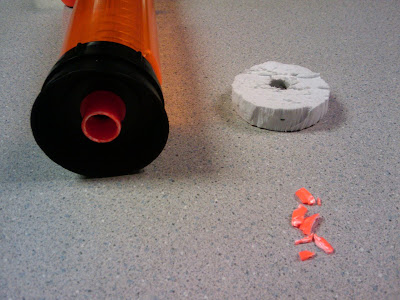
Next we need to add some material to take up the remaining excess space. Just as with spring powered plungers, foam works nicely. I am not really sure where I got this stuff, but it appears to be vinyl based and rather dense. Simply cut out a torus and insert it within the skirt area. I cut the center hole with a piece of 1/2" copper pipe, so it fits snugly around the inlet pipe. I didn't bother using any adhesives, but from experience, PVC cement works well with this particular foam.
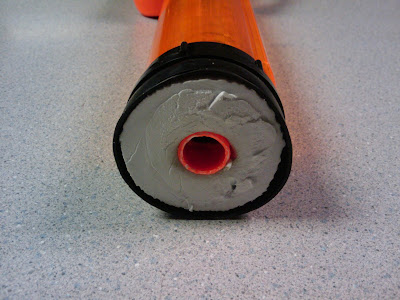
Next step, simply reassemble the back end. Woo! Looks like a stock Reactor! And still performs like one. Mostly.
We get an extra couple feet, but nothing special. Less than the difference between green and yellow balls.
No matter! I have another idea...
So, as I have tried to explain before, I simply love thrift stores. There really is no substitute for the randomness which may be found amongst the former belongings of others. Well, just wash whatever you find, right? In this case, I have found EXACTLY what I was looking for. PETG.I know, ground breaking, right? Hardly. Except this is perfect for original equipment ballistic balls. Big deal you say? Why not just use 1.5" thinwall PVC? Because it won't fit. At least, not without some extra work, like sanding down the muzzle of the blaster, or the outside of the pipe. Both of which are time consuming (like women) and neither of which I wanted to do (like Waffle's mom). This stuff really is perfect, as it fits right inside the muzzle, with no deformation and no empty space around the outside. At any rate, I was very lucky, and found not one, but two rain gauges on the shelf at Goodwill. They are each about 16" long, which should yield plenty of material.
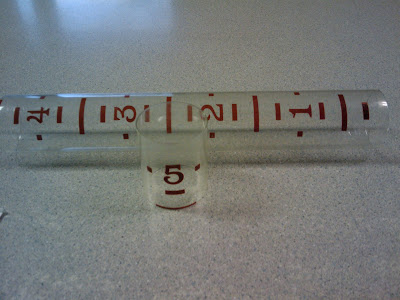
In the case of the Reactor, most of the pressure built by the rather large plunger is needed to simply overcome the barrel restriction and begin moving the ball. But all of that air doesn't just vanish once the ball is gone. It turns out that we can actually use a couple inches of barrel and harness all of the power! Some of you folks have scientific and mathematical methods for choosing barrel lengths. I rather like a simple approach, myself. What I figure is that if you start with barrel which is far longer than what the blaster could require, then just fire the projectile through it, then the projectile (balls here of course, but it works with darts too) will stop at roughly twice the optimal barrel length. This is because the ball will continue to accelerate until there is no longer enough air pressure, at which point it will begin to decelerate and finally stop. In this case, the ball travelled about five inches. We want to cut the barrel where the velocity is greatest, which is approximately one half the distance from the muzzle to the stopping point, or about 2.5 inches.
Installation of the barrel is relatively easy. You can use Goop, cyanoacrylate, or epoxy and get the job done. I used PVC pipe weld, which bonded marvelously. Simply prime both pieces as normal, then apply a small amount of cement to the outside of the barrel itself, and carefully insert it into the muzzle of the blaster. All the way in, until it bottoms out against the restrictor (TWSS). After the cement was dry, I added a layer of epoxy down in the the beveled space between the muzzle and the outside barrel surface, just to add some stability. The best part is that the position of the barrel actually increases the resistance in the restrictor as well.
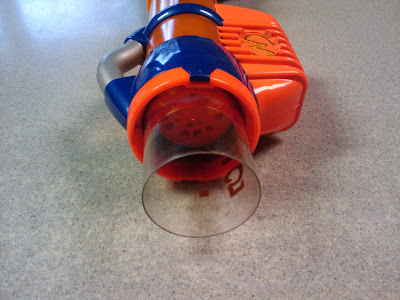
Once all of the adhesives are dry, we may begin testing! Which is really boring! This is certainly no StreamMachine blaster, that is for sure. Simply not enough plunger volume to produce that kind of range. We have definitely succeeded, though. The new average ranges vary between 30 and 40 feet. Roughly double the original range.
Edited by Draconis, 12 February 2010 - 02:26 AM.


