--------------------------
ITEMS REQUIRED
--------------------------
- Hotglue
- Sharp Scissors
- 4" of PETG
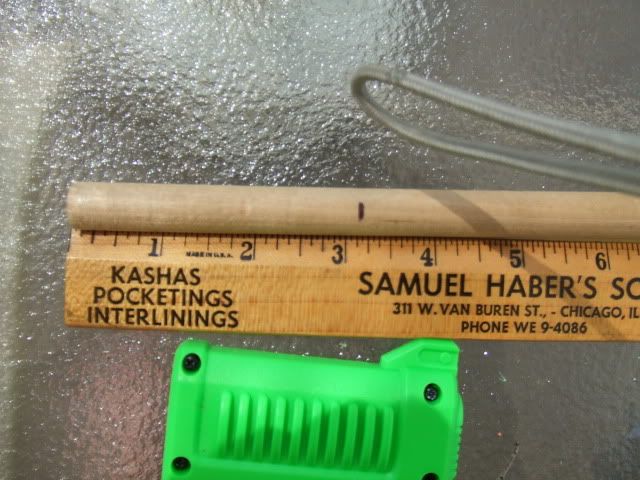
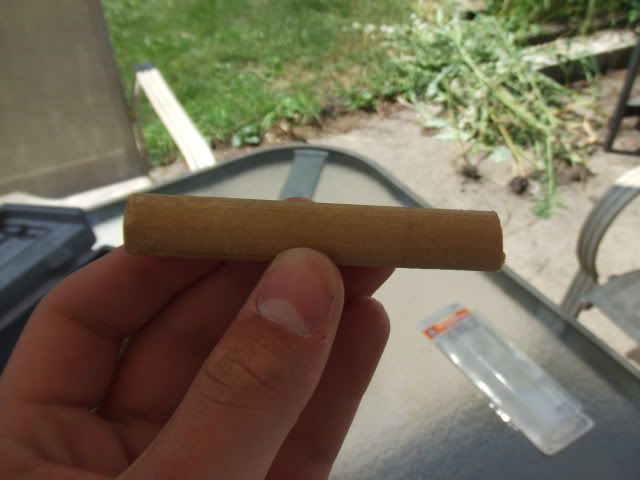
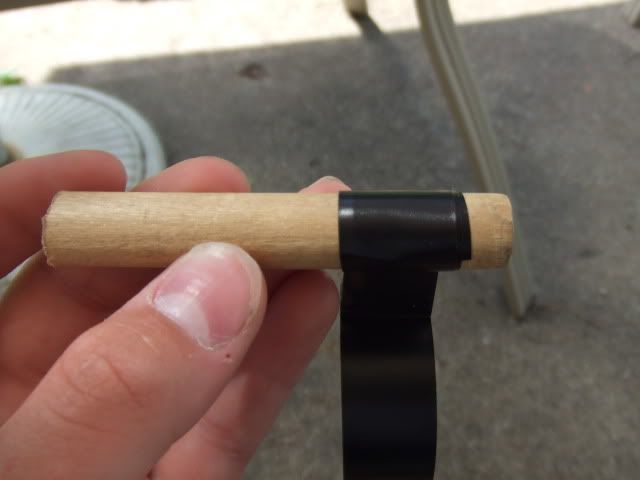
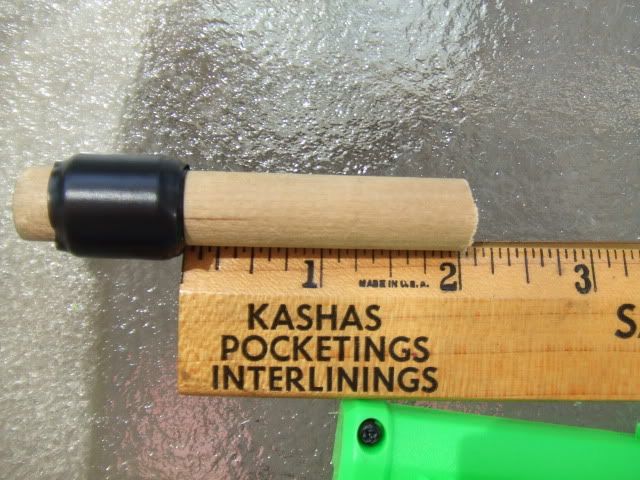
- 3~ of dowel*
- Etape
- Screwdriver
- Ace #49 / Everbilt 4" x 7/8" x .080"
- Dremel
- Danco #9 O-ring
- NF/Switchshot O-ring
- Goop
- Superglue
- 1 Stormfire
- Flat File
- (Needle) Pliers
- Silicone Spray/Grease
- Safety Glasses
- Ruler
- Hacksaw
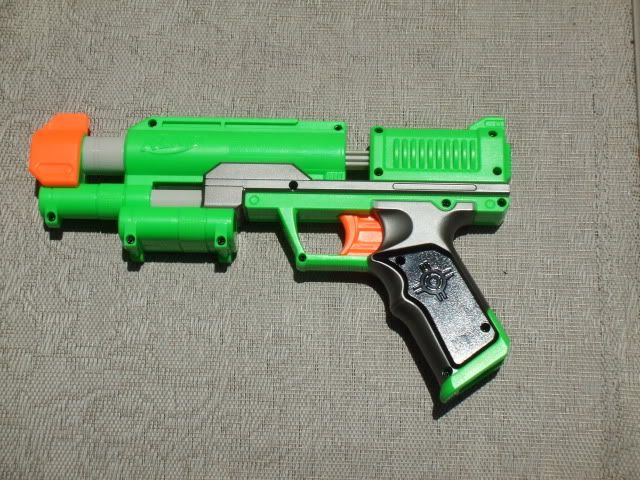
Start off by unscrewing the blaster. There's about 18 screws!
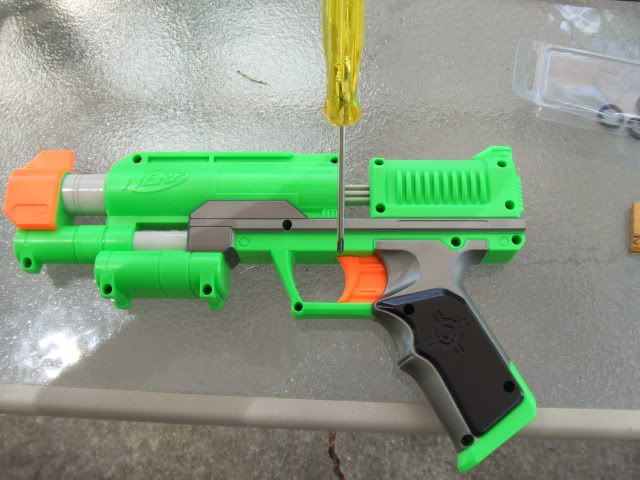
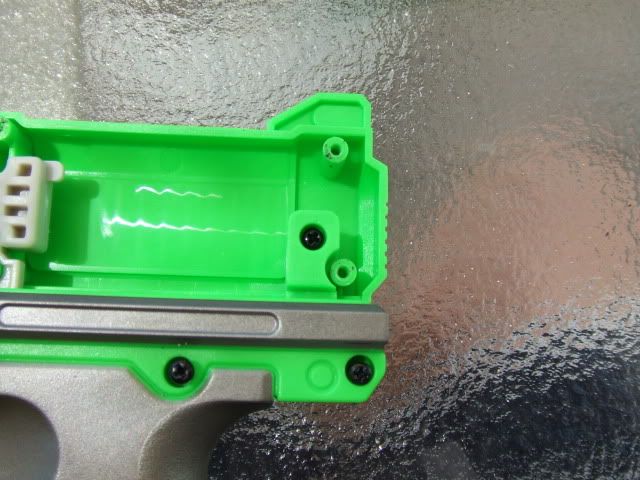
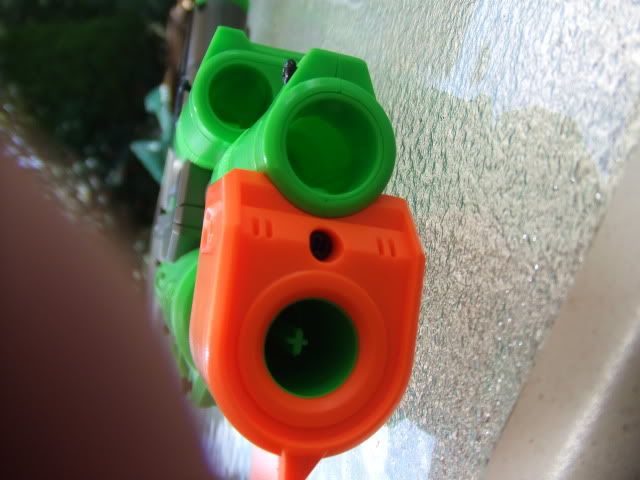
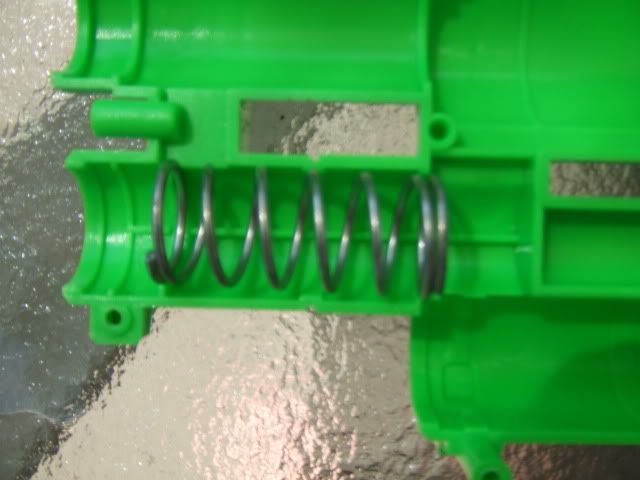
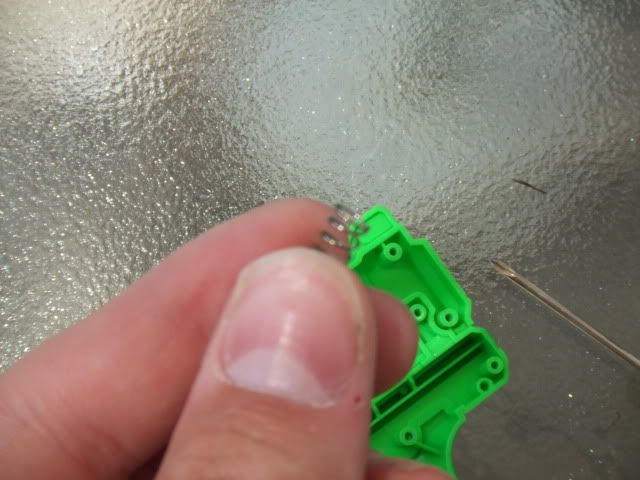
When you take off the shell, most likely the catch spring will pop right at you or somewhere across the room. In my case, I was very lucky and it stood still. For further investigation, here's what it looks like. Its very small and skinny, be careful!
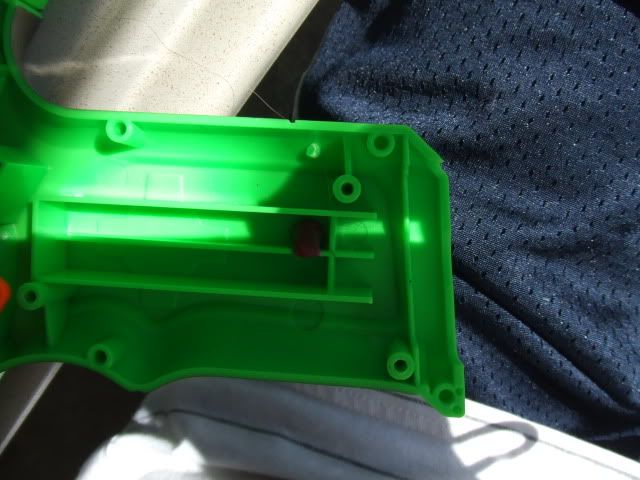
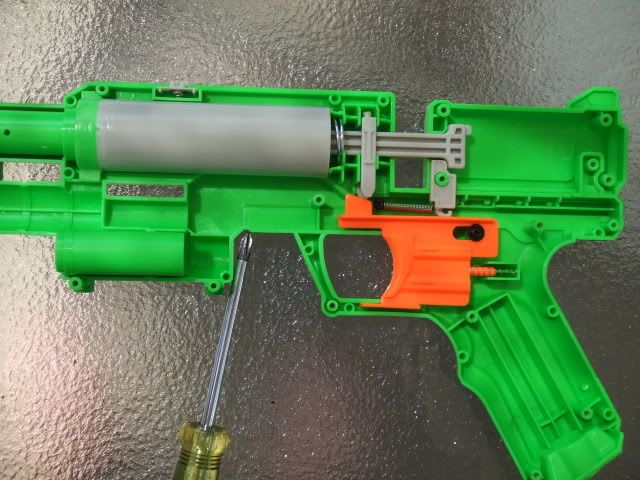
Now that challenge is done, here's what the internals look like.
----------------
Plunger Modification
----------------
Take out the plunger tube, we're going to start here.
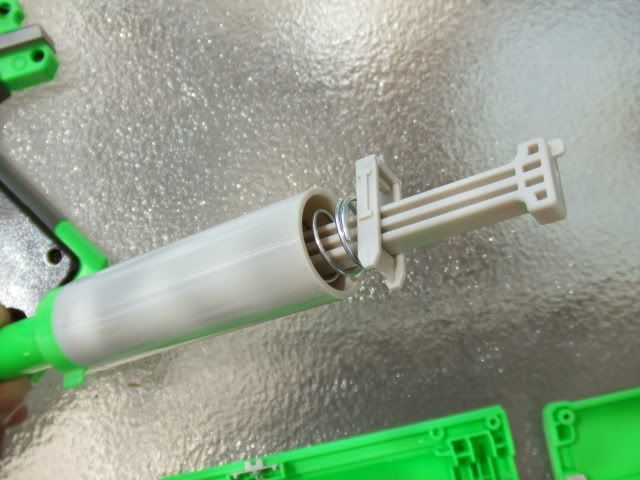
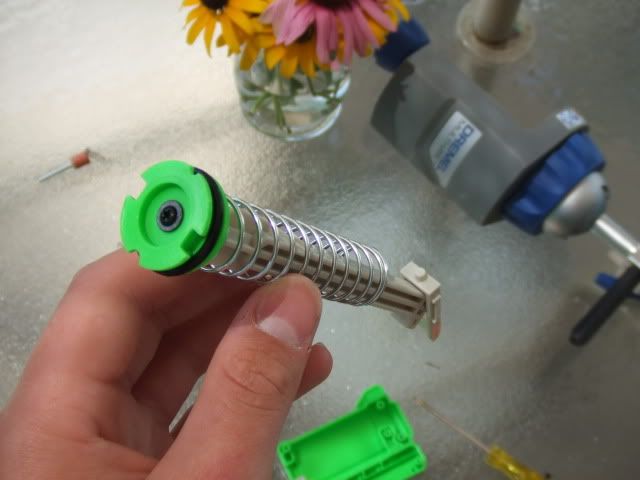
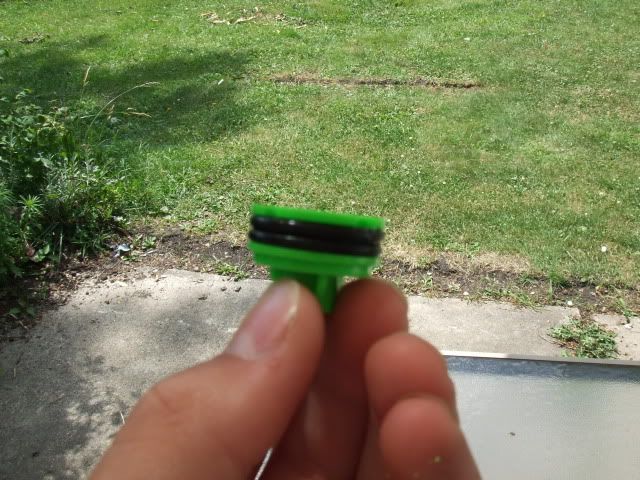
Now, unscrew the plunger head. This is a typical Nitefinder head, simple and strong.
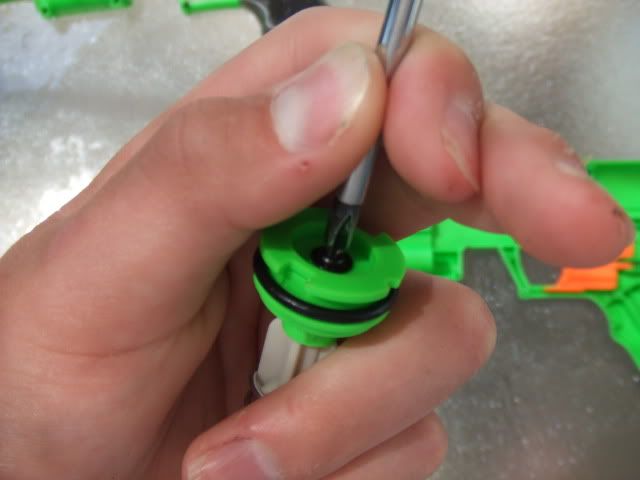
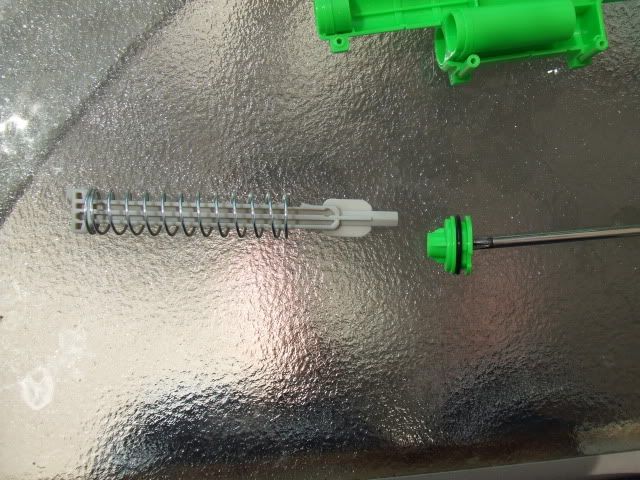
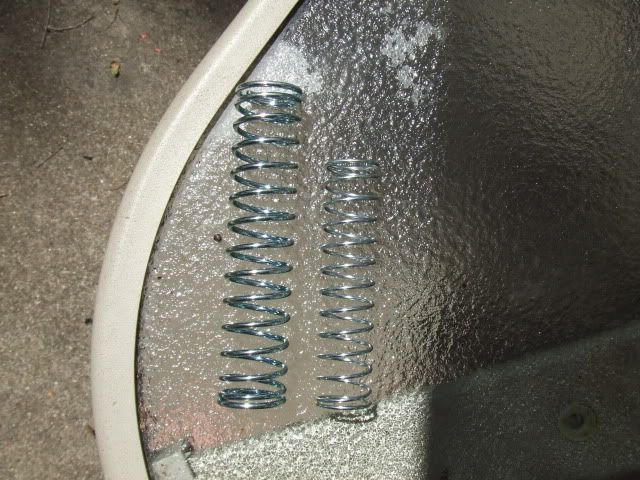
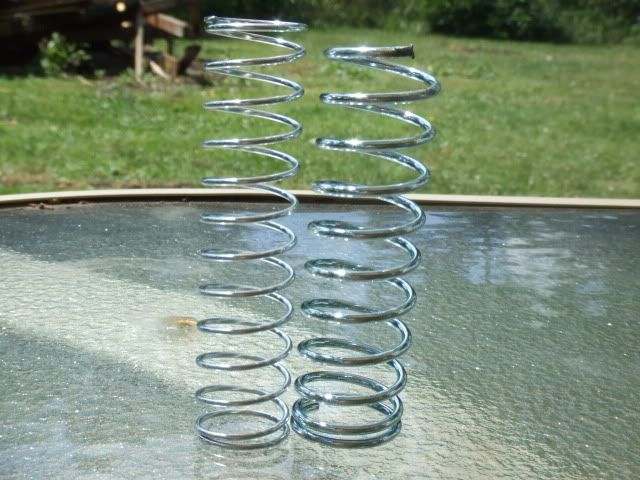
Now take off that wimpy spring. That thing is ridiculously weak!
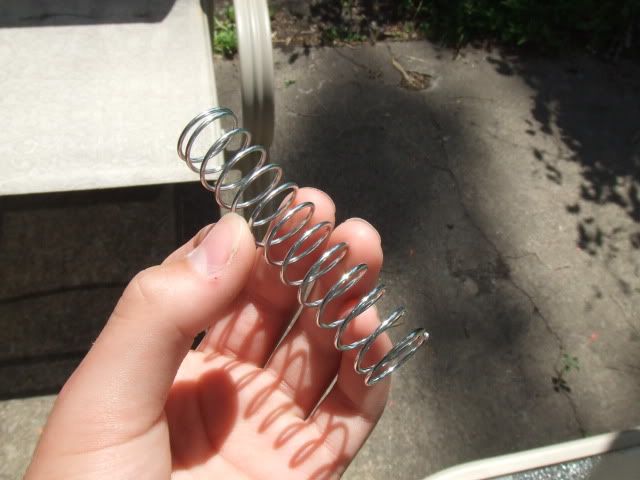
Here is our Everbilt spring. You're going to have to cut it down so it fits in the shell.
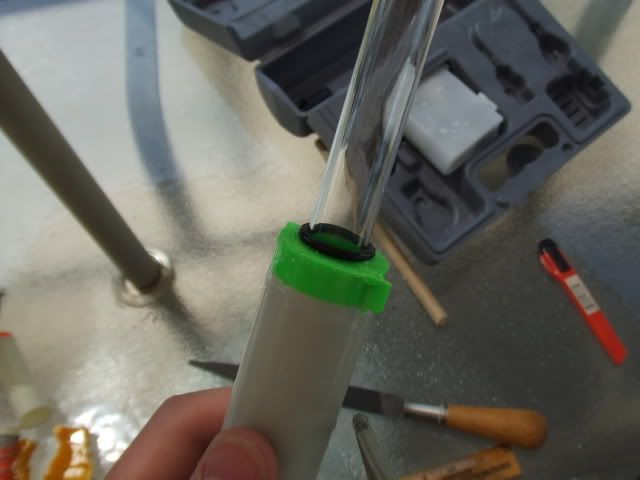
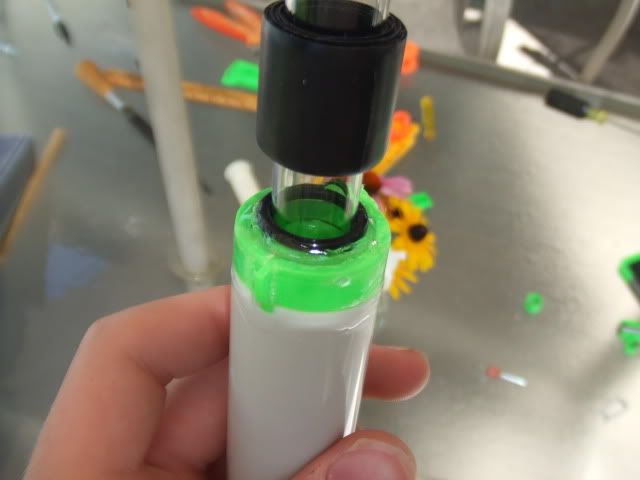
Now, we're going to increase the seal. I took a Switchshot O-ring to improve the seal. It's incredible how much it improved, I'm sure some etape under that would be overkill.
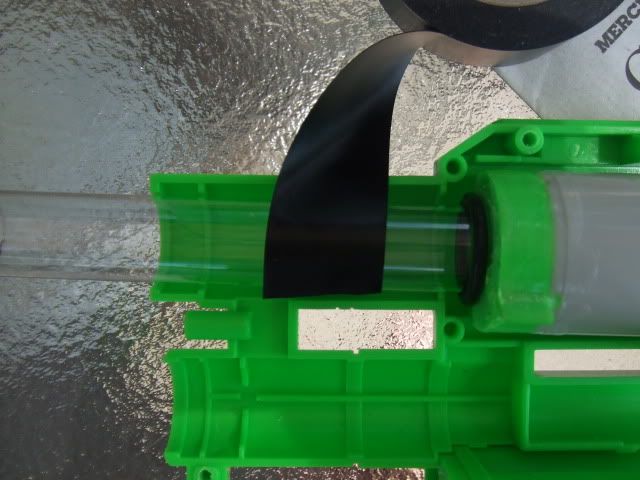
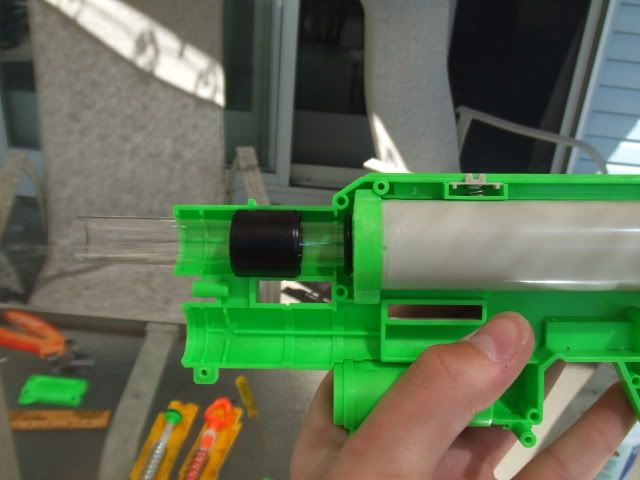
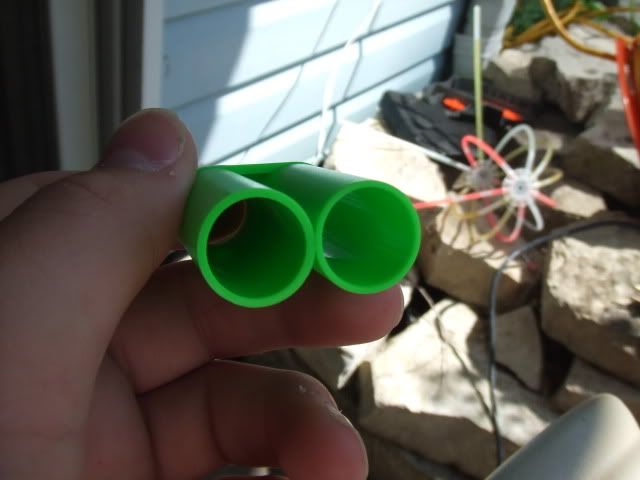
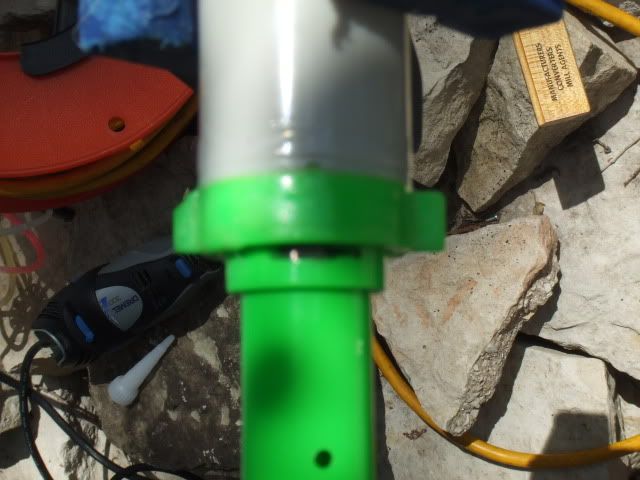
If you want to shoot stefans, we have to cut the original barrel off. Not too hard, but you're going to need a hacksaw or a dremel. This is where you want to cut-
Edited by Merzlin, 29 July 2009 - 05:47 PM.


