The first part is not pictured, but you're going to want to take your AT3K tank and strip it completely clean of all flanges and extremities.
The you're going to take the housing of your light, remove all the wires and the light, but keep the housing. cut the flange off of the bottom so it will sit flat. Attach your barrel material inside the light and glue the whole thing to the front end of the tank like so:
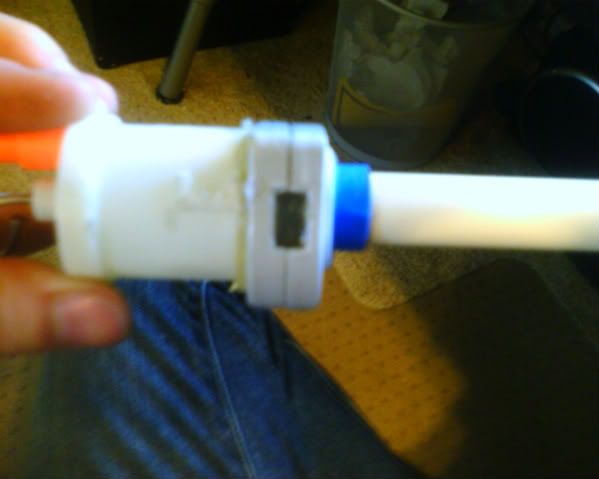
Keep in mind however that when your tank and barrel assembly are inserted your pump valve is going to need to come out the side, so plan how you glue them all together.
Then you're going to need to drill a hole in the side of the gun where your pump valve will come out of.
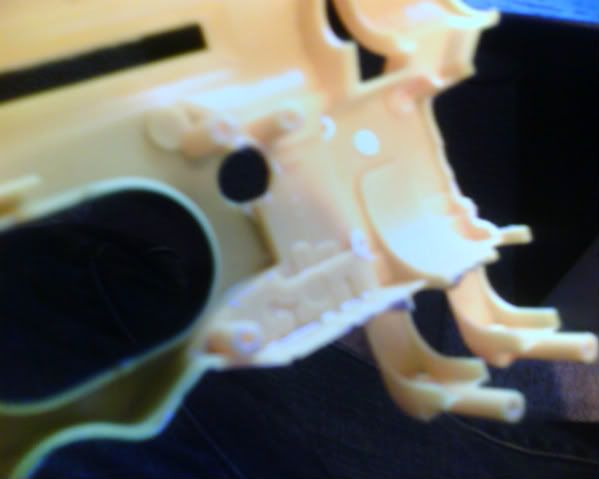
Also, you're going to want to drill out and remove all screw posts from where the light used to be so the tank can fit. Then you're going to cut out the front enough for the tank to fit through the front. Its so unfortunate that it wont fit by such a small distance.
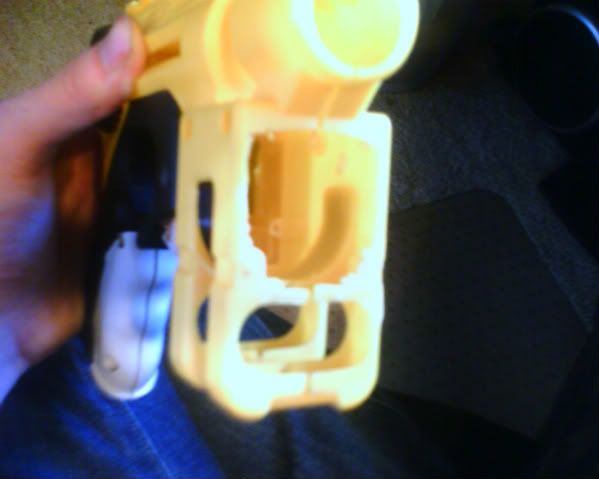
Then we need to move on to the Nightfinder internals. You can do any of the basic mods you choose. I chose to attach the CPVC barrel inside the internal coupler from the plunger tube and the stock barrel like this:
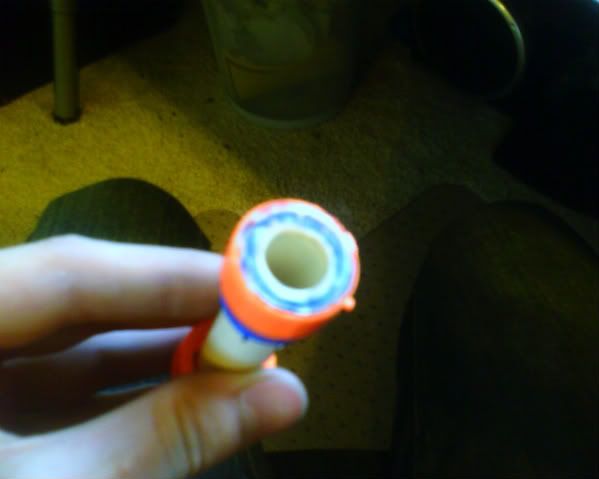
I then put an ACE #49 spring on the plunger and put some Teflon tape underneath the o-ring for a better seal.
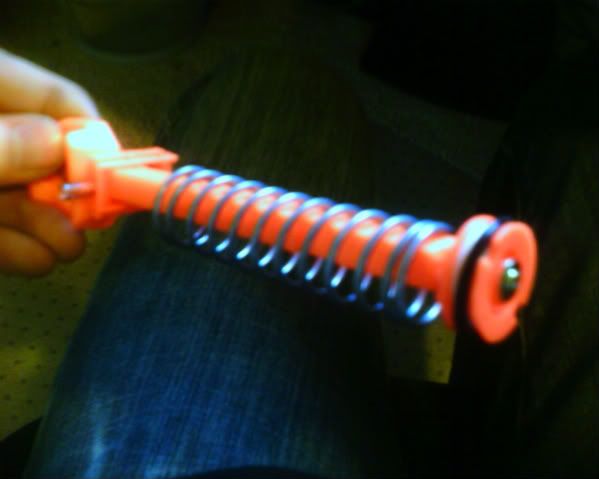
Then I filed down the barrel tip so the CPVC will fit through:
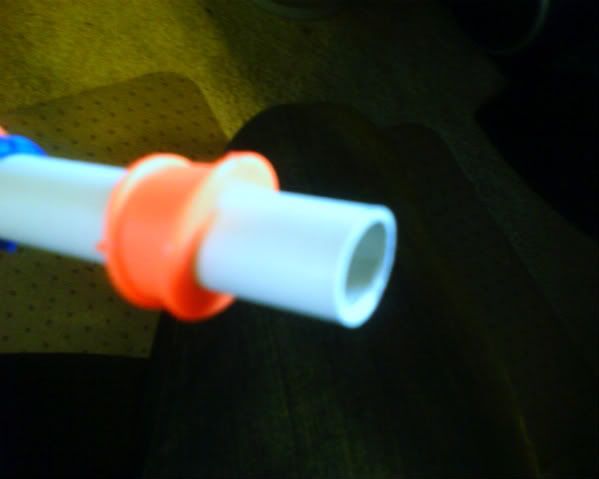
Now to the AT3K trigger system. For this I did a linked trigger so I can fire both shots at the same time or still have the option of cock-shoot-cock-shoot. For this I bent the tank pin in a full circle:
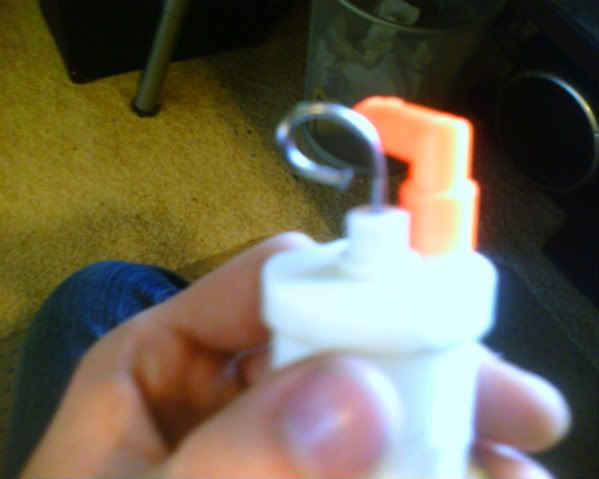
Now be VERY careful when you do this, use 2 pares of pliers, one to hold the pin and one to bend it. If you just try and bend the pin you could break the plastic on the tank and create a fatal leak.
Next we're going to drill a hole in the trigger in the rear for out new trigger wire.
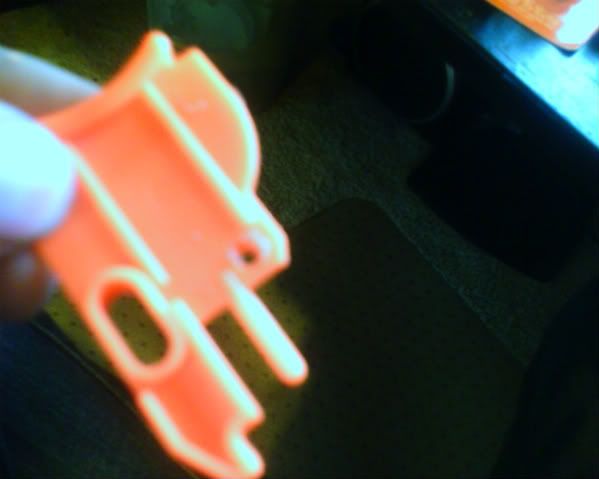
I didn''t get a picture of it, but I used a section of wire hanger between the trigger and the firing pin and ran it underneath the original trigger.
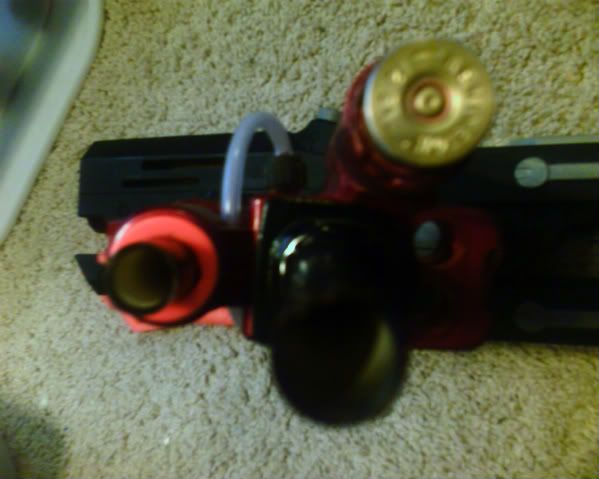
I also drilled some holes through the trigger for some extra style points and attached the brass end of a 12 gauge Remington shot gun shell to the pump as a pump handle. Its very comfortable.
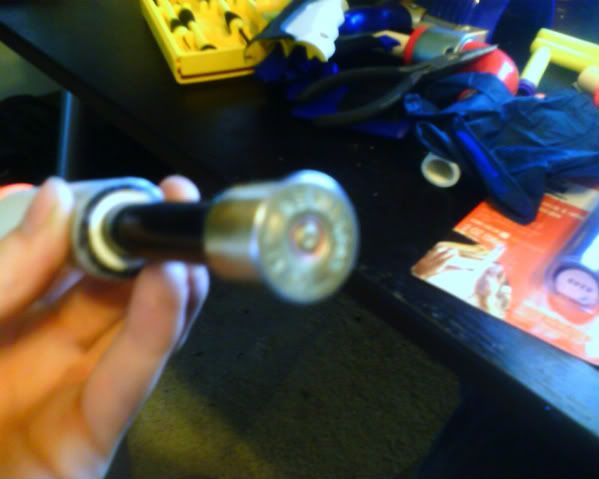
This photo was taken after painting it, but I've attached the pump to the left side next to the light with epoxy putty. I advise nothing less than epoxy putty. My first attempt with liquid epoxy failed to hold through a small indoor battle and hose clamps just let it slide though, so use plenty of epoxy putty.
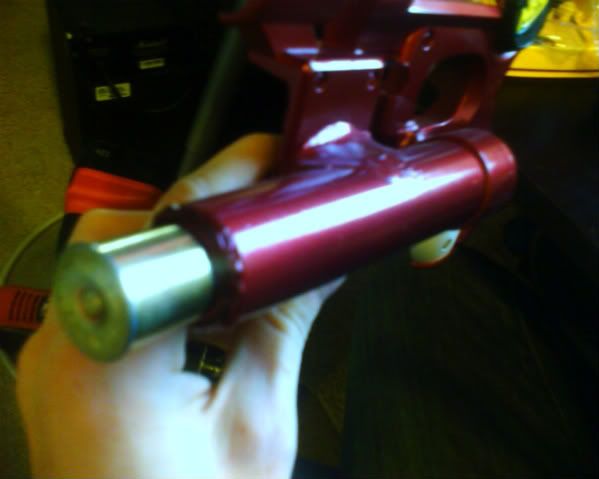
Now you can put it all back together, with your AT3K internals AND your NF internals. I ran the hose underneath the front of the trigger guard, through the gap under the barrel and into the side where the tank is. I sprayed mine with a candy apple red metallic paintjob. And I give you the "Blood Finder".
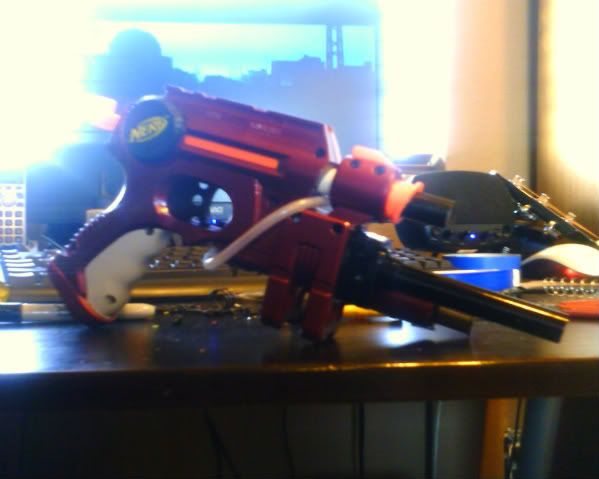
1 Billion internetz to the person who can identify the movie on my computer in the background.
Pump side:
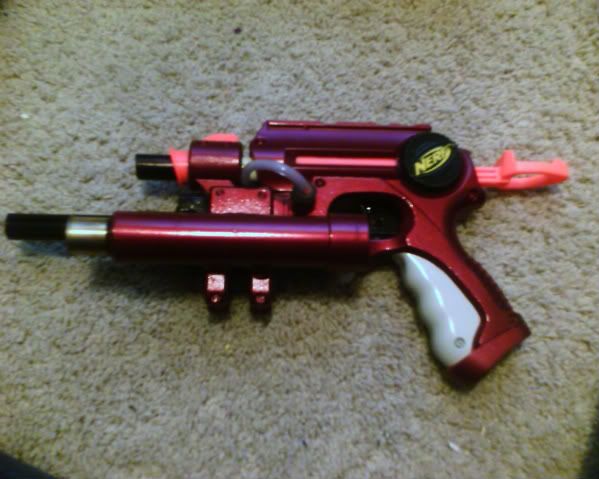
Front end:
Ranges are typical:
Nightifnder Average: 75'
Airtech 3000 Average: 1 Pump: 60', 2 Pumps: 80', 3 Pumps: 90'+
Questions, Comments?
Edited by Banshee, 14 May 2009 - 11:23 PM.


