O.K., I would first like to say I have decided to name this the SnapFinder. Now this is the write-up to build your own.
Materials:
Pipe:
1” Thinwall PVC
¾” PVC
¾” Thinwall PVC
½” PVC
9/16” Brass
Aluminum Tubing (McMaster Part #1658T49)(Could use CPVC)
Pipe Fittings:
½” PVC Coupler
½” PVC End Cap x2
Other:
Epoxy Putty
Clothespin
Angle Iron
3/8” Panhead Screws
Nail with large head
Handyman Spring x2
Tools:
Drill
Drill Bits: 7/64”, 1/8”, 5/8” Spade Bit
Miter Box and Saw; Miter Saw
Dremel
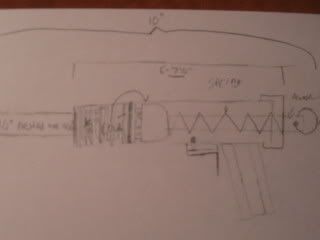
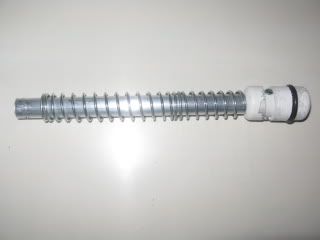
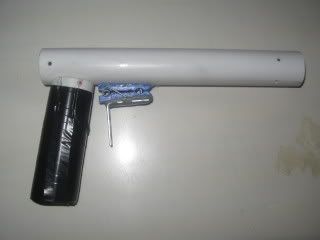
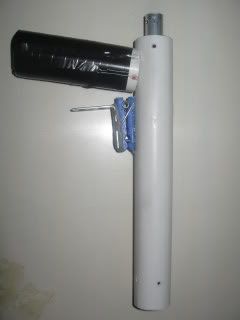
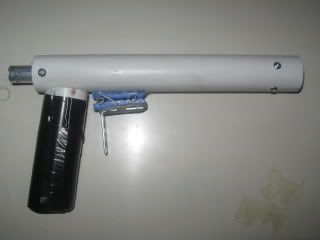
This is what you will be working toward:
To start I will break down each part.
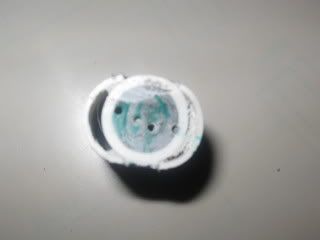
The Plunger
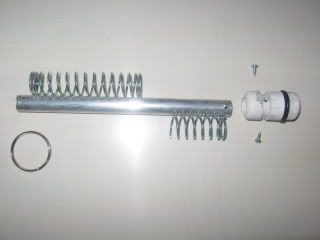
The plunger is made up of a 7” piece of aluminum tube attached to a Snaplike plunger head.
Start by cutting the aluminum to 7”. Now cut about a ¼” off of a ½” end cap. Next drill a 5/8” hole in the end cap. Cut a piece of ½” PVC to about 2 ¾”. Attach an O-ring to it by following
this. Now widen the size of the ½” PVC by sanding it with a Dremel sanding drum. Next slide the aluminum into this. Drill two 7/64” holes into this and anchor it down with the 3/8” screws. Slide the end cap with the hole in it up to this and attach it to the PVC. Drill a 1/8” hole in the back of the aluminum for the key ring later. You can set this aside for now.
The Body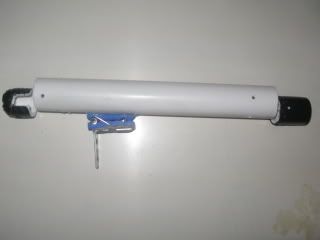
The body very simple to make. To start take a piece of 1” Thinwall PVC and cut it to 9 5/16”. Now take a ½” coupler and wrap it in electrical tape until it is tight in the PVC. Push this into the PVC until it is flush with the end and drill 4 holes into it from the sides. This is for the screws to hold it in. Now take a ½” end cap and drill a 5/8” hole it the back of it. Now do the same as you did with the ½” coupler but on the other side. Now take the end cap and cut a slot in the bottom:
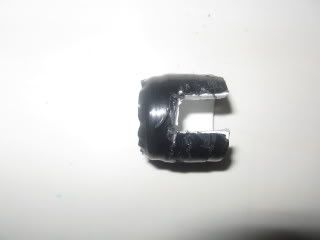
This is where the screws for the handle will go. You can put this aside for now. Now drill a 1/8” hole for the clothespin trigger 5” from the front of the gun. Drill a 1/8” hole in the top and bottom of the clothespin. Glue the screw into here and then epoxy putty an angle iron to this. You are done with this for now.
The Handle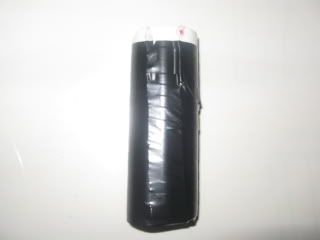
To make the handle take a ¾” PVC pipe and cut a 3 ½” segment off of it. Do the same with thinwall. Cut the thinwall in half length wise and glue it both pieces to the Schedule 40 piece. Wrap some electrical tape around this to reinforce it. Now cut the top to about 30 degrees. Put some epoxy putty in here and then sand it to the shape of 1 ¼” PVC. This is all you can do with this for now until assembly.
The Barrel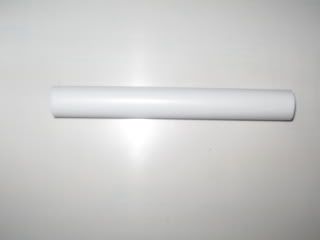
The barrel is just like an average PVC barrel. Cut a piece of ½” PVC to about 6 ½”. Now take a piece 9/16” brass and cut it to 6 ½”. Wrap the brass in electrical tape at the front and back so that it is snug in the PVC. Glue the brass into the PVC and set the piece aside for now.
AssemblyTo start the assembly attach the handle to the body.
Now slide the plunger into the body.
Next put the front coupler in the body and screw it down. Now put the end cap in the back of the gun so that the slit that you cut in it is around the screw for the handle. Screw it down.
Add the key ring of your choice to the hole you drilled in the aluminum.
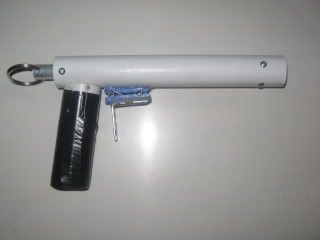
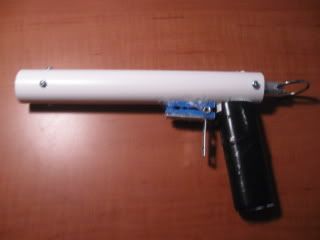
You have finished the gun. Make sure that you lube it up with silicone spray. If you have any questions don’t hesitate to post any of your questions.
Edited by Foam_Shooter, 29 October 2008 - 09:16 PM.