
First things first.
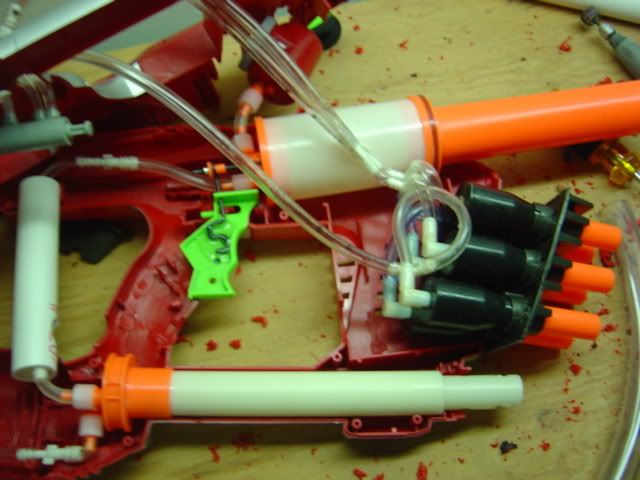
The Internals:
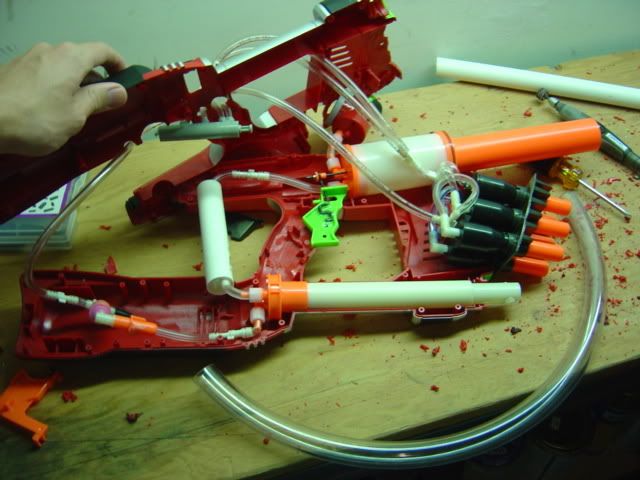
This is the Marvelous Titan in its simplest form. The tubing connecting everything together in this picture is much too short, but that way you can see exactly how everything fits together.
Here is a diagram of the internals.
The Shell:
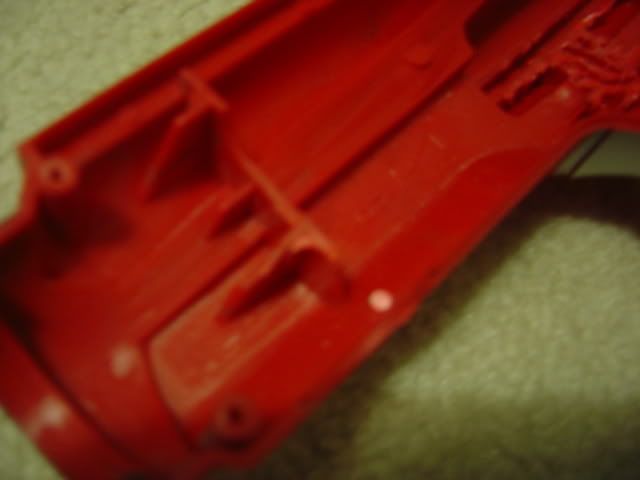
This is what half of the shell looks like after I cut the shit out of it to fit everything in.
Here's a quick-referrence of how I cut the case.
Blue = Removed.
Green = Left in, for good reason.
Light Blue = Hole cut in the side for tubing, etc.
Yellow = Actual cuts through the shell.
The long yellow cuts in the front create "tabs" that bend outward slightly, allowing the Hornet barrels to fit in the case (they are slightly too wide for the case)
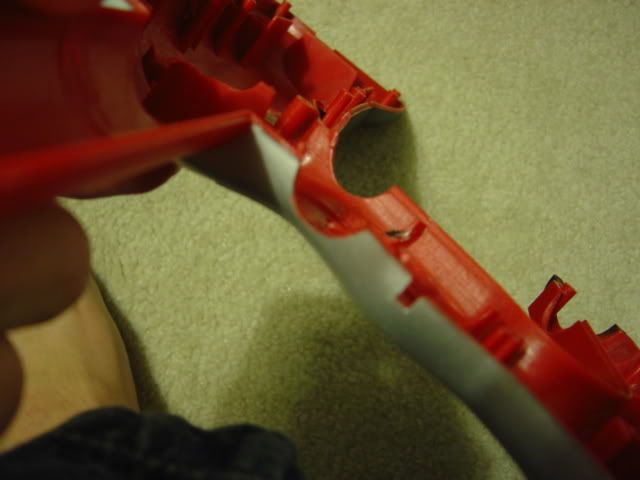
These small square holes toward the bottom of the case allow the pump to fit in the case.
These holes in the handle are where the SMDTG trigger will be.
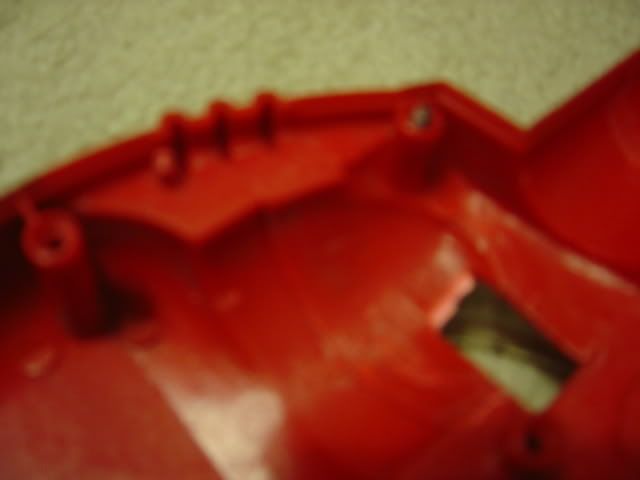
This small tab needs to be cut off to allow for the tubing that runs to the tank.
Installing the internals:
Next its time to squeeze all of this into the shell:
Notice I drilled holes through the other side of the shell to run the SMDTG tubing through. I suggest you find a different way to do this.
When done correctly, the Hornet assembly fits in perfectly, ans so does the Titan tank. The placement of the Titan's tank is crucial, as it decides whether or not your trigger will work.
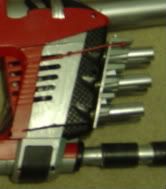
Here's the Titan's trigger:
It's the metal piece from the Titan trigger plumber's gooped onto the Magstrike trigger. To accomodate this trigger, the inside of the handle on that side of the shell must be sanded or dremeled down a little:
DO NOT POST
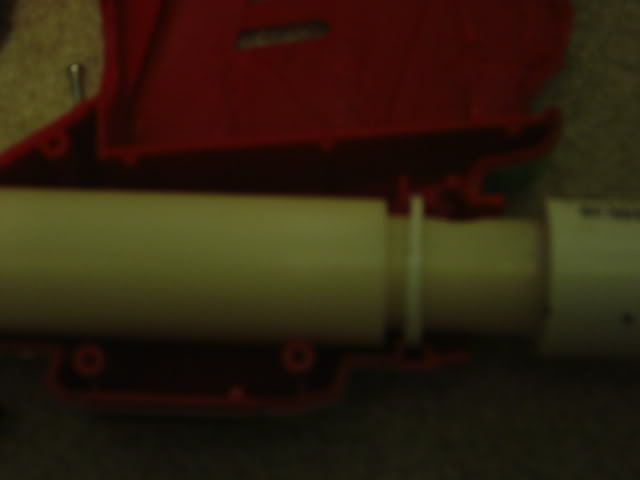
The Pump Handle:
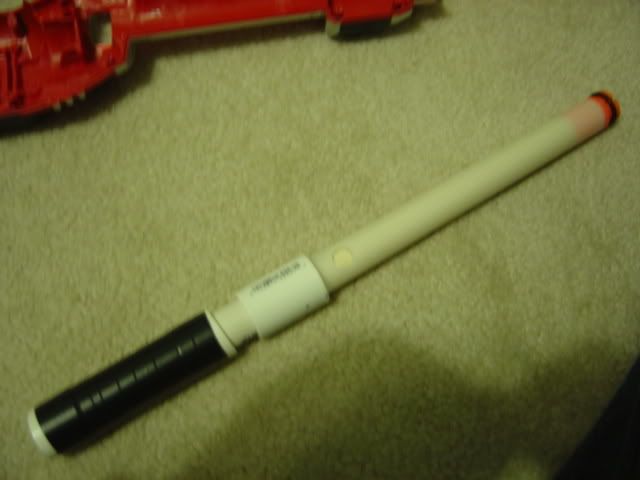
This is the pump handle I fabricated. It is a combination of 1/2" CPVC, 1/2" PVC, 3/4" PVC, and a 1/2" PVC Coupler. there is a longer length of CPVC on the inside of the tube, while the Coupler attaches on the outside. The PVC serves as the handle.
It's essentially a piece of 1/2" PVC hammered into a piece pf 3/4" PVC, with a piece of 1/2" CPVC hammered into the 1/2" PVC. The Coupler attaches the 1/2" PVC to the original handle, and the CPVC goes inside the original handle for extra stability. This is all plumber's gooped and superglued together.
To keep the pump from being pulled all the way out of the case when you try to pump it, you need this:
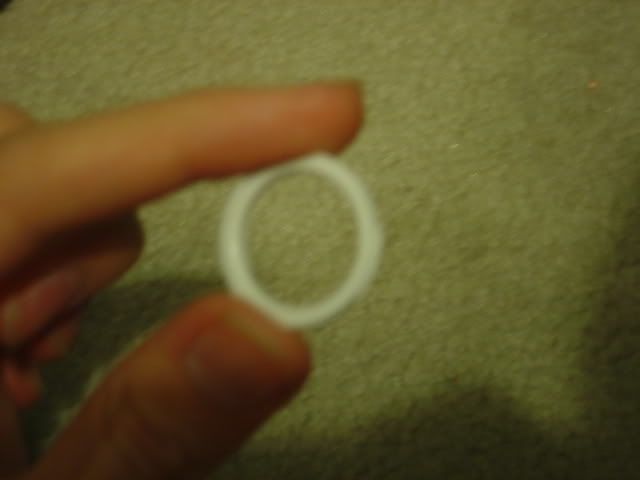
It's a sliver off of a 1/2" PVC coupler.
Place it here:
And it keeps the pump handle from coming out. (The O-ring hits it before the pump handle can be pulled all the way out of the case.)
Final Assembly:
Here's another picture of what the internals should look like before you close it:
When you get it together, it should look like this:
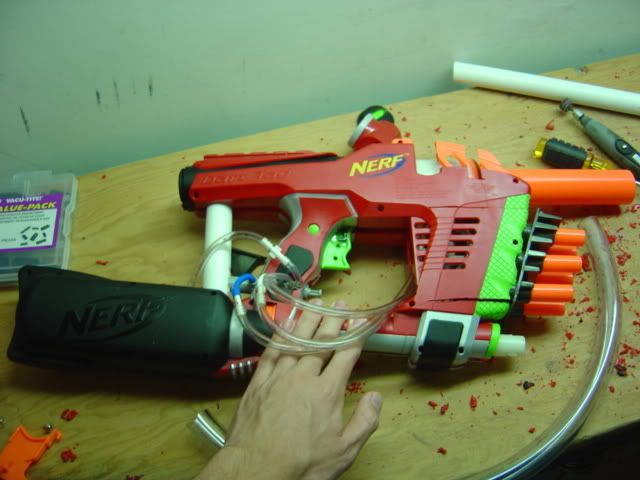
Now that you have the gun together, you should notice a few things. First, you have a gauge sticking out the top and flopping around. Here's how I fixed that:

That is a piece of a 1/2"PVC elbow.
Second, the Hornet Assembly is a little loose, and tends to droop downwards a little.
Here's the easiest way to solve that:
You can see where I added about 6-7 small zip ties tied together and looped them around the top ridge of the hornet assembly, and through the odd vent holes in the side of the magstrike. This does a good job of keeping the hornet in place.
Finally, slap a paintjob on it, and you're done:
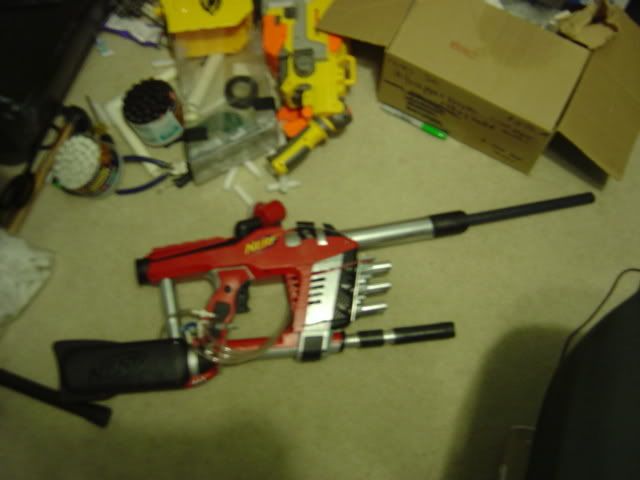
Just add your preferred titan barrel, and barrel the hornets if you wish.
The finished product takes 20 pumps to fill to the highest point on the pressure gauge.
The ranges are standard for both guns.
Overall, I am very happy with this gun. It came together beautifully.
Thank you to everyone who helped along the way.
Any questions?


