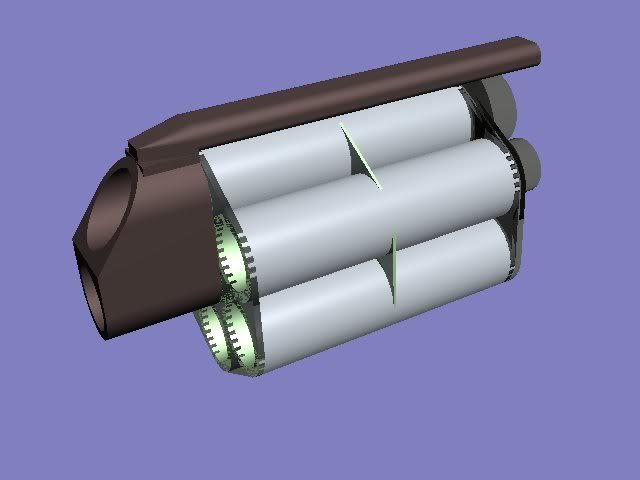

Required Materials:
Titan Pump and Air Tank
Longshot frontgun handle
2 half inch PVC elbows
2 half inch PVC tee connectors
2 half inch PVC 45 degree couplers
1 half inch PVC end cap
1 half inch PVC coupler
1 one inch PVC coupler
1 inch and a quarter PVC coupler
1 inch and a quarter to half inch PVC coupler
About 5 feet of half inch PVC
15 inches of one inch PVC
About 15 inches of quarter inch vinyl tubing
18 inch length of PETG (I use OMC’s stuff for mine)
3 one-eighth inch bolts
Electric tape
Rubberized Craft foam
Hot glue, about 3-5 sticks
Very thin copper wire
Tools:
PVC Cutters saw, or Table saw
Flathead screwdrivers
Dremel and cutoff wheel
1/8 inch drill bit
One very fine drill bit
Power drill/ Drill press
Metric and imperial ruler
Hot glue gun
Exact-o knifes
The Body:
1. You need to cut the PVC into the following lengths:
2) 7.5 inch
2) 6.5 inch
4) 1 inch
1) 4.25 inch
1) 3 inch
2. Cut the half inch coupler in half and push one half on both the 7.5 inch lengths.
3. Attach the tees next in line and the 6.5 inch length to the other end.
4. Attach the elbows to the end of the 6.5 inch length facing the same direction as the offshoot of the tee connector.
5. Line up the two identical pieces and glue them together at the couplers and bind the 6.5 inch lengths together with a wrap of electrical tape.
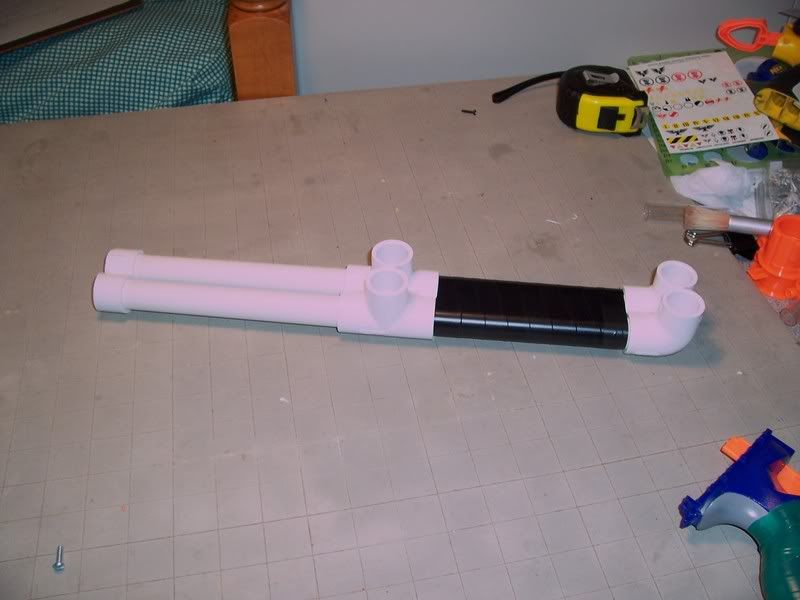
6. Attach the two 45degree couplers to both ends of the 4.25 inch length and attach the 3 inch piece to one of the couplers.
7. Put all of the one inch pieces into the open spots on the Tees and elbows.
8. Attach the end cap and other end of the open 45degree coupler to the 1 inch pieces in the elbows.
9. Drill two small holes in the orange area on the top of the LSFG handle big enough to fit the wire.
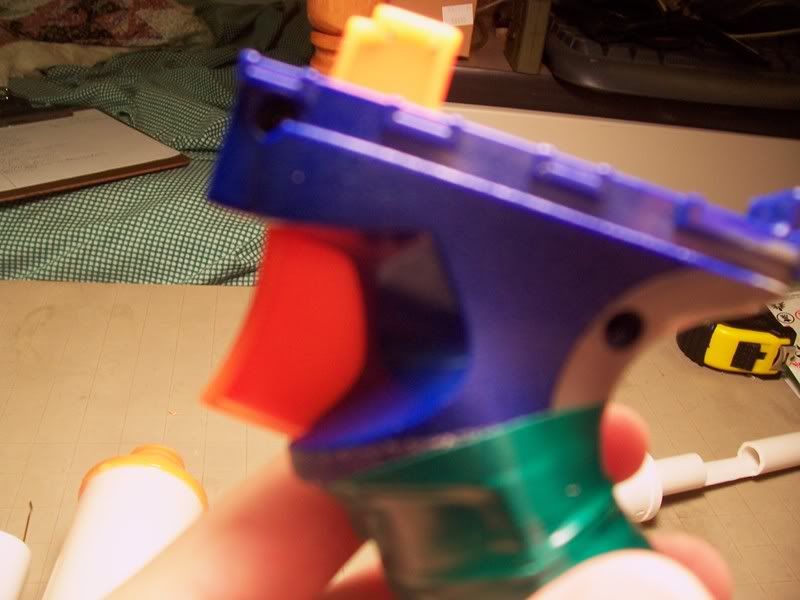
10. Inject hot glue into the nozzle that leads straight forward from the pump and the one the takes a 90degree turn out of the air tank and cut down to the beginning of the threads and compress to hold glue in.
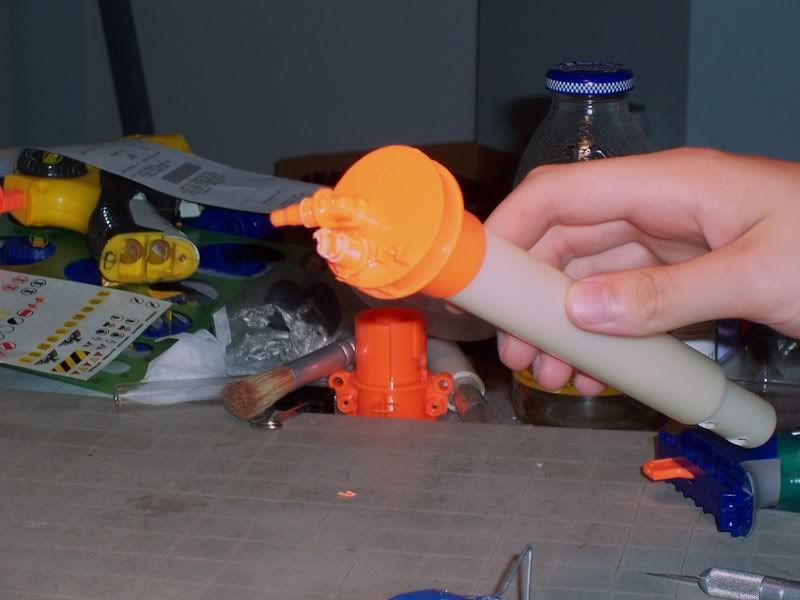
11. Glue the air tank to the bottom on the 7.5 inch part of the PVC Body with the sealed off nozzle facing upward and the other one on the right side when you look at it from the bottom.
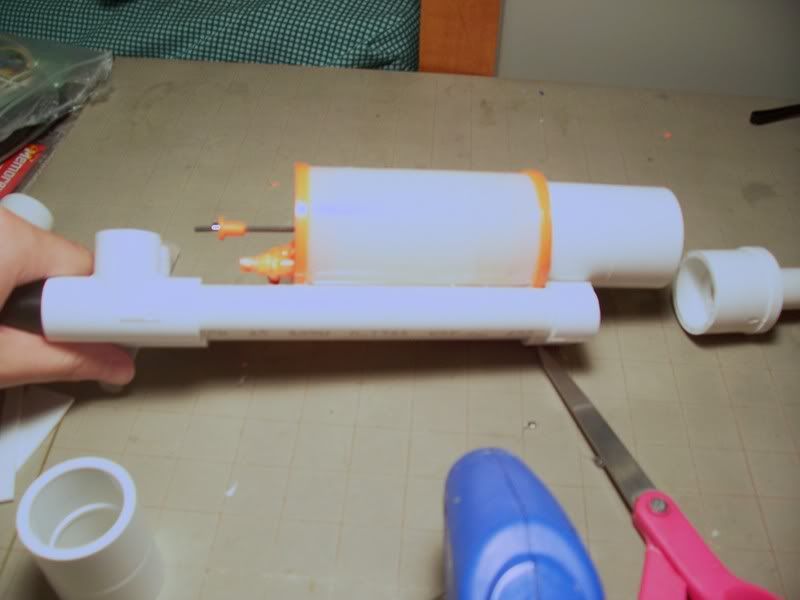
12. Cut off the air restrictors on the front of the air tank and glue the 1 ¼ inch coupler centered over the valve.
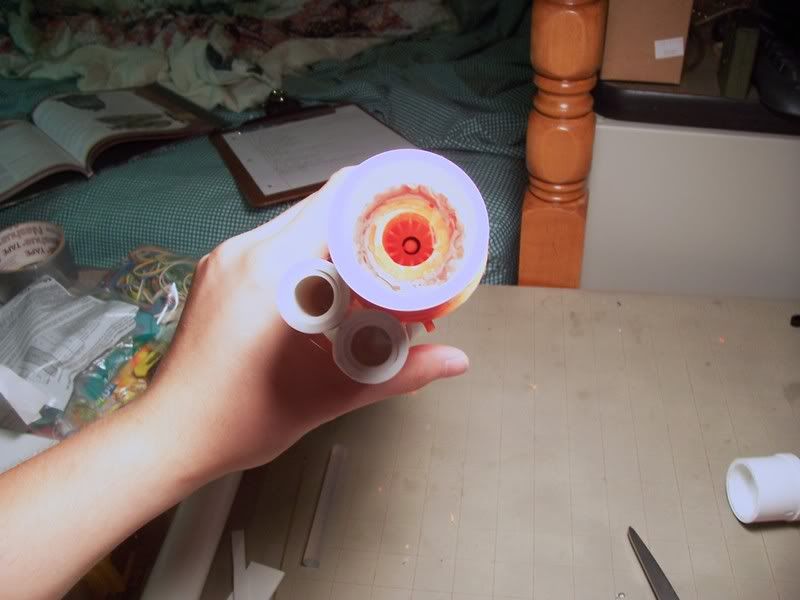
13. Glue the handle so that the handle is directly below the body of the gun and the top of the trigger is touching the pull rod at the back of the tank. Make sure the back of the handle is secure to the tank and the 2 one inch PVC parts coming out of the tees and the bottom is secured to the stock. You may have to cut the PVC to fit.
14. Lace the wire through the holes in the top of the trigger and around the pull rod. Twist with pliers to tighten and cover in hot glue.
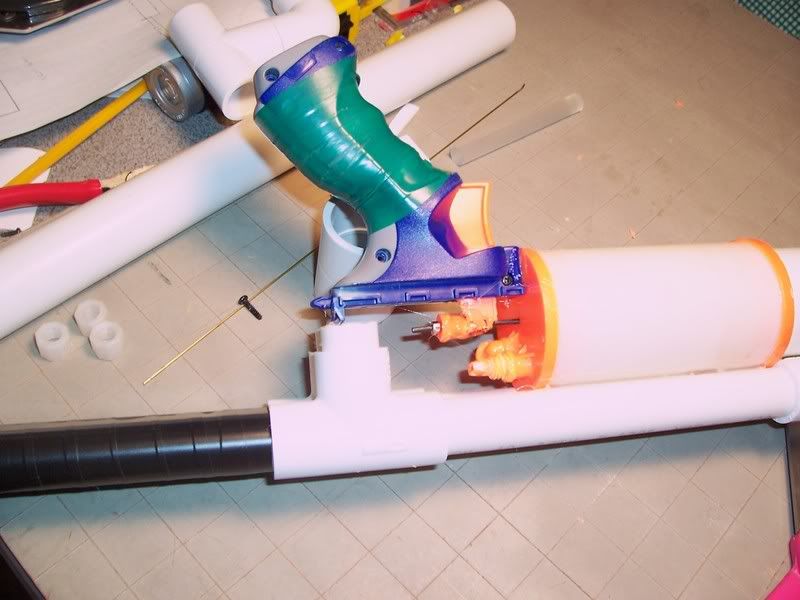
15. Drill a large enough hole in the back of the tee connector that is opposite the nozzle leading out of the air tank so that the tubing can be run through the hollow of the body to the front of the gun.
16. Glue the pump on the side of the gun in the joint between the air tank and body with the open nozzle facing inward towards the tubing making sure it is very secure.
17. You are done
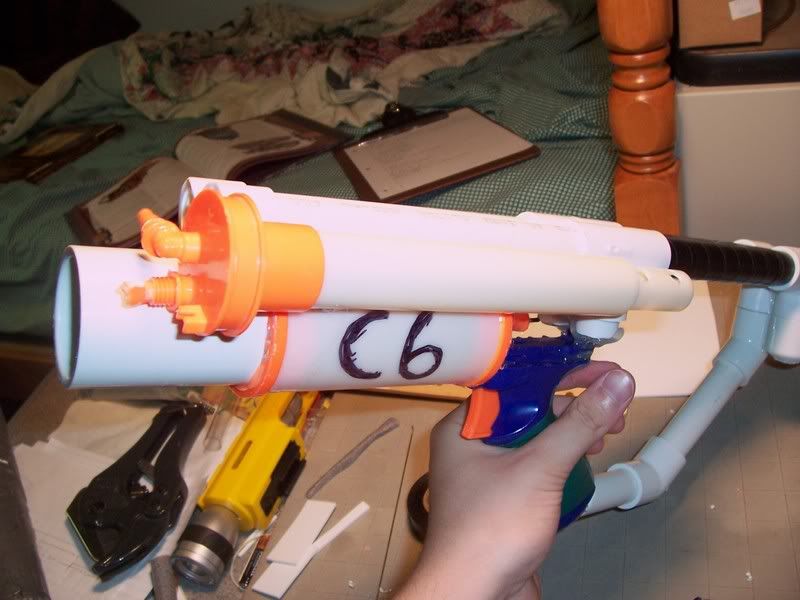
Now take out your Metric Rulers kids.
The “Long fang” Barrel assembly:
1. Cut a length of half inch PVC to 18.7cm long and cut off half of a 4.7cm from 6.5cm in to 11.2cm and taper all the openings.
2. Push the end that you measured from into the 1.25-.5 inch coupler. Be careful not to snap the pieces.
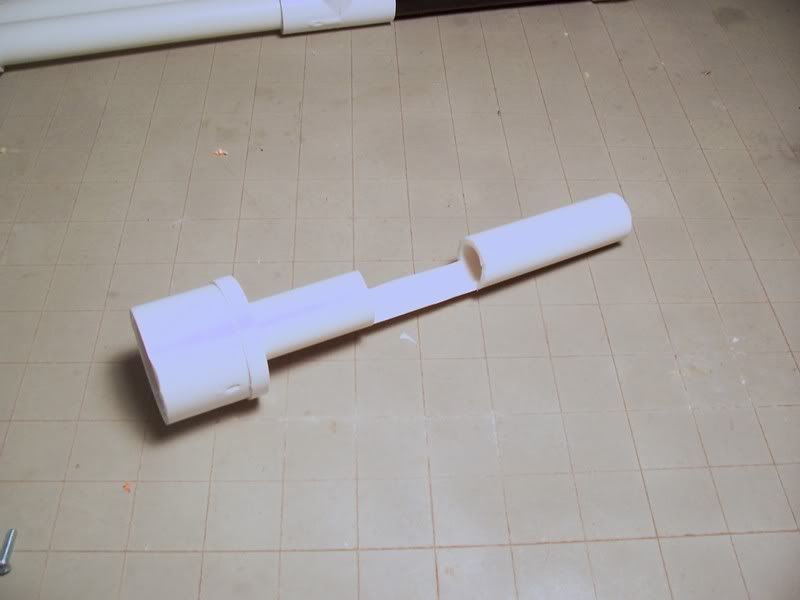
3. Wrap a piece of craft foam around the base and top of the half inch PVC.
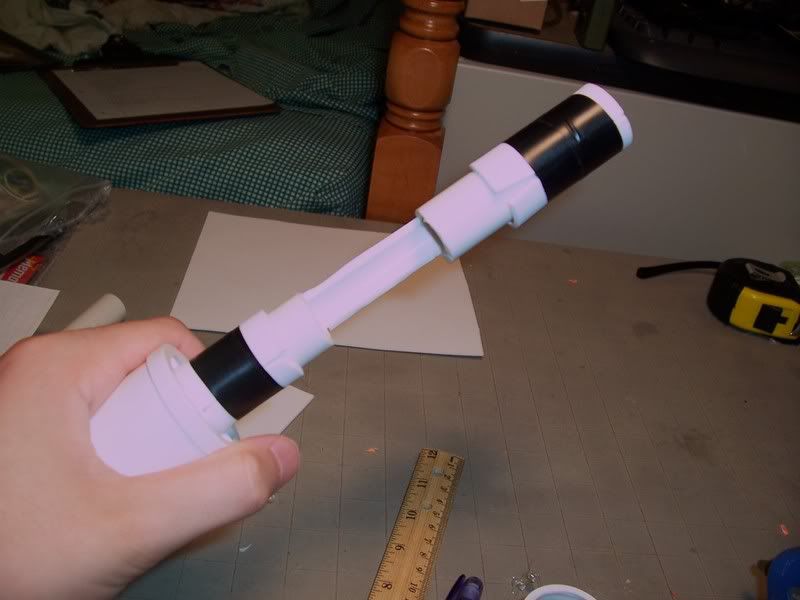
4. Cut a length of one inch PVC to 15inches long and cut out an opening that is 8.1cm long and starts 3.2cm in from the base. Make this opening at least wide enough to fit two darts wide but no wider than half the pipes circumference.
5. Drill a hole directly through the pipe 18.5cm from the base of the tube.
6. Drill a hole directly through the pipe 5.6cm and in a straight line down the tube from the first hole.
7. Using a cutoff wheel make two lines between the holes. (These are supposed to be straight lines that are going to be used as guild lines for the pump so they have to be big enough to allow the bolts to slide through with no friction.)
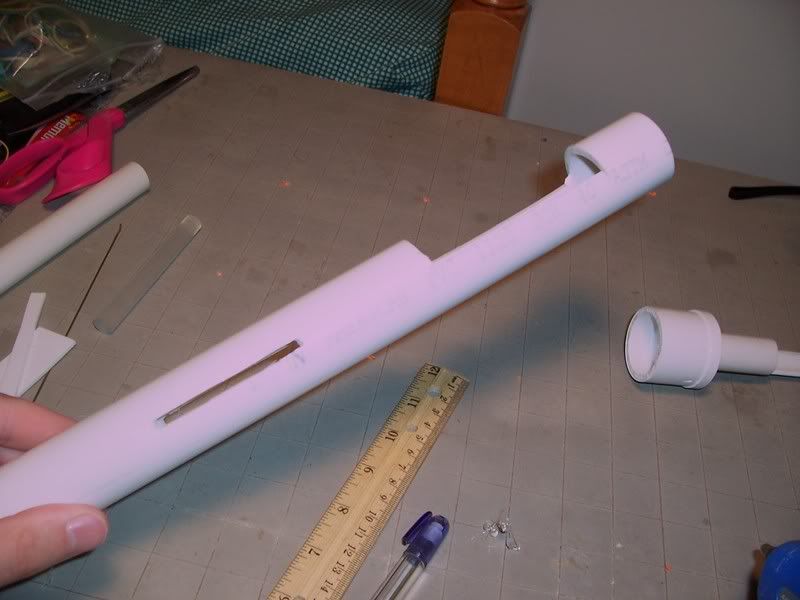
8. Using the cutoff wheel shave down the inside of the one inch coupler so that it slides easily over the pipe.
9. Cut a 5cm long opening in the PETG 6.5cm from the base of the barrel. Don’t remove more than enough to allow for a round to fit in.
10. Rap electrical tape around the barrel a few times on either side of the opening that will act as seals when it is placed in the barrel. (So make sure they will easily slide in and out of the half inch PVC.) Also place another rap at about 14.5cm that will fit the PVC snugly.
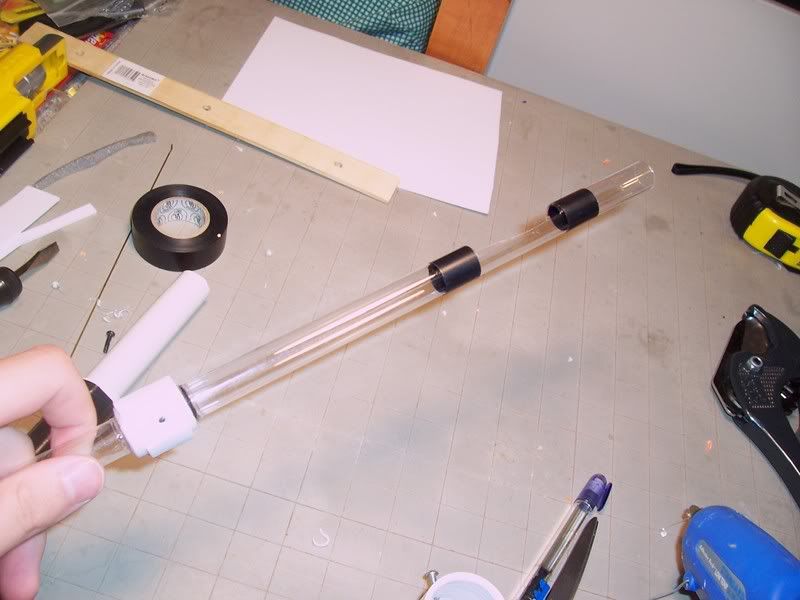
11. Cut a ¾ inch piece of half inch PVC and drill a 1/8th inch hole through it.
12. Glue pieces of craft foam on the small piece of PVC that doesn’t cover the holes.
13. Glue the 15inch long piece of 1 inch PVC pipe onto the base so that the openings overlap.
14. Place the small piece of half inch PVC on the barrel and place the barrel in the assembly.
15. Rotate the barrel until you can line up the holes in the small piece of PVC with the two guide ways. When the PVC is lined up lock it in place with a bolt and rotate the barrel until the breach is facing outwards.
16. Slide the 1 inch coupler over the barrel and line up the holes and then screw in the bolts. Slide the Coupler back and forth to make sure the breach completely closes and opens.
17. When you adjust it to allow the breach to open and close properly unscrew the bolts and remove the PETG barrel and glue the small PVC piece to the barrel.
18. Cut a 5 inch long piece of half inch PVC wrap craft foam around the bottom two inches of the piece and wrap that with enough electric tape to fit snuggly in the one inch PVC.
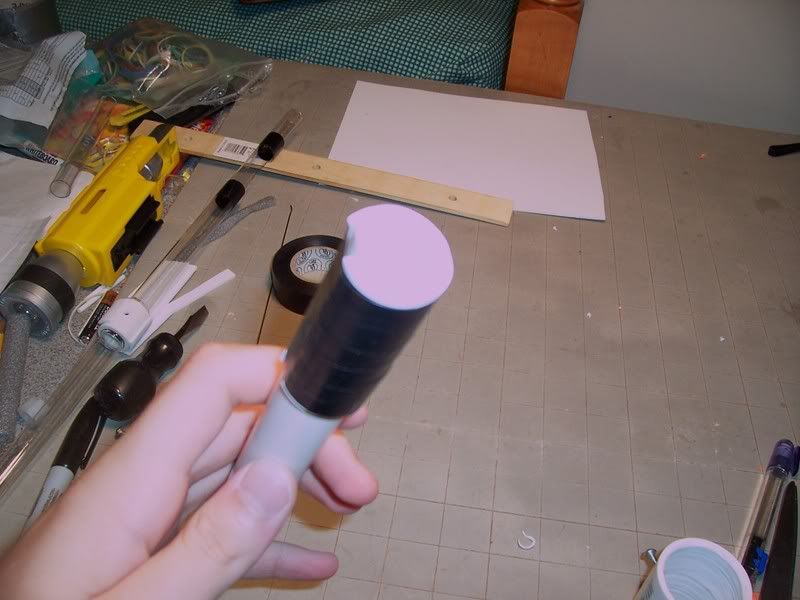
19. Reassemble the barrel and slide and place the 5 inch piece in the end to protect the PETG barrel.
20. You are done
You need to make sure that every piece of PVC is clean and dry before assembly. Also make sure you store the Barrel assembly in the closed position.
Edited by Fenixharth, 22 August 2008 - 02:00 PM.


 This topic is locked


