Like everyone else, I was inspired by the brilliance of CS’ Plusbow, and I find the bulbous, ten-dollar practicality of Carbon’s SNAP series to be a perfect platform for simple, solid designs. Thus, I set out to build a SNAP variation that used the +bow as inspiration—not directly, of course, but rather as a stylistic inspiration for a new kind of SNAP. The primary commonality between the +bow and my SNAPbow is the spring (McMaster part # 9637K26); the entire blaster is built around this rather vicious spring. The first step is to make the receiver. Take a 1¼” T fitting, drill a 5/8” hole in the center of the closed side of the fitting, and lightly dremel it out until the ½” CPVC plunger rod slides easily through the hole. Be sure that the hole is not so large that the spring (which fits perfectly around the ½” CPVC plunger rod) can fit through. Then, glue a stub of ½” sched. 40 PVC into a 11/4” by 1/2” bushing, and screw/glue a ½” sched. 40 elbow to the stub, and jam the whole assembly into one end of the T. Take a 11/4” plug, and glue a standard Boltsniper-type handle (sans sanding) onto the plug, then jam the assembly into the opposite end of the T. Drill a pilot hole into the end of the T that will receive the pressure chamber. Your receiver is complete. Photo of the receiver and plunger:

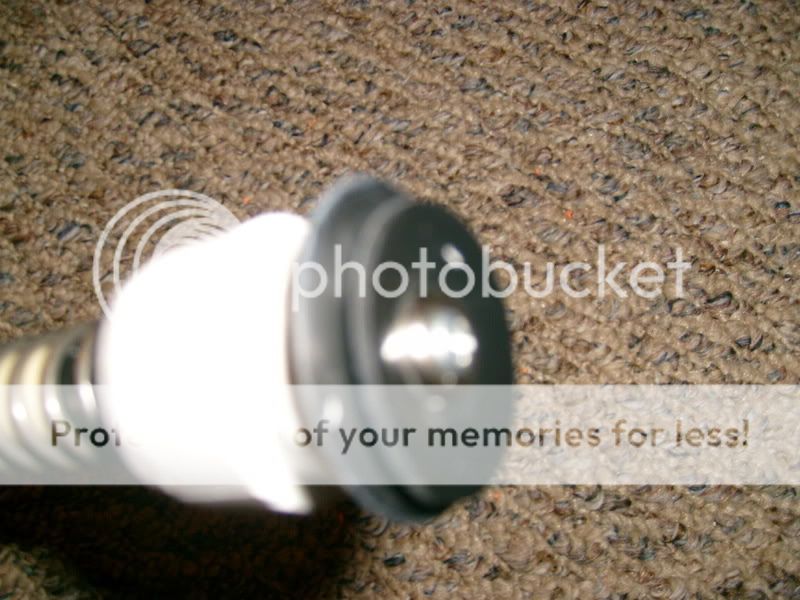
To make the plunger, drill a 5/8” hole in the center of a ¾” endcap (curved). Jam a length of ½” CPVC through the hole, drill a 1/8” hole in the end, and put a cotter pin through the hole, wrapping it around the pipe. Cut a ¼” ring from the end of the endcap. Then, jam a ¾” plug into the endcap. Stack a #8 finishing washer, a 3/16” ID by 11/4” OD by 1/16” thick rubber washer, a 3/16” ID by 11/2” OD by 1/16” thick rubber washer, and a 3/16” ID by 1” OD fender washer on a sheet metal screw, drill a pilot hole in the center of the ¾” plug, and screw everything down; basically, it’s Carbon’s washer setup, with an extra washer for padding, and it's simplified (using only 2 PVC parts).

Now, on to the pressure chamber. First, take a length of 11/4” pipe, and cement a coupler to the end. Cement a 11/4” by ¾” slip by thread bushing into the coupler. Then, screw a ¾” by ½” slip by thread adaptor into the end of the bushing. (for CPVC barrels, you can glue a stub of sched. 40 that has been ground down to the correct ID into the adaptor; by using the threaded bushing you can switch out adaptors and barrel sizes). Then, slide the spring over the plunger rod, and run the plunger rod through the hole drilled in the back of the T. Cut the plunger rod so that approximately 11/2” protrudes through the back of the receiver. Cap it off with a T, drill a hole through both, run a cotter pin through all layers, flare it, and clip the ends. Snug the spring against the receiver, and cut the pressure chamber to length—just long enough so that the plunger head fits snugly against the back of the bushing, with no rattling (I cut mine long, then trim it bit by bit until the length is perfect). Ignore the rear hole; it is a result of bad drilling.

For the trigger, the normal SNAP setup will not work—more properly, it will, but only after extensive beefing up. Instead of a regular clothespin, get the ones that are labeled “industrial strength” (I got mine at Wal-Mart, right beside the regular version). The industrial-strength version is made of a stout, flexible plastic (nylon?), and they have an internal brace to prevent splaying. Proceed as normal, but fill the hollow end of the clothespin (yep, the ends are hollow) with hot glue. Flatten it out. This will allow the pin to snug up against your pressure chamber (discussed next). I use a roofing nail that has been cut just behind the point where it starts tapering as a catch. The best demonstration of the trigger placement is with a photo:

It's about halfway between the edges of that part of the T fitting.
Now, line up the pressure chamber, and drill a ¼” hole in it where the nail meets the pressure chamber wall. Glue a small tab of scrap PVC to the pressure chamber, just ahead of the hole. This braces the trigger, keeping it even. And now: Reinforcement! Even with the larger clothespin, the trigger will not retain the plunger as-is; the spring is simply too powerful. To reinforce the trigger, take a couple of rubber bands, double them up, and slide them over the trigger. Now the trigger will retain the plunger, and stay snugged against the tab on the pressure chamber. The blaster is now functionally complete.

11/2” PVC makes a great trigger guard. Make a stock, plug it into the receiver, attach the pressure chamber to the receiver via a sheet metal screw or 2, add a barrel, and…

It’s cheap, comfortable, ultra-simple, and costs roughly 10 dollars to make. Plus, all systems are repeatable and modular. It breaks down into stock, barrel, and blaster with no tools, and when broken down, I can easily fit 2 into a backpack. Ranges are quite good: 110-120 feet flat, using micros and 12” of CPVC. Feedback would be most appreciated. Thanks! ~Rork
Edited by rork, 03 August 2008 - 11:54 PM.


