Jump to content


WicketTheModder619's Content

There have been 102 items by WicketTheModder619 (Search limited from 21-January 97)


By content type

See this member's


Sort by                Order  

#293358 Spring-powered Water Gun Modification

Posted by WicketTheModder619 on 25 January 2011 - 06:22 PM in Modifications

Well, it's late by a day, because my camera died right before the pictures finished, but here you go:

Posted Image
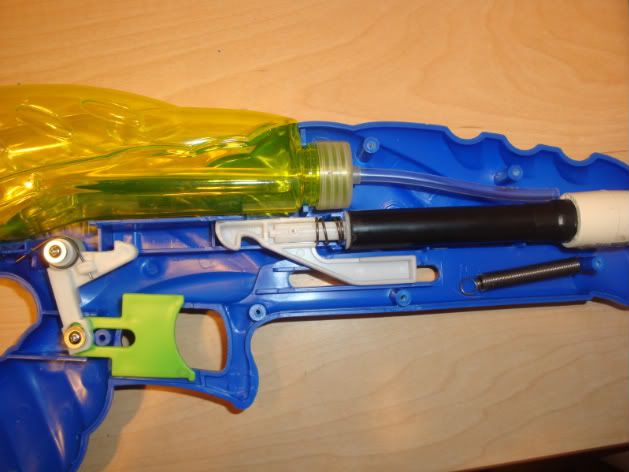
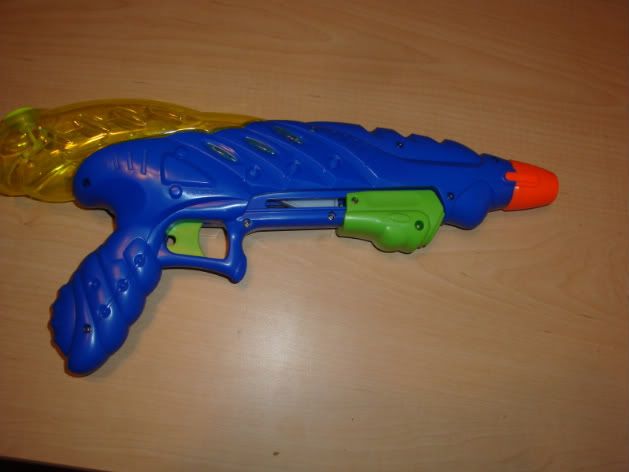
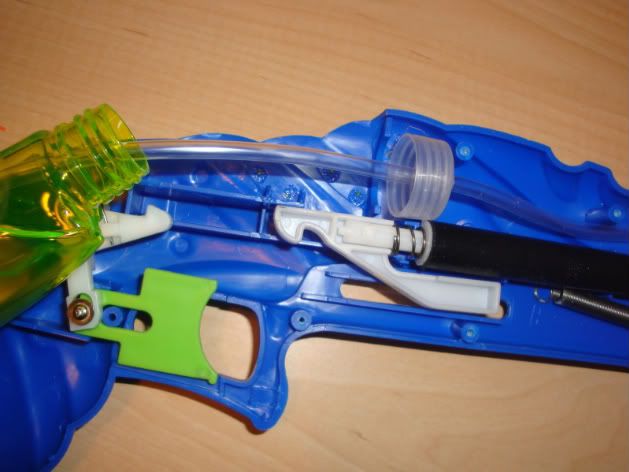
Open your gun up and pull the plunger assembly out. Unscrew the catch piece and then pull out the plunger rod. Keep the plunger rod, spring, and catch piece, but you can toss the plunger tube and whatever else you attached to it out.

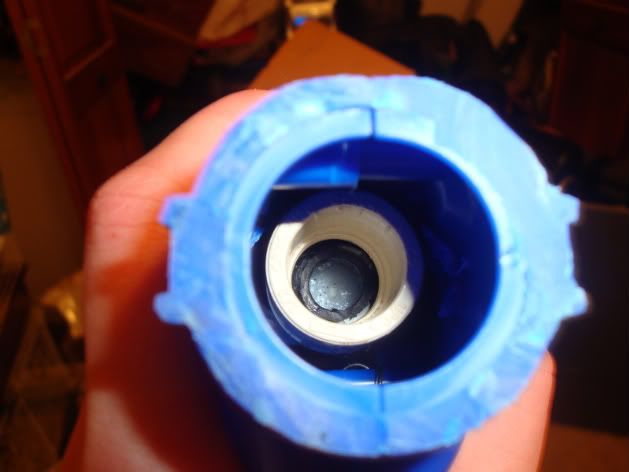
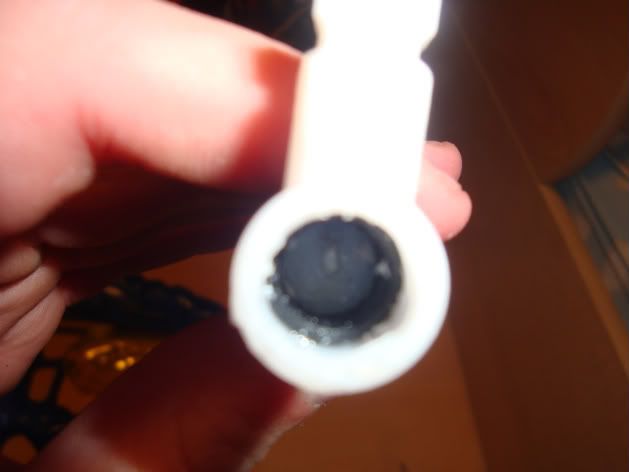
Next, pick out your plunger tube and plunger head. I opted to use a DTB plunger head and plunger tube, and I probably could have made it work, but I had some issues. Instead I used the plunger head and 3/4 inch thinwall pvc for the plunger tube. You have to add some e-tape under the o-ring to get a good seal and don't forget to add some lubricant.

Posted Image
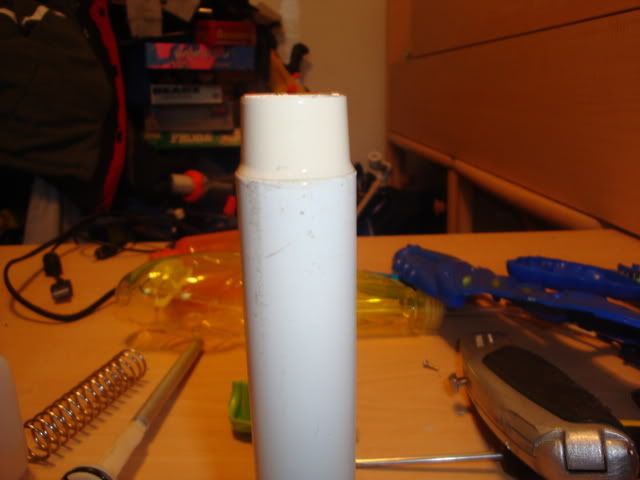
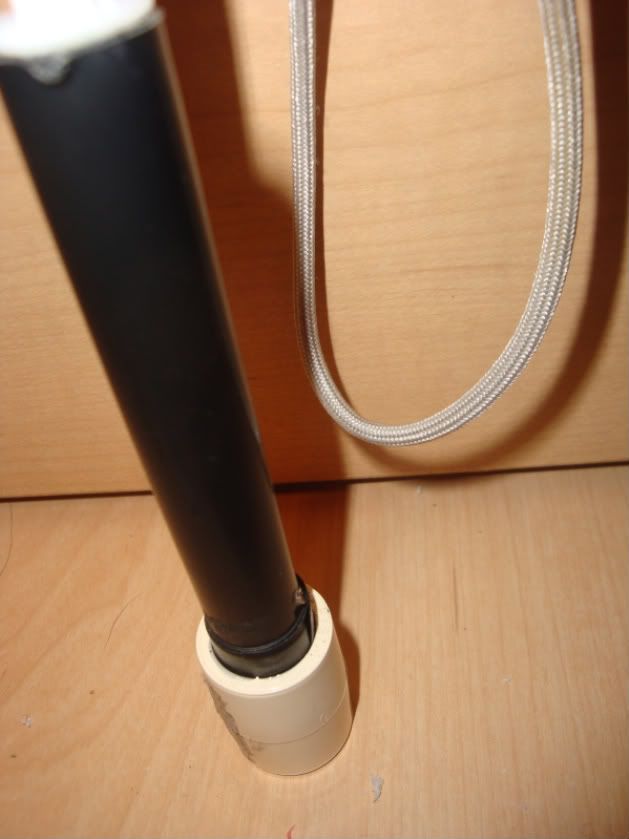
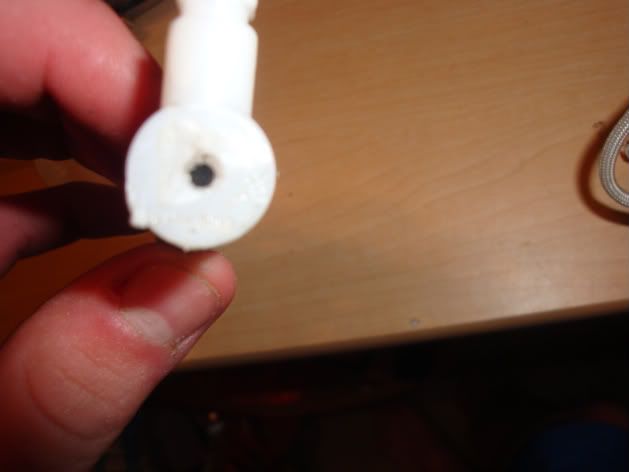
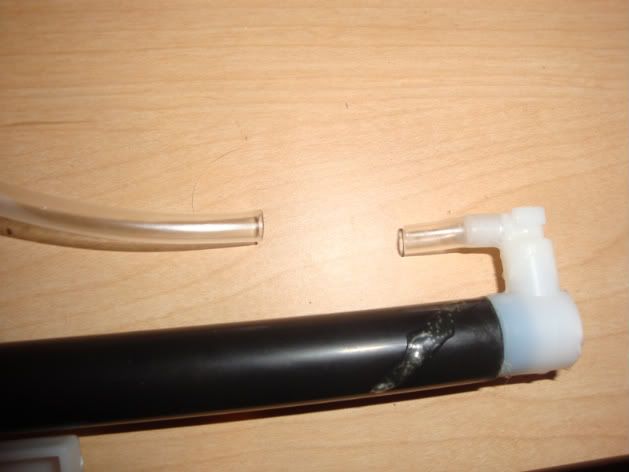
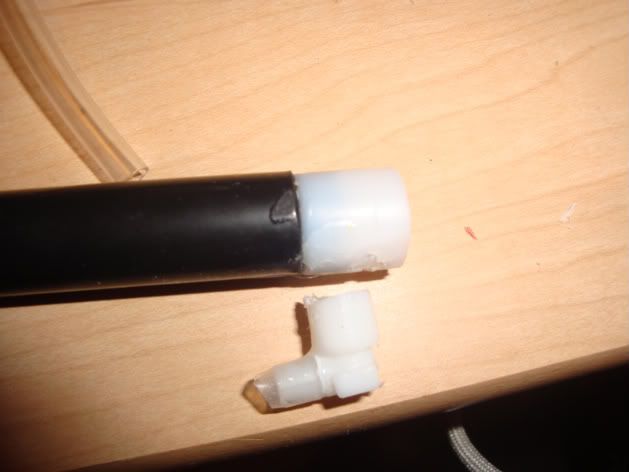
If you want this set-up also, cut a 5 and 1/2 inch piece of 3/4" thinwall. Grab a cpvc coupler and literally just slide it in. The ridge on the outside of the coupler stops it perfectly, so apply your glue there. I used super glue.

Posted Image
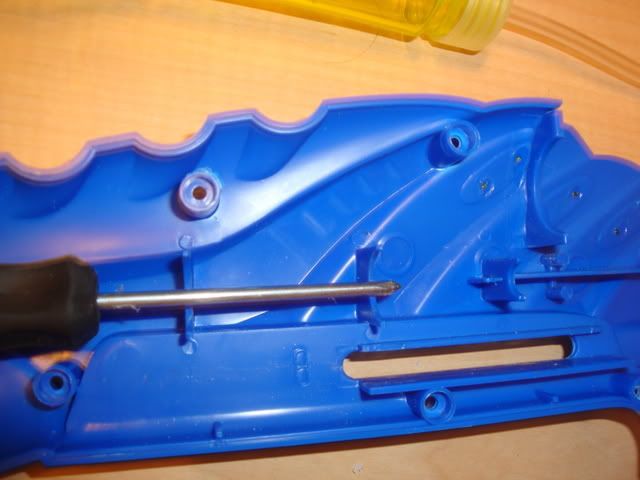
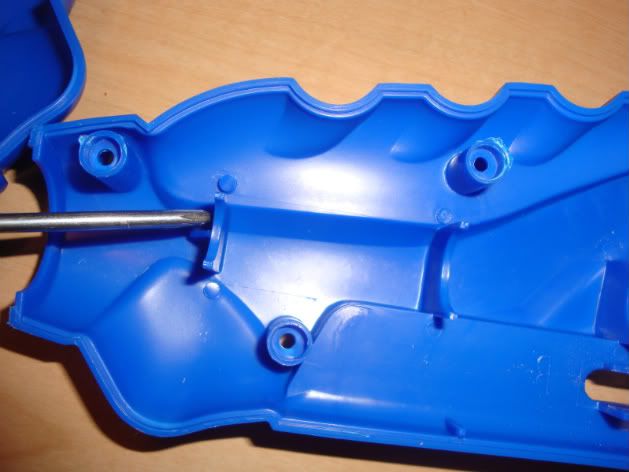
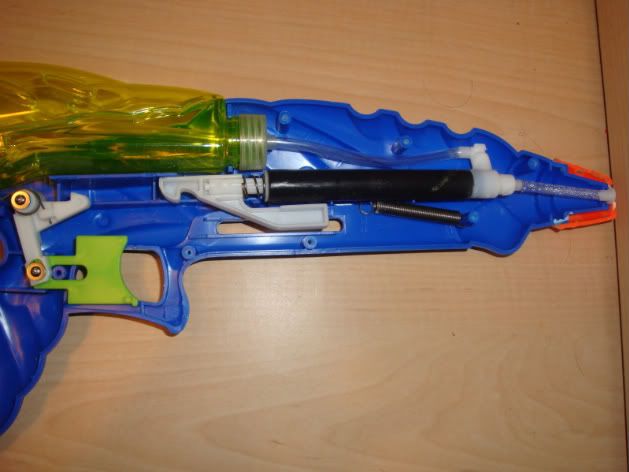
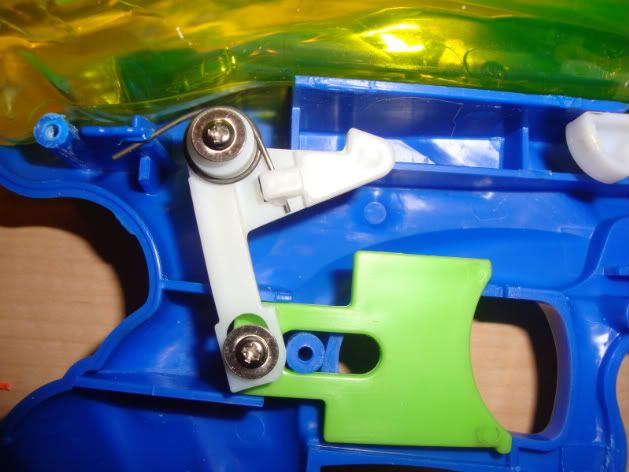
We'll need to get rid of the 2 ridges that the screwdriver is touching on BOTH sides of the shell for our new plunger tube to fit.

Posted Image
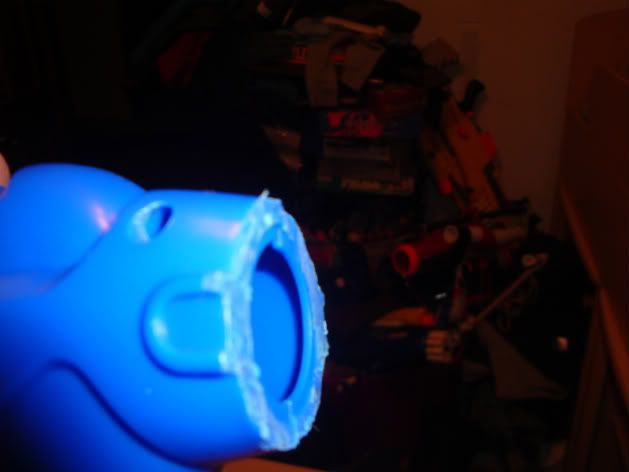
Also eliminate the front screw port on BOTH sides of the shell.

Posted Image
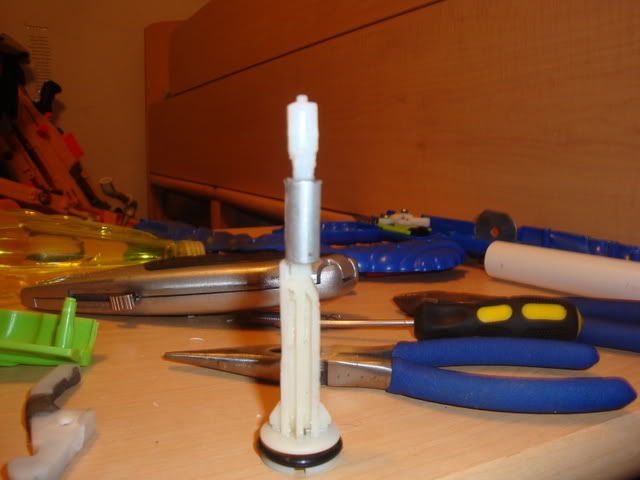
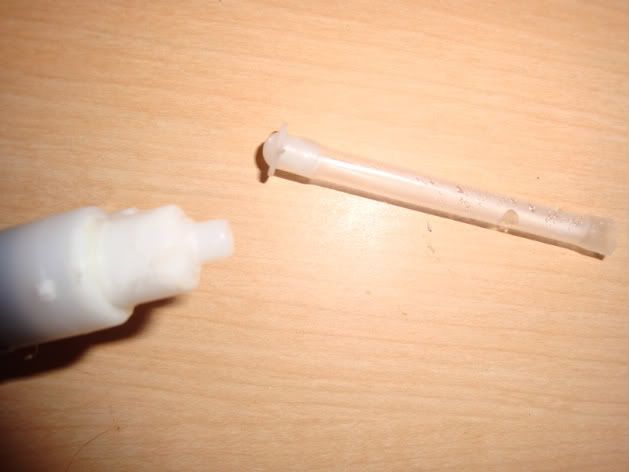
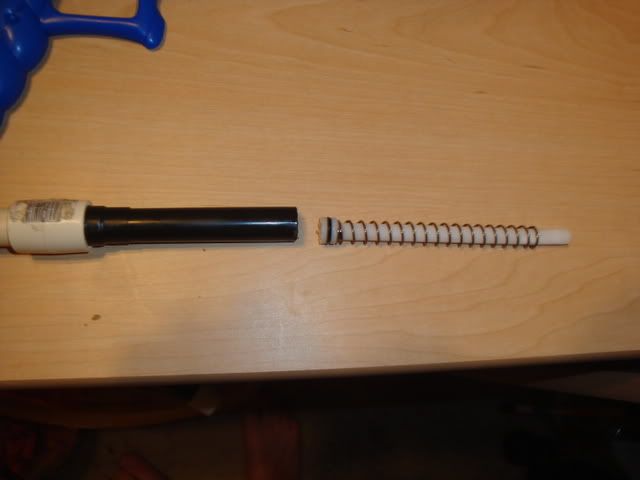
Now we will need to work on our plunger rod. You need to strategically cut the DTB and stock plunger rods so that the stock part can still hold the catch piece, and after we add our 1 and 1/4 inch of steel tube(3/16ths I believe), and that the whole thing is long enough to reach the catch. So measure several times.

Posted Image
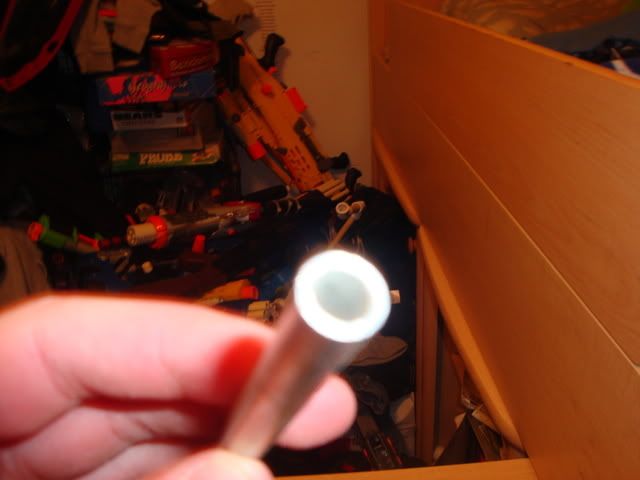
The steel tube is the barrel from a broken airsoft gun.


#293272 Spring-powered Water Gun Modification

Posted by WicketTheModder619 on 23 January 2011 - 08:34 PM in Modifications

Part 2 is done. I am working on the write-up and it should be up tomorrow after I get home.


#293259 Spring-powered Water Gun Modification

Posted by WicketTheModder619 on 23 January 2011 - 04:08 PM in Modifications

Posted Image
Wrap the section where you cut off the elbow in 2-3 layers of e-tape, cover it in super glue or goop and jam your coupler on. Allow this to dry for awhile.

Posted Image
While your glue dries, cut the shell down like so.

Posted Image
Also, eliminate this tab on both sides of the shell so our coupler will fit.

Posted Image
Screw the catch piece back on to your plunger rod, screw the water tank back in for looks, and reassemble anything else you took out. Also, put half of the priming handle on and loop that spring over it. Reassemble and screw everything together.

Posted Image
Here is an view of the coupler.

Stick a barrel in and shoot someone. With a short barrel I am getting 15ft flat! The next step is improving it, so stay tuned for Step 2.


#293258 Spring-powered Water Gun Modification

Posted by WicketTheModder619 on 23 January 2011 - 04:07 PM in Modifications

This Is my first write-up, and I hope you guys like it. I found this in the pool section in Walmart for only $3 and thought I would give it a try. The spring in it is pretty strong, but the plunger tube is super tiny. And here we go......

Posted Image
Here is the what the gun looks like.

Posted Image
Following the lines of the gun, cut the orange cap on the front so you can get it open. Unscrew the screws and your in.

Posted Image
Overview of the internals.

Posted Image
Close-up of the trigger.

Posted Image
Unscrew the Yellow water tank from the clear cap. Lift the plunger tube assembly and tubing out of the shell, but leave the spring and trigger assembly in there. Set the shell aside and let's get to work on the plunger.

Posted Image
Saw the nozzle off of the front, and then pull the small metal ball out.

Posted Image
Just look how tiny that hole is. Let's sand it out for more airflow.

Posted Image
I widened it out to this large, but go as big as you want.

Posted Image
Cut the tubing around here.

Posted Image
Cut the plastic elbow off of the plunger tube.

I didn't take any picture of the plunger or plunger rod, but you need to unscrew this piece-
Posted Image
And then just pull the plunger rod out. The rod is really thin, but durable. The spring is pretty strong, is around 3"-4" long, and has a small diameter. And don't even get me started on the plunger tube, it's ID is less than 1/2 inch cpvc.

PICTURE LIMIT! DON'T POST YET!


#292867 Community Snap Thread

Posted by WicketTheModder619 on 15 January 2011 - 03:18 PM in Homemades

Instead, I would build a Snap mk.5. It is by far the simplest and cleanest basic snap design, and it will use a [k26] perfectly.


#292588 Finally

Posted by WicketTheModder619 on 10 January 2011 - 10:40 PM in Off Topic

Tough break....I hope you get to breathe soon. Anyway, congrats on the new job and the kids.


#292308 Cpvc Couplered Nf

Posted by WicketTheModder619 on 05 January 2011 - 10:39 PM in Modifications

Clean and to the point, good job Blue. I have a 1st Gen that I couplered the same way. I even minimized it in the same fashion.


#292100 Illinois Foam Fest Six

Posted by WicketTheModder619 on 02 January 2011 - 08:08 PM in Nerf Wars

Cool, go ahead and put me down with one guest. And no, I will make sure that my guest little brother doesn't come again. It will be good to nerf with Demon Lord and Y-brik again. Same to you ACE and Noodle.


#292080 Community Snap Thread

Posted by WicketTheModder619 on 02 January 2011 - 04:52 PM in Homemades

I just hot glue it on, and then attach it with 2 4inch zip ties. The hot glue just holds it while I position the zip ties, but even so, the hot glue has never broken off on my snaps.


#292072 Illinois Foam Fest Six

Posted by WicketTheModder619 on 02 January 2011 - 01:25 PM in Nerf Wars

Either date works well for me, I'll do my best to be there.


Are you going to drive, or just parkour your way to the war?


#292047 Happy New Year!

Posted by WicketTheModder619 on 01 January 2011 - 11:38 PM in Off Topic

Happy New Year!!!

My resolution is to obtain older blasters and try more outgoing mods.


#291957 Illinois Foam Fest Six

Posted by WicketTheModder619 on 31 December 2010 - 07:48 PM in Nerf Wars

Mark me down as a maybe, I need to wait for my dad's schedule to come out closer to the dates.


#291806 Clip Size

Posted by WicketTheModder619 on 29 December 2010 - 06:12 PM in Modifications

Ok...not really worth it. Also, if it doesn't stick out, how are you supposed to pull it out when you need to reload? The Mods hate these kind of threads by the way.


#291652 Mod Get Togethers

Posted by WicketTheModder619 on 27 December 2010 - 06:58 PM in Nerf Wars

Strange...this really sounds like a mod party, which nerfers do very frequently. And honestly, if they can't mod themselves a gun from all of the write-ups on this site to use at the war, then they probably shouldn't be going. Besides, ever heard of a loaner gun?


#291587 Nitefinder Draw Extension, Plunger Tube Replacement, Etc.

Posted by WicketTheModder619 on 26 December 2010 - 06:01 PM in Modifications

The only thing you might want to include are ranges, and to get a little less blurry pictures of the front.


#291565 Nerf Barricade - Mod Guide!

Posted by WicketTheModder619 on 26 December 2010 - 01:32 PM in Modifications

You really do know a lot about batteries. Anyway, how fast are we talking about compared to AA's? ( volts aren't too expensive and can be found commonly, that is why I thought they would be better.


#291564 Nitefinder Draw Extension, Plunger Tube Replacement, Etc.

Posted by WicketTheModder619 on 26 December 2010 - 01:27 PM in Modifications

Glad to see a tutorial from you. Also, very easy to follow, keep it up.


#291531 The Compleat Stampede Mod

Posted by WicketTheModder619 on 26 December 2010 - 01:22 AM in Modifications

Interesting use of a guitar cable. Nice idea to make the blaster smaller and much lighter, yet still clean. Didn't know there was such a refined method to getting rid of the ar's though, thanks for that.


#291526 Merry Christmas!

Posted by WicketTheModder619 on 25 December 2010 - 11:44 PM in Off Topic

I hope you all had a MERRY CHRISTMAS! I recieved a barricade, furyfire pack, and some other stuff. Hope you all got some new stuff to mod! Also, by making my friend's family members overhauled sspb's, I got 3 more nerfers in my area. My friend also loved his snap I made him.


#291525 Nerf Barricade - Mod Guide!

Posted by WicketTheModder619 on 25 December 2010 - 11:26 PM in Modifications

I am surprised that no one has asked this yet, so I will go ahead and do it. Could the motors handle 9 volts, as in a 9 volt battery? If it would work, it would be alot easier for modders, since they wouldn't have to order batteries online.


#291449 Full Cpvc Clip Accepting Ls Breech

Posted by WicketTheModder619 on 24 December 2010 - 02:15 PM in Modifications

Not meaning to hijack the thread or anything, but I made one of these and thought I would share a little. First off I would like to say, that these are not hard to make. I made mine from a singled longshot I already had, the conversion was pretty simple. I remember there being talk of more powerful springs to get better ranges, so mine has a quadshot and recon spring combo. I am getting ranges of 90-100 ft flat, and I am 14 and can prime it one handed with not too much difficulty. I also made a new method for stefan clips and will have a write-up soon. With these new clips, I haven't had a single jam! You should all make one of these, and credit for mine goes to sodizzle for the concept and write-up.


#291268 Hopper Clip For Stock Tagger Darts

Posted by WicketTheModder619 on 20 December 2010 - 11:17 PM in Darts and Barrels

First off, great job on this! Anyway, you said that it misfired 1 out of 10 shots, did this improve with a barrel extension? If I understand this correctly, wouldn't ranges drastically decrease from the first shot to the last? Since RSCB's do this with stefans, when a tagger which is much longer, is fired, there would be a lot of empty space. Also, is the last shot most commonly the misfire? If the other shots don't go very far, it would make since for the last shot to misfire or not even leave the barrel.