Jump to content


socal

Member Since 04 Aug 2010
Offline Last Active Aug 21 2012 10:40 PM

Topics I've Started

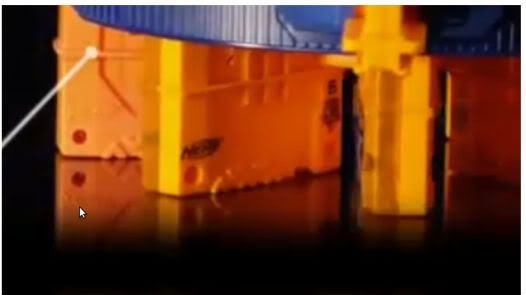
N-Strike elite clips half clear

28 April 2012 - 10:06 AM

So i was watching the Hail-fire video and realized that the 6 clips shown are half clear, for things like 18 or the 12 round mag it would be cool but in a 6 round over half the clip is inside the gun so it kinda kills the point
Posted Image
What are you thoughts on this(I.E. like, hate, don't care)
Edit: im sorry for the double post but i think the sever crapped out when i was trying to post this

Alpha Trooper Massacer Kit review

19 March 2012 - 09:08 PM

Today i got my Massacer Kit for the Alpha Trooper By Orange Mod works(OMW). Please take into mind my blaster is like a year old and is somewhat worn down so many problems i have you may not run into.
This review will not contain pictures or video due to the fact they can easily be found on OMW's site

So to start off I got it in the mail and immediately installed it into my blaster and when i put it back together and tried to prime it, the bolt needed like one mm more of movement(which i could do by reaching in and pushing it from where the jam door was) then the gun would let me, due in part to the age of the gun but mostly the strength of massive 6Kg(or like 13 pounds) spring. I epoxyed the priming bar to the priming handle and tighten the screw holding it to the bolt sled. but that still wouldn't let me prime that last bit. I soon figured out that it was the metal catch that was to hard to move(friction of metal on plastic) and tried the plastic one(with the new catch spring) and now it works fine. More then likely that problem was due the little amount of lubricant i put on it so if your doing this put a decent amount of lub on it.

Now the parts them selves are awesome, I have no problem with them. Its also worth mentioning that to prime it you must do it quickly or it wont catch, but that no big deal for anyone who has use a powerful nerf gun.

EDIT:Ranges are here
Ranges will very for eveone
Flat shots with stock streamlines
First set (for some reason all these darts wanted to dive more then float, and some fish tailed)
44
49
50
57
62
Second set (no fish tails, this was the better set
53
55(worth noteing that it bounced like 10 feet after hitting at 55)
A cluster of 4 around 64 with one about 5 feet to the right.


Pros and Cons
Pros
-Super nice parts
-Very strong of a reverse plunger
-longer life even with the 6Kg spring

Cons
-Not cheap
-Not safe for little kids(but who cares)
-A bit difficult to get working(Other people have not had my problems but still)
-takes a bit to get used to priming it.

Over all I would give it a 8/10 and very its worth it even at $40.
link to there site Here.

Any Question, Comments,etc are welcome

Snap Plunger Head Question

31 January 2012 - 12:53 AM

Im building my first Snap and i need to get a seal in it but non of the 1-1/4 washers i can get right now are the right sizes. The ID is relatively small, because a longshot plunger head wont fit. Is there any things i can do to get a decent seal in it? and help is useful and any other info u need(like ID or whatever) although i don't know why you would need it.

Where do i find barrel spacers?

18 August 2011 - 10:48 PM

Ive used the search function but cant find where they are?

edit: i meant to say where do i find the templets for barrel spacers?

Vulcan battery replacement

02 July 2011 - 04:01 PM

I just got a second Vulcan for 1$ and I decided that I really didn't want it to weigh 8 pounds like it does stock, so I did this mod.
This is in NO WAY an original mod. many people have done this but i have not found a write up of it.
Also you must know how to solder and read all of it before trying
Currently i do not have a charger for this battery so I cant test it out.


Tools

Screw drives
dremel(or something to cut plastic)
soldering iron and solder
Wire cutters

Parts

Vulcan battery tray
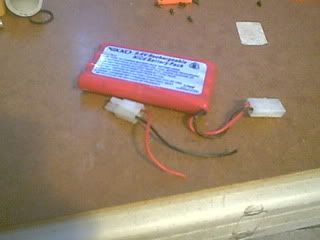
RC battery and connector( you could use a lot of different ones)
I used a 9.6V
Posted Image


Modifying the tray

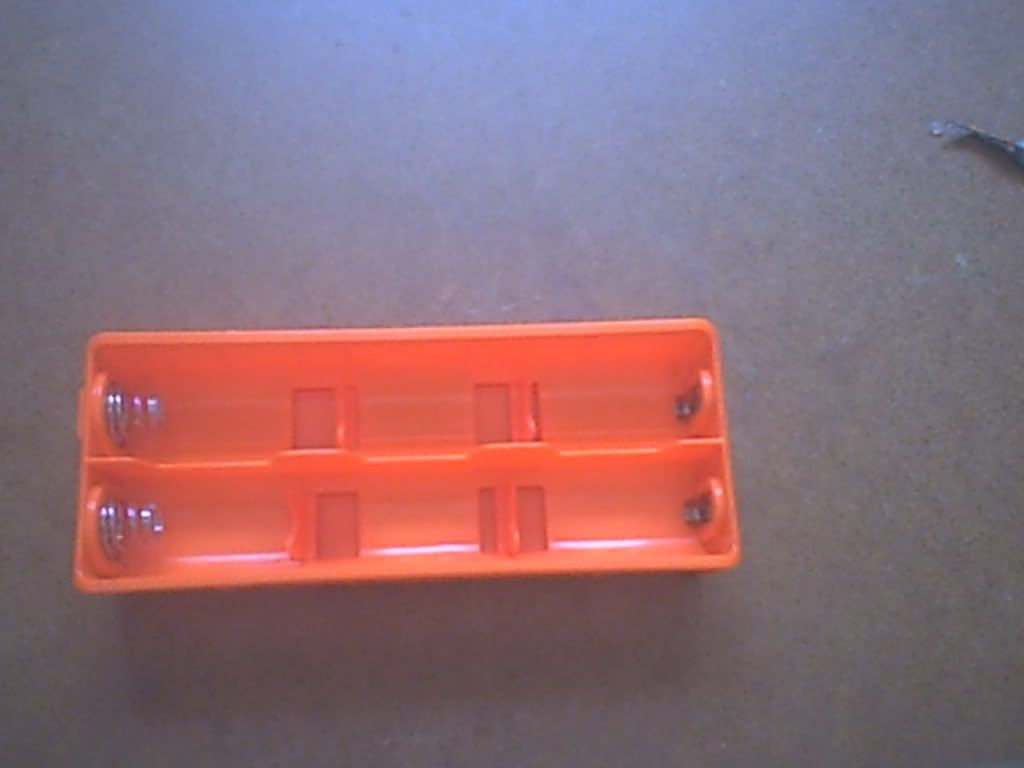
First take the battery tray
Posted Image

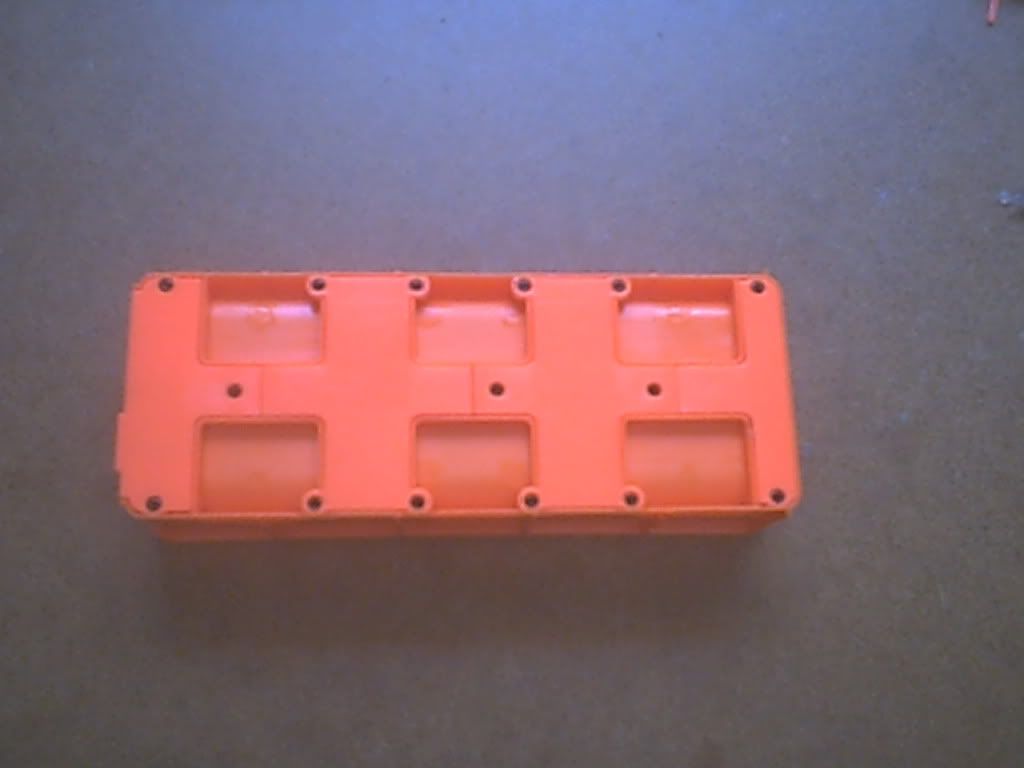
Then flip it over and take out all the screws
Posted Image

When your done it should look like this
Posted Image

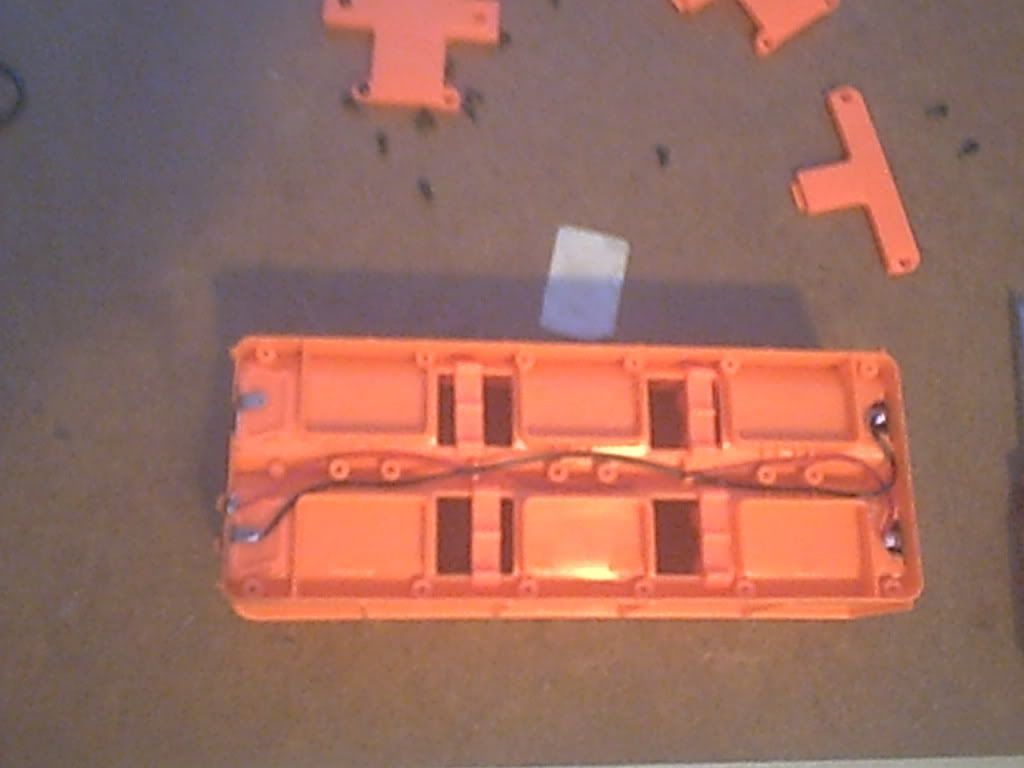
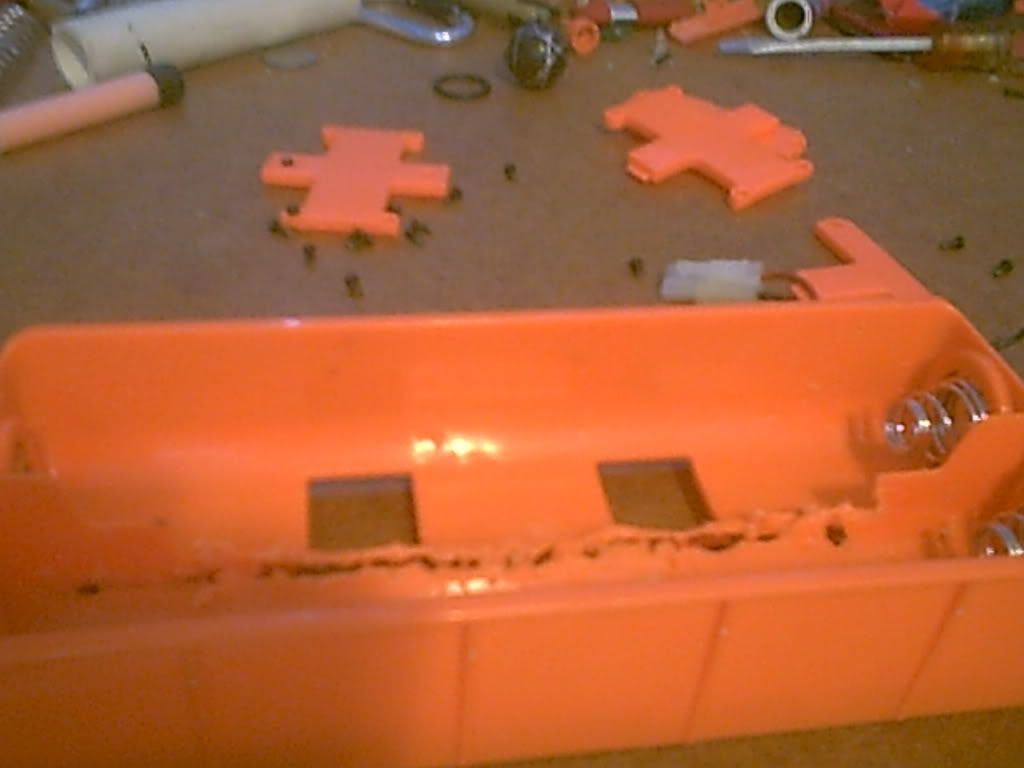
Now dremel away the center so like this so you can fit you battery ( avoid cutting the two wires because you need them)
Posted Image

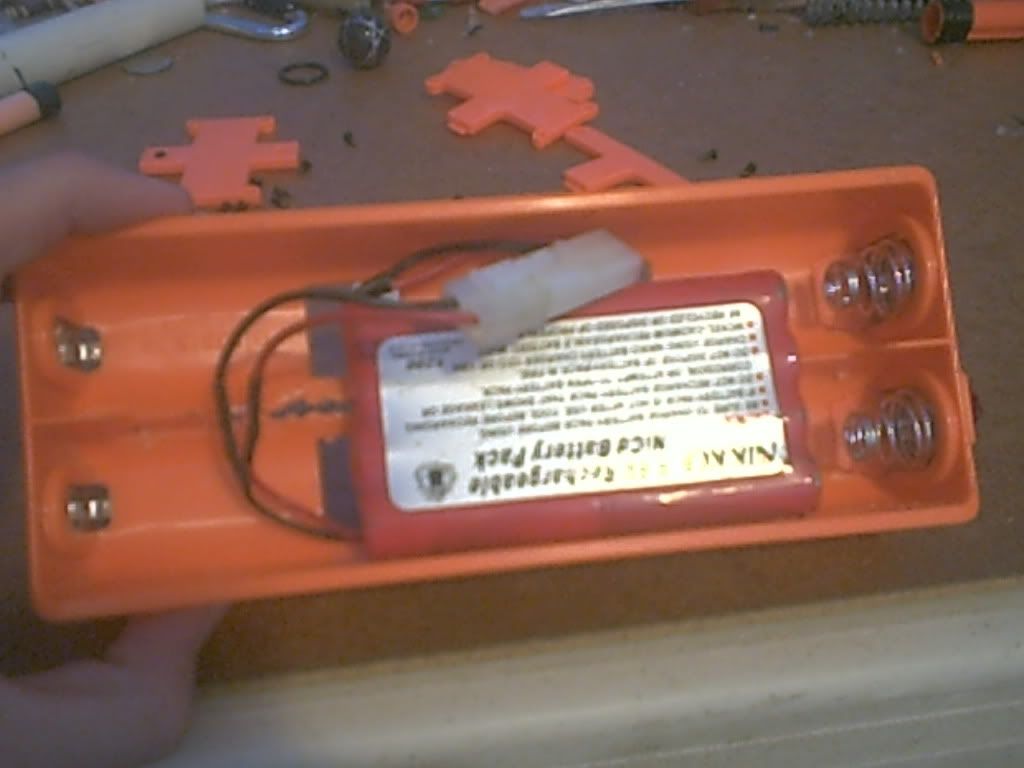
Now your it should fit like this
Posted Image

Wiring

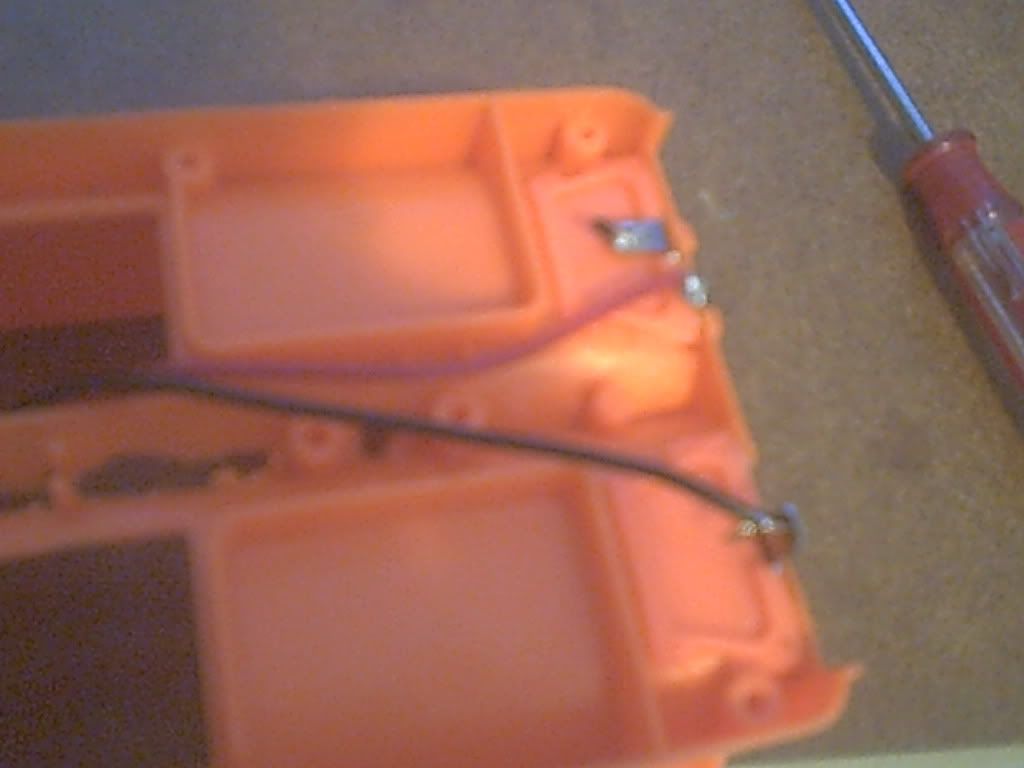
Completely cut the black wire off but ONLY cut the red off the back NOT the front.Then solder the black wire to the point on the front like this.
Posted Image

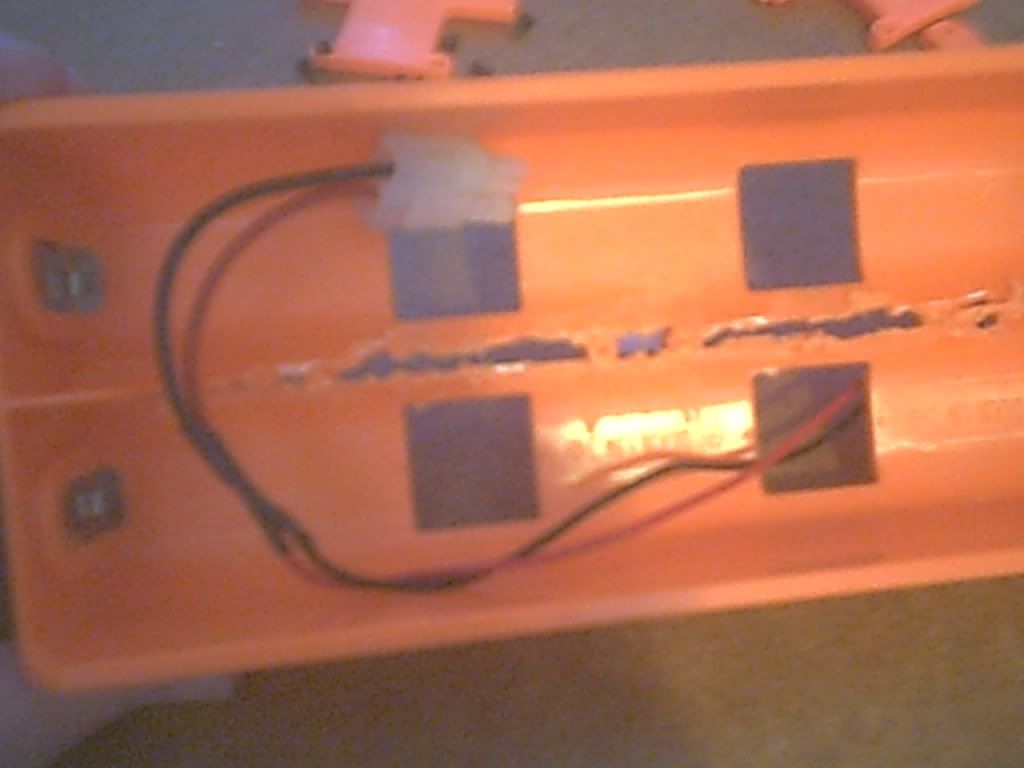
Then solder the red to red and black to black. it should look like this.
Posted Image
Now put it back together and your done.

Posted Image