Find content
You Need:
-1/2"repair sweat piping copper
-1/2"nut
-17/32 Brass
-piece I don not know(someone help me)
-1/2" cpvc coupler
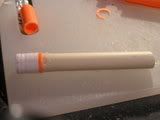
-1/2" cpvc pipe
-glue
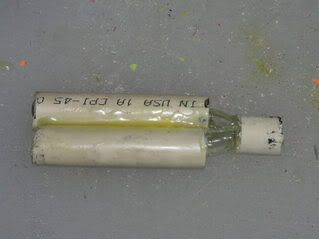
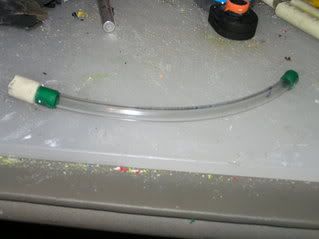
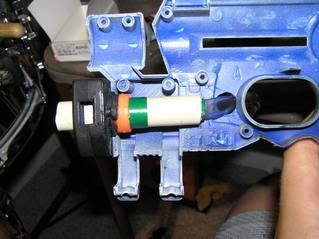
1. Take your copper pipe and attach the piece I am trying to find out. The pipe should me at least 4" long.
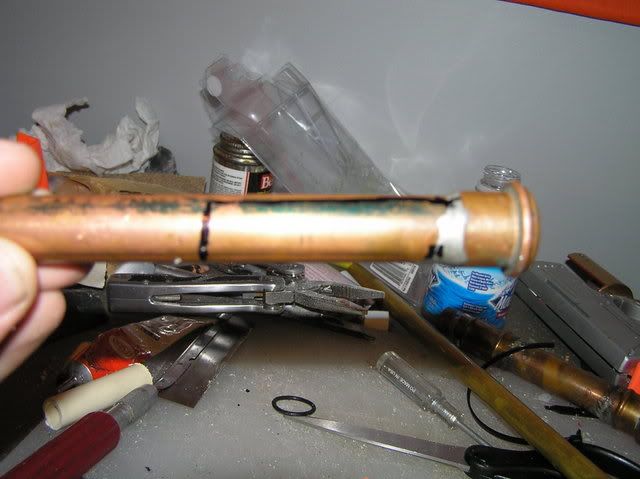
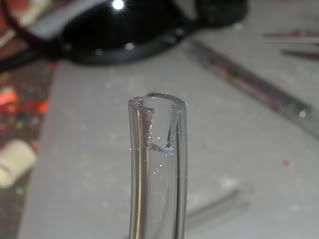
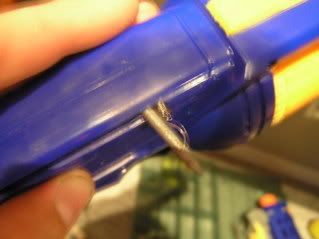
2. Mark the pipe for the dart entry to the breech. Refer to above picture.
3. Cut the hole in the copper, I used a mini roto zip.
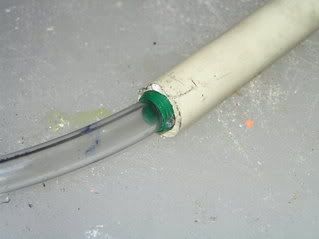
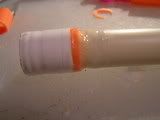
4. Put the coupler on the end of the copper, it should be a good fit, glue in good.
5. Cut a 1" section of cpvc and hollow it out really good so it will fit over the brass, then cut it in half.
6. Place a length of brass that works good in the gun you want to use(it has to be 17/32 though) into the copper pipe.
7. Slide 1 of the cpvc pieces over the brass until the coupler keeps it in place nice and snug. Mark it and then pull it out and glue it in.
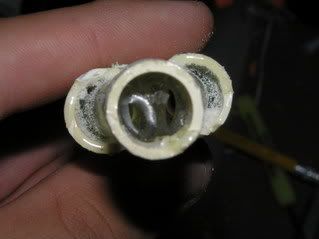
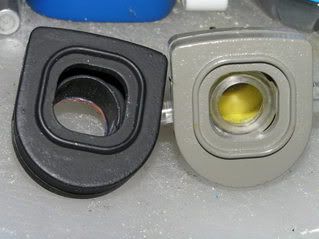
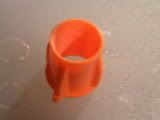
8. Hollow out the nut.
9. Slide over the cpvc and glue into the piece I do not know the name of.
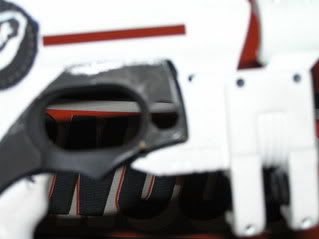
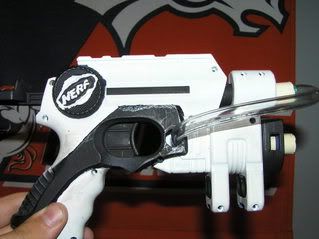
10. Put on a clip system you like.
Your Done.
So when the dart enters you shut it(of coarse) the dart is pushed back but enter into the brass by the brass. There is a lip of the piece i dont know of the keeps it airtight. It is held in place by the cpvc coupler/cpvc.
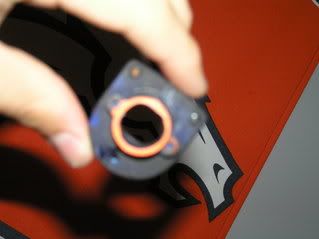
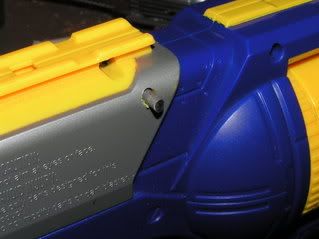
Open Breach
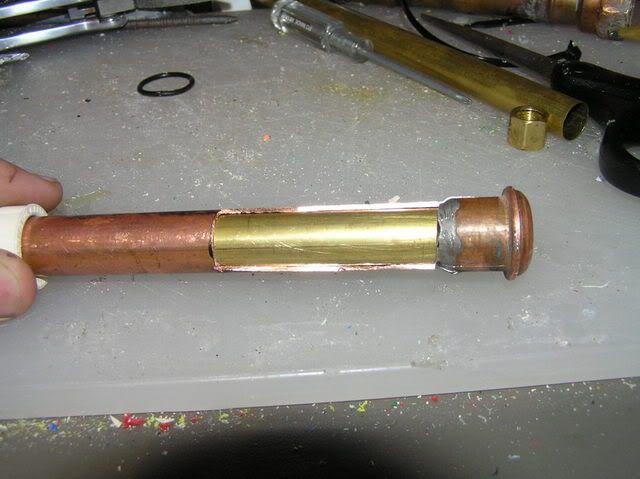
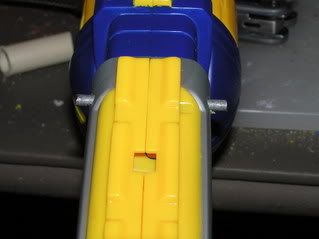
Closed
Also the steps 8-9 can be bettered I am sure. Hope you like it! Completion time is easily less than 2 hours for sure. I hope to get a bbb or some other higher powered gun to try this on soon. Questions/comments?