Jump to content


nihil413

Member Since 14 Sep 2009
Offline Last Active Jan 25 2011 05:15 PM

Topics I've Started

Reverse Plunger Dead Space Killing Method

14 February 2010 - 04:31 PM

Here's a pretty quick, easy and effective way to kill deadspace in a stock barreled reverse plunger systems:

Items needed:
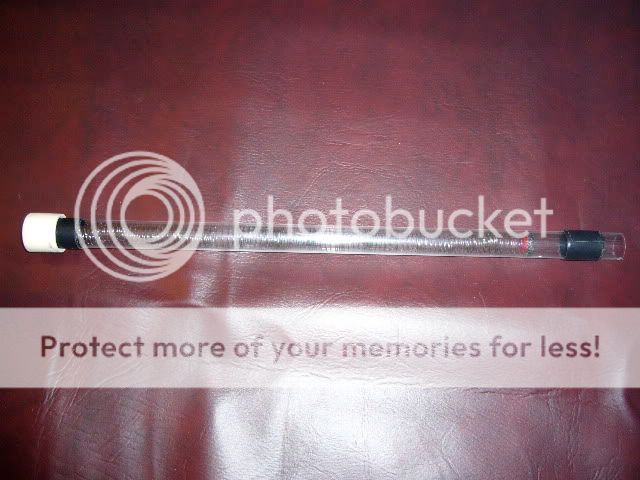
- Reverse Plunger System
- Foam Backer Rod (FBR) (Either thicker 1/2 inch or 3/4 inch cheap Home Depot/ Lowes foam)
- Longer 1/4 inch drill bit
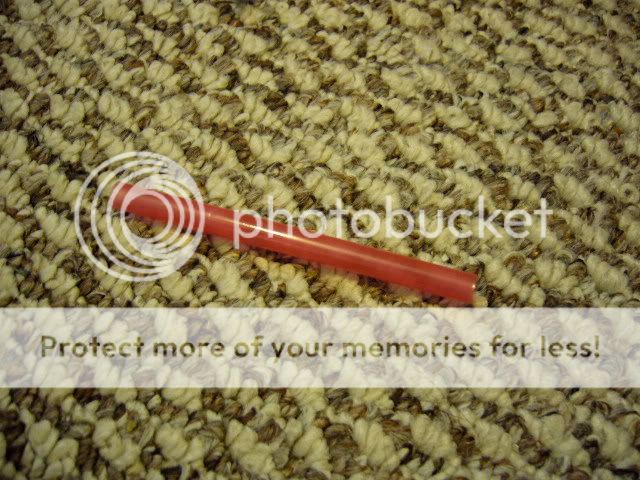
- Drinking Straw
- Scissors

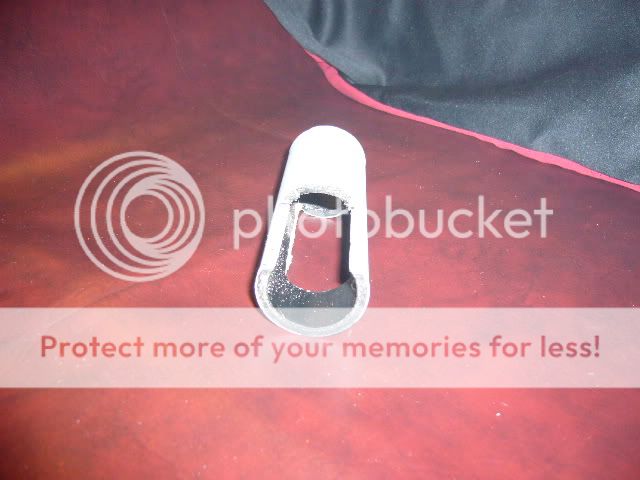
Find some FBR that fits tightly into the back end of the Reverse Plunger/ Barrel Piece (for lack of a better term I'll just refer to it as the reverse plunger in this writeup)

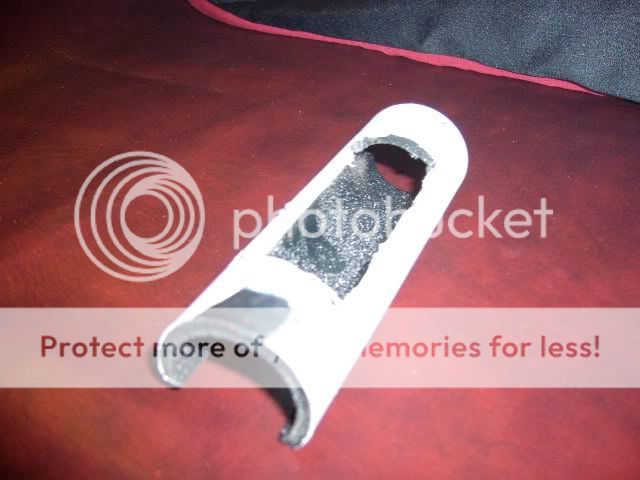
Measure the length of deadspace in the back or the reverse plunger/ barrel piece. (Longstrike, if I remember correctly was @ 4-3/4 inches)
Posted Image

Cut the FBR and Straw to the Length of the deadspace
Posted Image

Take a 1/4 inch drill bit and drill through the center of the FBR ( I would recommend holding the bit and hand drilling it through as opposed to using a power drill... it's safer and straighter... )
Posted Image

Once you have the FBR Drilled through twist the straw through the hole in the FBR (I would recommend sticking the 1/4 drill bit inside the straw so you don't collapse the straw and you may want to plumbers goop the outside of the straw to help it's air seal)
Posted Image

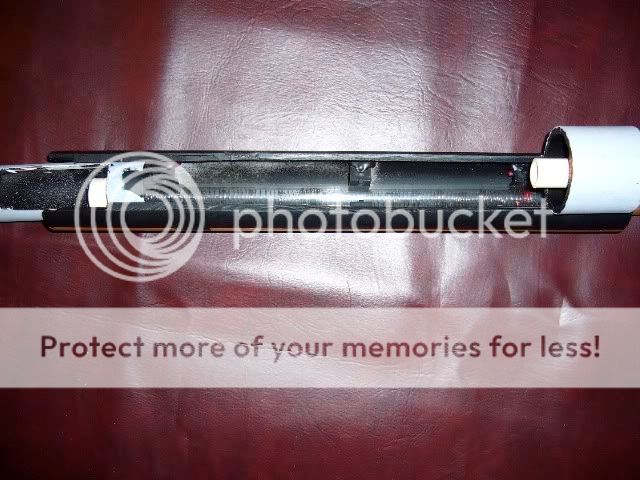
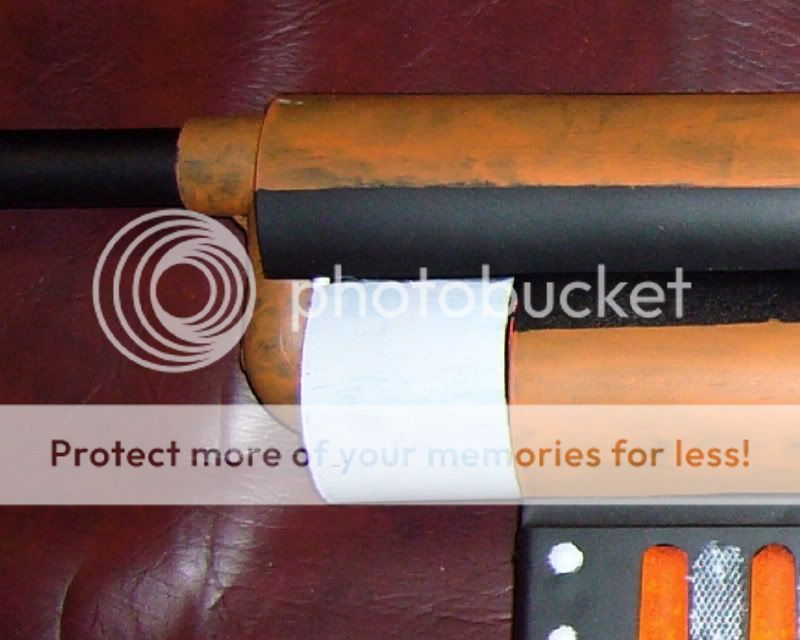
Once that is done twist the FBR into the back of the reverse plunger and it's done.
Posted Image

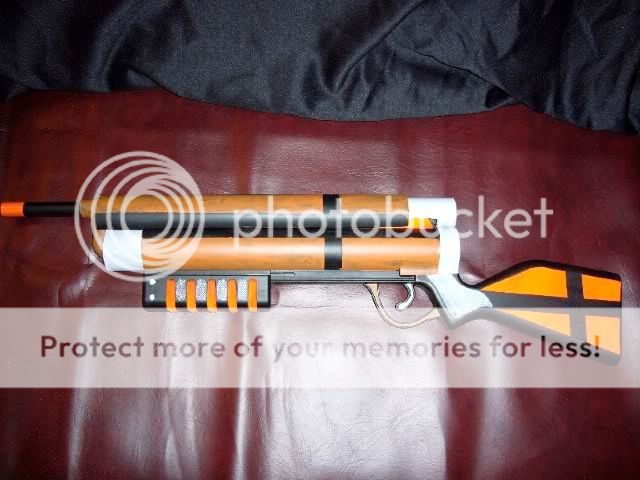
I did this with my Longstrike and got an immediate recognizable difference in velocity and impact with the wall as the dart rebounded much further than before the FBR was added even though I started by power drilling so the hole wasn't perfectly straight. I also left about a milimeter of FBR sticking out of the back to act as padding on the plunger head.

Longstrike Internal Powerstock, Deadspace Filler And Basic Mods

12 February 2010 - 04:46 PM

As most of us know the Longstrike is basically a stretched out Recon but, of course, I impulsively bought one off the shelf for a mod that will be based off a gun from an anime/ video game series called Gungrave because I'm a dork... Before I do that mod (and assuming it turns out how I want it to) I wanted to do the standard mods for the Longstrike and figured I would also just do a write up in case anyone needed it.

Items Needed:
- Longstrike
- Philips Screwdriver
- Drill & long 1/4 inch drill bit
- Plumbers Teflon Tape
- 3/4 Inch Thin Wall PVC *Thin wall PVC at Lowes if it's Silver Line brand it should have PVC-1120 SDR 21 marked on it.*
- Dremel with Grinding and Cutting Accessory
- Compression Spring (Preferably Conical *Currently testing a CX-38 conical spring from http://www.Reidsupply.com*)

Unscrew the main blaster shell and you will see all of this:
Posted Image

To remove the air restrictors I used a 1/4 inch drill bit and drilled it out.
Posted Image
There appears to be no air escape holes on the barrel so you won't need to fill them in...

To increase the air seal use Teflon Plumbers Tape to wrap around the reverse plunger head (?please correct me on the terminology?) and then add the O ring back on.
Posted Image

Take the plunger tube and cut or grind the nub used as the loaded indicator off and try to make it as flat as you can. (This is optional if you plan on trying the internal powerstock)
Posted Image

Cut approximately 1/8 of an Inch piece of 3/4 inch thinwall PVC and slide that over your plunger tube (a small amount of dremeling may be needed) This will create a spacer to help the stock spring compress a bit more.
Posted Image
Posted Image

To Upgrade the Catch use an extra spring (possibly from a removed lock) and intertwine it into the Catch spring and then put the combined springs Back on the Catch.
Posted Image

The Internal powerstock is ridiculously simple. Take a 2 inch piece of 3/4 inch thinwall PVC grind it down a bit so that the Plunger tube can glide through easily with little to no friction. Line the powerstock up with the back end of the spring brace. Add a spring that compresses down to about 3/8 of an inch and it's done.
Posted Image
Posted Image

*Updated Spring info*

I ordered a couple CX38 springs from Reid Supply (http://www.reidsuppl....aspx?itm=CX-38 to test with this mod.
had to cut it down a little (about 1-1/2" long now) to allow the for the catch to engage when primed.
Posted Image

Due to the shortness of the spring I need to find a way to stabilize the spring in the powerstock... for a temporary fix I used some wire to rest it on and then glued them together... not the best fix but it's working temporarily until I think of something better that doesn't affect compression.
Posted Image

With this spring alone in the Longstrike (stock spring removed) it fires 15+ feet, which isn't bad for a supporting spring but I'll continue to look for better replacements.


Re-assemble the blaster and you are done.
Posted Image

The only hint that it has been modded will be when the gun is primed and there is no priming indicator but springs in it's place...
Posted Image

Thanks for reading.

Ertl Pump Action Shotgun Spring Fed Rscb And Rscb Housing

09 February 2010 - 07:18 PM

Please note: I have no pictures during the build because I didn't think about making a writeup when I first built this so all of the pictures are after the fact.

Here's a video to help clarify:


When I first received my Ertl Pump Action Shotgun (PAS) I was actually a bit surprised by how small this blaster was. Due to it’s size I decided to give the gun a little heft. To accomplish this I decided to make a housing setup for an RSCB. But before I started building it I was curious about one thing... why hasn’t anyone added springs to an RSCB before (assuming I haven’t missed someone posting it somewhere, which is completely plausible). I thought if a spring loaded RSCB would work then that would give me a better excuse to build the RSCB housing.
After playing with some air restrictor (AR) springs and an RSCB I realized it does work and it’s gonna make the PAS a bit more fun.
Posted Image

To create a spring loaded RSCB (this is a temporary version until I can find a suitable single continuous spring replacement) all you have to do is interweave some AR springs into your reservoir in the RSCB (I added 16 springs into a footlong PETG reservoir).
Posted Image

I would also recommend hot gluing a spring to the back wall of the RSCB (to help keep the springs in place) and hot gluing a “pusher” piece of larger foam backer rod (FBR) or maybe a rubber washer that fits onto the end of your interwoven spring to help push the dart and help prevent the spring from shooting out of the gun when you fire it.
Posted Image

Then plug your newly springed reservoir into your Tee, elbow, barrel setup and it should be ready for testing.
Posted Image

To create the housing for the RSCB you will need (Lengths were what worked for my setup other lengths may work better for different PAS mod setups):
2 pieces of 1-1/2” PVC (13-1/4” and 1-12” Lengths)
1 piece of 1” PVC (4” length)4 or 5 1/2” Tubing Straps
Take the 13-1/4” length of PVC (Piece A)and cut off the bottom so that it can slide over the front and rear sites on the PAS
Posted Image

Once you have Piece A cut properly. Insert a Tubing Strap into Piece a with it’s open end faciing Piece A’s open end (if Piece A is cut properly the Tubing strap will fit like it was meant to go in there).
Next snap Piece A with the Tubing Strap over your RSCB on your PAS (I chose to cover half of the Tee with the housing.) and adjust it to the position you would like it to stay in.
Push the Tubing Strap as far to the front of the RSCB reservoir as it can go. Once it is in place hot glue the Strap to Piece A
Posted Image

Put aside Piece A for now and take the 4” piece of 1” PVC (Piece B ) as we will be creating an RSCB Stabilizer
First cut a hole approximately 1” wide by 2” long into into the bottom of Piece B to fit over the rear site
Posted Image

Put Piece B over the rear site and attach the RSCB. Mark where the RSCB should rest in Piece B and then cut out the RSCB resting place
Posted Image

With Piece B and the RSCB on the PAS put a 2nd Tubing Strap at the back of Piece A and slid it into place (this should give you the proper location for the rear strap) Take note of the Tubing Strap position. Remove Part A and the Strap and glue strap into place.
Add a few more straps into Part A for added security.
(if the darts stick in any section of the RSCB with the Tubing Straps attached, file away a little of the inside of the tubing strap)
Once Part A and Part B fit to your liking, measure the length(if any between the front of the PAS and the Front of the Housing. The difference between the two should be the length of Part C (the 1-1/2” piece of 1-1/2” pvc in my example)

Cut Part C to length and test it with your RSCB setup ( you may need to shorten it or notch out a section to fit the RSCB.
Once you have Part C lined up with Part A to your liking, glue them together and you have created the main housing.
Posted Image

You will now have all the pieces made, now assemble it.
Posted Image

Clip the RSCB inside the main housing
Put the RSCB Stabilizer over the rear sight
Slide the Housing/ RSCB onto the PAS.
it’s setup.
Posted Image

Some Notes:
- My setup used both the 1/2” PVC and CPVC couplers for stabilizing the RSCB into the PAS.
- The RSCB rarely double feeds, the only time it's happened to me was in the 2nd video I posted. I believe due to the weakness of the AR springs, they don't have enough force to move the darts fast enough forward to double feed.
- It is winter in Ohio... I haven't had a chance to test ranges and my living room hardly counts as an effective testing ground.
- Next version will probably use a rubber washer and a continuous spring (assuming I find some that work)
- To reload, simply take off the front barrel and feed the darts in through the CPVC Tee then throw the barrel back on