I thought it might be okay if I made a Question and Answers thread for all the nublings just starting out on this site that may need help with some questions ABOUT nerf.
///Rules///
--Before you ask a question, please make sure you have SEARCHED before you ask here. I really do not want any unnecessary flamage here.
--Please abide by the Code Of Conduct when you post, again no unwanted flamage.
--Finally, if you want to answer the question, please make your answer is as complete as possible so there is no unneeded posting.
--The most important rule of all, have some common sense when you post or answer or question, please do not act like a retard. It will save a lotta frustration.
///Edit/// If an admin. does not want this thing to continue, just lock it.
Meiser---
- NerfHaven
- → Viewing Profile: Topics: meiser5
meiser5
Member Since 11 May 2006Offline Last Active May 16 2008 08:03 PM
Community Stats
- Group Members
- Active Posts 187
- Profile Views 6,116
- Member Title Member
- Age 32 years old
- Birthday April 6, 1992
Topics I've Started
Q/a Thread For Unanswered Questions...
19 October 2006 - 02:39 PM
Air Tech 3000 Modification
06 October 2006 - 07:48 PM
So I just got my twin set of 3000's off E-bay, when i got a sudden case of the Friday night mods. So here is what you are going to need for this easy modification.
///STUFF YOU NEED///
-- Pliers
--Saw (or a motor tool)
--markers
--X-acto Knife
--Flathead Screwdiver (or small hand chisel)
--AAA Flashlite (You'll see why)
--Philips Screwdriver
-- Air Tech 3000 (duh)
--Hot Glue Gun and Glue Sticks
///MODIFICATION STEPS///
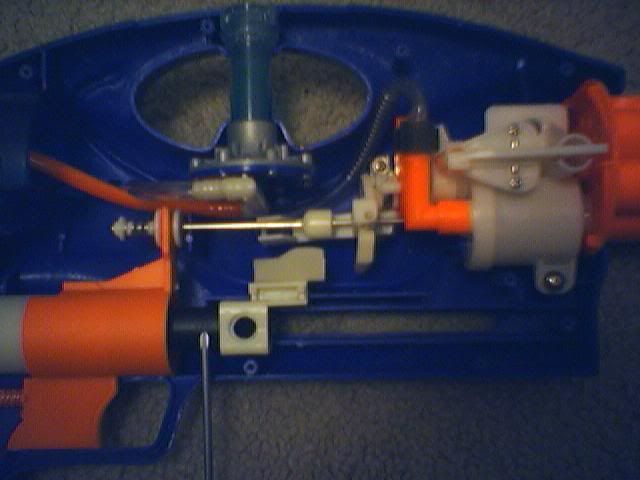
Lay out your items, a good workbench should be good or just a table. Know carefully open up the gun you should see this...
Where my screw driver is pointing is where you want to go, straight to the pump. You need to plug the over-release valve to get better pressure.
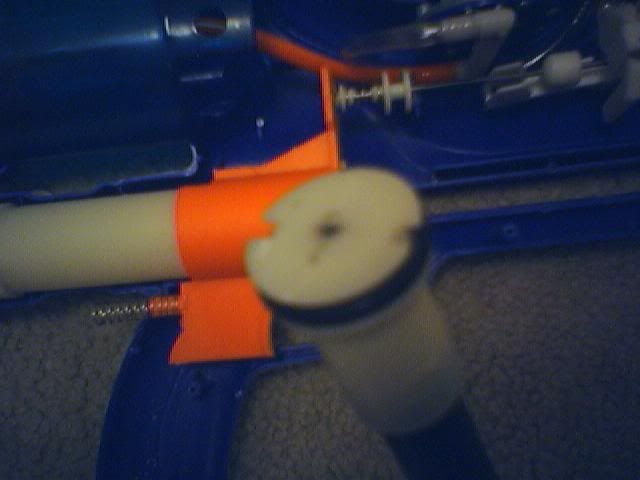
You cannot really see it, but the valve is plugged, know put every thing back together, unless you want to go even further and do the goo-tube mod and customize your gun like CX did Here.
Know this is where your motor tool comes in handy, I did not have mine...
If you have one well just follow CX's instructions for cutting off the barrels. If you dont, stick around.
Now take a saw and very CAREFULLY cut the barrels off. then use your flathead screwdriver to carefully scrape the inner barrel away from the outer one. (I wish I had a picture of this but my camera is retarded and erased half of my data...)
If you are lucky the inner sleeve should pop right out after some careful cutting and chiseling.
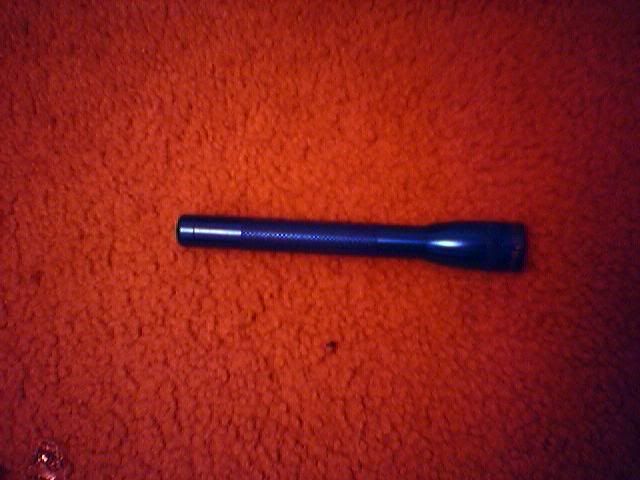
After this you will need those markers, the knife, and the pliers. Oh, and the flashlight. Yank off the endcap and marker tip with the pliers, and pull out the ink tube. Know if you are using the crayola markers, this is where the light comes in handy...
Take off the tailcap of your maglite(preffered) and dump out the batterys. Then get your marker...
http://i94.photobuck.../M0000002-3.jpg
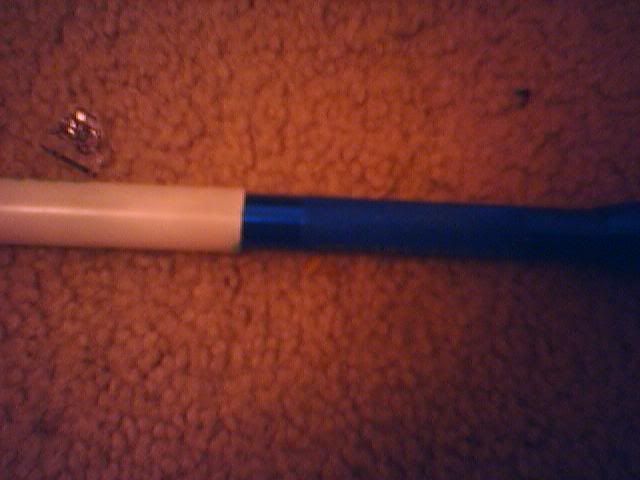
See the ridges, take the end of the light and ram it all the way into the marker...
If the thing goes well the edges of the flashlight will cut off the ridges leaving a smooth inside.
Know, repeat this five more times and then warm-up your glue gun... If you hollowed out the barrel stubs enough you should be able to slide the markers into the stub(the thin end of the marker). Again no pictures, I will have to retake some.
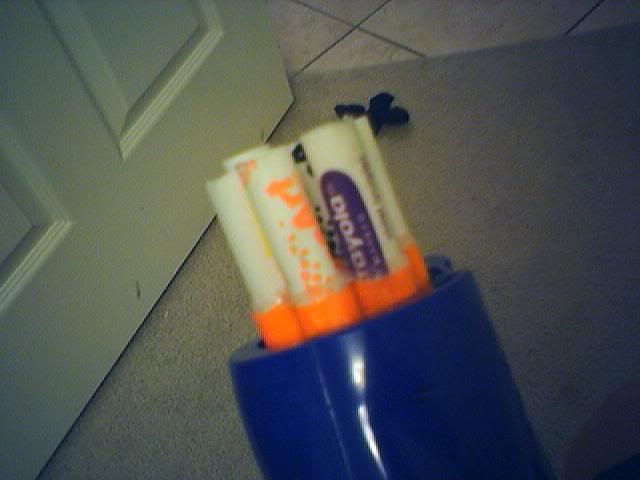
Then glue your new barrels in. When you are done they should look like this...
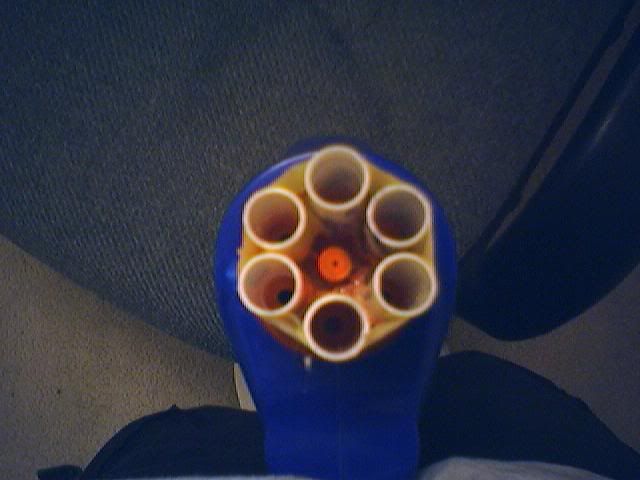
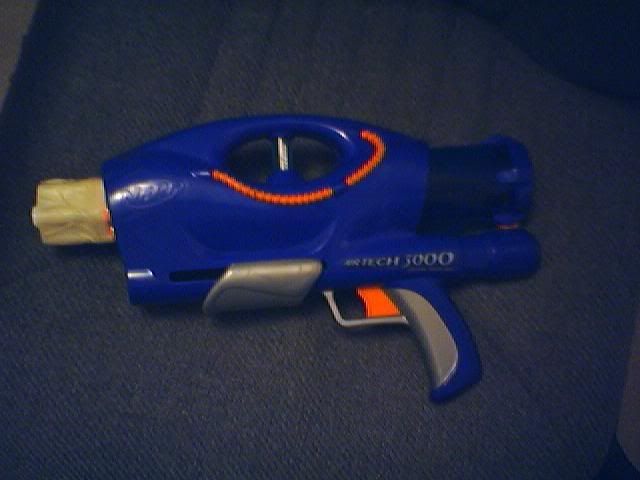
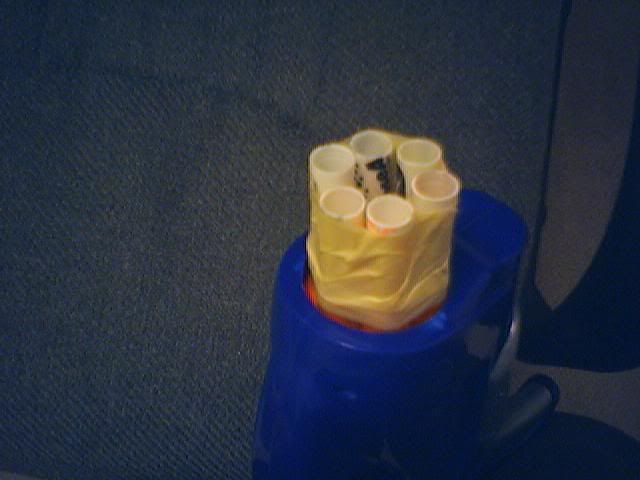
Your done, I added some tape for stability but will fix that later. Here are some more pics...
Head On...
Overall...
Close-up...
I know this has been done before but I have never seen a crayola-ed AT3k before. I will have ranges tomorrow, but four pumps gets me across the kitchen and living room(at least 40 ft. at chin level)
Questions? Comments? Flames? Start post'in! Some of the Barrels are a little long, i will fix that too... Shoddy job yes, but I was bored.
Meiser---
Longshot Grenade Launcher
15 September 2006 - 01:53 PM
Well this is not really an integration, it is more of just me not having anything to do because I am home with the god-damn flu. Enough about that, here are the pics. And for those of you that want to actually do something like this, it is pretty much self explanetory.
Here is a picture of the guts of the SM 750 that everybody loves so much. I made a simple pull trigger out of some fishing line and a hook from one of the dart tagger bags.
This is going to be your ammo, or you can just stick a barrel in there,really does not matter.
Ah, good old duct tape. Well this is what it looks like on the top rail.
The thing gets maybe 25ft. level and about 30 or so ft. angled.
(I had to use a 1ft. ruler to measure so I do not have the exact range)
That 25 to 30ft. is without the O.P. valve plugged so I can maybe squeeze 8 or 9 more out of it.
Here are some more pics...
Yes, the barrel is a tad off because I did a sloppy tape job.
Meiser---
P.S. Sorry about the size of the pics.
P.P.S. Just lubed the pump and plugged the O.P. valve and fired it five times with 2 pumps, and five times with three pumps.
--2 Pumps Level--
26ft.
26ft.
25ft.
23ft.
27ft.
--2 Pumps Angled--
34ft.
35ft.
32ft.
37ft.
34ft.
--3 pumps Level--
27ft.
29ft.
26ft.
22ft.
27ft.
--3 Pumps Angled--
40ft.
41ft.
39ft.
39ft.
38ft.
Nerf Melee
08 September 2006 - 07:21 PM
Never mind this, crappy mistake... Sorry. Someone please erase this.
Worst Weather Experience
29 August 2006 - 02:37 PM
Title pretty much covers it. Since we are about to be hit with Tropical Storm Ernesto in my area I got the inspiration to see what all you guys worst experiences were.
Meiser--- Riding out Tropical Storm Ernesto...
- NerfHaven
- → Viewing Profile: Topics: meiser5
- Terms of Service and Privacy Policy
- Code of Conduct ·