Thanks in advance!
- NerfHaven
- → Viewing Profile: Topics: CoasterDynamix757
CoasterDynamix757
Member Since 15 Dec 2008Offline Last Active Nov 23 2010 10:33 PM
Community Stats
- Group Members
- Active Posts 390
- Profile Views 6,867
- Member Title Member
- Age 30 years old
- Birthday August 6, 1995
User Tools
Latest Visitors
Topics I've Started
Quick Check Valve Help
20 August 2009 - 10:48 PM
As the title suggest I am in need of a new check valve as my 750's has given out on me. I do not need to purchase one from a member I just need to know the correct one to order from Mcmaster(which I finally got to work  ) If some one could supply a part number that would also be greatly appreciated.
Thanks in advance!
Thanks in advance!
Mcmaster Down?
17 August 2009 - 04:15 PM
A few days ago a realized I needed some supplies for Mcmaster for some Nerf related things so I did what every sane person would do and obviously went to Mcmaster but found that the page wouldn't show. Is anybody else having these problems? Is it just me? Has Mcmaster gone out of business? Will I ever stop asking questions?
Sharp Shooter 1 Modification
24 July 2009 - 08:57 PM
After recieveing a Sharp Shooter yesterday I fell in love with it instantly! Sure its small and kinda goofy but its spring is strong, and it preforms well stock(watch the video).
Foreward:
Start by unscrewing the blaster. One thing I did notice is that the Sharp Shooter is what I call a "pistol' version of the crossbow. I mean the internals are the exact same, just different demensions and shell! (Plunger head, plunger tube, etc.)
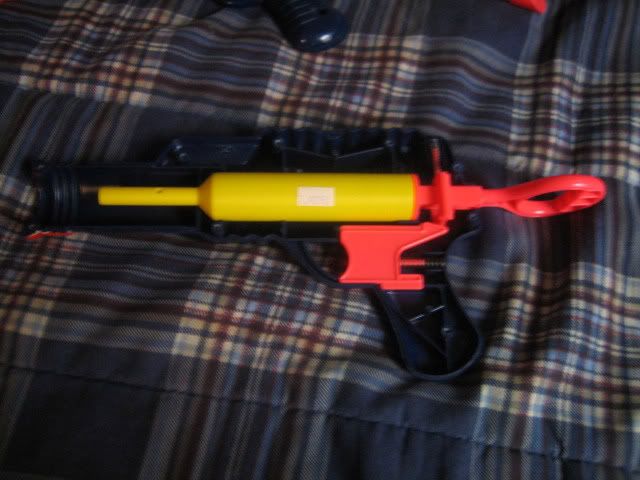
Immidiatly grab the plunger rod and mark out a new catch almost directly after the original one. Make sure you use some perminant marker that way it will stick and wont rub off.

Take some sandpaper and sand down the plunger rod. Every inch! Now grab a tube of Mighty Puddy(in honor of Billy Mays) and go to town on the plunger rod, fill in every inch of space including the origianl catch. If theres alot over flowing remove it while its still soft. If you do it now it will mean less sanding later...Make sure you get both sides too. If you are really parinoid about your SSI breaking you can do the end where pull on. I decided against it because I felt it was not needed.
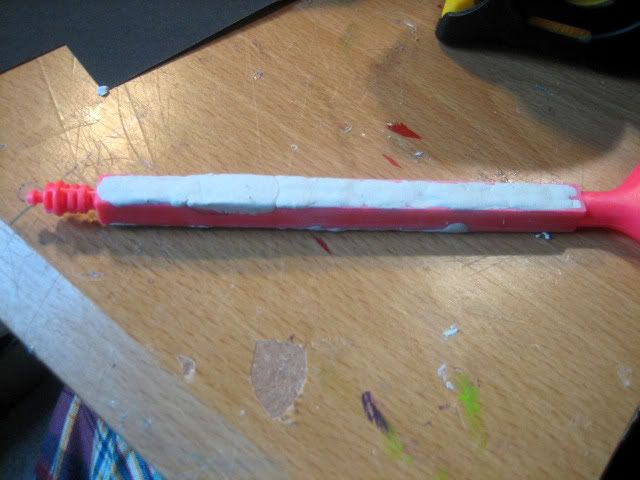
Now set aside your plunger rod while it dries and lets start the work on the plunger shall we? Chop the barrel off as close to the plunger tube as possible.
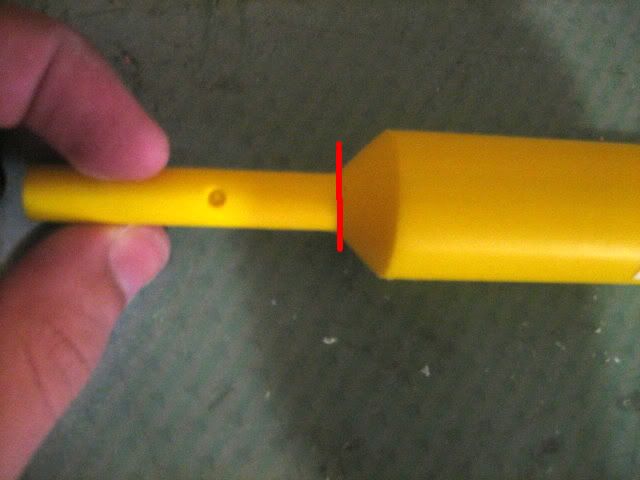
Go grab your file and/or dremel and slowly widen the hole until you can fit 15/32nds brass into the hole you create. I used a conical dremel bit to widen the hole at first then widened it with the file. Once that is done wash out the plunger tube to rid it of any stray plastic shavings.
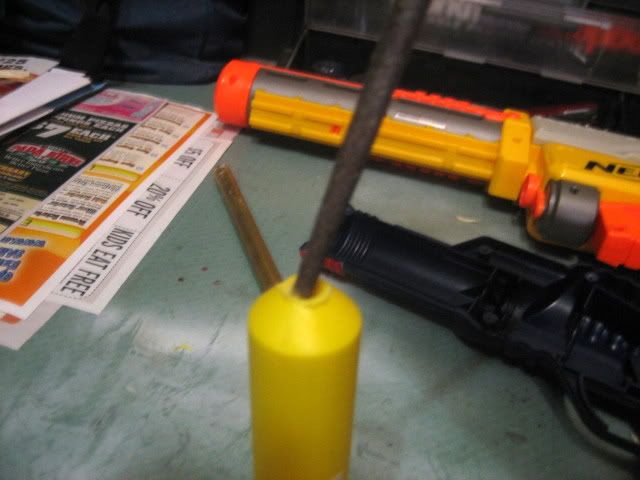


Let's start on the barrel assembly.
First lets start by cutting our brass.
1 1/2 inch of 15/32nds brass
3/8ths of an inch of 1/2 inch brass
3/8ths of an inch of 17/32nds brass
4-5 inches of 9/16ths brass to be your barrel.
Take your 15/32nds brass and flare out one of the ends to recieve better air flow.
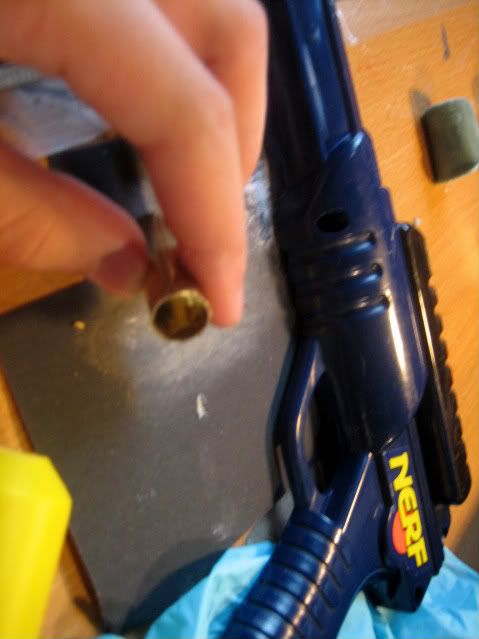
With your needle nose pliers in hand thread the piece of 15/32nds brass through the gaping hole in the plunger head. The next part is challenging, make sure that the 15/32nds brass is in the correct place. I did this simply by using an extremely bright light and the plunger rod asembly (plunger head pushes the brass until it's in the right spot.) Once it's in the correct spot super glue it in place.
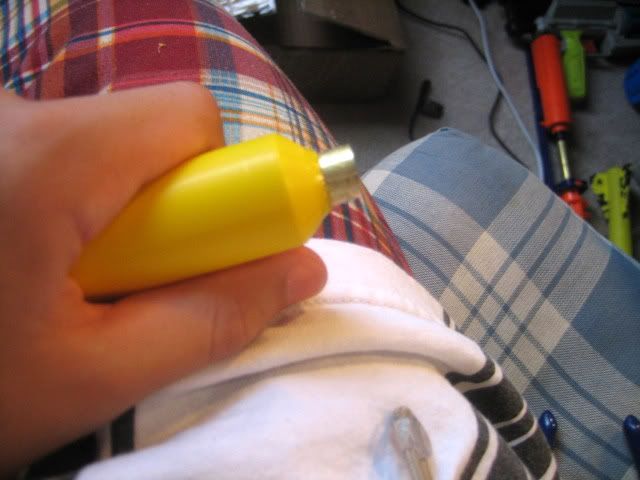
Look closely you will see it get larger ass you put each size up of brass on it:
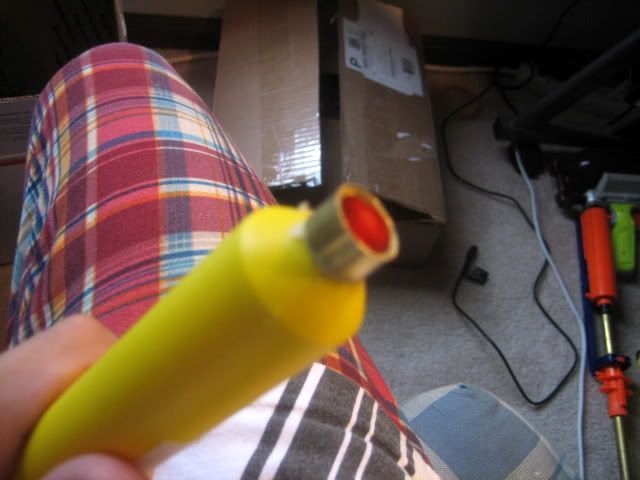
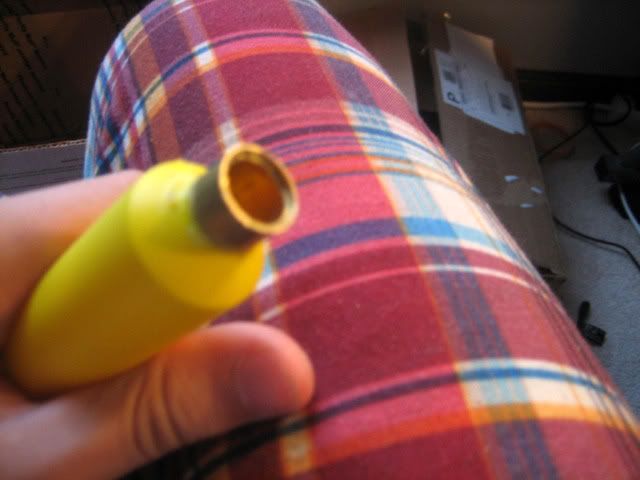
Get your 9/16ths brass barrel and be sure to add some tightening rings 1/2 inch from the base to keep the diameter the same when you add the barrel over the 17/32nds brass. Wrap it in etape, lether on some plumbers goob the add some PVC to cover the brass.
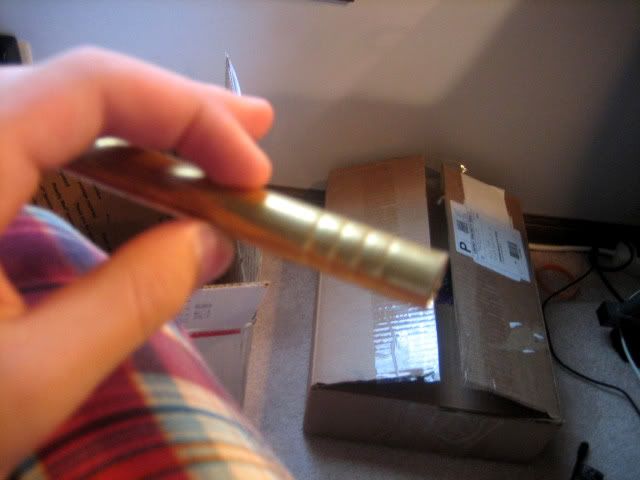


Go out to your workshop and flip on your dremel and make room in the shell to compensate for the extra thickness provided by the PVC. Basicly make it about the same with the ridge before it. Do this on both sides
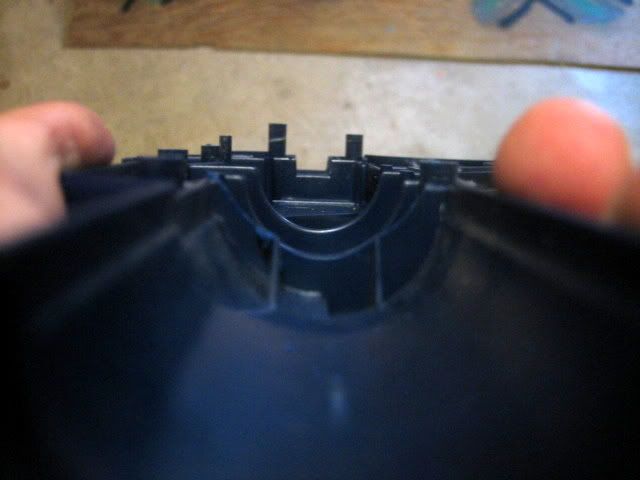
Foreward:
Start by unscrewing the blaster. One thing I did notice is that the Sharp Shooter is what I call a "pistol' version of the crossbow. I mean the internals are the exact same, just different demensions and shell! (Plunger head, plunger tube, etc.)

Immidiatly grab the plunger rod and mark out a new catch almost directly after the original one. Make sure you use some perminant marker that way it will stick and wont rub off.

Take some sandpaper and sand down the plunger rod. Every inch! Now grab a tube of Mighty Puddy(in honor of Billy Mays) and go to town on the plunger rod, fill in every inch of space including the origianl catch. If theres alot over flowing remove it while its still soft. If you do it now it will mean less sanding later...Make sure you get both sides too. If you are really parinoid about your SSI breaking you can do the end where pull on. I decided against it because I felt it was not needed.

Now set aside your plunger rod while it dries and lets start the work on the plunger shall we? Chop the barrel off as close to the plunger tube as possible.

Go grab your file and/or dremel and slowly widen the hole until you can fit 15/32nds brass into the hole you create. I used a conical dremel bit to widen the hole at first then widened it with the file. Once that is done wash out the plunger tube to rid it of any stray plastic shavings.


Let's start on the barrel assembly.
First lets start by cutting our brass.
1 1/2 inch of 15/32nds brass
3/8ths of an inch of 1/2 inch brass
3/8ths of an inch of 17/32nds brass
4-5 inches of 9/16ths brass to be your barrel.
Take your 15/32nds brass and flare out one of the ends to recieve better air flow.

With your needle nose pliers in hand thread the piece of 15/32nds brass through the gaping hole in the plunger head. The next part is challenging, make sure that the 15/32nds brass is in the correct place. I did this simply by using an extremely bright light and the plunger rod asembly (plunger head pushes the brass until it's in the right spot.) Once it's in the correct spot super glue it in place.

Look closely you will see it get larger ass you put each size up of brass on it:


Get your 9/16ths brass barrel and be sure to add some tightening rings 1/2 inch from the base to keep the diameter the same when you add the barrel over the 17/32nds brass. Wrap it in etape, lether on some plumbers goob the add some PVC to cover the brass.


Go out to your workshop and flip on your dremel and make room in the shell to compensate for the extra thickness provided by the PVC. Basicly make it about the same with the ridge before it. Do this on both sides

Pistol Splat Holster
21 July 2009 - 02:59 PM
After realizing my love for Pistol Splats and gaining a new one I am in search of the correct holster. I am looking for a leg holster and something for a right handed person. The pistol splat will be minimized(trigger guard removed and the barrel will be chopped off) I did try to search for a topic that would tell me which holster I should use but I have come up empty handed. I wouldn't like a leather holster though(save the cows).
Any suggestions?
Any suggestions?
Breeched Supermaxx 500.
15 July 2009 - 11:42 PM
First off I would like to give out credit where credit is due:
Angel: He created the Demond breech.
OMC: He gave me my SM500.
Larami: Becasue they created my blaster.
This is the story for a "Demond" breeched SuperMAXX 500. The reason it's a story is because there is more to this then just a write up.The superMAXX 500 was my very fist SuperMAXX gun, and that is why she and I have such a strong bond between each other (and the fact that I got it from OMC). She has been my choice of blaster that got me through many local wars, and has been with me since the beggining. Orignally I had just slapped a barrel on and never thought about it, but just today I felt I neded something faster, something cooler, and hell something with brass! But that's where the story ends, the story isn't finished... or is it?
Now that the silly ol' sob story is over with onto the mod:
First start by sawing off the original barrel as close to the orange ring as possible.Then sand down for looks.
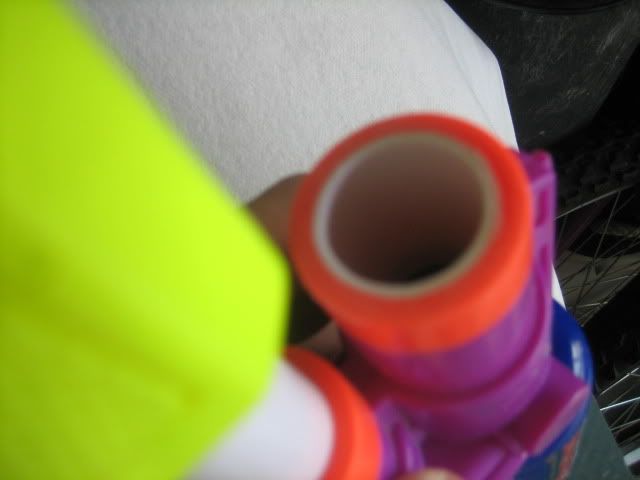
Then grab your piper cutters and your PVC and cut a 1 inch piece off.

Next take you 15/32nds brass and mark it at 1 1/2 inches, then hack it at the mark. Hacksawing brass is harder. but keeps its demensions the same, where as piper cutters distort it.Please remember when hacksawing you will get messy cuts, but that is easily solved by some fine grit sand paper and a sharp knife.
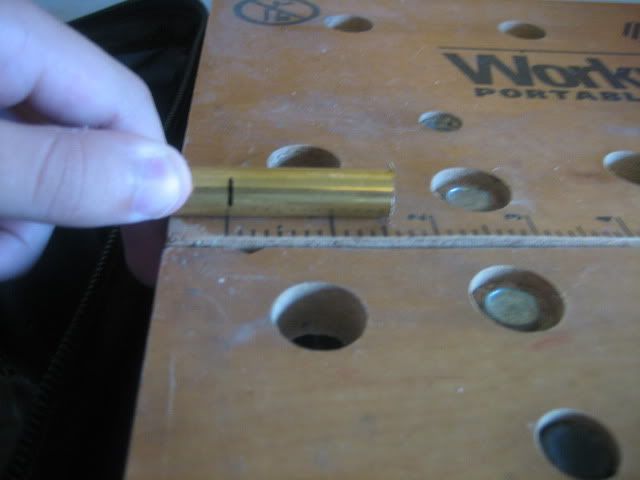
Wrap it in some E-tape at the base intil it fits inside your PVC. Then goop it up and shove it in there!
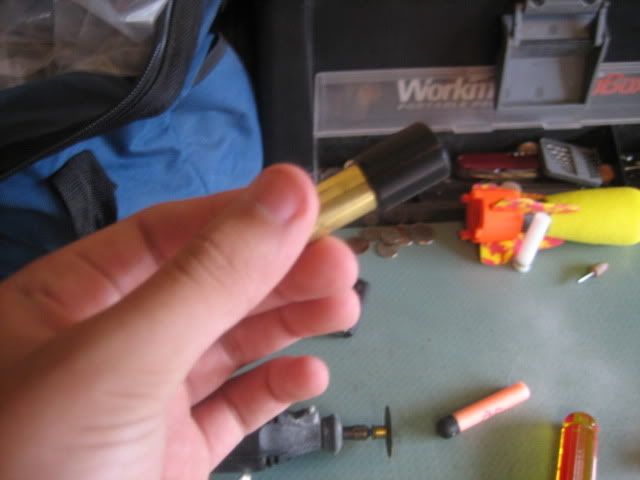

Now if you have done your match correctly, the 15/32nds brass stocks out of the PVC .5 inches. Also fill any extra space in the PVC with hot glue to ensure it's air tight.
Take your newly made assembly and test fit it all the way into the back of the barrel. Cut your self a 3.5 inch lenght of PVC and put it into the barrel ontop of the 15/32nds PVC assembly in the back and get ready to cut out your dart slot. Take your dart and press it as close to the orange rings as possible and mark out your dart slot then cut.
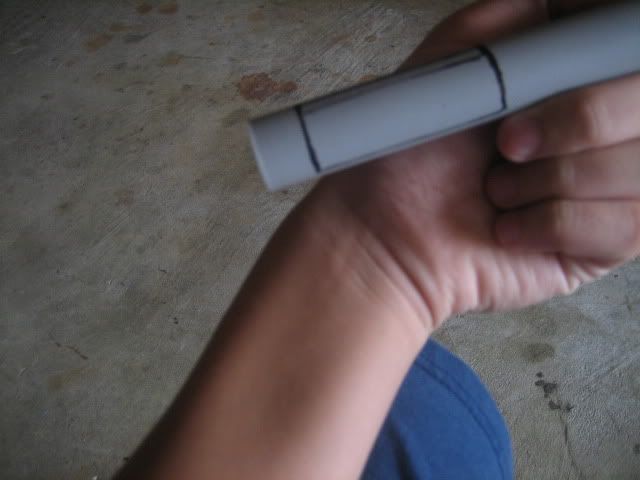
Then get your 19/32nds brass and cut it to the same lenght as the piece of PVC you just cut. Now mark that piece to fit your maximum sized darts then cut it out too.

Place the 19/32nds brass back into the piece of PVC and test it to see it it's flush with the walls and can fit your darts, if not sand/ cut until it does.
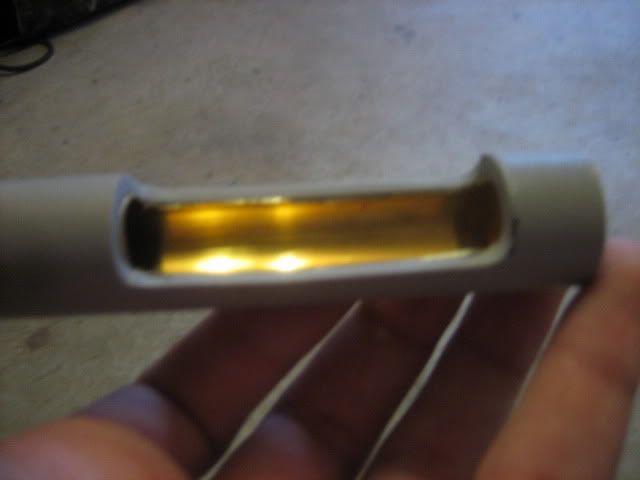
Now cut 1/4th of an inch of 9/16th's brass.
Then 1/4th of 17/32nd's brass.
And 1/2 and inch of 1/2 inch brass and then put them all together to get this assembly:

After that is made up lather on some glue(I used JB Weld) on the outer piece of 9/16th's brass and glue it into the proper end of the breech assembly. Creating this:

Now your almost done, the rest of the mod is pretty self expanitory, but I'll trype it up anyway.
Final assembly:
Set the breech part aside and grab the 15/32nd's stub/PVC assembly. All you need to do is wrap it up in E-tape, then lather on some plumbers goop and shove it all the way down to the bottom of the original barrel. Also make sure to add some goop to the bottom of the PVC too to help it stick, remove some dead space, as well as seal it in. Make sure it doesn't glue the firing pin or anything like that.

Once done it will give you this when looking down into the barrel:

Nothing different from the first pic like this one. Now take the proper end of your breech assembly and wrap it up in E-tape and add some goop and place it into the barrel aswell, making sure the 1/2 inch stub of 15/32nds brass goes into the 1/2 inch brass in the back of the breech creating an air tight seal! Now just add a 9/16th's brass barrel and the modification is done.
But this is not where the story ends. After finishing this project I pondered about what ranges it would get, so I pumped the blaster up and gave it a dry test fire to see if everyting was in working order and as I pulled the trigger a strange noise bellowed from the innards of the blaster. Then I hurridly tryed to shoot a dart, but nothing would happen, no air, no pop, no nothing. Upon further inspection I found that the firing pin broke INSIDE THE TANK! Then She took a turn for the worst. Her ceck valve broke! Now she is just a shell of her former self, broken beyond repair. She has served me well for as long as I have taken custody of her. She will be cremated, to come back once again, stronger then her former self, with the experiance, courage and strength she didn't posses prior to her tragic death. She will be loved and remembered as long as she is remembered in all of our hearts. RIP
CLICK ME!!
Ranges, finished product, and a paintjob will follow once I recieve a new Supermaxx500
Questions, Comments, Flames?
Angel: He created the Demond breech.
OMC: He gave me my SM500.
Larami: Becasue they created my blaster.
This is the story for a "Demond" breeched SuperMAXX 500. The reason it's a story is because there is more to this then just a write up.The superMAXX 500 was my very fist SuperMAXX gun, and that is why she and I have such a strong bond between each other (and the fact that I got it from OMC). She has been my choice of blaster that got me through many local wars, and has been with me since the beggining. Orignally I had just slapped a barrel on and never thought about it, but just today I felt I neded something faster, something cooler, and hell something with brass! But that's where the story ends, the story isn't finished... or is it?
Now that the silly ol' sob story is over with onto the mod:
First start by sawing off the original barrel as close to the orange ring as possible.Then sand down for looks.

Then grab your piper cutters and your PVC and cut a 1 inch piece off.

Next take you 15/32nds brass and mark it at 1 1/2 inches, then hack it at the mark. Hacksawing brass is harder. but keeps its demensions the same, where as piper cutters distort it.Please remember when hacksawing you will get messy cuts, but that is easily solved by some fine grit sand paper and a sharp knife.

Wrap it in some E-tape at the base intil it fits inside your PVC. Then goop it up and shove it in there!


Now if you have done your match correctly, the 15/32nds brass stocks out of the PVC .5 inches. Also fill any extra space in the PVC with hot glue to ensure it's air tight.
Take your newly made assembly and test fit it all the way into the back of the barrel. Cut your self a 3.5 inch lenght of PVC and put it into the barrel ontop of the 15/32nds PVC assembly in the back and get ready to cut out your dart slot. Take your dart and press it as close to the orange rings as possible and mark out your dart slot then cut.

Then get your 19/32nds brass and cut it to the same lenght as the piece of PVC you just cut. Now mark that piece to fit your maximum sized darts then cut it out too.

Place the 19/32nds brass back into the piece of PVC and test it to see it it's flush with the walls and can fit your darts, if not sand/ cut until it does.

Now cut 1/4th of an inch of 9/16th's brass.
Then 1/4th of 17/32nd's brass.
And 1/2 and inch of 1/2 inch brass and then put them all together to get this assembly:

After that is made up lather on some glue(I used JB Weld) on the outer piece of 9/16th's brass and glue it into the proper end of the breech assembly. Creating this:

Now your almost done, the rest of the mod is pretty self expanitory, but I'll trype it up anyway.
Final assembly:
Set the breech part aside and grab the 15/32nd's stub/PVC assembly. All you need to do is wrap it up in E-tape, then lather on some plumbers goop and shove it all the way down to the bottom of the original barrel. Also make sure to add some goop to the bottom of the PVC too to help it stick, remove some dead space, as well as seal it in. Make sure it doesn't glue the firing pin or anything like that.

Once done it will give you this when looking down into the barrel:

Nothing different from the first pic like this one. Now take the proper end of your breech assembly and wrap it up in E-tape and add some goop and place it into the barrel aswell, making sure the 1/2 inch stub of 15/32nds brass goes into the 1/2 inch brass in the back of the breech creating an air tight seal! Now just add a 9/16th's brass barrel and the modification is done.
But this is not where the story ends. After finishing this project I pondered about what ranges it would get, so I pumped the blaster up and gave it a dry test fire to see if everyting was in working order and as I pulled the trigger a strange noise bellowed from the innards of the blaster. Then I hurridly tryed to shoot a dart, but nothing would happen, no air, no pop, no nothing. Upon further inspection I found that the firing pin broke INSIDE THE TANK! Then She took a turn for the worst. Her ceck valve broke! Now she is just a shell of her former self, broken beyond repair. She has served me well for as long as I have taken custody of her. She will be cremated, to come back once again, stronger then her former self, with the experiance, courage and strength she didn't posses prior to her tragic death. She will be loved and remembered as long as she is remembered in all of our hearts. RIP
CLICK ME!!
Ranges, finished product, and a paintjob will follow once I recieve a new Supermaxx500
Questions, Comments, Flames?
- NerfHaven
- → Viewing Profile: Topics: CoasterDynamix757
- Terms of Service and Privacy Policy
- Code of Conduct ·


 Find content


