Can Plumber's Putty substitute for bondo? and Can it seal air leaks? (I would assume no... but it's best to hear from the best.)
I'm working a 4B mav, and I need a substitute for bondo... in this case, Plumber's Putty
- NerfHaven
- → Viewing Profile: Topics: OnyxZenith
OnyxZenith
Member Since 19 Sep 2008Offline Last Active Jun 03 2011 06:52 PM
Community Stats
- Group Members
- Active Posts 191
- Profile Views 5,709
- Member Title Member
- Age Age Unknown
- Birthday Birthday Unknown
Topics I've Started
Plumber's Putty
31 December 2009 - 12:14 AM
My Bbbb Integrated Mav
30 December 2009 - 01:45 AM
Okay so I'm in the process of making the Maverick the most Trustworthy Sceondary
NO this isn't your average BBBB with a Mav attached
This is a Maverick with a 4B tank
Here is my progress so far, I've been working on it for 3 days now and I was reading this thread and this member added a 3k into a mav, and used a pulley system with the trigger, eventually the posts would break off so I'm looking for a trigger design for my mav. I have a few but I don't have any BONDO or epoxy putty.
And I was here to ask if PLUMBERS PUTTY can work as a substitute
Here are my leads so far
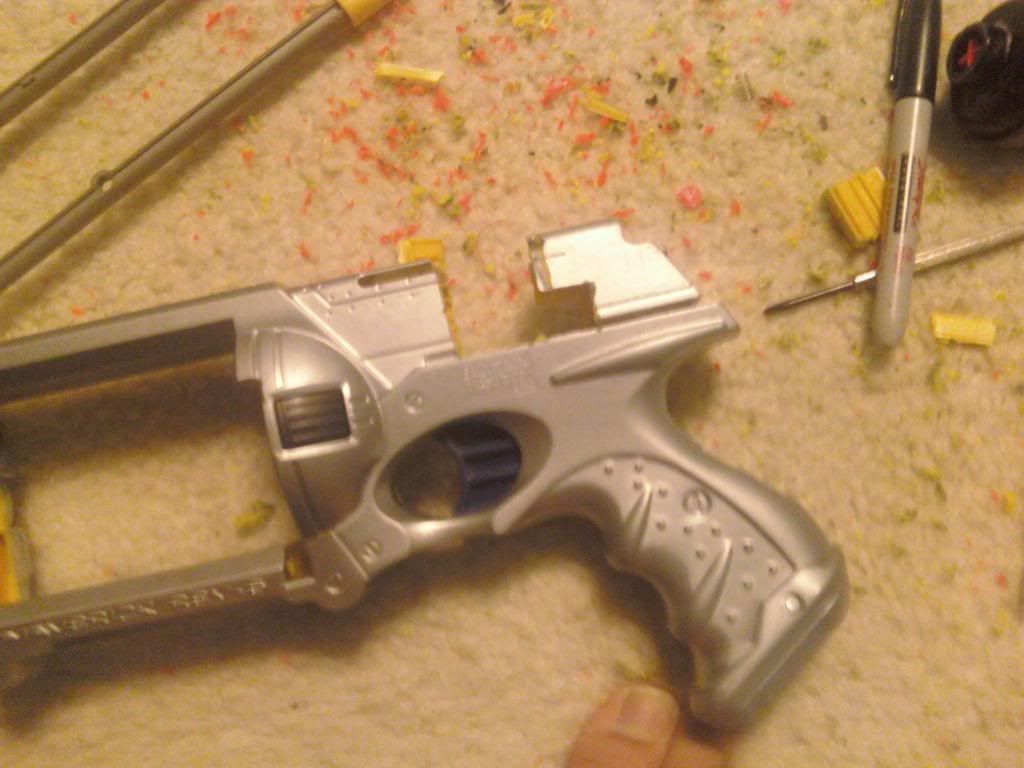
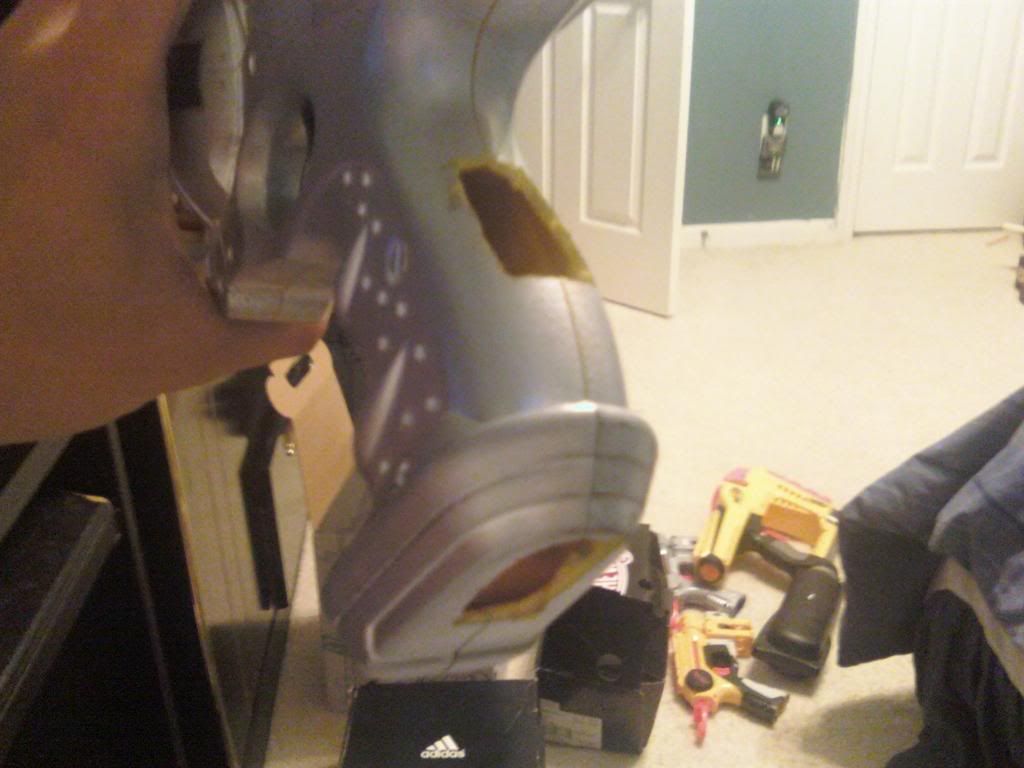
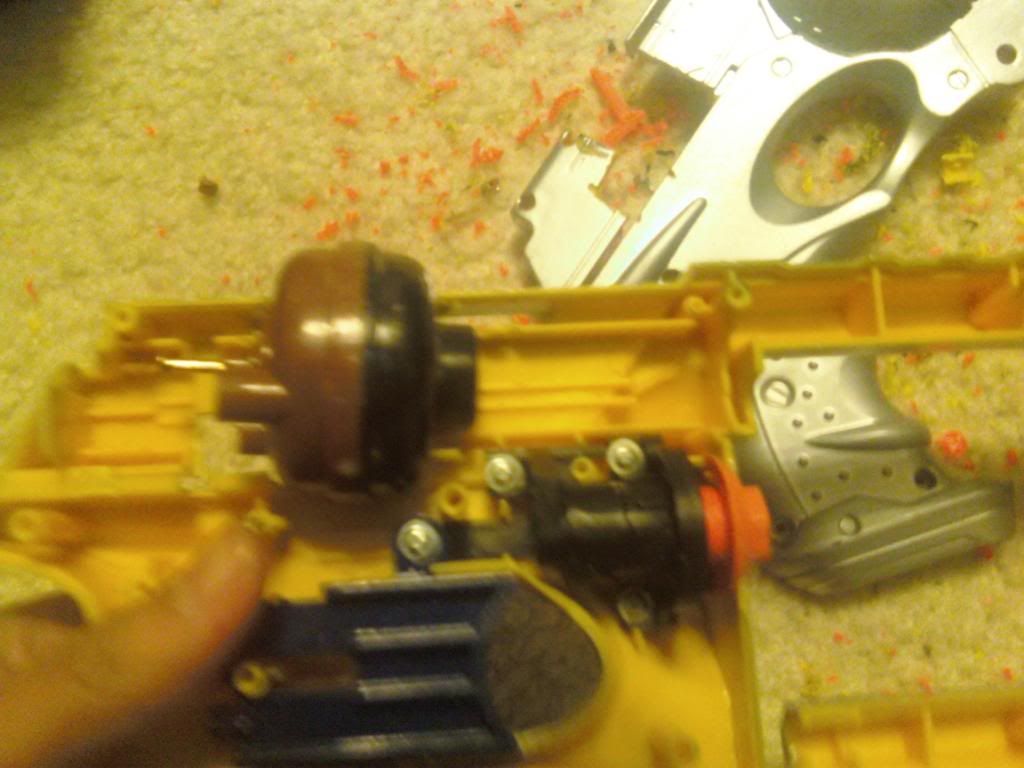
The Extended tanks will be hooked up to the Recon Stock I added into the Mav (You just gotta have stock.)
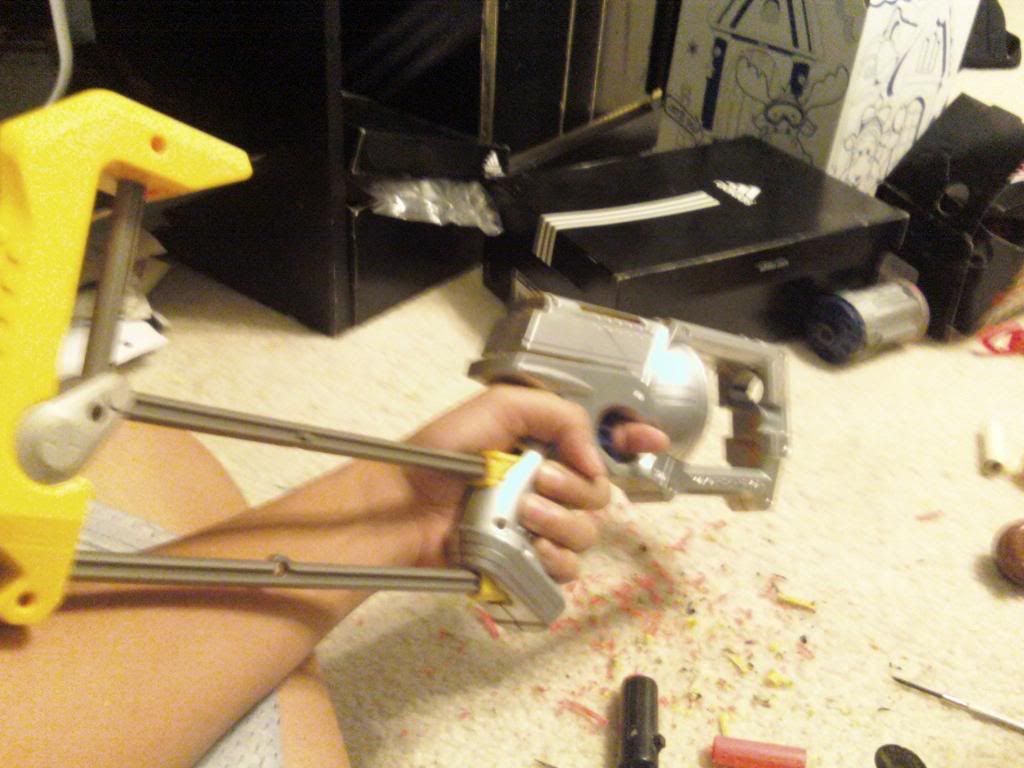
I found that the Back part of the 4B tank is just an extension so I cut the front off (and because the tank broke on be I salvaged the front end) and I'm planning to attach 2 tanks extensions to the tank, one on each side of the 4B tank, and with both extensions they will be connected with Vinyl tubing, ALONG with a ball valve, to allow a somewhat semi auto ability (hopefully 3 for each tanks = 6 shots with a maybe 2k range because the back part of the 4B tank is gone)
The handle is still a natural feel when you grip it even with the stock in the way.
The again we all have different Tastes
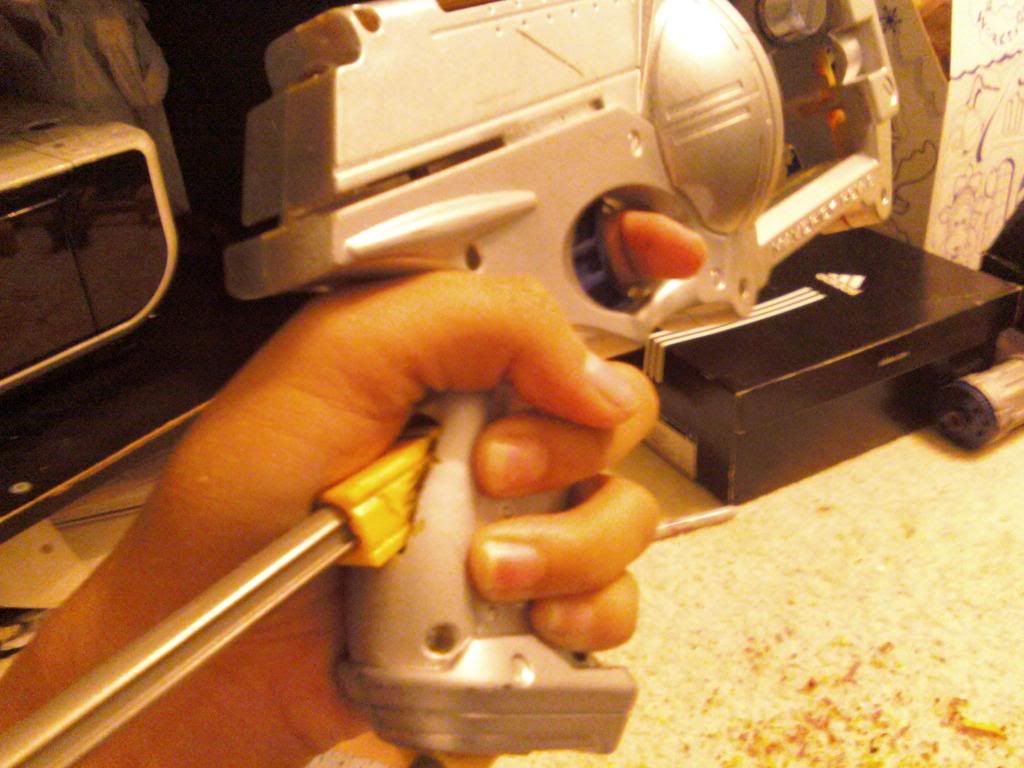
AND yes the Shell has to be cut a bit more flush for the Tank to hold it
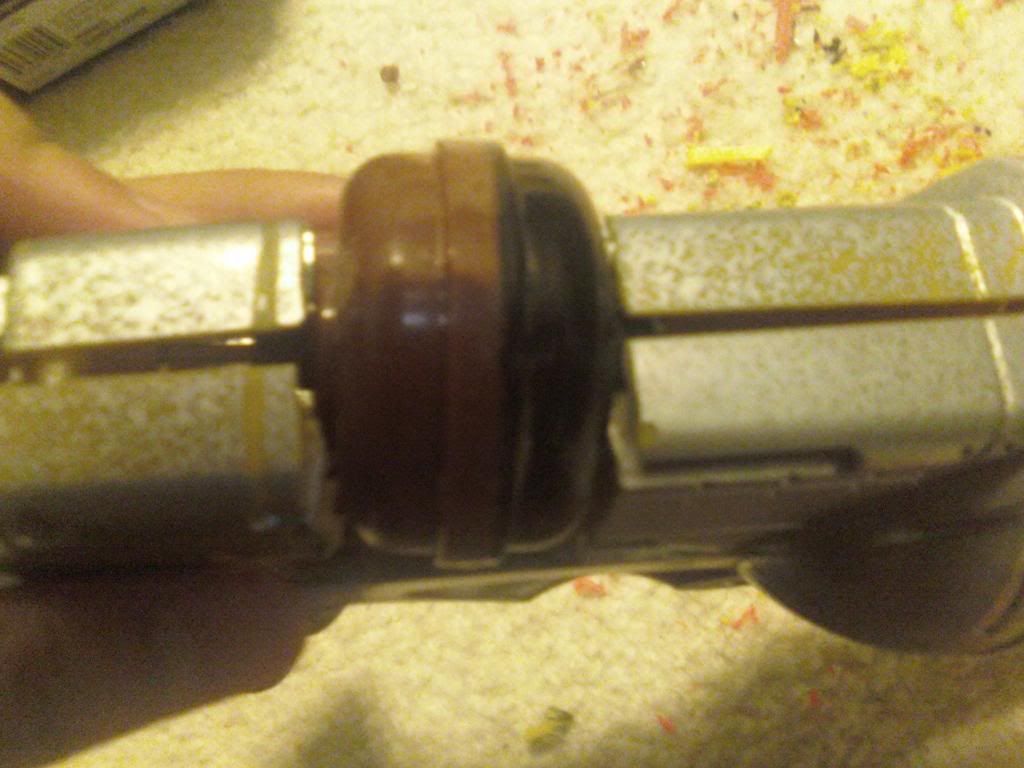
NO this isn't your average BBBB with a Mav attached
This is a Maverick with a 4B tank
Here is my progress so far, I've been working on it for 3 days now and I was reading this thread and this member added a 3k into a mav, and used a pulley system with the trigger, eventually the posts would break off so I'm looking for a trigger design for my mav. I have a few but I don't have any BONDO or epoxy putty.
And I was here to ask if PLUMBERS PUTTY can work as a substitute
Here are my leads so far


The Extended tanks will be hooked up to the Recon Stock I added into the Mav (You just gotta have stock.)

I found that the Back part of the 4B tank is just an extension so I cut the front off (and because the tank broke on be I salvaged the front end) and I'm planning to attach 2 tanks extensions to the tank, one on each side of the 4B tank, and with both extensions they will be connected with Vinyl tubing, ALONG with a ball valve, to allow a somewhat semi auto ability (hopefully 3 for each tanks = 6 shots with a maybe 2k range because the back part of the 4B tank is gone)
The handle is still a natural feel when you grip it even with the stock in the way.
The again we all have different Tastes

AND yes the Shell has to be cut a bit more flush for the Tank to hold it

Best Way To Seal?
21 December 2009 - 04:05 PM
Okay, so I cut off a valve from my many old and diposed bikes, and I glue it down to my end cap with hot glue, and the air leaks out from the openings. The glue is hardened and I can't extract the valve out because I've already pieced together my blaster... What should I use? My last resort was this Silicon sealant but it ended up sliding off just like the hot glue, I don't have any plumbers goop with me, But I don't want to seal up the holw knowing that the goop could blow off due to the pressure. Will Bondo Work?
Nice Airgun Trigger Design
17 December 2009 - 07:16 PM
this is useful
3 Shot Sspb
07 December 2009 - 01:04 AM
Here's the youtube link:
ALSO if you have a Youtube account please subscribe, and check out my songs that I've published so far!
I GOT MY HANDS A NEW DREMEL, But I gotta say it sucks, after all it was only $19.98 at my local Walmart, 2 speeds, and it runs on a rechargable 4.8 volt battery pack and takes 3 hours to charge, and you only get so and so hours of rotary from it :/
ANYWHOOM off to the write-up!
I just gotta say, this makes a very decent assassination weapon, considering that it's so small, and that with this mod it will increase the capacity 3x and just a tad bit longer to load than having it singled.
1) MATERIALS:
-Dremel
--Sanding bit
--Cutting disk
-1/2 sch 80 PVC (thinkwalled)
-1/2 CPVC
-E-tape (I used duck tape, and it was a pretty sold fit
-Needle-nose Pliers / scissors
and last but not least but most important
-SSPB AS-1
---------------------THE PICS WILL BE VERTICAL BECAUSE I HAD TO USE MY IPOD TOUCH TO TAKE PICS OF THE PICS THAT WERE ALREADY ON MY IPOD--------------------------------------------------------------------------------
WRITE-UP:
BLASTER:
1) Take your SSPB and strip of it's shell, Chunk it away, you will no longer need it
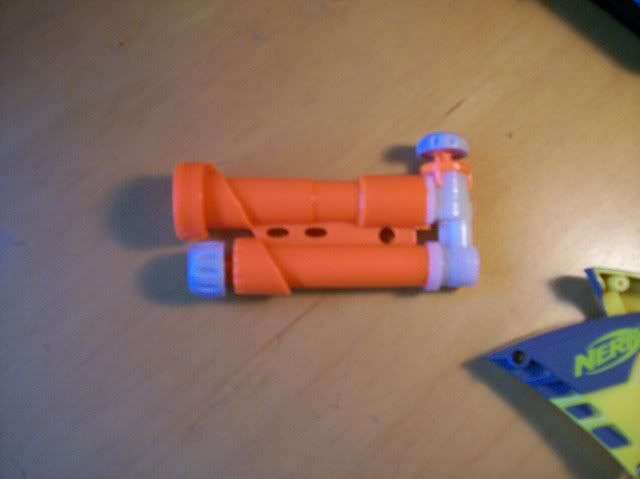
2) Drilled out or pull out the stem/AR
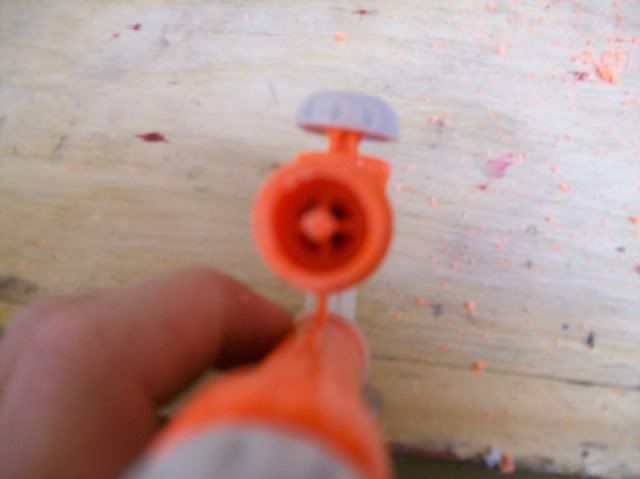
3) Take your dremel and cut off the barrel up to this point, where it touches the edge to the airtank
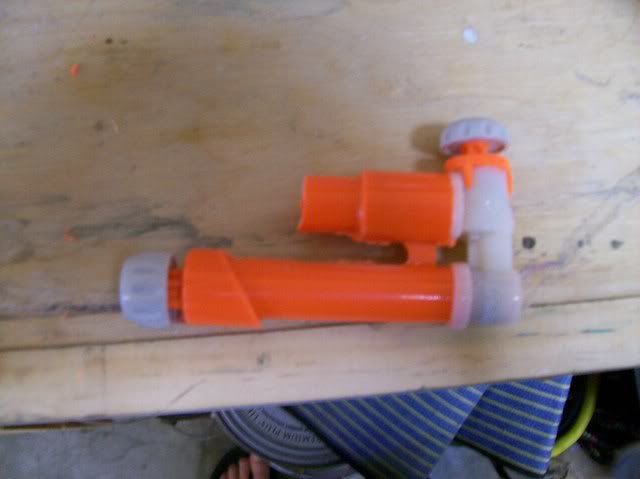
4) Wrap E-tape/Duct Tape around the remaining barrel
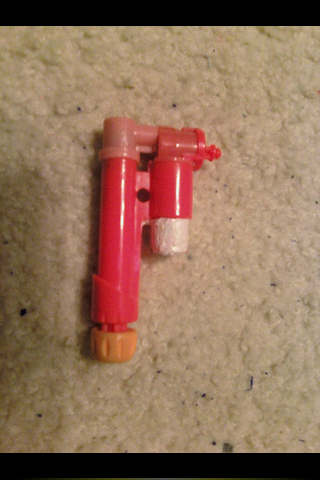
CLIP:
1) take you sch 80 PVC pipe and cut it so it fits around 3 1.5in stefans
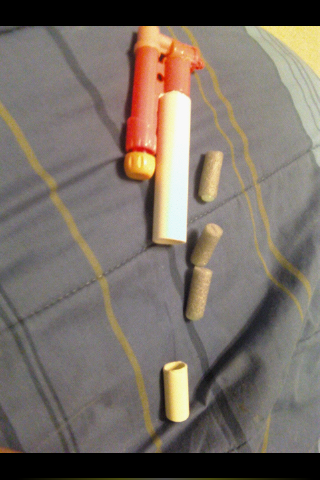
2) take your CPVC pipe and cut it about the size of 1 1.5in stefan
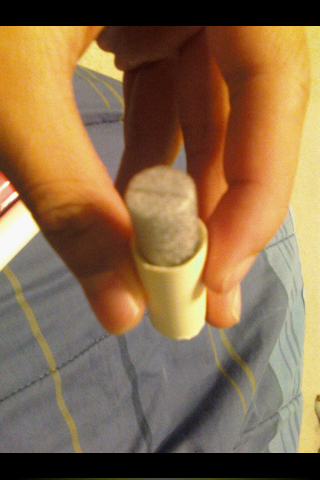
3) then take your sch 80 1/2 PVC pipe and take your dremel with a rough sanding bit and bore BOTH SIDES through the pipe. Up to the point where your sanding bit is covered by PVC
---(My dremel was sucky so it didn't get the bit all the way in, but it helped enough to fit the barrel and blaster together)---
4) take your pliers/scissors and then carve away at your 1.5in length CPVC
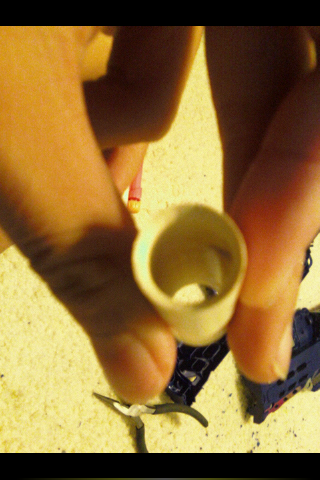
5) mount the PVC onto you blaster like shown
6) load 3 i.5in stefan darts

7) Cap off the clip with the CPVC barrel and jam it in tightly so its parallel to the PVC
8) pump and fire!
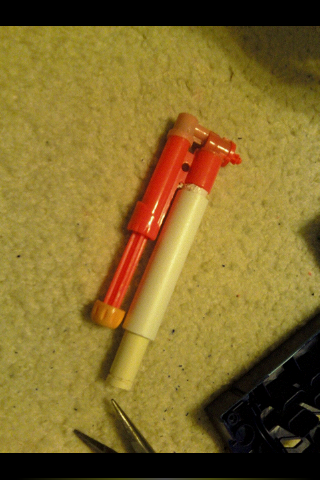
The ranges are around 50-60ft, I haven't measured my room to the wall at the end of the house, but I'm estimating 60 because so far all my blasters have smacked against the wall with every shot, besides my recon and maverick)
Now about how to reload, to reload simply just take the CPVC off and load 2 into the PVC and 1 primed in the CPVC barrel (I had a video of it until APPLE decided fail on me like their products always do ) then pump 8-10 times fire, then the 2nd dart will be primed 99% of the time if not you'll here a hollow sounding jiggle. Pump 8-10 times fire, then the 3rd dart will 99.99% of time will NOT be primed so to ready the dart swing the blaster in your hand like a dagger downward and you'll feel the dart swing into the CPVC barrel. Pump 8-10 Shoot.
Questions? Comments? Flames?
Some pictures were provided from toxic's SSPB mod
ALSO if you have a Youtube account please subscribe, and check out my songs that I've published so far!
I GOT MY HANDS A NEW DREMEL, But I gotta say it sucks, after all it was only $19.98 at my local Walmart, 2 speeds, and it runs on a rechargable 4.8 volt battery pack and takes 3 hours to charge, and you only get so and so hours of rotary from it :/
ANYWHOOM off to the write-up!
I just gotta say, this makes a very decent assassination weapon, considering that it's so small, and that with this mod it will increase the capacity 3x and just a tad bit longer to load than having it singled.
1) MATERIALS:
-Dremel
--Sanding bit
--Cutting disk
-1/2 sch 80 PVC (thinkwalled)
-1/2 CPVC
-E-tape (I used duck tape, and it was a pretty sold fit
-Needle-nose Pliers / scissors
and last but not least but most important
-SSPB AS-1
---------------------THE PICS WILL BE VERTICAL BECAUSE I HAD TO USE MY IPOD TOUCH TO TAKE PICS OF THE PICS THAT WERE ALREADY ON MY IPOD--------------------------------------------------------------------------------
WRITE-UP:
BLASTER:
1) Take your SSPB and strip of it's shell, Chunk it away, you will no longer need it

2) Drilled out or pull out the stem/AR

3) Take your dremel and cut off the barrel up to this point, where it touches the edge to the airtank

4) Wrap E-tape/Duct Tape around the remaining barrel

CLIP:
1) take you sch 80 PVC pipe and cut it so it fits around 3 1.5in stefans

2) take your CPVC pipe and cut it about the size of 1 1.5in stefan

3) then take your sch 80 1/2 PVC pipe and take your dremel with a rough sanding bit and bore BOTH SIDES through the pipe. Up to the point where your sanding bit is covered by PVC
---(My dremel was sucky so it didn't get the bit all the way in, but it helped enough to fit the barrel and blaster together)---
4) take your pliers/scissors and then carve away at your 1.5in length CPVC

5) mount the PVC onto you blaster like shown
6) load 3 i.5in stefan darts

7) Cap off the clip with the CPVC barrel and jam it in tightly so its parallel to the PVC
8) pump and fire!

The ranges are around 50-60ft, I haven't measured my room to the wall at the end of the house, but I'm estimating 60 because so far all my blasters have smacked against the wall with every shot, besides my recon and maverick)
Now about how to reload, to reload simply just take the CPVC off and load 2 into the PVC and 1 primed in the CPVC barrel (I had a video of it until APPLE decided fail on me like their products always do
Questions? Comments? Flames?
Some pictures were provided from toxic's SSPB mod
- NerfHaven
- → Viewing Profile: Topics: OnyxZenith
- Terms of Service and Privacy Policy
- Code of Conduct ·


 Find content


