Jump to content


davidbowie

Member Since 28 Nov 2005
Offline Last Active Apr 09 2009 04:28 PM

Topics I've Started

The Bull

14 August 2006 - 10:48 PM

After I knew the concealed clothespin worked, I started thinking about how best to use it. Eventually, I started thinking about the GNS, and decided to build something with roughly the same setup, only a clothespin trigger and all my standard internals.

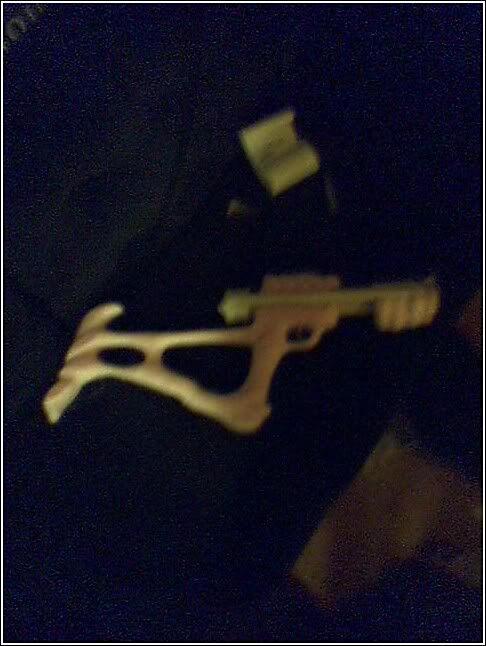
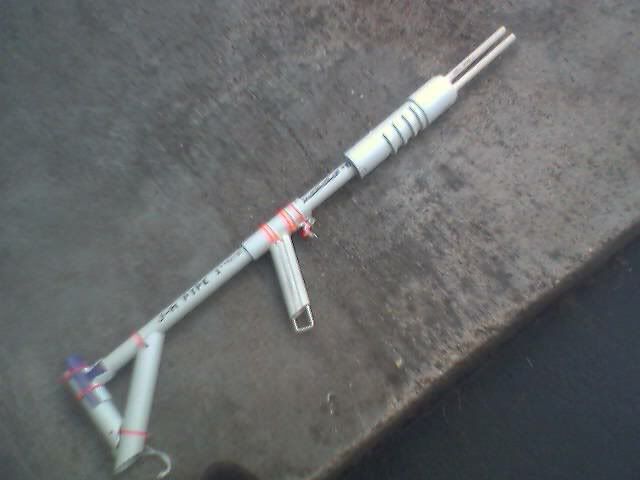
Unlike everything I've built before, the gun is in two parts: the frame and the upper. The frame is based on a half-slice of 1 1/4" thinwall, with a 1" 3-section grip and trigger guard attached. The upper houses a foam-head plunger and all the trimmings, as well as a 1/2" PEX barrel. They are both housed inside the same length of pipe, which gives a beefier, less homemade look. Here is a picture of the gun:

Posted Image

Shadow does weird things with its appearance. The grip looks tapered in the photo, and the general shape is a bit skewed. It also doesn't convey the size of this gun. It's about maverick sized in real life, but a little bit longer and wider.

The Upper:

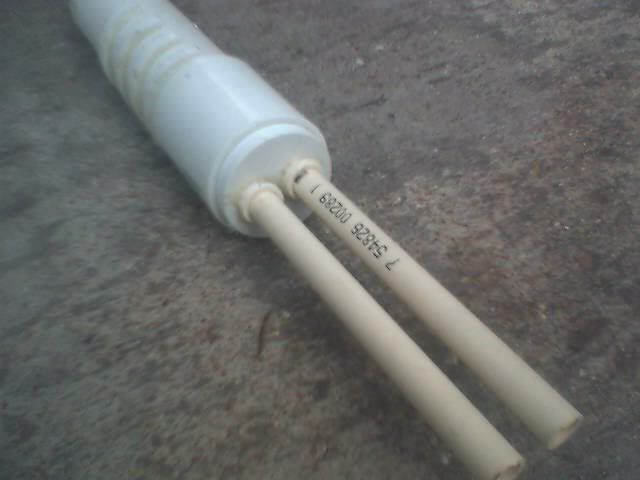
The upper is basically just a length of 1 1/4" PVC. There is a 1"x1/2" PVC bushing in the back to hold the spring, and another, with a ring of 1/2" CPVC coupler inserted, in the middle to stabilize the barrel.

The plunger is constructed like those in the Thing and Dragonfly, except that the sealing surface has been lengthened, and the endcap has been replaced with a balsa disk.

The barrel is held in by foam insulation. A long chunk fits between the barrel and chamber wall, sealing off the outside and keeping the barrel in place.

The Frame:

Posted Image

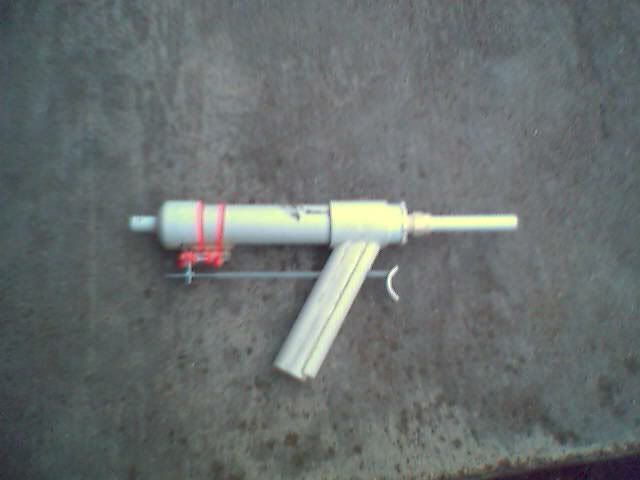
Here it is before all the bodywork.

You can see how everything is put together.

The pink thing on the left was the earlier form for the end of the trigger guard.

I've since added a guide screw to keep the trigger from flipping around like it's doing in the photo.

Construction:

Everything was made originally in PVC (except the end of the guard). I then coated the whole thing with spackling, forming the shape with a putty knife. After letting the spackling dry, I sanded everything down to get it all nice and smooth. It worked quite nicely, filling in all the seams between sections of pipe. I'd recommend using something better than spackling, though. Bondo or Water Putty might be good options. This stuff can flake off a little too easily.

Performance

No official range tests yet, but by comparing it with other guns, I'd say it gets at least 65-70 feet.

What I like most about the gun is that it feels really cool. The spackling adds enough weight to make it feel really solid, without making it unwieldy. That, along with the size and shape, make it a lot of fun to shoot.

Hopefully, I can get better pics up soon.

Dragonfly Rev-3

22 July 2006 - 03:40 PM

Posted Image
Posted Image

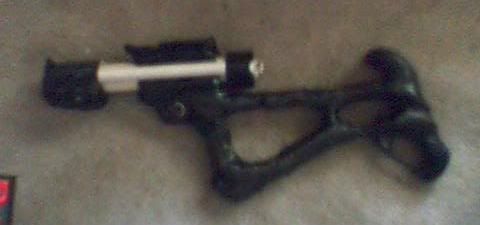
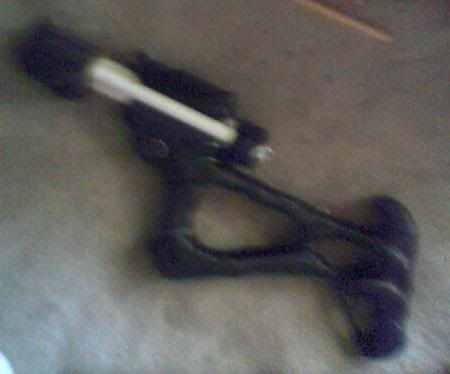
This gun began while I was thinking about what to do after the Thing. One of the first things that came to mind was to condense a Relocated Clothespin trigger as much as possible so as to conceal it inside the grip, making for a much cleaner appearance with very little extra work. I also started looking at revolver-style drum mags, and how simple the zig-zag mechanisms were to advance them. I figured it wouldn't be too hard to make one myself.

My original plan was to make a GNS-like blaster with the concealed clothespin (actually, this is still in the works), and add a revolver cylinder to the original Thing. This, however, all changed when I got a large chunk of carbon fiber for free. I decided to make a custom gun frame with cool internals, so I combined the concealed clothespin and revolving cylinder, with a Foam-Head plunger and a pump-action linkage to charge the gun and rotate the cylinder simultaneously. Another thing I tried out was a homemade N-strike rail. It's a surprisingly simple shape. I have yet to see if the carbon fiber holds its shape enough to work well, though. It would probably be easier to just carve one out of PVC or wood.

You can also see a strap attachment point at the bottom of the stock and in front of the rail.

Posted Image

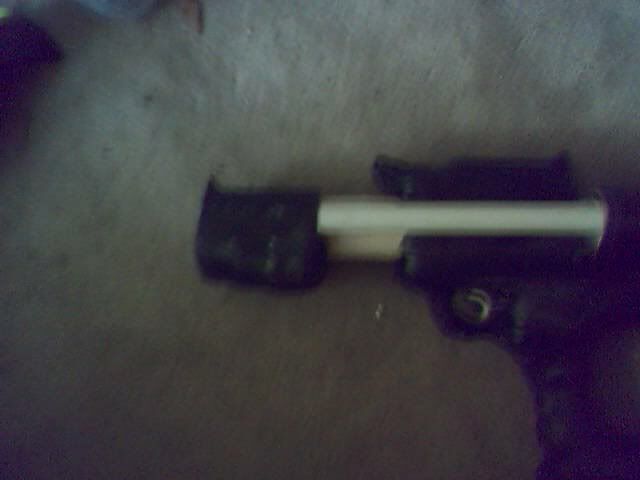
There's the grip and trigger, plus the N-strike rail on top, and a view of the charging arm. Two halved PVC spars extend back from the pump handle and attach to a reducing bushing which fits around the plunger rod. They push the plunger back, then return forward with the handle.

Posted Image

A shot of the pump handle.

Posted Image

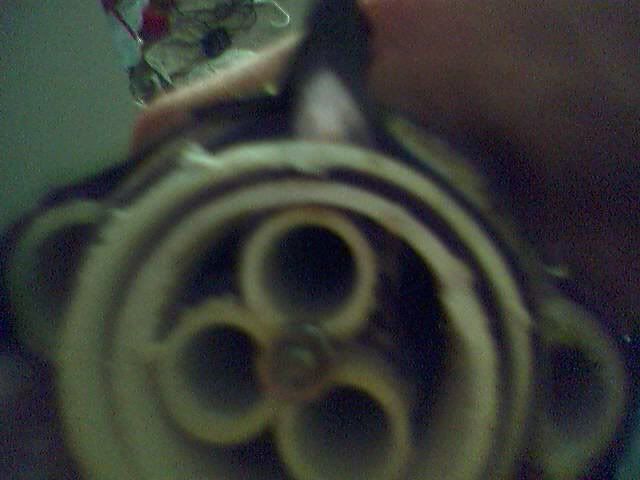
Yup, only 3 barrels. I could have made more, but 3 fit nicely inside 1 1/4" PVC, and I like the look of one continuous pipe, so I kept it down to 3.

Posted Image

These are the forms on the gun, before the carbon-fiber wrap.

The Thing

26 June 2006 - 09:44 PM

Posted Image

Well, there it is. It's...weird. Like my last few projects, it didn't really come together for a specific purpose, but rather as a way to put together all my little ideas. Here's what came into play for this gun:

Relocated Clothespin: Anyone got a better name? It's fairly standard reinforced clothespin trigger, with some #8-32 allthread attached through the hole in the angle brace which leads to a trigger piece up on the grip, which creates a straight-back trigger pull and allows for the clothespin to be behind the grip.

New plunger style:
Posted Image

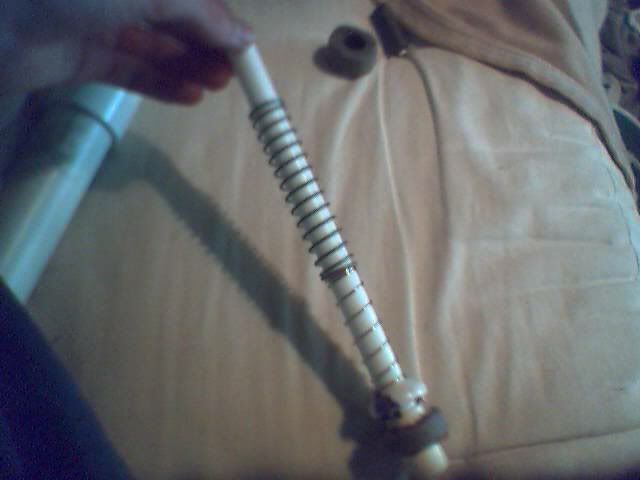
This is the plunger assembly. The shaft is made of 1/2" PEX (superlight), with part of a 3/4" PVC endcap for the catchface. There are two springs, one is a 20lb spring from home depot, and the other is out of a maverick.

Now here comes the cool part:
Posted Image

What is that, you say? Pipe insulation! It might not seem like much, but 5 feet of it costs around $2, and that's enough for around 1,440 plungers. Plus, it weighs next to nothing. On top of that, it takes a fraction of the time it takes to make an o-ring groove or cut a rubber washer out of sheet neoprene (never could get the storebought ones to work right)

Co2 Burst Disk Gun

25 June 2006 - 12:07 AM

Posted Image

This isn't terribly practical, but it is a lot of fun to shoot, and it's a good way to get a lot of power out of a CO2 bike tire inflator for little money. The real reason I made it was to prove that it can be done safely and cheaply, and hopefully cut down on the amount of threads in the NIC dedicated to CO2 bike tire inflators. Plus, I had the cannon laying around from a different project.

The gun consists of a 12"X1/2" PVC nipple, capped at one end, with a schrader in the cap, and a 1/2" union on the other end. Part of a 24"X1/2" PVC nipple is screwed into the other side of the union. That's it. A burst disk is inserted into the union, and a mega stefan put in the barrel. I usually use parts of a plastic shopping bag or trash bag for burst disks, with between 2 and 4 layers depending on power needs. Using 2-layer disks, I can get up to 10 shots out of a cartridge, each going at least 110'.

Big Bad Bowie

10 June 2006 - 06:17 PM

Posted Image

The angle of that picture is deceptive. The plunger tube is actually quite large, and the stock isn't as clunky as it looks in the picture.

Yet another plunger gun.

It's like a big brother to the snapper. A very big brother.

It's kind of an experiment, bringing together a lot of conceptual bits and pieces, such as the new trigger, BBB-cocking, new barrel mounts, and a 2" plunger.

I got a back saw and miter box (finally) the other day, so I used it on pretty much everything in this. It really helps with things like the stock and the grip.

That little thing poking out of the grip is a double ramrod, which slides in and out for storage.

Here's the spring-clamp trigger:
Posted Image

It's constructed basically like a clothespin trigger, but the paddles aren't cut off, and one is bent to create a trigger lever, which is then reinforced with an angle brace. The clamp comes with pre-made holes centered on the tips, which can be enlarged with a drill to fit a very burly firing pin.

This is how the barrels are mounted:
Posted Image

They're 1/2" CPVC barrels mounted in a 2" PVC plug. I drilled two holes to fit the barrels, then glued a small section of a 1/2" CPVC coupling onto the rear end of each, slid them through, put another section of the coupling on the opposite side, and filled in the gaps with hot glue. I think it turned out pretty well.

And finally, the BBB-style cocking system:

The handle starts out to the right. Slide it forward and grab the catchface:
Posted Image

Then, pull back until the spring is fully compressed. Turn the handle to lock the assembly, ready to fire:
Posted Image

I moved the catchface from it's typical position right behind the plunger head to the very end of the plunger rod, where a pull-ring or knob would typically be. This goes inside the stock tube. The handle and trigger are mounted on a piece which slides over the stock tube, with the firing pin riding in a slot. Pushing the handle forward lines it up with the catchface. Pulling it back lines it up with another slot. Rotating the handle into firing position locks the entire assembly in place. It might seem a bit odd, but it's the exact same set of motions you would do to operate a straight-pull bolt-action rifle, only you never have to release or grab onto anything. This setup also allows for the entire action to be run with one hand, if the stock is strapped to your shoulder, like in the pictures above. Maybe I'll make a lefty version someday so I can dual-wield them.

I also added in another little improvement: I sleeved the plunger rod (allthread) with some polyethylene tubing. I don't think it really added much, but it does work a bit more smoothly.

This is definitely not the final incarnation of this blaster. After all, the entire reason I designed this action is to be able to operate a reverse-pump clip like the one on the yellow jacket. Plus, I'm not really a big fan of the double barrels. They're a whole lot of fun to shoot, but they really cut down on the power, especially since this gun only uses one spring compared to the two on the Snapper. Both darts usually get about 40'-45', 50' if I'm lucky. I might try to get another spring in there again, but I probably won't until I can find a better catch washer.