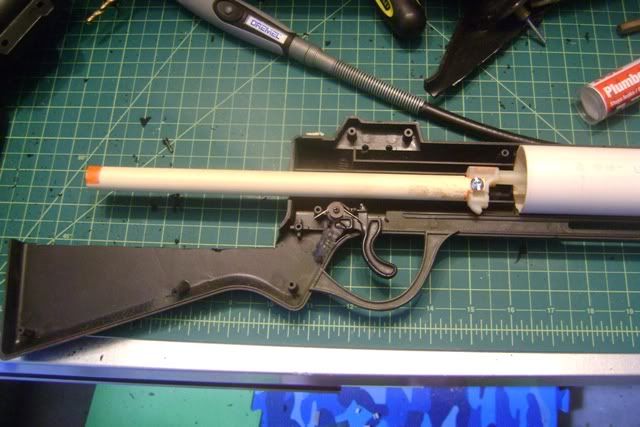
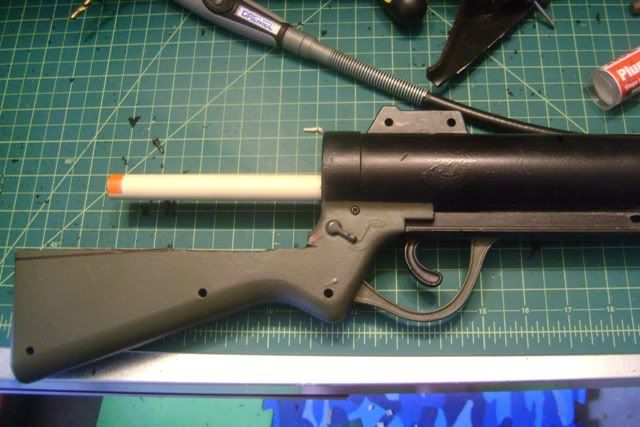
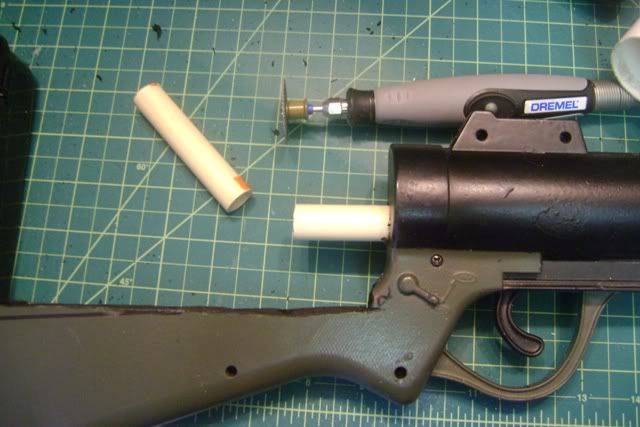
So after returning to the world of Nerf after a 2-3 year break, I found a whole new world of blasters. (When I left, the raider was the latest blaster on the market)
Upon reviewing the progression of blasters, I found, not to my surprise, a bunch of reshelled N-Strike blasters. ZOMG CLIPZ.
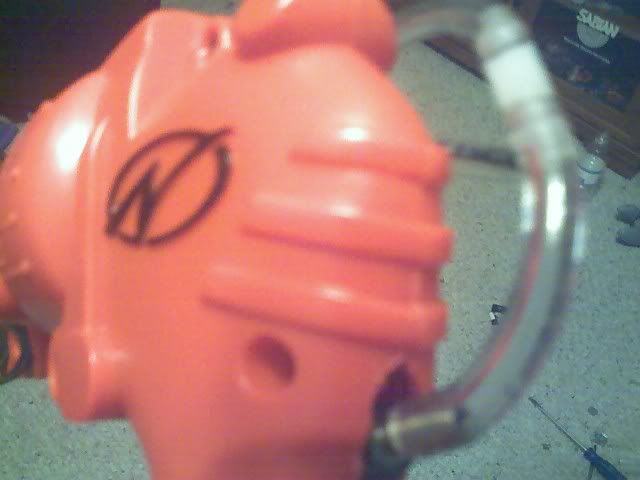
One blaster, The Rough Cut , caught my attention.
I mean, just look at it, it's fucking sweet..
I initially planned to integrate two panther rigs into the shell, but I discovered that clownieX already did that.
So I decided to come up with something new, something that made the already sexy RoughCut look even more sexier
[/cliche' "I'm back" intro]

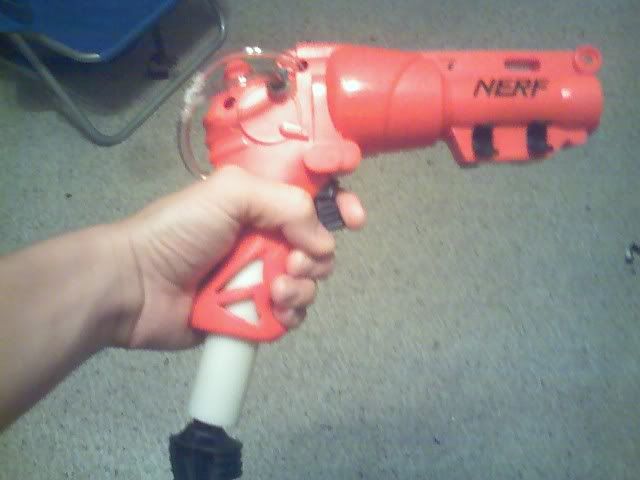
The Rough Cut 4x4 AKA Dudley
Project Goals:
+ combine two RoughCuts into one blaster
+ Avoid using liquid adhesives (Hotglue, epoxy, JB Weld, etc..)
+ Link both blasters to one handle and trigger
+ Link the priming mechanism into one shotgun style pump.
So here's the write up guys.
Tools:
+ Drill (with 1/8" bit, 5/32" Bit)
+ Some form of saw (for Nylon rod)
+ Dremel tool- while not impossible to do without, this is strongly recommended
+ Screwdrivers (flat or phillips depending on which type of bolts you purchase)
Materials: new modders, be not afraid! this list looks more complex than it actually is, its a force of habit..I grew up in the +bow days when CaptainSlug had a detailed partslist for a run to the grocery store...
Most of these are available at your local ACE hardware or Home Depot, I have some parts that came from McMaster Carr but for those of you younger nerfers out there, or those of you that can't access internet commerce (Mom, can I have your credit card?), I will note substitutes that you can use to accommodate the modification
+ 2 Rough Cuts
+ A little bit of 1/8" polycarbonate plastic sheeting [Check your Home Depot, ask for 'Lexan']
+ Bolts: (if you don't understand the measurements, present this list to your friendly neighborhood hardware man and he'll know exactly what to get for you)
- ten 6/32 x 1/2"
- six 6/32 x 3/8"
- four 6/32 x 1 1/4"
- one 6/32 x 3/4"
- one 6/32 x 3 1/2"
- twenty 6/32 washers
- five 6/32 nuts
- This can be substituted with 1/2" diameter dowel rods at ACE, drilled with a 1/8" drill bit
- This can be substituted with 1/4" diameter dowel rods at ACE, drilled with a 1/8" drill bit
Notes:
+For reference purposes I will define the following:
- The "Inside Shells" are the blaster halves that face inward, and are bolted together.
- The "Outer Shells" are the blaster halves that face outward and are not bolted to each other.

So purchase your two Rough Cuts, I recommend WalMart, they give you 16 darts as opposed to 8 (you're gonna need em')

Unscrew the 3 screws on the priming pump and pop it off to access the blaster's internals.

Okay, now that she's cracked open, feel free to modify the blaster in any way that fits your needs. There are various mods including Air Restrictor Removal, Speedloaders, etc.. that can improve the performance of the blasters, I chose to leave mine stock because currently I'm just dicking around indoors. Basically at this point, do what you need to do for performance, as that is a minor focus of this modification.

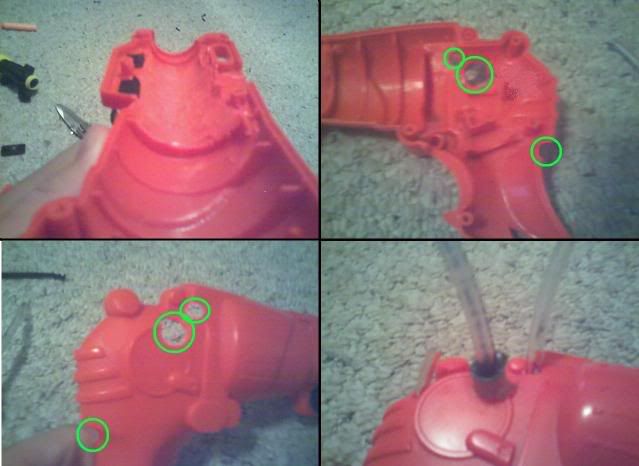
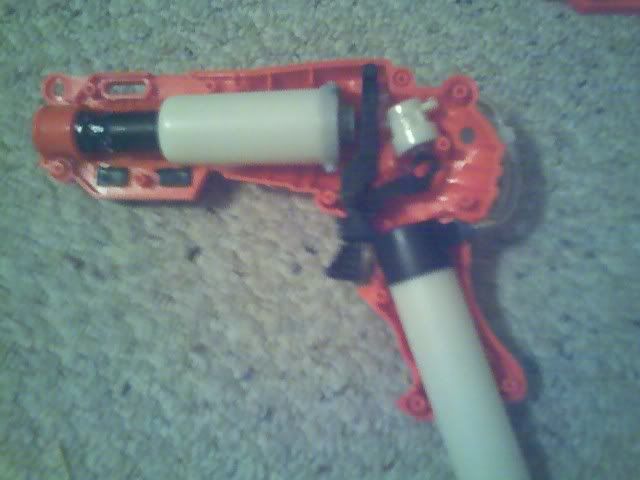
Ok, so you need to select two halves to be the "inside" shells, these will be the two parts of the shell that are used to connect to each other. They need to be opposite sides from each blaster. Once you've got them selected, drill eight holes using a 5/32" drillbit in the areas displayed in the picture.

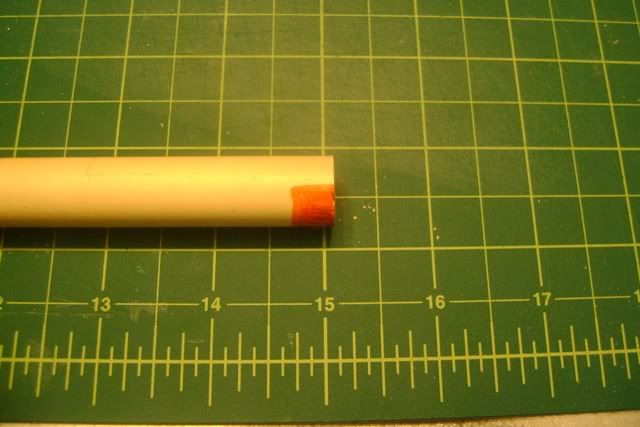
Cut four 1 1/2" pieces of the 6/6 Nylon Rod. [dowels if you're substituting] These will be your connecting pieces.

Using a 1/8" drillbit, drill holes in both sides of each piece of nylon [I recommend using a vise to secure them, it is important that the holes that you drill are as straight as possible, to ensure a good, clean fit.]


Using 6/32 x 1/2" bolts and 6/32 washers, bolt the pieces of nylon to one side of the "inside" shell

Go ahead and bolt the other "inside" shell to the nylon, so you can get it threaded, and get a feel for the new shell [you will periodically unbolt and rebolt as you assemble]

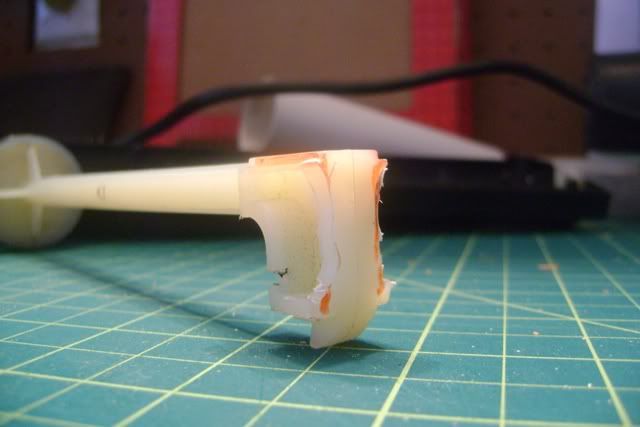
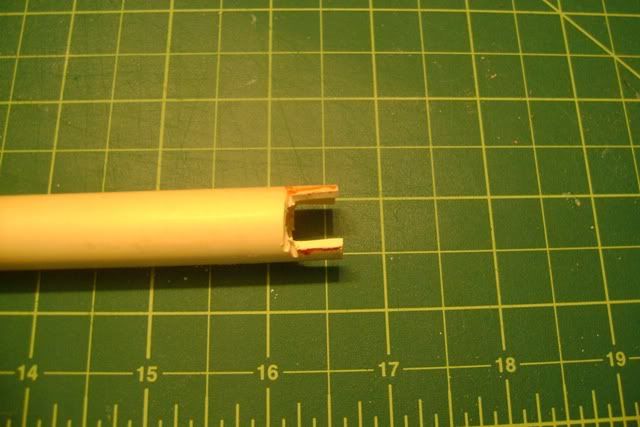
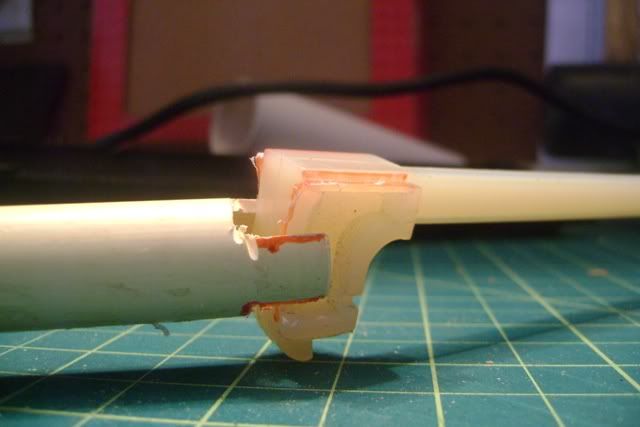
Using you Dremel tool (or other precision cutting tool), cut the "outer shell" halves [the halves that will face outward] as indicated in the above picture.
These handles will be saved to be used as the blasters final handle, because they are preserved by the cutting process.

Again using your Dremel tool, cut the "inside shell" to the general shape indicated above. It is important to note that it is a different cut than the previous. Look closely, and try to match the pattern.
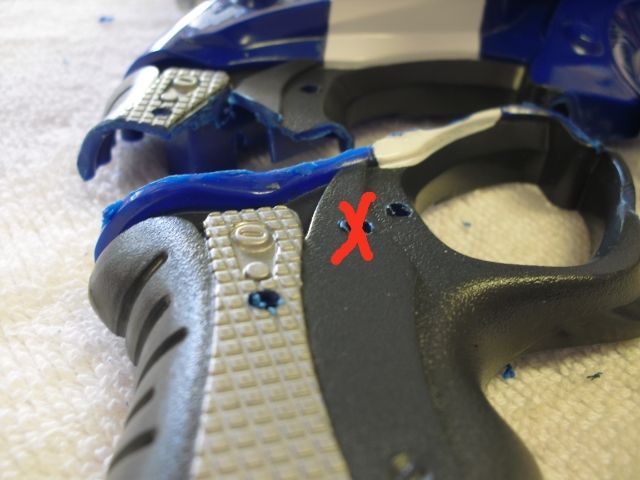
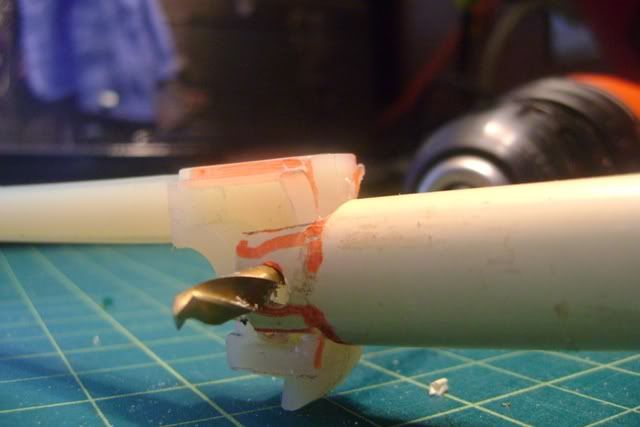
Using a 5/32" drillbit, drill four holes in the handle sides you saved and the corresponding "inside shell" as pictured above. You'll need to do this for both "inside shells"( red X= measure twice cut once xD)

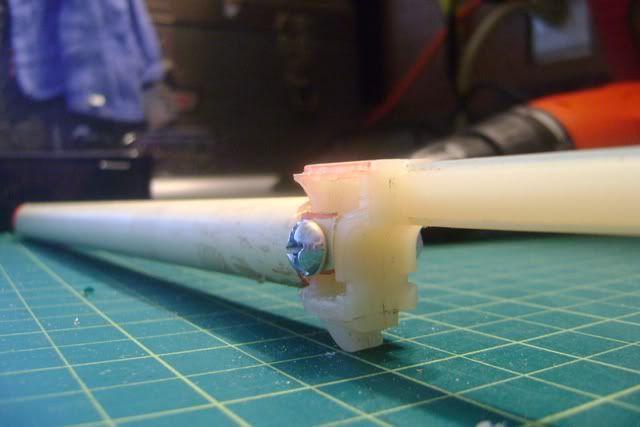
Now use you 6/32 x 1/2" and 6/32 x 3/8" bolts along with 6/32 washers to attach the 6/32 x 1/4" threaded standoffs [or dowel rods if you're substituting] to the blaster handle as shown in the picture. These will be used to attach the handle to the blaster.


Use 6/32 x 1/2" and 6/32 x 3/8" bolts along with 6/32 washers to fasten the handle to the "inside shell" as displayed above.
Now that you have a feel for the handle's attachment, unscrew it so you can begin the final assembly.


 Find content


