
g-force
Member Since 12 Feb 2008Offline Last Active Nov 15 2009 01:43 AM
 Find content


Topics I've Started
Marshmallow Shooter
15 August 2008 - 03:36 PM
Alright So I just got home from visiting relatives and on the way to the airport we stopped a Mall of America where I got cheese, chocolate, a cheese hat and this interesting little gun. I had seen the one that my freind had and noticed it had quite the air output so I saw one and decided to get it.
To do this mod you will need:
hacksaw or dremal for a cleaner cut
hotglue gun and sticks or plumbers goop
Marshmallow shooter
(can be found here
or at other stores)
cpvc
Alright my writeups sucked when I tried something other than the step one step two format so its back to that.
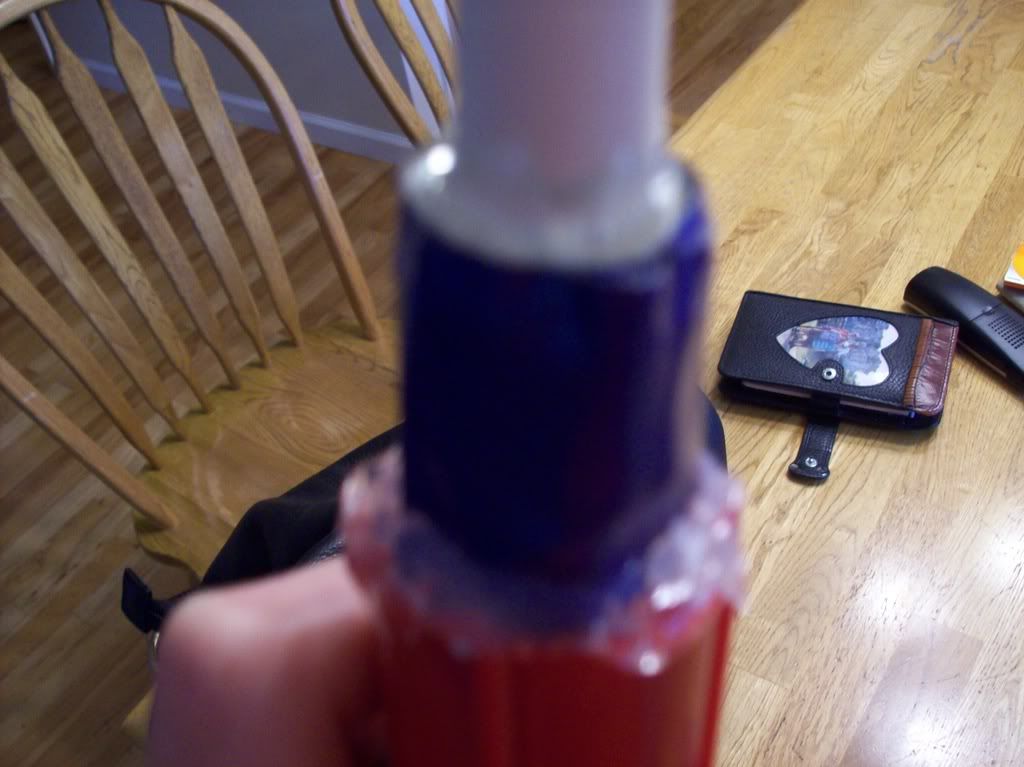
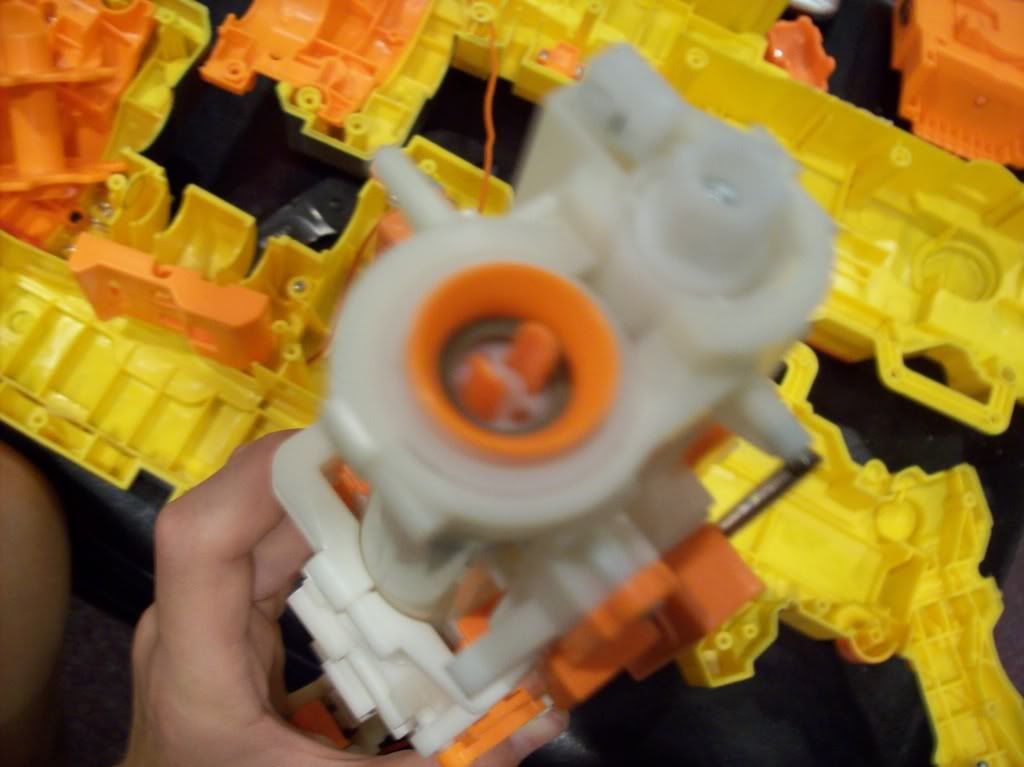
Step one: Remove the front marshmallow breach section by pushing down on black nubs.
Step two: Once this is removed dremal or saw off just behind the front AR grate section.
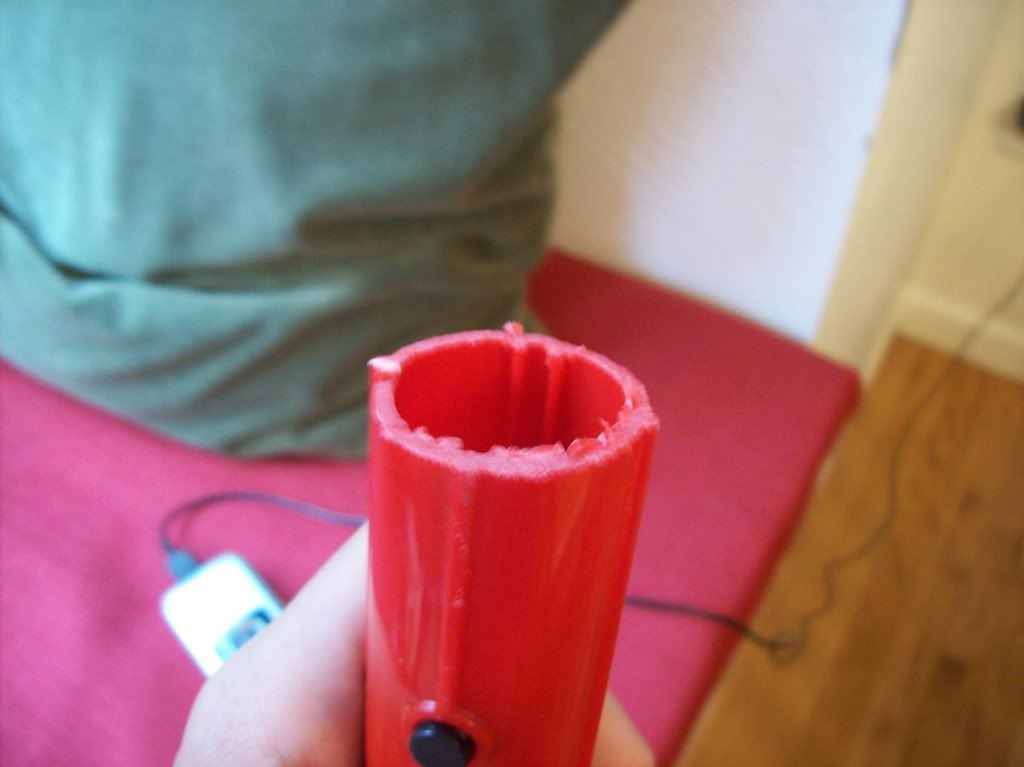
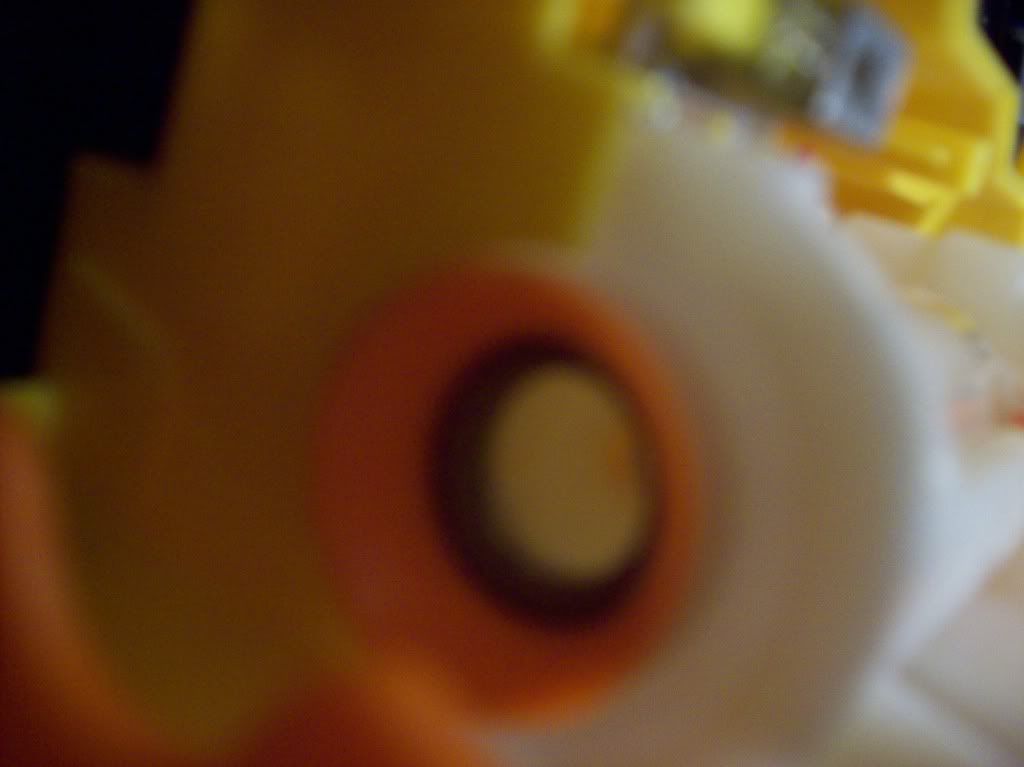
But see that little black thing in there? thats important, leave it there it's part of the valve.
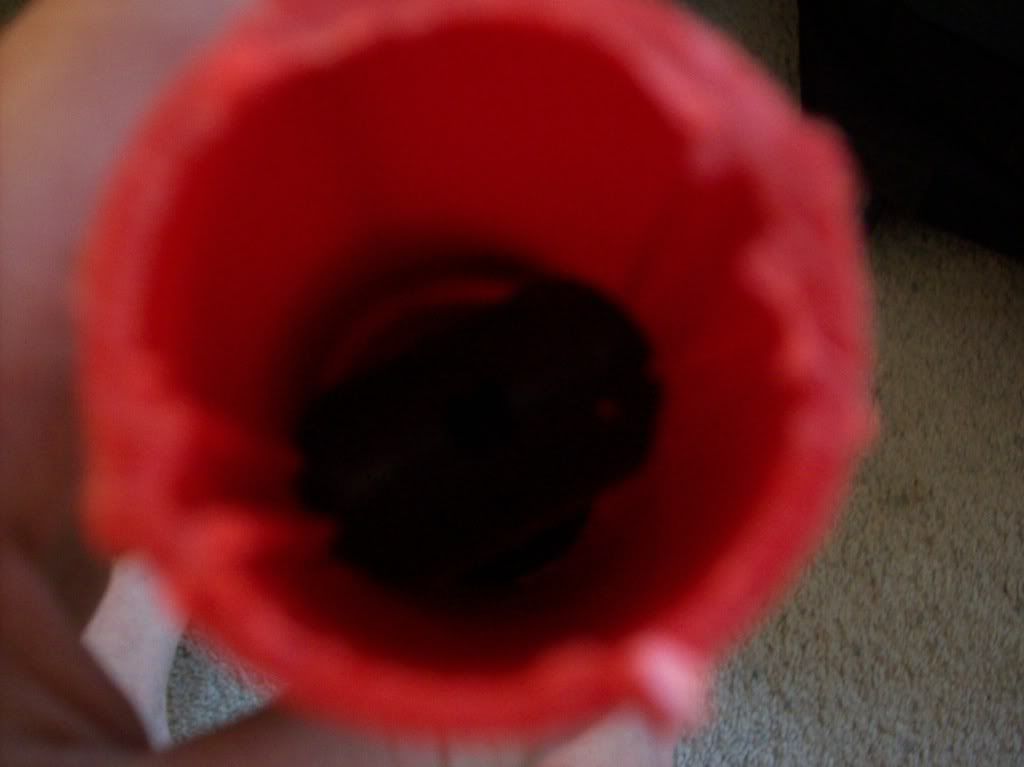
Step three: wrap a barrel length of your choice ( I used a 4 inch barrel because that was all I had left) in enough duct tape to fit snug inside the stock barrel.
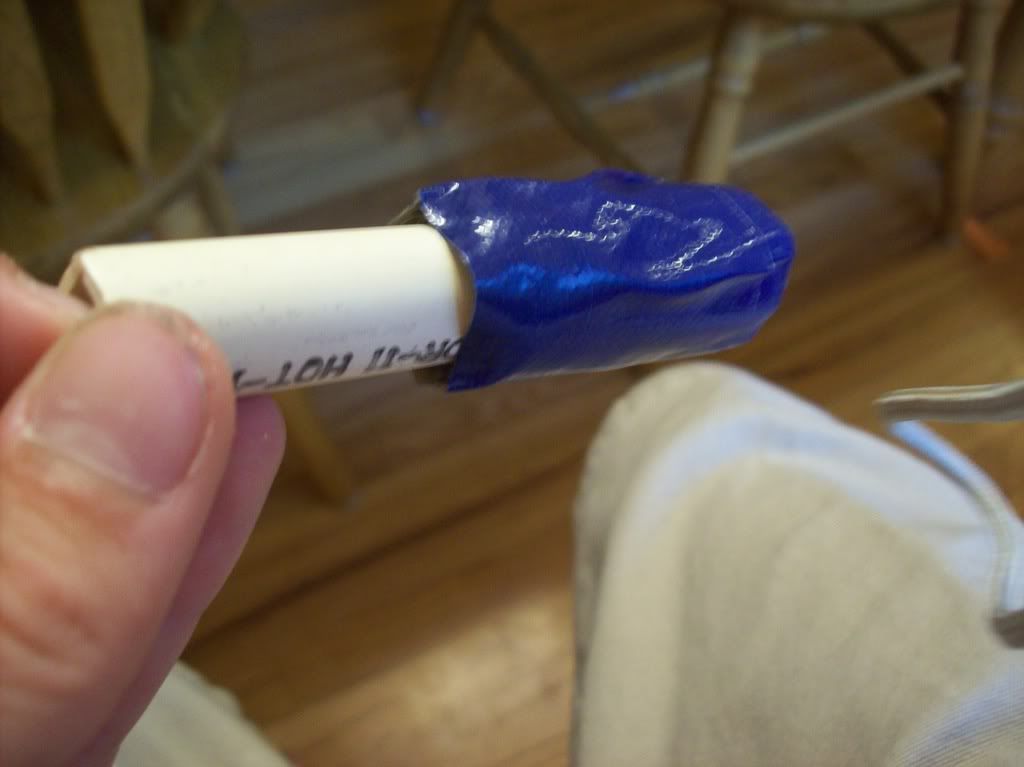
Step four: Put the barrell in the stock barrel.
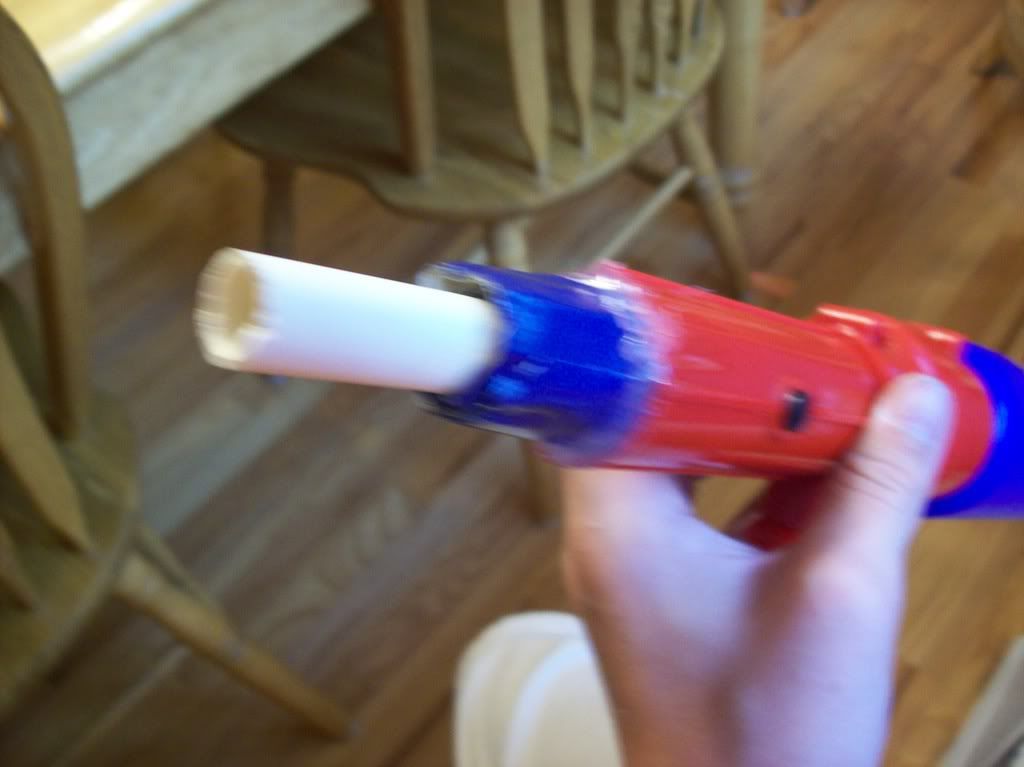
Step five: hot glue or plumbers goop around the edges of the duct tape and cpvc and around the edges of the duct tape and stock barrel.
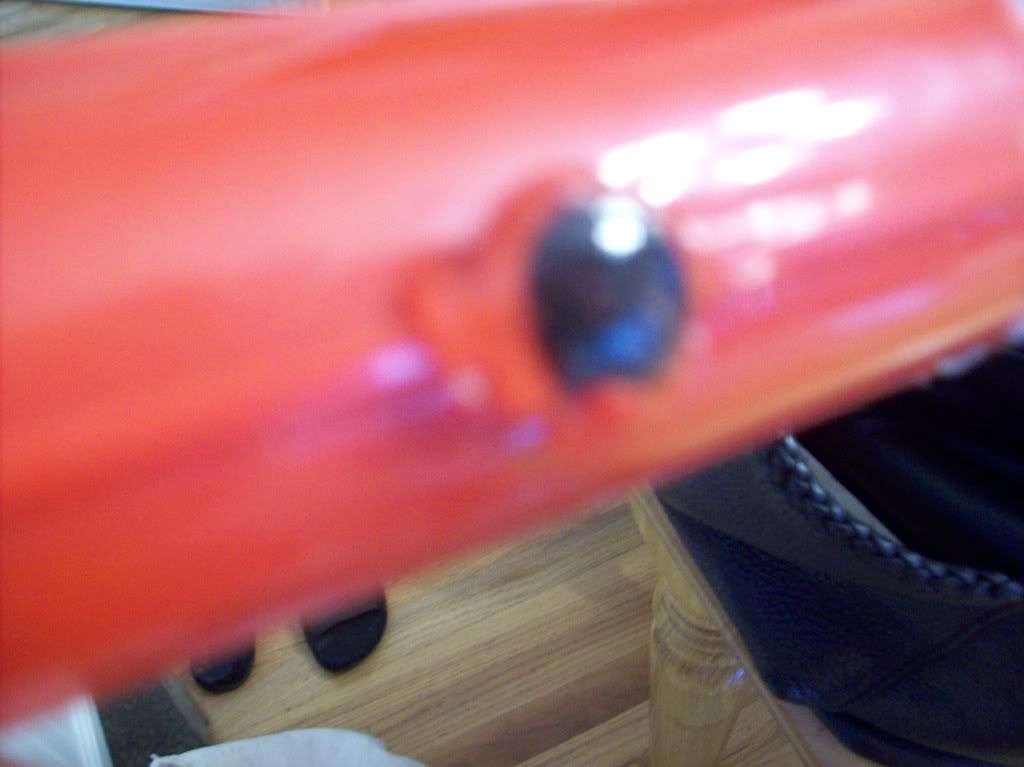
Step six: Hot glue over the black nubs holding the part of the valve i talked about earlier.
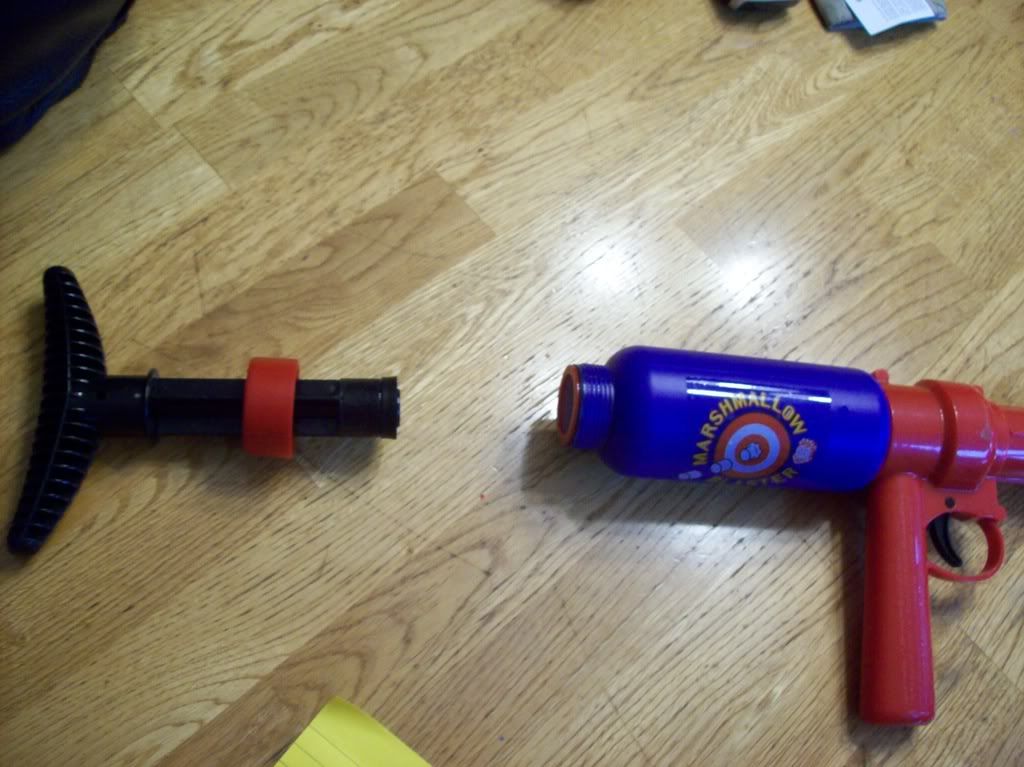
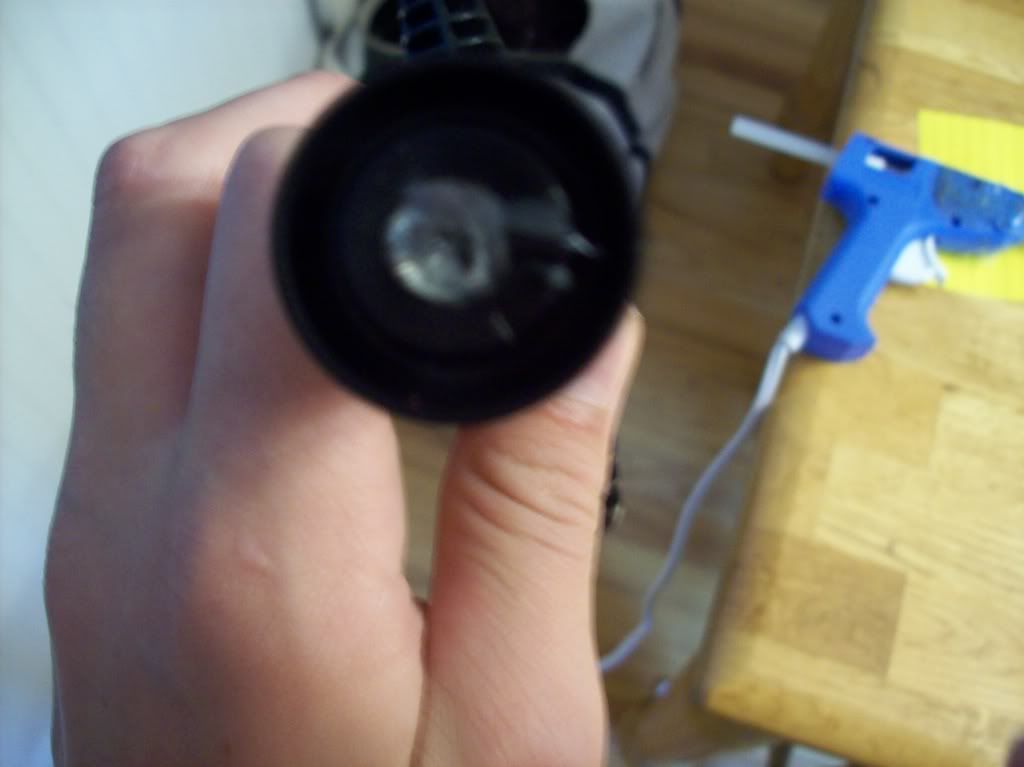
Step seven: Now its time to plug the pump. Unscrew the back of your gun as shown.
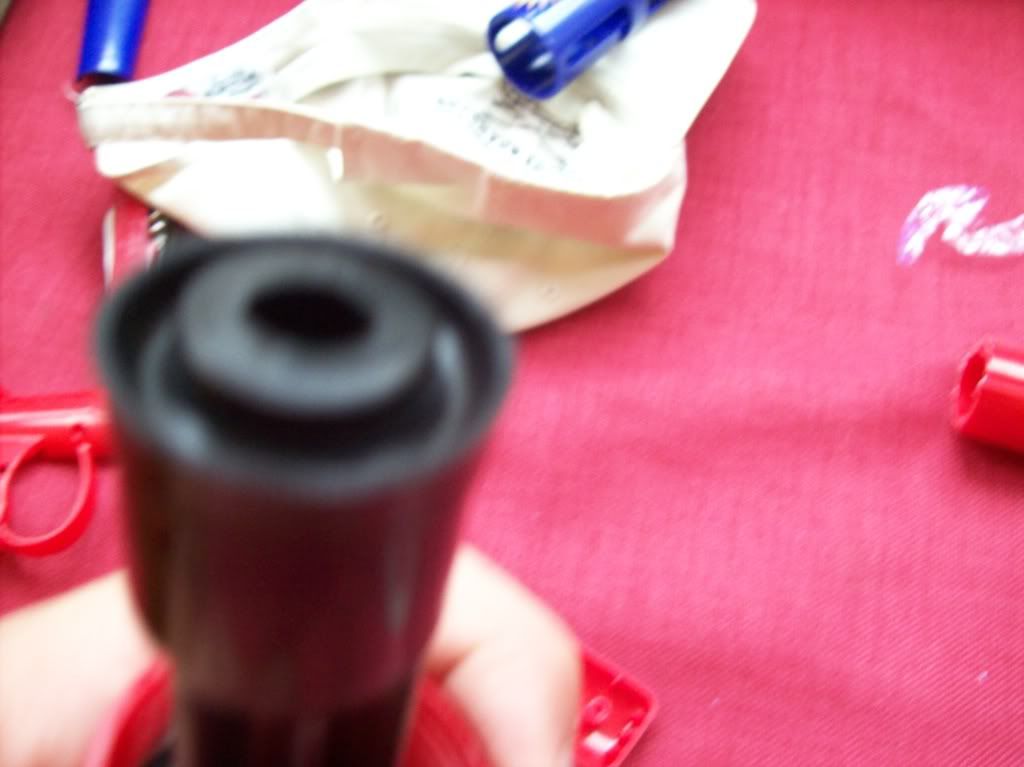
Now simply hot glue over the hole in the plunger head.
Now your done. No official ranges yet as it is raining heavily right now but I am guessing upwards of 90. I have done the welt test in which it did well.
To do this mod you will need:
hacksaw or dremal for a cleaner cut
hotglue gun and sticks or plumbers goop
Marshmallow shooter
(can be found here
or at other stores)
cpvc
Alright my writeups sucked when I tried something other than the step one step two format so its back to that.
Step one: Remove the front marshmallow breach section by pushing down on black nubs.
Step two: Once this is removed dremal or saw off just behind the front AR grate section.
But see that little black thing in there? thats important, leave it there it's part of the valve.
Step three: wrap a barrel length of your choice ( I used a 4 inch barrel because that was all I had left) in enough duct tape to fit snug inside the stock barrel.
Step four: Put the barrell in the stock barrel.
Step five: hot glue or plumbers goop around the edges of the duct tape and cpvc and around the edges of the duct tape and stock barrel.
Step six: Hot glue over the black nubs holding the part of the valve i talked about earlier.
Step seven: Now its time to plug the pump. Unscrew the back of your gun as shown.
Now simply hot glue over the hole in the plunger head.
Now your done. No official ranges yet as it is raining heavily right now but I am guessing upwards of 90. I have done the welt test in which it did well.
Chubbs
28 July 2008 - 12:14 AM
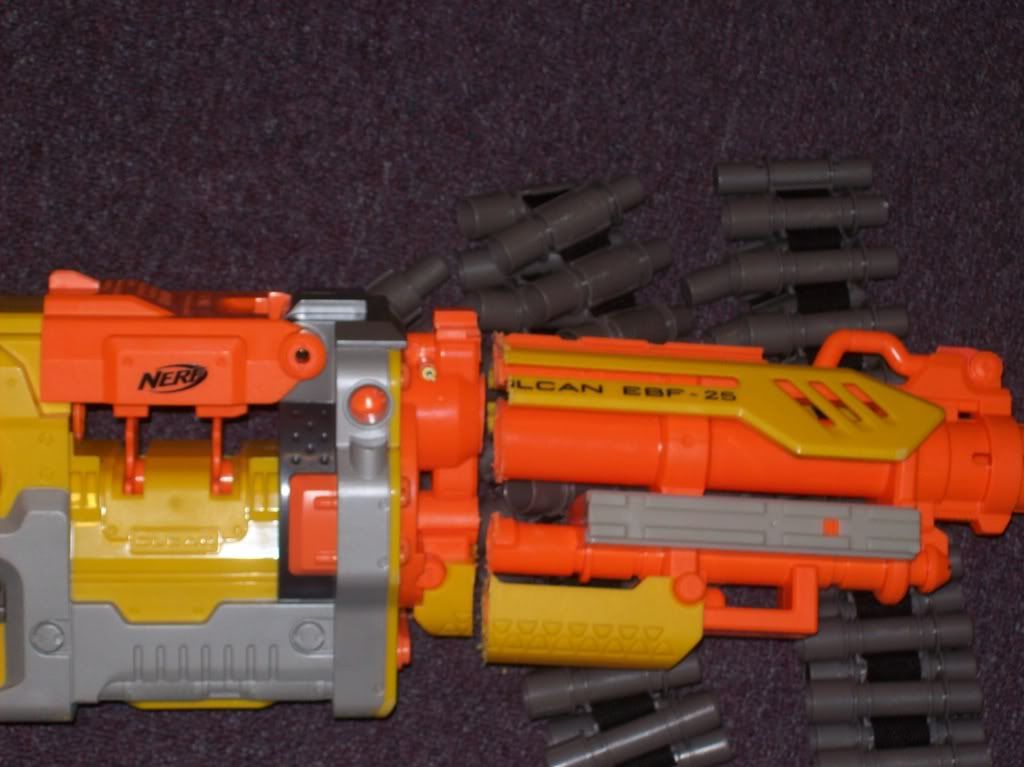
Alright start off by opening your gun. Then drill out the air restrictor.
Pop out the pegs on the chains.
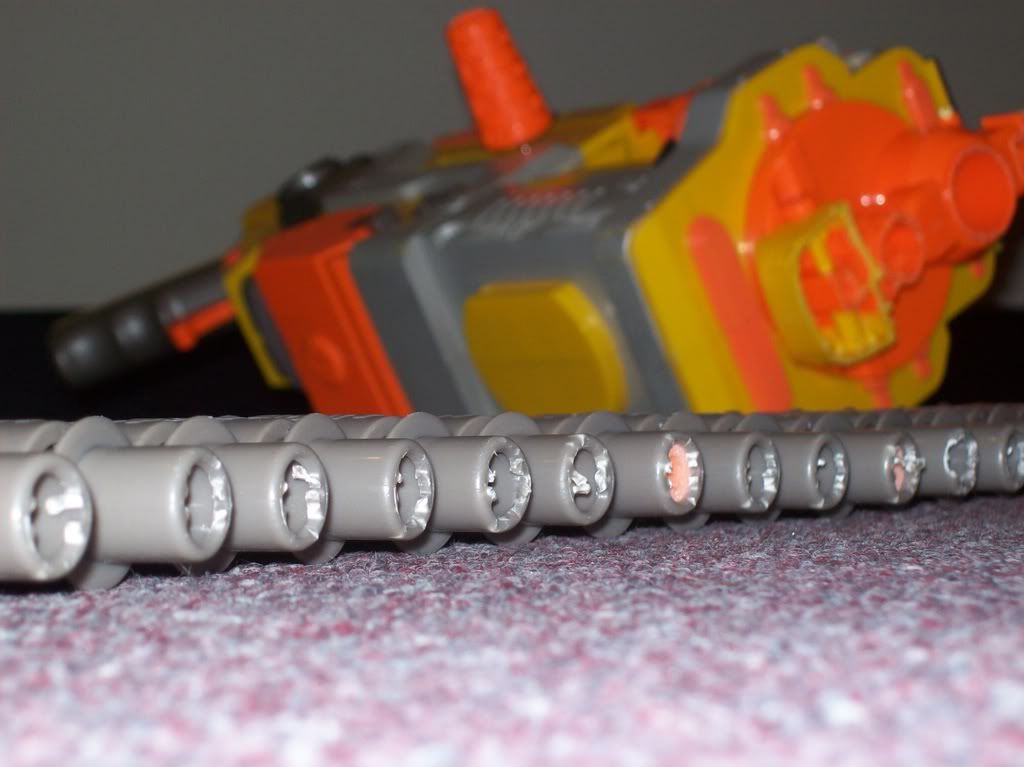
And put the gun back together, and saw it like this.
Part two: Integration.
Alright Before the flames this is not an internal integration. I did an external integration because there was NO room.
First unscrew your titan then take out the internals. Cut yourself a barrel for the titan I used a barrel aprox. 5 inches long and fill in the space with hot glue or plumber’s goop.
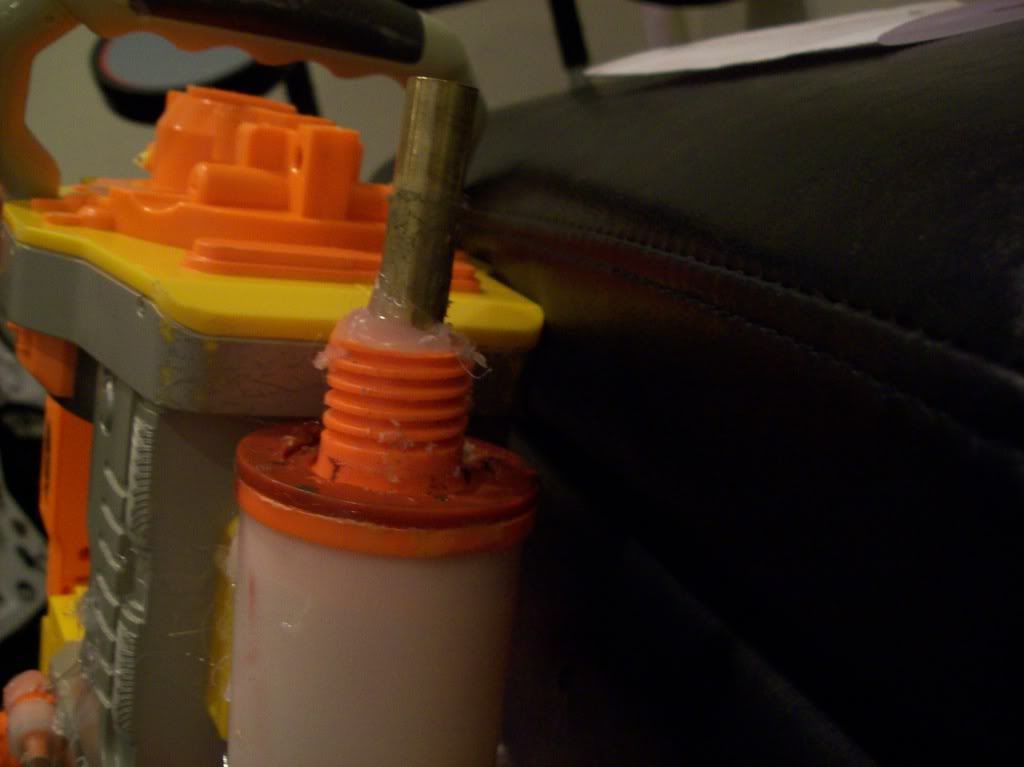
Then epoxy or hot glue the air tank to the bottom of the Vulcan.

Now take the air pressure meter. And hornet attachment air transfer tube and epoxy or hot glue them to the sides, this will add more support for the titan.
Part three: cosmetics.
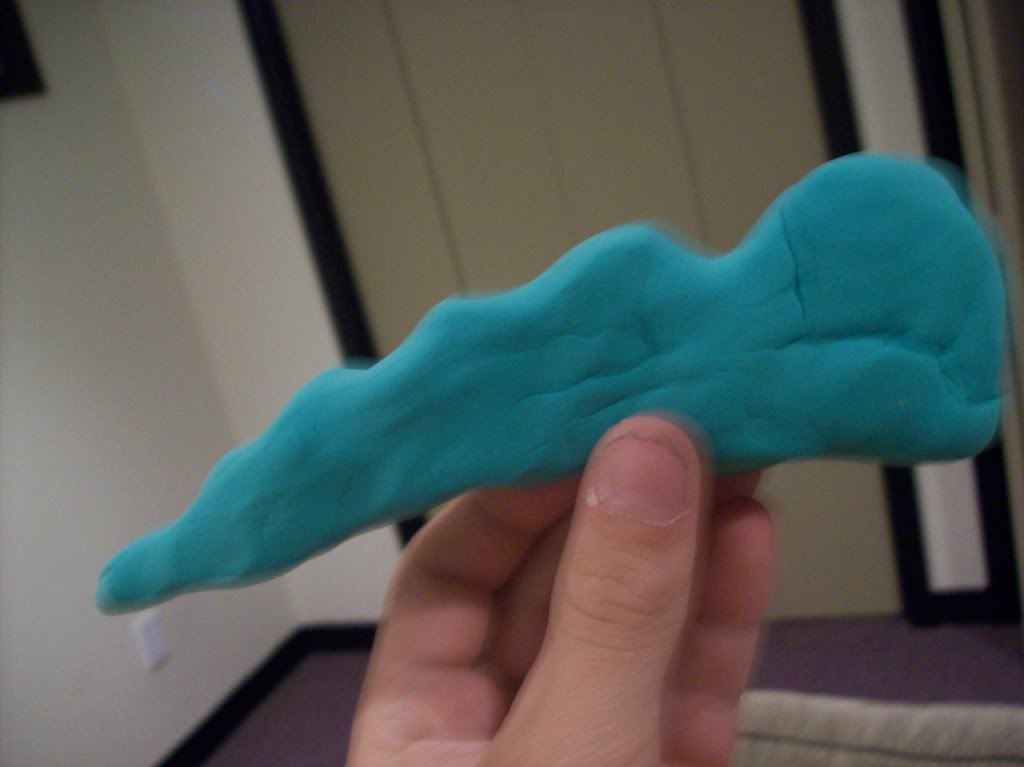
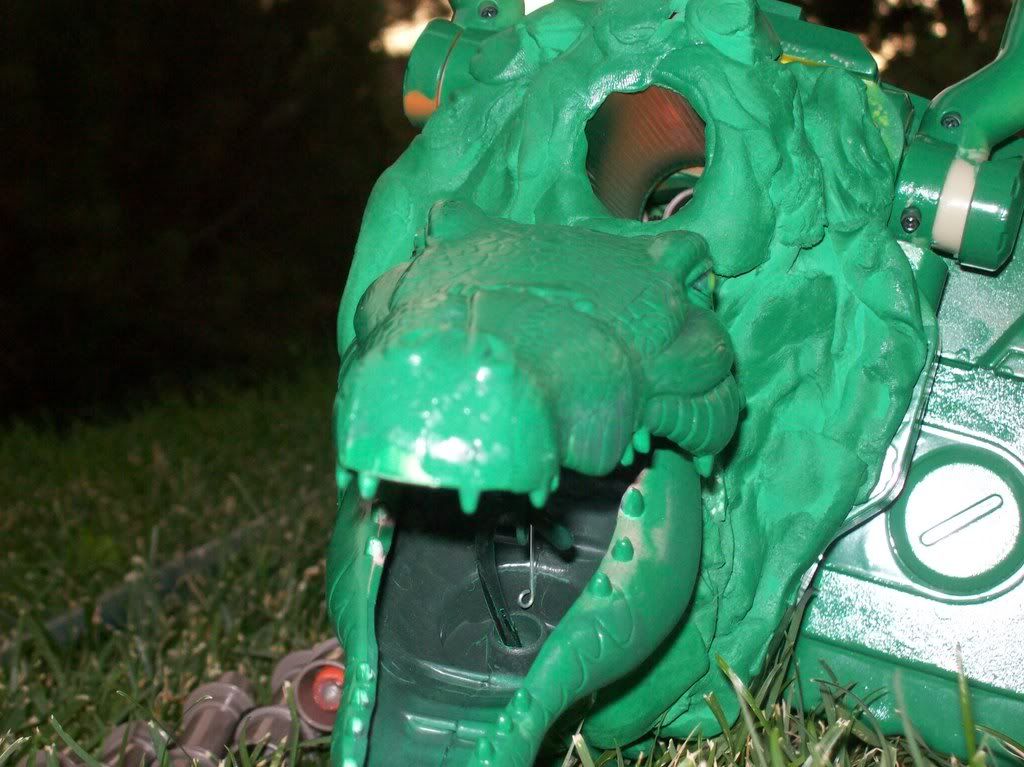
Start by taking a lump of model magic and hot gluing it to the front. Press the alligator’s pinchers bottom half of the head against the lump.
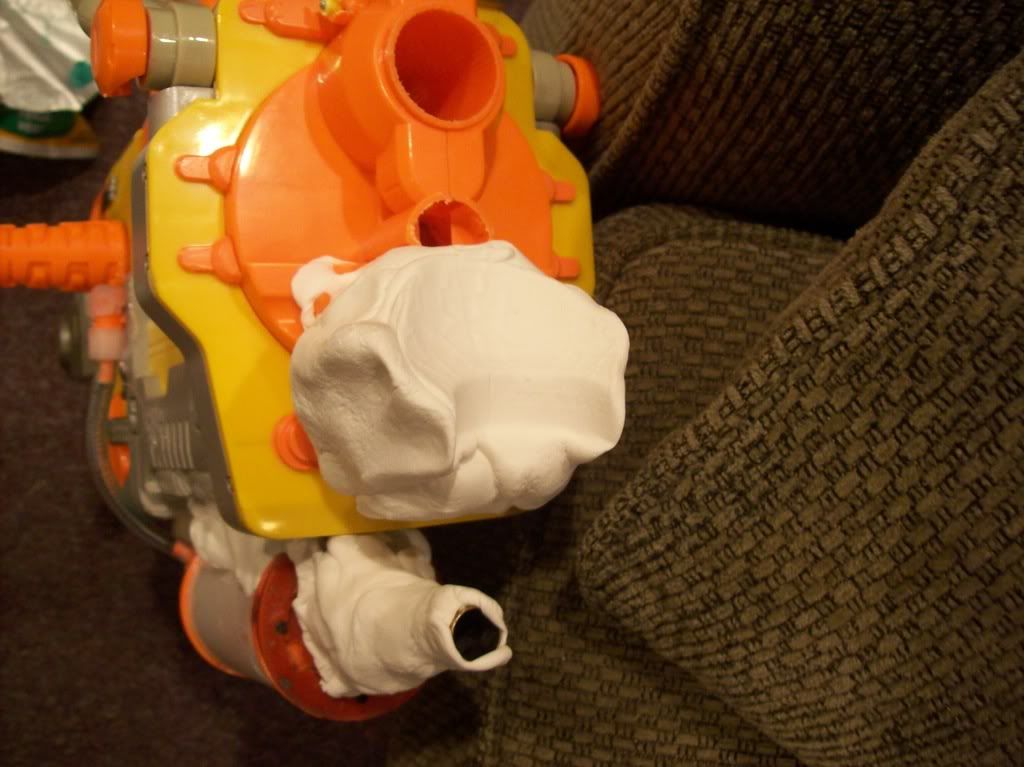
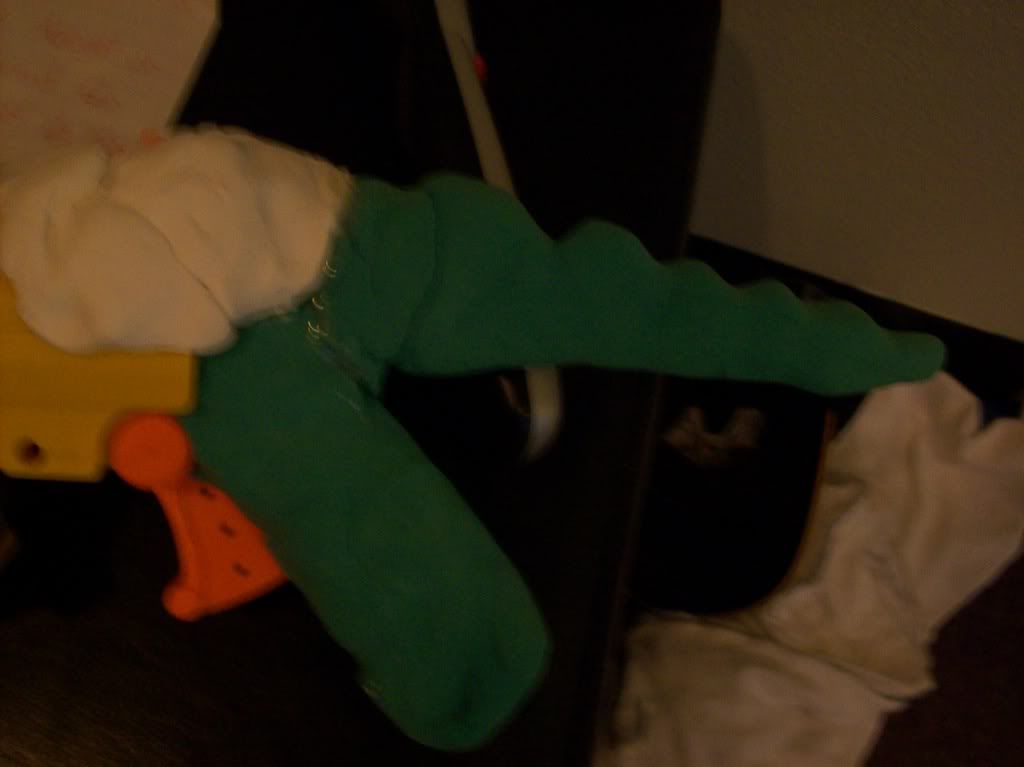
Now put model magic on the rest of the gun as shown.

Now shape the tail make it as long or short as you want but I made mine 5 or 6 inches.
Now push a piece of coat hanger 1 inch longer than your tail into the tail.
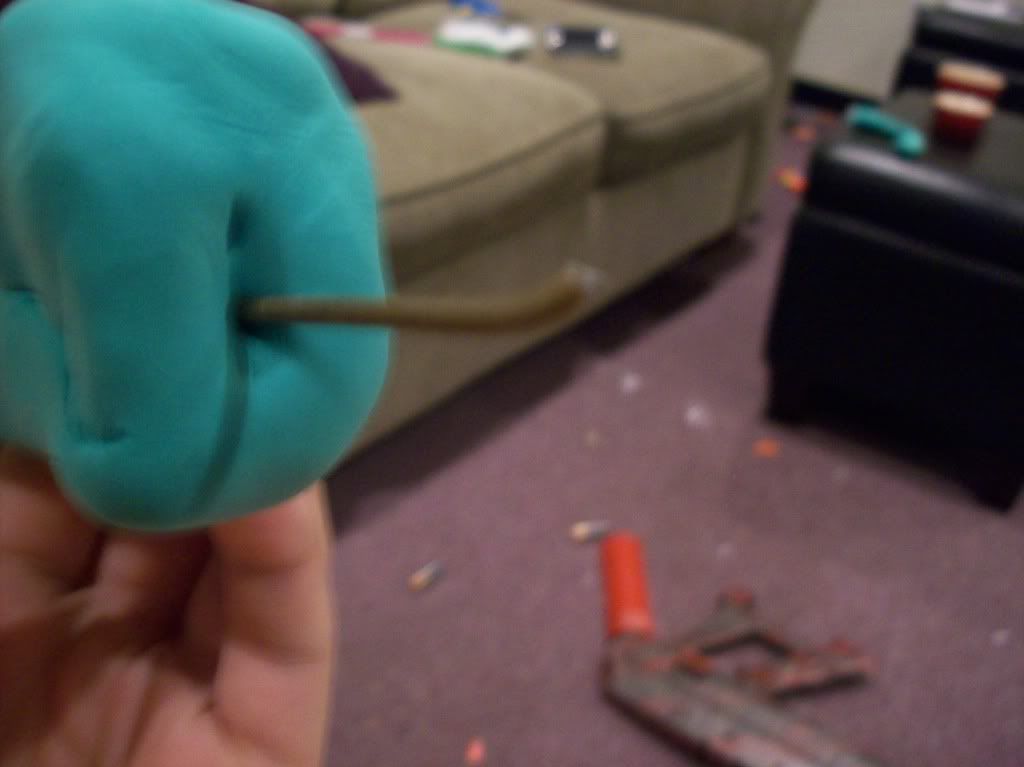
Cover the handle in model magic and push the piece of coat hanger into the handle.
Allow the model magic to dry.
Now for the head, take off the stick the alligator head was on.
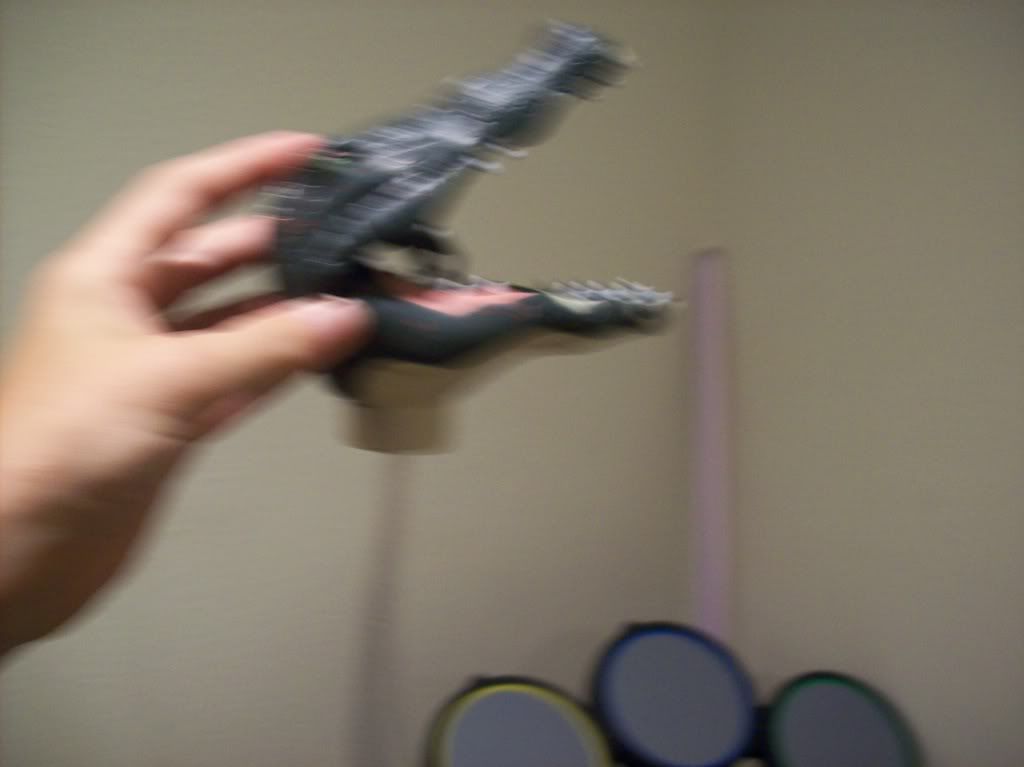
Now cut the string that was in the head.
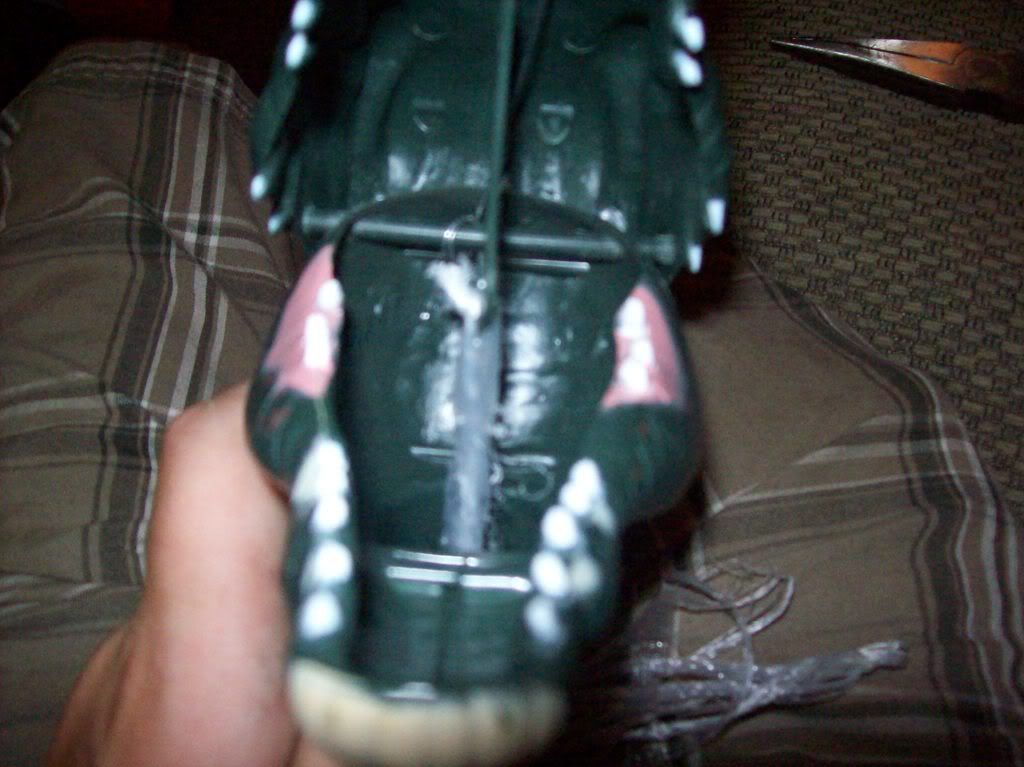
And replace it with about 1 and a half feet of wire.
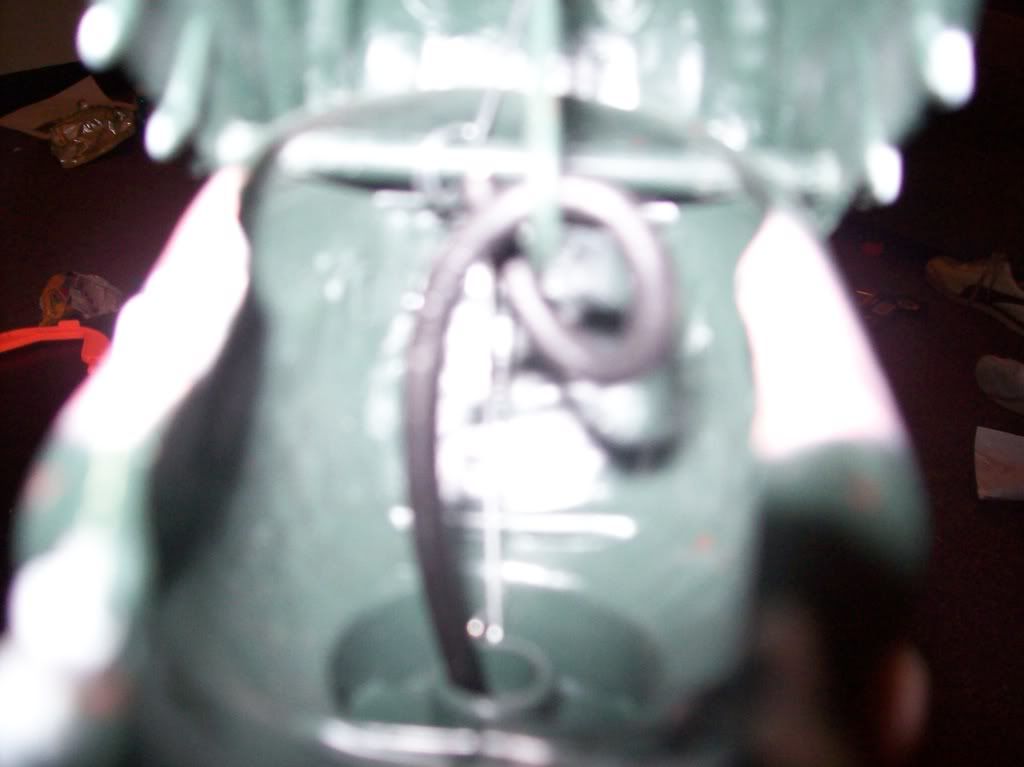
Now put a key ring on the other end of the wire.
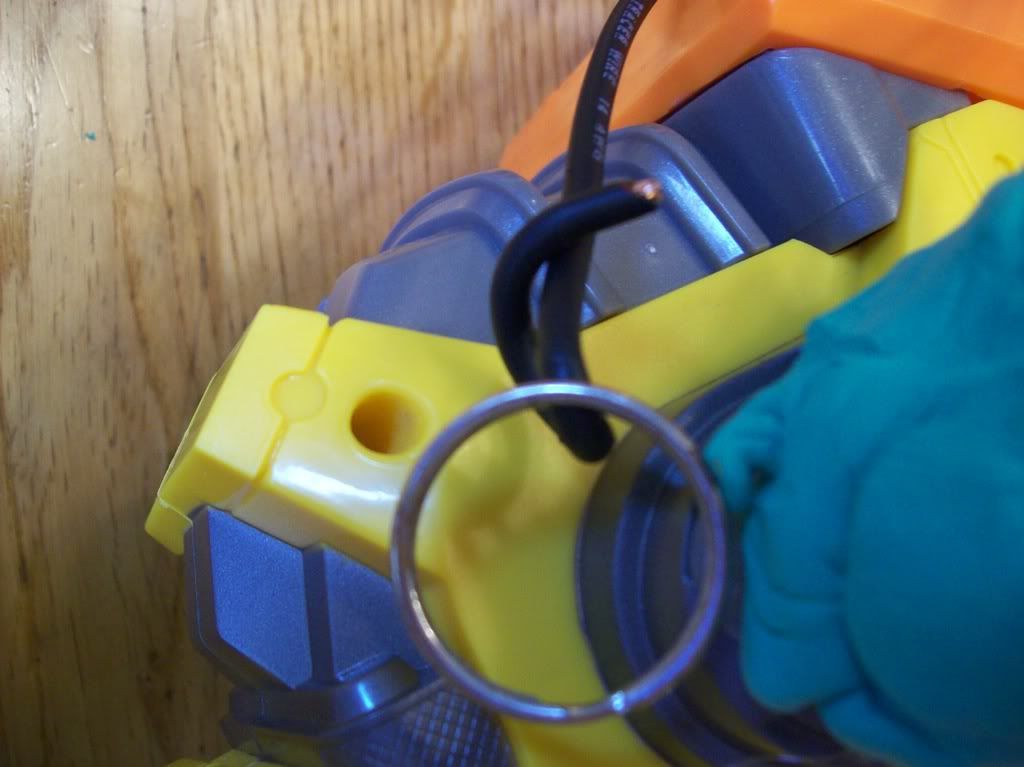
And then hot glue the head of the alligator to the model magic 'slot'.
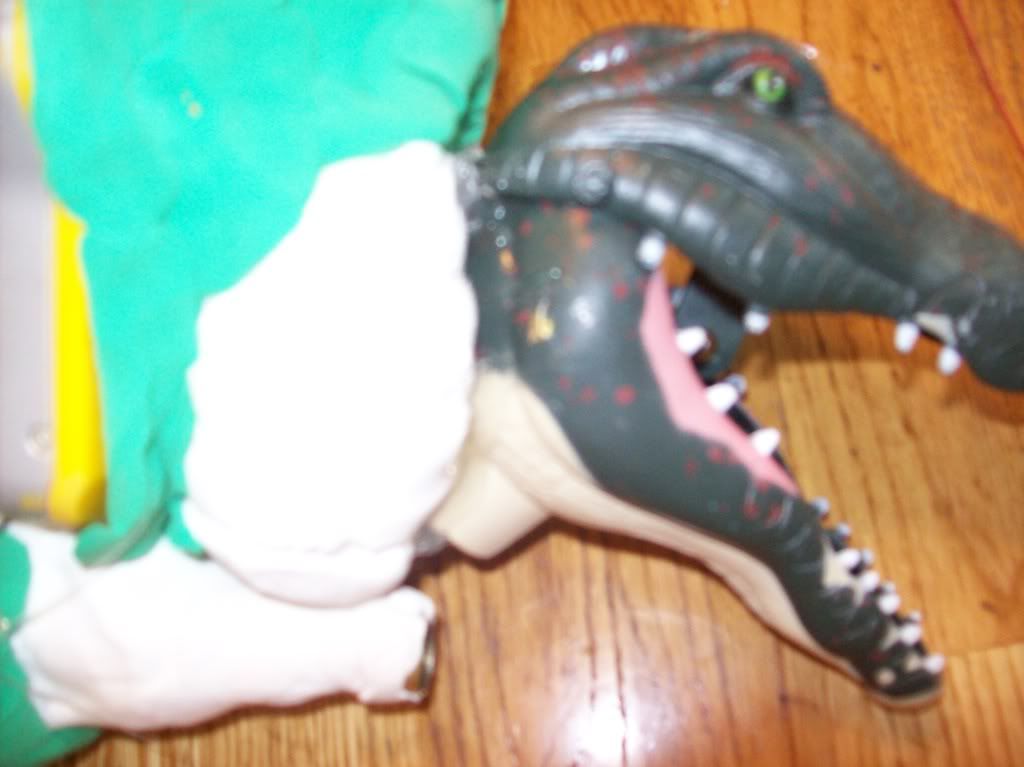
And now finally cover up the alligators eyes with painters tape and spray paint the whole thing with green spray paint.
And here is the finished product!
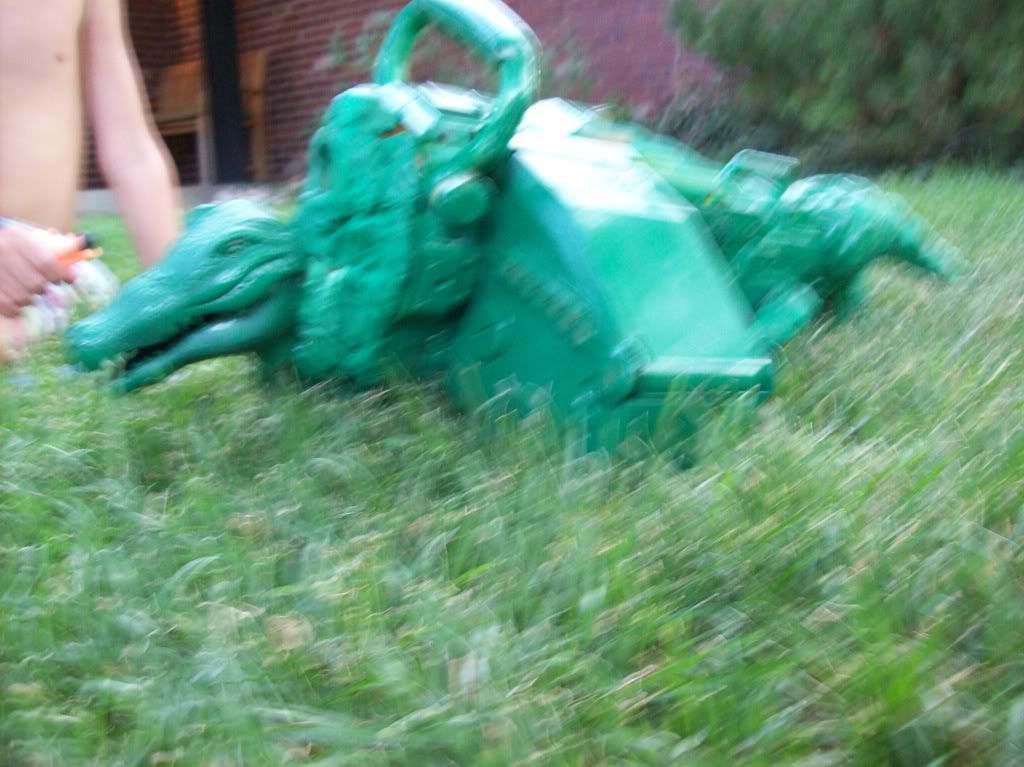
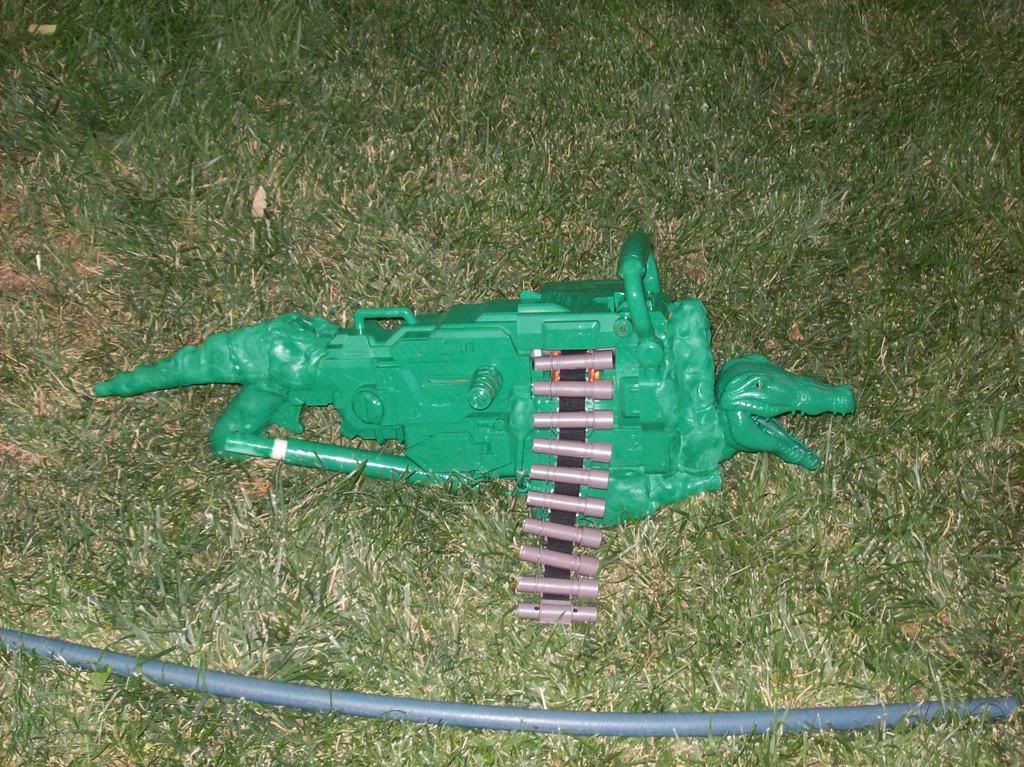
I hope you people enjoy this!
Pop out the pegs on the chains.
And put the gun back together, and saw it like this.
Part two: Integration.
Alright Before the flames this is not an internal integration. I did an external integration because there was NO room.
First unscrew your titan then take out the internals. Cut yourself a barrel for the titan I used a barrel aprox. 5 inches long and fill in the space with hot glue or plumber’s goop.
Then epoxy or hot glue the air tank to the bottom of the Vulcan.
Now take the air pressure meter. And hornet attachment air transfer tube and epoxy or hot glue them to the sides, this will add more support for the titan.
Part three: cosmetics.
Start by taking a lump of model magic and hot gluing it to the front. Press the alligator’s pinchers bottom half of the head against the lump.
Now put model magic on the rest of the gun as shown.
Now shape the tail make it as long or short as you want but I made mine 5 or 6 inches.
Now push a piece of coat hanger 1 inch longer than your tail into the tail.
Cover the handle in model magic and push the piece of coat hanger into the handle.
Allow the model magic to dry.
Now for the head, take off the stick the alligator head was on.
Now cut the string that was in the head.
And replace it with about 1 and a half feet of wire.
Now put a key ring on the other end of the wire.
And then hot glue the head of the alligator to the model magic 'slot'.
And now finally cover up the alligators eyes with painters tape and spray paint the whole thing with green spray paint.
And here is the finished product!
I hope you people enjoy this!

