This is a nerf war hosted in Rochester Minnesota, it will be hosted over by century high school and you can park at the church across the street from the park. Anyone is welcome to come! We will be playing in a public park so no realistic looking guns or something that will hurt. Pretty much anything is allowed other than that. And NO plastic tipped darts(or anything else that would hurt)! This is an open field so BYOC (bring your own cover). Covers are not required, but only a few will be provided. Don't have any guns? We will provide some for you! Sometimes participants will bring extras for loaning out so you should be fine. Hope to see you there! Use the Facebook site so I can keep track! If for some reson you cnat see facebook, it's July 29 at Northern Heights East Park in Rochester MN.
- NerfHaven
- → Viewing Profile: Topics: littlegunman
littlegunman
Member Since 01 Jun 2015Offline Last Active Aug 04 2018 07:51 PM
Community Stats
- Group Members
- Active Posts 43
- Profile Views 8,265
- Member Title Member
- Age 23 years old
- Birthday March 14, 2002
User Tools
Topics I've Started
Rochester MN Nerf War
22 July 2017 - 06:06 PM
Rochester MN possible war?
25 July 2016 - 04:36 PM
So I realized that any of the nerf wars in Minnesota are in st Paul (about an hour and a half from Rochester if you don't know) but how many of you people would attend if I had a nerf war here? If this goes well, I will schedule a nerf war sometime.
Anyone in Rochester MN?
31 January 2016 - 01:29 PM
Does anyone know a good high school to go to in Rochester MN? I'm moving up there over the summer and want to know where to make friends as my only fear of moving up there is that I will leave behind all my nerfing friends. So I guess what I'm getting at is, anyone go to high school in Rochester that is into Nerfing?
Nerf Nitefinder Minimize/Mod
23 October 2015 - 05:00 PM
Alright so I minimized a Nerf NiteFinder and made a mod guide. Here is what you get.

You can also see all the pictures here not all of them are included because of the large amount.
Materials:
NiteFinder
Plastic sheeting
Hot glue
Sandpaper
Epoxy
Sharpie
Tools:
Hot Glue Gun
Dremel
To start you need to remove the battery cover and all the other screws. Then split it in half.
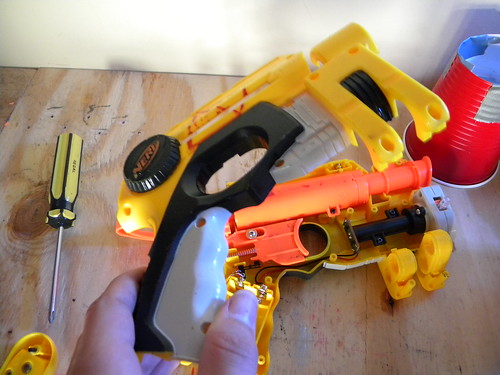
Now remove the tactical rail and then remove the two dart guides. Now remove these two screws and the whole piece.
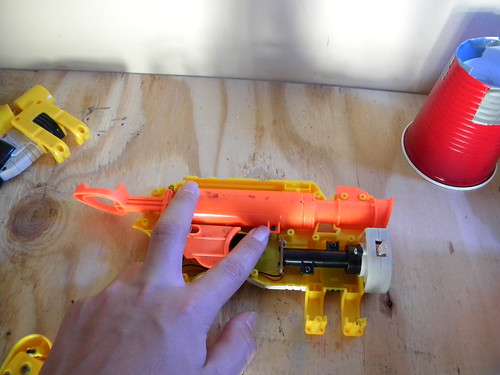
Now split the barrel in half and remove the AR like so:
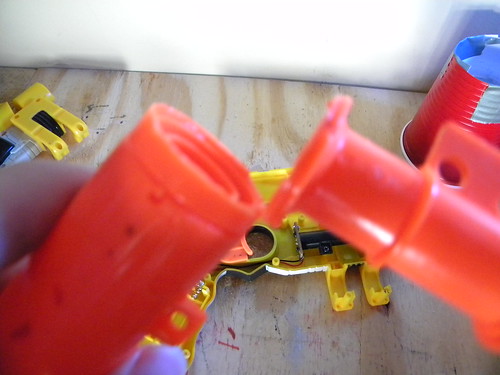
Now unscrew the screw holding the trigger in then remove it
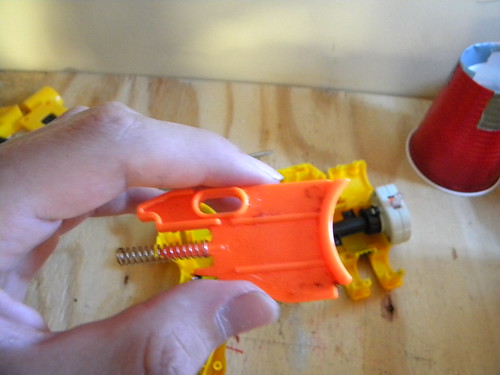
Remove this screw
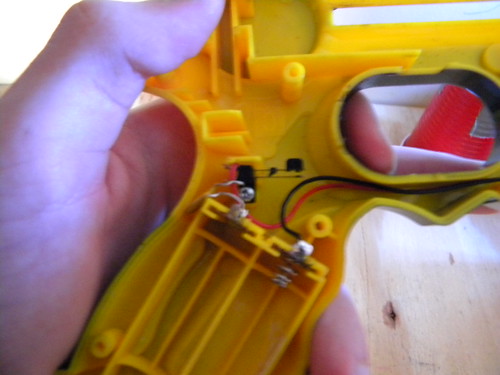
And These
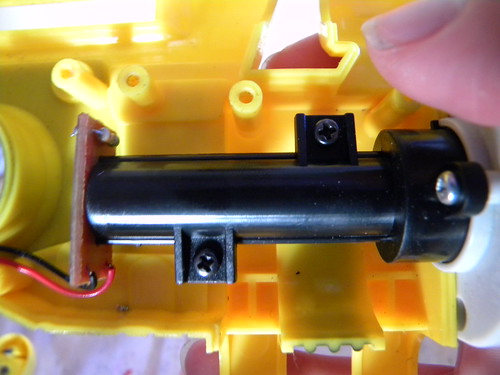
Now remove the whole assembly
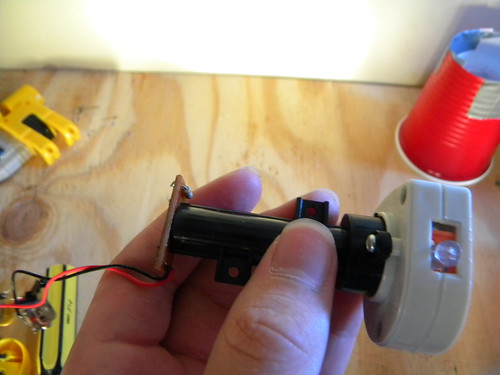
Now remove this piece from the battery compartment and discard it.
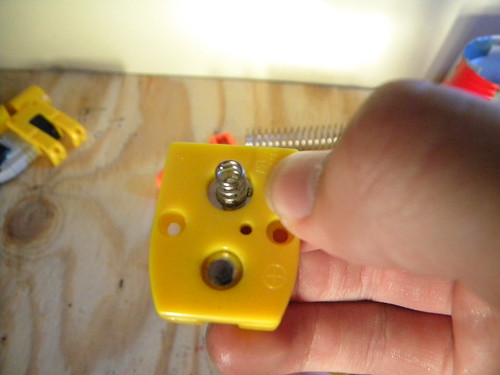
Take this plastic cover off and discard it. Then take the screw out.
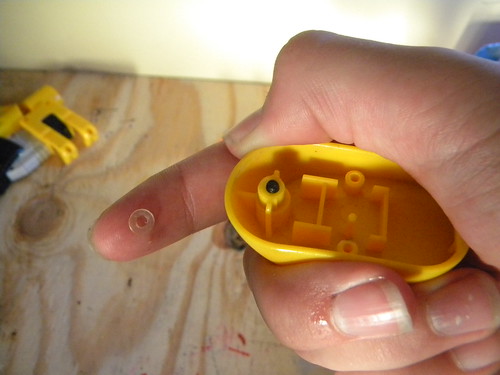
Now place these two pieces back in. DON’T PUT THE SCREWS BACK IN!!!!
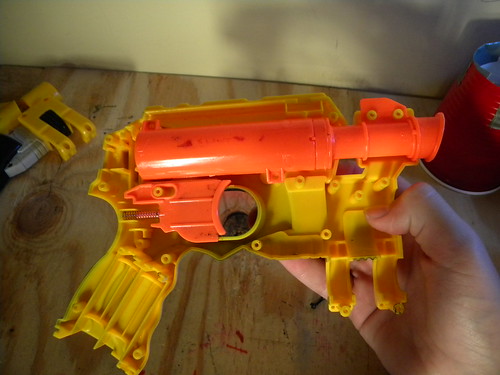
Now use a sharpie and mark where to cut.
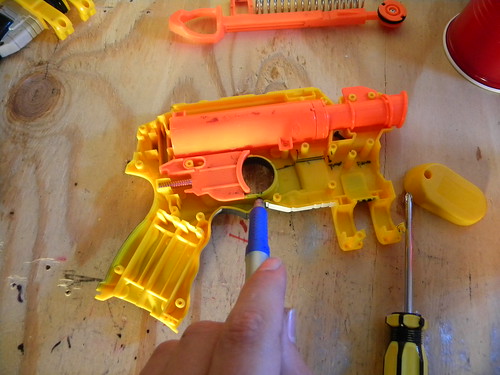
Now mark the same things on the other side on both halves. Make sure to cut here and don’t leave a huge flap.
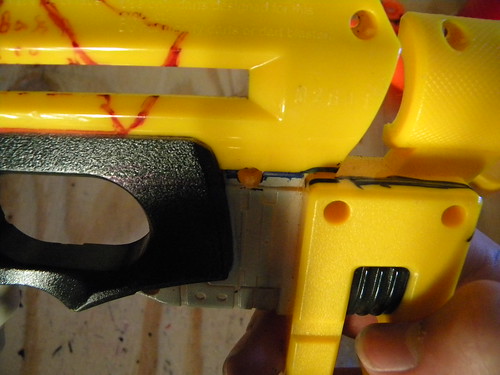
Use a dremel cutter bit to cut along the lines.
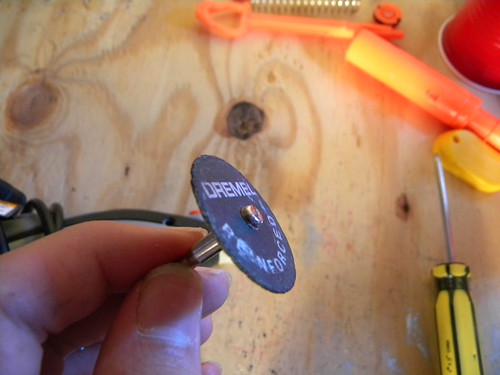
Now sand all of these pieces and the battery cover (Not Pictured). Make sure to sand down the plunger a LOT because I didn’t and accidently scraped all the paint off. (Look at the first picture at the plunger)
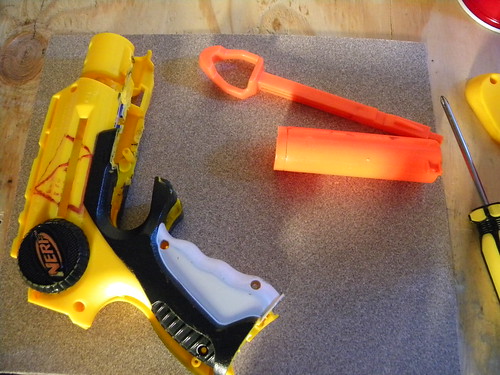
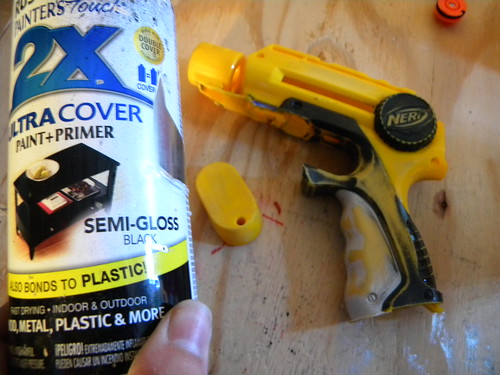
I sprayed these pieces with Rustoleum Painters Touch Semi-gloss black.
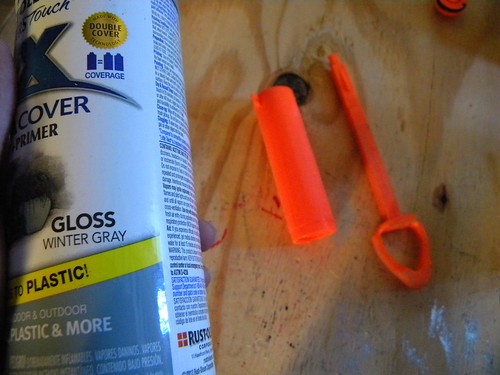
And these with Rustoleum Painters touch Gloss Winter grey
Now grab the front barrel you removed earlier and use a screwdriver to knock the pegs out and a pair of needle nosed pliers to remove the excess plastic.
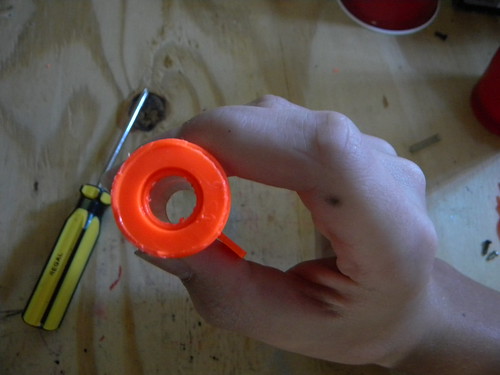
Make sure to get ALL of this piece when painting.
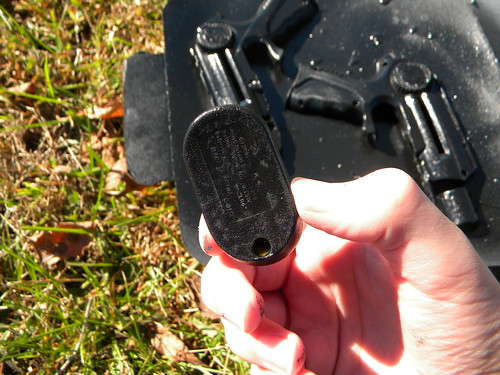
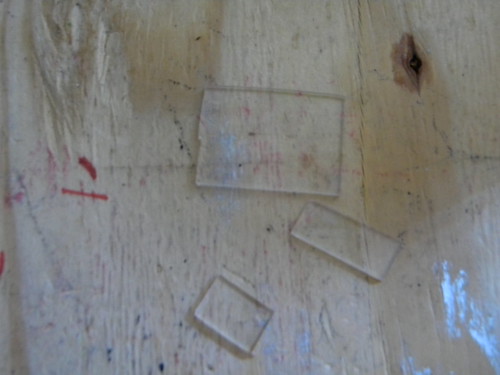
Now cut 3 pieces of plastic to cover the holes. Sizes vary depending on how big your holes are. Just use a ruler…
Reassemble this piece as so.
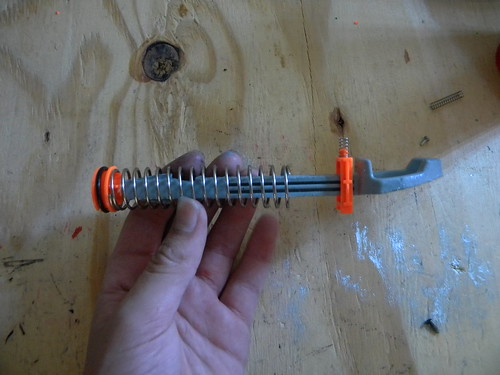
Insert everything else as shown. Don’t forget to epoxy the barrel back onto the grey piece. Keep in mind where the springs and screws go. Also make sure the catch goes in the right spot.
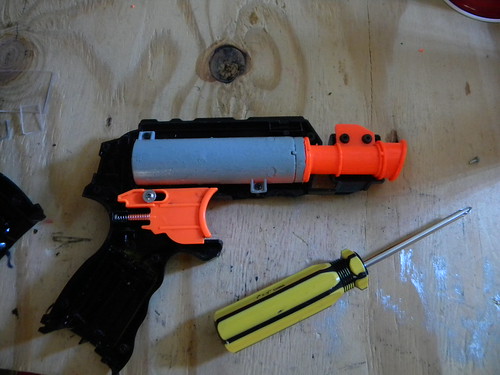
Don’t forget the tactical rail!
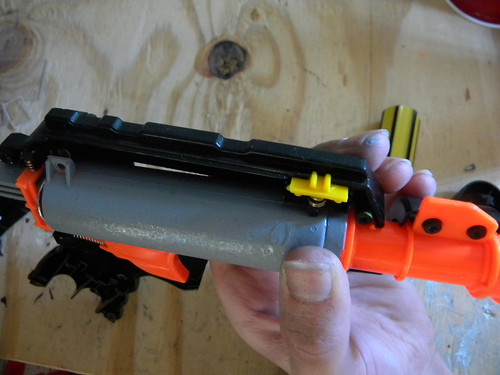
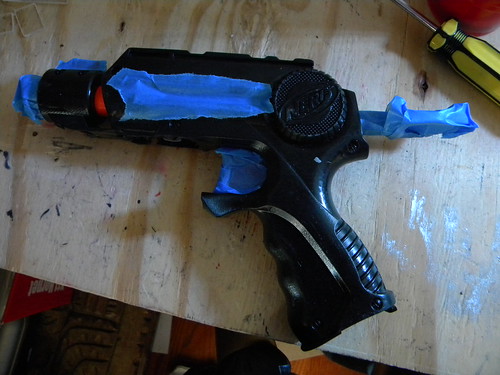
Now put painters tape over the non-black pieces. I didn’t get it all, I know…I realized it afterwards.
I forgot to take a picture for this step but hot glue the plastic on, working the glue into the body flow. I didn’t do this at all but sand down the edges of the plastic with a sander bit on the dremel.
Now spray it black, again.
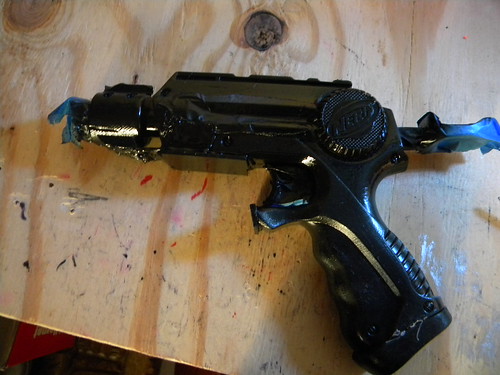
Remove the tape and VOILA!
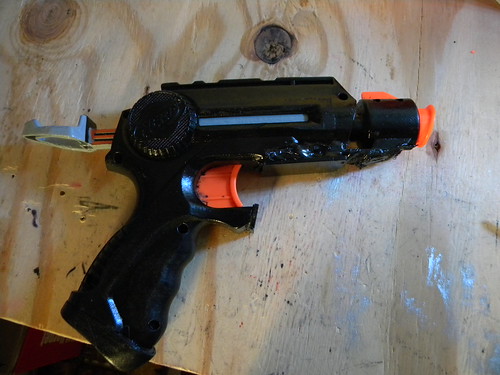
Now you are done! If you think I could change a picture or something, leave a helpful comment. Please don’t be rude as this is my first write up and it took a while to do.

You can also see all the pictures here not all of them are included because of the large amount.
Materials:
NiteFinder
Plastic sheeting
Hot glue
Sandpaper
Epoxy
Sharpie
Tools:
Hot Glue Gun
Dremel
To start you need to remove the battery cover and all the other screws. Then split it in half.

Now remove the tactical rail and then remove the two dart guides. Now remove these two screws and the whole piece.

Now split the barrel in half and remove the AR like so:

Now unscrew the screw holding the trigger in then remove it

Remove this screw

And These

Now remove the whole assembly

Now remove this piece from the battery compartment and discard it.

Take this plastic cover off and discard it. Then take the screw out.

Now place these two pieces back in. DON’T PUT THE SCREWS BACK IN!!!!

Now use a sharpie and mark where to cut.

Now mark the same things on the other side on both halves. Make sure to cut here and don’t leave a huge flap.

Use a dremel cutter bit to cut along the lines.

Now sand all of these pieces and the battery cover (Not Pictured). Make sure to sand down the plunger a LOT because I didn’t and accidently scraped all the paint off. (Look at the first picture at the plunger)

I sprayed these pieces with Rustoleum Painters Touch Semi-gloss black.

And these with Rustoleum Painters touch Gloss Winter grey

Now grab the front barrel you removed earlier and use a screwdriver to knock the pegs out and a pair of needle nosed pliers to remove the excess plastic.

Make sure to get ALL of this piece when painting.

Now cut 3 pieces of plastic to cover the holes. Sizes vary depending on how big your holes are. Just use a ruler…

Reassemble this piece as so.

Insert everything else as shown. Don’t forget to epoxy the barrel back onto the grey piece. Keep in mind where the springs and screws go. Also make sure the catch goes in the right spot.

Don’t forget the tactical rail!

Now put painters tape over the non-black pieces. I didn’t get it all, I know…I realized it afterwards.

I forgot to take a picture for this step but hot glue the plastic on, working the glue into the body flow. I didn’t do this at all but sand down the edges of the plastic with a sander bit on the dremel.
Now spray it black, again.

Remove the tape and VOILA!

Now you are done! If you think I could change a picture or something, leave a helpful comment. Please don’t be rude as this is my first write up and it took a while to do.
Zombiestrike Crossfire
18 October 2015 - 08:46 AM
Toys R Us has an Elite Crossfire. It is the same just it has a different paint job (Sonic fire) and no bow arms. It's also XD. Here Is the link
- NerfHaven
- → Viewing Profile: Topics: littlegunman
- Terms of Service and Privacy Policy
- Code of Conduct ·


 Find content
