
Homestarune
Member Since 25 Dec 2007Offline Last Active Jun 28 2018 11:24 AM
 Find content


Topics I've Started
Splitfire Redux
10 December 2009 - 02:38 AM
I realize that most of this has been done already. This modification simply goes into more detail than cxwq did. I figured that it was time to further in depth. Bags was kinds enough to sell me a stock Splitfire.
Tools/materials needed:
Screwdriver
Hacksaw
Hotglue
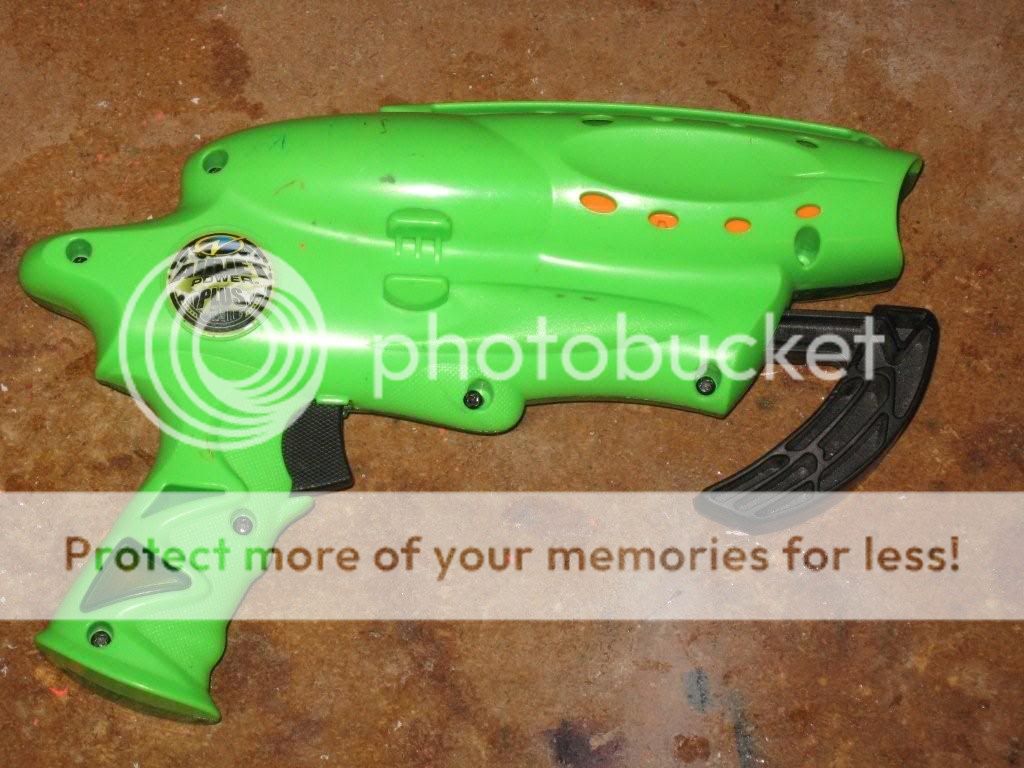
Here’s the front of the blaster:

And the back:

A look at the internals.

The pump tube and stock barrels

9/16” brass just so happens to fit near perfectly in the bottom of the stock barrels.

I measured how much 9/16” was needed. I used about 2.75” of 9/16” on each barrel.

I fit a full tube of 17/32 in each barrel to see what it would look like. I decided not to go with something so absurdly long. I ended cutting them down to 8.5” as it seemed to give me a good dart/barrel fit.

I put a bit of silicon lubricant inside the pump tube.

Plug the pump with a dab of hot glue.

I made a mark on the back notch of the barrels.

Here’s what they look like after having been cut through.

Remove those pesky air restrictors. It helps if you can get a knife around the outside where the restrictors are glued to the barrels.

I slid the 9/16” sheath over the 17/32” for barrel stability.

I wrapped electrical tape over the end of the 9/16” segment until it met the diameter of the stock barrels.

Here’s what it looked like once the brass was placed inside the stock barrels.
Tools/materials needed:
Screwdriver
Hacksaw
Hotglue
Here’s the front of the blaster:
And the back:
A look at the internals.
The pump tube and stock barrels
9/16” brass just so happens to fit near perfectly in the bottom of the stock barrels.
I measured how much 9/16” was needed. I used about 2.75” of 9/16” on each barrel.
I fit a full tube of 17/32 in each barrel to see what it would look like. I decided not to go with something so absurdly long. I ended cutting them down to 8.5” as it seemed to give me a good dart/barrel fit.
I put a bit of silicon lubricant inside the pump tube.
Plug the pump with a dab of hot glue.
I made a mark on the back notch of the barrels.
Here’s what they look like after having been cut through.
Remove those pesky air restrictors. It helps if you can get a knife around the outside where the restrictors are glued to the barrels.
I slid the 9/16” sheath over the 17/32” for barrel stability.
I wrapped electrical tape over the end of the 9/16” segment until it met the diameter of the stock barrels.
Here’s what it looked like once the brass was placed inside the stock barrels.
How To Resurrect A Crossbow
21 October 2009 - 01:55 PM
A few months ago a completely screwed up crossbow was sold on Ebay. Some dumbass bought this crossbow for way too much money thinking that they could make a worthy weapon out of it. I was the dumbass that bought it up. Here’s how I turned a broken toy into an effective weapon that could hold its own on the field of battle.
Credit goes to Split for discovering the replacement plunger tube.

This was what I bought. I had fun screwing around with shooting megas at my bedroom wall. The novelty of that however got old really quickly. Hey, it was marked as “heavily modified” so it couldn’t be a total loss, could it?

No surprise there, I suppose I just wasn’t awesome enough to realize what “heavy mods” had been skillfully preformed on this. My mortal eyes can only see a level 2 modification. That’s probably being generous all things considered.

I immediately set to work and cut some aluminum and steel to reinforce the internals. (these have long since been re-worked)

After that, I got to work creating a CPVC coupler inside the gun. I don’t have any pictures of that fully assembled. You’re not missing anything out on anything, you’ve all seen plenty of mediocre crossbows. I managed to get about of 70’ out of this. Needless to say, I wasn’t satisfied with this. A complete rework would be required to make it satisfactory. There was of course the problem of the stock. One of the best things about the crossbow is its comfort and ease of use.
From the moment I saw this gun online I wanted to see if an effective and comfortable stock could be created. So I decided on a method that to my knowledge had never been used before.

I wanted to see if it could actually be done. I also had a lot of free time and I was bored. Some people thought that I was crazy. I looked at a bunch of pictures online and broke out the pencils and curves. So began my four day project to create a wooden stock

I cut out the area that I had traced around.

Next, I traced out the area for the plunger rod and handle.

I then cut that area out as well.

Here’s a picture of the pieces that I had made beforehand to attach the stock to the gun.

I then used a router to make the necessary grooves for the plunger handle.

I then marked out what parts needed to be cut in order for them to be attached.

Things were beginning to come together.

And the other side.

I decided to trim things down for more aesthetic appeal, not that it was ever possible in the first place.

It was time to make the second half. I traced the mirror image of the first stock onto the block of wood
Credit goes to Split for discovering the replacement plunger tube.
This was what I bought. I had fun screwing around with shooting megas at my bedroom wall. The novelty of that however got old really quickly. Hey, it was marked as “heavily modified” so it couldn’t be a total loss, could it?
No surprise there, I suppose I just wasn’t awesome enough to realize what “heavy mods” had been skillfully preformed on this. My mortal eyes can only see a level 2 modification. That’s probably being generous all things considered.
I immediately set to work and cut some aluminum and steel to reinforce the internals. (these have long since been re-worked)
After that, I got to work creating a CPVC coupler inside the gun. I don’t have any pictures of that fully assembled. You’re not missing anything out on anything, you’ve all seen plenty of mediocre crossbows. I managed to get about of 70’ out of this. Needless to say, I wasn’t satisfied with this. A complete rework would be required to make it satisfactory. There was of course the problem of the stock. One of the best things about the crossbow is its comfort and ease of use.
From the moment I saw this gun online I wanted to see if an effective and comfortable stock could be created. So I decided on a method that to my knowledge had never been used before.
I wanted to see if it could actually be done. I also had a lot of free time and I was bored. Some people thought that I was crazy. I looked at a bunch of pictures online and broke out the pencils and curves. So began my four day project to create a wooden stock
I cut out the area that I had traced around.
Next, I traced out the area for the plunger rod and handle.
I then cut that area out as well.
Here’s a picture of the pieces that I had made beforehand to attach the stock to the gun.
I then used a router to make the necessary grooves for the plunger handle.
I then marked out what parts needed to be cut in order for them to be attached.
Things were beginning to come together.
And the other side.
I decided to trim things down for more aesthetic appeal, not that it was ever possible in the first place.
It was time to make the second half. I traced the mirror image of the first stock onto the block of wood

