- NerfHaven
- → Viewing Profile: Topics: NerfOfSteel
NerfOfSteel
Member Since 01 Jul 2013Offline Last Active Oct 17 2013 09:23 PM
About Me
Hey all you people! I try to be the best I can, so no trollin'. Favorite nerfers: Coop, Ice, Hoth, Aeromech, Bobololo, NoM, Drac, 9, and psyk. My favorite's probably Coop. He's ballin. My photobucket: http://s1349.photobucket.com/
-Steel
Community Stats
- Group Members
- Active Posts 31
- Profile Views 8,873
- Member Title Member
- Age Age Unknown
- Birthday September 22
User Tools
Latest Visitors
Topics I've Started
PANWIA
07 October 2013 - 02:27 PM
Canceled.
EAT (Extreme Alpha Trooper)
05 October 2013 - 07:08 PM
These are all extremely easy mods to do to your Elite Alpha Trooper, but they made mine shoot an average of 84 feet flat, farther than the stock angled range by 9 feet. I promise that all ranges I post are legit. Now, let's get started!
Here is your stock Elite Alpha Trooper.
Supplies:
Alpha Trooper
Retaliator
Screwdriver
Drill

Obviously you need to unscrew the thing first.

Once you have done that, unscrew this part right here (the dart tooth securing piece).

Than remove this piece (the dart tooth)

Then slide the breach back all the way (it may help to remove the main spring first).

Then remove the muzzle piece.

removethis plastic crap (this is a lock that prevents you from priming the blaster until after you fire),

You can then proceed to remove the whole breach system and catch.
After you have done this, separate the plunger assembly and breach.

Start drilling out right here until you can see through the breach (don't have any pics of this but it is quite straightforward).
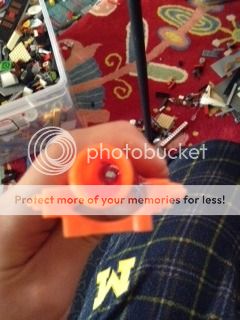
I have replaced both the main o-ring and breach seal o-ring with the those of the Retaliator because I thought the seal was not as good.


Now for the spring addition. Take the spring from the Retaliator and thread it aroud the stock spring.

In order to handle the new spring load you must also add on another catch spring.Use the one from the Retaliator.

Before you put evrything back in, remove this lock here.

You can now put everything back in where it belongs so it looks like this.

Screw it back together... NOTE: This blaster will not catch if you put the buttcap on. Leave this off!

And you're done! Money shot..

Ranges:
Flat-
65
66
76
77
81
84
90
95
96
110
Avg-84 feet
Angled: 30 degree angle
85
89
90
94
94
100
101
101
110
Avg:-96 feet
Q's? C's? F's?
Video coming soon!
Pj coming soon!
-Steel
Here is your stock Elite Alpha Trooper.
Supplies:
Alpha Trooper
Retaliator
Screwdriver
Drill

Obviously you need to unscrew the thing first.

Once you have done that, unscrew this part right here (the dart tooth securing piece).

Than remove this piece (the dart tooth)

Then slide the breach back all the way (it may help to remove the main spring first).

Then remove the muzzle piece.

removethis plastic crap (this is a lock that prevents you from priming the blaster until after you fire),

You can then proceed to remove the whole breach system and catch.
After you have done this, separate the plunger assembly and breach.

Start drilling out right here until you can see through the breach (don't have any pics of this but it is quite straightforward).

I have replaced both the main o-ring and breach seal o-ring with the those of the Retaliator because I thought the seal was not as good.


Now for the spring addition. Take the spring from the Retaliator and thread it aroud the stock spring.

In order to handle the new spring load you must also add on another catch spring.Use the one from the Retaliator.

Before you put evrything back in, remove this lock here.

You can now put everything back in where it belongs so it looks like this.

Screw it back together... NOTE: This blaster will not catch if you put the buttcap on. Leave this off!

And you're done! Money shot..

Ranges:
Flat-
65
66
76
77
81
84
90
95
96
110
Avg-84 feet
Angled: 30 degree angle
85
89
90
94
94
100
101
101
110
Avg:-96 feet
Q's? C's? F's?
Video coming soon!
Pj coming soon!
-Steel
Retaliator/Recon carbine
07 August 2013 - 09:33 AM
Hey guys, new mod today. This was mainly because 1, I wanted a side-primeable Retaliator, and 2, attachments were useless before as they never stayed on when you primed the blaster. This mod fixes both of those problems, and literally took like 10 minutes to do. It will apply to both the recon and the Retaliator. And therefore,I give you the retaliator carbine.
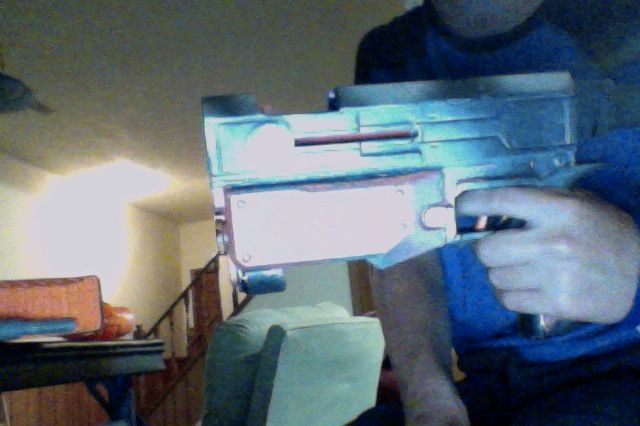
Thar she blows. Please ignore the bad paint job and the poor lighting. I was in my basement and the pictures were taken with a Macbook Air.
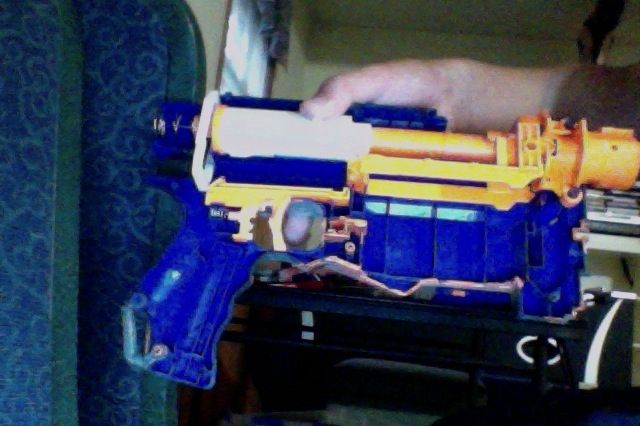
Of course, you have to open the blaster first. This blaster has already been modded basically, and it was just sitting in my blaster box, and I wanted to give it a purpose.
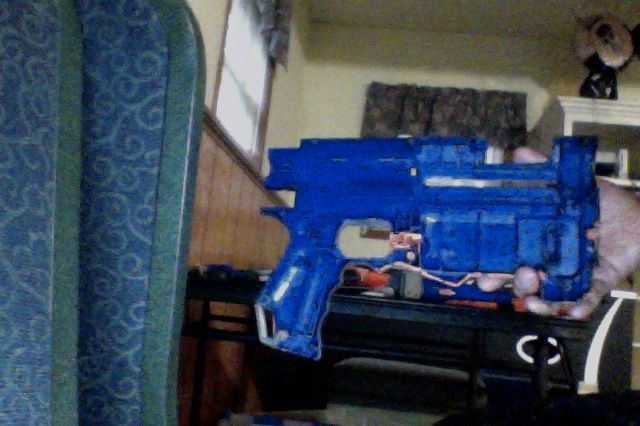
Here, you gut the blaster.
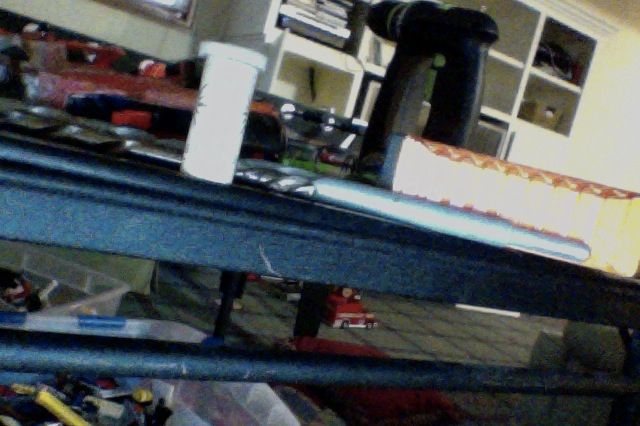
This is the charging handle. It is just a wine cork attached to a furniture pad. Warning: I do not have any process pics of this part, so bear with me as I try to explain. The easiest way I found to attach the priming handle was to first pre-drill the screw in,then remove it. I then put the breach assembly back in, and put the screwin through the hole in the breach that used to accept the nub on the slide on the right side. I then attached the charging handle from the outside, and screwed it in from the other side.
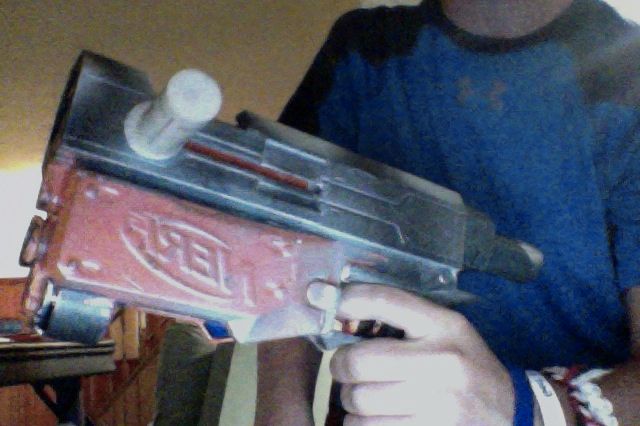
So here's the finished product. Like Stefan clips, this is completely reversible. Now here's something I thought you might think of: That handle does not look very sturdy. Well, I've put about 50 shots through it with the stock spring, and have had no problems with it. The best part is, if it does become loose, you can tighten it without opening the blaster.
Well, that's it. Video coming soon. Q's? C's? F's?
-Steel

Thar she blows. Please ignore the bad paint job and the poor lighting. I was in my basement and the pictures were taken with a Macbook Air.

Of course, you have to open the blaster first. This blaster has already been modded basically, and it was just sitting in my blaster box, and I wanted to give it a purpose.

Here, you gut the blaster.

This is the charging handle. It is just a wine cork attached to a furniture pad. Warning: I do not have any process pics of this part, so bear with me as I try to explain. The easiest way I found to attach the priming handle was to first pre-drill the screw in,then remove it. I then put the breach assembly back in, and put the screwin through the hole in the breach that used to accept the nub on the slide on the right side. I then attached the charging handle from the outside, and screwed it in from the other side.

So here's the finished product. Like Stefan clips, this is completely reversible. Now here's something I thought you might think of: That handle does not look very sturdy. Well, I've put about 50 shots through it with the stock spring, and have had no problems with it. The best part is, if it does become loose, you can tighten it without opening the blaster.
Well, that's it. Video coming soon. Q's? C's? F's?
-Steel
Clipped Magstrike Overhaul
18 July 2013 - 08:56 PM
This all started when I got a Magstrike from my friend, who is no longer into NERF. When I saw how it fired, I thought,"Okay, but I think it could be better. Than an epiphany. What If the magstrike fired from N-Strike clips. Think how intimidating it would be
to charge at someone with a blaster spewing out 35 darts from a raider drum!
Therefore, I give you my new project. Leave a suggestion for the name in the comments.

Here's what I started out with.

I've opened it up. I removed all locks.


I also removed these two pieces, as they are not necessary for the clip function to work.
More pictures tomorrow. And again, any suggestions for a name, leave in the comments. There are no bad ideas.
Q's? C's? F's?
-Steel
to charge at someone with a blaster spewing out 35 darts from a raider drum!
Therefore, I give you my new project. Leave a suggestion for the name in the comments.

Here's what I started out with.

I've opened it up. I removed all locks.


I also removed these two pieces, as they are not necessary for the clip function to work.
More pictures tomorrow. And again, any suggestions for a name, leave in the comments. There are no bad ideas.
Q's? C's? F's?
-Steel
- NerfHaven
- → Viewing Profile: Topics: NerfOfSteel
- Terms of Service and Privacy Policy
- Code of Conduct ·


 Find content


