Jump to content


He Who Mods

Member Since 21 Jun 2013
Offline Last Active Dec 13 2024 03:29 PM

Topics I've Started

SLANE 3… It is finally here

14 July 2014 - 01:46 PM

Hello and Welcome to SLANE 3!!!!!!! (St. Louis Annual Nerfing Event)

Date:August 9th
Location: Blackburn Park
Time: 12pm-5 or 6pm (depends on mood)


GOOGLE MAP

View this map with a detailed legend in a larger window.


What to Bring

-At least 1 primary and 1 secondary (don't worry if you don't have lots of fancy blasters. We had lots of guys using stock blasters last year and they had a blast)
-loaners if you have extra primaries or extra darts
-Darts, I would suggest 150-200, there will be dart sweeps
-Sunscreen. We don't want any sunburns.
-Eye Protection. Mandatory for all ages
-Melee Weapons
-Money and items for trade. (optional)
-a raffle item (optional)
-Water
-A friend (or lots of friends)

What NOT to Bring

-black, camo, or realistic looking blasters
-Glue domes
-Singled Titans, Ridiculously powered blasters
-Homemade Air Cannons (sorry Azrael)
-Alcohol/Drugs

Game Types

-Death Match
-Defend/ Offend the Core
-CTF/ Carpe
-Wingman
-Freezetag
-Many more TBD
Attendees:
Me + 3-5
Xenial
Azrael
Shanaynay + 1-5(needs loaners!)
Maybes:
Joe Espinoza
Don't forget to eat beforehand! Alright guys, that's it. Hopefully we can get a good 15 or so people!!

NERF COLLABORATION CHANNEL

30 March 2014 - 12:56 PM

A week or so ago was a discussion (link) on a collaborative youtube channel dedicated to spreading the NIC and showcasing mods, wars, homemade, ideas, and interviews. This topic will be dedicated to this channel and is where you can send us your videos to be put on the channel.

To send us footage, it must meet the requirements:
-HD video (at least 720p)
-Concise videos (must stay on topic, be pleasing to watch, not boring, stable footage)
-Professional quality (no long pauses, no obscene language, etc.)


The videos do not have to be edited, but they must be professional. If you choose not to edit footage you send in, please keep the video on topic and pleasing to watch.

To send us the video, you can use one of two ways:
1: EDIT!!!!! you don't need to send me your emai, I found an easier way. Drag your videos to the link here
2: leave a downloadable link for us in a response.

Once you have sent us footage, you give us permission to edit it in any way we choose, so if you don’t want us modifying your video on the channel, don’t send us your videos. Credit will be given to the creator of the video and we will give links to subscribe to the owner’s channel (unless the creator wants to be anonymous). Just because you send us your video does not mean it will be put on the channel. We will try to post everyone’s content, but if it does not meet the requirements, it will be ignored. If you sent us a video that met the requirements and was not featured on the channel, P’M either nine, Bchamp22795, or myself and we will try to work it out with you.

The video can be about anything nerf-related (war footage, reviews on new blasters, modifications, IN DEPTH tutorials, homemades, ideas and concepts, interviews with famous nerfers, podcasts, etc.) We hope to see lots of GOOD war footage, since the community is currently lacking this. If you contribute to the channel, we would like it if you subscribed and promoted the channel on your channel so we can get the word out more easily. The channel can be found HERE
We will try to subscribe to everyone that contributes or whom we feel deserves recognition in the nerf world. Thank you for all the support!

Tentative release for the intro video will be either Friday, May 2 or Tuesday, May 6.

Joint youtube channel

22 March 2014 - 12:17 PM

If you have not noticed, the big names of the nerf youtube scene(Nerfomania, Bobololo, etc.) have been uploading much less frequently then before. I am not saying they don't want to upload, but their lives are getting busy and constant uploads isn't the easiest thing for them. Now I know that this site is not too concerned about the youtube world in general, but I think a joint channel with the collaboration between nerfers uploading cool things on the channel could greatly pull more people into the hobby. I know that the reason I started nerving was back in 2011 when my crossfire stopped working. I looked up how to fix a crossfire on youtube and hundreds of results showed I could not only fix my blaster, but make it shoot further!

The creation of this youtube channel would consist of weekly to bi-weekly, high-quality uploads that would showcase some of the best mods/homemades/write-ups on the site. It could either be run by the moderators, or a few people could maintain the channel and make sure it consistently uploads. It could feature different modders each week and do podcasts and interviews with big name nerfers and show tutorials and war footage from big wars like APOC and Grid Codes.

The main reason of this channel creation is to increase the interest in the hobby, showcase blasters, and let nerfers from everywhere know what is happening in a video/podcast format instead of a blog. If you are interested in being a part of this channel, please comment below sharing your ideas. I hope this can become a great way to let people see what is happening in the nerf world!

Double SnapBow

16 March 2014 - 08:24 PM

After all the hype around Koree’s Double-Rainbow design recently, I decided I would try my luck with one that didn’t need polycarb or clear PVC. I went through many prototypes such as this
P1020195_zpsf11a45d6.jpg
A latex powered double-SNAP

But I eventually decided I would put a spring in it and make it more practical like this.
IMG_3694_zpsbf9d12a4.jpg
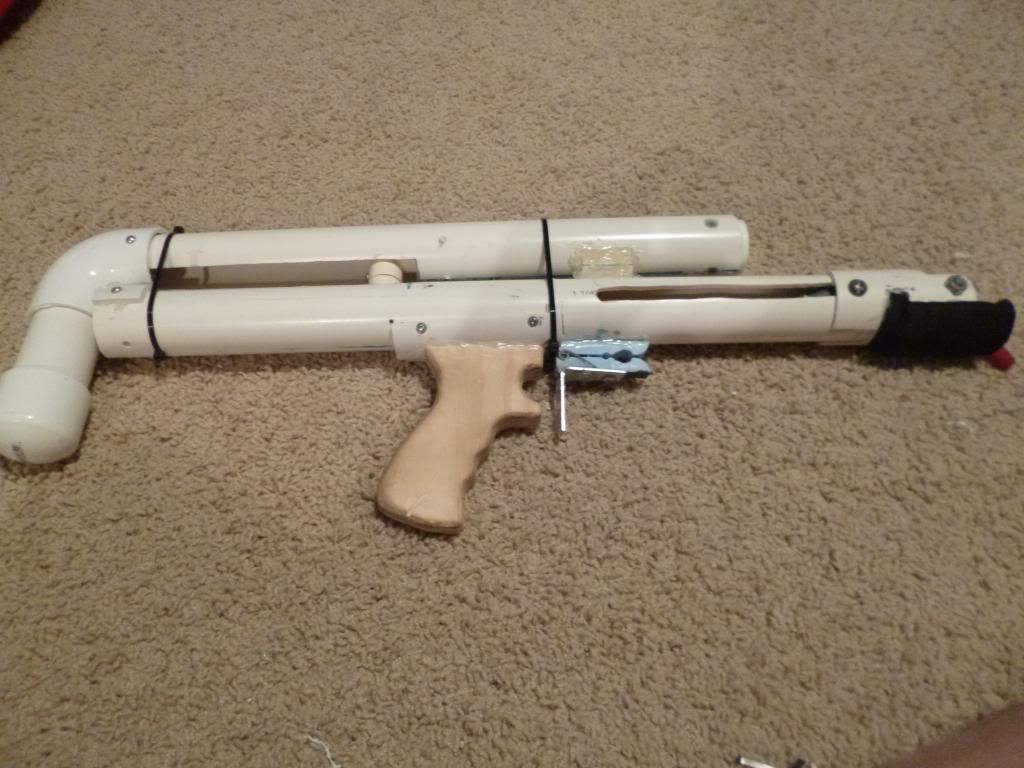
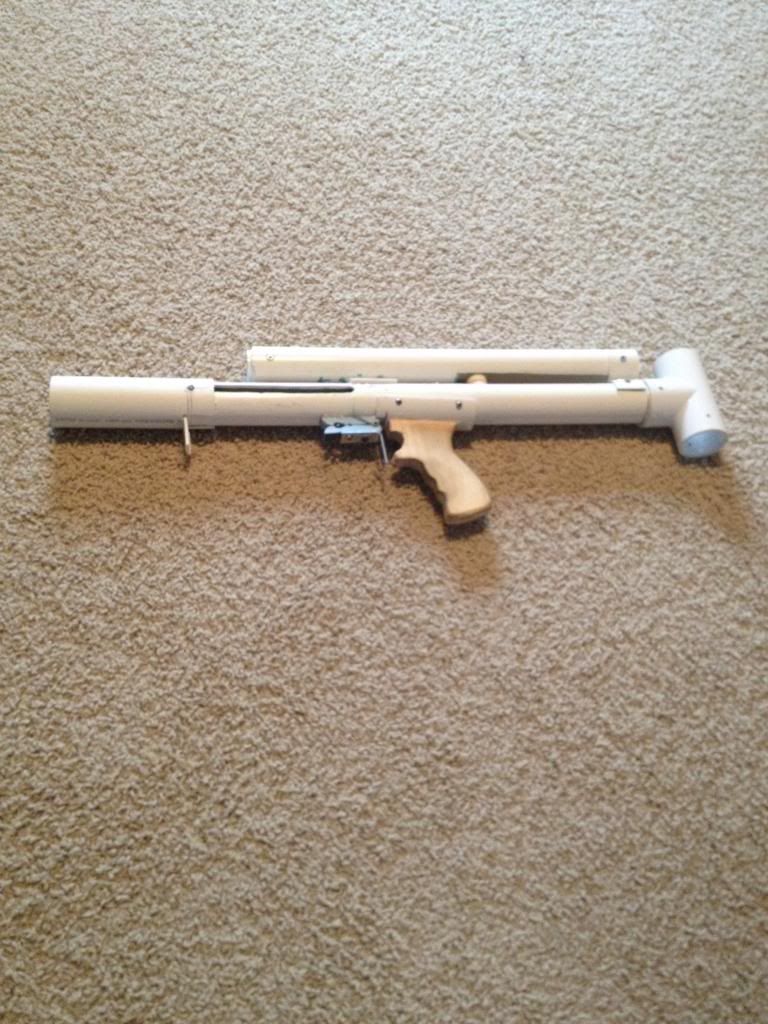
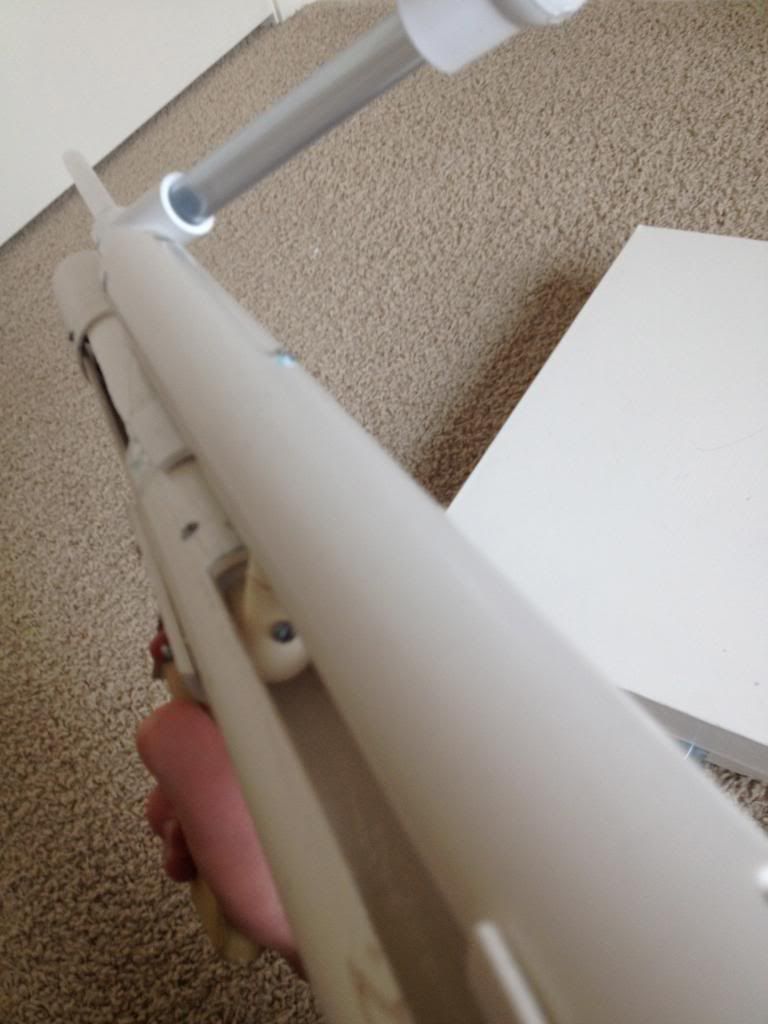
This was a really fun blaster to make and is super accurate, shoots super far, and is super comfy. It isn't perfect aesthetically, but that's because this was made from scrap parts and my other prototypes that didn't always work.

Since this is my entry in the homemade contest, I am putting this in the “plusbow” category because while it doesn’t necessarily need power tools, they certainly do help and some experience is very helpful. On to the tool list! (warning-this write-up is EXTREMELY picture and text heavy)


TOOLS
Drill-required
Dremel-required
Scroll Saw-Optional
Screwdrivers-Required
Tap 6-32 and ¼-20-required(unless you use sheet metal screws, which will work, but won’t be as reliable)
Countersink-optional

ADHESIVES
Epoxy Putty-required
Super Glue-required
Goop-required
Hot Glue-Required
Etape-required
Packing tape-required

SUPPLIES (all required)
1-1/4” PVC
1-1/2” Thinwall PVC (I found mine at a small local hardware shop, look around and you’ll eventually find it)
small stub of 1” PVC
1/2” CPVC
1” to ½” PVC reducing bushing
2x 3/4” PVC endcaps
2x 1/2” CPVC elbows
2x ½” CPVC endcaps
1-1/4” PVC TEE
3/4” thick hardwood- doesn’t really matter what it is, just for a handle.
[k26] Spring-Link here: Mcmaster Link

HARDWARE
1” long 10-32 bolt and nut
2x 1-1/4” fender washer
1-1/4” Neoprene Rubber Washer
1-1/2” Neoprene Rubber Washer
#8 finishing washer
Lots of 6-32 bolts- 1/2 “and 3/8” long
Lots of #6 sheet metal screws-1/2” long
1/4-20 bolts- 1/2” and 2” long with nuts
1-1/2” L Bracket
Clothespin

LOWER BODY

For the lower body, you will need:
22” of 1-1/4” PVC

Step 1
Mark Quadrants of PVC

Step 2
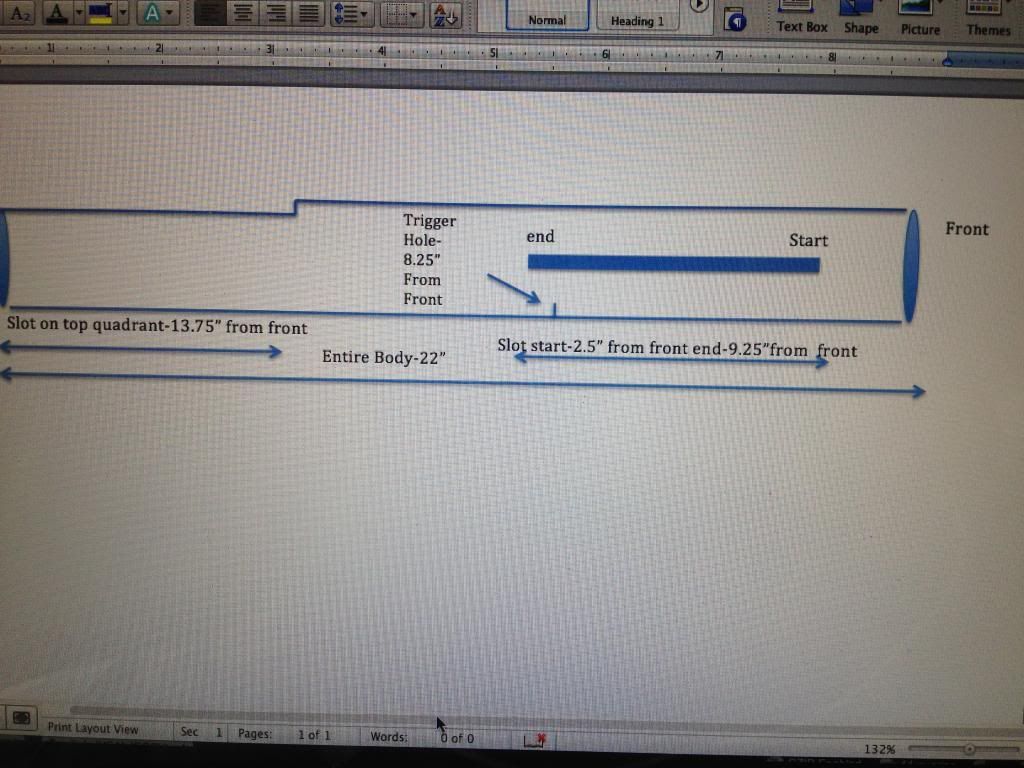
Cut slots and drill trigger hole where instructed by the diagram.
IMG_3846_zps5437c705.jpg
(sorry the image is weird, I currently don't know how to insert the word template I made)
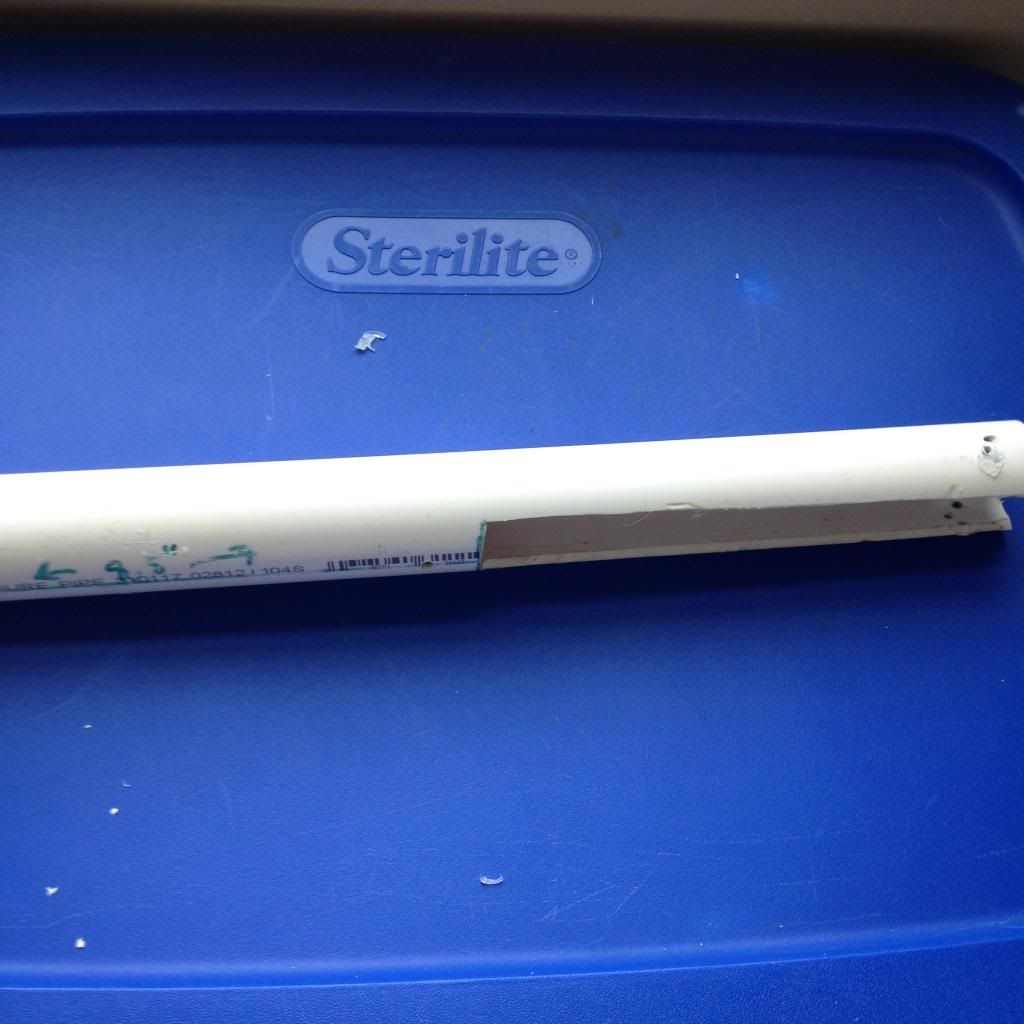
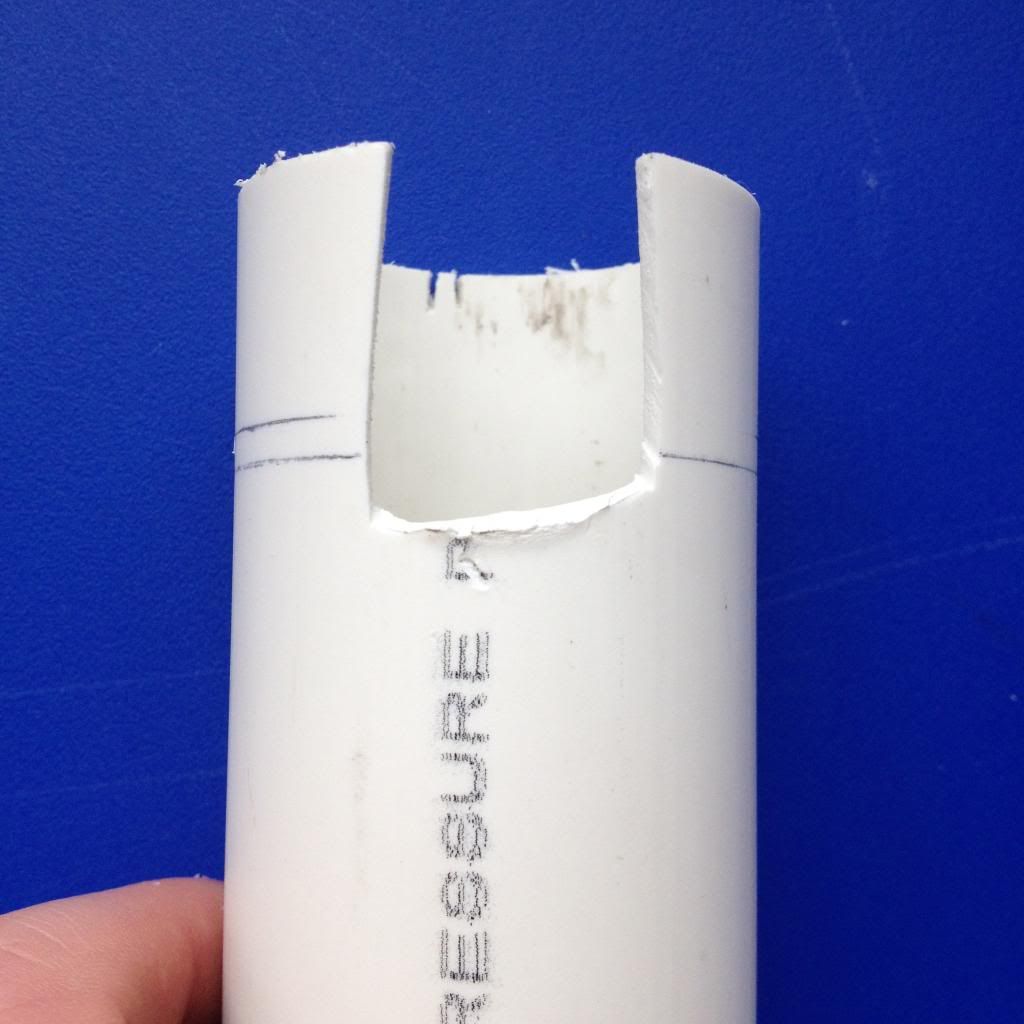
The top slot is where the plunger rod will move through
Measure ½” from either side of the top quadrant line and dremel that section out.
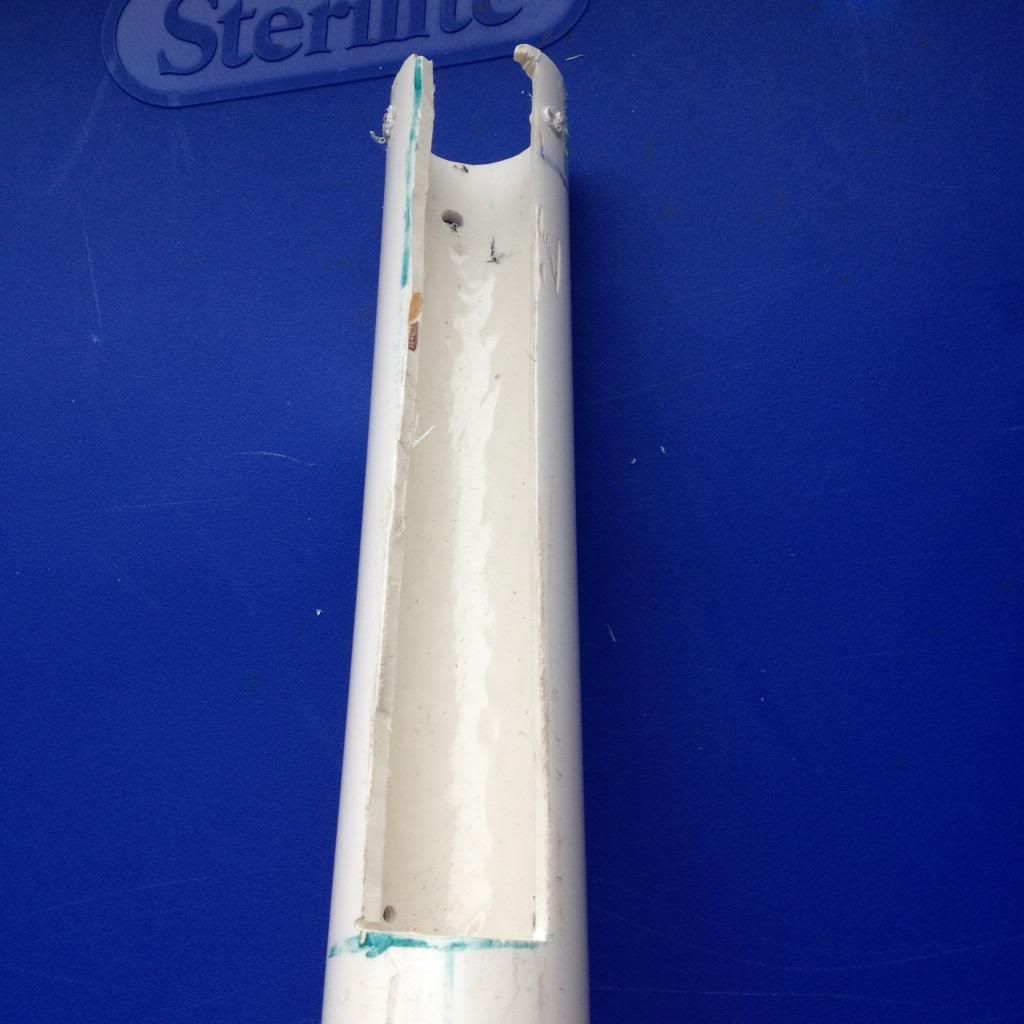
IMG_3814_zpsd7150af4.jpg
The trigger hole should be drilled on the bottom quadrant.


UPPER BODY/PLUNGER

For the plunger you will need:
16” of 1-1/4” PVC
Your reducing bushing
Packing Tape
Goop

Step 1
Make a 1” wide slot on the bottom quadrant line just as you did with the top line 8.25” from the front of your PVC
IMG_3815_zps6cdf9d87.jpg
Step 2
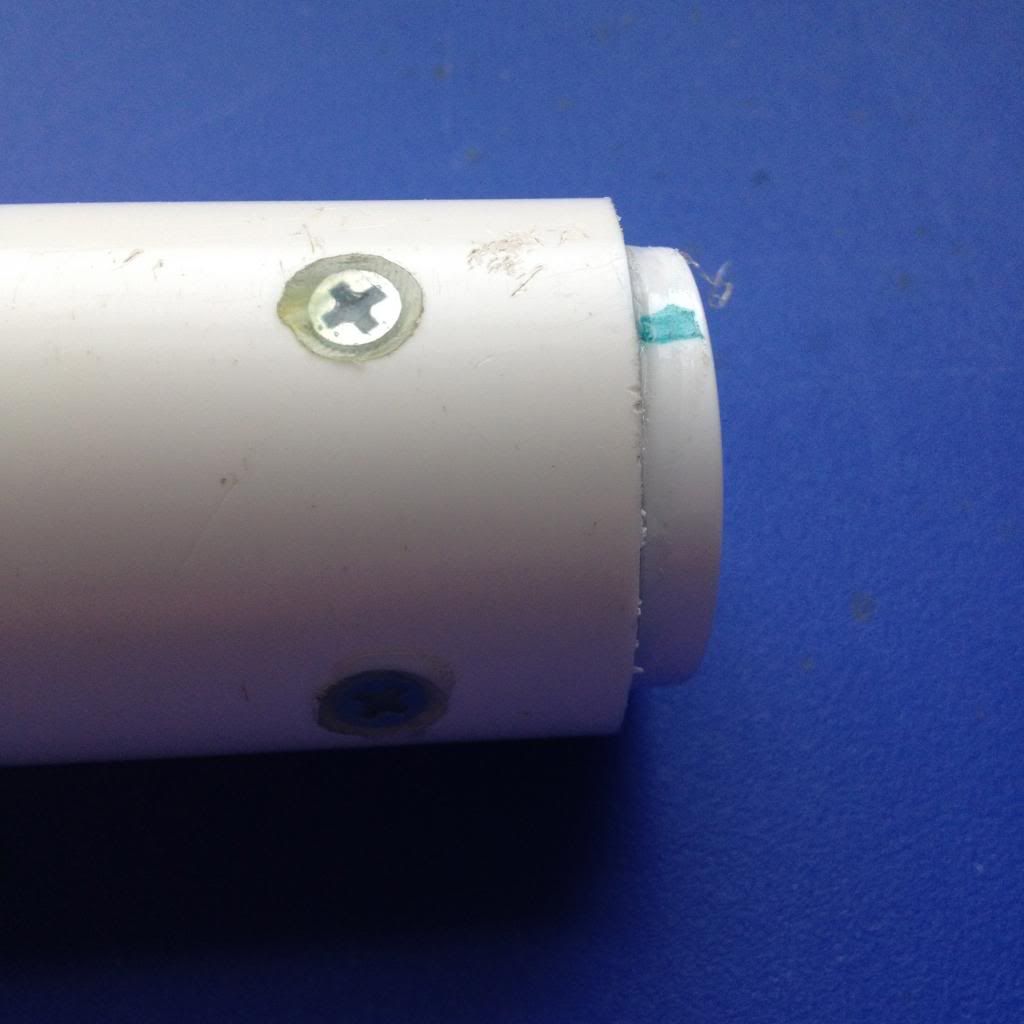
Wrap the reducing bushing in packing tape until it fits snugly in the front of your plunger. Then goop it in and use sheet metal screws on each quadrant line to secure it. (you can countersink the screws if you want, I did just because it looks better)
IMG_3816_zps877804f1.jpg

PLUNGER ROD

For the plunger rod you will need:
A 7.25” length, 10.5” length, and small stub of ½” CPVC
The CPVC elbows and Endcaps
Two ¾” PVC endcaps
Two 1-1/4” fender washers
Your Rubber washers
The 10-32 bolt and nut
#8 finishing washer
Epoxy Putty
[k26] Spring

The Plunger rod is the most intricate piece of the blaster, but is very simple to understand.

Step 1
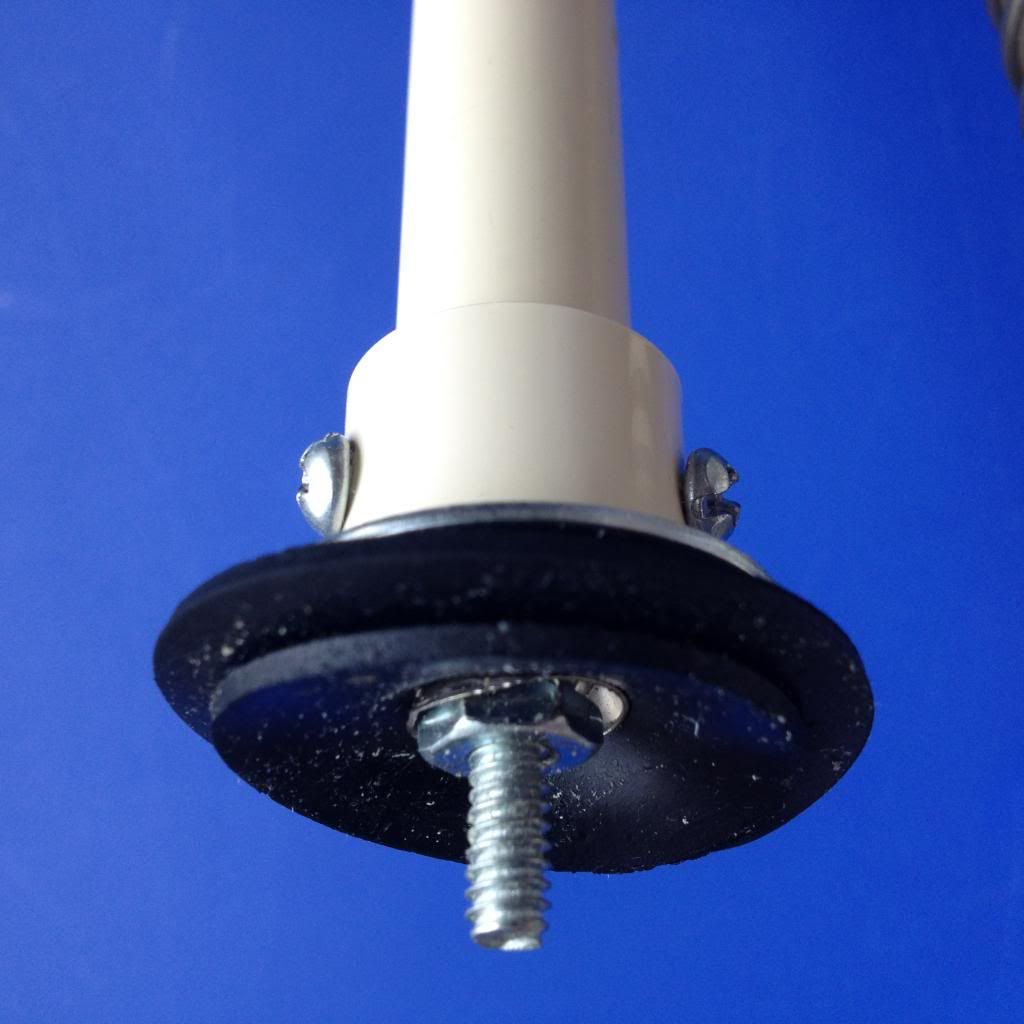
Make a standard washer-sandwich style plungerhead. To do this, drill a SUPER CENTERED hole in a CPVC endcap for the 10-32 bolt to go through, then lay on the fender washer, 1.5” rubber washer, 1.25” rubber washer, and then the #8 finishing washer and nut. If you want to make the sandwich more stable, sand the top of the endcap flat and superglue the metal washer on first.
IMG_3818_zpsbe77b388.jpg
Step 2
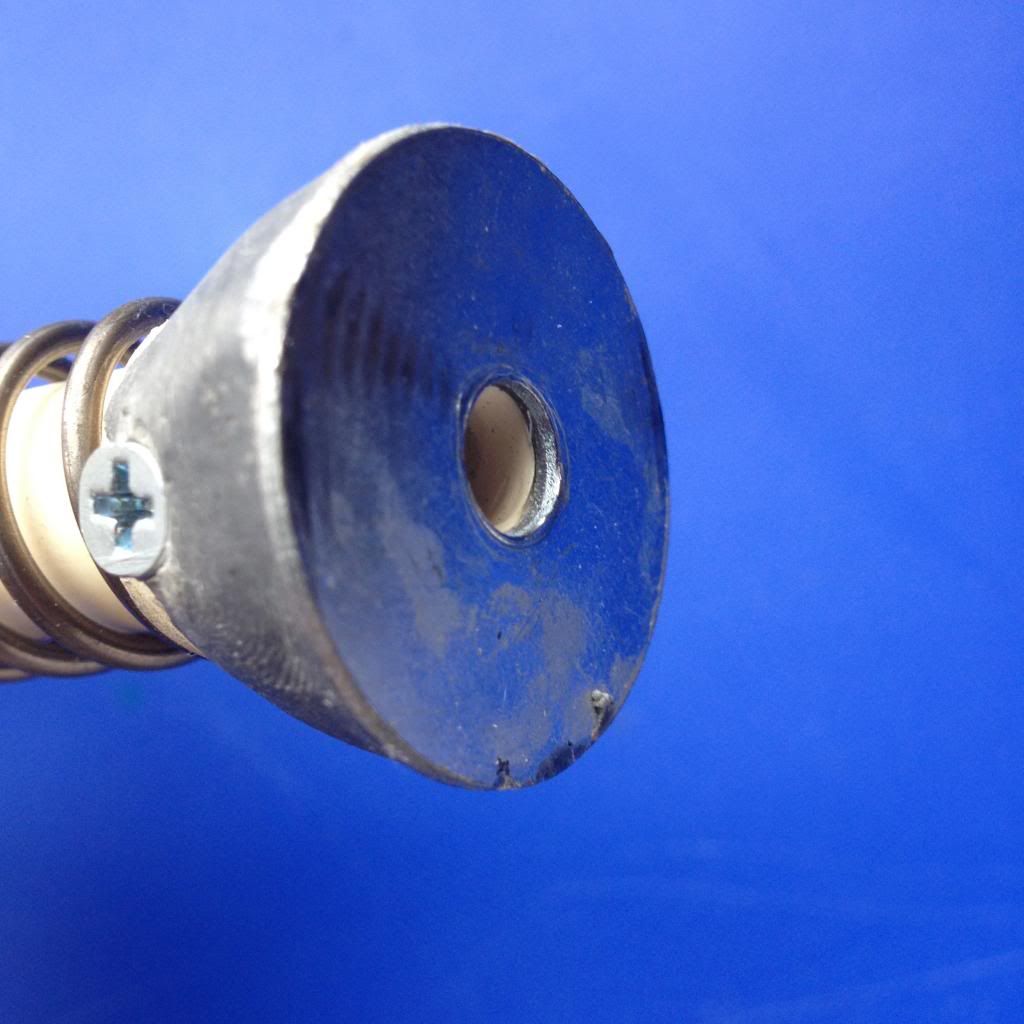
Move on to the catch face. Unlike normal SNAPs, the catch face and the plunger head are separate units. This is very simple, center your fender washer onto the top of the endcap and superglue it down. It helps to sand down the top of the endcap first. Then put epoxy putty around it in the shape of a ramp.
IMG_3819_zps71a9545d.jpg
Once it dries, you can sand it down to make an even smoother ramp for the nail to glide up.

Step 3
Take your two ¾” endcaps and drill 5/8” holes in them to allow the ½” PVC to slide smoothly through them.
(there is no picture because it is fairly self explanatory)
Step 4
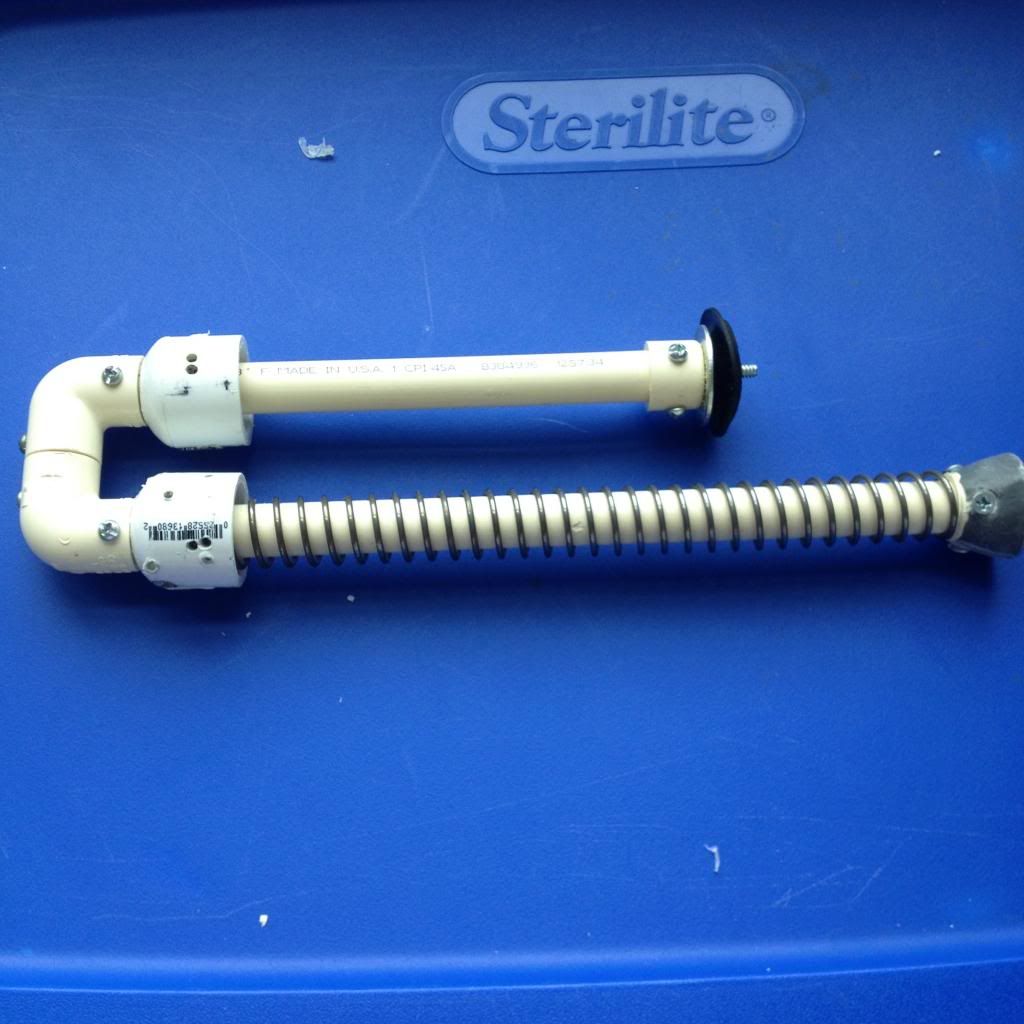
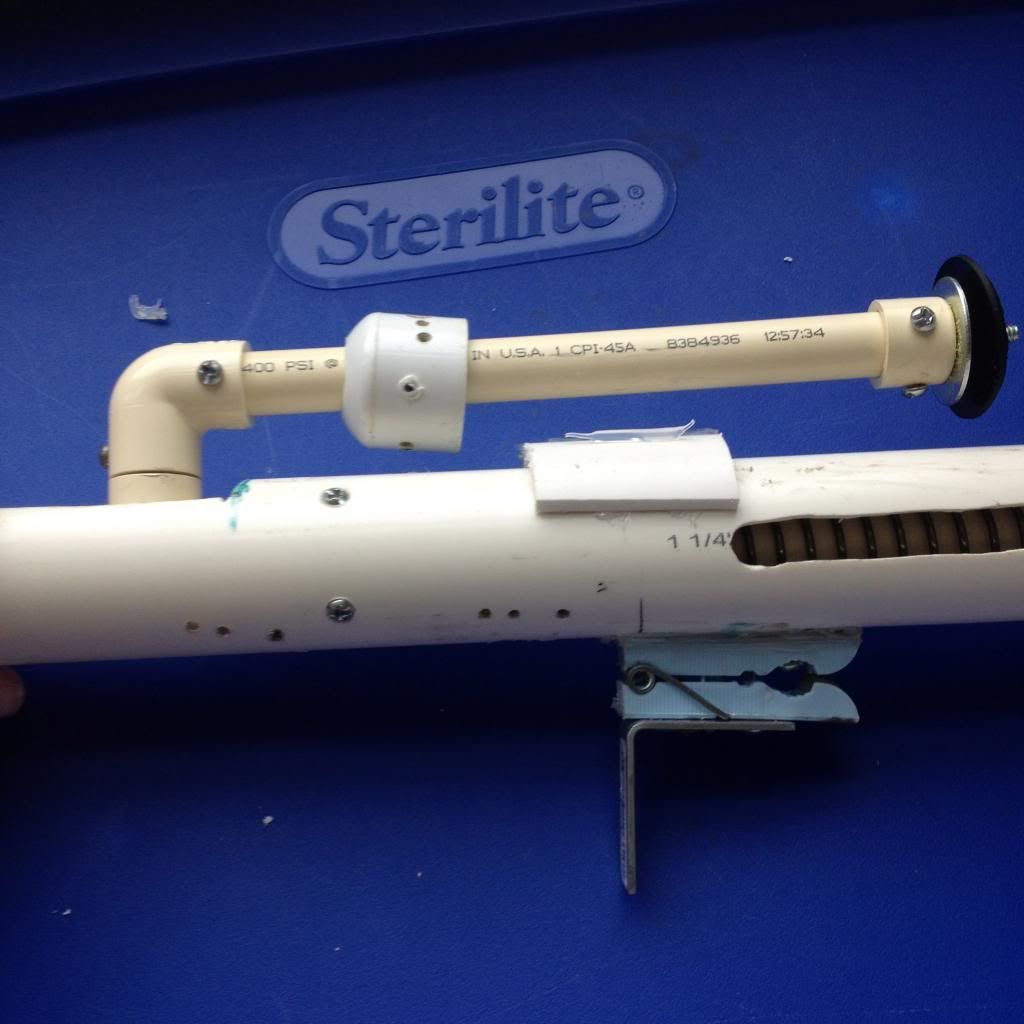
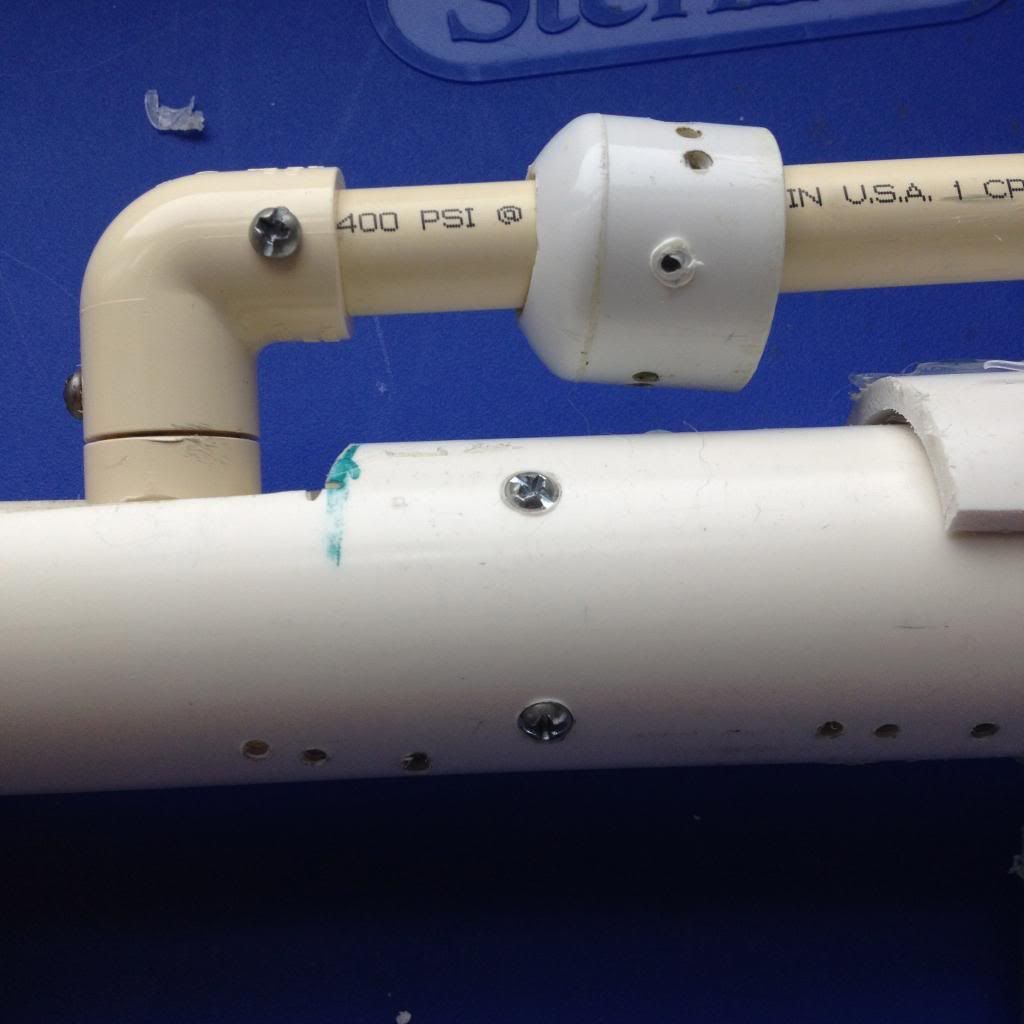
Assemble the rod. Put the small stub of CPVC in between the two elbows and screw them together. Then, put the two lengths of CPVC in each elbow. On the shorter length, slide an endcap on it and then secure the encap with your plunger head attached. On the larger length, slide down your encap, then slide on the [k26], and then secure the catch ramp.(there will be some pre-compression, so be careful not to let the catch ramp shoot off.

Here is the finished product, secure ALL the couplers with 6-32 bolts.
IMG_3820_zps788e7893.jpg
HANDLE
For the handle you will need:
Your hardwood of choice
A small stub of either 1.5” thinwall or regular PVC.

Step 1
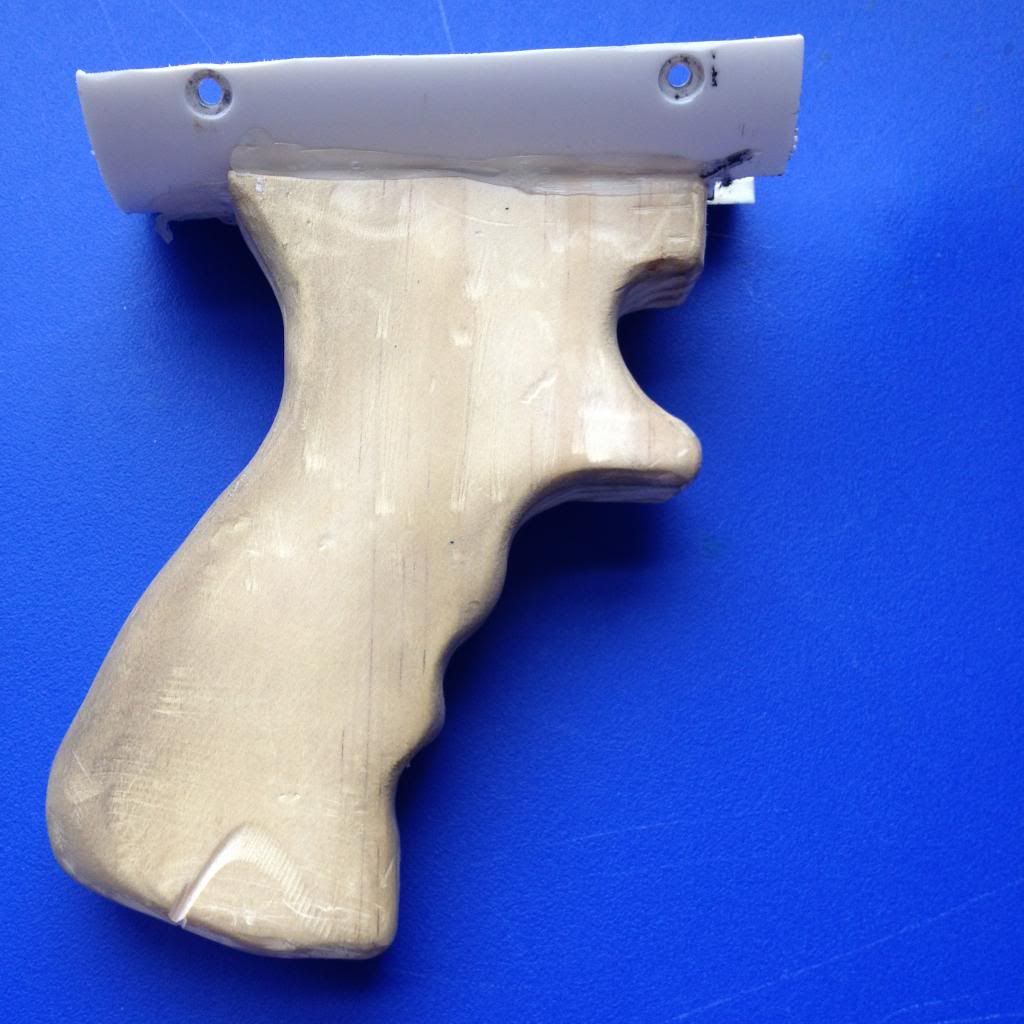
Cut out a handle shape of your choice and sand to your liking.
IMG_3821_zpscb3279d5.jpg
Step 2
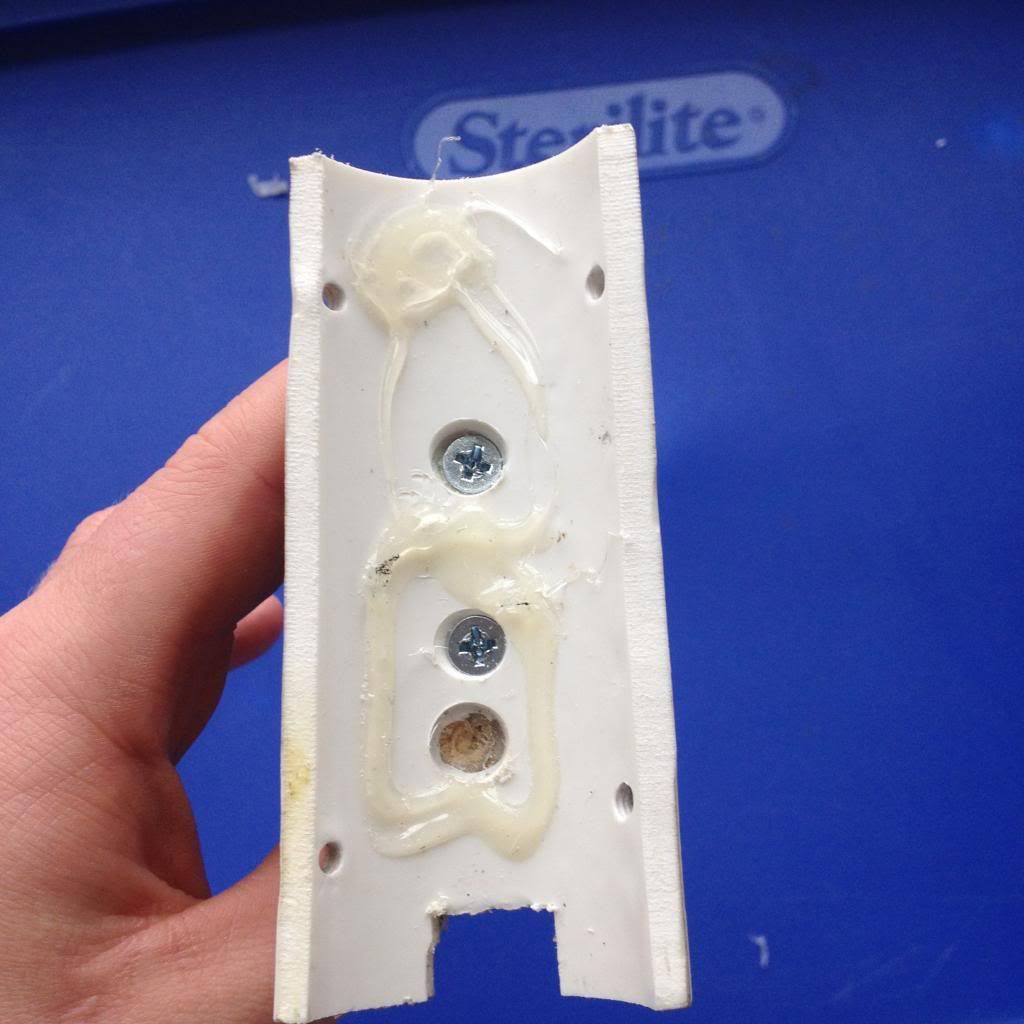
Secure a semi-circle of the PVC to the top of the handle. This will be used to secure the handle to the blaster.
IMG_3822_zps5abd9787.jpg
STOCK and SPACERS
For the stock you will need:
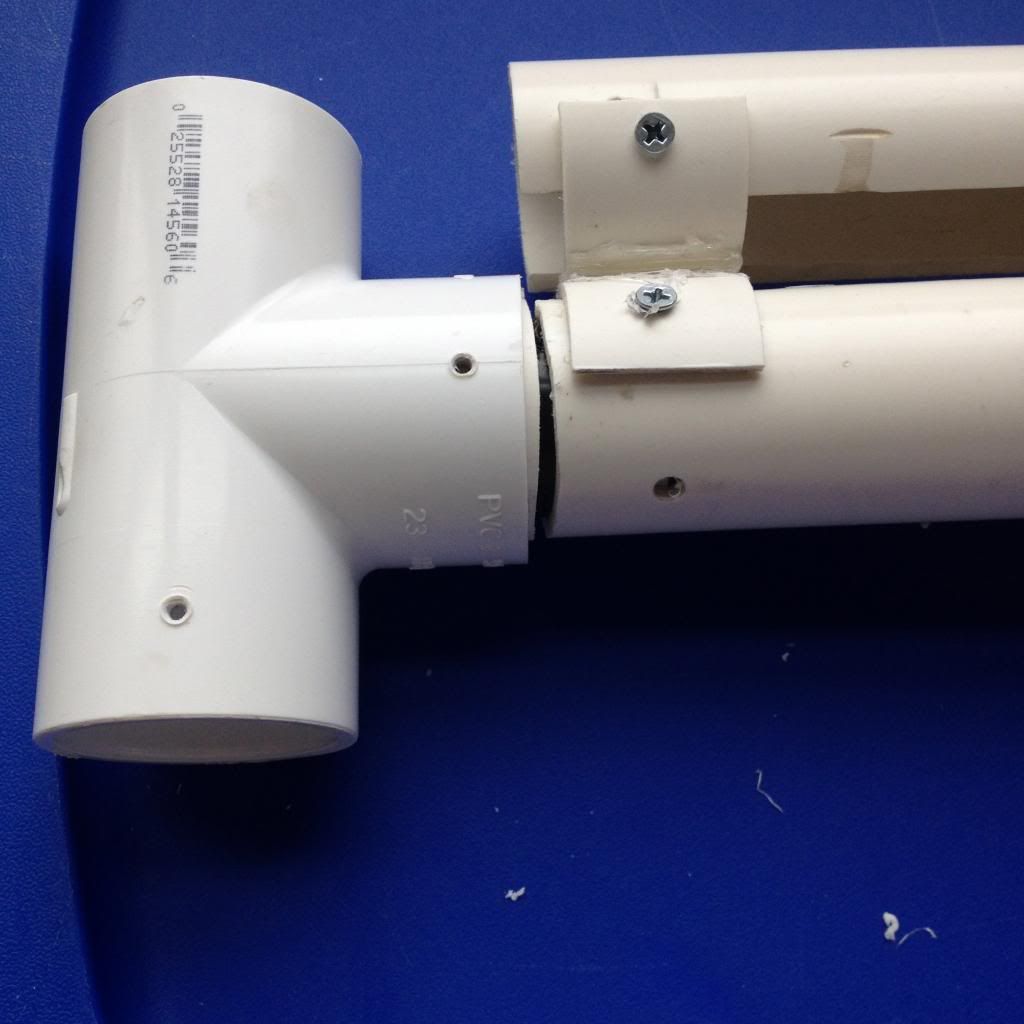
A 1.25” TEE
A small stub of 1.25” PVC
A small stub of 1” PVC

Step 1
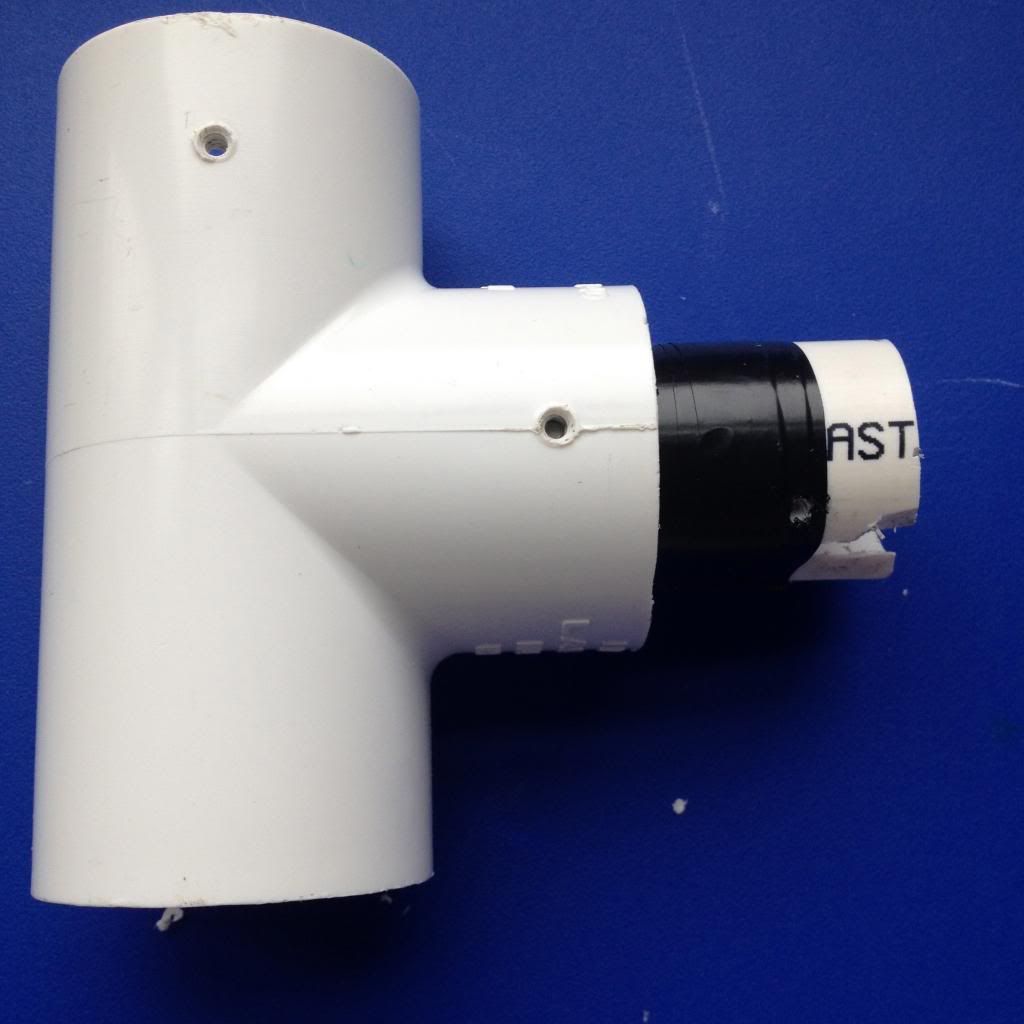
Shove the 1.25” PVC all the way into the tee, cutting off any excess, then wrap the 1” PVC in etape until it snugly fits into the 1-1/4” PVC and leave 1.5-2 inches sticking out.
IMG_3823_zps0d8b82f7.jpg
Step 2
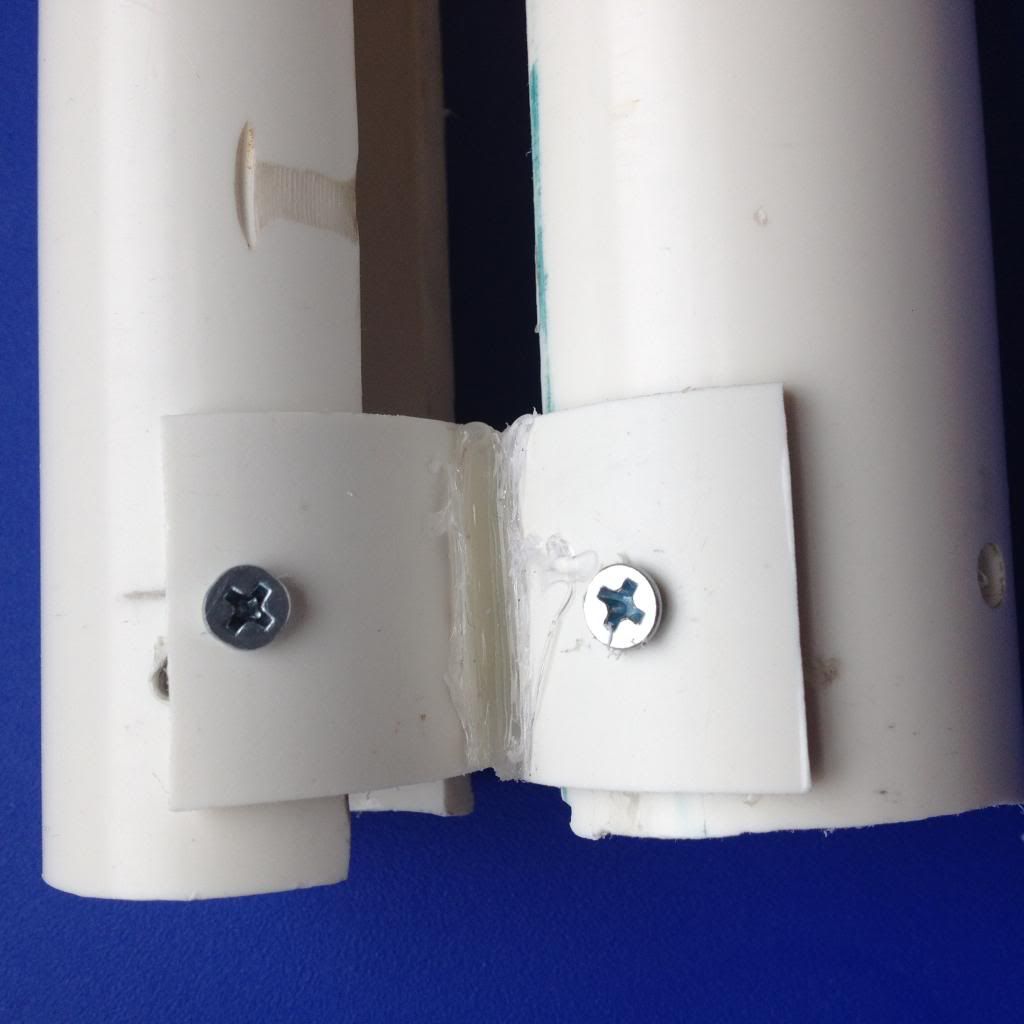
Cut a 1” slice of 1.5” Thinwall PVC and cut that in half. Use the ½” long ¼-20 bolt and nut to secure them on top of each other.
IMG_3824_zps0a53fb47.jpg
IMG_3825_zps989a5fcb.jpg
FOREGRIP

For the foregrip, you will need:
6” of 1.5” Thinwall PVC
2” long ¼-20 bolt

Step 1
Take your 6” piece of thinwall and cut a 1” long and ¾” wide slot on the bottom quadrant of PVC.
IMG_3826_zpsfc577e7d.jpg
Step 2
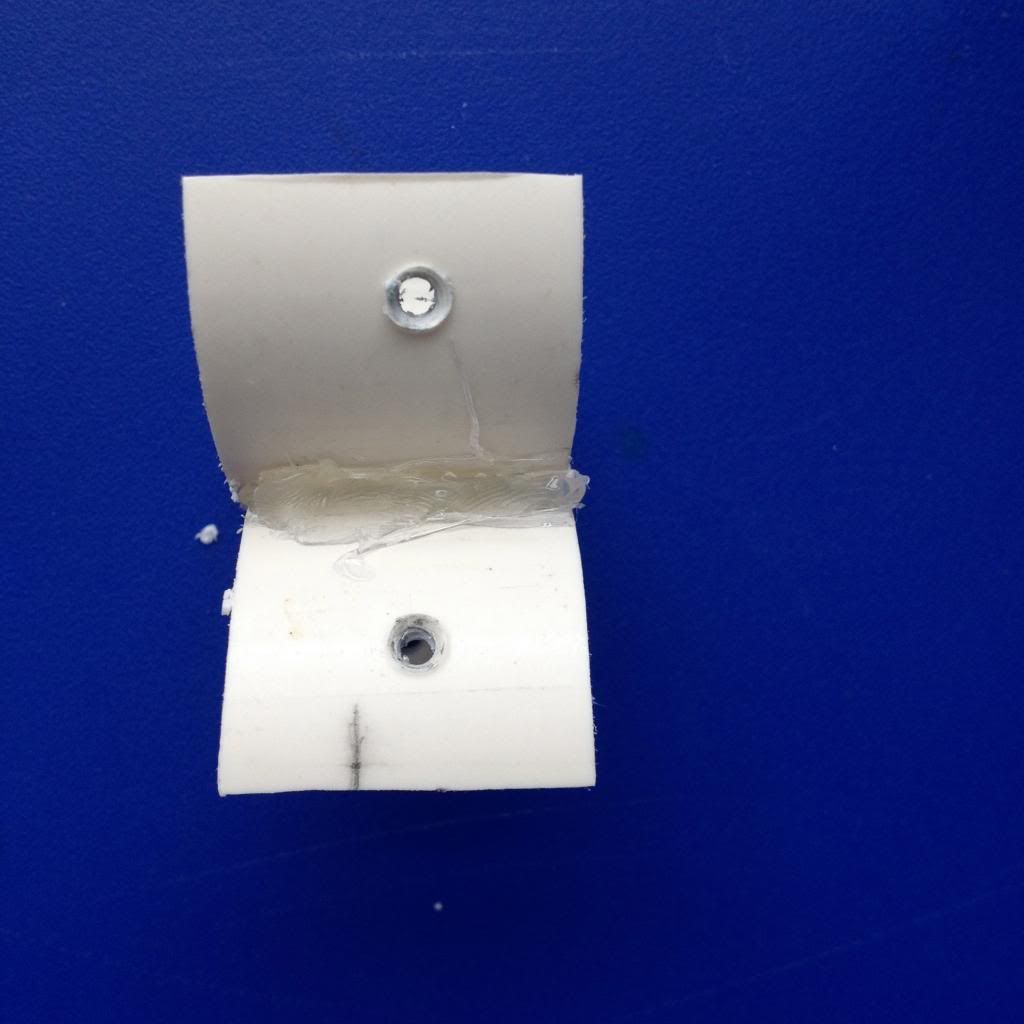
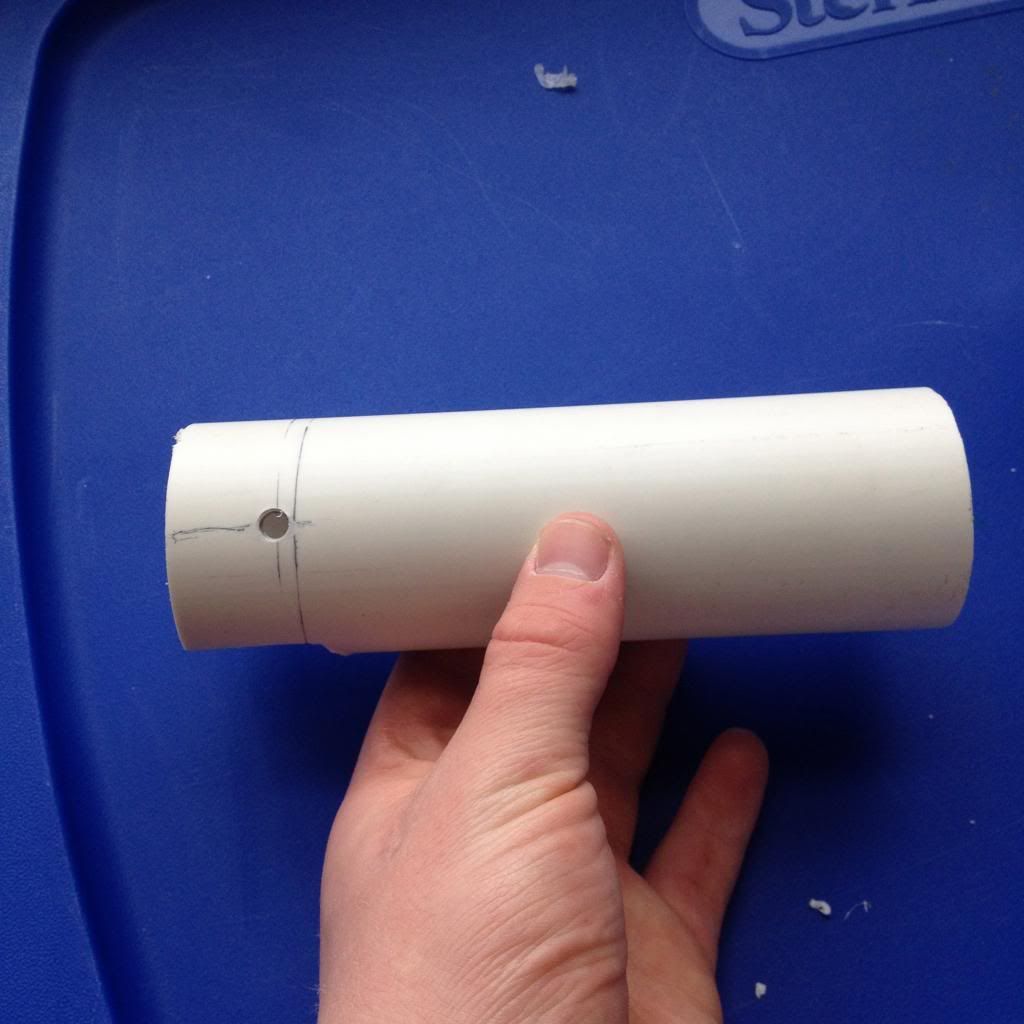
Drill 2 holes parallel to each other and tap them for ¼-20 ¾” from the back of the grip.
IMG_3828_zpsf7576b29.jpg

Finished Grip should look like this.
IMG_3829_zps985fe441.jpg

TRIGGER
For the trigger you will need:
Clothespin
Nail
Epoxy putty
Screws
L Bracket

Since there are so many SNAP trigger instructions out there, I will provide a link to my favorite design.My personal favorite trigger
(all credit goes to NOM for teaching me how to make SNAP triggers-I have used his design 20+ times and it has never failed)

ASSEMBLY

Step 1
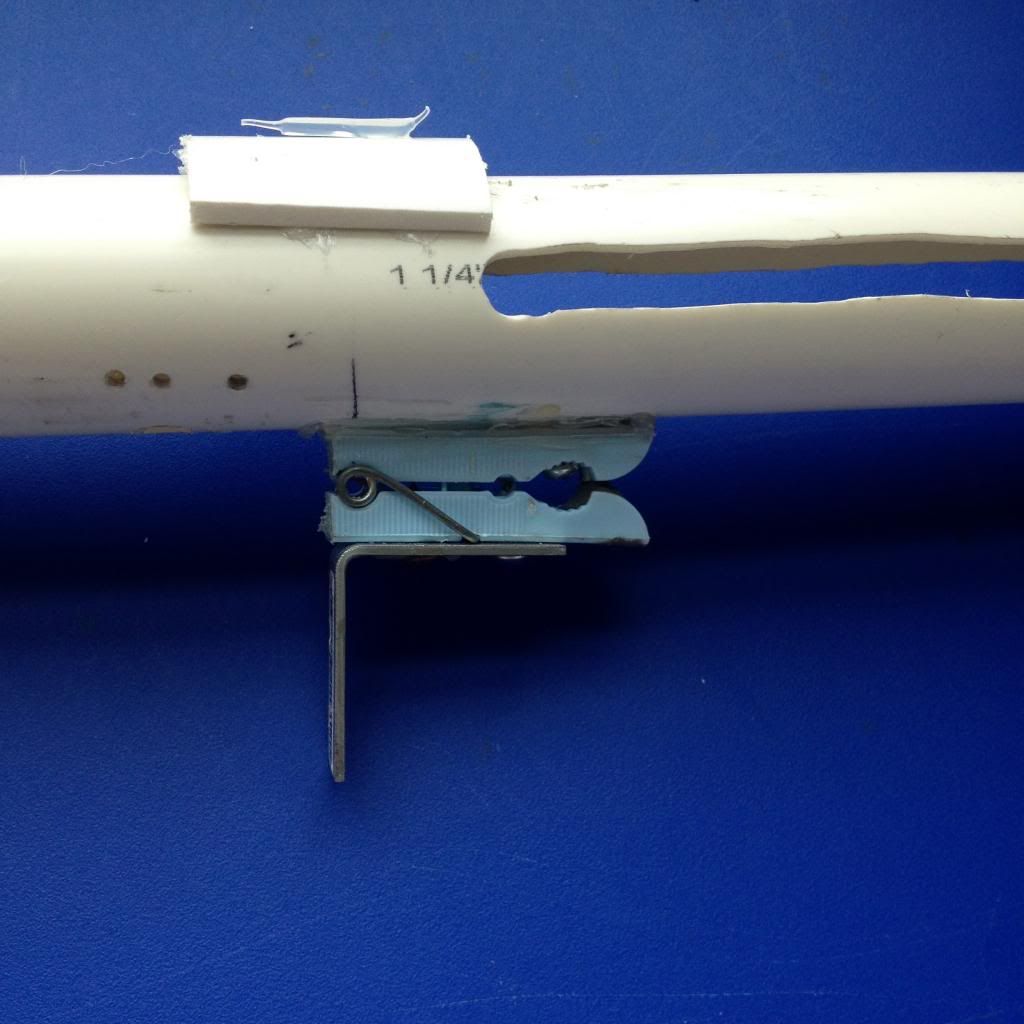
Screw trigger so the nail lines up with the trigger hole shown in the diagram.
IMG_3830_zpsc487f9fd.jpg
Step 2
Slide Plunger rod assembly into the lower body, you will need to pull the trigger down when you do this.
IMG_3834_zps6a453225.jpg

Secure the ¾” endcap with four 6-32 bolts.
IMG_3833_zps24b68660.jpg
Step 3
Slide on plunger.
IMG_3835_zps8f3888f7.jpg
Next, slide the separator we made in the back. Use four sheet metal screw to secure it- 2 on each side.
IMG_3836_zps3fa0e427.jpg
Hot glue a small piece of 1.5” PVC in between the plunger and the lower body at the front of the blaster. Make sure it won’t interfere with the foregrip.
IMG_3839_zps3b8904c9.jpg
Step 4
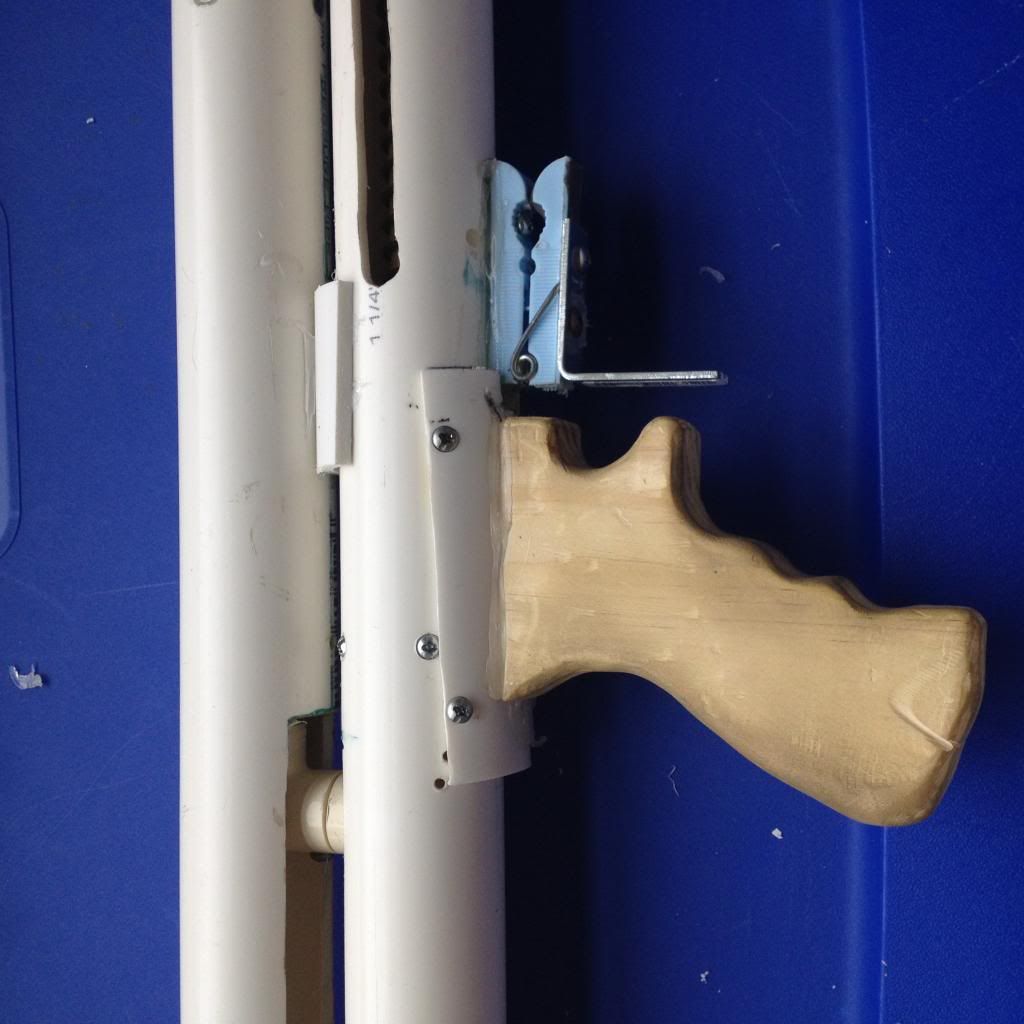
Attach the handle by drilling and tapping 4 holes, 2 on either side of the piece of PVC on top of the handle.
IMG_3839_zps3b8904c9.jpg
Step 5
Slide the stock in the lower body, the 1” PVC should fit snugly, if not, wrap a few layers of etape around it to make it snug.
IMG_3841_zpsebe3f836.jpg
Step 6
Slide the foregrip onto the front of your blaster and thread the 2” long bolt through
IMG_3804_zps7d3aacb0.jpg

Step 7
Slap a hopper on your new blaster and fling some foam!
IMG_3843_zpsfa2863be.jpg
THE FINISHED PRODUCT
Here’s your pics.
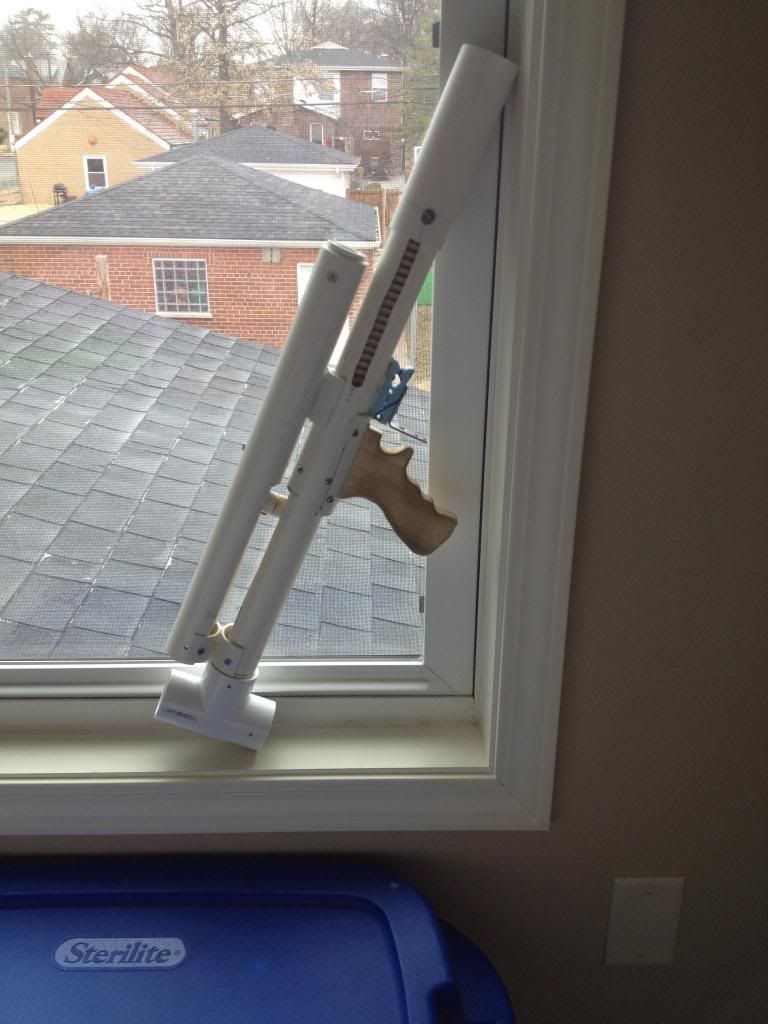
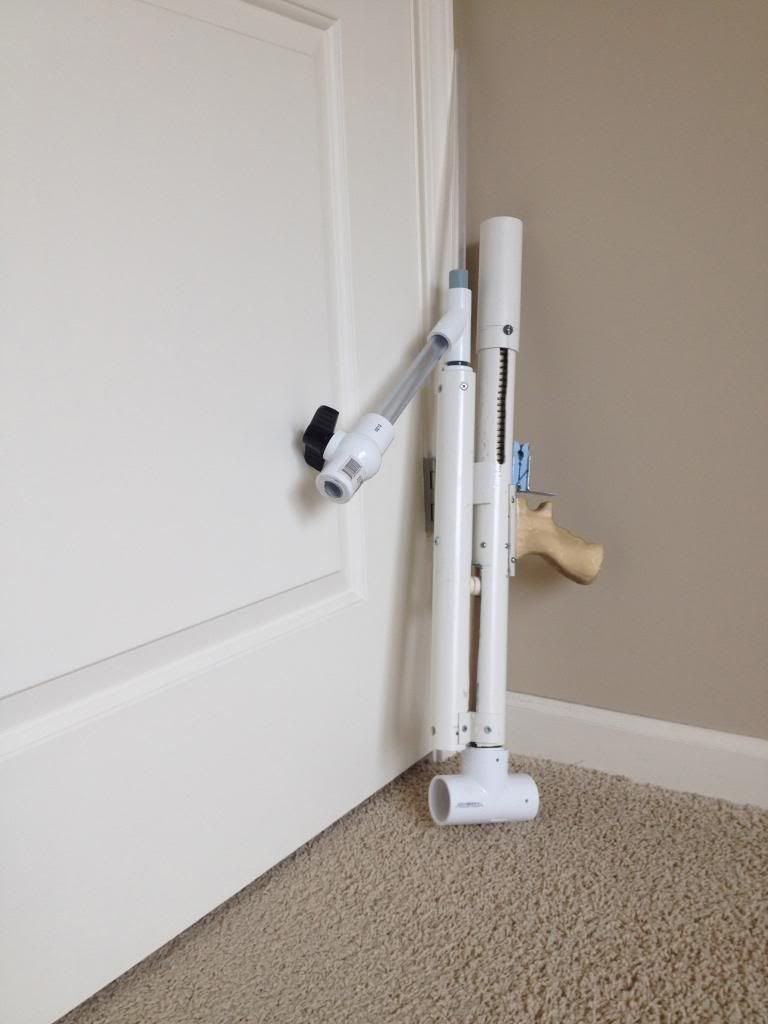
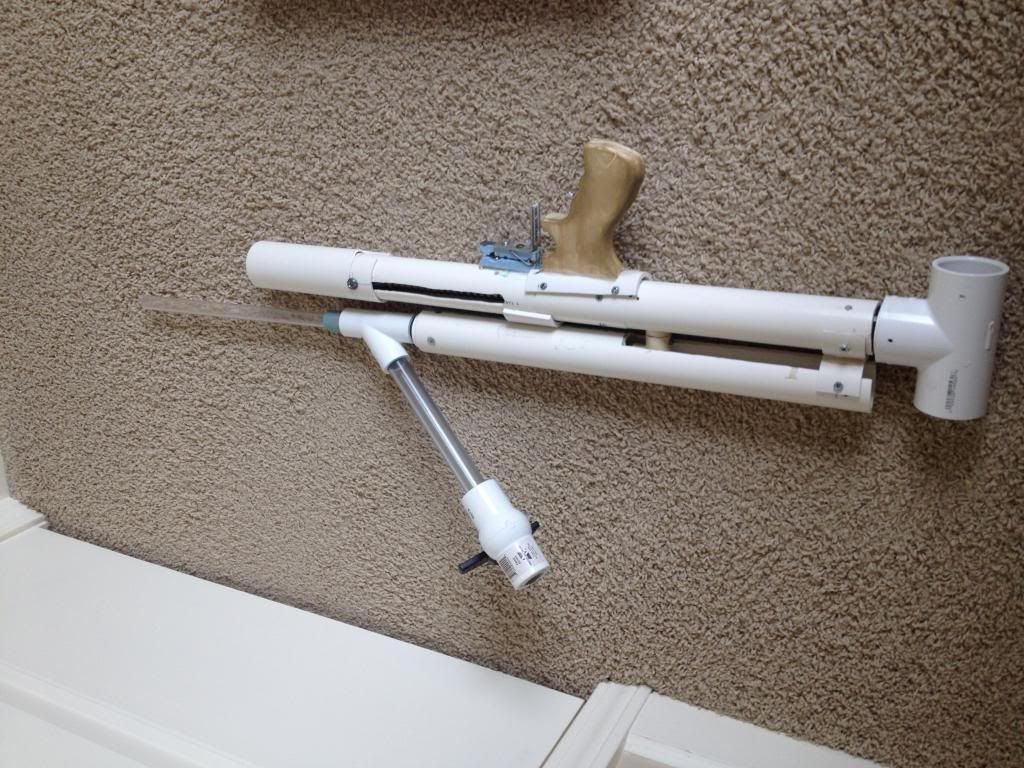
IMG_3844_zps22915cdc.jpg
IMG_3845_zps8568b250.jpg
IMG_3804_zps7d3aacb0.jpg
IMG_3694_zpsbf9d12a4.jpg
Overall, I love this blaster. The feel of it is great, it is really accurate, it feels really solid in your hand, and I can’t wait to use it in the next war. The prime is one of my favorite parts of the blaster since it is SO smooth and I can spam darts like no other blaster in my armory, even my good ole pumpsnaps.

RANGES
I don’t have official ranges yet, but they rival those of my pumpsnaps, which shoot 100-110 feet flat.

Alright guys, that just about wraps things up, hopefully you enjoyed my first real write-up. If you have any suggestions on the picture quality, write-up, or blaster itself, feel free to post them below to tell me what you think. I have some more ideas in the future for some crazy SNAPs so look out for those. Thanks for reading! biggrin.gif


Missouri Nerf Time

02 February 2014 - 02:08 PM

Hello everyone. Now I know that Missouri had a pretty successful Nerfing season last year with two wars (compared to no wars before), but I think this coming summer we can get enough people to have a decent sized war. Last year, we had around eight people per war, which is not the worst, but that limited game types and did not allow as much trading. If you are interested in joining some wars next summer please vote yes, or leave a reply down below saying what area of Missouri you are able to have the war in ( for example- St.Louis, Charleston). Hopefully the 2014 Nerf year will be the best for Missouri yet.