My motive for this was to create an alternative way of attaching a camera rather than having to buy from SlyDev, So I made this.
Here is a materials and tools list.
Materials:
A Bolt/Screw that will fit into a bottom of a camera.
2 Eye bolts/ nylon spacers that will fit over the camera screw.
A Rayven/ blaster with a carry handle.
Tools:
Power Drill
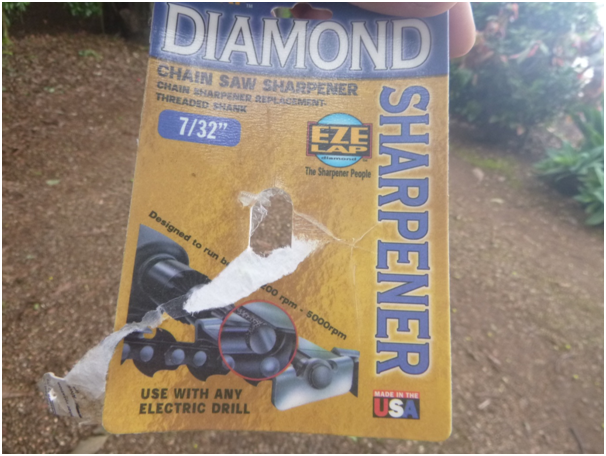
Circular hand file ( I used a chainsaw sharpener)
File attachment for a drill ( I used another chainsaw sharpener)
or a 7/32 drill bit that fits the camera screw.
Okay, Here is how.
Firstly mark where you want to have the screw, I suggest going here

(Thanks to SGNerf for the original pic)
Now, you can either use a drill bit and drill right through the top or do it like I have using the filing bits.
Open your shell and you should have something like this

(Thanks to SGNerf for this pic)
Now take your hand file and file halfway into the shell like I have to create a start mark, then do this on the other side.
(My rail looks different because I painted my shell)
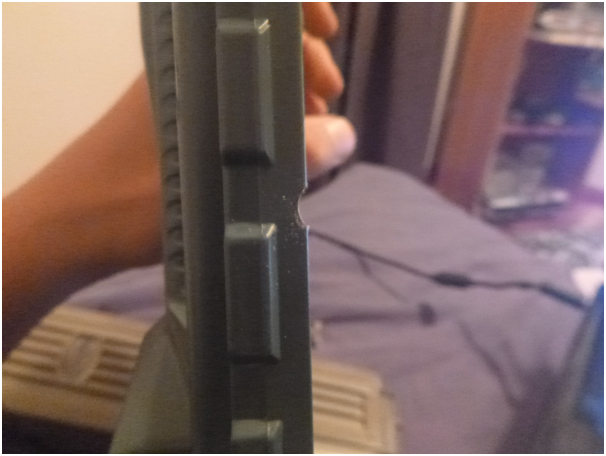
I used this filing bit for my drill and then I went through and opened the hole up more

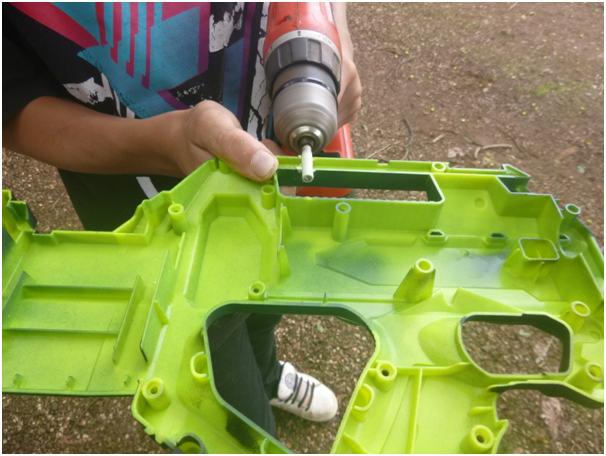
Now put your camera bolt in and then close up your shell and screw it back together.
To attach the camera, push the screw up and put the two eye bolts or spacers on, I chose eye bolts because they span over part of the camera. Now screw the camera on.
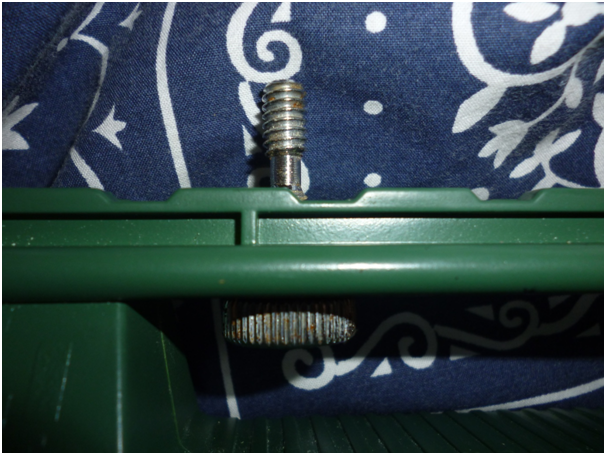
You can also use the tac rail, just push the bolt down.
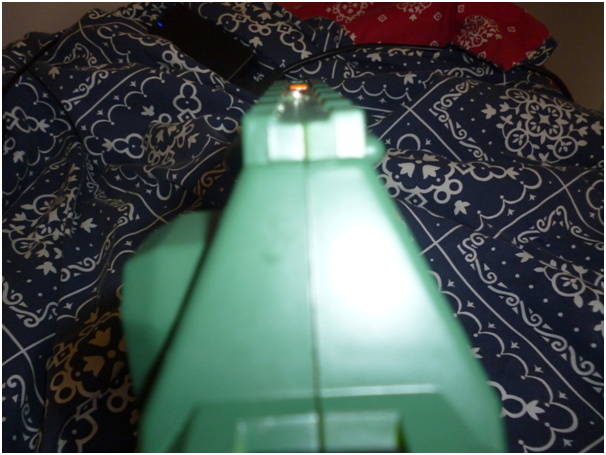
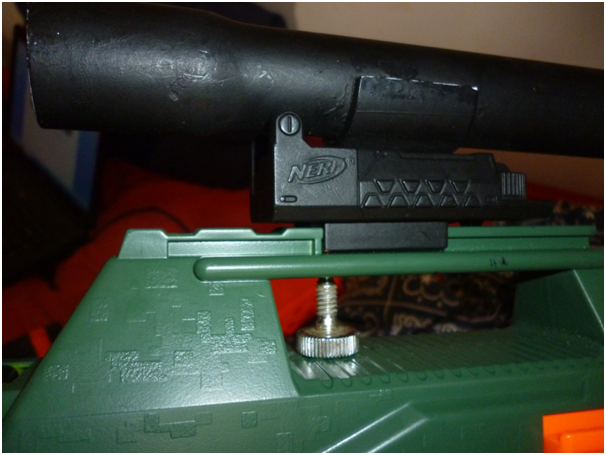
Here is a final pic, you can see the eye bolts underneath the camera.
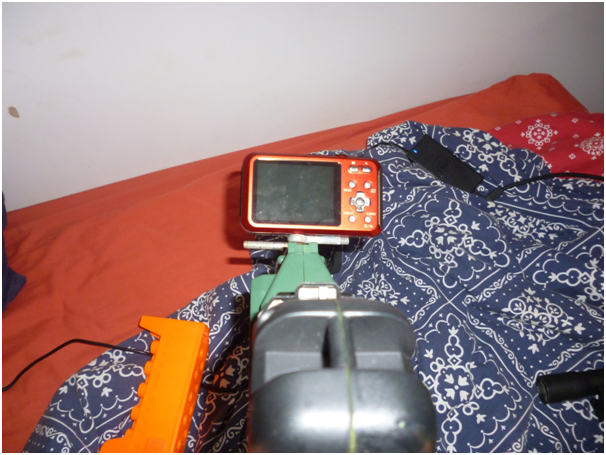
Thanks guys for reading, I hope this wasn't too bad.
Please comment your thoughts.


 Find content


