Jump to content


UrbanIso

Member Since 27 Feb 2013
Offline Last Active Aug 18 2014 12:20 AM

Topics I've Started

The Pantherstrike

10 August 2014 - 12:55 AM

Posted Image

I performed makeitgo's Buzz Bee Panther Basic Mod back when it was first released. It is a powerful mod, but I was unhappy with it for a few a reasons. The 1/2 inch PVC barrels I was using at the time tended to leave popped stock Nerf elite darts when the Panther was fully pumped, and the Panther shell itself is uncomfortable in adult hands.

Recently I purchased 0.53 inch and 0.79 inch clear plastic tubing from McMaster-Carr to use with Nerf elite and mega darts, respectively, and found that a fully pumped, modified Panther with these barrels does an admirable job firing both dart types without destroying them. Fired flat, typical ranges are 75 feet with elite and 65 feet with mega darts.

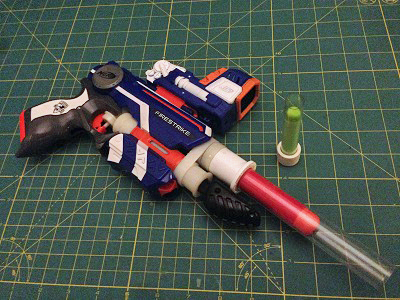
This ability to fire long range with multiple ammo types means this is a much more viable blaster for Nerf/HvZ wars, so I decided to integrate the Panther internals into a more useful shell. The Firestrike is a natural choice since it offers a comfortable grip, a top tactical rail for accessories, two dart (or ramrod) storage spots, and a possible holster option via the Sidestrike. Most importantly, the Firestrike shell has a two cylinder symmetry (the upper plunger tube volume and the lower flashlight volume) that almost perfectly fits the Panther two cylinder shape:

Posted Image

The obvious first step in this mod is to find a Panther and perform makeitgo's Buzz Bee Panther Basic Mod. I also don't see why this reshell wouldn't work with an Air Max 1, based on the pics in this thread. I added one step to makeitgo's mod which was to glue a large nylon shim to the end of the pump handle cylinder so that the handle wouldn't fall out.

The second step is to get a Firestrike, open it up, and take out all the internals. Next grind, file, or cut away all the areas in the Firestrike shell where the Panther will go. This should be a slow process of cutting and fit checking, if you're going for a Pantherstrike that is not just functional but aesthetically pleasing. This pic will give you a sense of the areas I had to remove:

Posted Image

Once you're done reducing the Firestrike shell I recommend modifying some of the Firestrike internal components. For instance this piece will help center the Panther internals in the Firestrike shell - make the changes indicated in the picture (before modifying left, after right) and increase the radius of curvature in the area where the red arrow is pointing:

Posted Image

Finally, modify the Firestrike trigger. With my Panther I found that if I do not push the trigger switch almost exactly up and down the blaster will misfire. It took some trial and error, but I was able to grind the Firestrike trigger just right so that it consistently fires the Panther when I depress it. Here is the bulk material that was removed:

Posted Image

...and a close-up of the shape of the final trigger switch, as getting this right without removing too much material was the hardest part of the mod:

Posted Image

At the end of the mod here are the original Firestrike components were integrated with the Panther internals into the shell:

Posted Image

...and the final result:

Posted Image

Further details on mods relevant to making the Pantherstrike can be found here:

Mattel BOOMco Balls Tac Rail Accessory

05 July 2014 - 10:36 PM

Posted Image

I wanted to get the word out. I was in Target today looking through the new BOOMco stuff and found a tactical rail accessory that happens to fit Nerf blasters. The squishy balls themselves are pretty weird and look like they could collect a lot of dirt, but didn't attract too much dust when throwing them around the house. Also kind of cool, they stick quite well to the provided target but nothing else. I imagine the material is the same as the BOOMco dart tips.

Posted Image

I plan to use the tactical rail cage as a grenade holder in HvZ matches and Nerf wars.

Posted Image

Posted Image

More pics here.

Suction Dart Mod for Use in Magazines

16 August 2013 - 07:48 PM

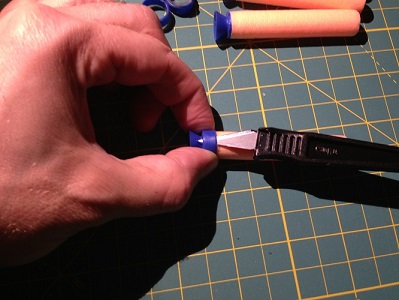
I found a simple way to modify Nerf suction darts for use in magazines and flywheel blasters.

Simply cut off the outer ring of the suction head and you're good to go:

Posted Image

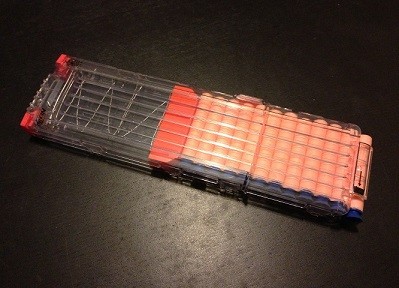
With the mod they stack nicely and easily travel in magazines:

Posted Image

So far the only blaster I've had trouble using them in is the new Rapidstrike.

While may be not of interest to the hardcore community, I find suction darts fun for around the house and office use. I have more pictures and a firing video here.

Firestrike Firefly Mod

03 March 2013 - 03:04 PM

Posted Image

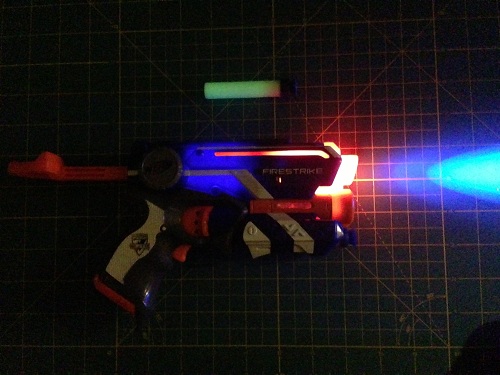
This modification makes the Firestrike function with glow-in-the-dark foam darts. It was motivated by my (and my cat's) enjoyment of playing with this blaster in a dim room where the red targeting LED and the glow darts really stand out.

Materials required:

  • Nerf Firestrike
  • Glow darts
  • Blue or UV LED
  • Insulated wire, 22 gauge
  • Drill or Dremel with small drill bit for wire holes
  • Snips and wire stripper
  • Solder and iron
  • Hot glue and gun
  • Screwdriver set

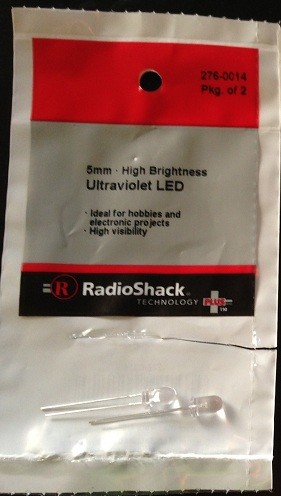
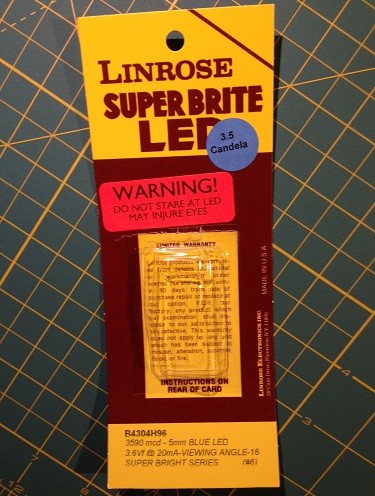
All of the electrical components and tools can be purchased at Radio Shack. Fry's Electronics also has a nice selection if you live in CA. Here are two options:

Posted Image Posted Image

First some safety and considerations regarding the LEDs, if you decide to perform this mod. Only bluer wavelengths trigger the phosphorescence. White LEDs work but are full spectrum and therefore waste a bunch of light. The best are blue and UV LEDs, but each has pros and cons. Blue LEDs operate at safer wavelengths (455 nm), but you'll want to buy the maximum brightness you can find to charge up the glow dart. This means that the LED will light up the inside of your gun (cool effect) and turn your barrel into a blue flashlight, but will be too bright to point it at any person or cat face for long (especially at night). UV LEDs operate closer to the sunburn UV-A region (410 nm) and can cause serious eye strain if you stare at them too long, but work better at charging up the glow dart. There is also less gun glow and flashlight effect, but I actually prefer this as it allows the Firestrike red targeting LED to stand out more. In either case I recommend hooking the blue or UV LED up to the trigger function in the Firestrike, so that it is only on when you are targeting with the red LED and a glow dart is loaded and charging in the chamber.

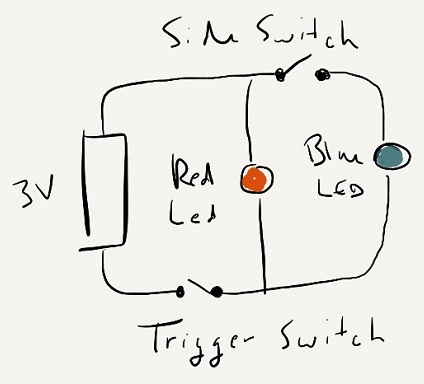
1) First step is to take the hardware you've purchased and build a quick bread-board of the circuit so that there are no surprises. Make sure the two 1.5V AAA batteries in the Firestrike can turn on your LED. Leave your LED on for a minute and make sure it doesn't get hot. You're going to put this LED in parallel with the red targeting LED so that both have 3V. Here is the basic circuit diagram (side switch is optional):

Posted Image

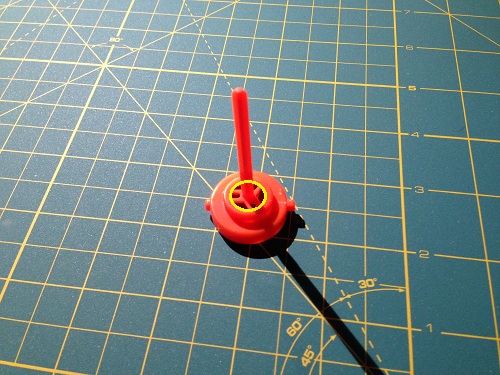
2) Next disassemble your Firestrike and remove the air restrictor from the barrel. There are already lots of published articles and videos on how to do this - I followed the Venturi Effect mod. At the very minimum you should remove everything inside the yellow circle I've drawn in the image below and the three prong part that goes inside it.

Posted Image

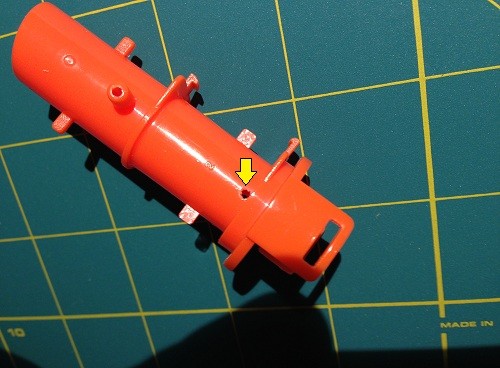
3) Now take the barrel and drill two small holes, one across from the other, as shown:

Posted Image

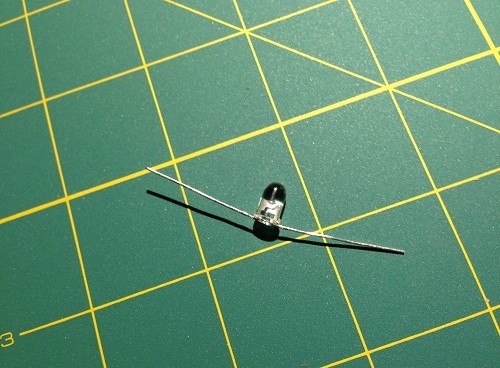
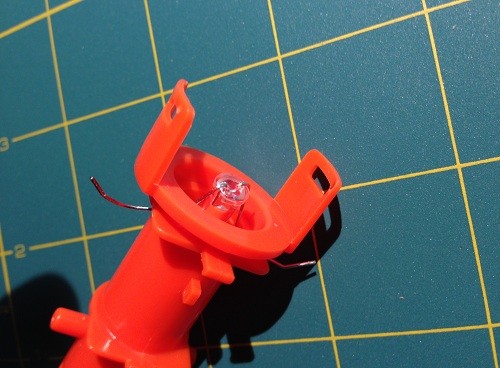
4) Bend the leads of your LED to opposite sides, keeping track of positive and negative, and insert into the barrel:

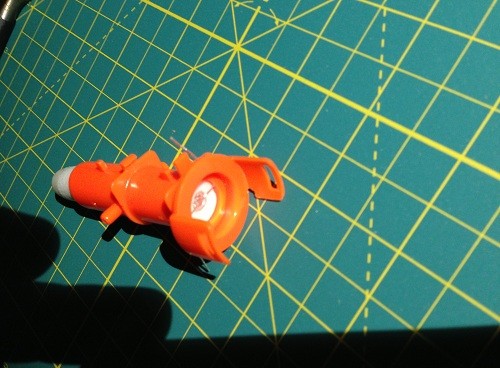
Posted Image

Posted Image

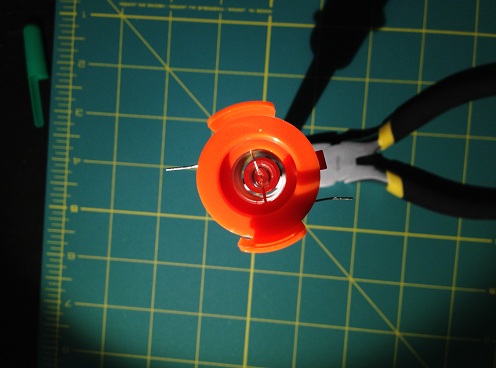
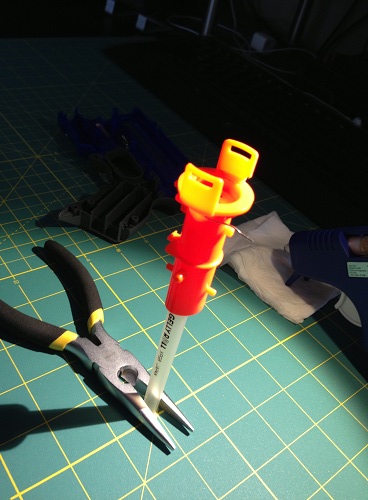
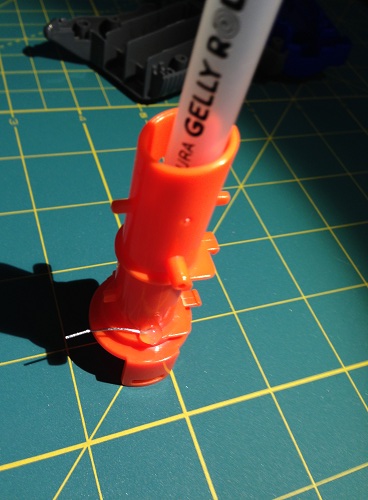
5) Pull the leads as tight as you can through the holes. I used an empty pen tube to keep the LED centered and pointing down the barrel. Fold the leads back and glue into place, making sure to get under the leads and completely seal the holes you drilled.

Posted Image

Posted Image

Posted Image

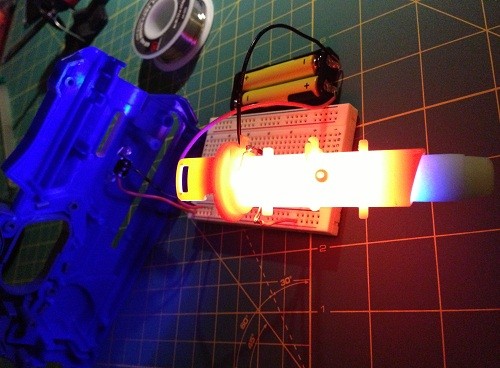
6) At this point it wouldn't hurt to do some dart fit and circuit checks:

Posted Image

Posted Image

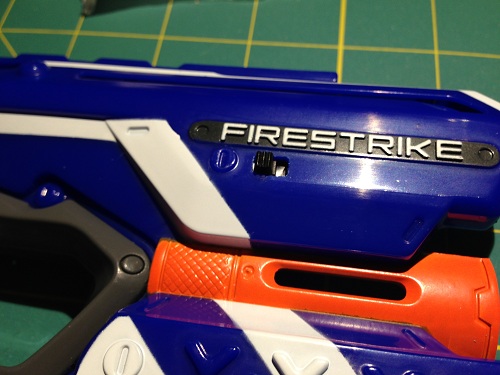
7) Optional Step. While not required, you can install a switch on your Firestrike if you'd like to toggle the glow LED on and off. It is useful if you're worried about shining the blaster in faces, as your glow LED should be pointing directly down and out the barrel. Some pics of how I did this are shown below. If you follow my method, I recommend installing the switch below the "E" rather than the "R" in "FIRESTRIKE" as it is a little too close to the plunger tube where I have it (I actually had to remove some extra material from the barrel to get it to fit at my location). The switch is the smallest I could find at the local radio shack (sub-mini slide switch 275-0409).

Posted Image

Posted Image

8) Re-assemble your blaster. I tried to do as little soldering as possible so that I could easily take it apart if need be. Some shots of how things went together are below, including the location on the trigger switch board you need to connect to to use the trigger with your glow LED.

Posted Image

Posted Image

Posted Image

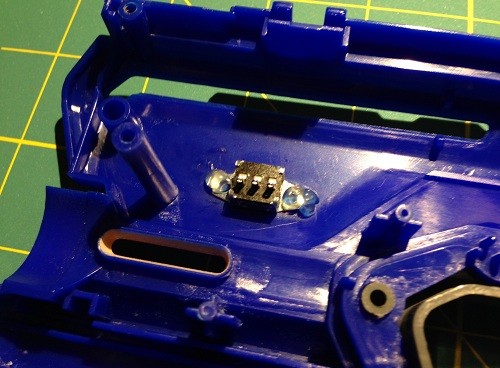
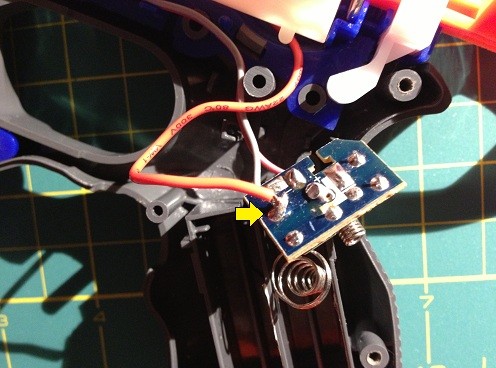
Lots of ways to do the wiring, including hooking everything up to the red targeting LED board. I chose to run wires all the way back to the batteries. For the trigger switch to work with the glow LED, I soldered the positive lead here:

Posted Image

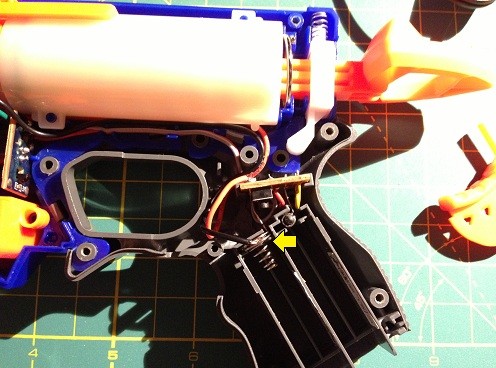
For the negative lead I just forced it in-between the battery spring:

Posted Image

Done!

Things to watch out for include how you route the wiring around the main firing switch and how big your solder nests are. Unfortunately space is very tight around the built-in circuit boards. Fit check and test everything before you make it permanent.

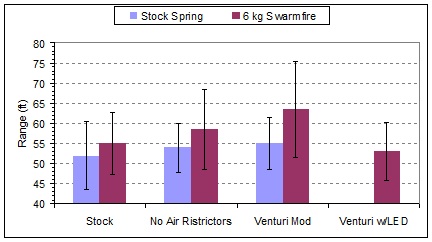
Performance gain is in night-time dart visibility, gun appearance, and fun, and is compatible with the common Firestrike air restrictor removal and spring upgrade modifications. I tested this configuration with several different springs. Replacing the stock spring with an 8 kg Swarmfire spring from Orange Mod Works yields a noticeable ringing or pinging every time the gun is fired, I believe from the LED vibrating in the barrel; however, the LED has never failed. The sound is reduced with less powerful springs and for indoor ranges are probably preferable.

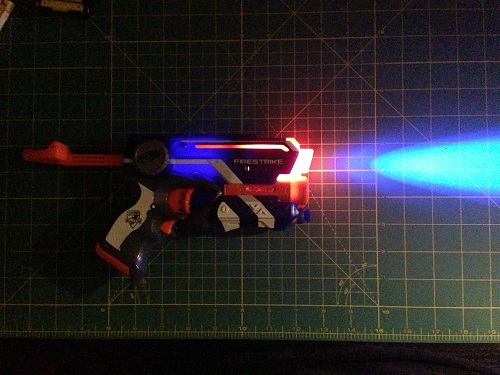
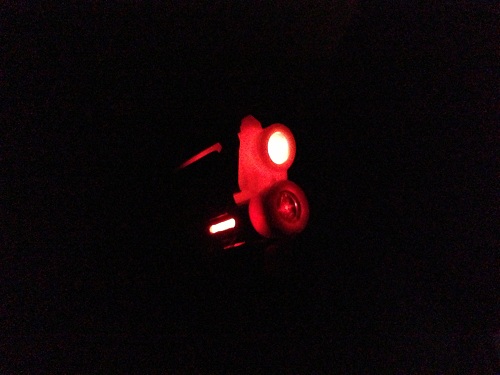
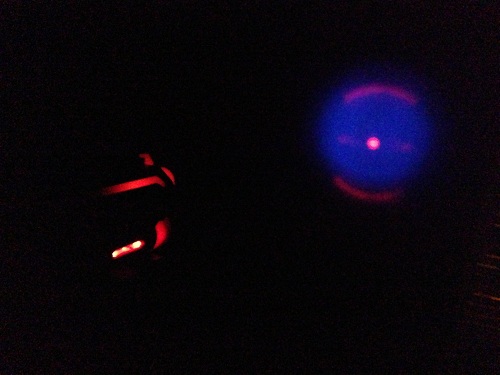
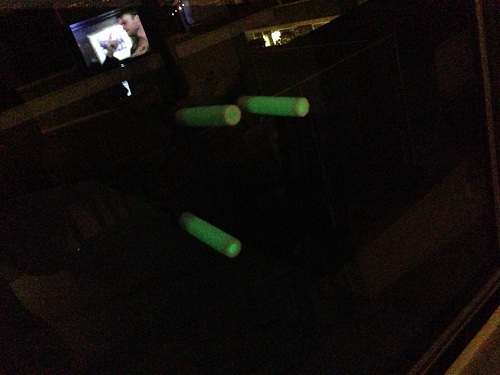
Here are some action shots using a blue LED:

(the back end of the blaster lights up when the gun is cocked)
Posted Image

Posted Image

Posted Image

Posted Image

These instructions are also posted on my UrbanIso blog.

Range test data collected since this post:

Posted Image