Jump to content


owmyquach

Member Since 11 Jul 2012
Offline Last Active Dec 14 2012 11:06 PM

Topics I've Started

The (Swarmfire) GAUNTLET

22 September 2012 - 01:57 AM

Hey all, just completed my project, a possibly one-of-a-kind and first of it, The GAUNTLET. I bought a Swarmfire last week for $10, and have been planning this mod long before I even got it. It's pretty much like uin13's under slung Swarmfire in this video:http://www.youtube.com/watch?v=FTpdj-kCStc , except mine actually has my arm go INSIDE the blaster. Before any of you try to attempt this, just know that I'm really skinny, and I have small hands, which allowed me to successfully make this. Anyways lets get to it! *Warning large as F@#$ pictures*

Materials Needed:
Dremel with cutting bit
Some elastic material (I used an elastic knee brace, but those stretchy bandages work)
Epoxy
Padding materials (I used some pull-and-stick on shoe insole things)

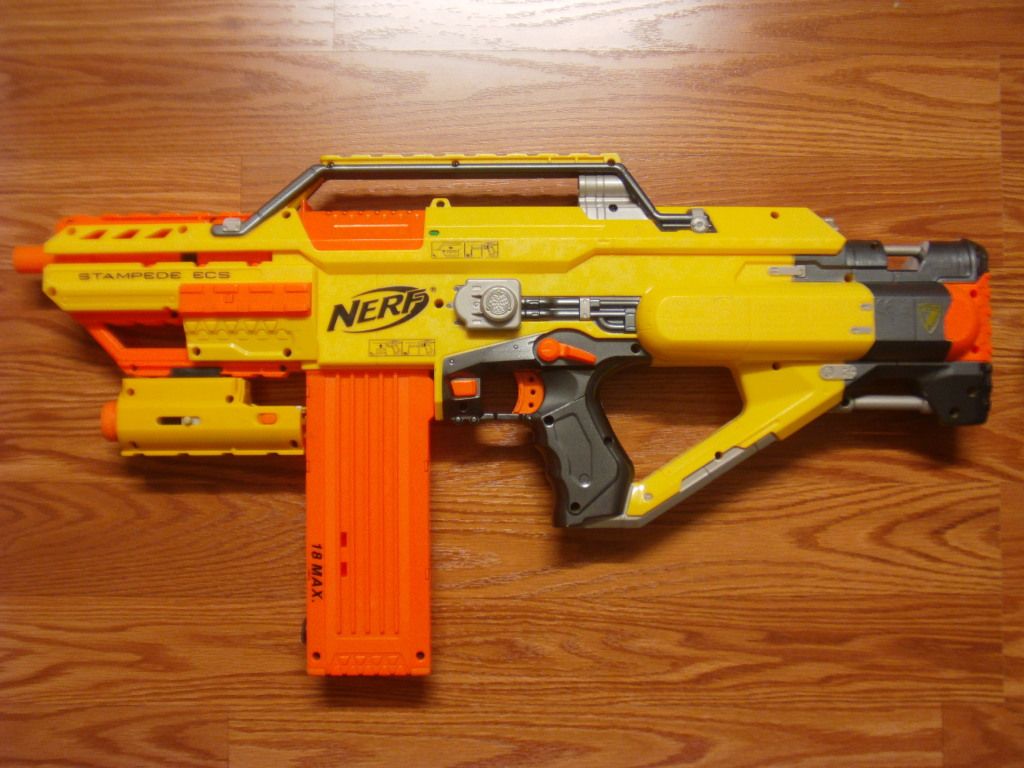
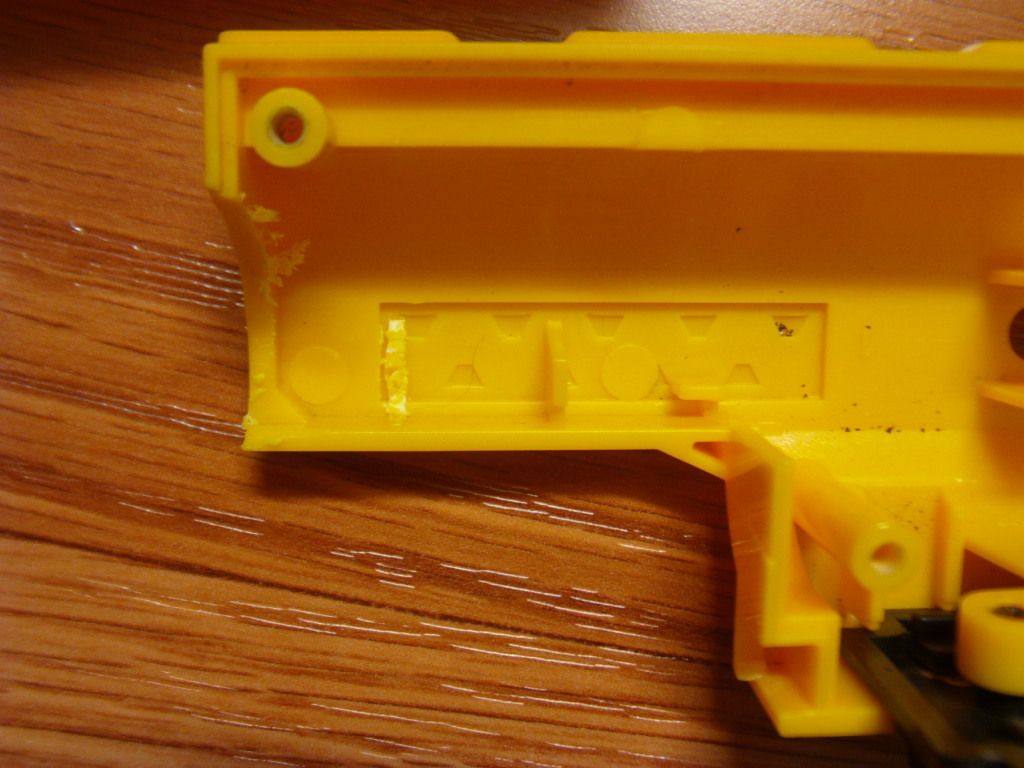
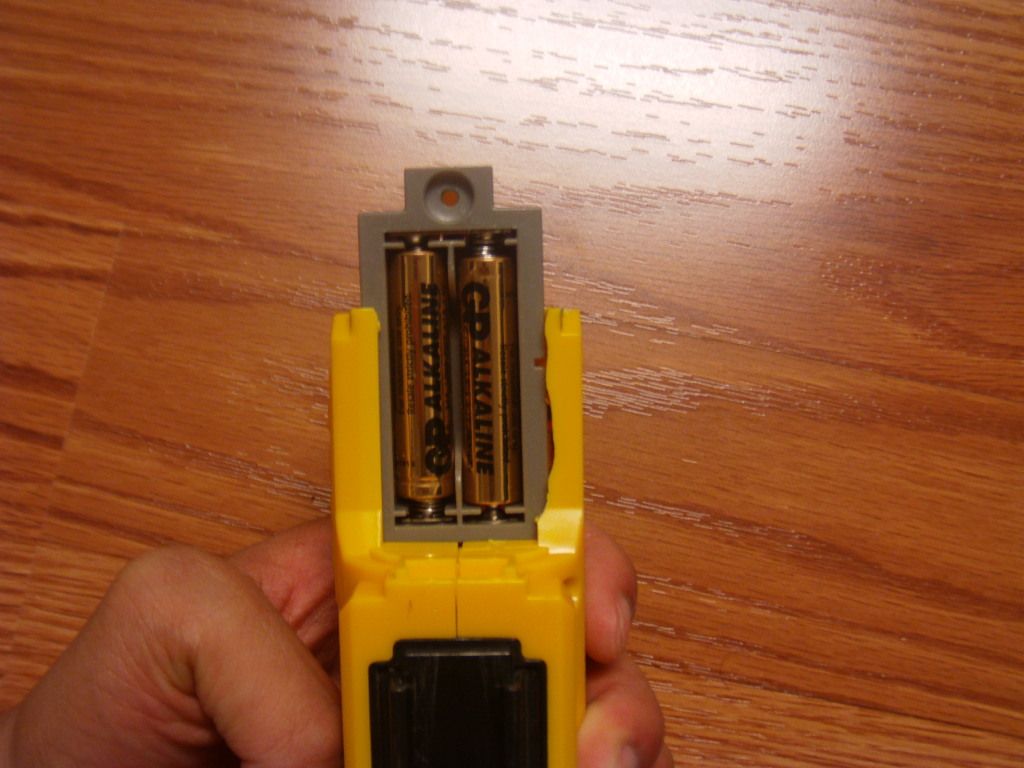
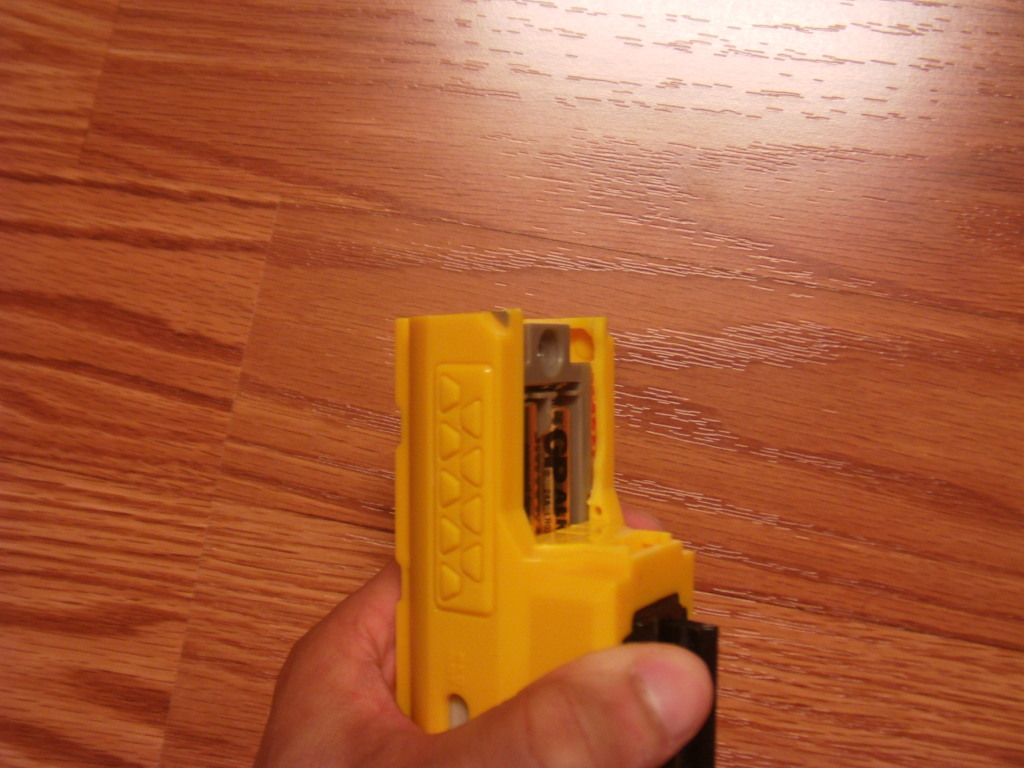
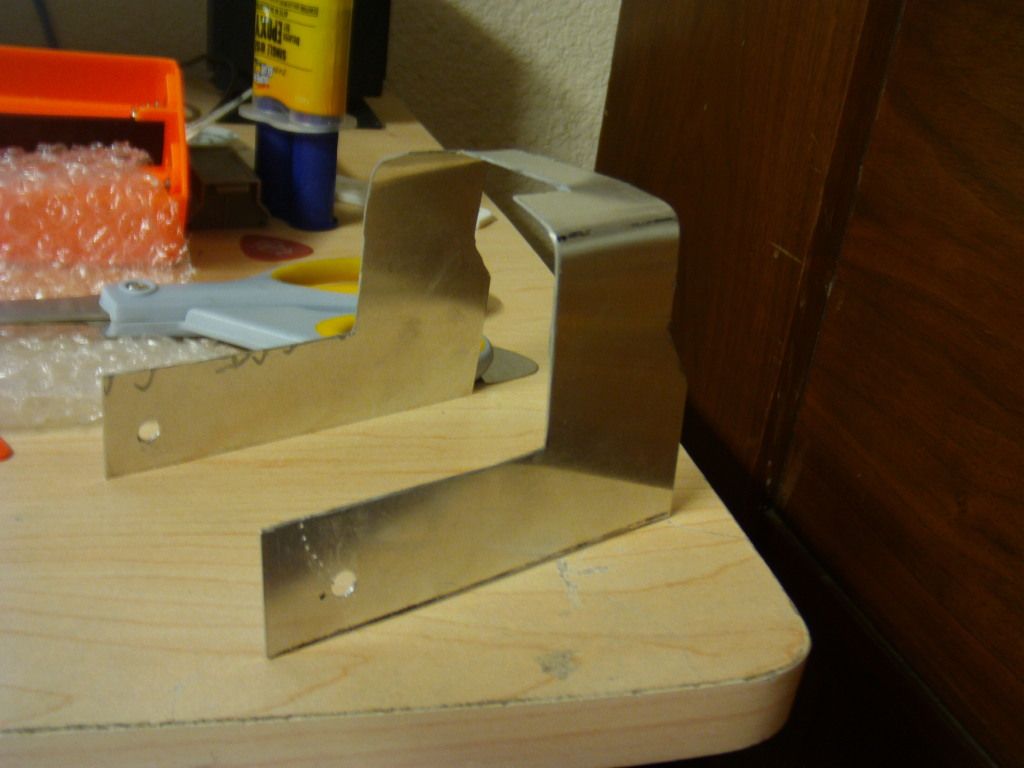
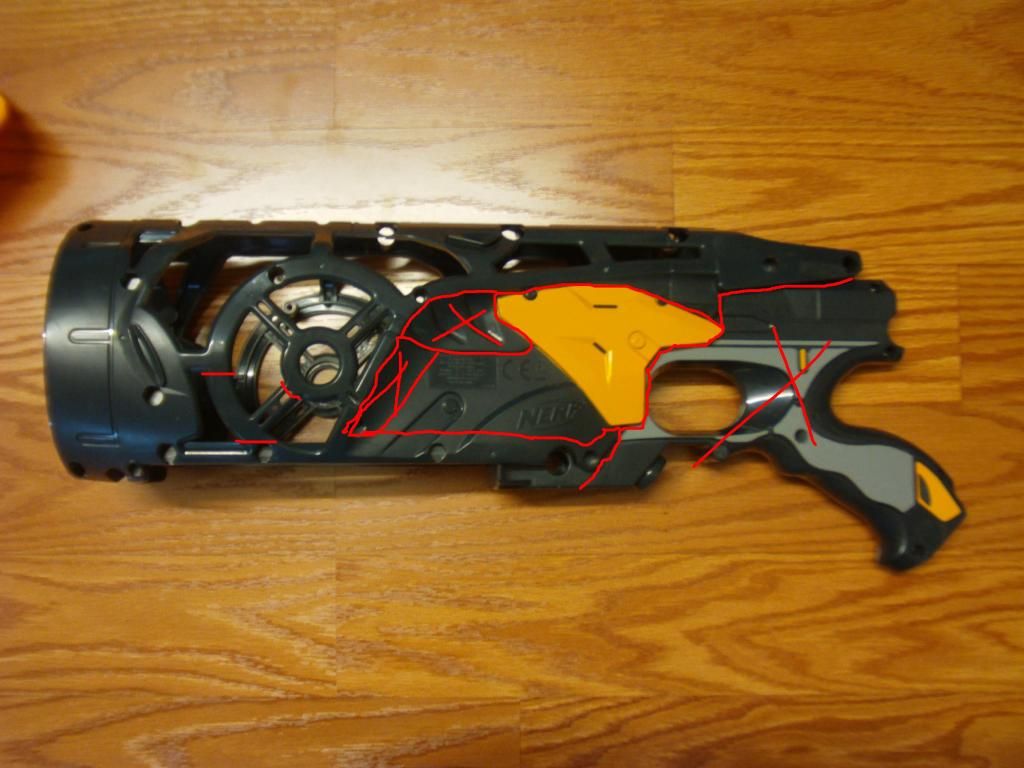
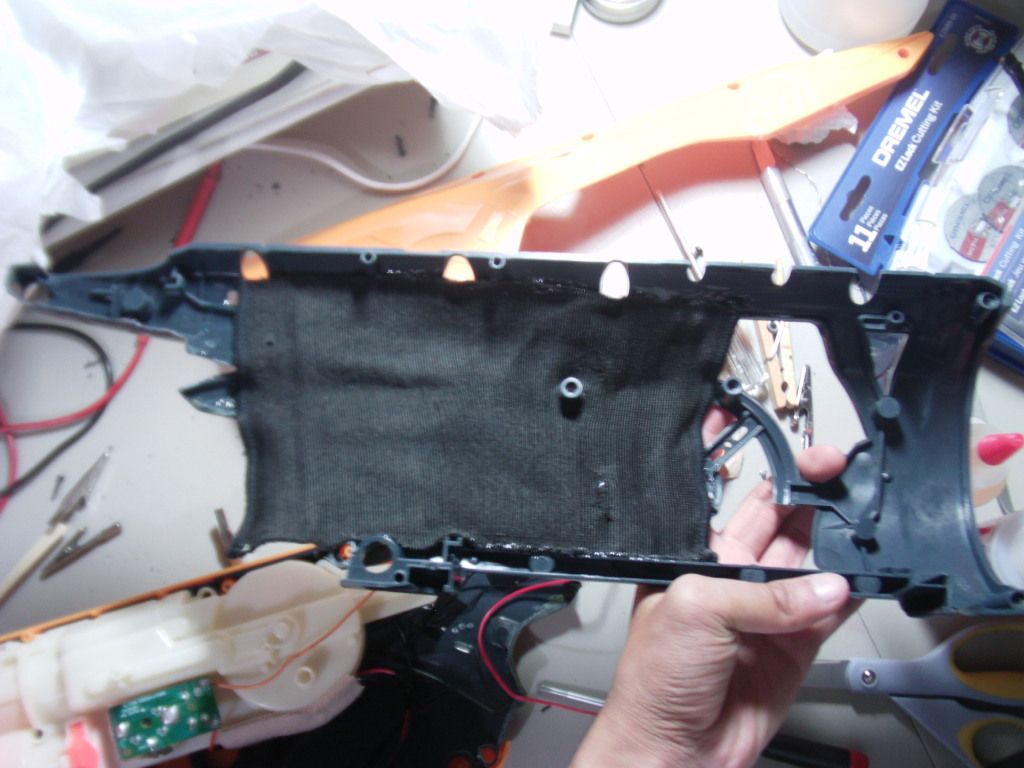
Here's a pic of the stock shell below. Basically I cut along the red lines. I removed the handle completely, and X's mean I tossed those pieces. The yellow/gray part where the yellow shell doesn't cover is saved for later, which I did for one side, but you can do for both if you need a bigger hole. I cut the little target thing to get more room for my hand.
Posted Image

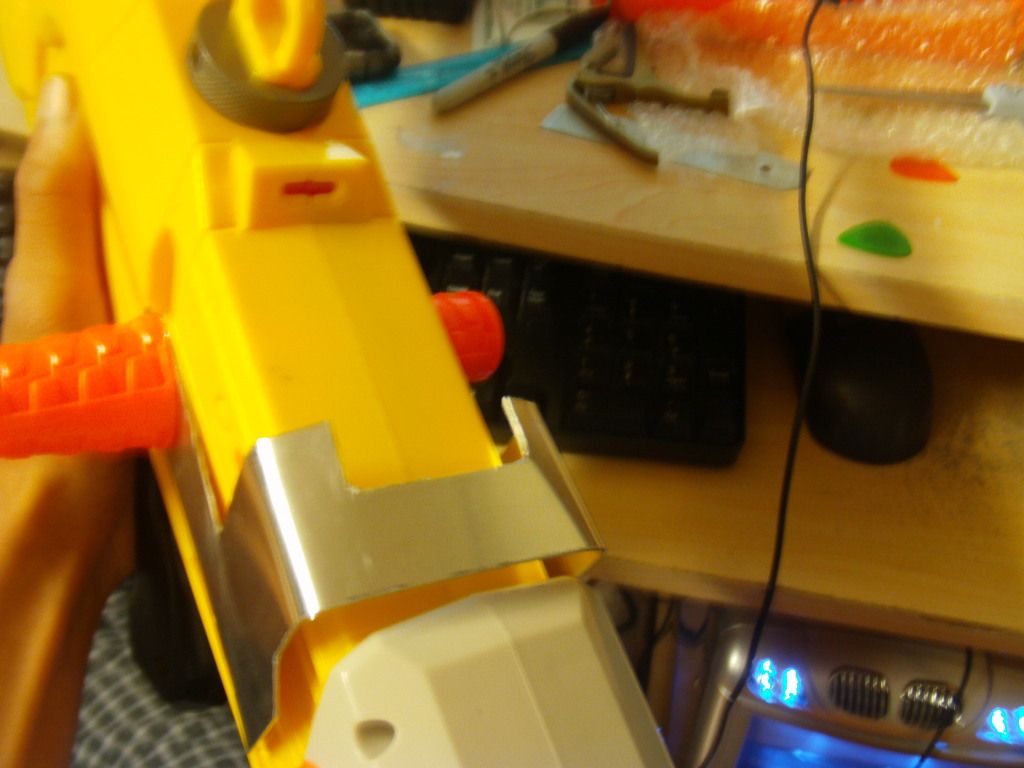
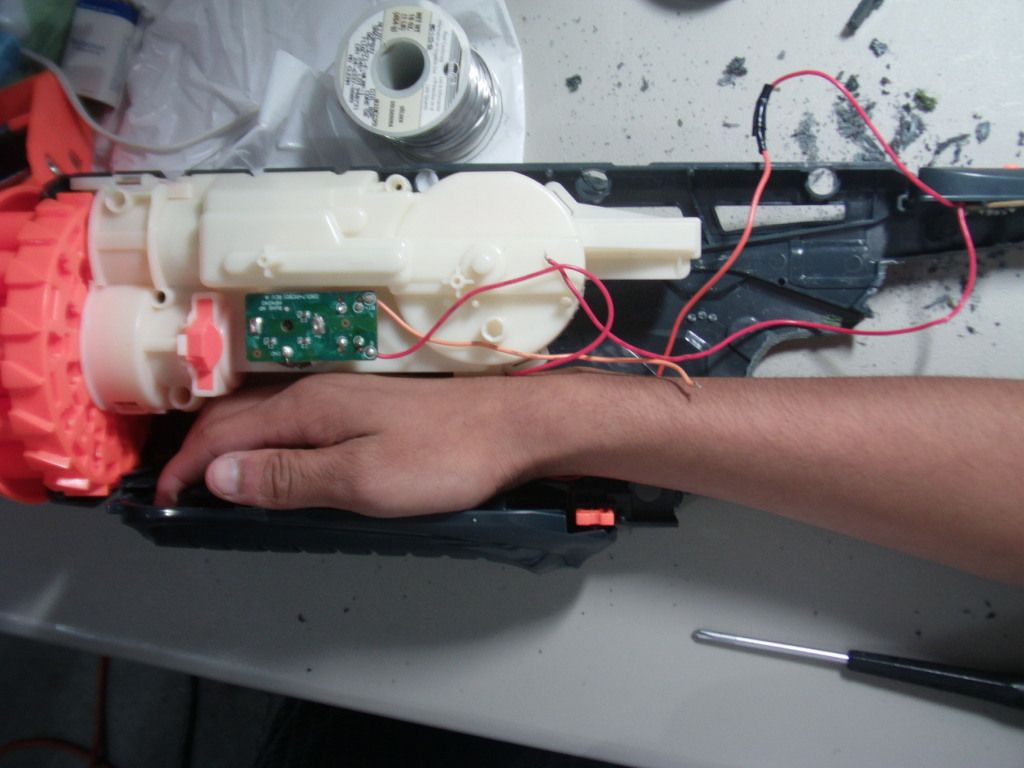
This is how I planned it to fit, though it's slightly different since I couldn't put my thumb all the way up there, which you'll see later. The trigger should be on the battery cover, which is shown in the next 2 pictures.
Posted Image

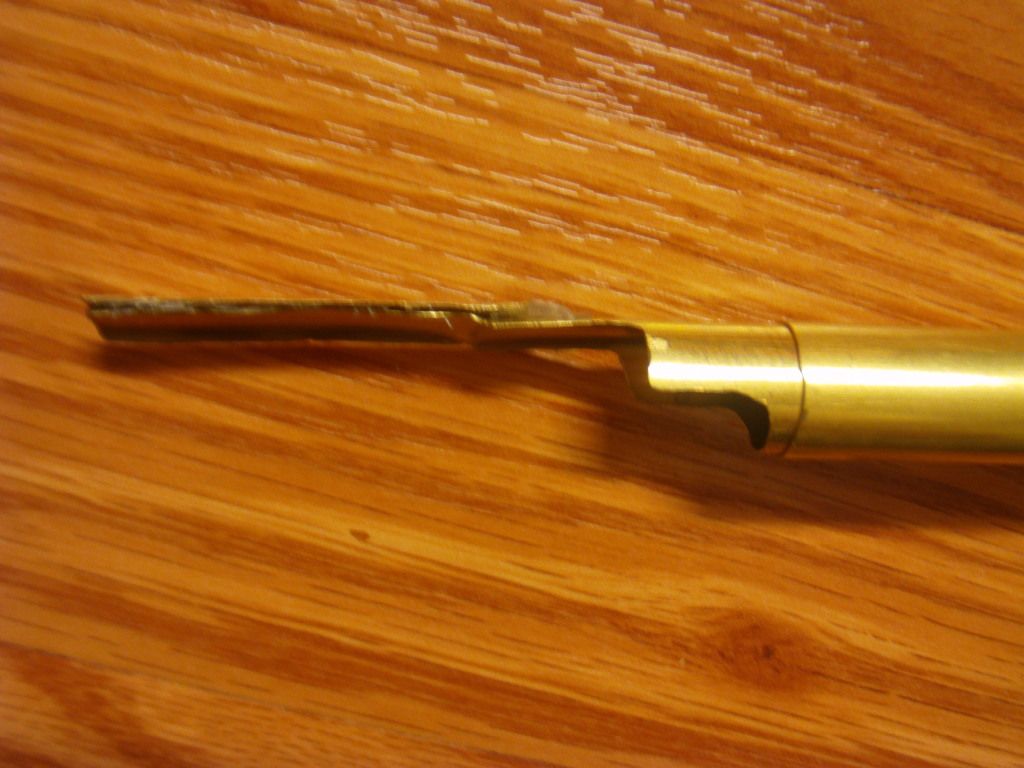
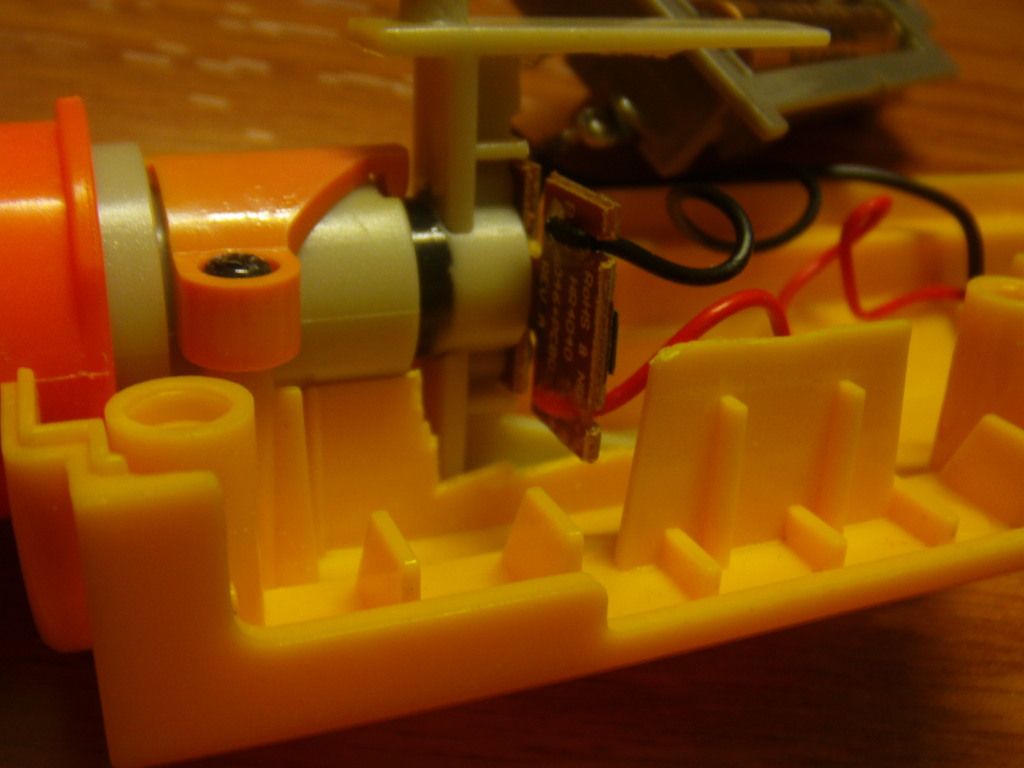
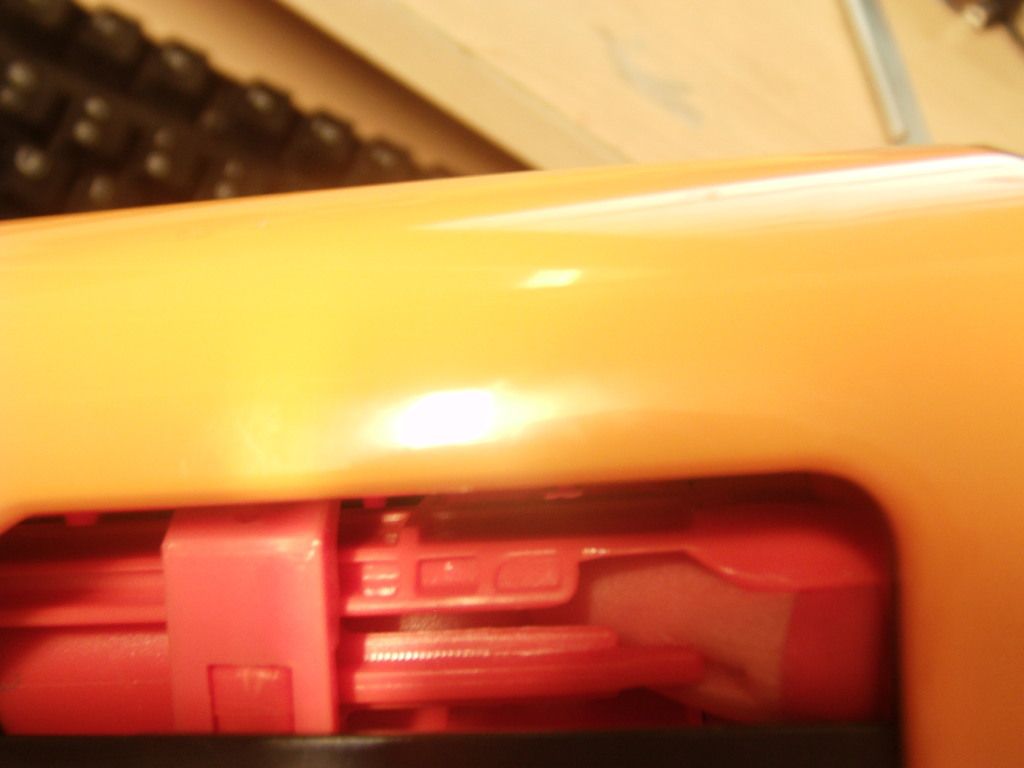
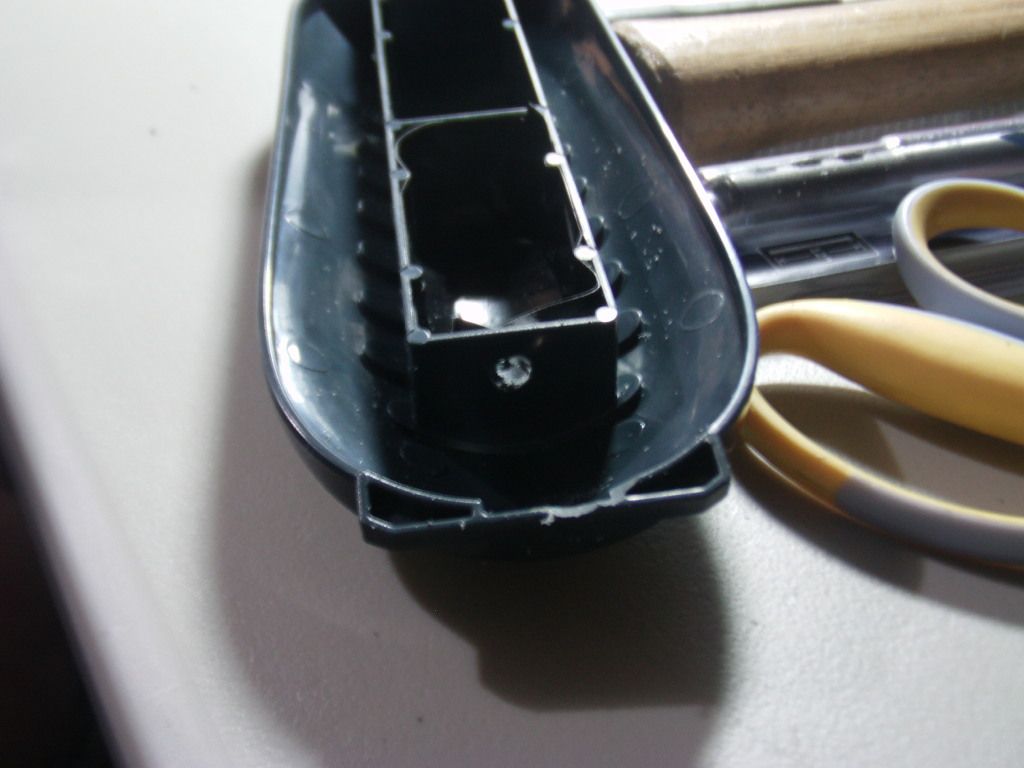
I took off the trigger components and drilled a hole to fit the trigger button on the battery cover. Tested to fit, making sure the hole wasn't too big.
Posted Image

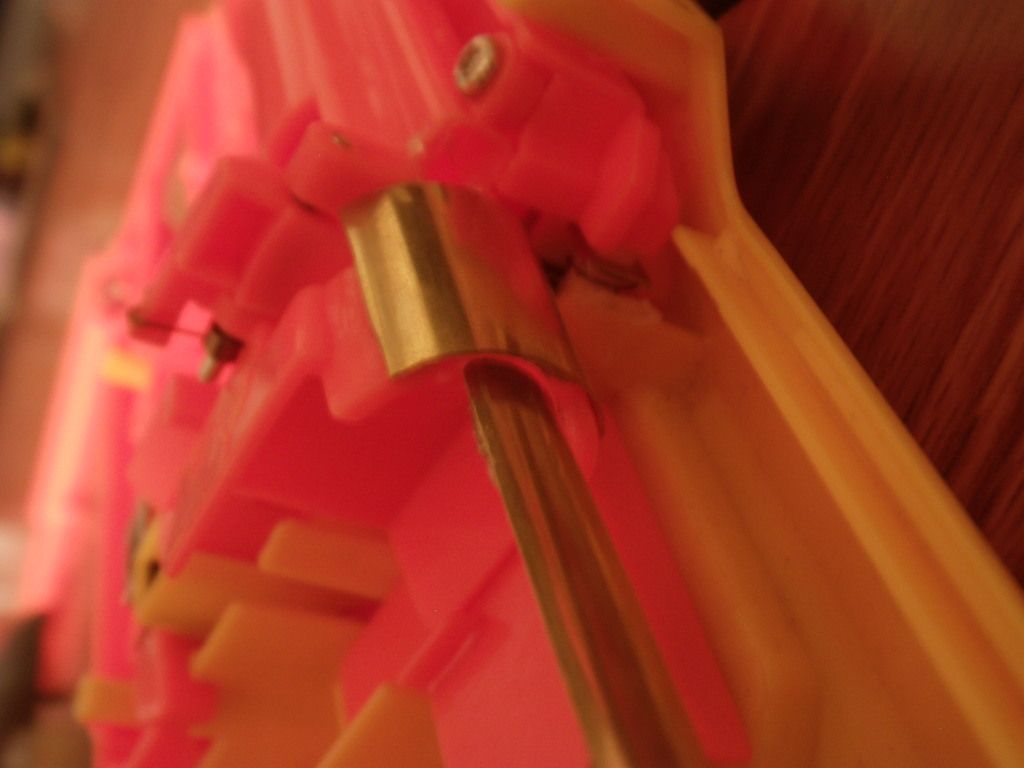
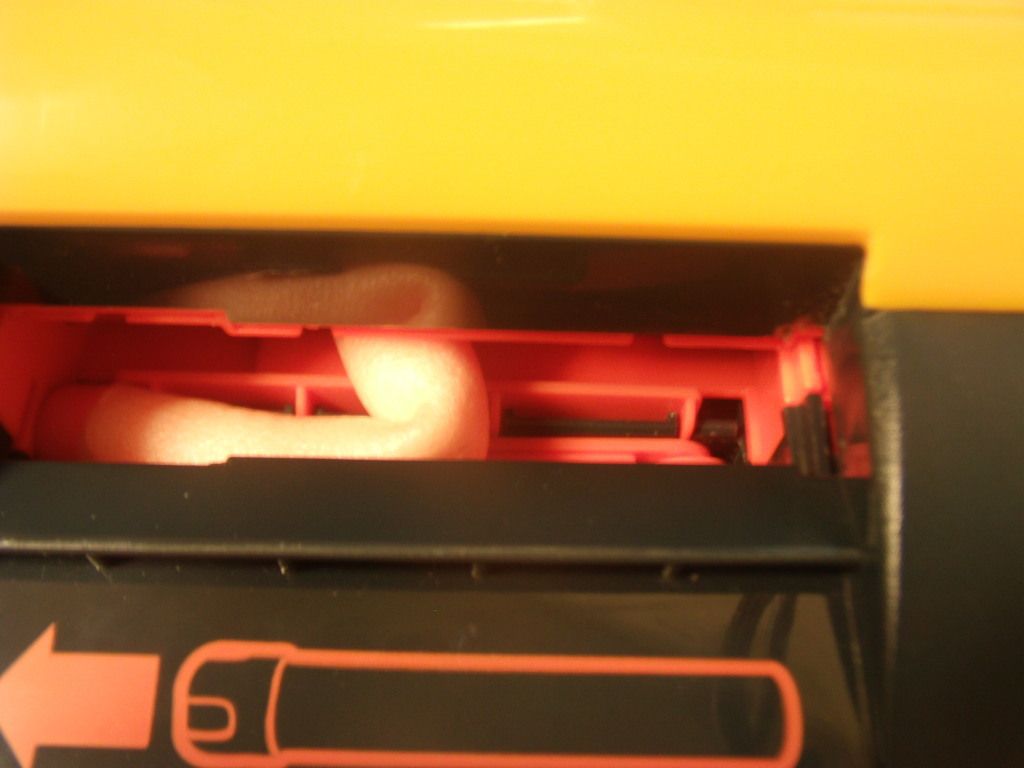
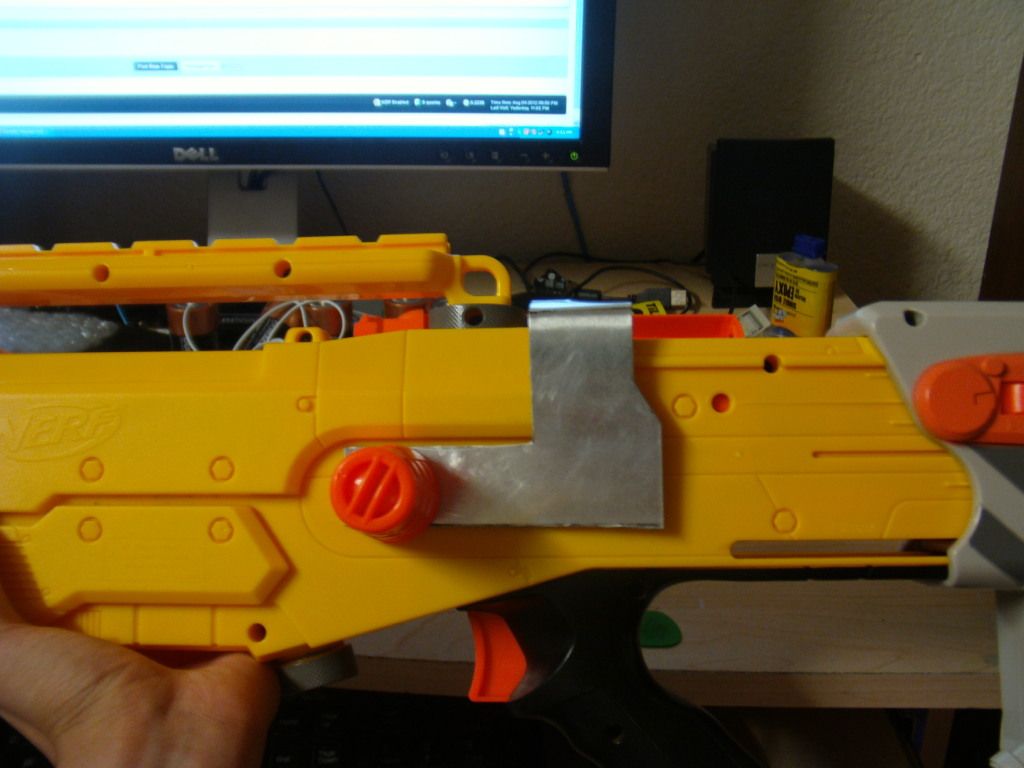
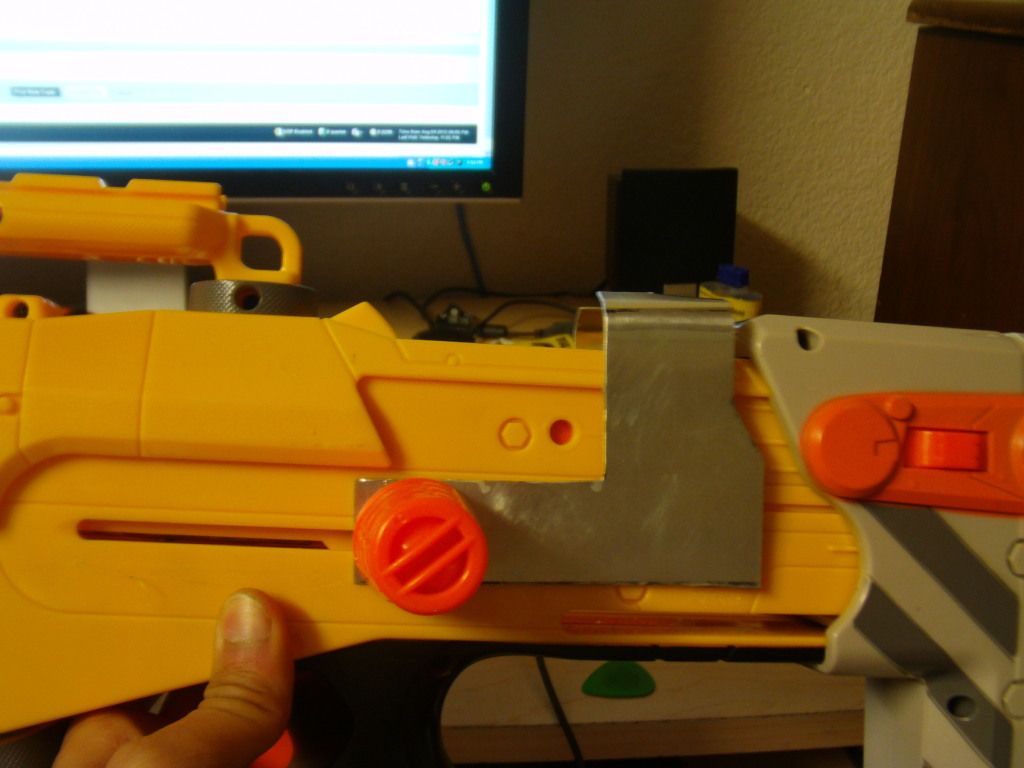
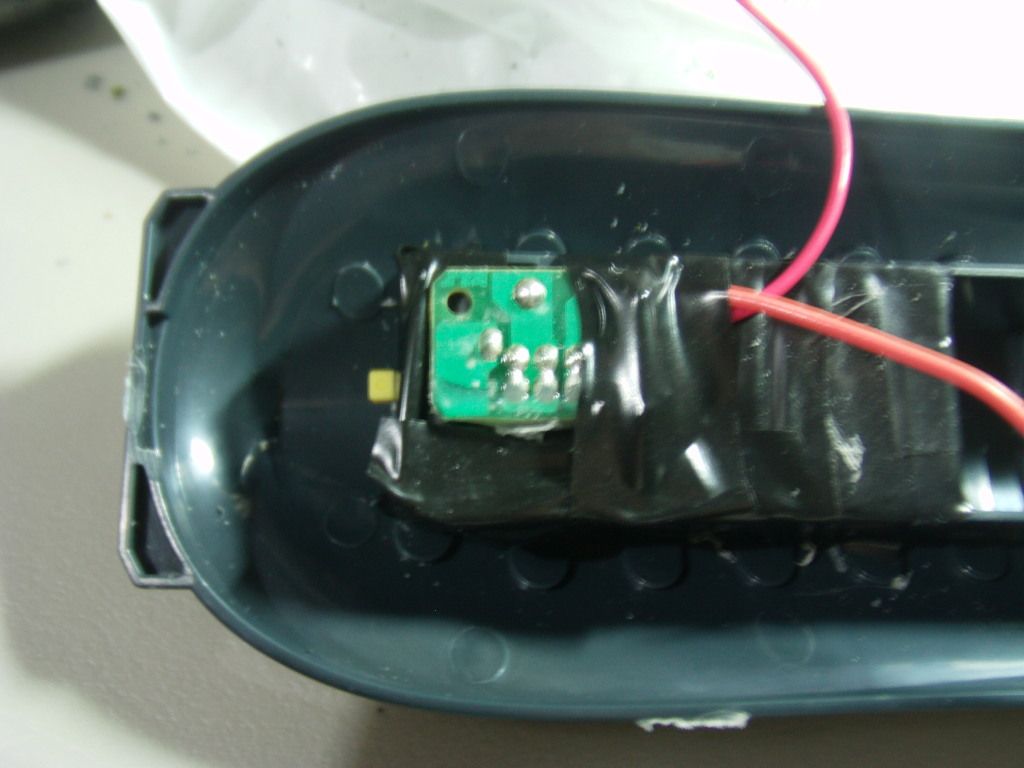
Next I got some hot glue and glued that sucker in. Make sure you do not get glue on the spring or anywhere near the button of the trigger components or else it'll screw it up. I put electrical tape over everything so I don't get shocked or pricked.
Posted Image

I cut the knee brace to a size I wanted and epoxied to all the points it can connect to the shell, again I only did this for one side, but you can do it for both.
Posted Image

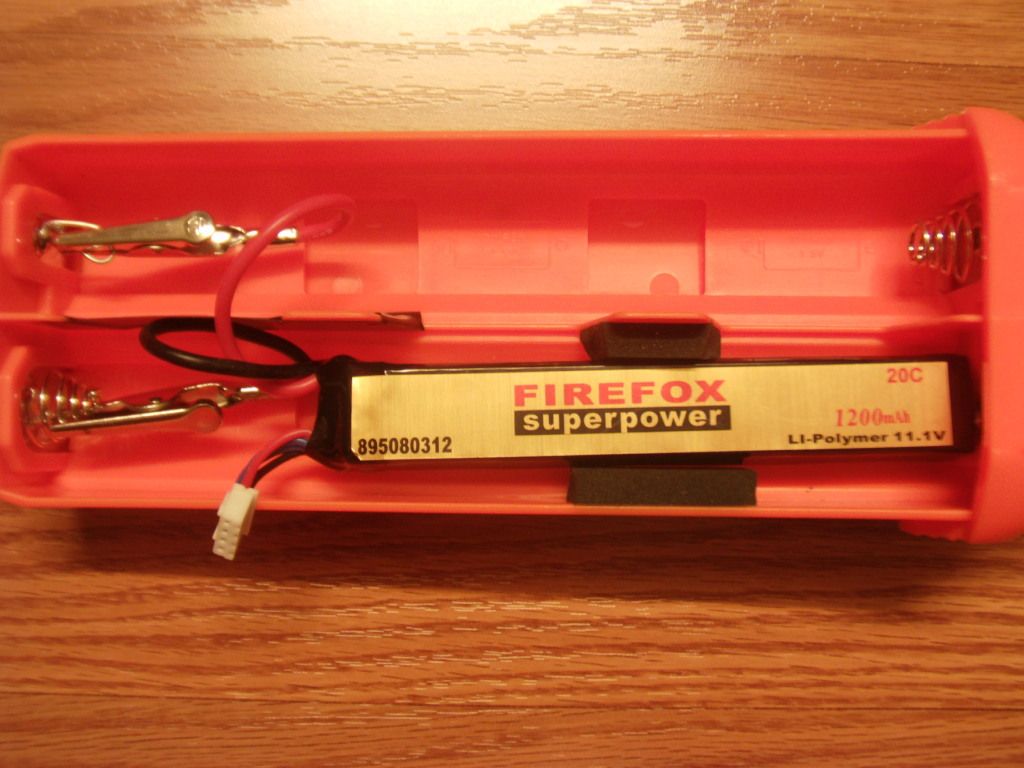
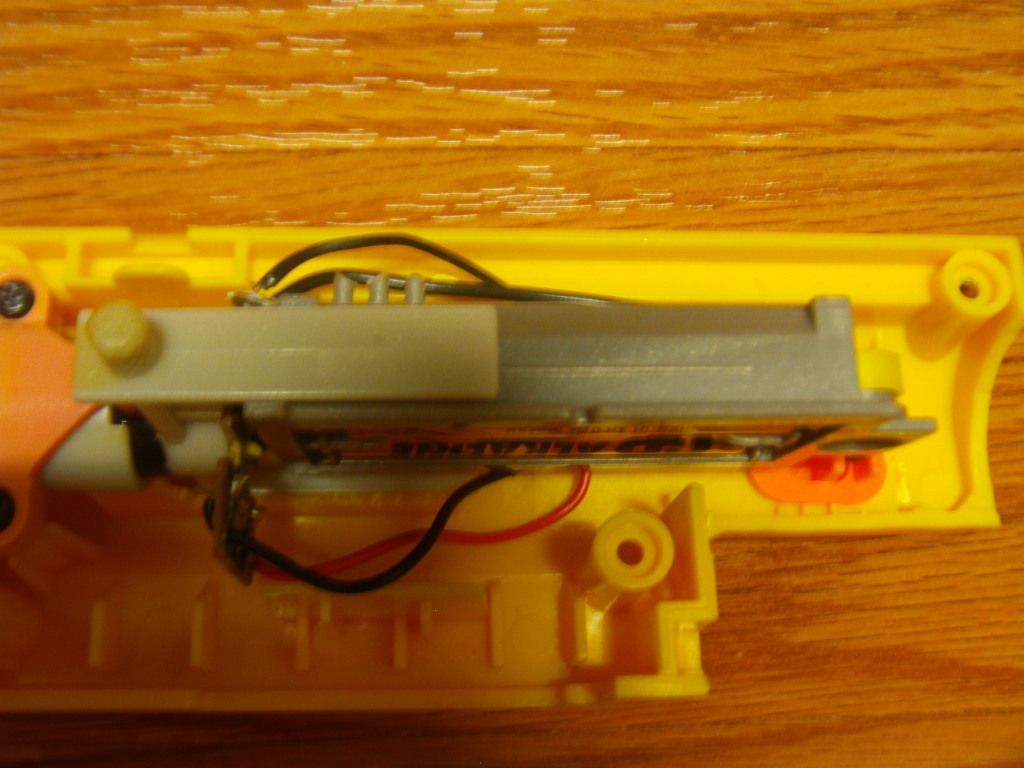
BAM two days later, here's what I got on the insides. Just replaced some wires to make some longer/shorter and padded some areas where it was uncomfortable. The strips near the battery (which I accidentally fried when testing because the positive and negative clips touched...super dangerous, always keep them apart, I was lucky I got it out before it blew up) are Velcro which I used to keep the battery inside. The battery is the same I used in my Quachity Stampede Loadout.
Posted Image

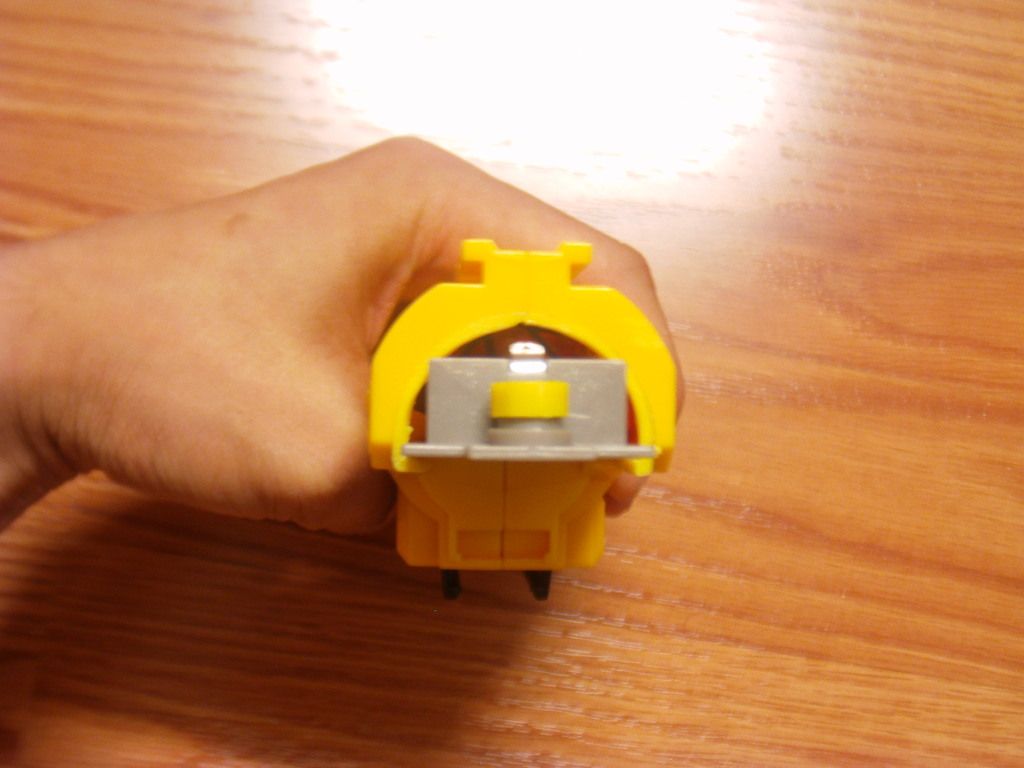
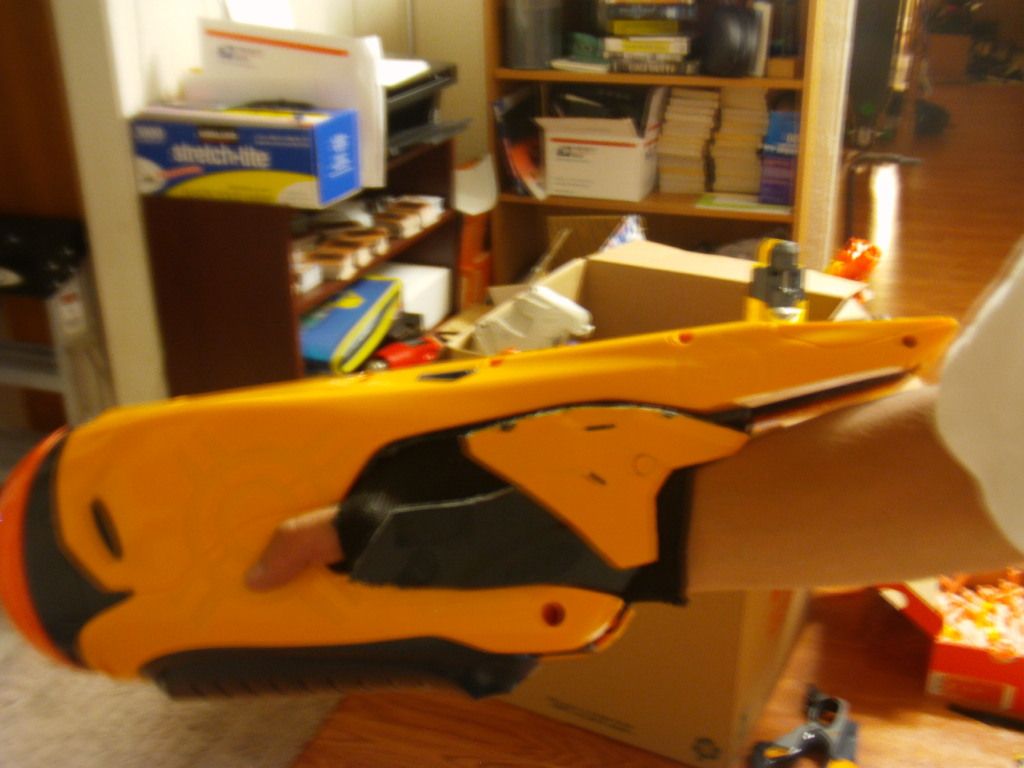
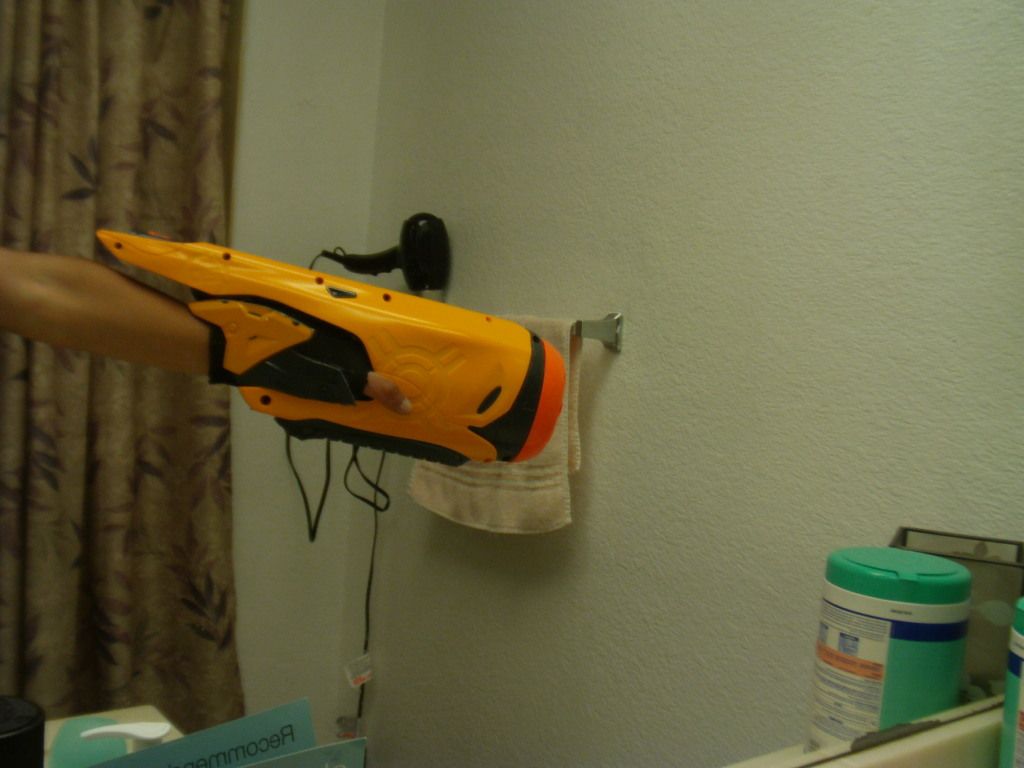
And finally...Here's the finished product. I fried my battery like I said, so I couldn't make a battery, but it SHOULD work. It's not super comfortable, but it's not too uncomfortable either. I epoxied the yellow/gray piece from the beginning back on to the knee brace material just for looks. Make sure you round out those edges on the shell so you don't cut yourself. I also had to cut a little hole for my thumb to pop out, but it can still look extremely cool if I can make some sort of claw thumb from a glove to match the blaster.
Posted Image
Posted Image

Video:

Quach-ity Stampede Loadout Mods

05 September 2012 - 11:40 PM

Hi all! I've kind of been bored in class and go on NH often, but haven't seen many cool mods being posted lately, so I decided to post up my primary blaster('s mods) I use in my wars! I'm putting them all in one post because even the recon light reduction was pretty much made for the Stampede. Unfortunately I didn't take pictures during the modding processes for the breech and battery mod because I wasn't even sure I would be successful with them. I will try to be highly detailed with my write-up though. Warning, it's gonna be a crap load of big pictures, but I made sure none were too blurry and I know you guys dig good pictures of mods.
(For those who don't know how to pronounce Quach, it sounds like ku-ah-ch, kinda like crotch)
Mods will include:

- Stampede Brass Breech
- Stampede battery/voltage mod
- Recon Tactical light size reduction

Materials Needed
-17/32" Brass
-9/16" Brass (optional)
-Epoxy or some sort of strong adhesive
-Alligator clips (for battery mod)

Tools
-Dremel with cutting, sanding, and stone disk bit
-Ruler
-File and/or fine sand paper to clean up cuts
-Soldering iron and solder (for battery mod)

First, here's a picture of the whole thing together.
Posted Image

Now for the brass breech...I accidentally broke my breech/plunger (someone tell me which it is, I'm going to assume breech) trying to diddle it with 17/32" brass, which is why I tackled this mod.

Before you do anything, make sure you polish the brass with a brass polisher to make it smooth. I recommend doing this before you start, and after you finish. Basically what I did was measure the entire length of the breech, from the dart tooth to the plunger tube, where the big orange plunger begins and little orange nozzle ends, and cut, giving an extra 3" or 4" (you only really need 1" or 2" but I suggest some extra length if you mess up later). Cut off the stock breech up to the orange part, where my brass meets the plunger tube. Clean up the gray parts of the breech that are still connected to the mouth of the plunger tube to make the 17/32" brass have a decently tight STRAIGHT-AS-POSSIBLE fit, put the plunger head all the way in (oh stop it), and push the brass in until it touches the plunger head. Mark with sharpie or better yet wrap a few layers of e-tape around to help prevent it from getting pushed in more.
Posted Image

Next part I really just did by eye and my own intuition. For the end where the darts go in, I ran the tube through a dart magazine, having only a little bit of the breech-side tube to run off (for the dart tooth), and outlined the magazine to make my dart tooth and breech. Cut off brass to make a sort of 2/3's pipe, about 0.4cm off(you want a tight fit with a proper dart load so keeping the most brass you can is key), up to the marked measurement. Now look at the stock breech and roughly cut shape of the mouth. Make sure to cut off only a little at a time so you don't cut off too much brass. I did mine with a stone disk(?) even though it's not very practical and ate up the disk fast, but it gave me the precision I needed. Also, make sure that when you're cutting out the dart tooth (thinnest part you'll have) cut a bit more than the outsides of the line so you don't end up with a super thin strip. After you're done, test the breech by putting it in and out imitating the loading and removal of a magazine to ensure proper thicknesses of each part. Also, make sure that the breech tube lip won't interfere with darts loading (the bottom part of the tube over the magazine is what I am referring to). When everything is good, sand, file, or do anything you like best, to get a sort of 45 degree angle on the lip so it doesn't tear up darts and drastically loads them into the breech tube better. Get a piece of scrap 17/32" brass strip or make one, that is the same size and a bit more than the length of the dart tooth. I put my breech into the magazine and cut about half a centimeter from the back of the dart-facing symbol thing. Sand and epoxy or adhere onto the dart tooth. Make sure it's straight and is on the dart tooth as close as possible. This will help reinforce the tooth to prevent it from bending. The optional 9/16" brass is optional at this point. I basically just slid it over the breech and used it to ensure the 17/32" tube would not slide more into the plunger tube (I glued the two tubes together). You should have at least done about 30 tests to ensure this baby works properly. Align the the brass breech as straight as possible. I did this by looking down the plunger tube and breech and lining up the dart tooth so it was straight with the top guide wheel. Epoxy on. I was generous with mine to make sure it did not move under pressure. You should end up with something like this when you're finished with this part:

Posted Image

Last step for the breech mod! Basically the dart tooth may or may not guide under the original dart tooth guide, and get caught, bend, and get stuck, ultimately ruining your perfectly good breech. So the solution is simple. Take a piece of scrap brass (I think I used 9/16" that I bent, or a larger diameter), fit measured (you'll see in the picture from where to where). Cut and paste.
Posted Image

Slide the dart tooth under the orange guide piece first when you're assembling the plunger system and now you're done!


Now it's Battery/voltage mod time.

This one is pretty simple and straight forward. I bought myself a Firefox AEG Airsoft 3S 11.1V 1200mAh W/ Tamiya Plug Li-Po Battery so I didn't have to deal with 6 D batteries all the time. I cut off the greenish clear plastic part, exposing the wires, and soldered alligator clips onto them. Then I removed the D battery guides on the battery tray by unscrewing the bottom of the tray and the guides just popped out. I got a pieve of paper clip, bent it a bit, and soldered it onto the positive metal piece on the tray. I put e-tape making a long barrier between where I was planning to attach the alligator clips to prevent the negative and positive from touching. Then I simply attached the negative clip to the coils on the negative side and positive clip to the paperclip (as shown in the picture). Done!
Posted Image

Finally, the Recon Tactical Light Size Reduction Mod.

Pry that sucker open and remove all the internals you can (you don't really need to take anything out from the front side, mainly the back side needs to be clear). Screw it back together, and cut off the gray tail. Bottom is stock.
Posted Image

Next cut the yellow switch guide rails like so, on the top and bottom. This will allow the battery pack to slide back and forth. The battery pack should be able to rest in the switch "wings" like in the second picture.
Posted Image
Posted Image

Finally, cut the little tabs near the tail of the light, on both shells. Put the battery pack in and close the shell, but dont screw it together. You're going to need to expand the back hole in the tail, or just cut so the battery pack can slide in and out (3rd picture).
Posted Image
Posted Image
Posted Image

That should be it. When assembling again, keep the battery pack outside and when the shell is almost all the way closed, slide the battery pack through back and it should be able to slide all the way in and should be guided by a little lip on the tail that kept the battery pack in when the light was stock.
Posted Image
Slide that baby in. OHHHHHH YEAHHHh
Posted Image

Unfortunately, there is a slight con to this that you could probably easily fix. The battery pack does not allow the light to click all the way to "red dot mode", but is really only one click away which only slightly affects it. Well it does, but when put on the underside of the blaster like I do, the little tab for to screw the battery cover on sticks out a tiny bit and makes you unable to remove and insert magazines. You could probably trim it, but I use it to pull the battery pack out and I plan on making a cover for the batteries by screwing a thin piece of poly carb over.

Hope you guys enjoyed my mods and for God's sake I hope I don't get a USER WARNED FOR THIS POST...or banned.

Lanard Scatterblast problems

25 August 2012 - 02:16 AM

Hi all, I know so far I've been really only posting help threads, but it just seems all my blasters and such keep going faulty even with proper care. Anyways, I've recently bought a new in box Scatterblast (the green one, if it makes a difference) and I've been having some issues with it and was just wondering if anyone else had the same issues as well, since I searched for answers with no avail. First problem is that sometimes the air tank? bladder? (don't know what the internals of it are) doesn't fill when I pump it. All the directions are followed, the safety button is press down all the way, and it can take up to 30-40 pumps until it finally fills. Sometimes it works normally, sometimes it doesn't. The second issue is that I notice that when I set it off, air leaks from the safety button (both sides). I believe these two problems are probably related to each other, but as of right now, I rather see if anyone has advice before cutting it open and messing something up. Thanks fellow Haven-ers!

*Also, is the pumping handle suppose to be wobbly?

Speedload 6 Dart Feeding Problem

21 August 2012 - 12:49 AM

So I bought a used Speedload with a broken bolt sled and I fixed it up with some epoxy, and upgraded to a LS spring, and I noticed that it was jamming quite a bit due to a feeding problem. It seems that the problem is the dart pusher and space for feeding the dart. Sometimes the dart pusher doesn't even push the dart to the dart tooth and so it gets jammed midway between the clip and the breech. Other times, the back end goes into the breech, but the front half bends and stays in the clip. Another problem is that if I gently try to prime the blaster, it gets stuck and is unable to be primed so I kind of have to use some force every time I prime. I also find that the spring (unsure of the terminology) for the clip is also fairly weak. Does anyone else have these problems and know a solution? Also, is there any upgrade spring for the clip? I'm currently trying to get a picture of the jams right now, but it seems to be working normally right when I started typing out this thread...pictures will be up as soon as it jams again.

*Note I used new streamlines, taggers, and whistlers and they all jammed. Is this thing able to fire all darts or will I experience more jams with certain ones?
Here are the pics...

Streamline, front pushed into breech, back not
Posted Image
Posted Image

Streamline, back pushed in, front not. Didn't feed and got bent
Posted Image

Tagger, same problem as above
Posted Image

Longshot Priming Handle Bracket HELP

05 August 2012 - 12:17 AM

Hey guys, I've been working on what you can call an aluminum Longshot priming "bracket" and ran into some issues, and just wondering if anyone has tried to attempt this before or have any useful tips they can give me. So the purpose of the bracket is similar to a LS shotgun fore grip where it keeps the priming handle straight by keeping the pressure of pulling the handle back with a strong replacement spring, except located in the back (I quite like the stock look of a LS and don't like carving them up). Here's a picture of it...

Posted Image

I drilled 2 holes for the priming handle "bar" to feed through, and since I am right handed and prime with my left, i made the right side hole a bit further up so there is always more pressure on the right handle than the left to keep it straight.

Okay here are my problems. One is that when I prime with it on, the top (picture of top will be below) bends when I prime, due to a necessarily thin bar to have enough room to go forward a bit more to not hit the prime indicator and the stock. I have tried to reinforce it, but it seems like I cannot find an epoxy or adhesive to keep extra aluminum reinforcement pieces on it. The bracket is already 0.032" aluminum, but I have to make it thinner since it presses up to the sides of the LS too much (which is another problem). I left extra space up top to add reinforcement.
The second problem is that the holes on the bracket aren't super precise so the bracket tends to rattle. I want to find a sort of washer or spacer to fit onto the bracket, or onto the priming bar to make the fit tighter and make it have a bigger area of contact to the bracket.

Posted Image

Not primed
Posted Image

Primed
Posted Image