
 Find content
Does anyone know where to buy this? I used to get it from FunkyMotherFacko, but he's no longer active.
I like it, as it has a slightly looser ID than normal CPVC, and seems more consistent in terms of QC.
azrael
Member Since 27 Jun 2012Offline Last Active Jun 17 2017 04:42 PM
Topics I've Started
Stryfe Modification - Something slightly different...
21 January 2013 - 07:49 PM
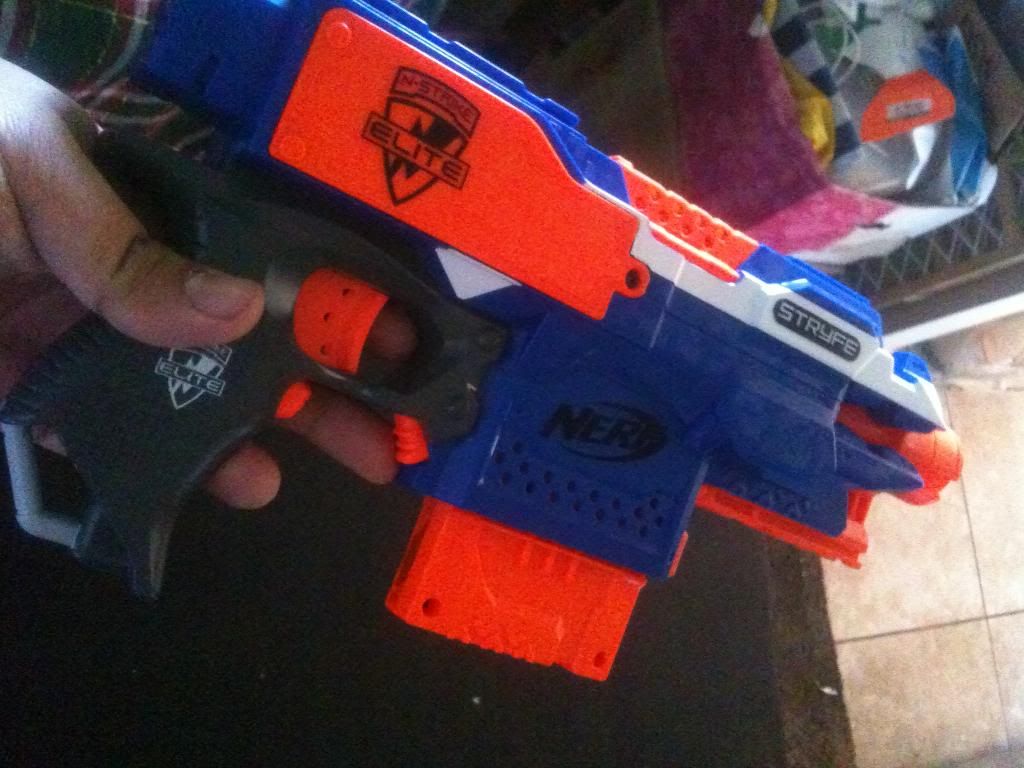
This is a quick run through of what I did to a Stryfe I picked up yesterday.
I don't think this is something everyone should do, as technically, what I did is dangerous. There are safer ways to do this, but I was lazy. I'll elaborate later in the post. As electrical engineers, we know what we're doing. mostly, haha.
This is not a tutorial, and this is not in depth. We did this rather on the fly, and will be doing the same process later this week with a Rayven.
What we used:
18 gauge wire, red and black
Plasti-dip spray paint
Hakko FX-888 soldering iron
lead free solder (harder to use, but the fact that it melts at higher temperatures is better for our purposes here)
Tamiya Hyper Dash motors
8.2V LiPo Battery and connectors
I wanted to mess around with an electronic blaster, as opposed to air powered and plunger type ones for a change. A friend of mine got the new Elite edition of the Rayven, so I picked up the Stryfe.
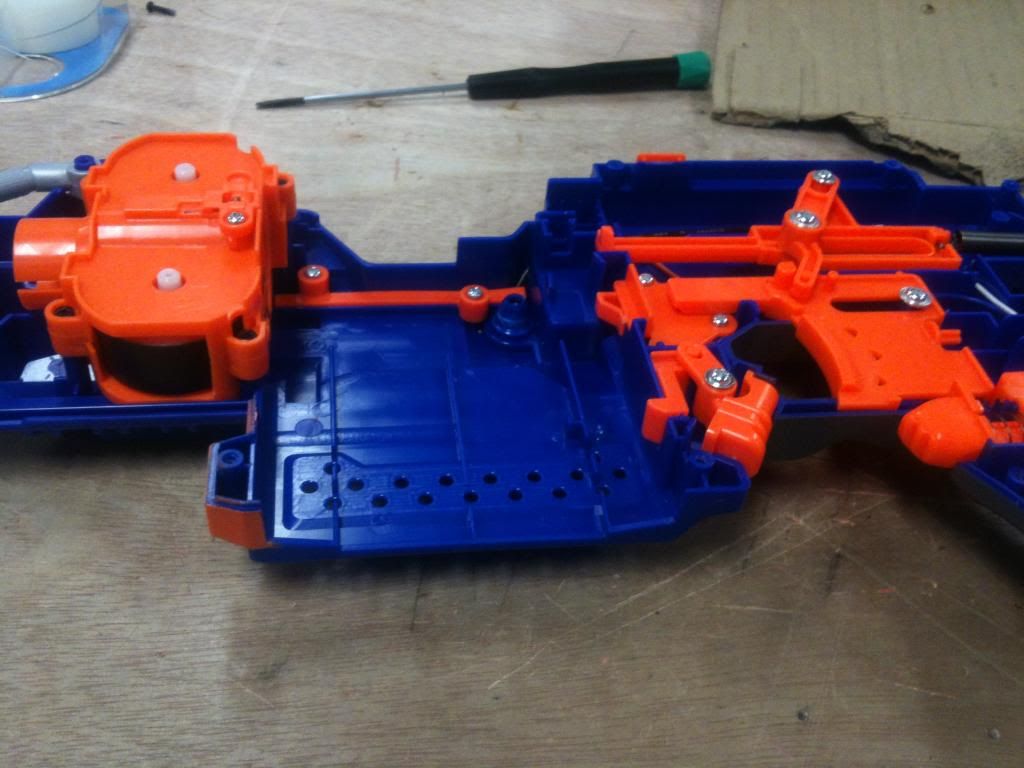
He happened to have some Tamiya Hyper Dash motors lying around from a quad copter project, so we decided on a whim to put them in:
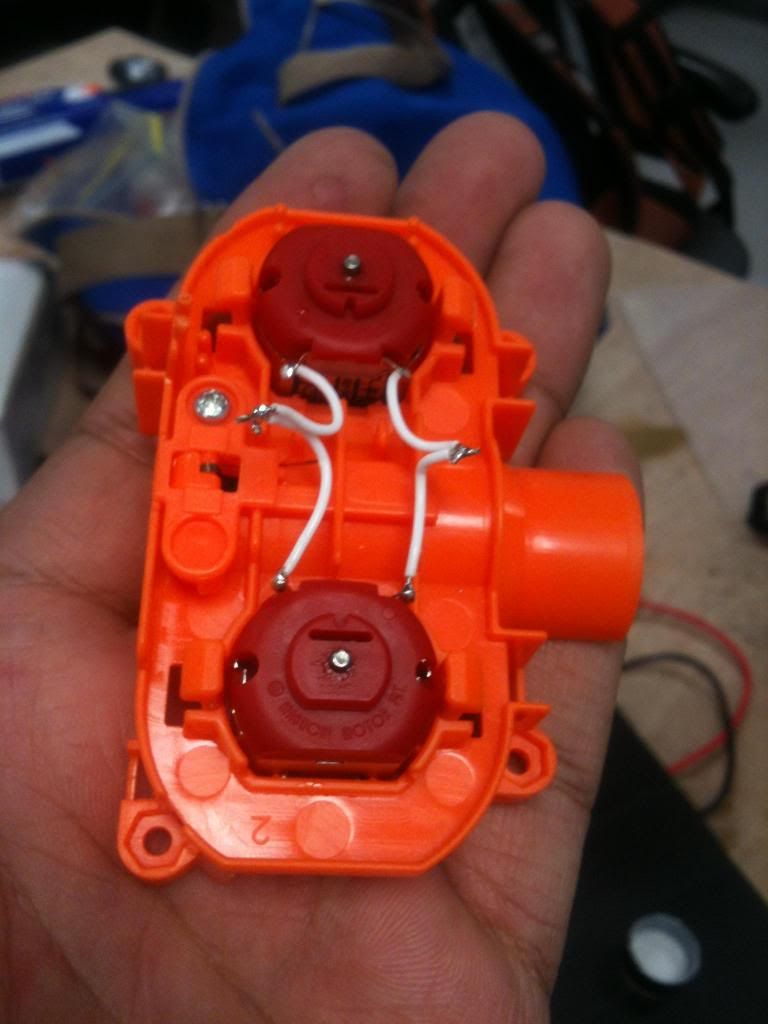
Notice there are no caps on these motors, as on stock ones. They're not necessary, since there is no signal here. We don't care about their effect in a system like this. Just wanted to point that out.
I have read someone tried Tamiya motors in a Rayven before without success. To that guy, I say, "wat a nub". I remembered reading that he kept overvolting it to get the motors started, and even then it didn't work well.
That's not how to use Tamiya motors. They run at a maximum of 4.5V, but draw a lot more current. So that would be one Trustfire in this case - 3.7V. Not good enough - it can't supply nearly enough current. I'll explain my approach later.
Notice I also left the Thermistors out. Why? These motors run hot! Those thermistors will be doing their job too well. Plus we KNOW we're running at a safe voltage here, so there's no chance of burning them out.
Also, I use teflon insulated wire, in this pic, should be able to handle the higher current demands with no problem.
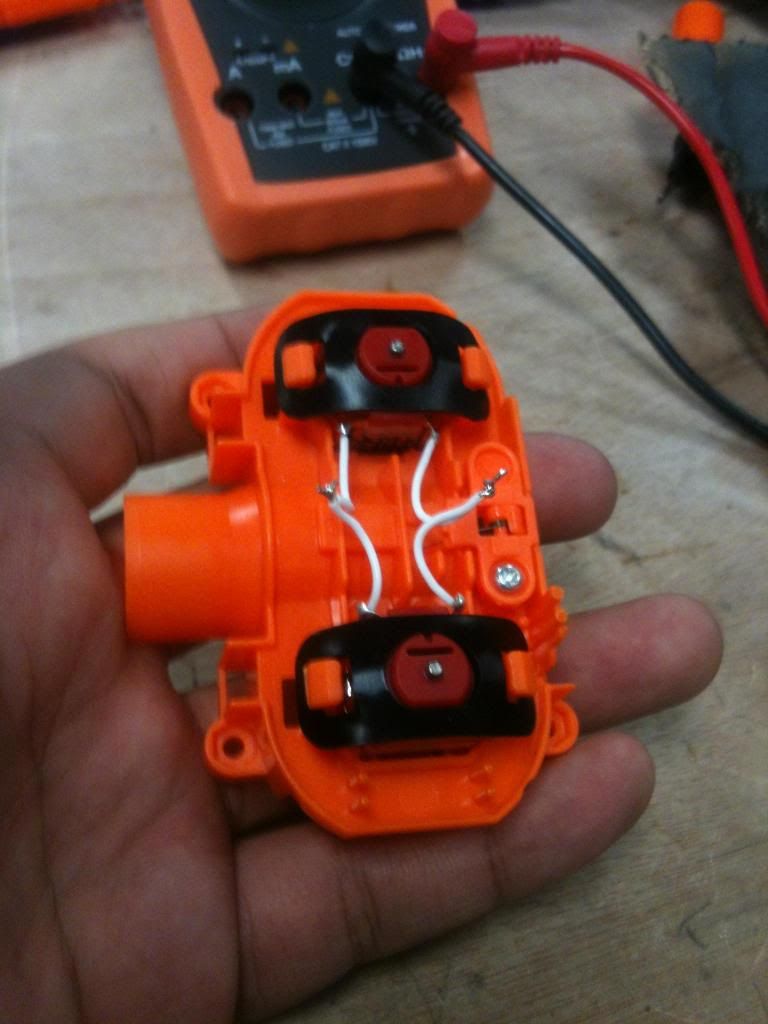
I remembered a cool trick Coop did to his flywheels on his Stryfe, namely painting them with Plasti-dip. Great idea! I just put one coat on, but will be adding more later.
About to reassemble here...
You'll notice I left the locks in. I ended up taking out the jam door electronic lock, but that's it.
To explain, leaving the locks in prevents many possible problems with the motors stalling or jamming - which is something we don't want to do. Motors draw a significantly greater amount of current when starting up or stalling.
Looks like I took this picture before I replaced the wiring...I only brought one color of Teflon insulated wire with me, so I replaced the red and black wires with 18 gauge wire appropriately colored, which will be safer to run all that current through them.
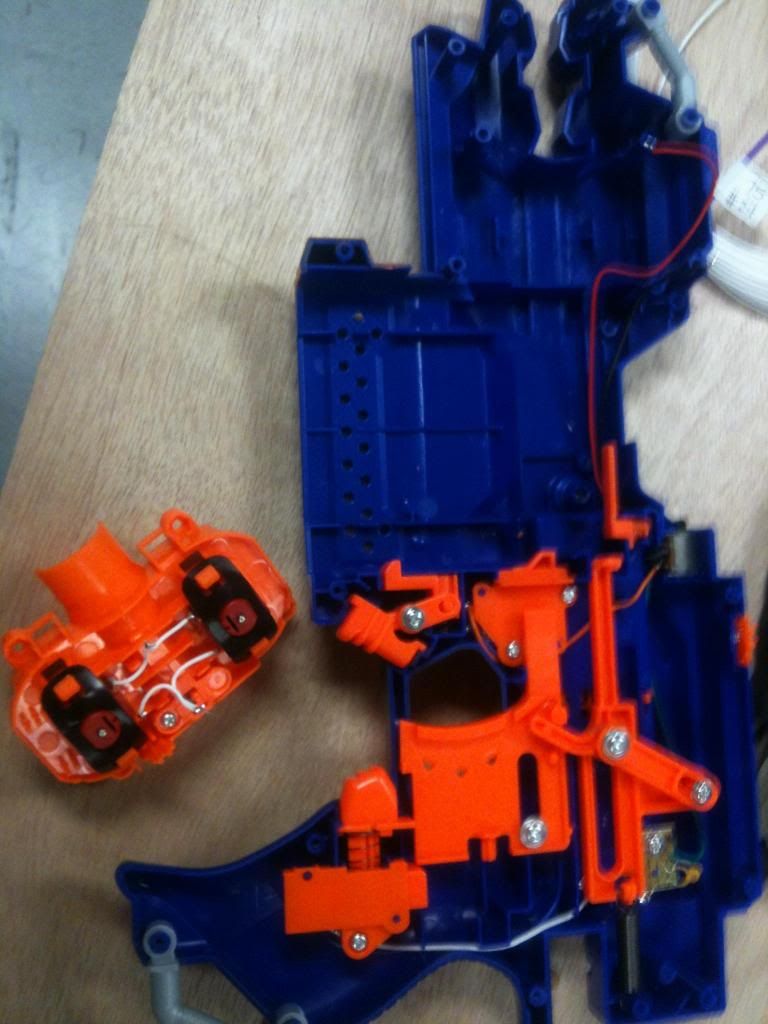
I popped out the orange wall thingies in the battery drawer:

and shaved off the blue divider, too:
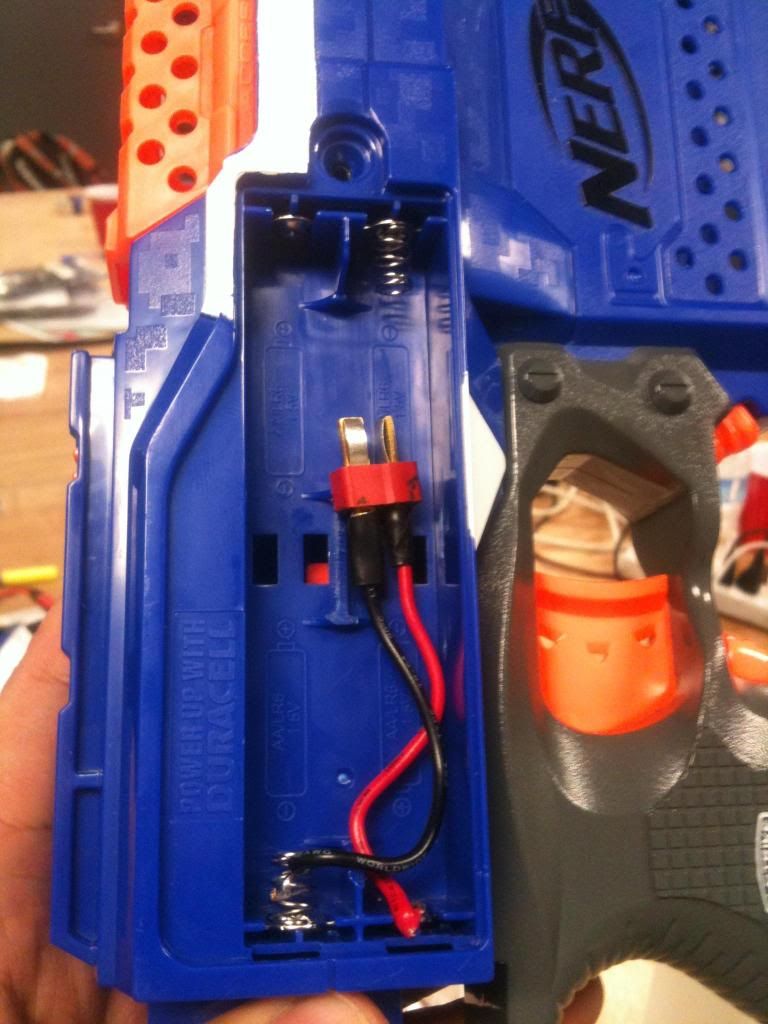
Notice the connector. Yep, that's a lithium polymer battery connection. That's how I'll be powering this thing! Way more current supply on tap, way more efficient.
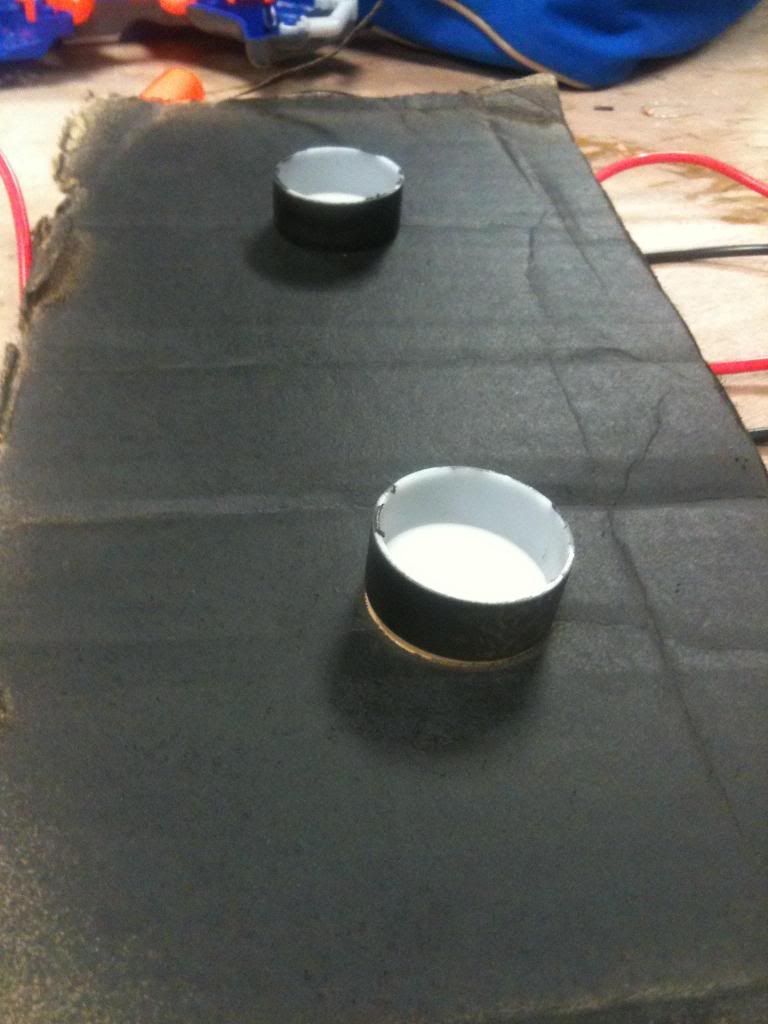
Here it is charging:
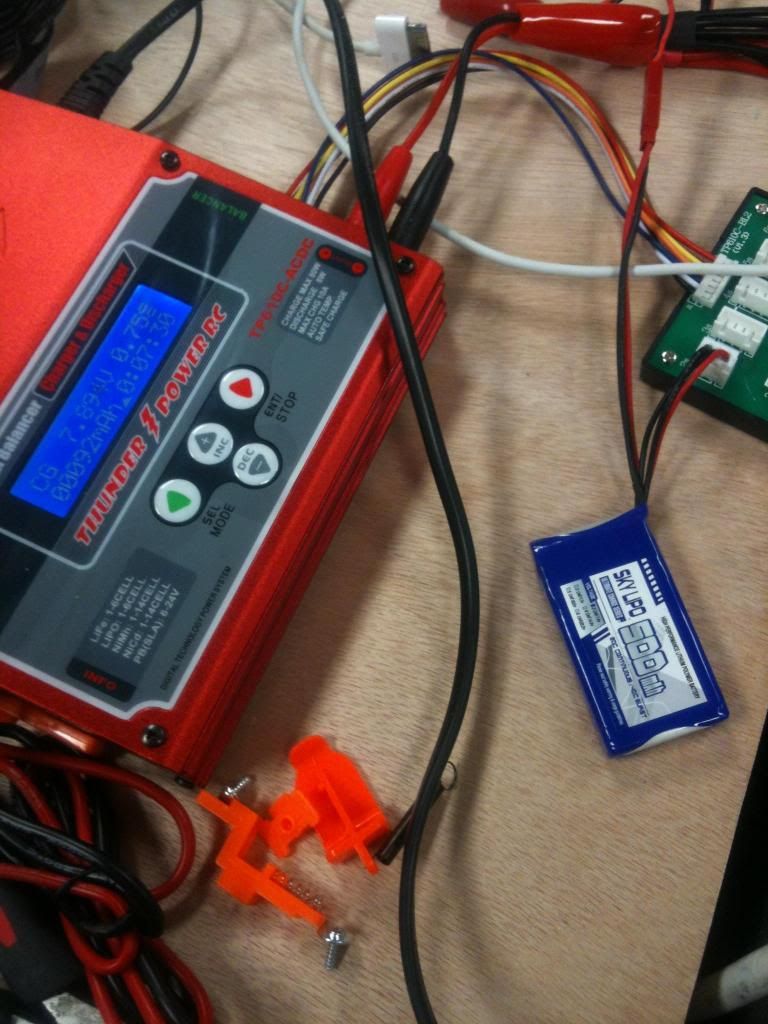
We are charging it so that both cells are the same voltage. Why? Because we are going to take it apart! this battery is an 8.2V cell. We need 4.2V.
So we're going to disconnect the cells, and put them in parallel for higher current supply.
This is the extremely dangerous part I referred to. We are charging them first so they are balanced, so we don't want any crazy voltage offset sparking when we do connect them. These discharge can a lot of current, so don't lick them or let them short circuit. YOU WILL DIE. srs bsns.
Here's a picture as we pull it apart:
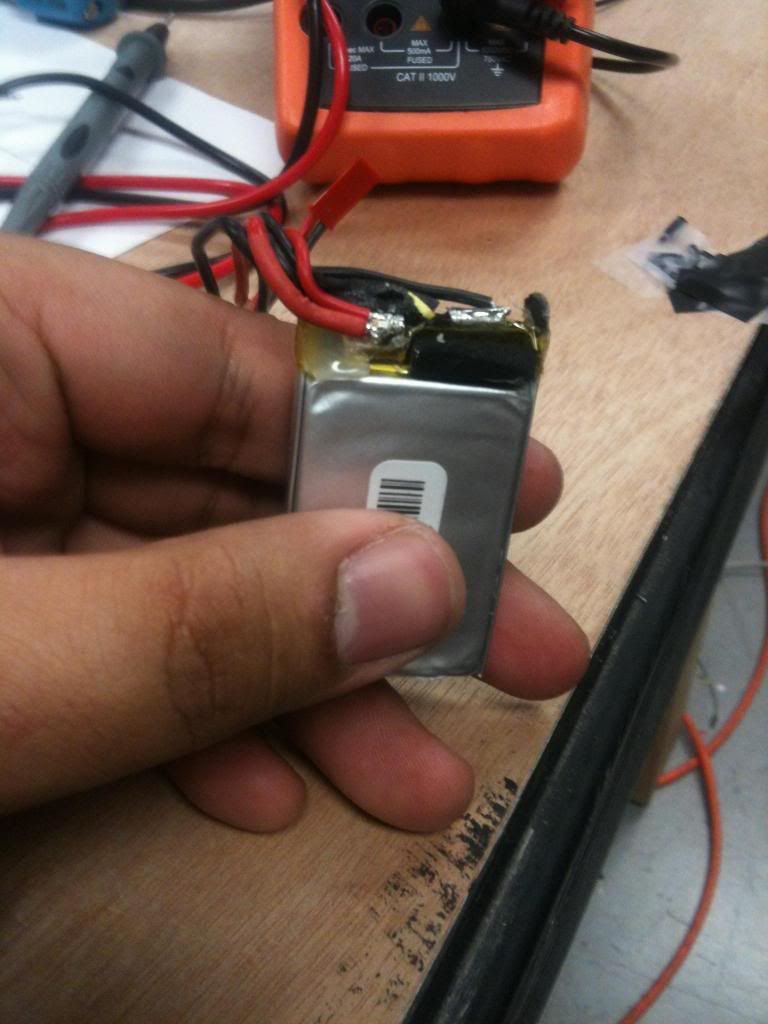
Connected in series, see?
We're going to connect the positive terminals together, and the negative terminals together. This will give us 4.2V.
Now, I said there was a safer way...They do make one cell LiPos. We just didn't have any, and we didn't feel like ordering them.
I won't go over the exact process because it's not safe for the average nerfer to try. So I didn't want people duplicating it.
Everything back together:
Results?
We don't have actual measurements, but I would say around 80-90 feet.
Comparable to a overvolted Rayven, but here's the best part: at almost less than half the noise!
Hopefully get a video in this week, when we get our proper one cell LiPos in the mail....and our Tamiya Plasma Dashes! Even faster RPM woo!
I will also be installing Dynamat dampening material in it to see how much that helps.
So what did this accomplish?
Hopefully a different approach than just sticking Ultrafires in a blaster.
Put really nice motors in a blaster.
Quieter than overvolting.
EDIT: For people reading this, I no longer use this battery, because it's silly dangerous haha, and also I'm now using Mach Dash Pro motors, which have higher RPM and a more torque than Hyper Dashes. Less current draw than Plasma Dashes, which run far too hot to be useful in this purpose. They might work if you use lead free solder, I guess. The Mach Dashes are almost as fast, though.
I don't think this is something everyone should do, as technically, what I did is dangerous. There are safer ways to do this, but I was lazy. I'll elaborate later in the post. As electrical engineers, we know what we're doing. mostly, haha.
This is not a tutorial, and this is not in depth. We did this rather on the fly, and will be doing the same process later this week with a Rayven.
What we used:
18 gauge wire, red and black
Plasti-dip spray paint
Hakko FX-888 soldering iron
lead free solder (harder to use, but the fact that it melts at higher temperatures is better for our purposes here)
Tamiya Hyper Dash motors
8.2V LiPo Battery and connectors
I wanted to mess around with an electronic blaster, as opposed to air powered and plunger type ones for a change. A friend of mine got the new Elite edition of the Rayven, so I picked up the Stryfe.
He happened to have some Tamiya Hyper Dash motors lying around from a quad copter project, so we decided on a whim to put them in:
Notice there are no caps on these motors, as on stock ones. They're not necessary, since there is no signal here. We don't care about their effect in a system like this. Just wanted to point that out.
I have read someone tried Tamiya motors in a Rayven before without success. To that guy, I say, "wat a nub". I remembered reading that he kept overvolting it to get the motors started, and even then it didn't work well.
That's not how to use Tamiya motors. They run at a maximum of 4.5V, but draw a lot more current. So that would be one Trustfire in this case - 3.7V. Not good enough - it can't supply nearly enough current. I'll explain my approach later.
Notice I also left the Thermistors out. Why? These motors run hot! Those thermistors will be doing their job too well. Plus we KNOW we're running at a safe voltage here, so there's no chance of burning them out.
Also, I use teflon insulated wire, in this pic, should be able to handle the higher current demands with no problem.
I remembered a cool trick Coop did to his flywheels on his Stryfe, namely painting them with Plasti-dip. Great idea! I just put one coat on, but will be adding more later.
About to reassemble here...
You'll notice I left the locks in. I ended up taking out the jam door electronic lock, but that's it.
To explain, leaving the locks in prevents many possible problems with the motors stalling or jamming - which is something we don't want to do. Motors draw a significantly greater amount of current when starting up or stalling.
Looks like I took this picture before I replaced the wiring...I only brought one color of Teflon insulated wire with me, so I replaced the red and black wires with 18 gauge wire appropriately colored, which will be safer to run all that current through them.
I popped out the orange wall thingies in the battery drawer:
and shaved off the blue divider, too:
Notice the connector. Yep, that's a lithium polymer battery connection. That's how I'll be powering this thing! Way more current supply on tap, way more efficient.
Here it is charging:
We are charging it so that both cells are the same voltage. Why? Because we are going to take it apart! this battery is an 8.2V cell. We need 4.2V.
So we're going to disconnect the cells, and put them in parallel for higher current supply.
This is the extremely dangerous part I referred to. We are charging them first so they are balanced, so we don't want any crazy voltage offset sparking when we do connect them. These discharge can a lot of current, so don't lick them or let them short circuit. YOU WILL DIE. srs bsns.
Here's a picture as we pull it apart:
Connected in series, see?
We're going to connect the positive terminals together, and the negative terminals together. This will give us 4.2V.
Now, I said there was a safer way...They do make one cell LiPos. We just didn't have any, and we didn't feel like ordering them.
I won't go over the exact process because it's not safe for the average nerfer to try. So I didn't want people duplicating it.
Everything back together:
Results?
We don't have actual measurements, but I would say around 80-90 feet.
Comparable to a overvolted Rayven, but here's the best part: at almost less than half the noise!
Hopefully get a video in this week, when we get our proper one cell LiPos in the mail....and our Tamiya Plasma Dashes! Even faster RPM woo!
I will also be installing Dynamat dampening material in it to see how much that helps.
So what did this accomplish?
Hopefully a different approach than just sticking Ultrafires in a blaster.
Put really nice motors in a blaster.
Quieter than overvolting.
EDIT: For people reading this, I no longer use this battery, because it's silly dangerous haha, and also I'm now using Mach Dash Pro motors, which have higher RPM and a more torque than Hyper Dashes. Less current draw than Plasma Dashes, which run far too hot to be useful in this purpose. They might work if you use lead free solder, I guess. The Mach Dashes are almost as fast, though.

