- NerfHaven
- → Viewing Profile: Topics: yennepnollad
yennepnollad
Member Since 12 Sep 2011Offline Last Active Aug 22 2012 03:38 AM
About Me
What can I say? I love goats, er, Nerf. But seriously, isn't anybody else tired of having to lug all your crap on your back every time you go on a trip into the mountains? I might get in trouble for the free advertising, but please, check out sierrapackgoats.com and see why goat packing is the way of the future! Anyways, back to Nerding, I mean Nerfing. I make devious devices designed to track, ensnare, trap, frustrate, harass, heckle, bother, bullyrag, jeer, and generally annoy fellow nerders to the point of insanity. I also consider myself a dabbler in gun modification.
Community Stats
- Group Members
- Active Posts 26
- Profile Views 5,345
- Member Title Member
- Age 83 years old
- Birthday December 7, 1942
User Tools
Latest Visitors
Topics I've Started
Fresno/Central Valley War
05 November 2011 - 07:54 PM
Hello, this is to anyone on here from the Fresno/Hanford/Visalia/Porterville/Central Valley areas. I mostly just do HVZ but I am interested in trying just plain ole nerf for once. If anyone knows of any groups and/or organizers in the above mentioned areas please either leave a comment or PM me. If not, then I will try to swallow my pride and organize a game myself.
Vulcan MOSFET Integration
04 November 2011 - 12:44 AM
Hello to all,
This write up is intended for anyone who wants to add in a power metal oxide semiconductor field effect transistor in parallel with the switch on a Vulcan. I did this to my Vulcan so that my arduino can control when it fires.
First things first, here is the standard wiring diagram for a Vulcan:
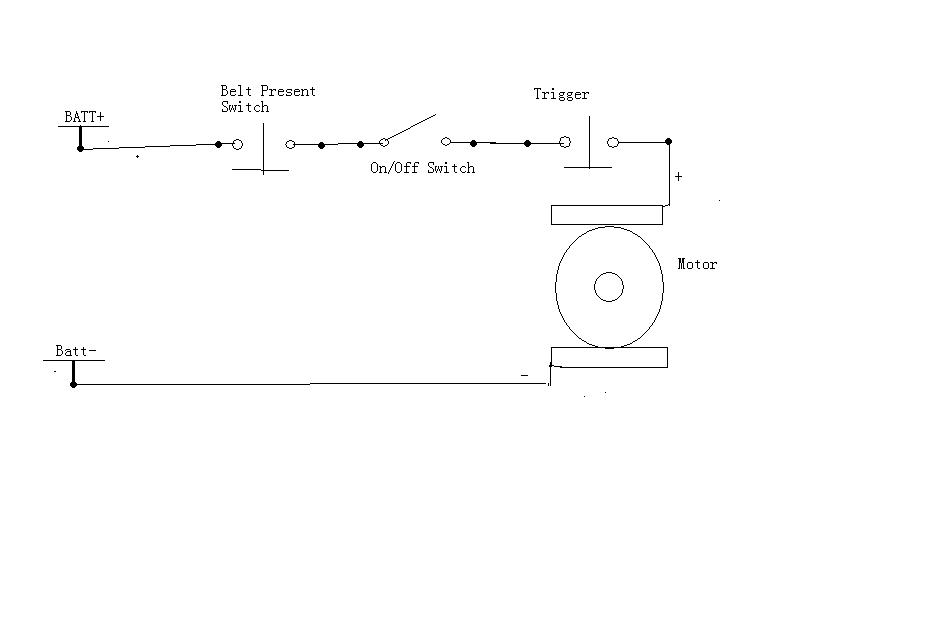
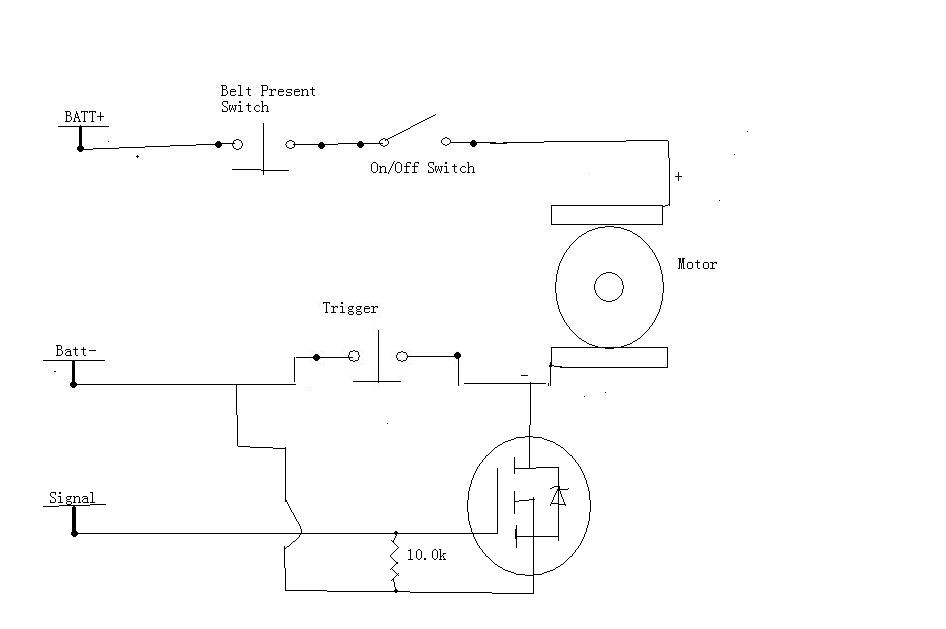
And here is the wiring diagram with the MOSFET added in:
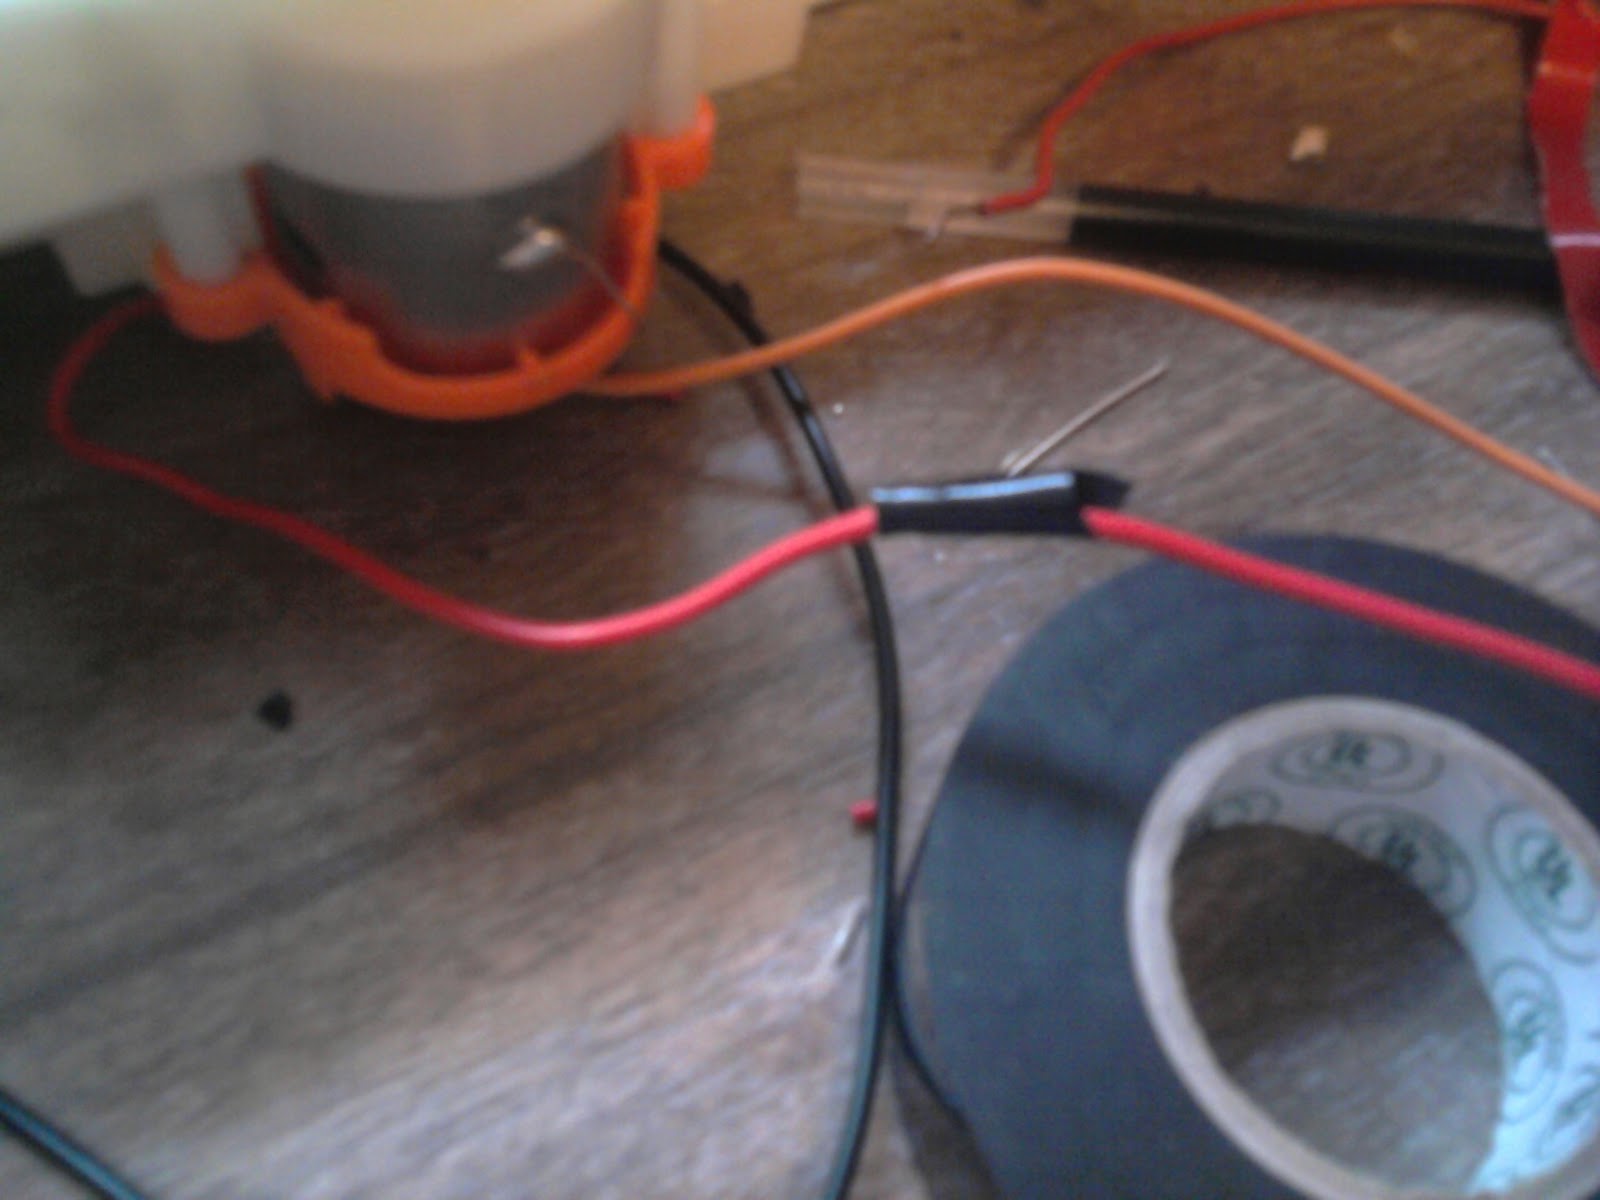
When you crack open your gun, you are going to want to remove the trigger itself. Before that though, you want to bypass the trigger from the on/off switch straight to the motor:
Next, remove the trigger from the assembly. This is accomplished by unscrewing one or two screws (I can't remember which).
Your trigger PCB should look like this if the trigger switch is facing DOWN:

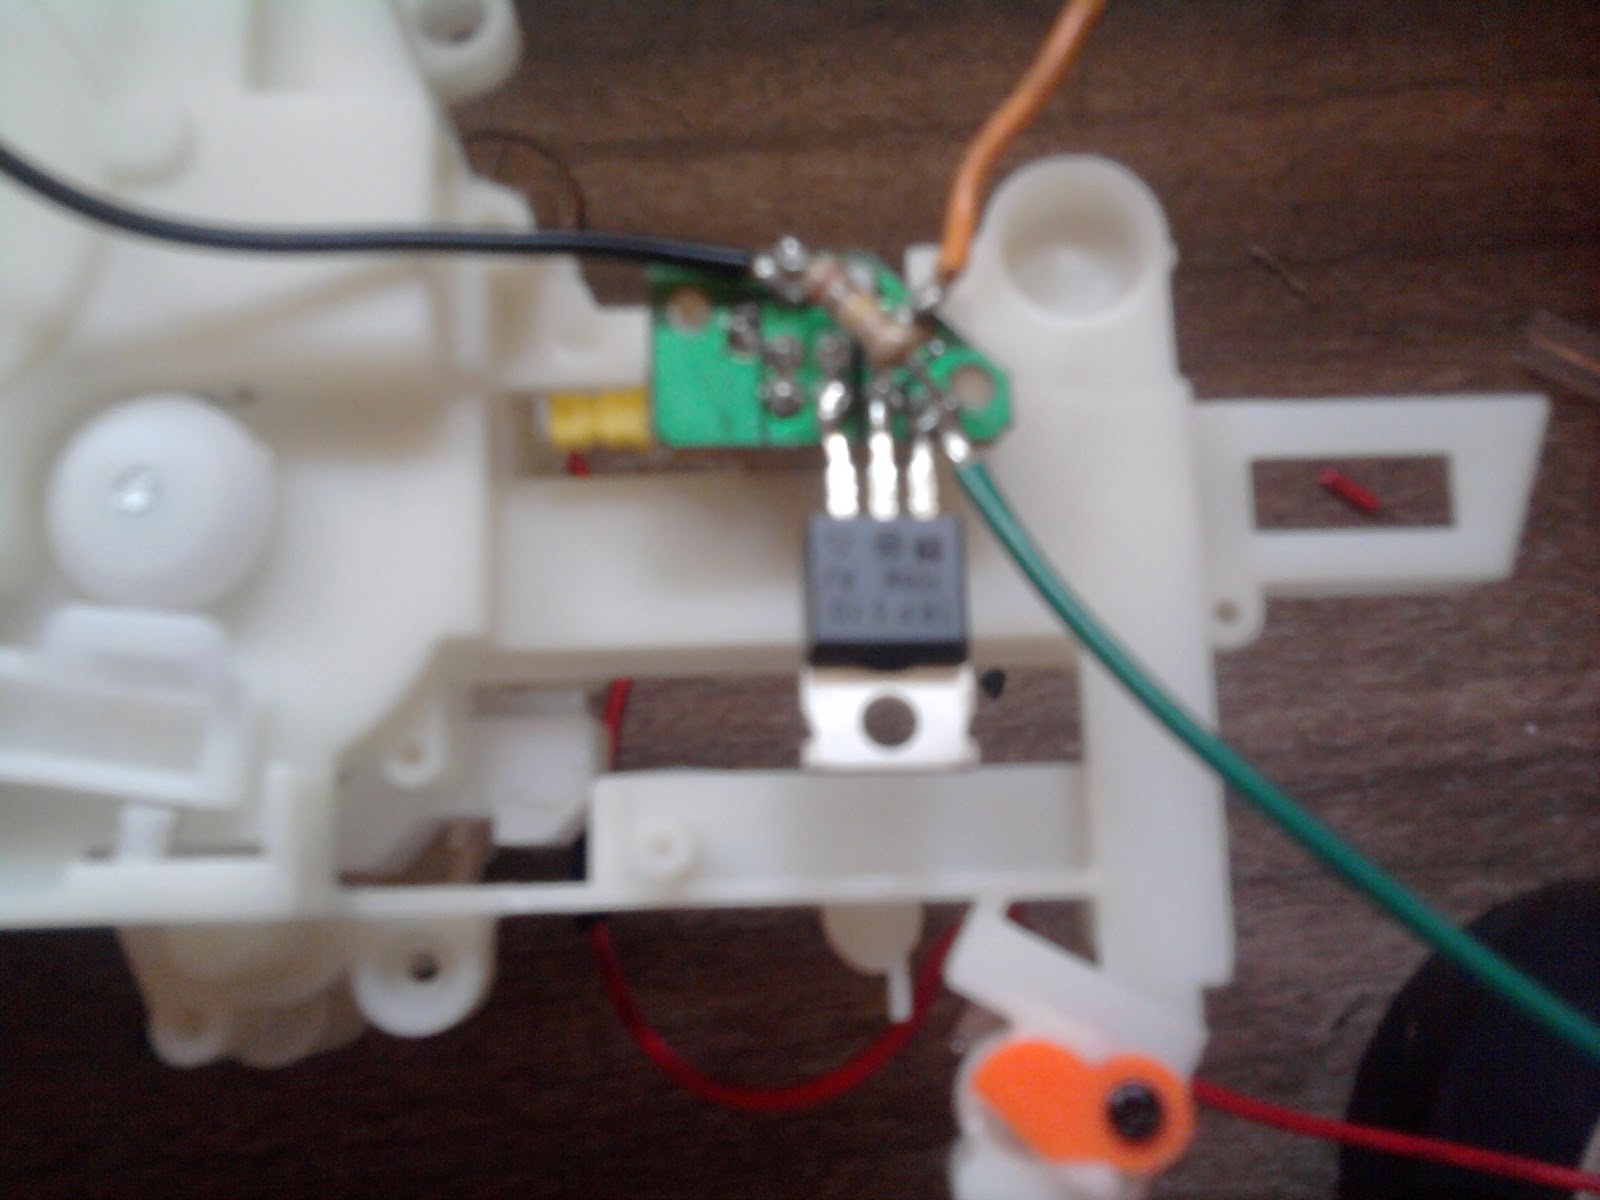
You want to solder the MOSFET on like so:
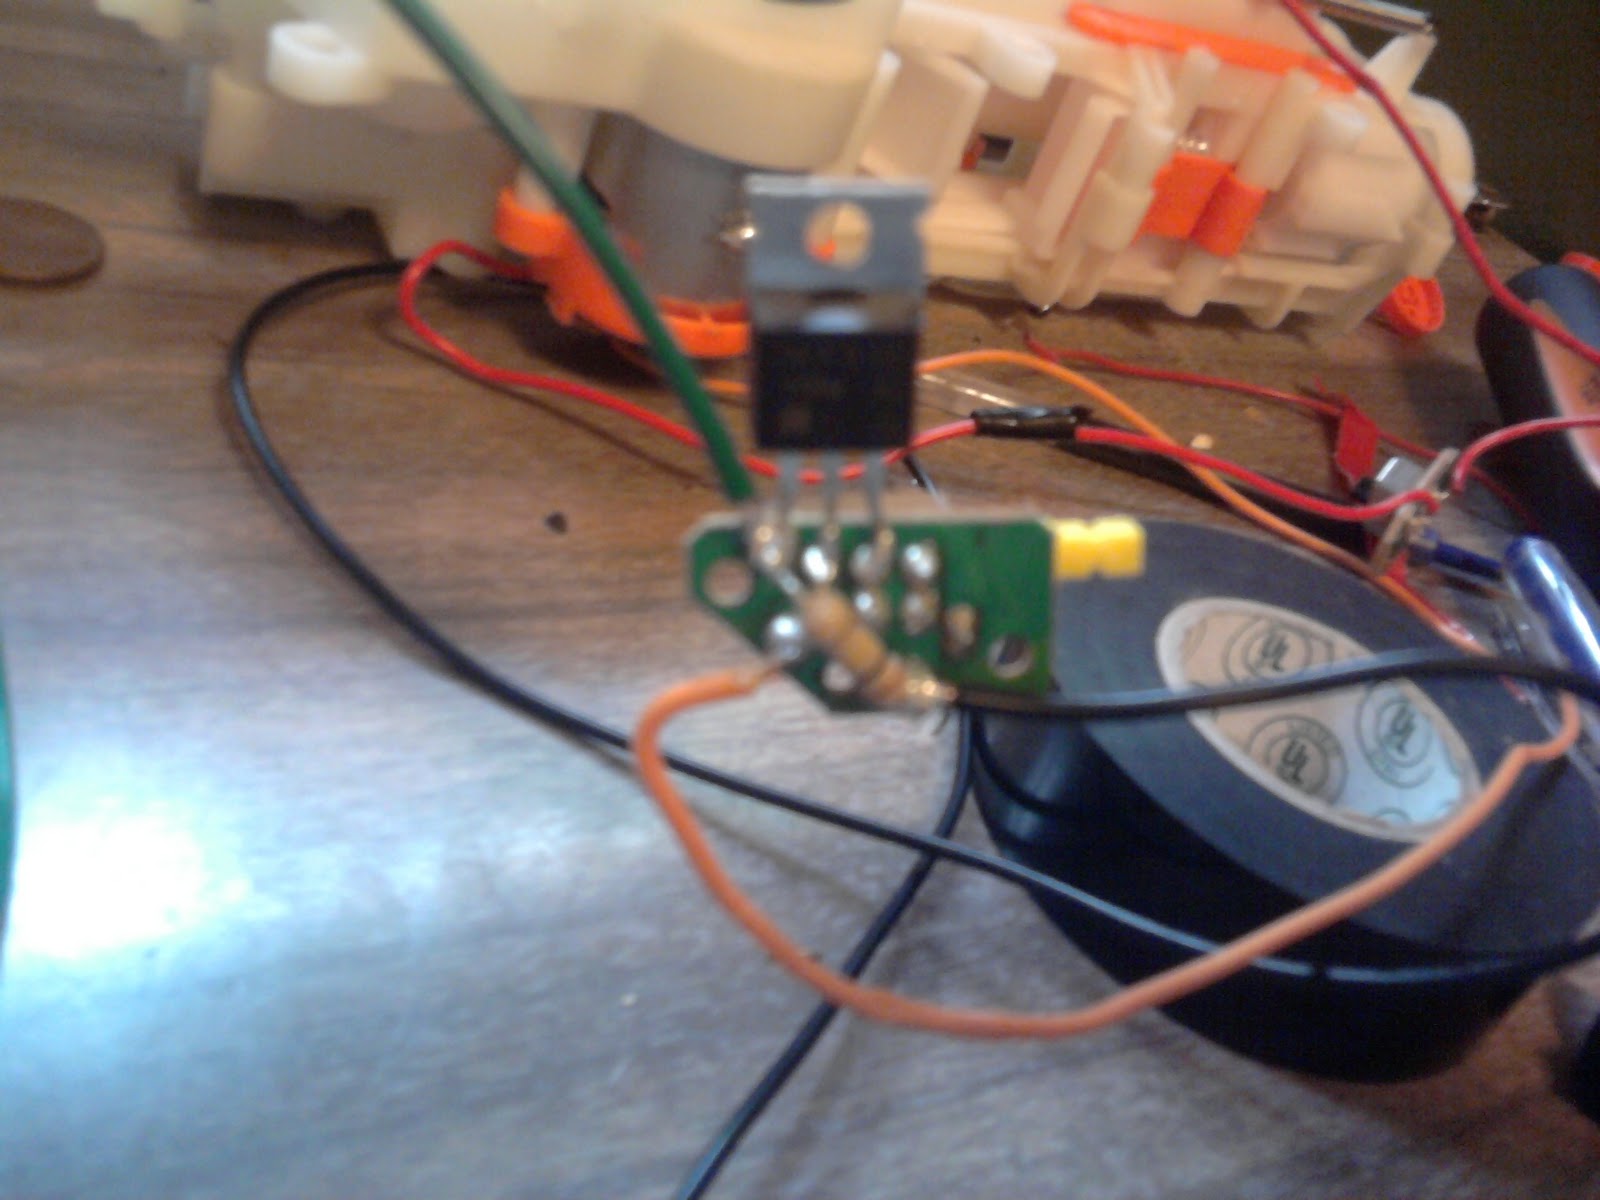
You can see how I used some of the unused space on the PCB in order to solder on the Gate pin.
After you soldered in the MOSFET you can easily add in the 10.0k Ohm resistor as seen in the above picture. After that's done, you can screw the PCB back in place.
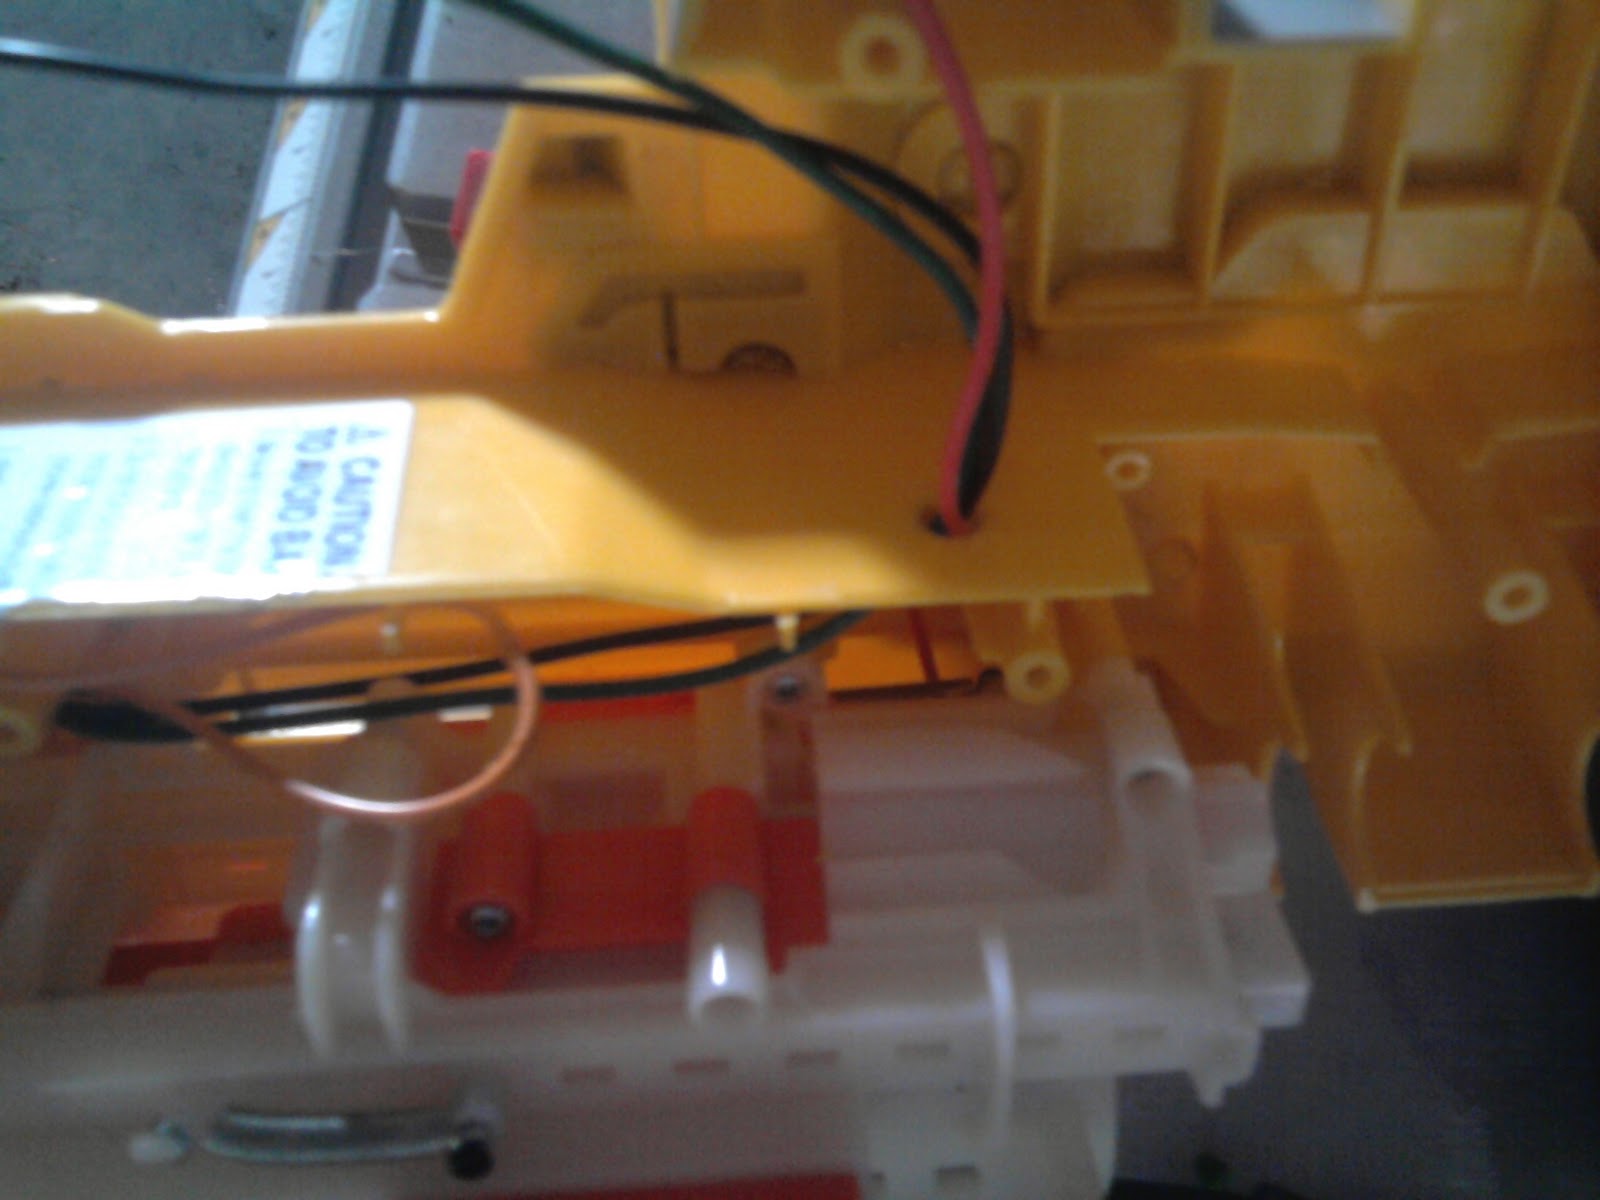
The wires can be lengthened to accommodate for an external battery and the signal interface.
You can use a 4 pin connector to allow for easy gun interface. If you have any questions please leave a comment.
This write up is intended for anyone who wants to add in a power metal oxide semiconductor field effect transistor in parallel with the switch on a Vulcan. I did this to my Vulcan so that my arduino can control when it fires.
First things first, here is the standard wiring diagram for a Vulcan:

And here is the wiring diagram with the MOSFET added in:

When you crack open your gun, you are going to want to remove the trigger itself. Before that though, you want to bypass the trigger from the on/off switch straight to the motor:

Next, remove the trigger from the assembly. This is accomplished by unscrewing one or two screws (I can't remember which).
Your trigger PCB should look like this if the trigger switch is facing DOWN:

You want to solder the MOSFET on like so:

You can see how I used some of the unused space on the PCB in order to solder on the Gate pin.
After you soldered in the MOSFET you can easily add in the 10.0k Ohm resistor as seen in the above picture. After that's done, you can screw the PCB back in place.

The wires can be lengthened to accommodate for an external battery and the signal interface.

You can use a 4 pin connector to allow for easy gun interface. If you have any questions please leave a comment.
Pressure chamber size?
22 October 2011 - 02:32 PM
I am trying to make a sort of nerf air cannon using pvc and a cheap chinese made solenoid valve. The first time I tried to pump it up, I could hardly push the foot pump at all only after like 3 pumps. I then replaced the solenoid valve with a ball valve, but I still couldn't get any pressure. Here is the link to the solenoid valve I bought. I am guessing that the volume of my pressure chamber is too small, but I would like this community's feedback before I try anything else.
Here is the current set up:
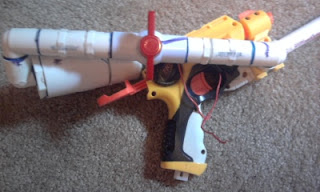
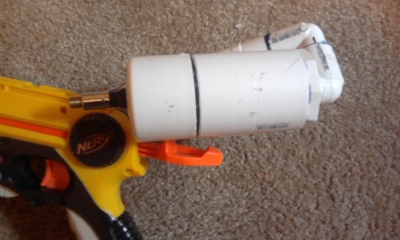
Here is the current set up:


Stationary Infrared-sensing/ remote-controlled nerf shotgun
28 September 2011 - 11:42 PM
Okay, before you tell me it's impossible here is how it all works:
1. The whole thing is in 2 parts, minus the battery; the shotgun, and the sensor and associated electronics.
2. It utilizes a PIR sensor (Passive Infrared) in order to detect when a person has stepped in front of it.
3. It also has a remote trigger function, allowing the user to time exactly when the whole thing fires.
4. It is all powered by a 12 volt, 7.2 amp/hour gel cell battery
I'm sorry but this is not a tutorial on how to build one, it is far too time consuming and costly to really be considered a feasible tactical advantage.
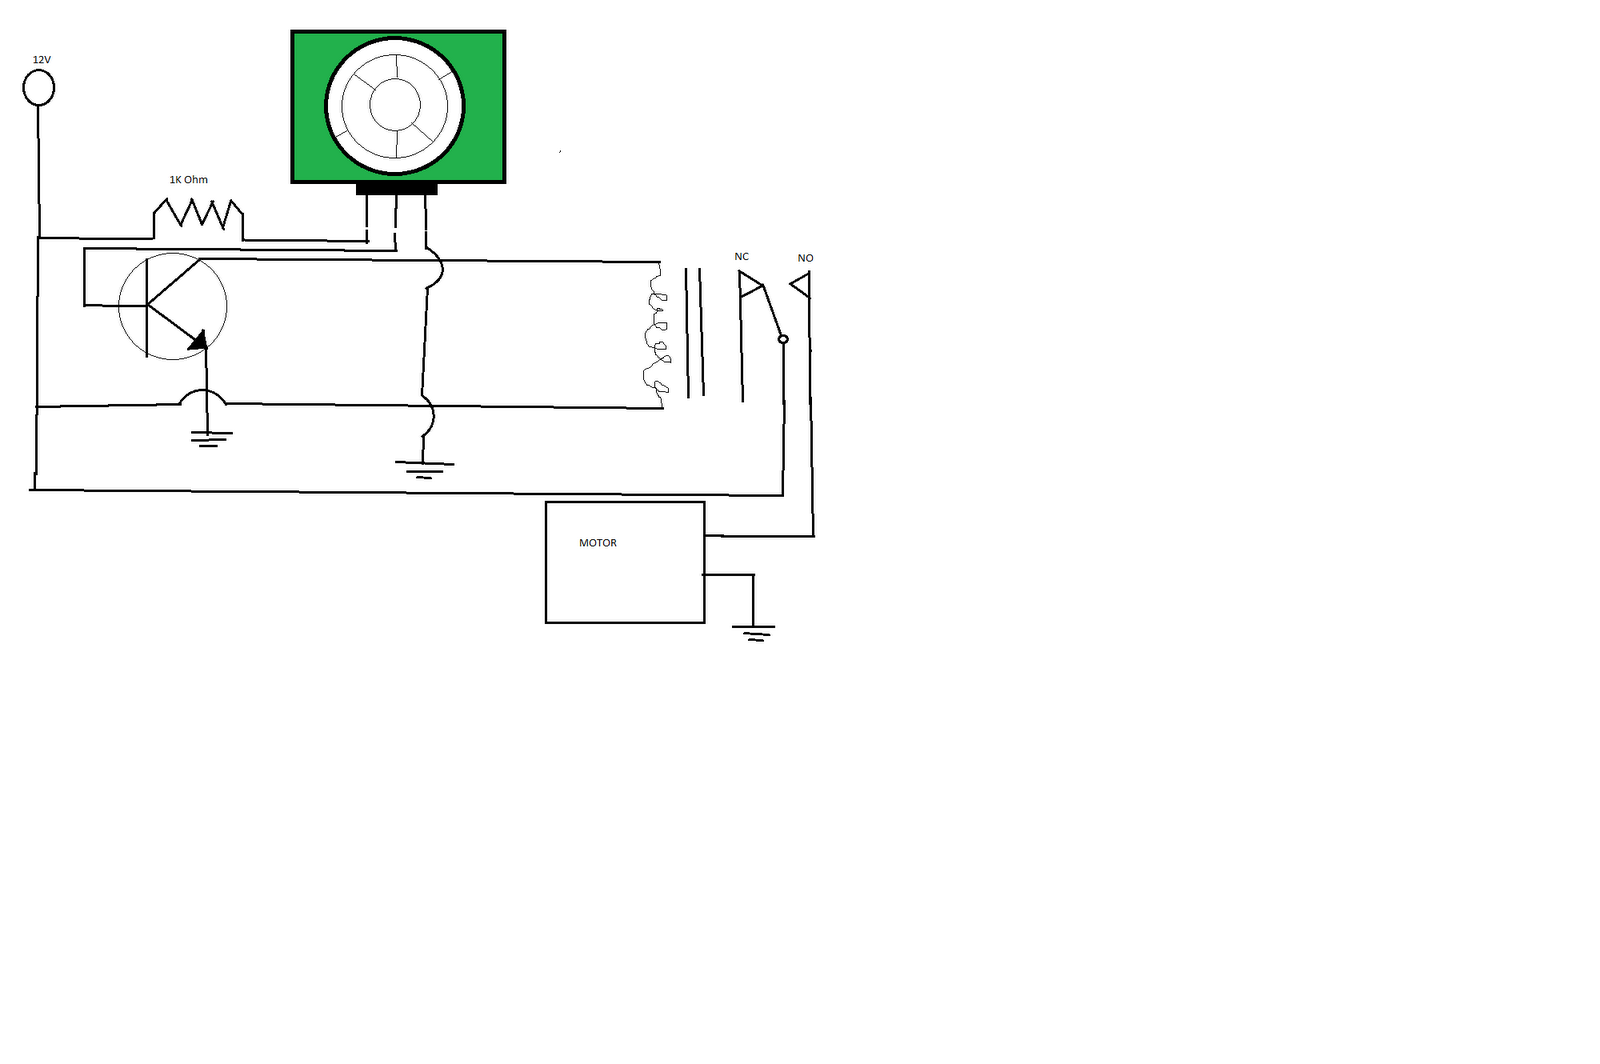
Alright then, so here is the schematic for the electronics. I am not really an expert in drawing these things, so feel free to point out any mistakes.
So here is the thing in action:
http://youtu.be/Q8atrwWokEQ
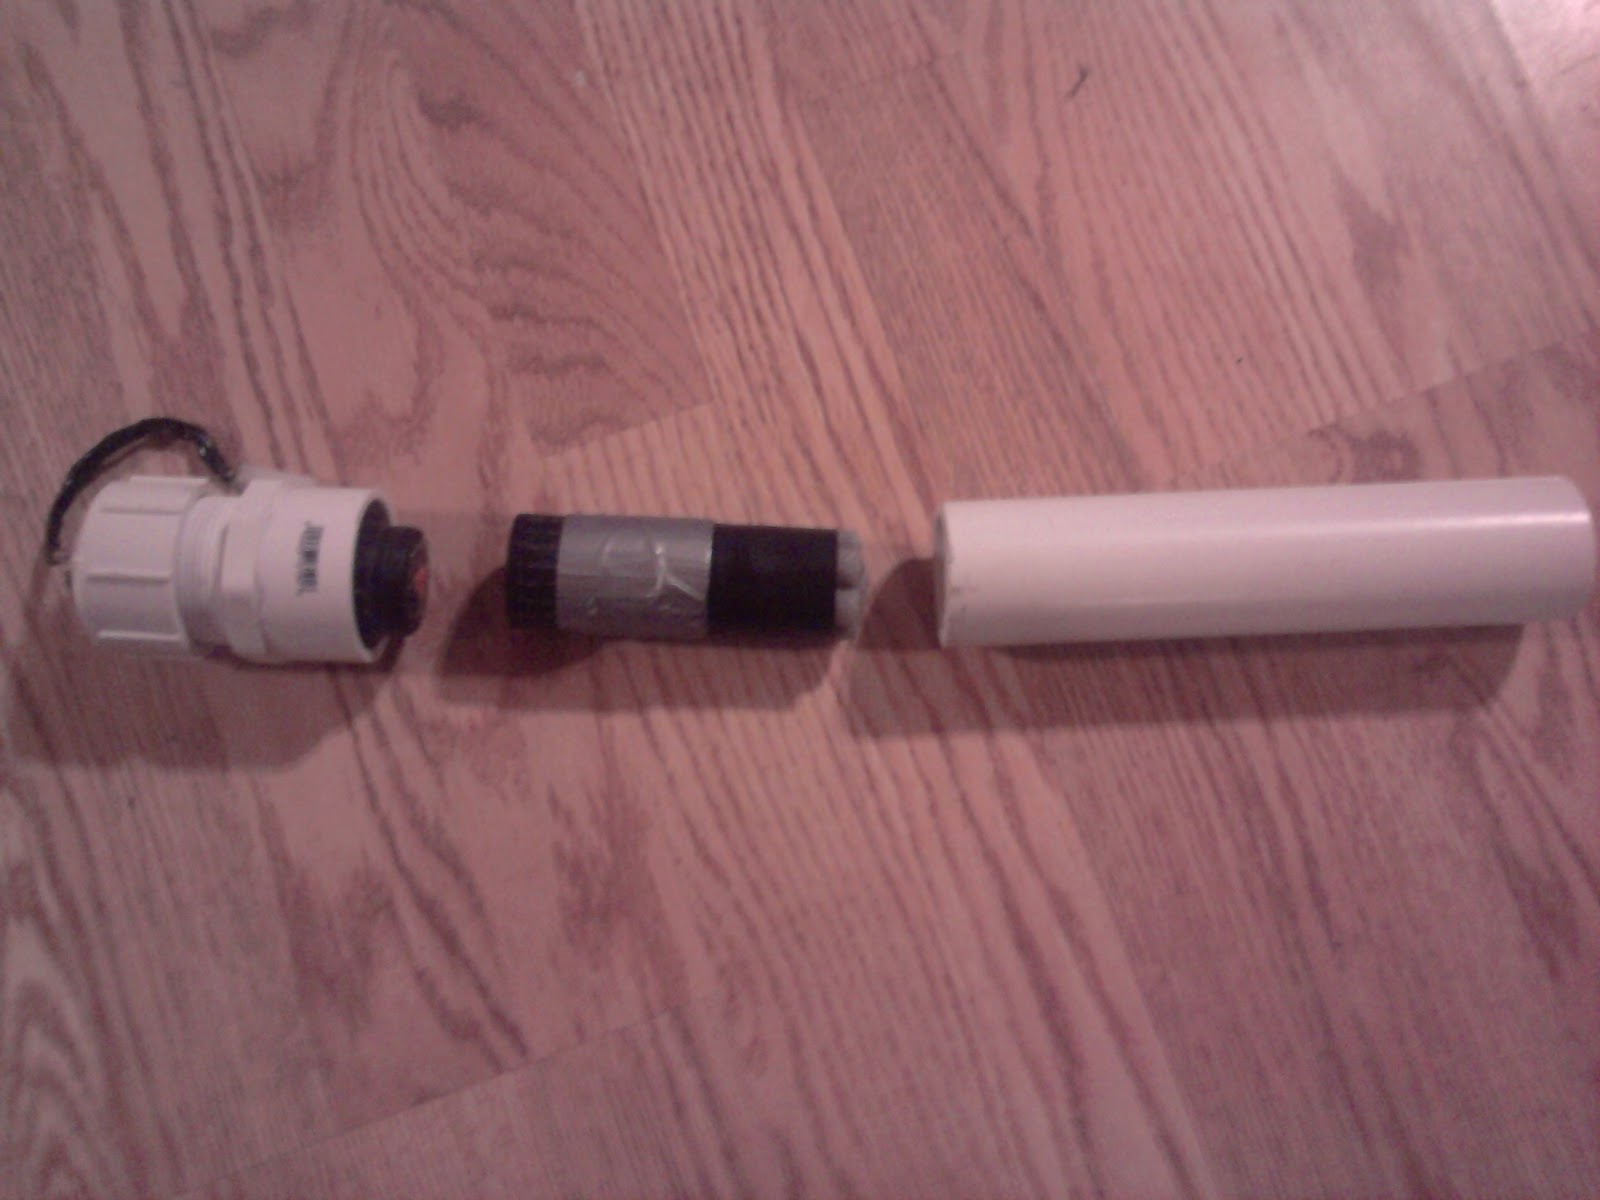
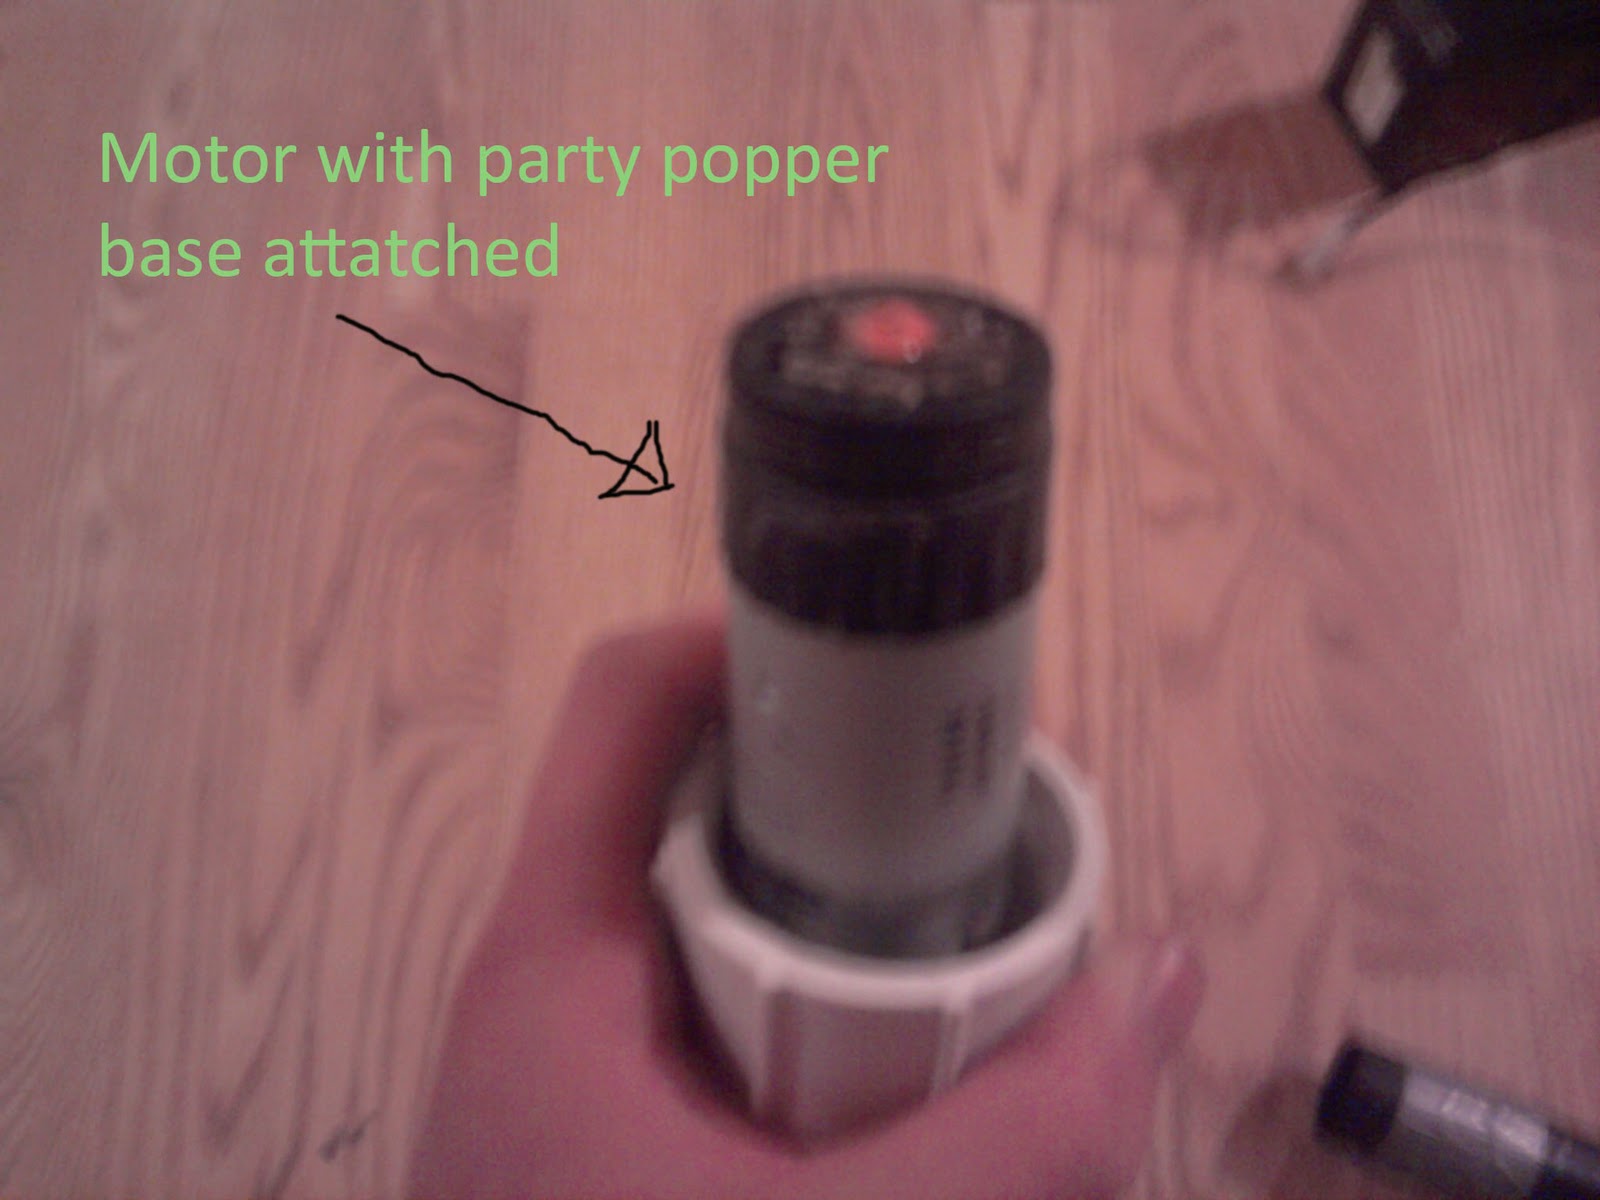
So here are some pictures of the internals and the shotgun and stuff:
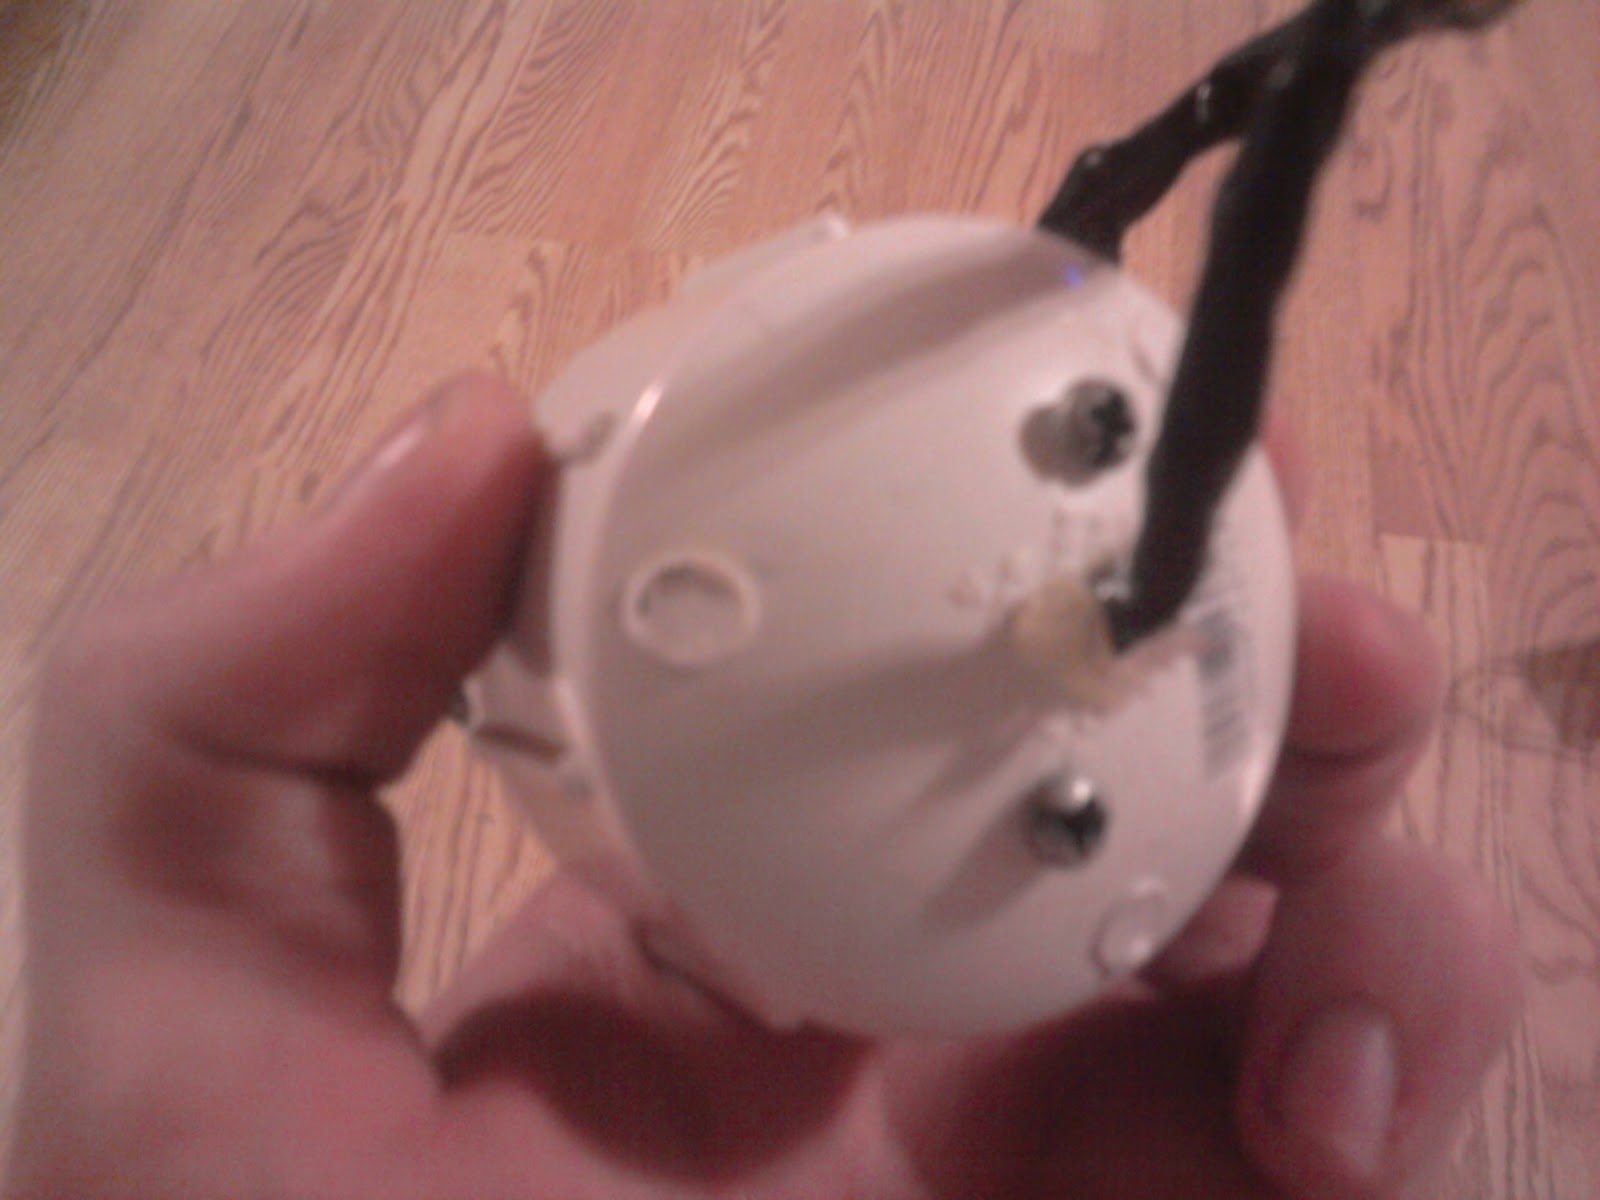
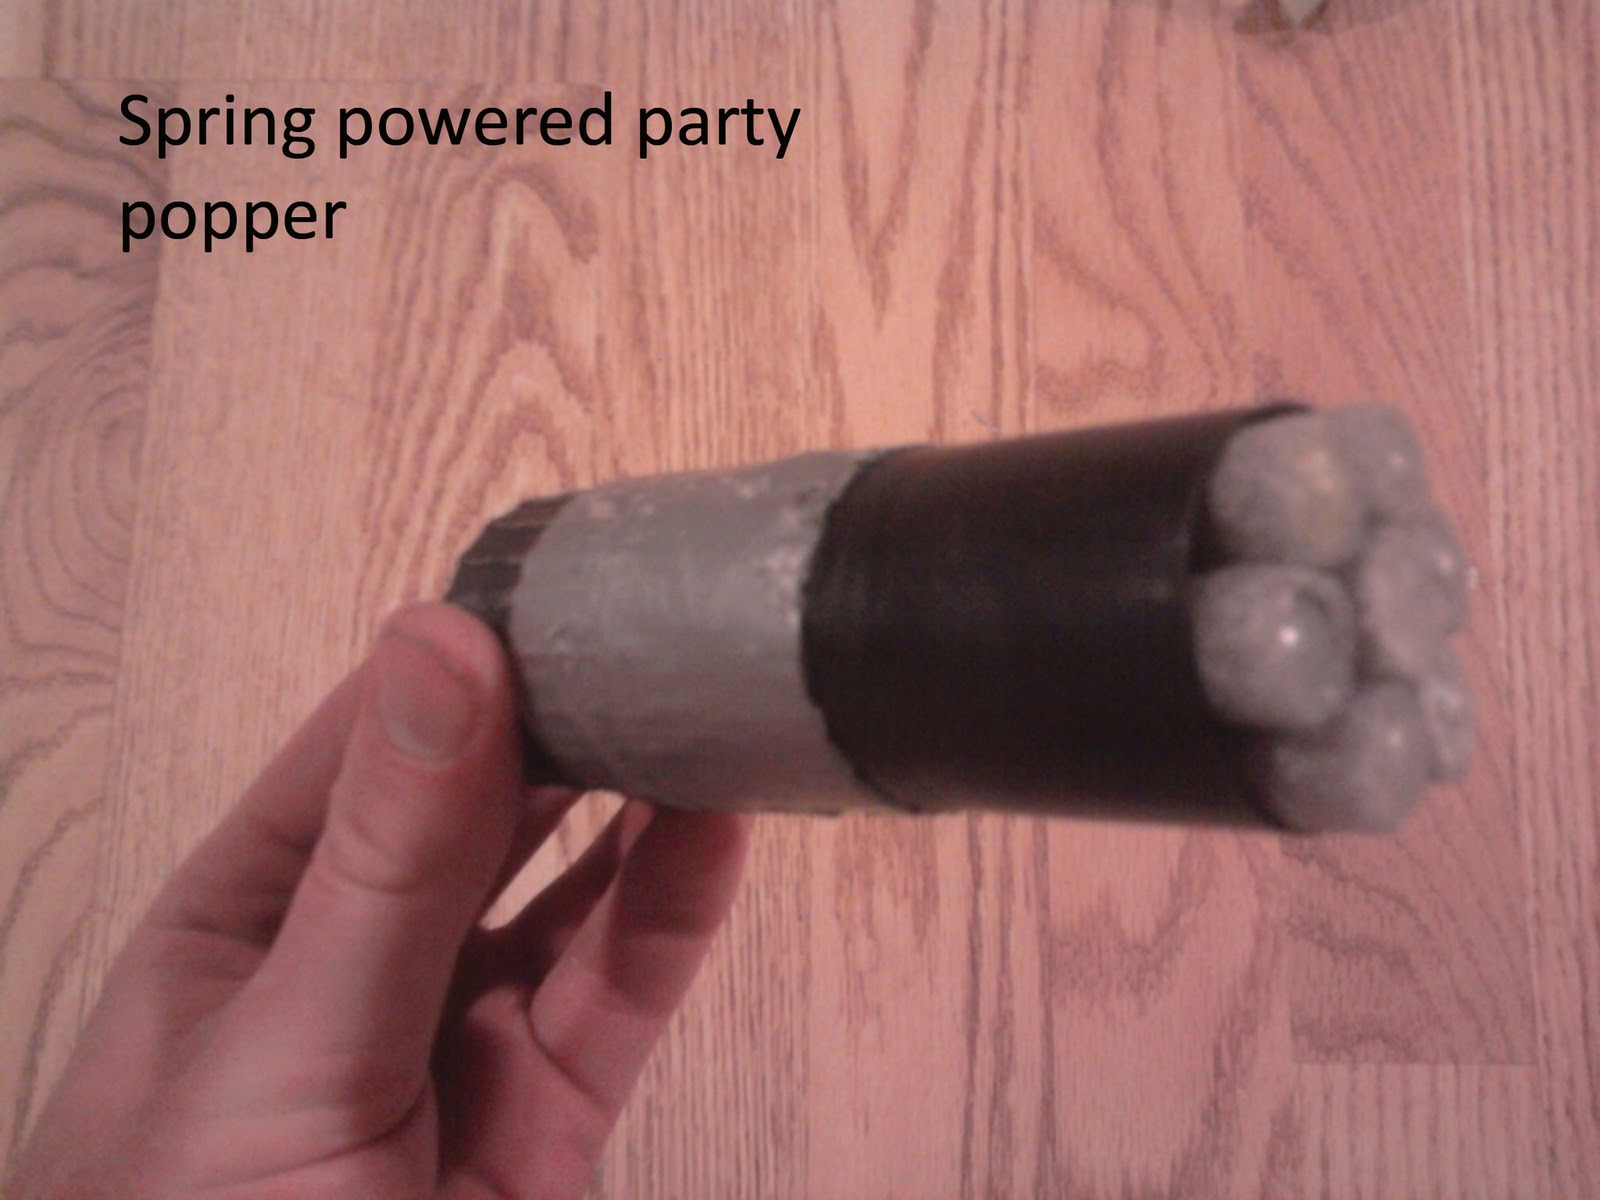
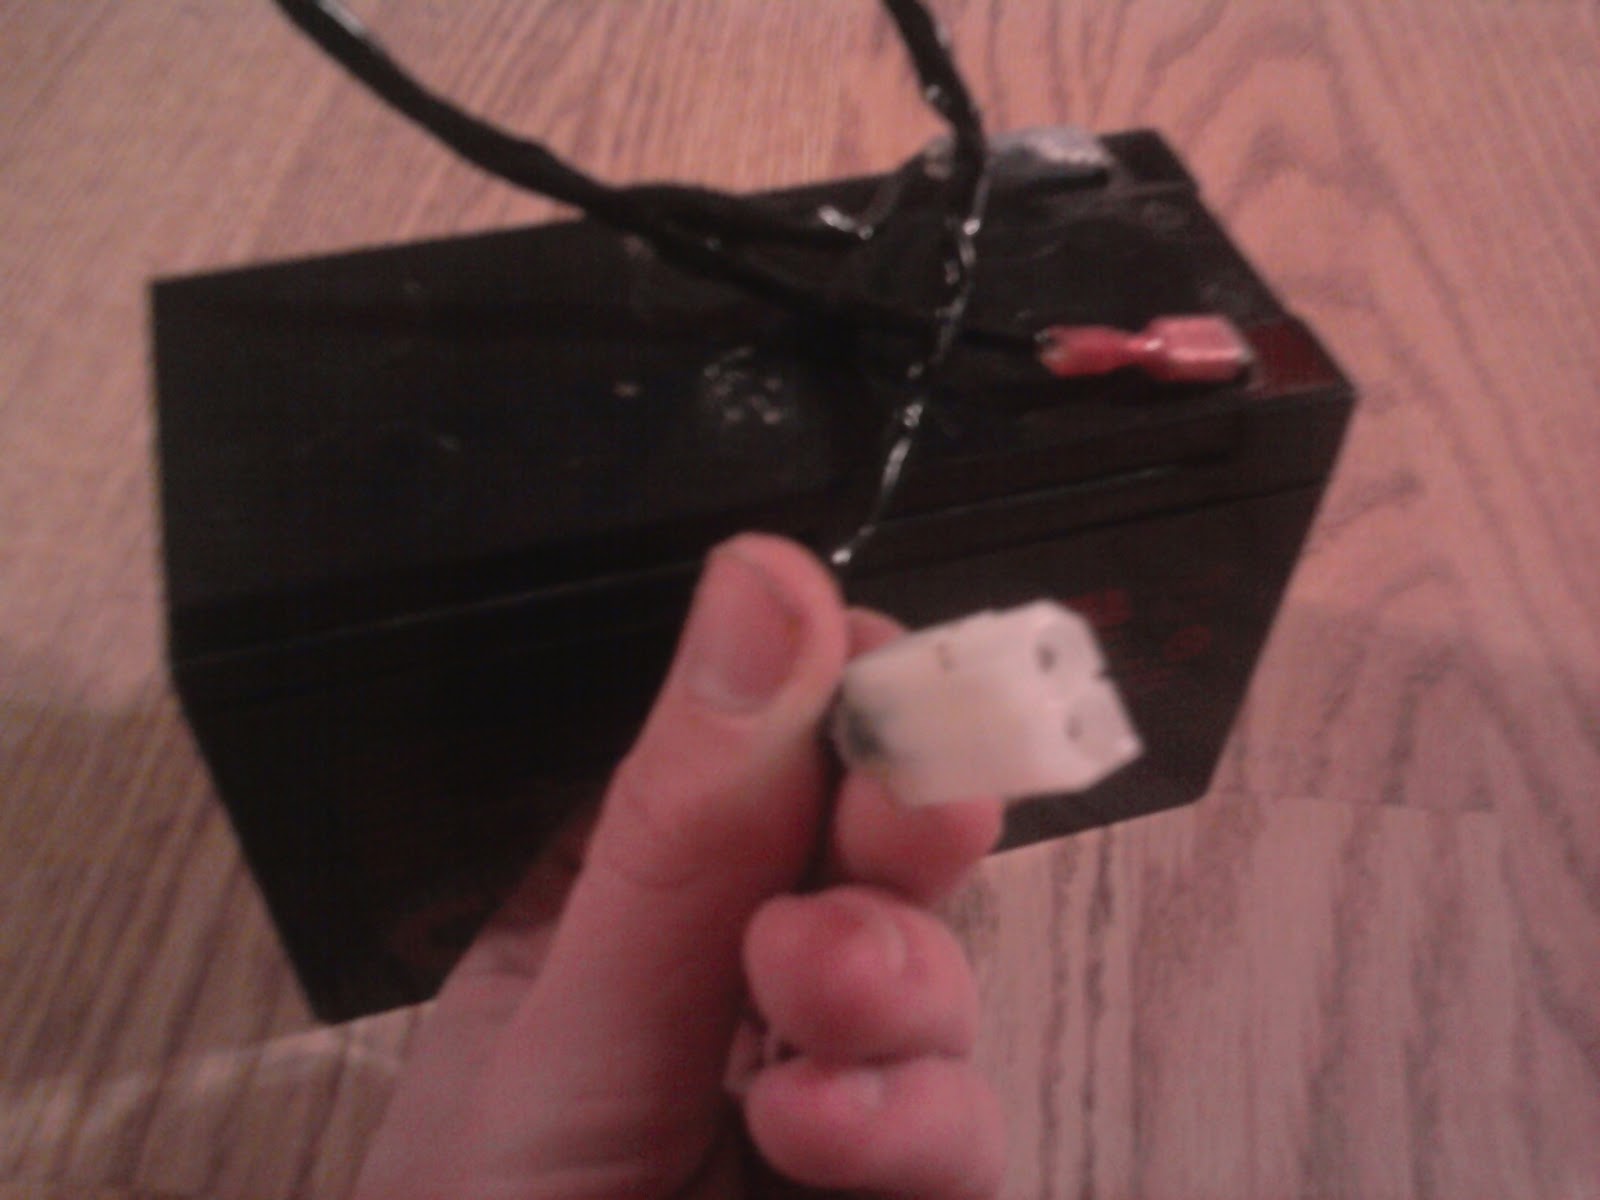
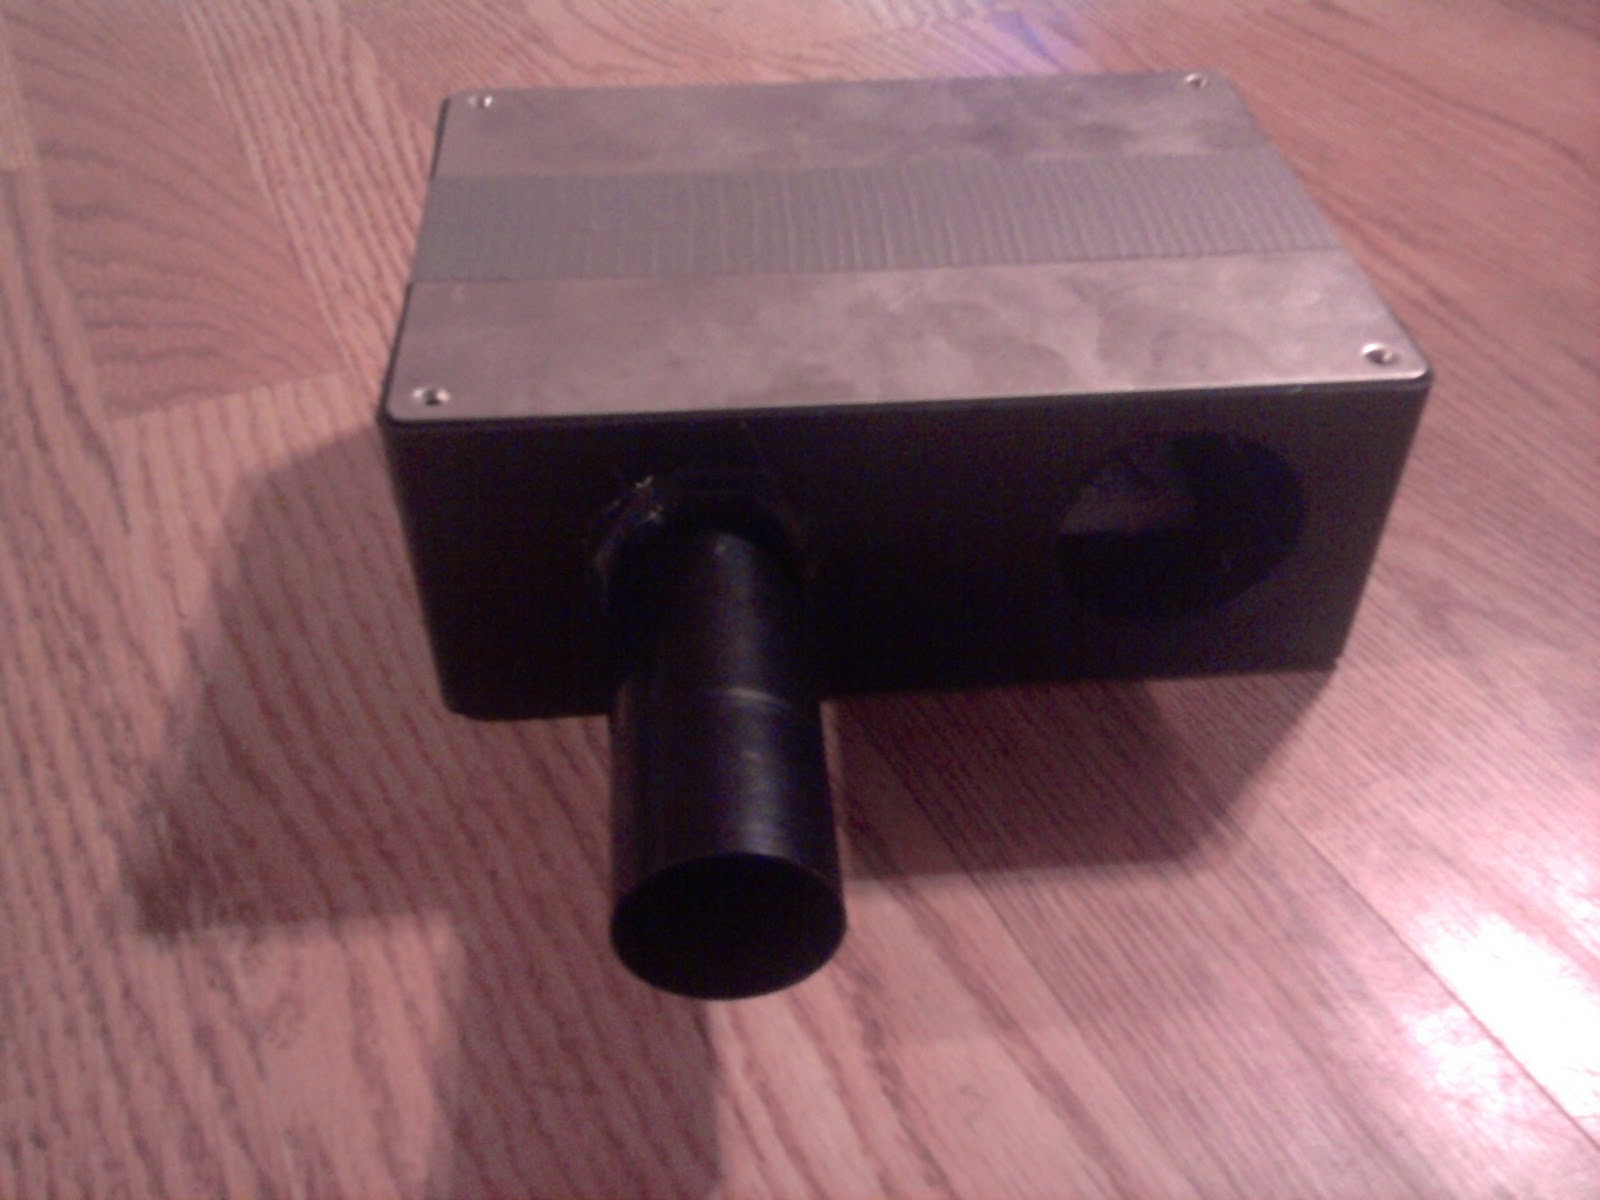
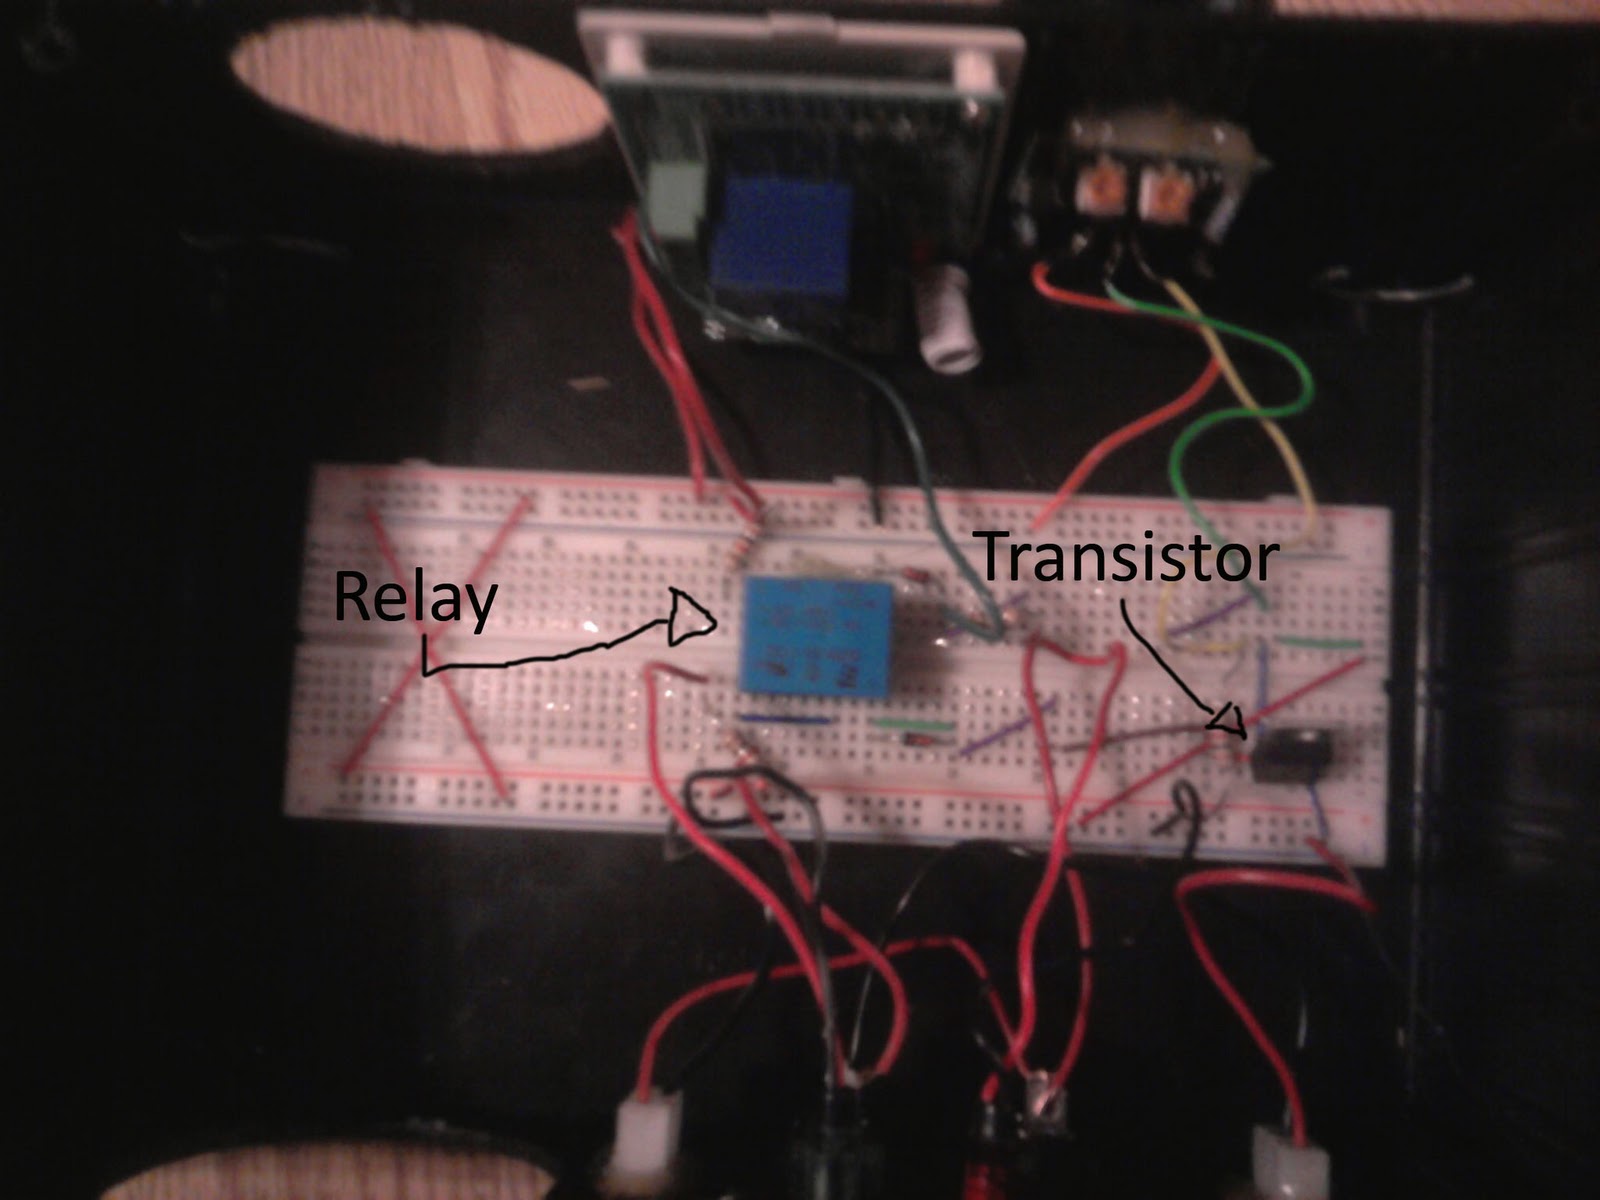
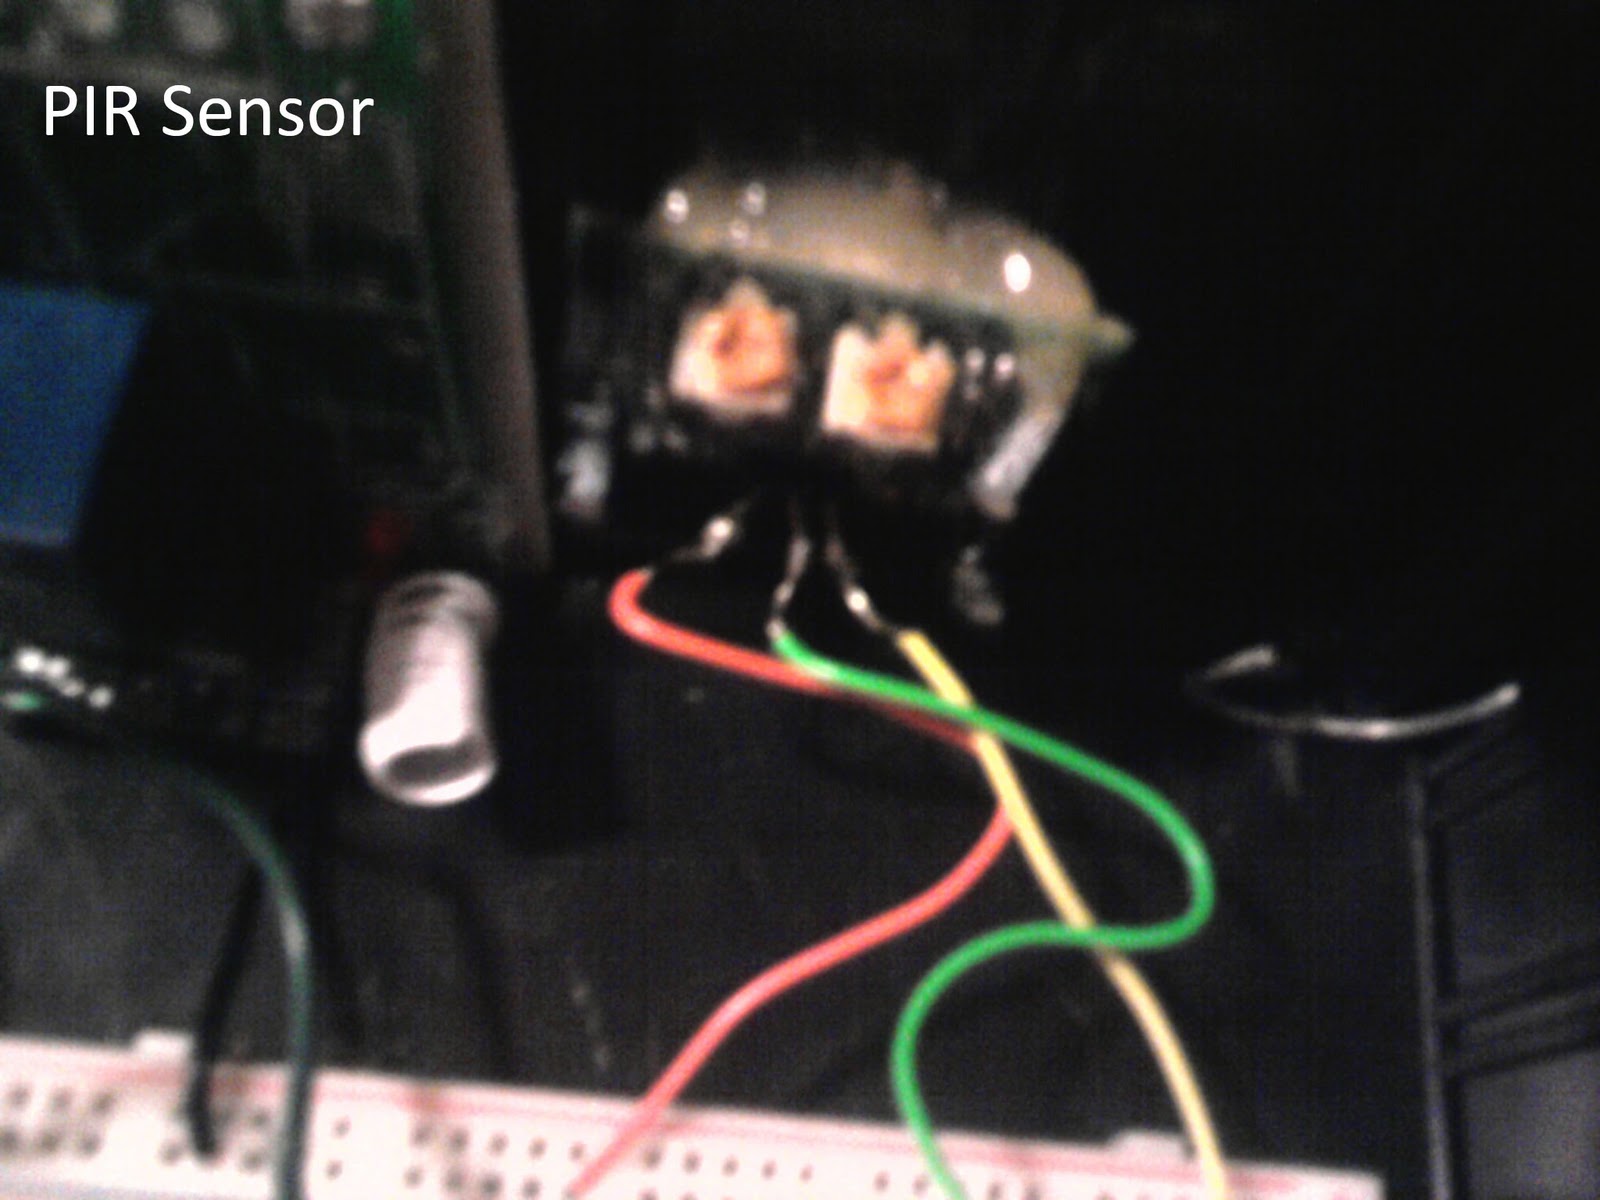
1. The whole thing is in 2 parts, minus the battery; the shotgun, and the sensor and associated electronics.
2. It utilizes a PIR sensor (Passive Infrared) in order to detect when a person has stepped in front of it.
3. It also has a remote trigger function, allowing the user to time exactly when the whole thing fires.
4. It is all powered by a 12 volt, 7.2 amp/hour gel cell battery
I'm sorry but this is not a tutorial on how to build one, it is far too time consuming and costly to really be considered a feasible tactical advantage.
Alright then, so here is the schematic for the electronics. I am not really an expert in drawing these things, so feel free to point out any mistakes.

So here is the thing in action:
http://youtu.be/Q8atrwWokEQ
So here are some pictures of the internals and the shotgun and stuff:


- NerfHaven
- → Viewing Profile: Topics: yennepnollad
- Terms of Service and Privacy Policy
- Code of Conduct ·


 Find content


