
So I went off to my local OSH and found all I needed.
Tools Required:
Dremel
Pliers
Drill
or
Hacksaw, File
Pliers
Drill
Materials Required:
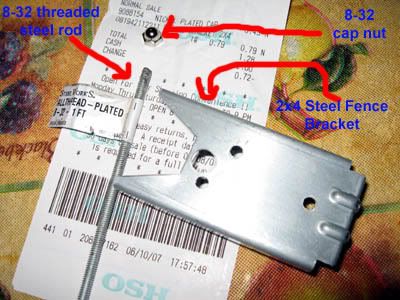
(2) 8-32 Cap Nuts
(1) 2x4 Steel Fence Bracket
(1) 8-32 Threaded Steel Rod
Procedure:
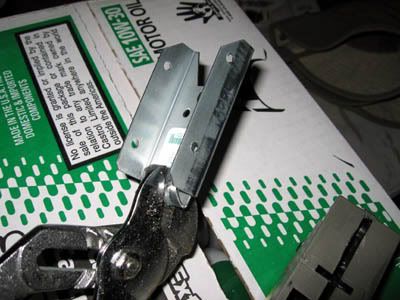
Take the Steel Fence Bracket and bend the end of it inward with pliers so it looks like so:
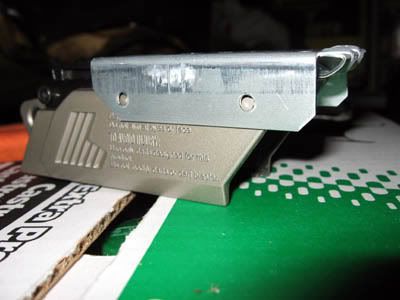
Remove your cocking slide and the cocking pin. The fence bracket (after bending that part inward) should fit like this ontop of your cocking slide:
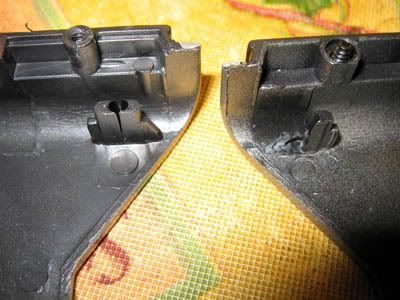
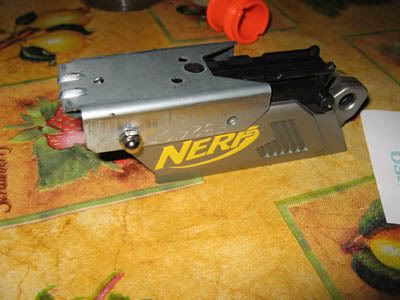
Now use the drill to make the holes. First open up your cocking slide and drill holes where the original cocking-pin reinforcement was (refer to first photo in this post). I find it best to remove the plastic sockets for the original cocking pin with a pair of needle nose pliers, then drill dead center in them. Drill holes large enough for the 8-32 Steel Threaded Rod to slide fairly easily in. Line up the holes and drill them into your 2x4 Steel Fence Bracket as well:

Now use the hacksaw + file or dremel to cut the 8-32 Threaded Rod to the correct size. It should go through the cocking slide and protrude about 3 to 4 mm on either side.
Use your two cap nuts to secure the fence bracket and threaded steel rod onto the cocking slide:
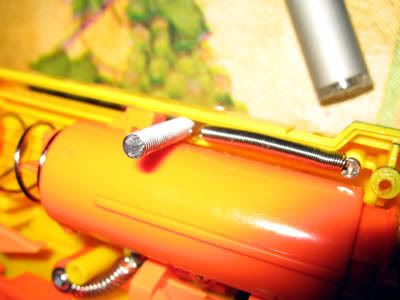
Now that all the test fitting is over. You need to open up the maverick itself, remove the extension spring that pulls the slide back to the front of the gun and bend it so it'll fit around the monstrous 8-32 threaded steel rod. The case is big enough to accomodate the steel rod. There might be some resistance for the first few pulls, but it'll eventually slide smoothly.
Now close up the gun:
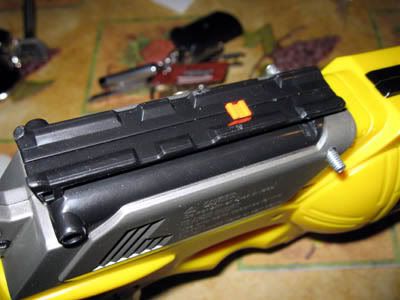
To install the fence bracket, push the threaded steel rod so it is flush with one end of the cocking handle. Put the bracket over the side with the threaded steel rod sticking out, then push it down on the side where the threaded rod is flush. Once it is lined up, you can push the steel rod so it is protruding evenly from either side of the cocking handle. Put your cap nuts on and tighten away. There--a virtually indestructable cocking slide + pin.
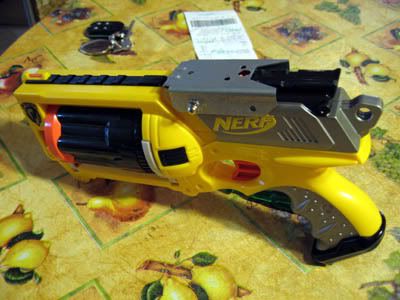
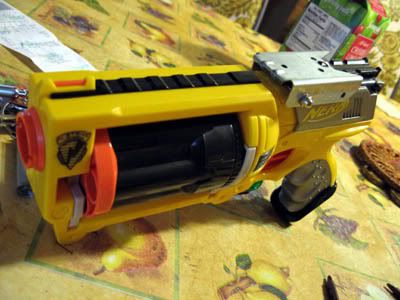
You can tell by some photos that I did Captain Slug's rotation mechanism mod (part of his drop-clip mod). I highly recommend this mod because it makes the maverick more reliable than before. Enjoy.


