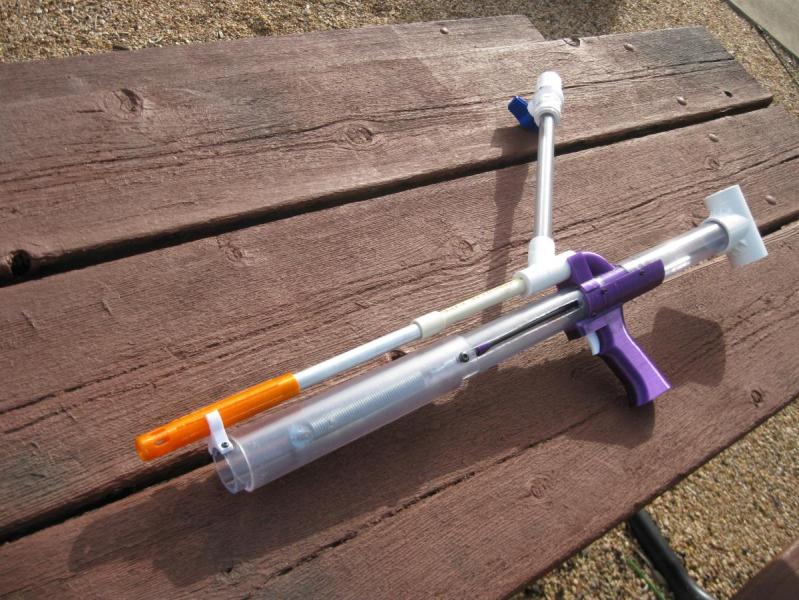
Back in December 2012, I made what was then my second homemade, an extension spring powered, bullpup rainbow (later named by Vaan as an ESRB, so that’s what I’ll call it).
And while it took a few revisions before it was truly reliable, that blaster has remained in service at the high-velocity games I’ve played at more or less continuously since then. Though it served me very well, a few niggles started to bug me:
- The barrel wasn’t quite on straight.
- The wooden handle had spent the last six-and-a-bit years absorbing water from the humid Houston air and was splitting.
- The screws holding the handle on no longer were staying tight.
- The trigger flopped around.
- General jankyness resulting from my lack of skill in 2012.
So earlier this year I set out to make essentially a 1:1 replacement for that blaster, intended to address the above issues. I had also hoped that I could improve the efficiency of the blaster by 3D printing a redirect piece with a smoother airflow path, using a lighter plunger rod, etc., but this new one is chrono’ing at basically the same FPS as the ESRB (around 230 with sweet oranges), so I don’t know if any of that stuff worked.
As with the ESRB, I don’t intend this to be a fully fledged writeup. Those of you with the experience and tools necessary to make this can probably figure out just from the STEP file what to do.
A couple notes though.
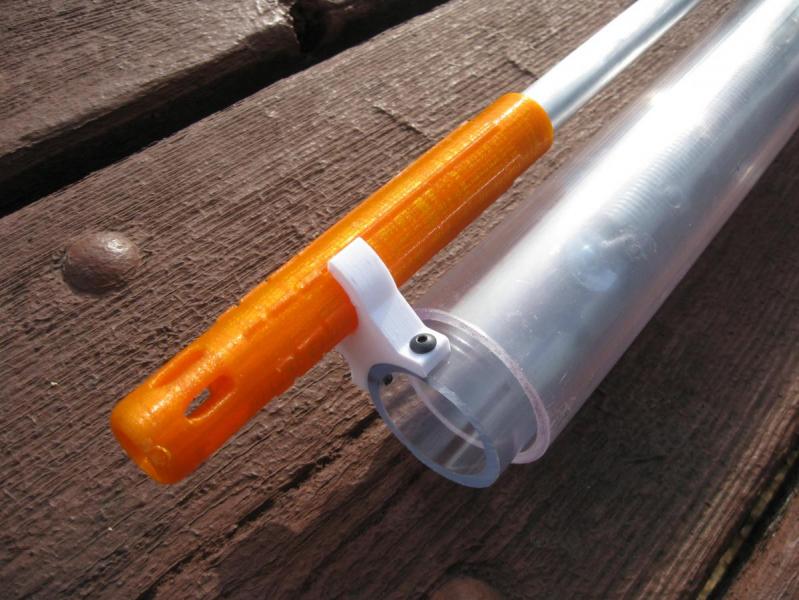
- This uses the same 1/4” galvanized aluminum plunger rod as Ryan and Kane used on the later version ESLTs, but with a 3D printed piece added on to enable rainbow catch usage.
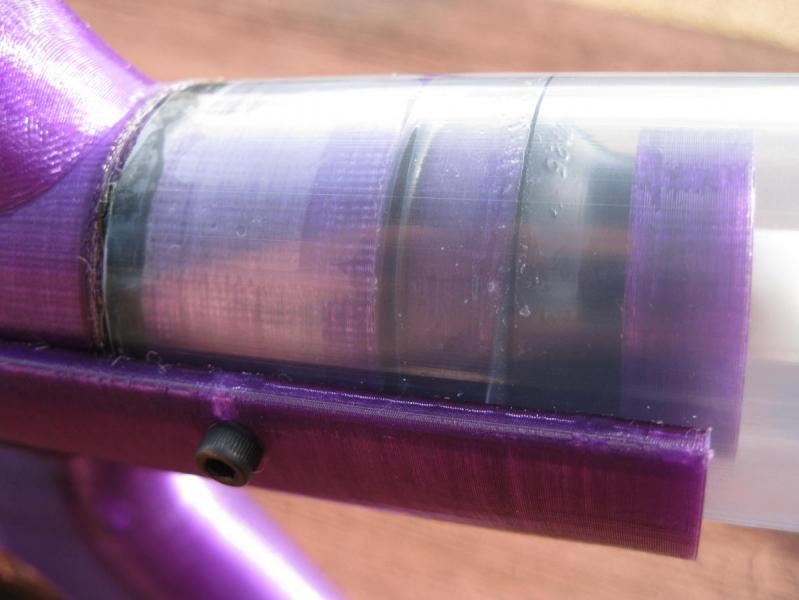
- This also uses the same o-ring plunger padding method as the ESLTs.
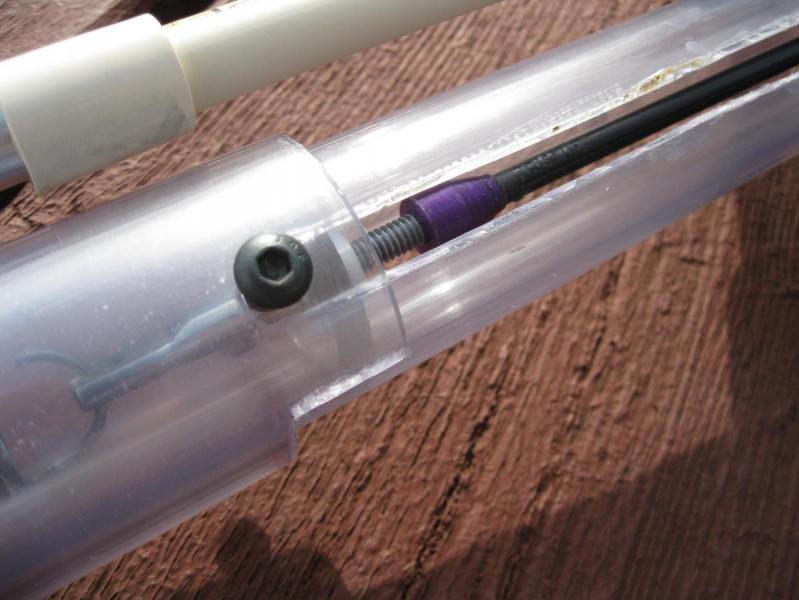
- As with the ESRB, this uses a U-Cup to seal the plunger rod in the redirect, but it’s a different part number since the rod is a different diameter. This U-Cup seems to be adding a bit of friction, so I have an o-ring I’ll try eventually.
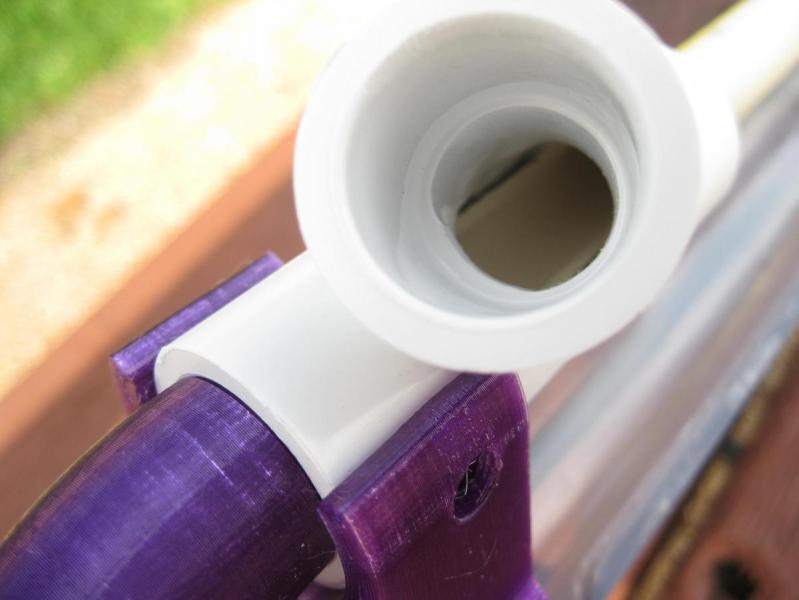
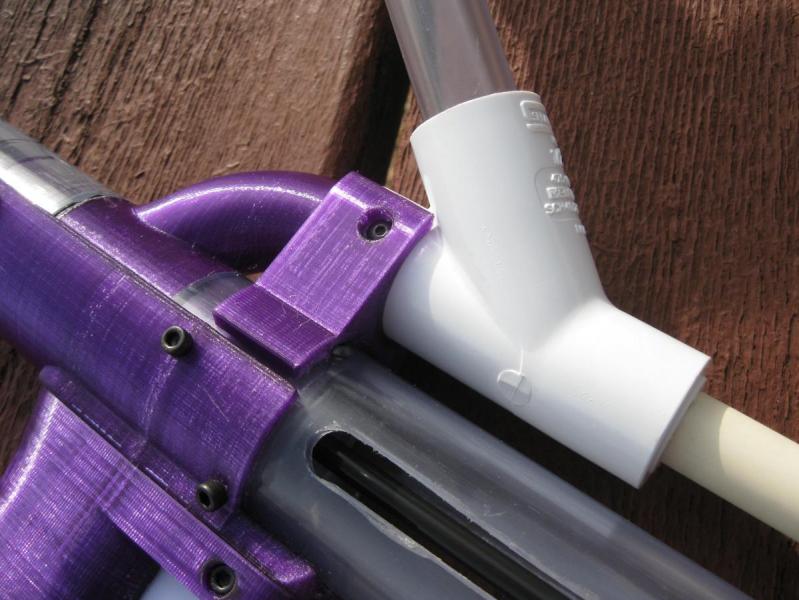
- The hopper wye has had the top corner shaved down to give the darts a little more room to maneuver the corner, and this uses a brithop. In my experience this is the most reliable method of shooting sweet orange darts.
- I’m using one of LegoDEI’s rifling attachments on the front. The STEP file just features a dummy piece there.
- The purple printed wye support is different on the STEP file and the pictures. I added this after I made the rest of the blaster, so a couple screws were in the wrong place. The STEP file represents what I would do if I built this again.
- The STEP file does not show most of the fasteners. The shoulder screw goes on the catch. The 3/8” screws hold the barrel support on, and hold the wye to the redirect. The 3/4” screws go through the rear barrel spacer and the handle clamp. The 3/8” Flat head screw goes in the front of the handle clamp and into the grip. The 1” flat head screws hold the back of the grip to the handle clamp. The 1 1/4” screw is what the trigger pivots on, and is cut down to length.
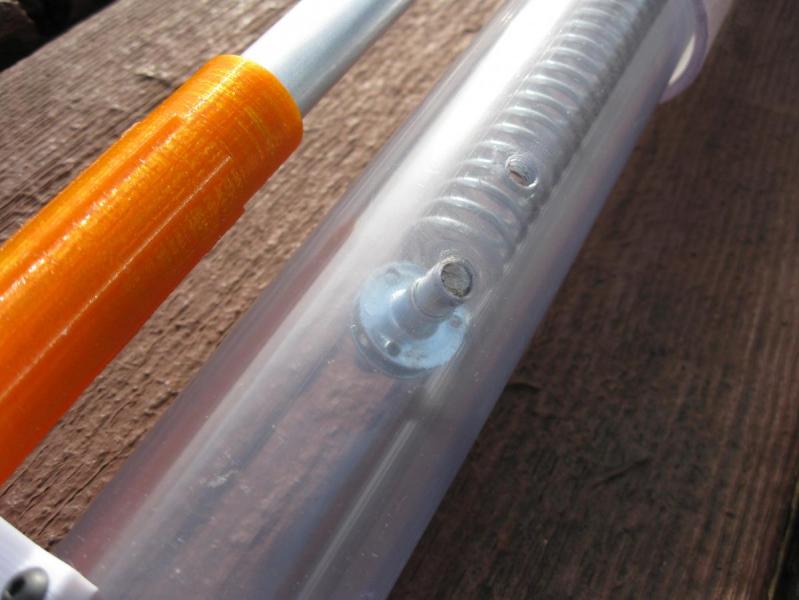
- The physical blaster has two holes one inch aprt for the front sprint post, for different amounts of pretension. The STEP file only has the one I’m currently using. The set screw I’m using for the spring post has been cut down so it doesn’t poke out of the body.
- The purple parts are printed in Color Me 3D Purple Haze PETG. The white parts are eSun/Inland solid white PETG.
I used this blaster in the Foam Pro Tour at this year's Endwar, where it was the only hopper-fed blaster there, and one of only two (that I saw) old-school PVC contraptions. The other was an AABow with an RSCB. Unfortunately my team went 0-2, but the blaster performed well enough, and I blame our poor showing more on our almost zero practice than anything else.
Anyway, files are here.
https://drive.google...7VF?usp=sharing


