Jump to content


Photo

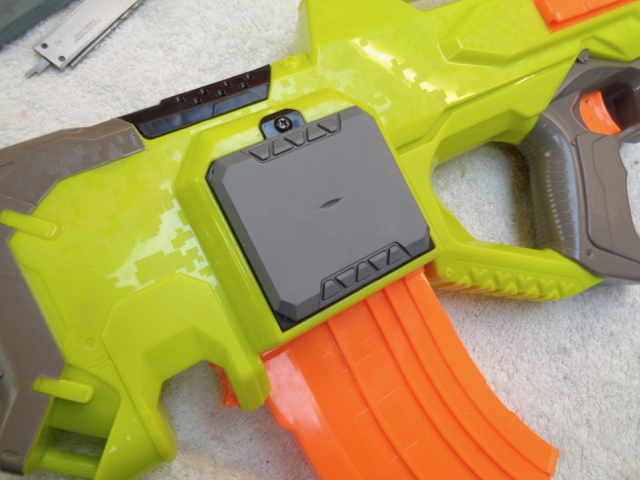
Rayven "Flip Clip" Extended Battery-Tray Cover

Rayven Extended Battery Cover Battery Cover Battery Tray Flip Clip

4 replies to this topic

#1 UnscrupulousModefiler

UnscrupulousModefiler

    Member

  • Members
  • 13 posts

Posted 24 November 2017 - 02:26 PM

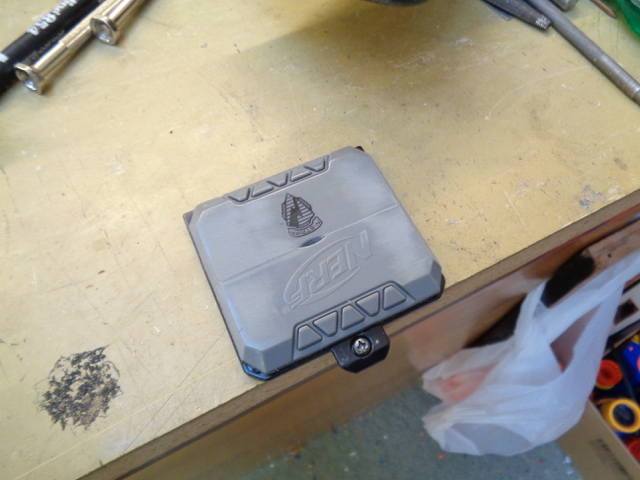
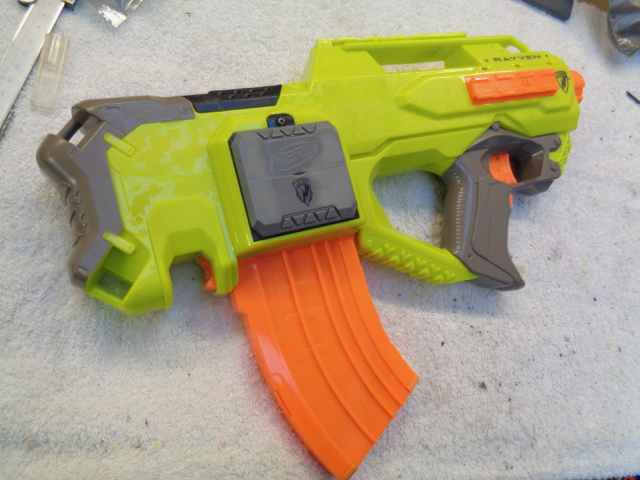
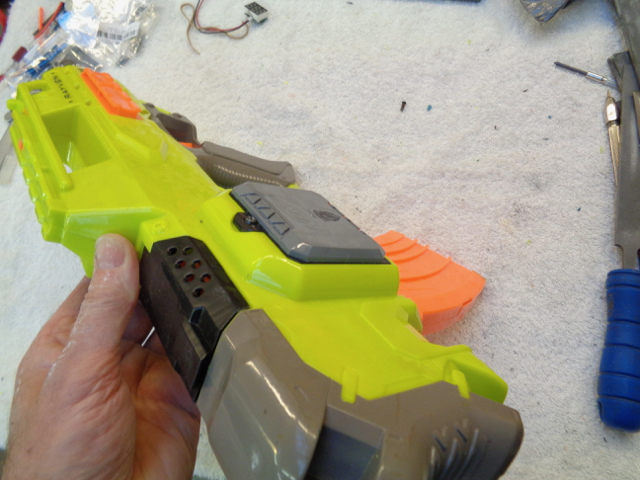
For those that missed it on Reddit, here's my attempt at an extended battery-tray cover for the Rayven using an N-Strike Flip Clip. Apologies if someone's done it all before!


View Imgur gallery here: https://imgur.com/ga...y/evkvX#f8ZUQvu


DSC03599.jpg


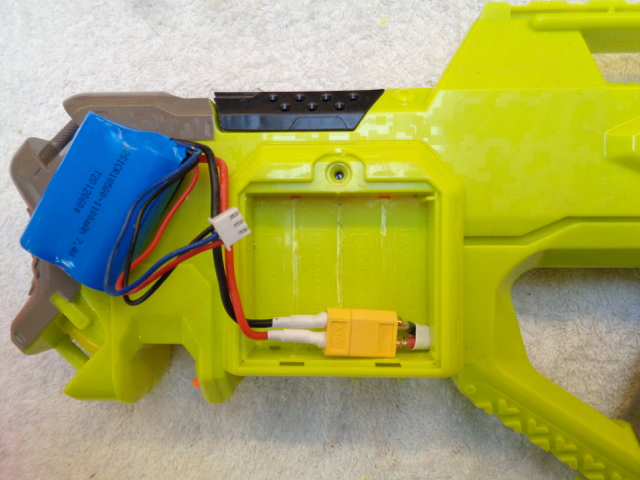
The little 2S Lipo that I'm using was in a prior life powering 2 x FK180-3539's in an RC helicopter so should be rated to their continuous current demands. Short-term they've powered the Rapnadomolisher on full-auto... I'm just not so sure how they'd deal long-term with full stall current (approx. 15 amp each) so I'm limiting their use to lower-spec'd semi-auto builds. Here it's just powering stock motors, wheels and cage for family-friendly "Stock+" games. Rayven's mag-alignment and trigger pull sorted, 16AWG rewire and 16 Amp microswitch, volt-meter and kill-switch added plus a XT60 connector for swapping in a different cage - so it can be taken back up to super-stock when needed.


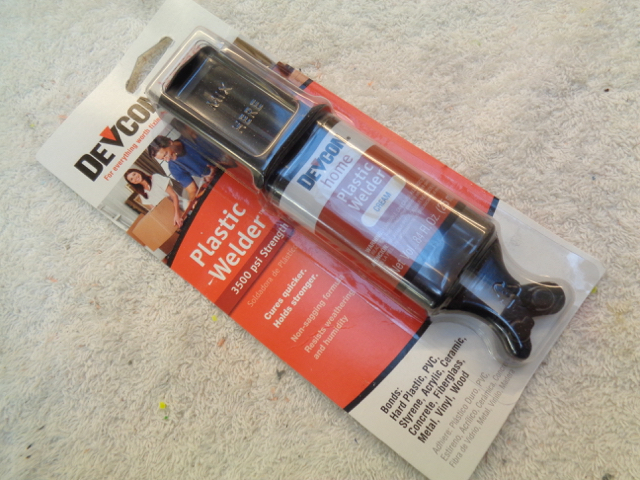
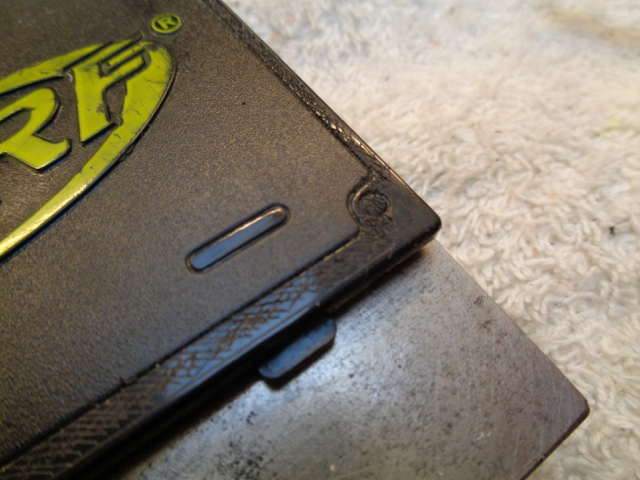
The Devcon ended up not taking onto the original black plastic cover so I resorted to small screws (recovered from the stripped RC chopper). If you look very closely in image #30 you can just see where the screws are finding purchase in the Flip Clip (into the outer trianglular depressions) without having to drill through the plastic entirely.

Note: the same completed extension will also fit exactly onto a Demolisher battery-tray cover (and adhere better because ABS).


1. T-Series T-11 RC Helicopter - Stripped for parts

1. T-Series T-11 RC Helicopter - Parts.jpg


2. T-11's 18500 2S battery pack in Rayven

2. T-11's 18500 2S battery pack in Rayven.jpg


3. Battery tray cleared and wired for XT60

3. Battery tray cleared.jpg


4. Battery tray cover won't close

4. Battery tray cover won't close though....jpg


5. Enter the N-Strike Flip Clip

5. Enter the N-Strike Flip Clip.jpg


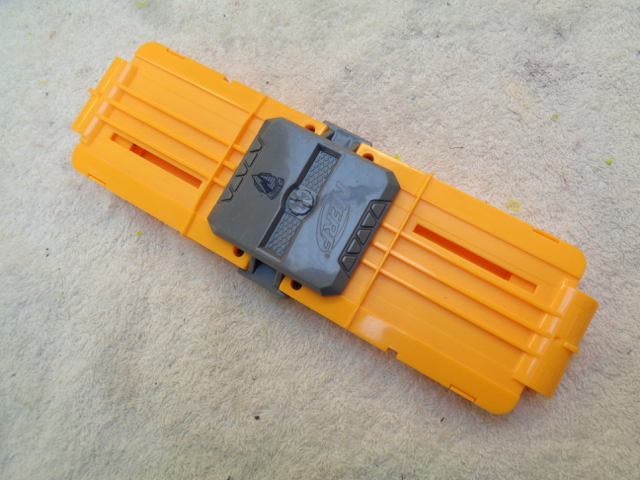
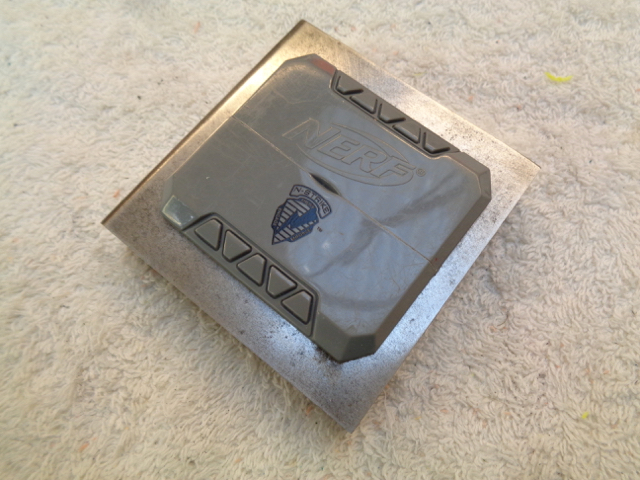
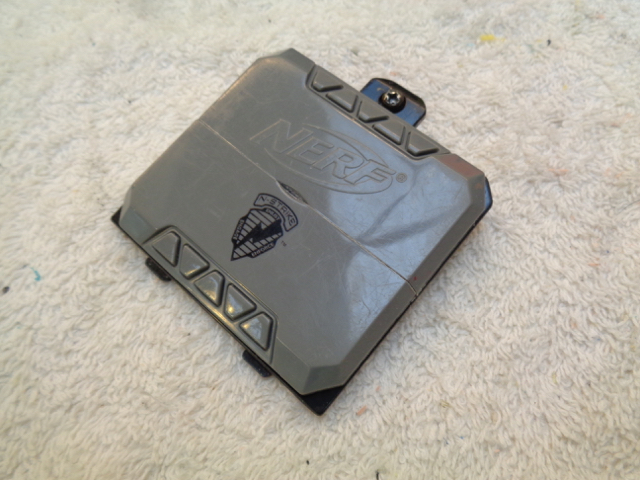
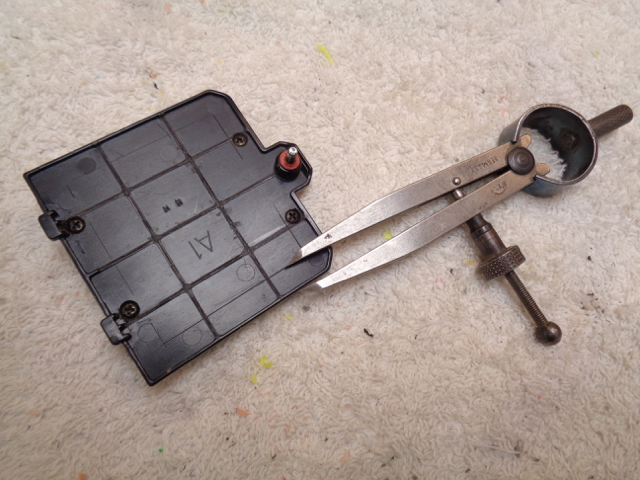
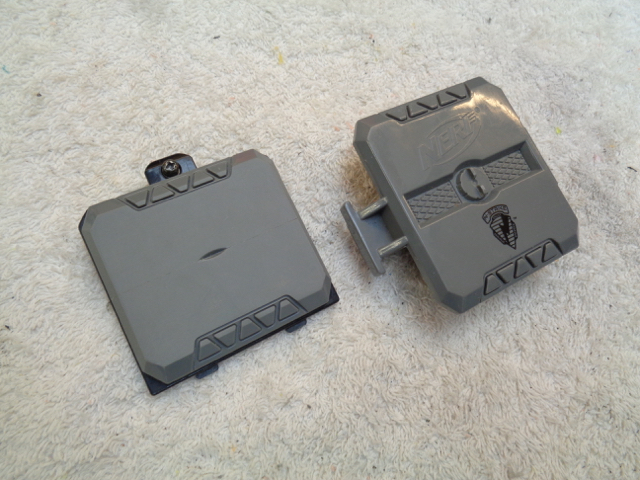
6. N-Strike Flip Clip (rear). There's a screw cover you need to pop off then you can unscrew and separate the halves.

6. N-Strike Flip Clip (rear).jpg


7. Trim flanges to fit into vice

7. Trim flanges to fit into vice.jpg


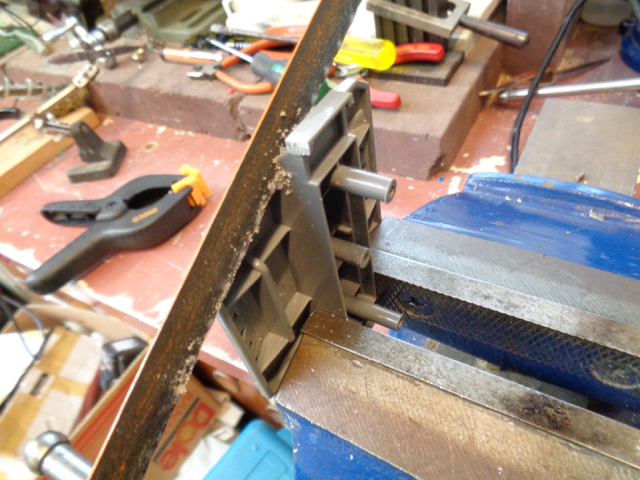
8. Hacksaw while in vice

8. Hacksaw while in vice.jpg


9. Saw off all rear webs and bosses

9. Saw off all rear webs and bosses.jpg


10. Jeweller's Saw to remove middle

10. Jeweller's Saw to remove middle.jpg


11. Sawn

11. Sawn.jpg


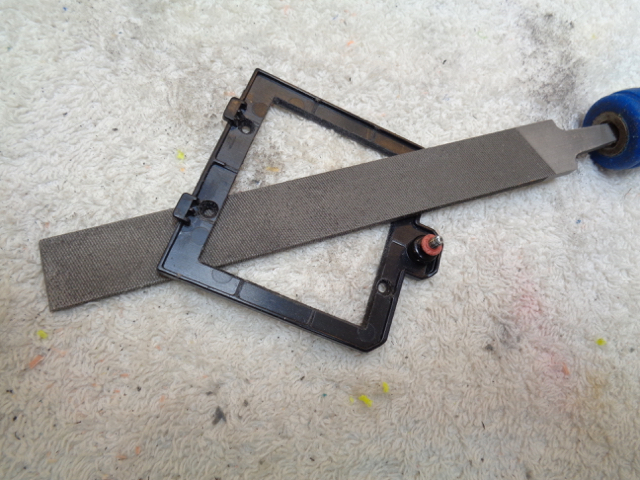
12. File up to these centre webs

12. File up to these centre webs.jpg


13. Using a flat block to square edge

13. Using a flat block to square edge.jpg


14. Join is flush and even on block

14. Join is flush and even on block.jpg


15. Sits nicely on Rayven's battery cover

15. Sits nicely on Rayven's battery cover..jpg


16. Devcon cherry busted...

16. Devcon cherry busted....jpg


17. Mixing up with black concrete-colouring

17. Mixing up with black concrete-colouring.jpg


18. Texturing join for better adhesion

18. Texturing join for better adhesion.jpg


19. Lying flat on table edge

19. Lying flat on table edge.jpg


20. Clamping flat

20. Clamping flat.jpg


21. Peeling off excess glue while tacky

21. Peeling off excess glue while tacky.jpg


22. Devcon didn't bond (D'oh!) so went with small screws also recovered from the RC chopper (see image 30)

22. Devcon didn't bond, so went with screws.jpg


23. Trying on Rayven shell

23. Trying on Rayven.jpg


24. Looking good

24. Looking good.jpg


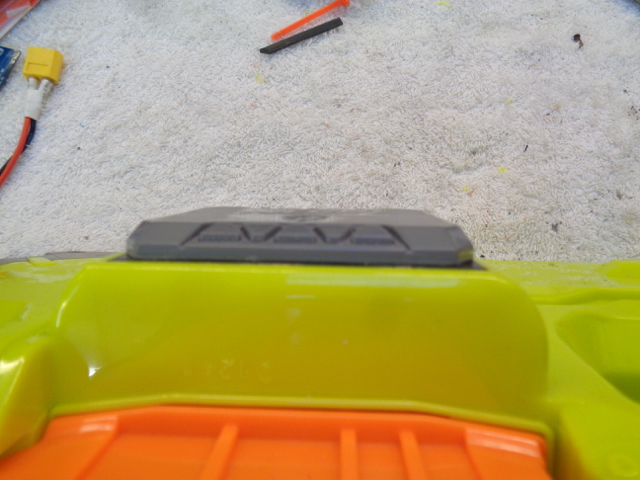
25. Decent height giving good depth extension. Nice bevel detail.

25. Decent height nice bevel.jpg


26. Scribing cutout lines parallel to edge

26. Scribing for cutout lines parallel to edge.jpg


27. Drill corners, then jeweller's saw

27. Drill corners, then jeweller's saw.jpg


28. Checking battery for fit

28. Checking battery for fit.jpg


29. Square and bevel edges

29. Square and bevel edges.jpg


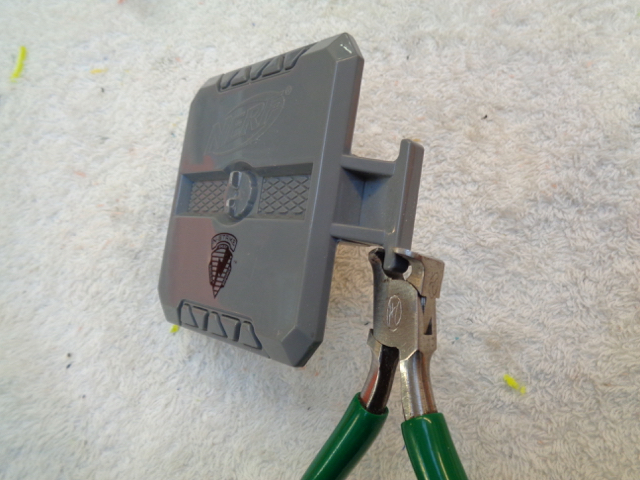
30. Snip off excess web material. If you look very closely here you can just see where the screws are finding purchase in the Flip Clip (into the outer triangular depressions) without having to drill through the plastic entirely.

30. Snip off excess web material.jpg


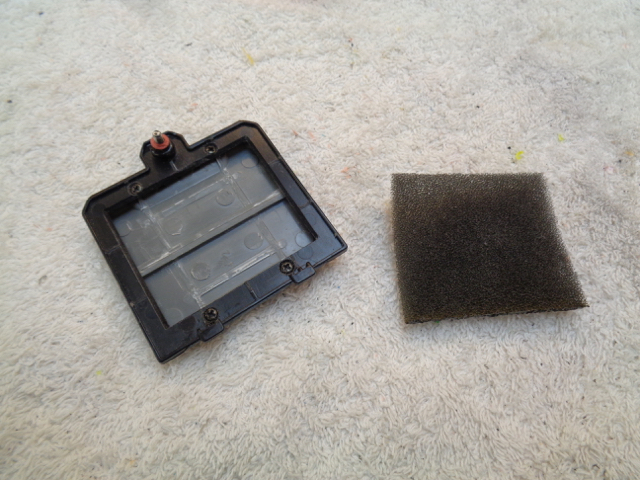
31. Thin foam to stop rattling

31. Thin foam to stop rattling.jpg


32. Tuck under edges

32. Tuck under edges.jpg


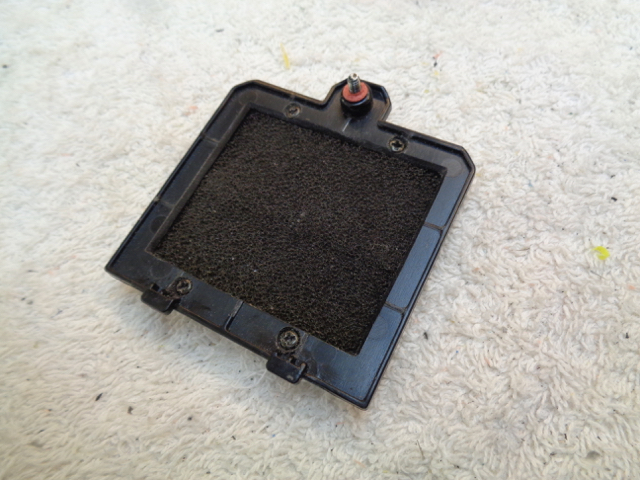
33. Inside done

33. Inside done.jpg


34. Sand off logos with 180-grit. Ideally, to completely flatten large areas like this you'd go face-down onto a full sheet of Wet and Dry on something DEAD flat like a ~10mm thick plate of glass. A nice tightly-wrapped sanding stick does the job fine though.

34. Sand off logos with 180-grit.jpg


35. Finish with 600 grit Wet and Dry

35. Finish with 600 grit Wet and Dry.jpg


36. Finished item fitted to Rayven

36. Finished item fitted to Rayven.jpg


Edited by UnscrupulousModefiler, 24 November 2017 - 02:43 PM.

  • 0

"Greetings Nerflings, we come in peace. Shoot to Thrill!


#2 Meaker VI

Meaker VI

    Member

  • Moderators
  • 1,192 posts

Posted 24 November 2017 - 05:38 PM

Saw this on Reddit, but wanted to say youve got incredible craftsmanship and well-documented methodology. Ill need to try to remember to use a superflat surface next time Im trying to align parts rather than just eyeball it. And maybe pick up a jewelers saw...
  • 0

#3 UnscrupulousModefiler

UnscrupulousModefiler

    Member

  • Members
  • 13 posts

Posted 25 November 2017 - 12:00 AM

...use a superflat surface next time Im trying to align parts rather than just eyeball it. And maybe pick up a jewelers saw...


Hey thanks! This was kinda the one thing I've worked out that was simple enough to finish nicely and document well.


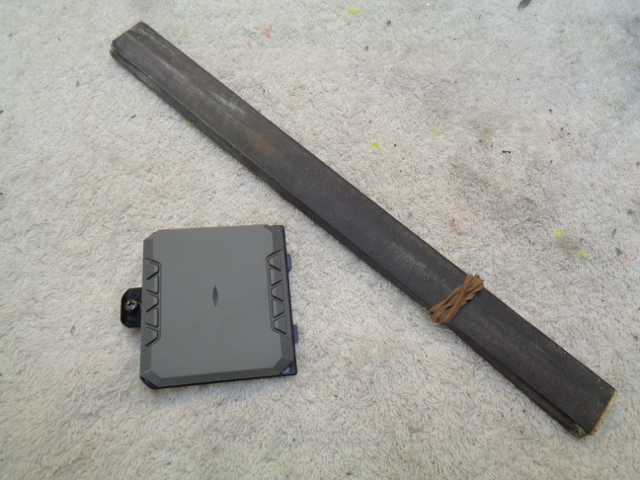
Most of my good Nerfing tools are things you'd find in any decent jeweller's supply (Otto Frei or Rio Grande in the US). If you're looking at a jeweller's saw you probably want Cut #2 blades or thereabouts - finer blades tend to heat up in ABS due to friction and get stuck (the secret is to never stop in the saw-cut, but accept that you'll be breaking heaps til you get the hang of it...) Also check out these spiral sawblades - big teeth so a bit aggressive and trickier to control, but they allow you to cut in ANY direction without turning and won't clog or jam in plastics - very useful for roughing out. That flat file pictured (Cut #00 6" Flat Hand file) is about as precise as they come and has great teeth for ABS. And a W+D-sized sheet of thick glass (8mm+) as a general-purpose dead-flat surface for sanding and calibrating is a very handy thing.


Edited by UnscrupulousModefiler, 25 November 2017 - 12:05 AM.
  • 0

"Greetings Nerflings, we come in peace. Shoot to Thrill!

#4 meow121325

meow121325

    Member

  • Members
  • 125 posts

Posted 29 November 2017 - 03:08 PM

now that is cool


  • 0

#5 Ryderbike1

Ryderbike1

    Member

  • Members
  • 13 posts

Posted 04 January 2018 - 04:55 PM

Thats really well done. My one probablem with extended doors is they dont tend to match without painting. I like the stock look of blasters and I do a lot of sleeper builds. This should help quite a lot.
  • 0


Also tagged with one or more of these keywords: Rayven, Extended Battery Cover, Battery Cover, Battery Tray, Flip Clip

2 user(s) are reading this topic

0 members, 2 guests, 0 anonymous users