The idea of using some type of sear to lock a bolt in place has been used on real-steel firearms since the advent of the machine gun, due to the simplicity and self-locking action of the mechanism. In the homemade Nerf market, this is a relatively new field, first being implemented on the ESLT some years ago. This is my attempt to marry SNAP style redneck engineering with the aforementioned locking mechanism.
RULES:
-No McMaster/Online ordered parts (Barring a [k25] spring, Good luck finding 11" long springs at a hardware store).
-No special tools required (No long-shank countersinks, holesaws, or any of that)
-No 3D printing
-Keep weight as low as possible
TOOLS:
-Rat-tail file
-Pocket knife
-Electric Drill with standard bits (no larger that 1/2")
-Woodsaw
-Hacksaw
-Screwdriver
-Sandpaper
SUPER HELPFUL BUT NOT NECESSARY
-Belt sander
-Drill press
-Table saw
-Vice
For this Writeup, descriptions will be BELOW the photos they reference.
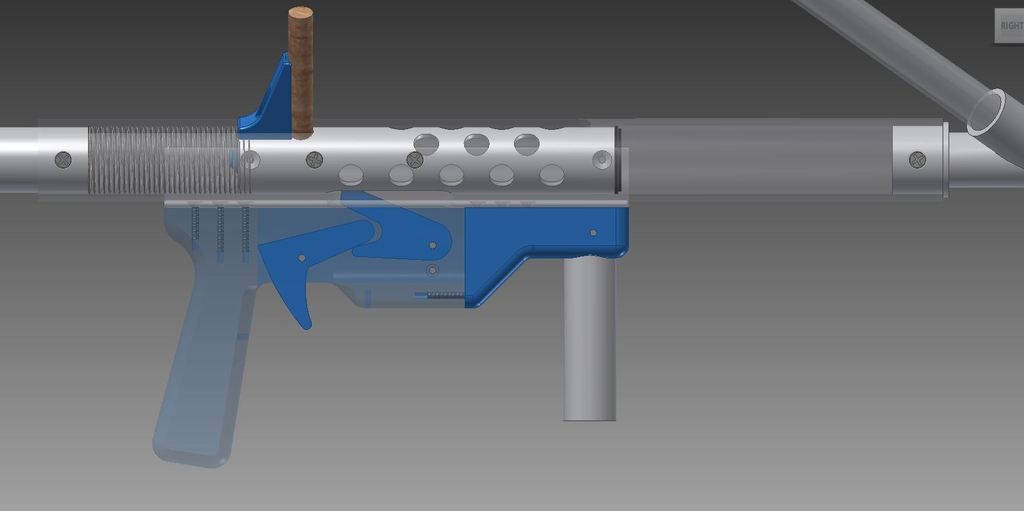
This was the original idea, using 3D printed components. I wanted to do the same thing without limiting myself to 3DP parts. But this is the idea. Borrow an ESLT/submachinegun catch and use it in place of the fickle SNAP nail and clothespin catch. Insert anecdote of "my SNAP shoots like 150 feet and I've never ever lubed it or replaced anything on it ever" but I have built three and they have ALL failed within 100 shots. Stop trying to convince me. Unless there is some kind of drastic improvement in the design I will not endorse SNAPs as being consistently war worthy. Moving on...
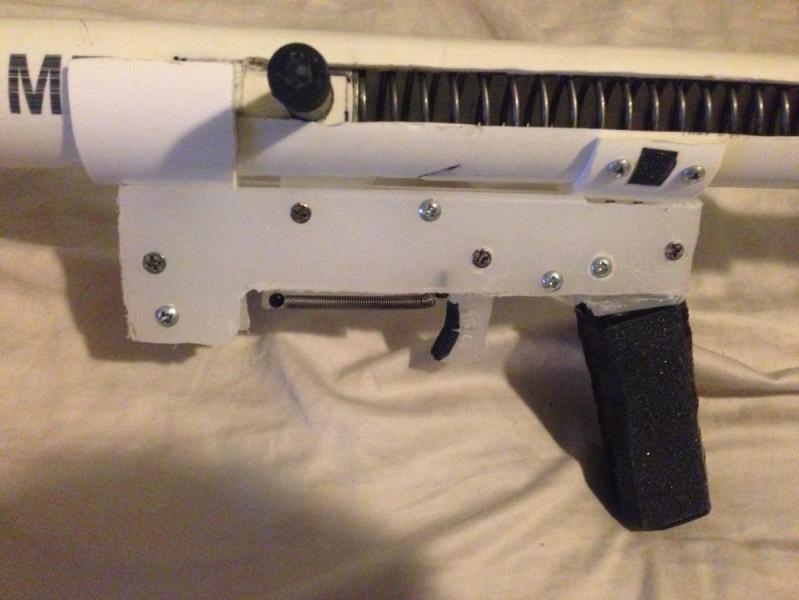
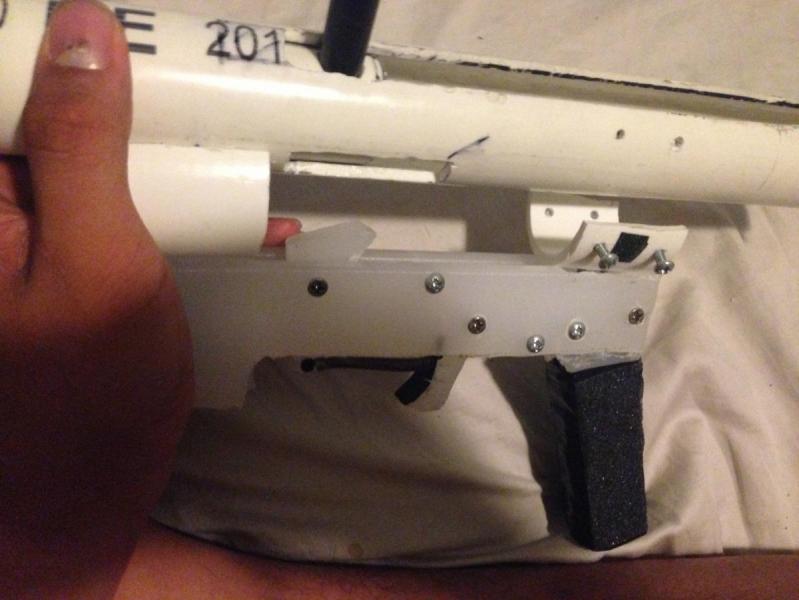
The actual catch mech can be seen here. a slot through the body tube and bolt allows a catch finger from the sear to rotate upward and extend into the bolt slot, blocking the bolt from moving forward, when the trigger is pulled, it pivots the sear downwards and the catch finger moves out of the bolt slot, and the bolt flies forward under spring force.
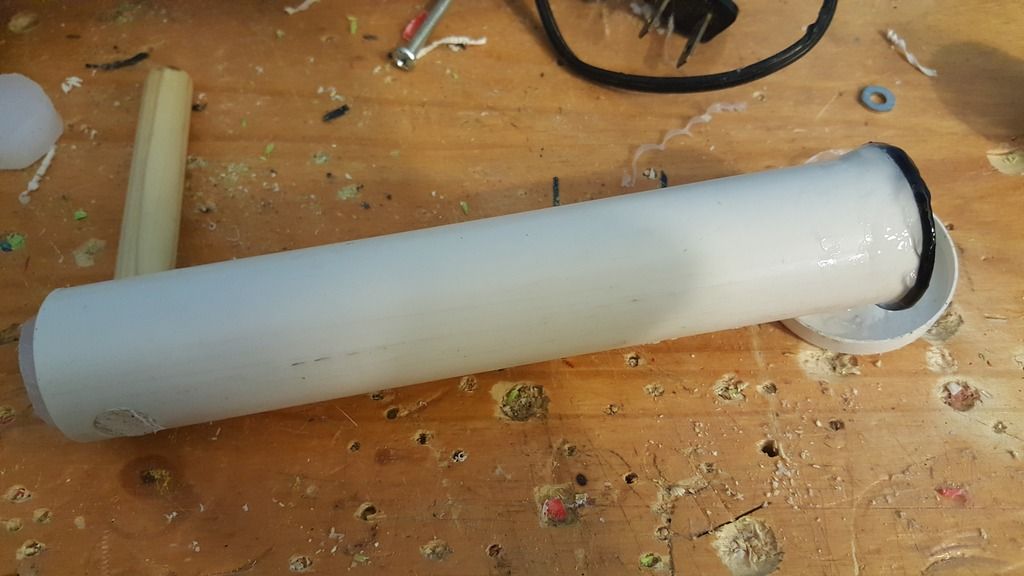
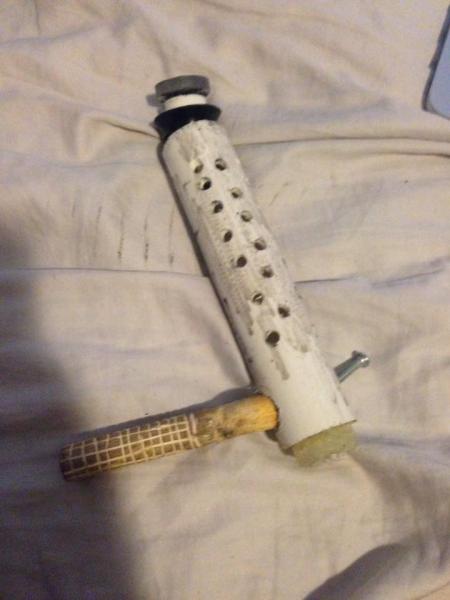
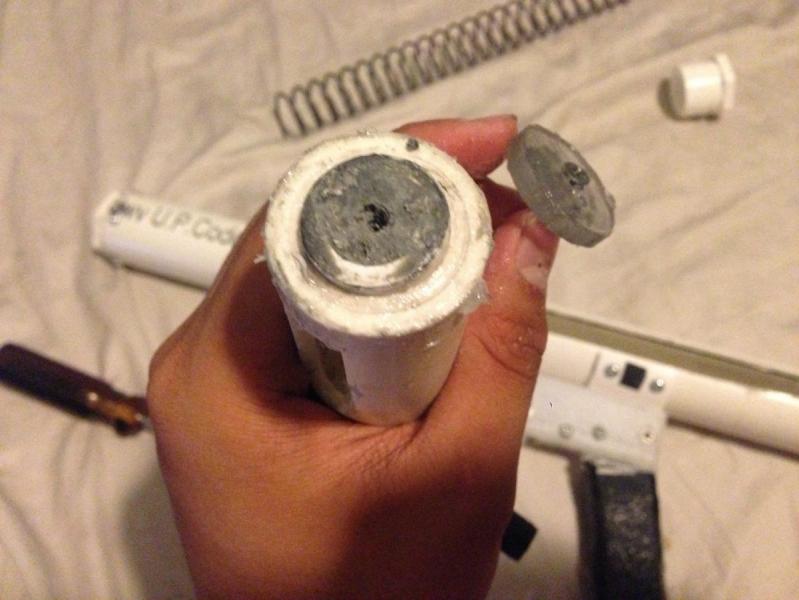
This is the bolt. It is made of 1" PVC, with both ends capped off by cutting board. Get the fat kind, from Walmart, It's $6 and is like 1/2" thick, really great stuff. This bolt is about 7 inches long.
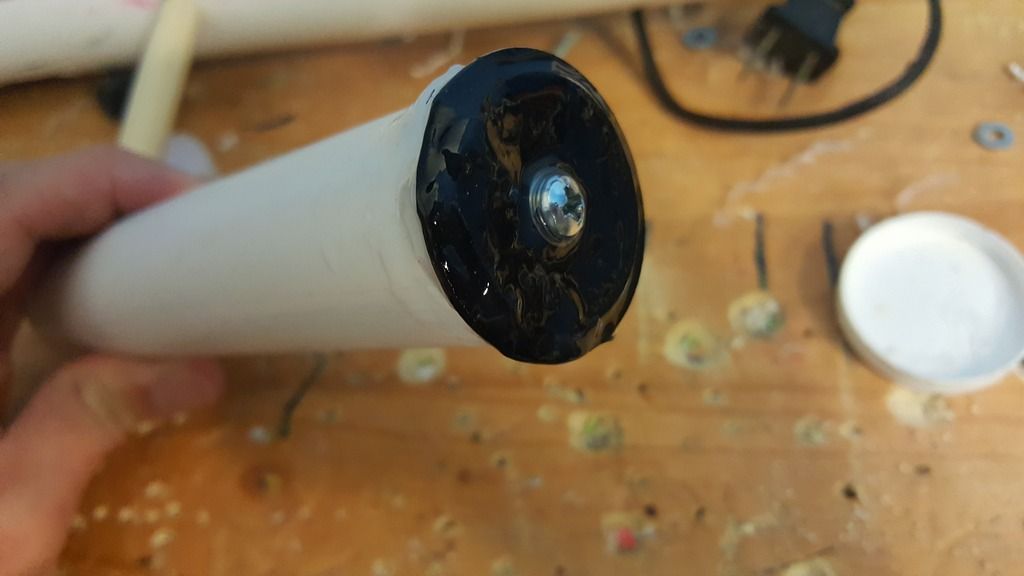
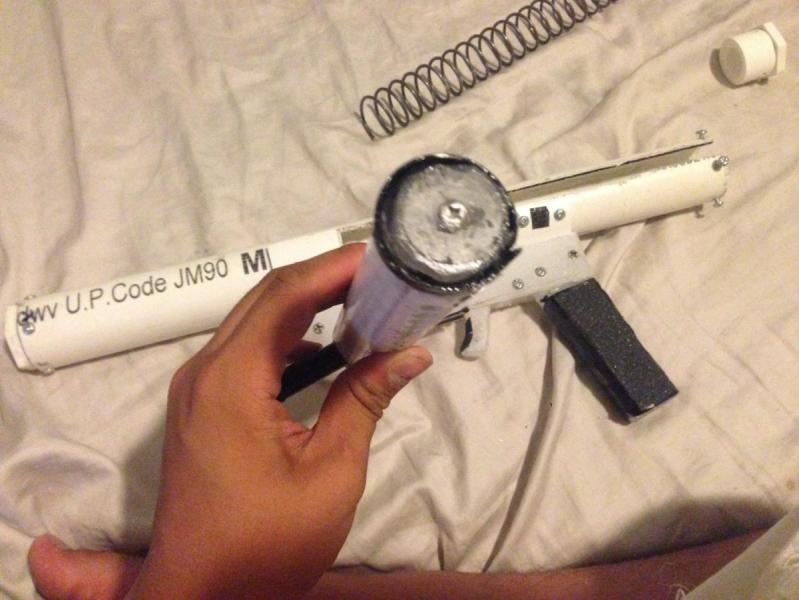
Superlative plunger head screwed into the front. Actually provides a really good seal on this thing.
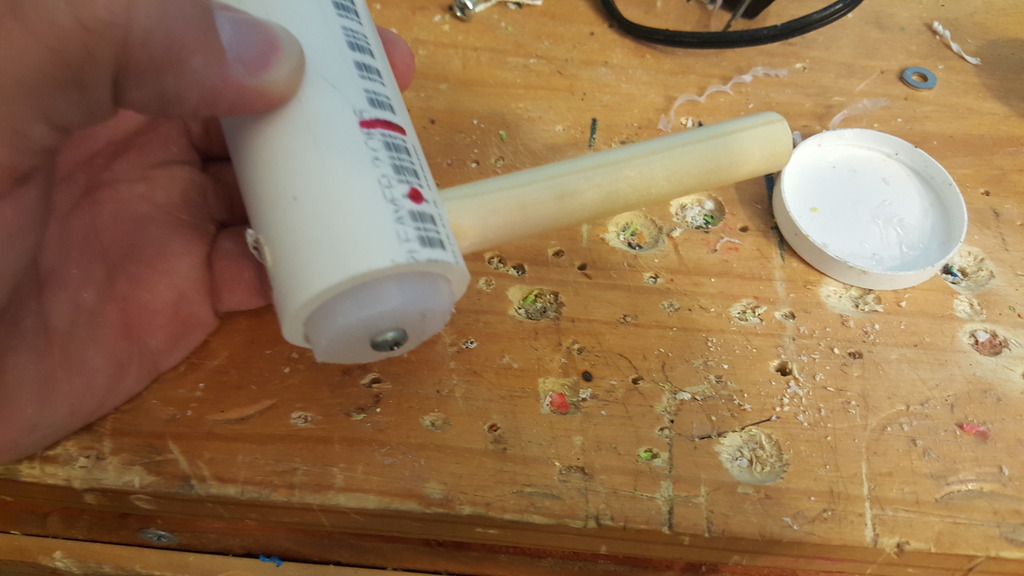
The back shows a 1/2" dowel sunk into the tube, with the rear cap held on by a screw into the dowel itself. I cut the bolt too short so the cutting board is sticking out, but yours shouldn't stick out.
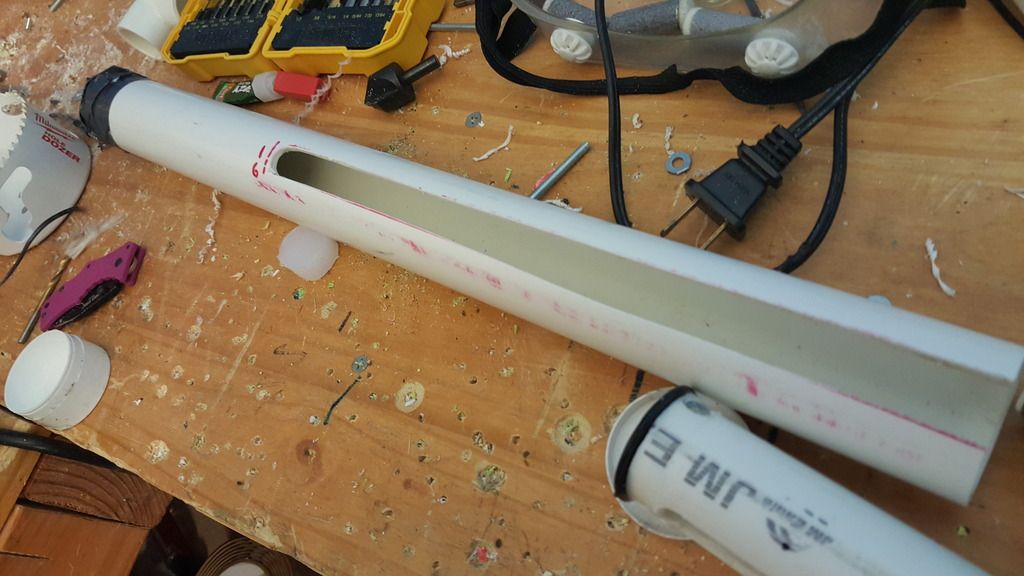
Pretty standard at this point. Gooped in front bushing, with a slot cut 6.5 inches away from the front, running all the way to the back.
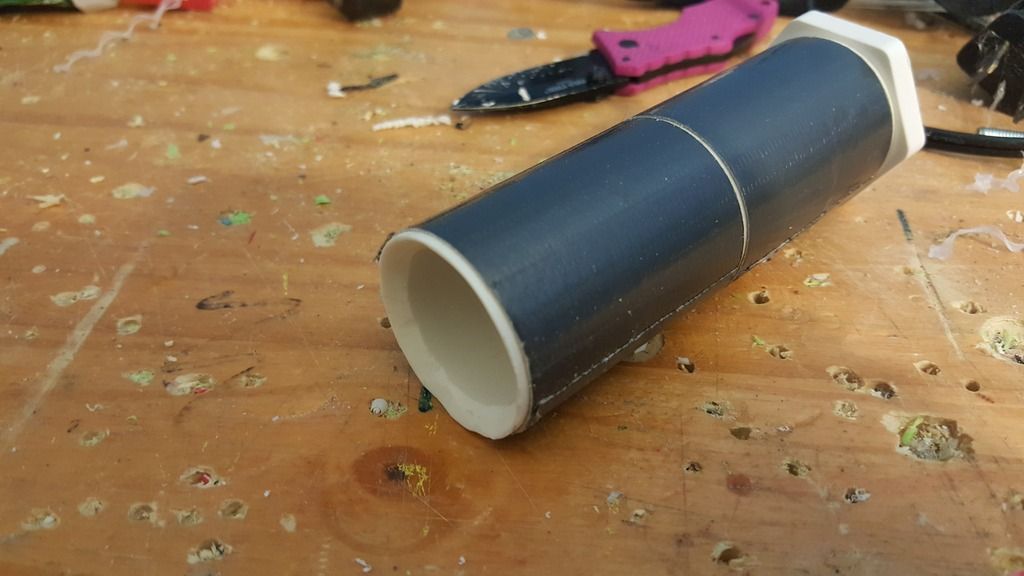
This is an anti-kinking device (1" PVC pipe beveled internally at one end) duct-taped directly to a 1" to 3/4" bushing.
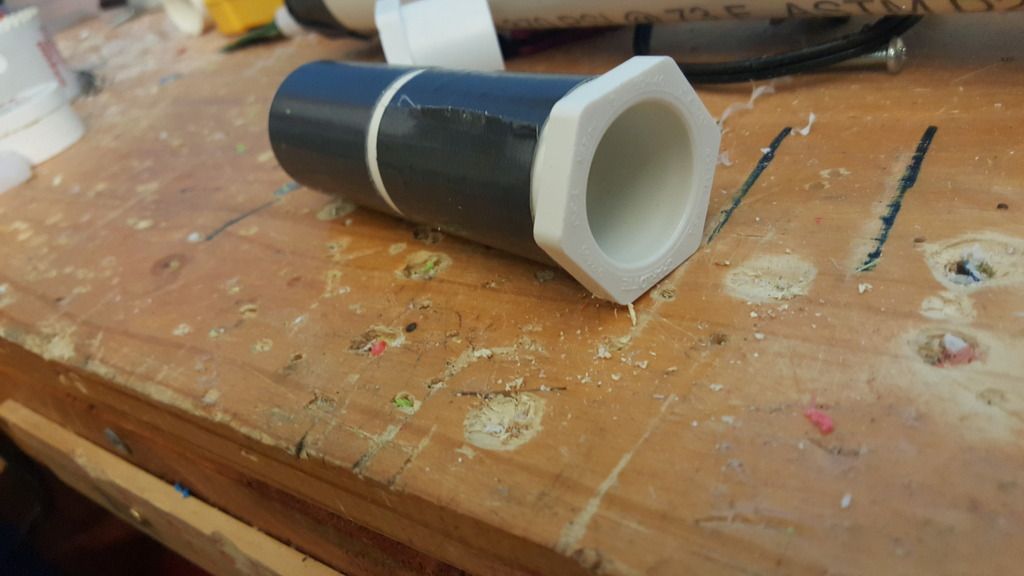
We've all done the thing where we reach into the hardwre store bin without looking and get home with a 3/4" bushing and not a 1/2" bushing. Now is the time to use it.
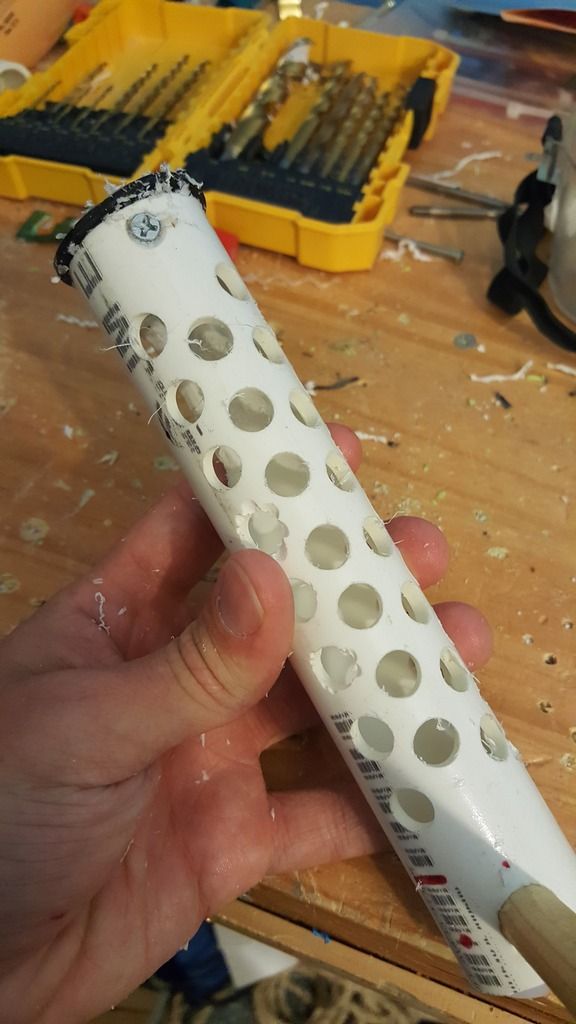
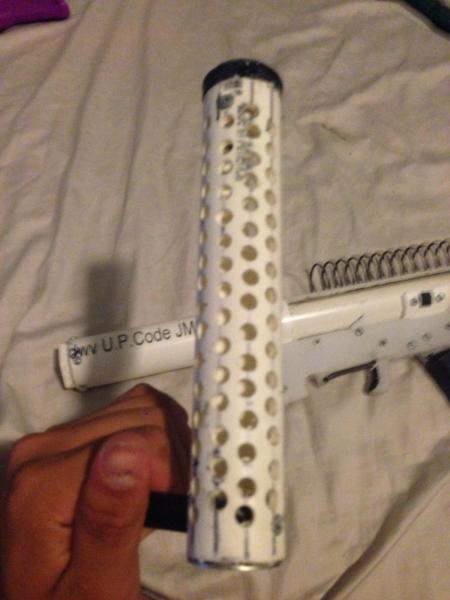
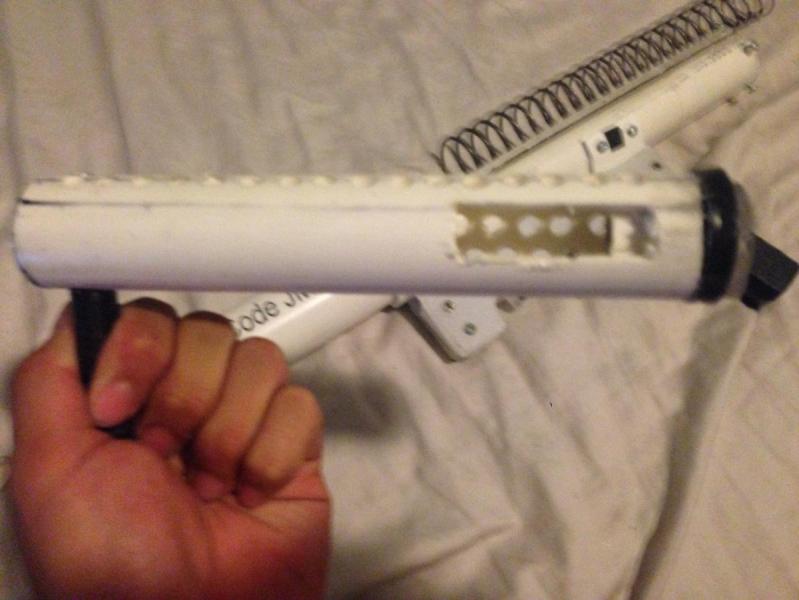
Now we need to make some decisions. Decide the orientation you want your bolt to stick out. It should probably be at least 45 degrees up from the horizontal. Drill holes all around to lighten it up, but do not drill holes on whatever the "bottom" side is. On the bottom, make a slot about 2 inches long right at the front of the bolt. This is where the catch will lock. Make it wider than it needs to be, it will be much less finicky if this hole is oversized.
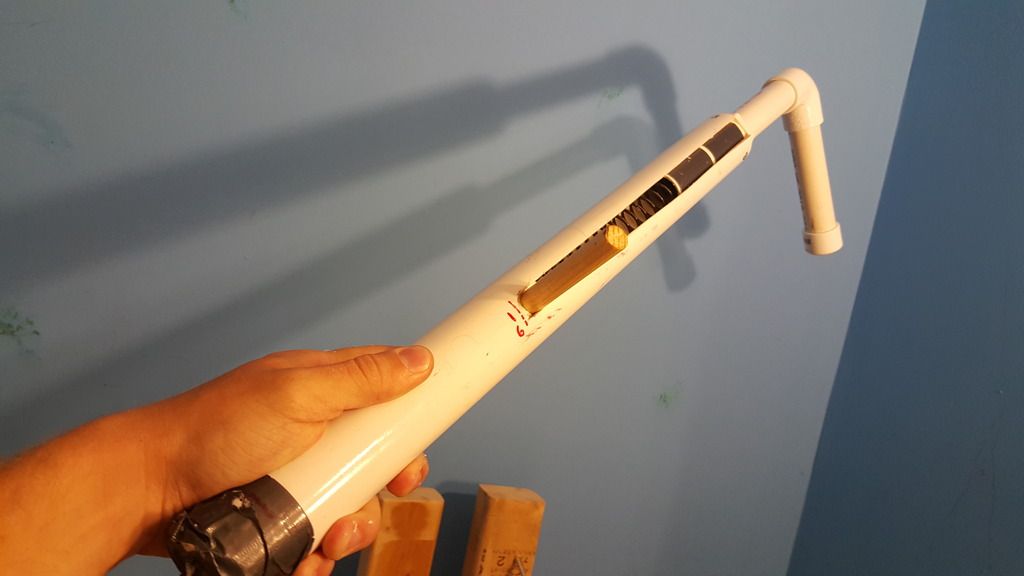
Test fitting with the [k25].
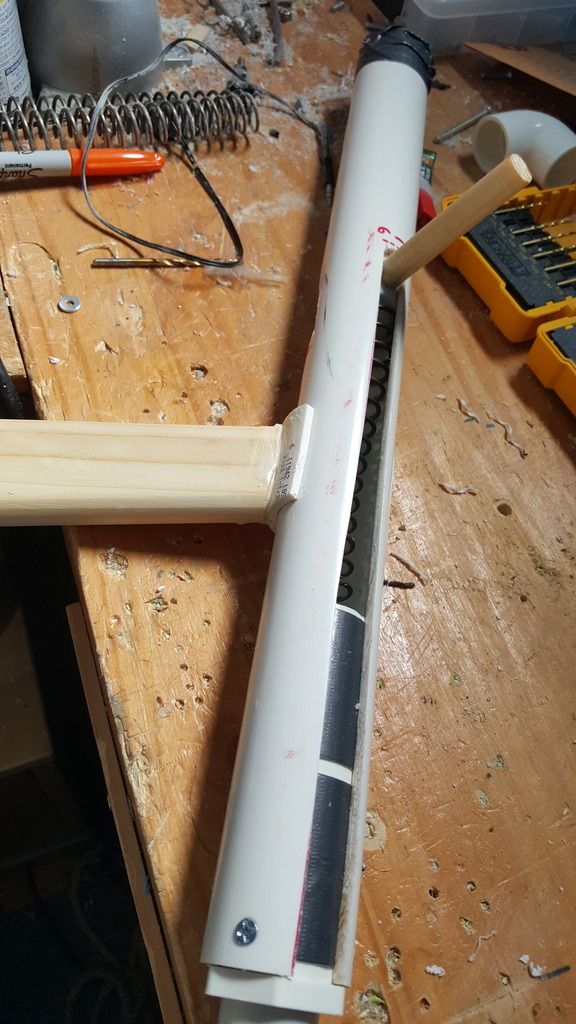
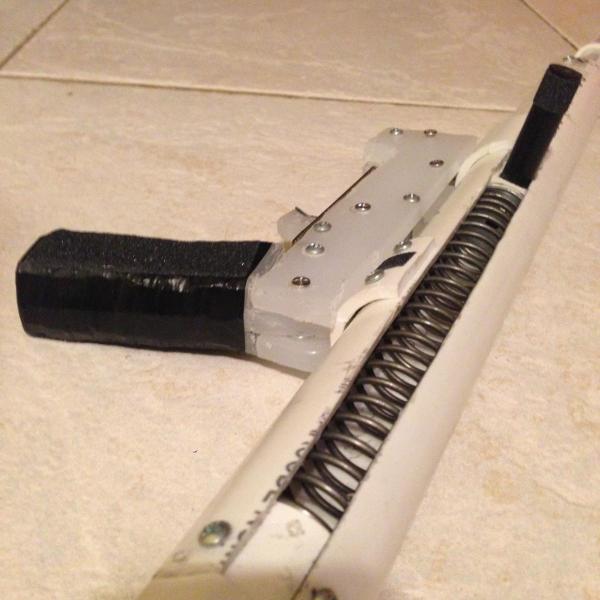
Testing with the new handle. I used a 1-1/2" PVC "half piep" (really more like a 2/3 pipe) to snap directly onto the barrel. Note the stylish wooden handle that SNAP users seem to love. You can also just barely make out the hole in the bottom of the body tube; this should match up with the slot that was cut into the bottom of the bolt, so the catch can have access to the bolt slot and lock in place.
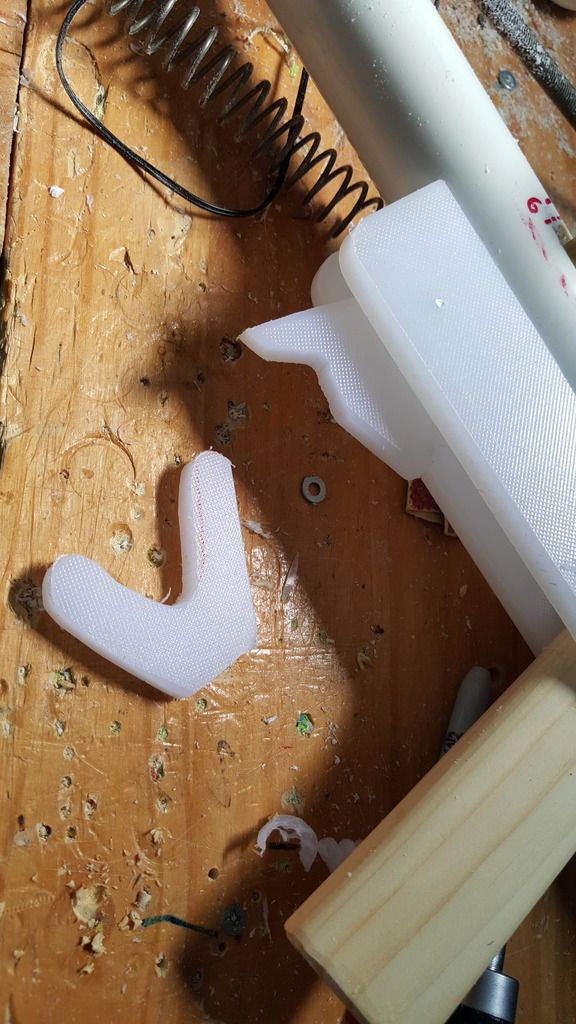
This is the guts of the catch, with cutting board sideplates holding everything in. Basically, the trigger is pulled, which rotates the catch itself downwards and out of the way of the bolt. The catch itself is triangular shaped and really just has a piece which pops up into the body tube and locks into that hole in the bolt. Just like an ESLT, make sure you made a slot in the body tube as well that lines up with the bolt slot.
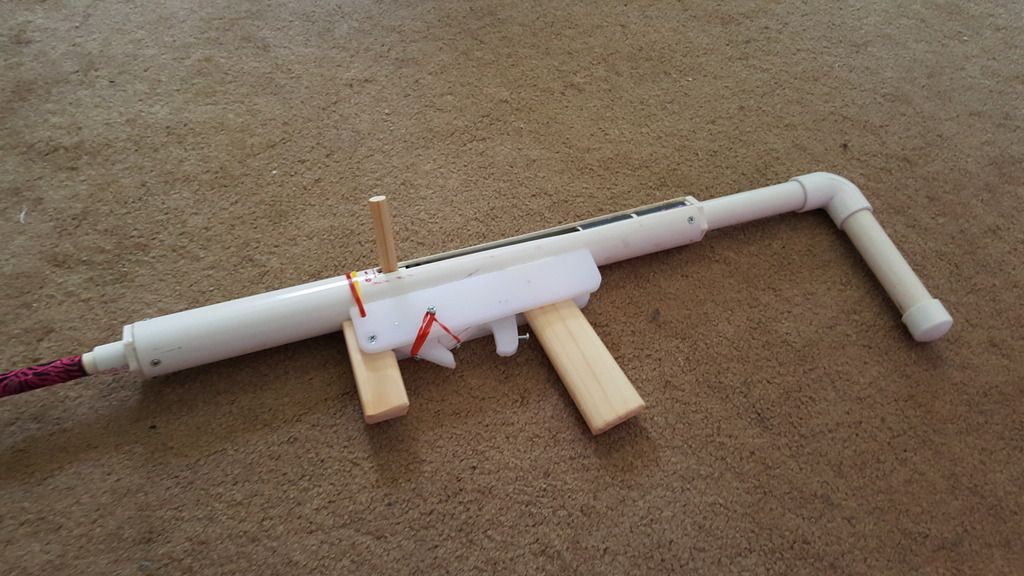
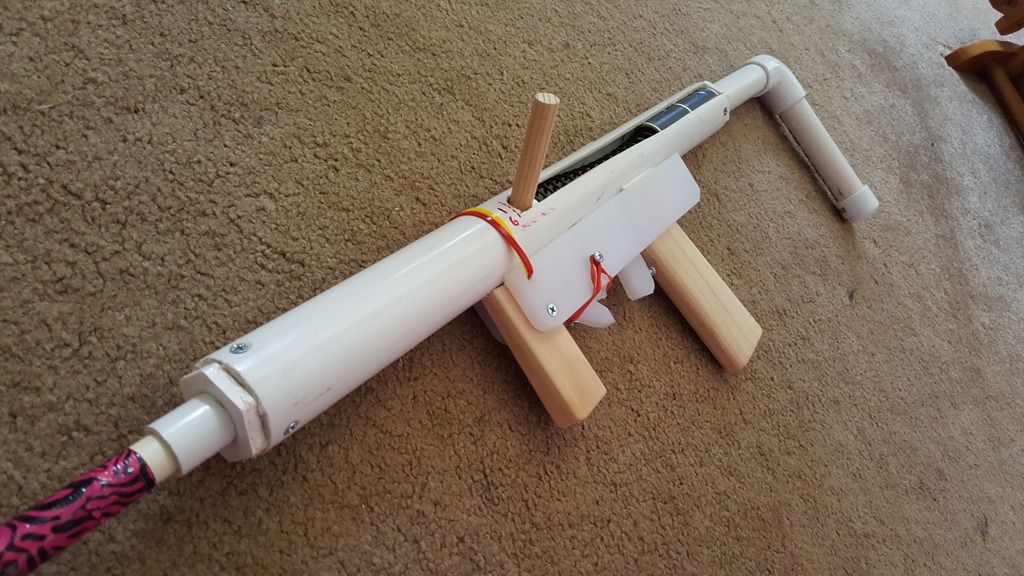
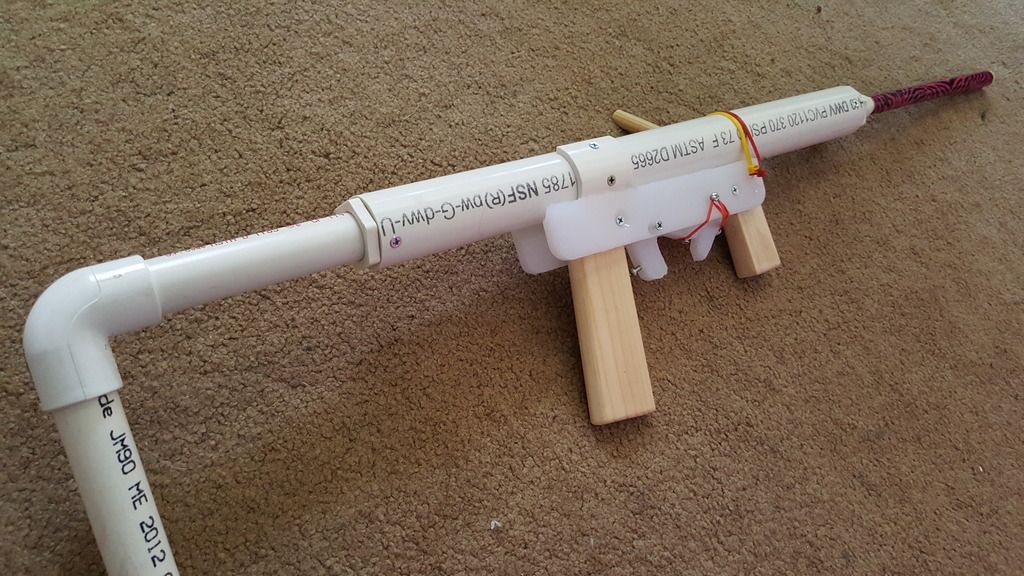
The 3/4" bushing in the rear makes it almost trivially easy to throw on a stock, and the 3/4" pipe is much stronger than the 1/2" pipe. Rubber bands act as the catch restoring mechanism, and create a spring loaded trigger too. The front of the sideplates are held on simply by zip ties.
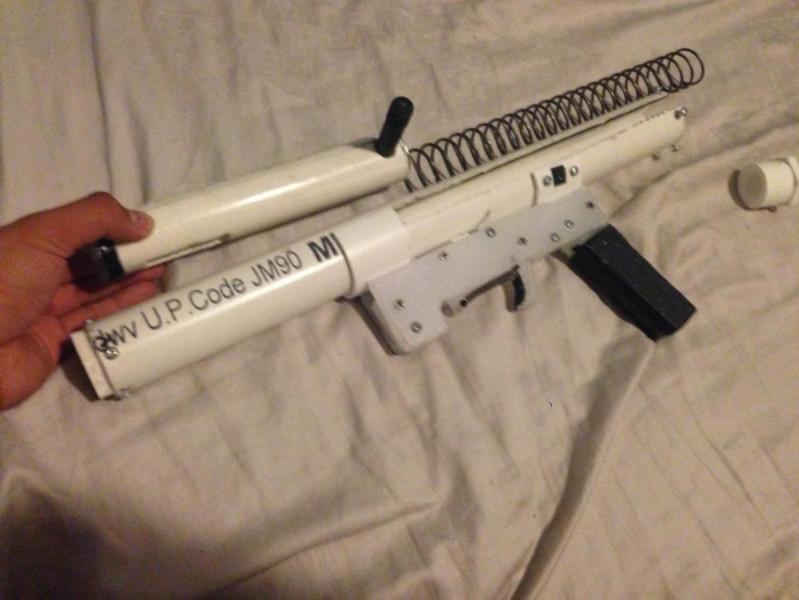
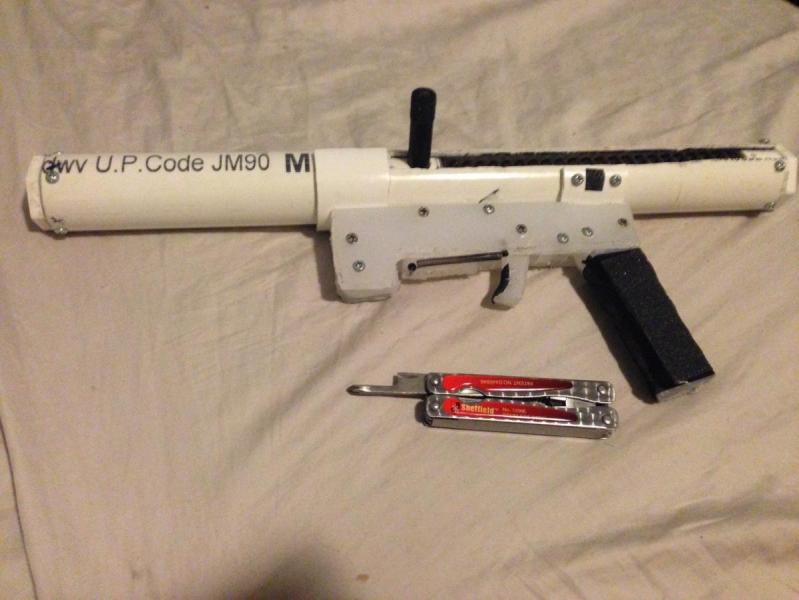
This baby is pretty asymmetrical, but I kind of like it that way. The spring kinks up a little, but the anti kinking mech fixes that without using any guide rods. The spring is not reaching full compression (need to chop another half inch off the back) but has like an inch or so of precompression, gets 5.25 inches of draw with the [k25], and rocks roughly 200 FPS based on just ear-analysis, I want to test it at APOC and get hard numbers.
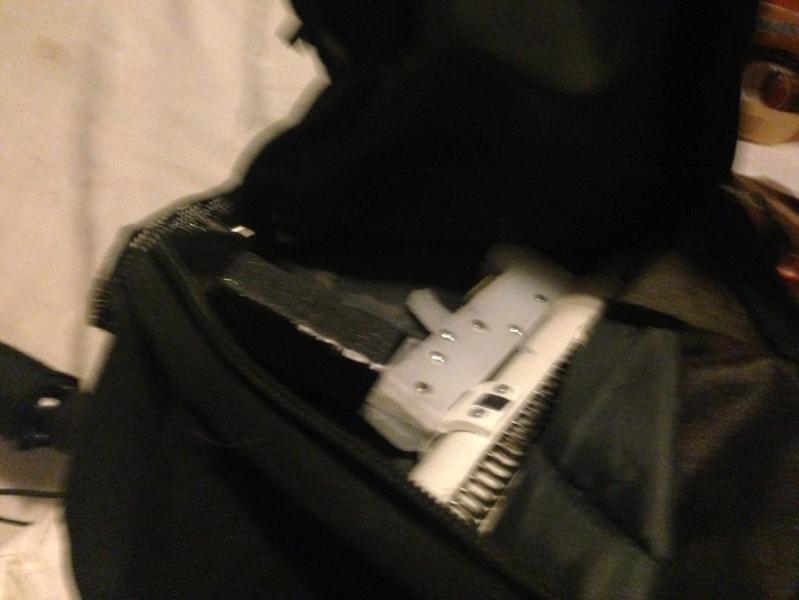
The blaster without a barrel and hopper weighs 1 pound, 15 ounces, so with a barrel and hopper probably around 2.5 pounds, and even that weight can be brought down if you used wooden sideplates or went ham on lightening holes, particularly in the rear where the anti-kinking tube is.
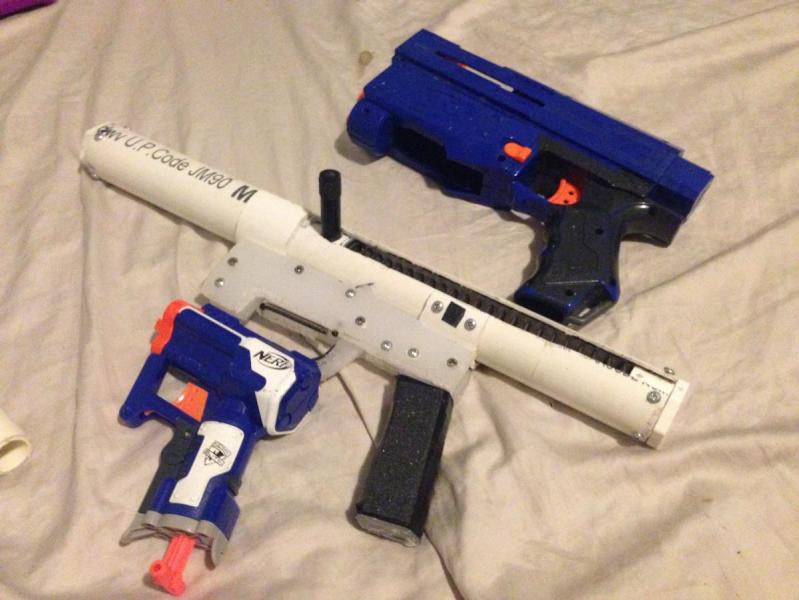
Overall, I am mildly impressed with the blaster. A hardware store hitter that can play with the SNAPs with sear reliability and without the need to order anything. Get a pack of springs from spiderbite and you're set.
Edited by Aeromech, 28 July 2016 - 09:24 PM.


