Preface
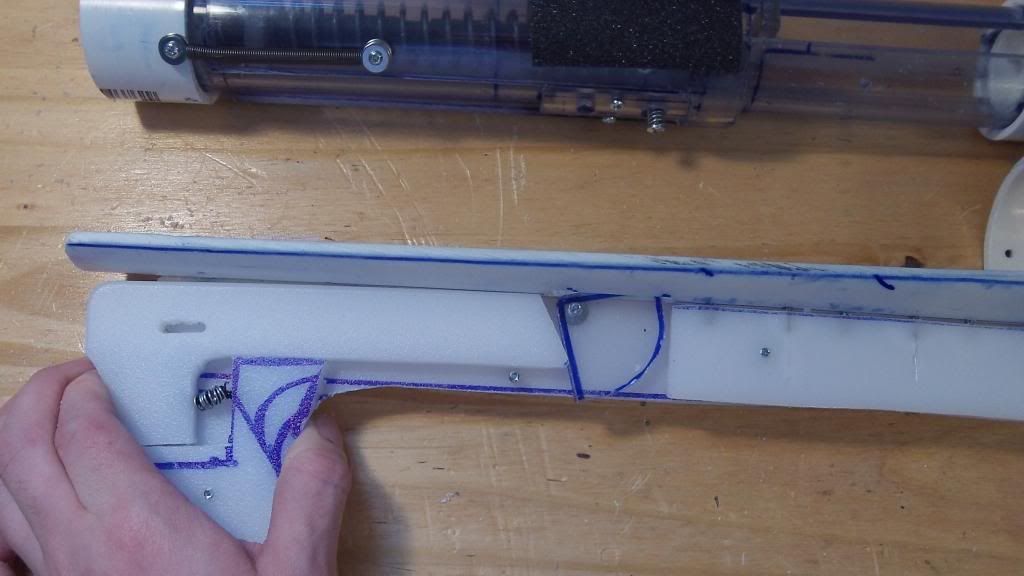
My first telescoping blaster was not a great success; I do not recommend anyone build it, but it was an excellent exercise in the expansion of the homemade realm. I recieved a lot of great feedback from the community and decided to revisit the design. A careful study of the telescoping type blaster yielded the potential to produce a blaster with identical performance to a traditional rainbow pump, while using fewer materials, thereby reducing both weight, cost, and (surprisingly) complexity. This would actually be a great "noob's first" blaster, or weekend build; it can be assembled in an evening (sans handle, of course,) and is still pump action, making it competitive with basically any other high ROF homemade. This design uses a standard diameter plungertube to achieve these results.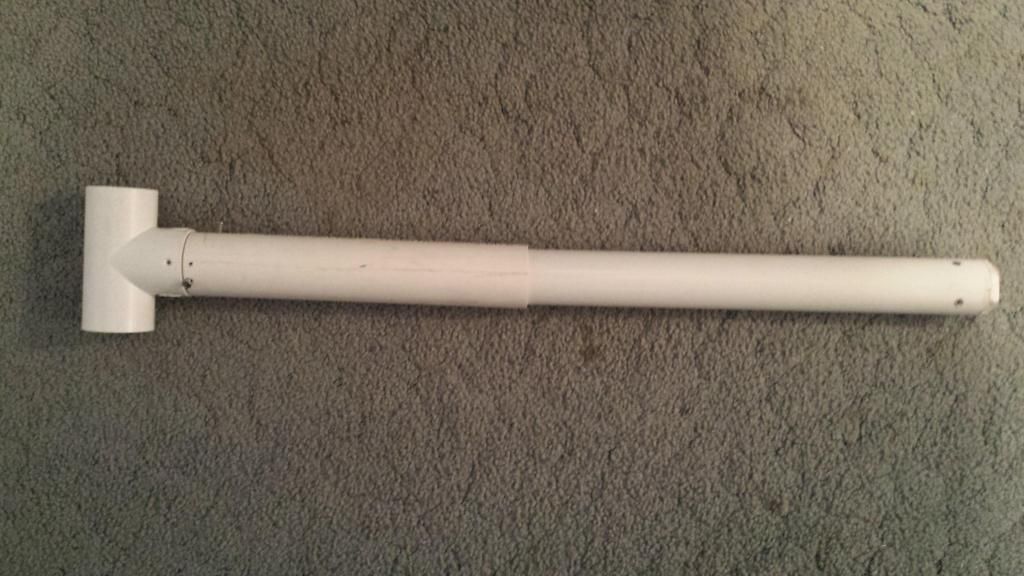
Foundational Concepts
Nine (sadly retired) made his ART telescoping blaster; construction was unspecified, but proved that the concept was viable.
I failed miserably at making an expanded diameter plungertube telescoping blaster.
In this writeup, photos are above the reference text. I am going to call this a "condensed" writeup because it has been produced after the assembly of the system, and assumes the reader is familiar with making a rainbow catch, gooping a bushing, etc.
Consumables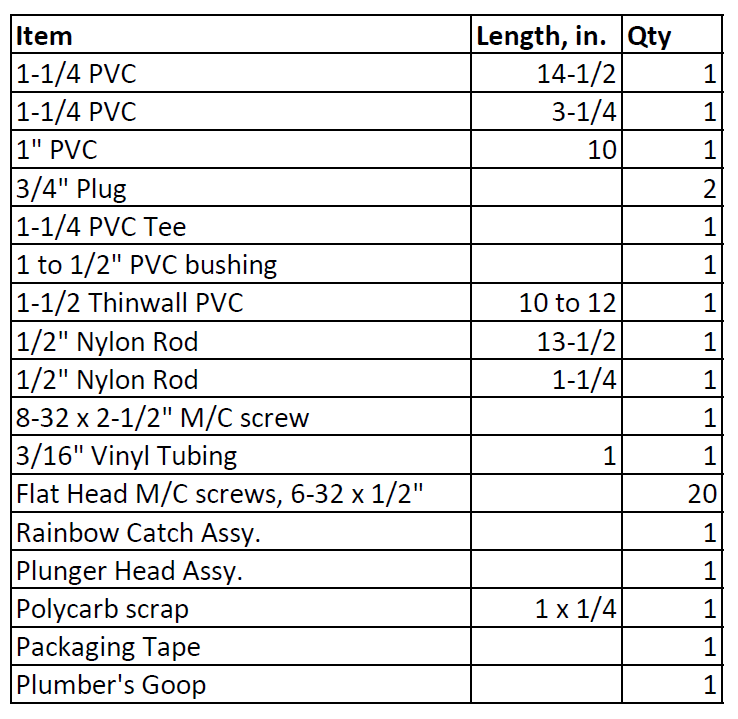
Tools
Wood Saw or Hack Saw
Rat Tail File
Hand Drill
Drill Bits set
Philips Screwdriver
8-32 tap
6-32 tap
Tap Wrench
Countersink
Rubber Mallet
Pliers
Pre-Assembly
Cut all material to length as stated in the consumables chart.
Plunger Tube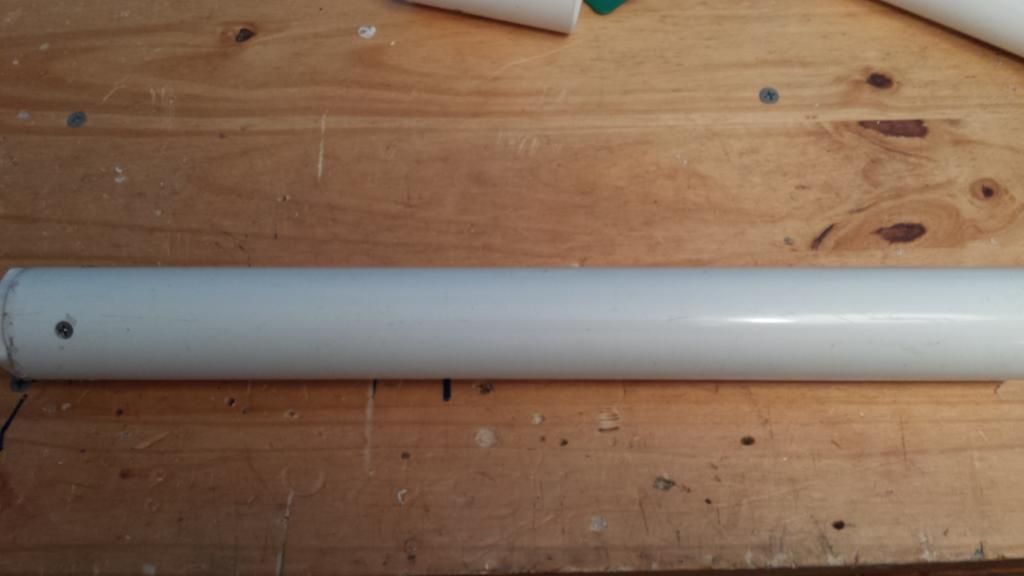
Tape-wrap your bushing, and goop it in place in the front of the long piece of 1-1/4 PVC.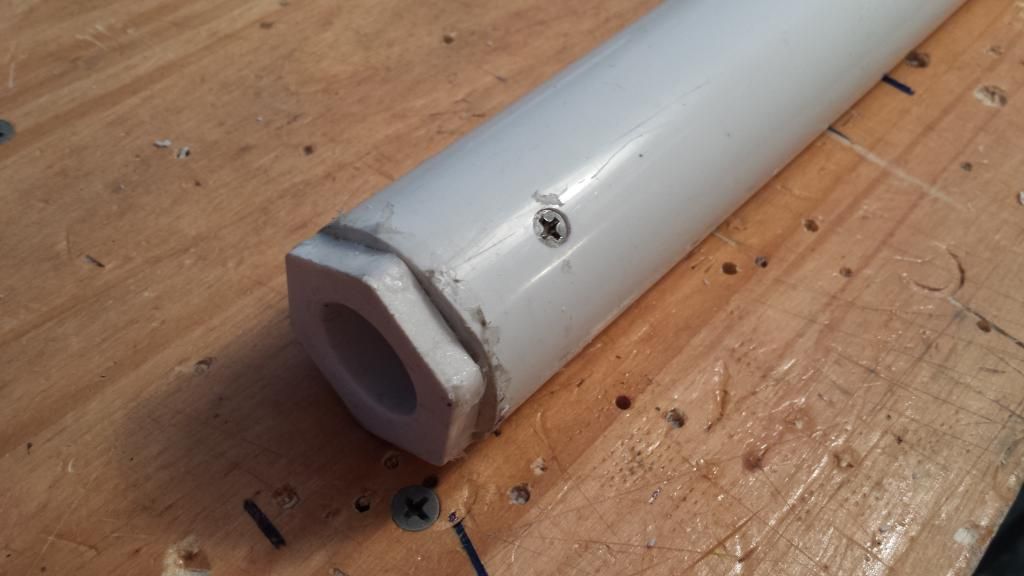
Drill and countersink 4 screws 15/16" from the front of the PVC tube to mechanically lock it in place.
Slide Guide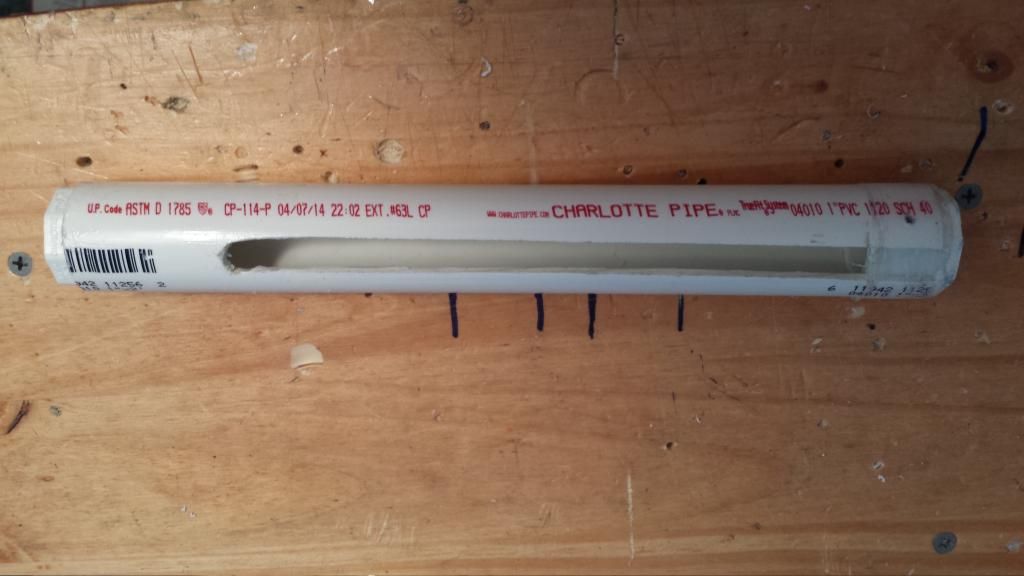
A lot going on here, so bear with me, one step at a time. Create a slot at least 8-1/2" long from one end of the 1" PVC. I use my drill and hacksaw method to make slots, so you don't have to use a dremel. Make sure the slot is slightly wider than 1/4".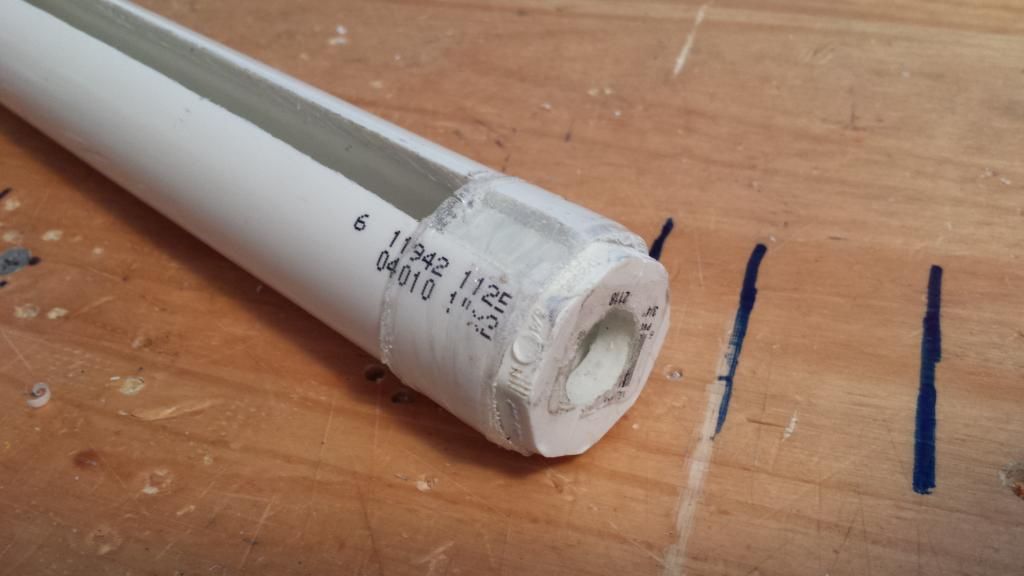
On both ends of the tube, use a rubber mallet to hammer the 3/4" plugs into place. They will fit very snugly. Tape about 1" up from the open end of the tube, as shown above, so that the end of the tube fits snug into a piece of 1-1/4" PVC.
Additionally, Drill a 1/2" hole through the center of each Plug, and ream it out with a Rat tail file to about 5/8 inches.
Reciever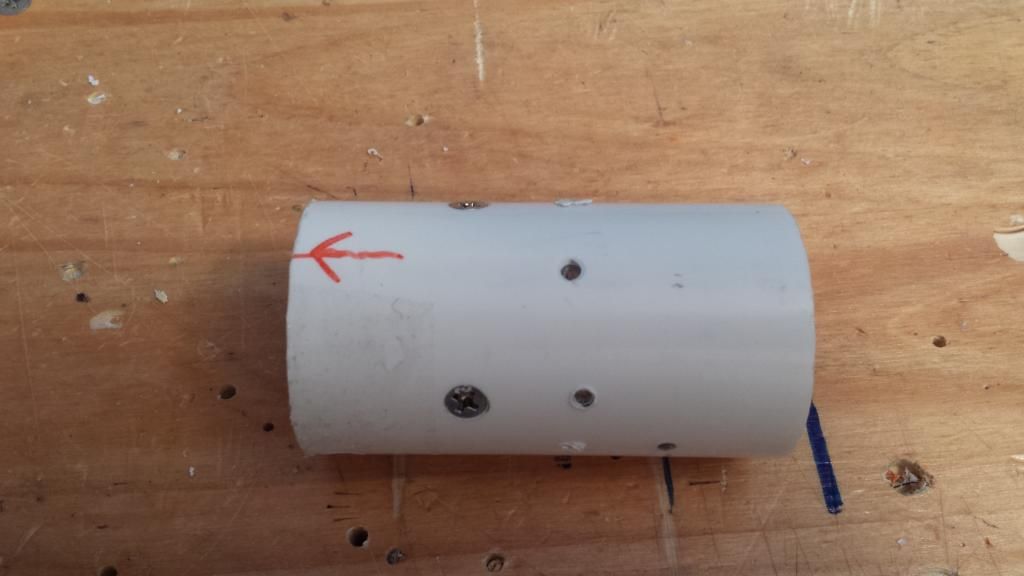
Here is the reciever. Please ignore all those little holes for now. The arrow points to the front of the receiver, and it situated on the top. Just my way to denote orientation.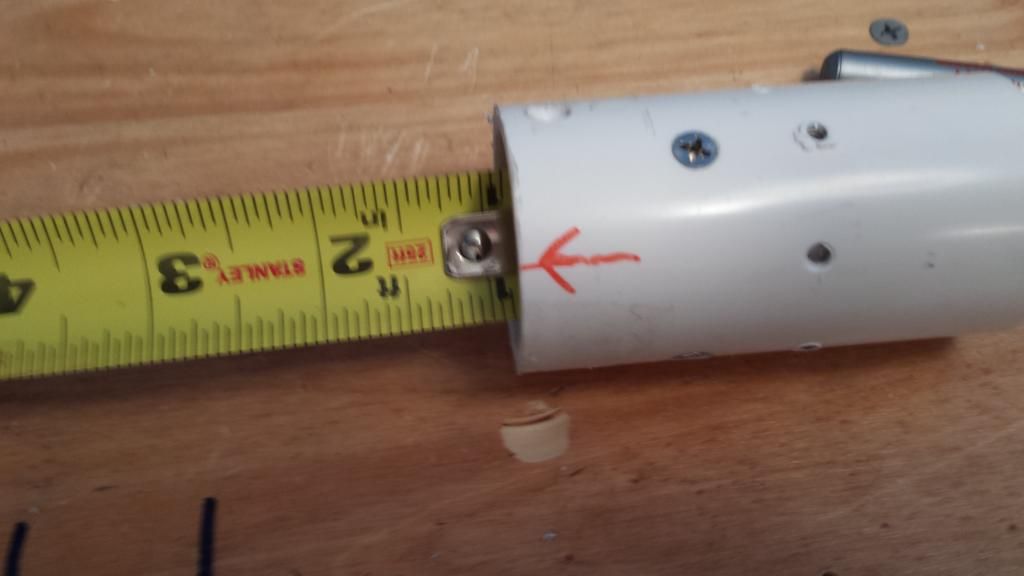
Secure in your rainbow catch so the front plate face is 7/8" from the front face of the 1-1/4" PVC
Plunger Assembly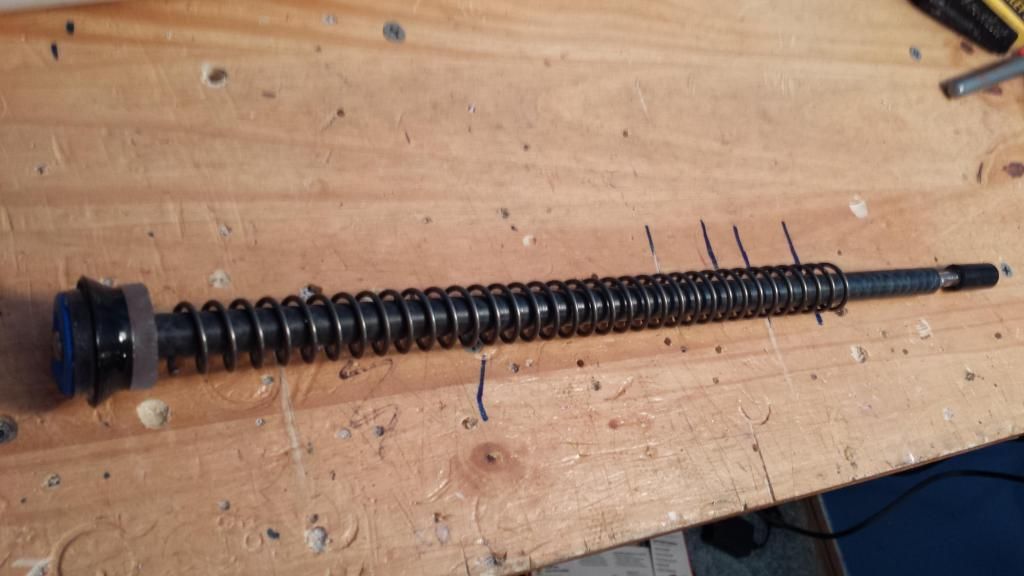
Completed plunger assembly. Uses standard skirt seal and an omnidirectional catch notch.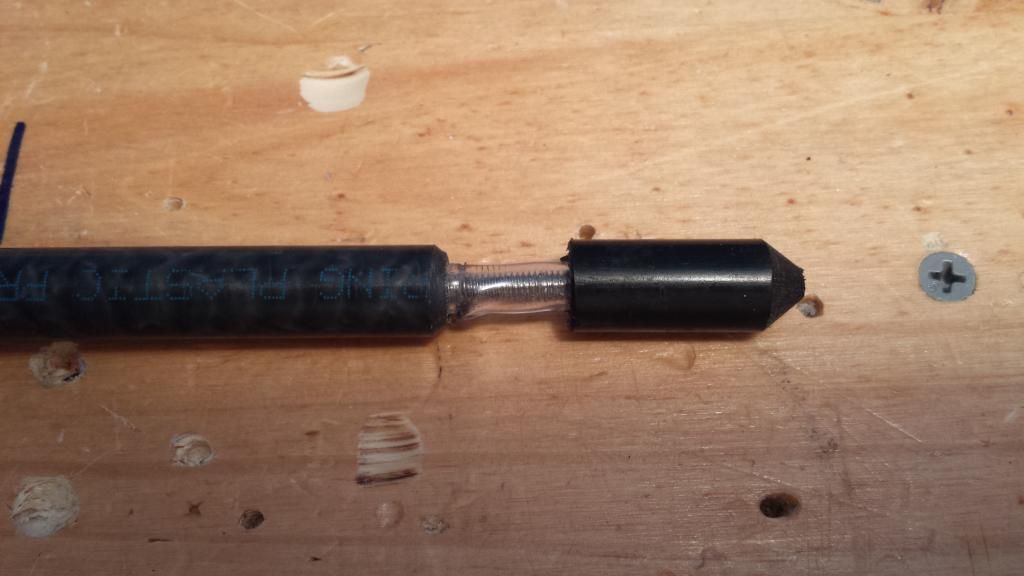
I used a belt sander to achieve these chamfers, but a file would work just as well. The sharp chamfer on the rear is critical. Note the vinyl tubing on the 8-32 screw to prevent to polycarbonate from rubbing on steel. To assemble, I usually sink the screw into one end of the nylon, tapping beforehand, of course, and cutting the head off with a hacksaw. Then the rear end may be screwed on.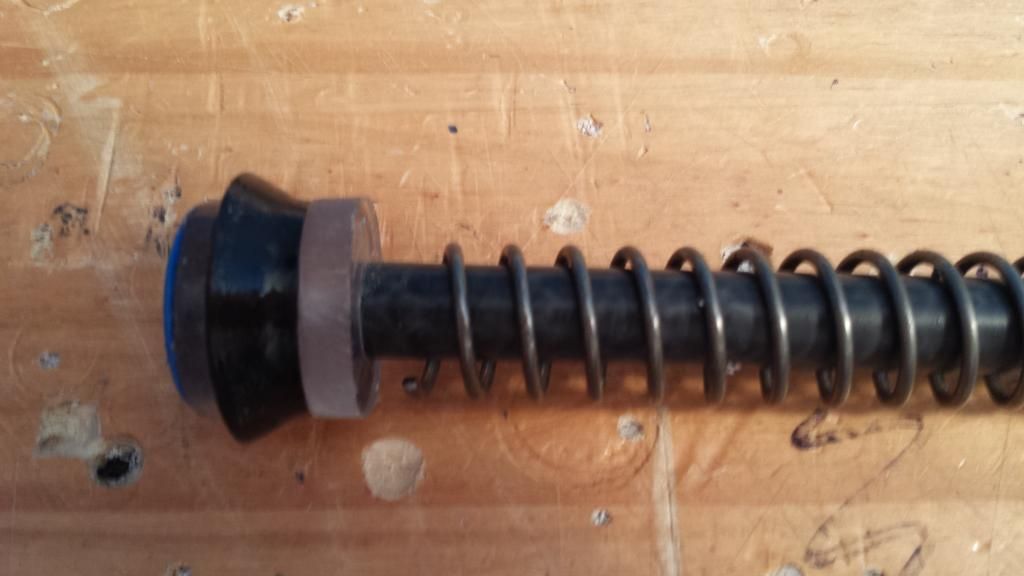
Standard skirt seal, held in place with an 8-32 x 2"screw.
Putting it Together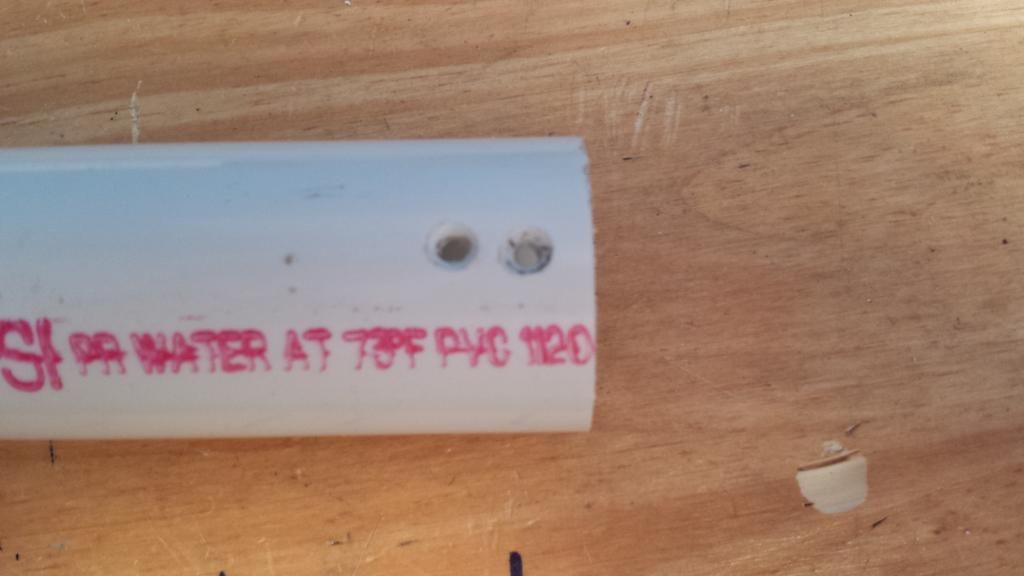
Drill and countersink two or three holes in the rear of the Plunger Tube assembly.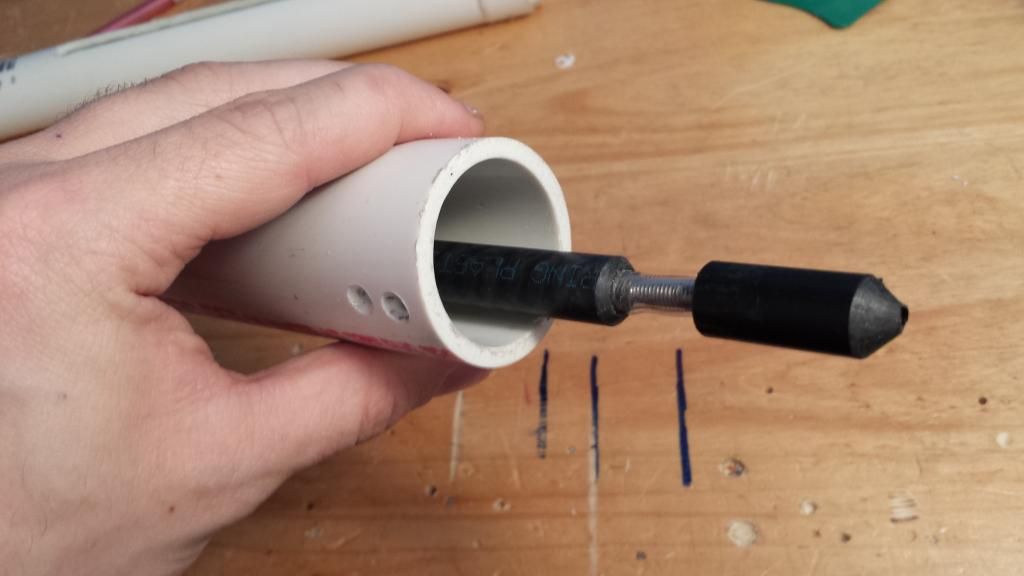
Drop in your plunger assembly with plenty of silicone grease.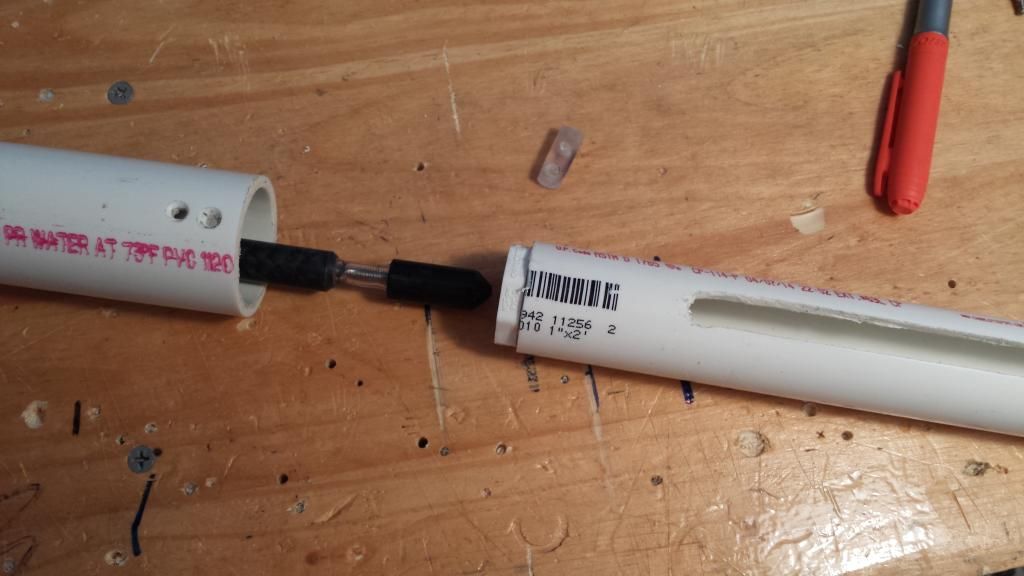
Throw on the Slide guide over the Plunger Rod, with the uncut side of the slide on the forward side.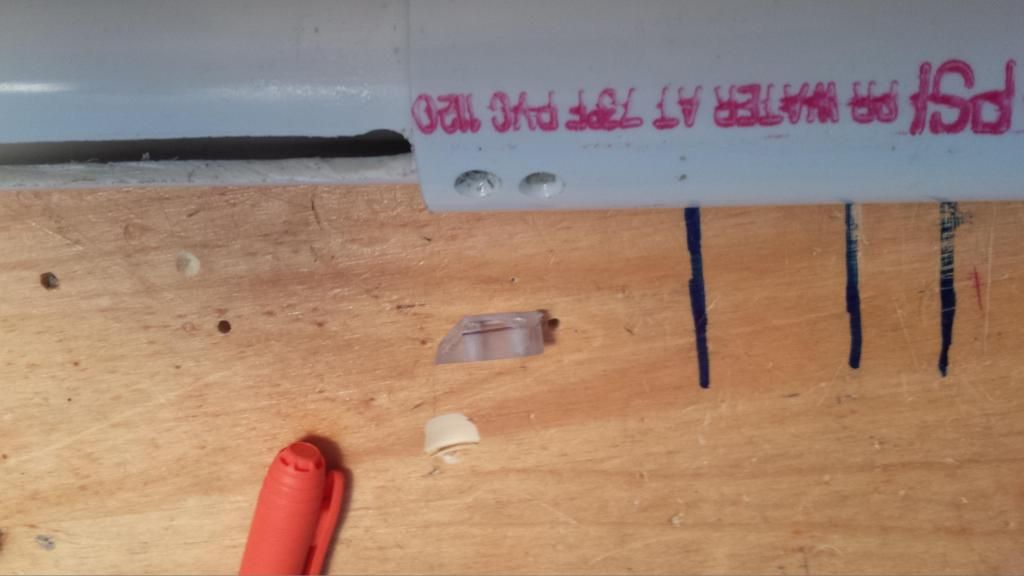
Cut out a little piece of polycarbonate, about 1" long, and about 1/4" tall and wide. Drill two holes to match the holes previously drilled in the plunger tube. Tap 'em too with the 6-32 tap. Then chamfer the rear end of the part. This is the slide stop.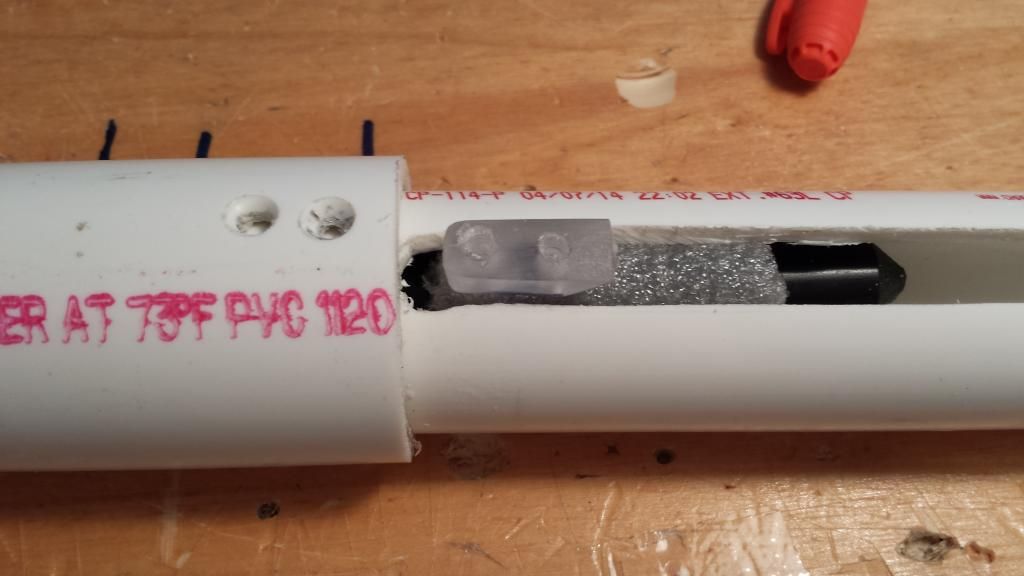
To attach this internal slide stop, put a piece of foam backer rod, or duct tape (the latter works better) and rest it on the plunger rod. Push the Slide stop onto this tape or foam, so it sinks below the Plunger rod, then compress the plunger tube so the slide stop slides into the plunger tube. When the holes line up, screw it into place with shortened 6-32 x 1/2" screws. You will need to cut two screws down to about 3/8" for this purpose, otherwise they will rub against the plunger rod.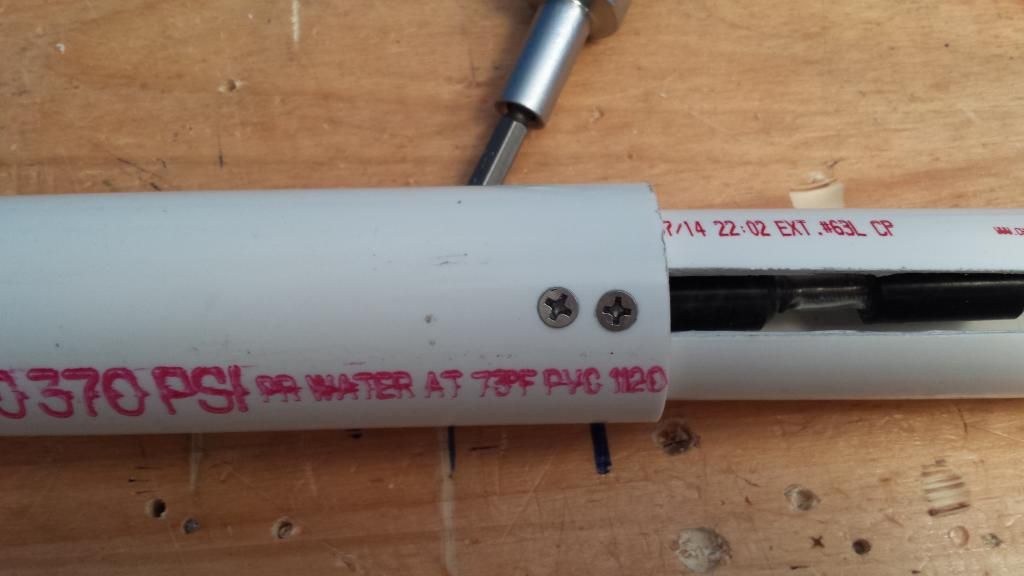
This is the end goal.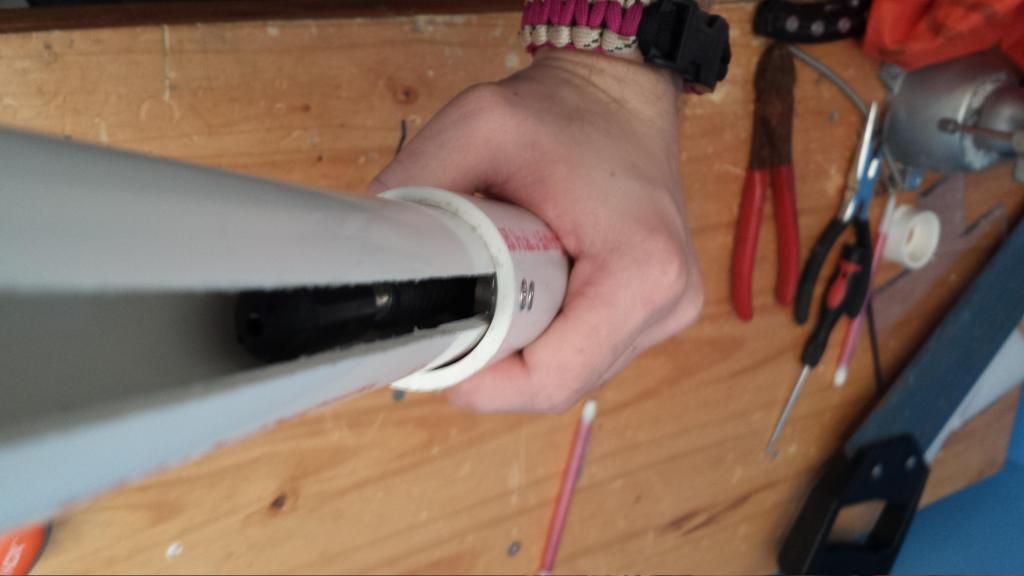
You can make out the polycarbonate slide stop in this photo. It prevents the slide from rotating, and defines the linear freedom that the plunger tube may move.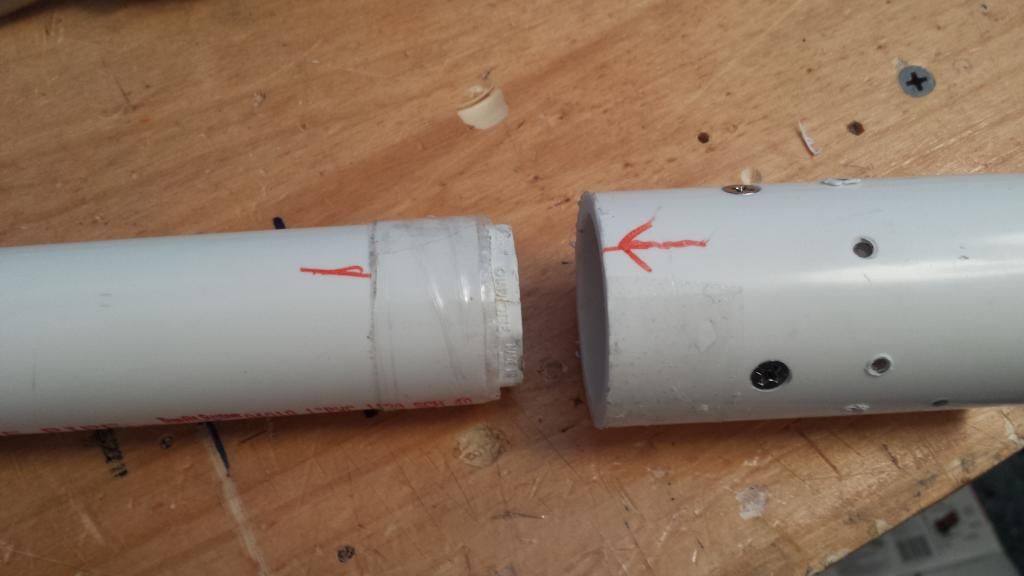
Slide the slide guide into the receiver.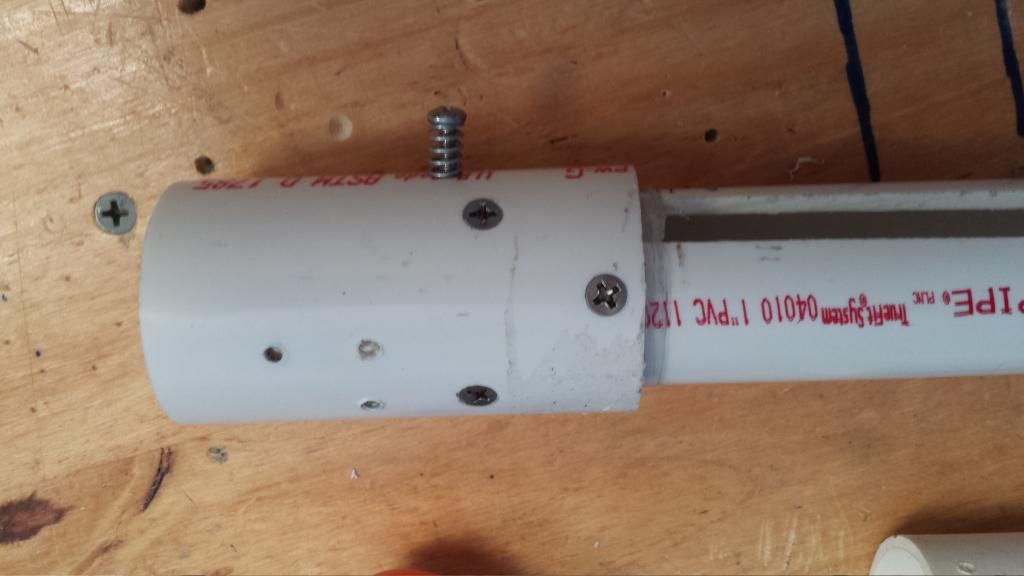
Orient the slot so it is diagonally downward when viewing the receiver from the rear. Secure it in place with two screws and finish off the rainbow catch protrusion screw.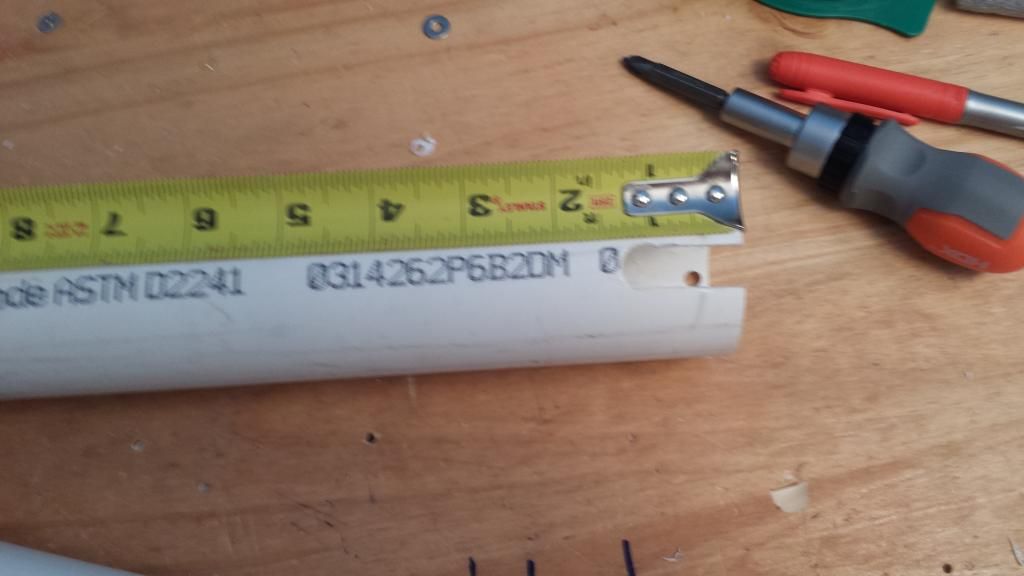
Cut a 1-1/2" x 1/2" slot in the thinwall PVC.
STOP HERE IF YOU HAVE A HANDLE
You will need to attached your handle to the thinwall PVC, so before you put it together, make your handle and throw it on here. The handle will need to operate in such a way to actuate a rainbow catch that is all the way in the rear of the blaster. I would use a linear pull trigger and a cam in the rear myself, and I'll add that to the writeup when I feel masochistic.
In any case, you will need to use cone-headed screws (you'll know exactly what I'm talking about when you see them,) and some method of countersinking them. Sink the screws into the inside of the Thinwall PVC tube into the handle to secure it. To countersink these holes from the inside, use a long-nose countersink tool (expensive) or VERY CAREFULLY sink just the tip of a 1/4" drill bit to create a countersink for the screw.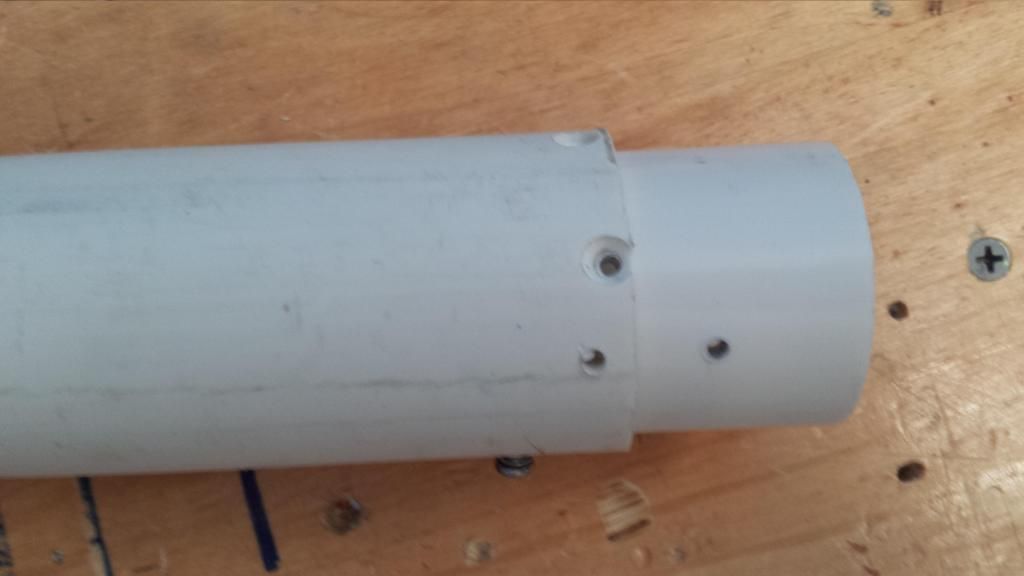
Secure the Thinwall PVC onto the reciever with some screws. Leave about 1/8 of an inch from the end of the thinwall. I drilled a bit too close to the edge on this one, but the measurements have been changed in the writeup to accommodate this, so don't worry.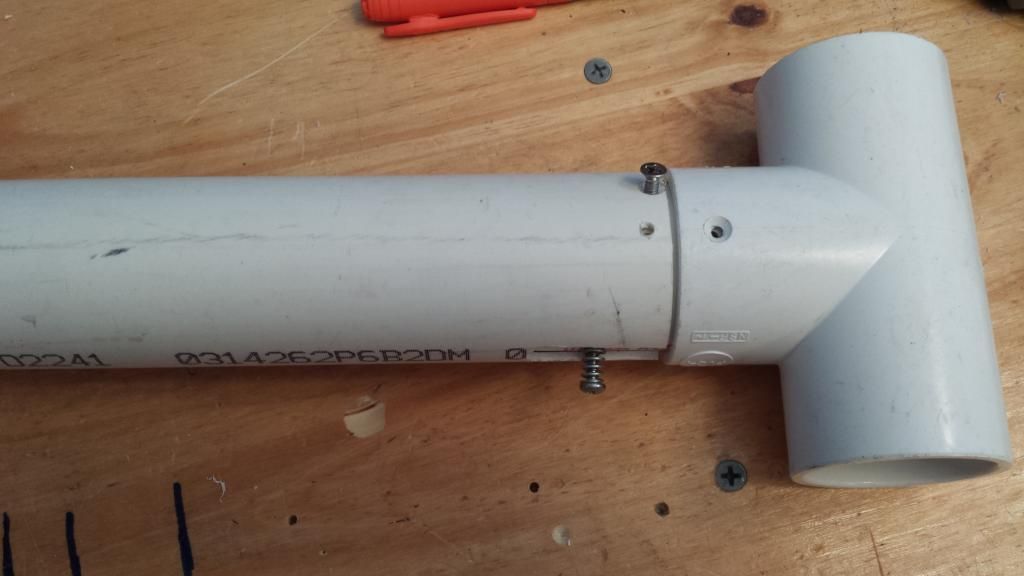
The thinwall should be face to face with the PVC Tee when fully assembled. Lock it in place with some screws.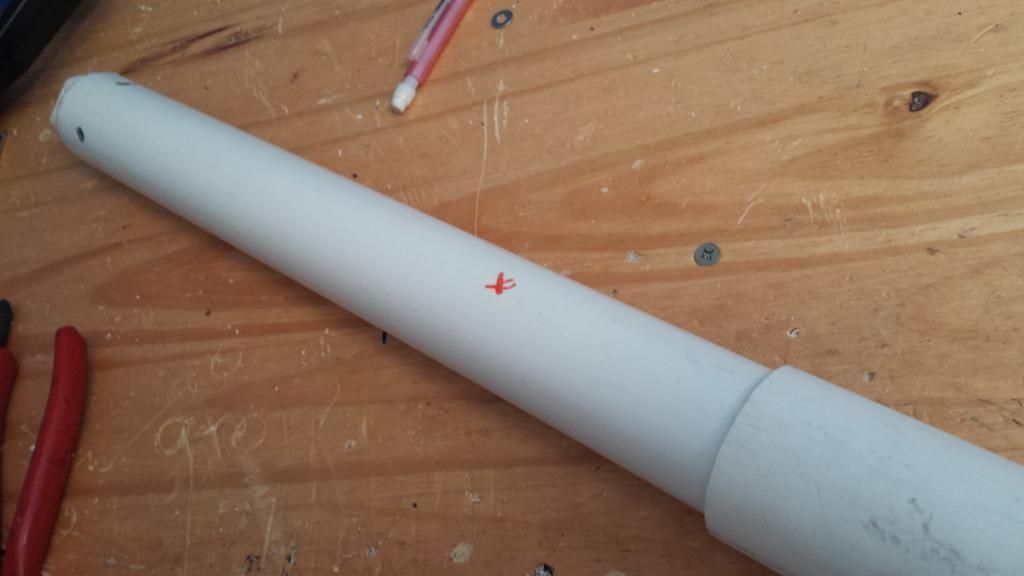
Drill a speed hole in there about 10 inches from the front of the plunger tube. Works fine without it, but it sure can't hurt. Drill it on the bottom if you want it out of the way, or on the top if you want to pretend it's a whale every now and then. Whatever makes you happy.
Final Design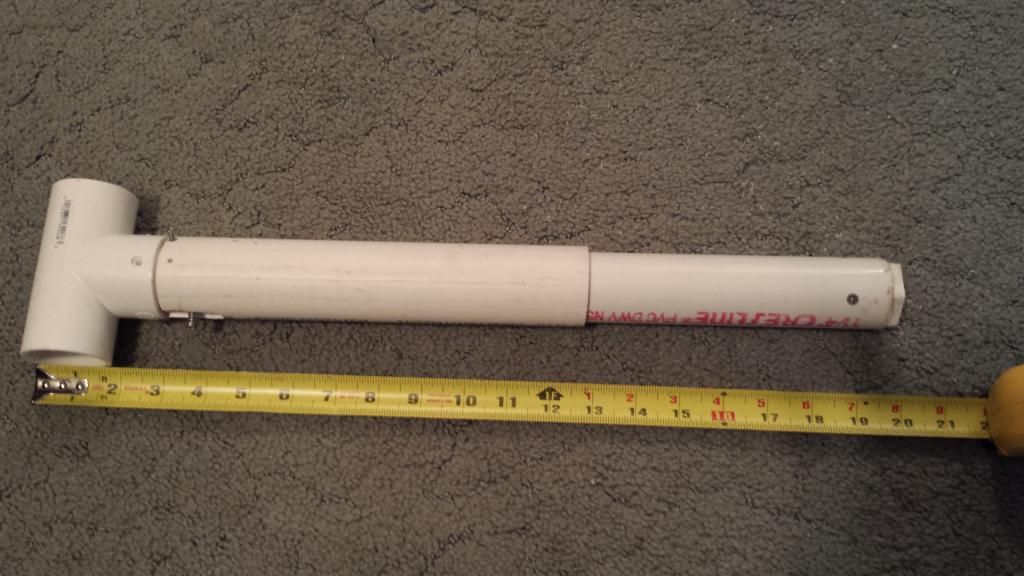
Primed. About 20 inches long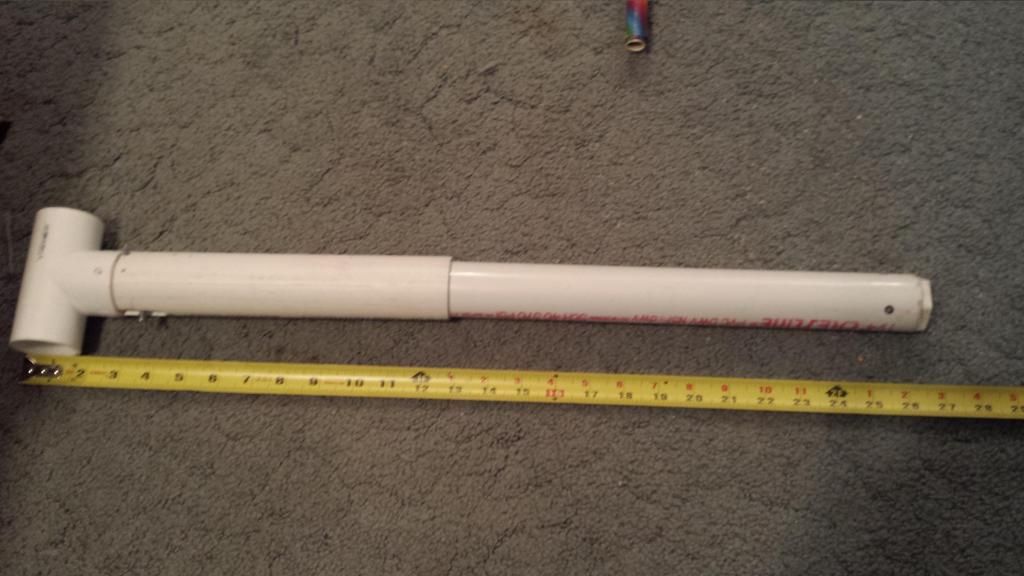
Ready to fire. About 26-1/2 inches long.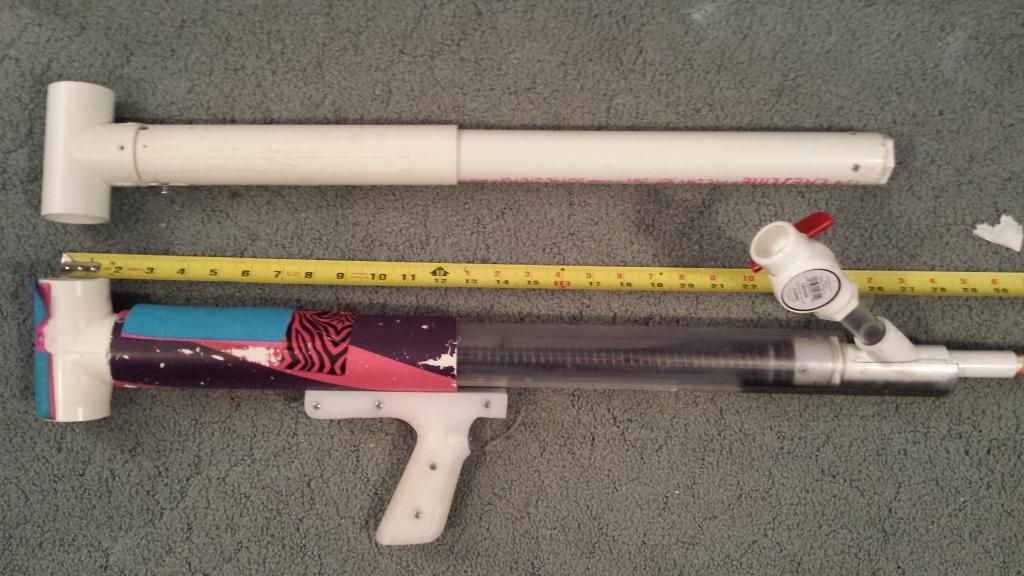
About two inches longer (relative to bushing) than one of my rainbow pumps.
Notes
-This hits as hard as any standard diameter cocentric force blaster with a full draw. Because that's basically what it is.
-The plunger tube and the pump are the same part, so it is goofy, but efficient. It is lighter than my standard rainbow pump and a bit more balanced. (Yes I am accounting for the lack of handle.)
-This uses less parts overall than a rainbow pump, and only has one slot. A rainbow pump would require at least two, much longer slots.
-The slide stop is the only thing holding the plunger tube onto the blaster. If it fails, it is easy to fabricate a new one.
-I built this in about 6 hours or so, and that was with trial and error.
-Because the trigger needs to be forward of the handle anyway, the length of pull is completely custom to whatever the user wants when the handle is fabricated.
-Because of the traversal of the bushing, the hopper clip on this should be fairly short and lightweight, to reduce the effective moment on the barrel assembly, and prevent it from falling off.
Final Thoughts
I don't know what I like about the telescoping concept, or even if I like it at all. But the results speak for themselves. This design is lighter and easier to build than a rainbowpump, and is a step away from the traditional style of blaster, while still delivering excellent results. I have every intention to use this at the next war and share my results from there.
Fire away, boys.
Edited by Aeromech, 23 November 2015 - 01:38 AM.


