
This isn't really a write-up, but it's detailed enough that I feel someone with a little bit of effort could build one based off these pictures and descriptions.
The BullShit was built mainly as a proof of concept blaster. This was never intended to be a working prototype, but it worked well enough the first build that I feel comfortable
enough posting my results. I wanted to make something that was bullpup, but didn't require the barrel to come be seated on top of the blaster, or require tubes with slots inside
more tubes with slots.
Spoiler
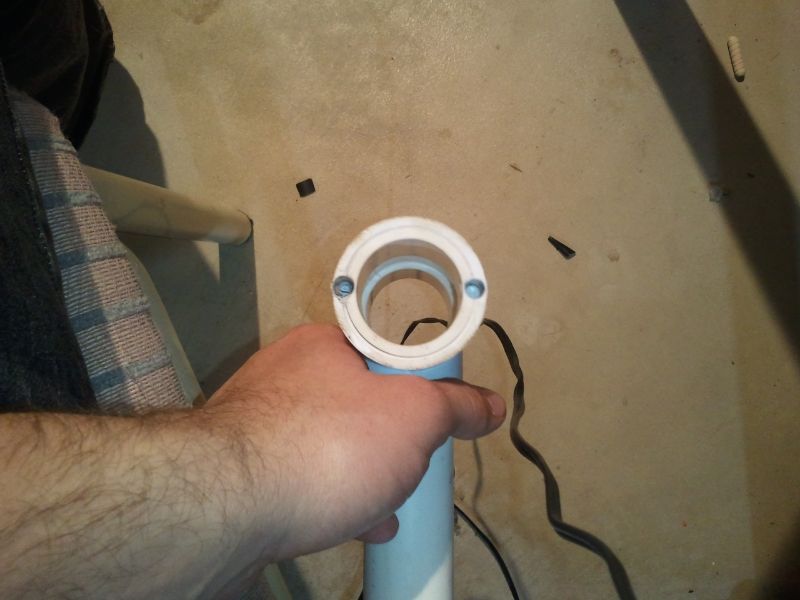
Front Bushing
It started with a spare part that I got from Ryan and Kane back in June. It's a 1.5" x 1/2" PVC bushing with 1/2" pvc going through both sides 1", then the rear side was inserted in 2" PVC and had
resin poured in around the 1/2" PVC to create a snug fitting 2" internal bushing. The resin was later sanded down to 3/8" tall making the bushing a total length of 1.4375".
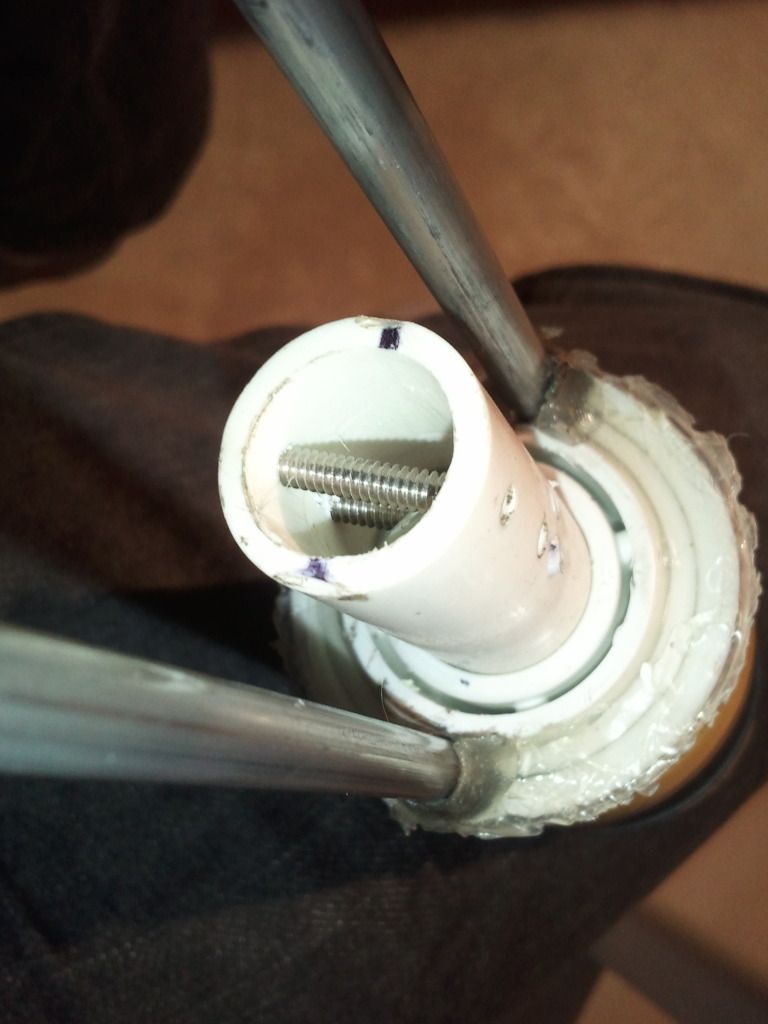
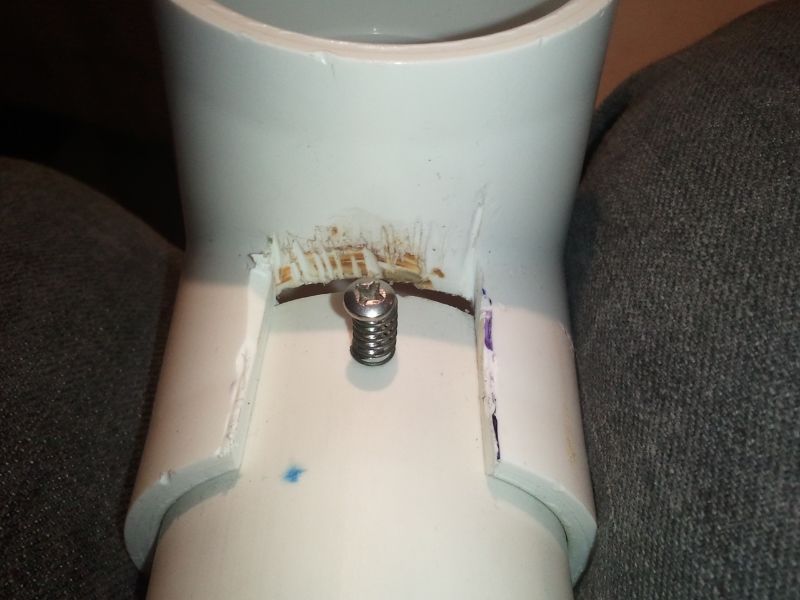
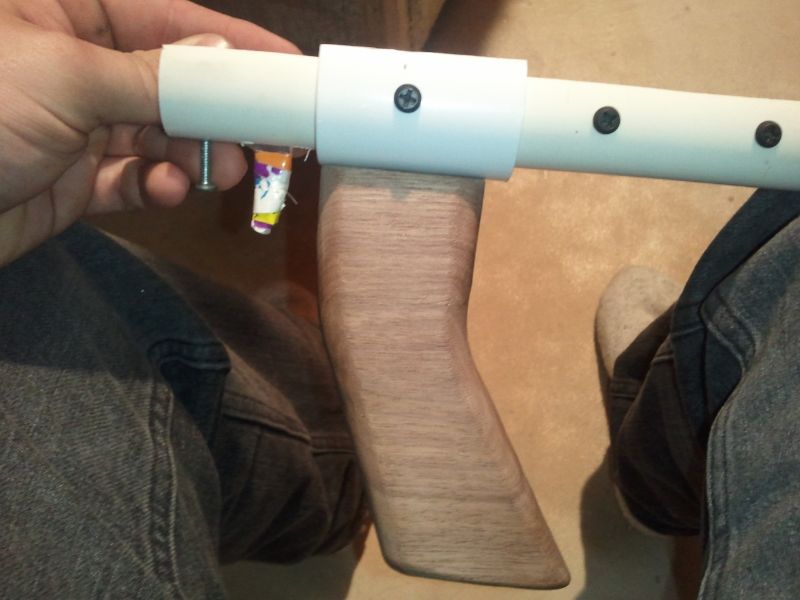
Barrel Shroud/ Pump Guide
The next part made was the barrel shroud/ pump guide tube. It's made of 1" thinwall PVC 12" long with a slot cut 1" from one end 1" wide and 3" long. The slot is just barely big enough to allow
the wye to fit in the tube and completely on the 1/2" PVC with enough room for a screw to be put through the wye and PVC.
Unfortunately due to poor lighting and excess flash the original picture was super shitty. I edited it enough to see some detail about what I'm talking about.
Plunger Head & Rod
The plunger head is made of 1.375" x 5/8" UHMW Tube and 1.375" x 2" U-Cup seal. The Plunger head is 1.5" long, with .875" of duct taped wrapped around the back to match the diameter of the u-cup base.
and .25" in front of the seal just enough to keep the seal from coming off as you prime it back.
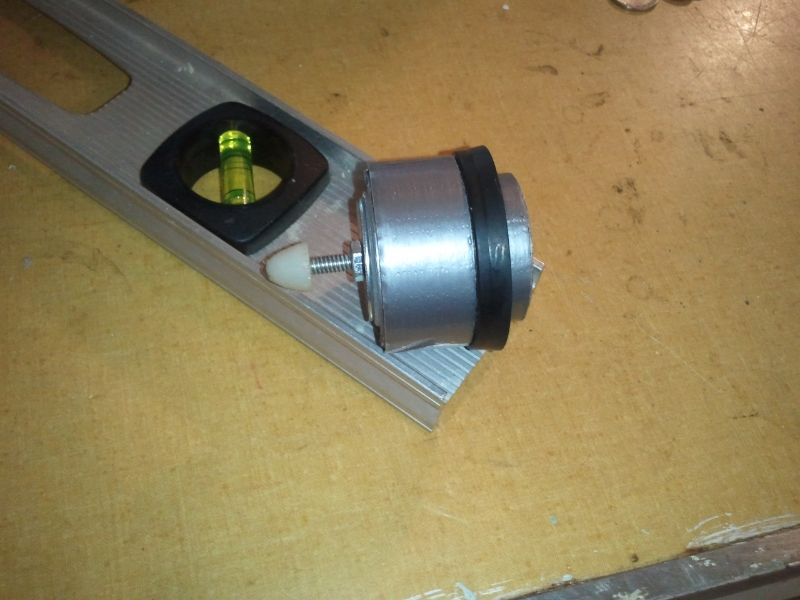
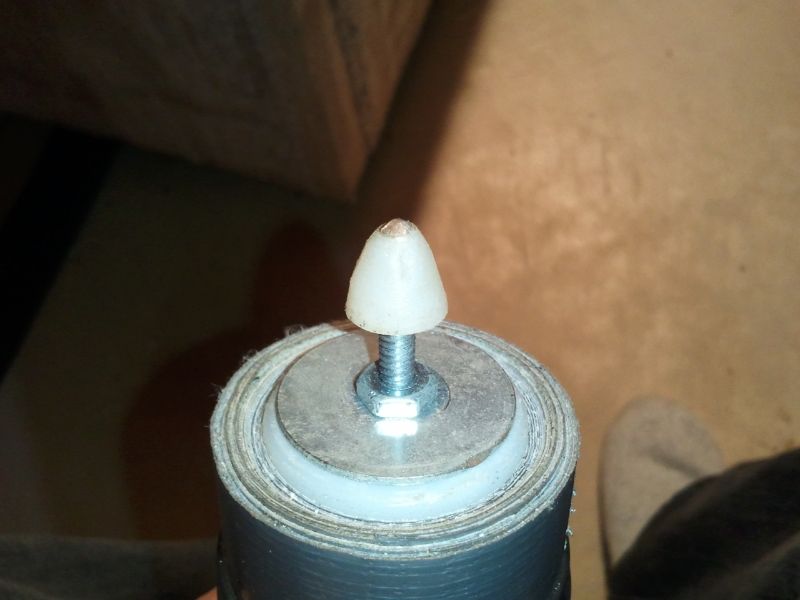
The plunger "rod" is just an eye bolt nested inside the UHMW tube with a lathed piece of .5" nlyon for the ramp on the back of the eyebolt. To keep the eye bolt in the plunger head
I had to reduce the I.D. down to 1/8"; to do that I nested a .5" of .625" x .5" tube inside the plunger head. Then I nested a .5" x .125" nylon spacer in that.
You have to tap both spacers, and the rear catch spacer also need a set screw in the side to keep it on the rod. To keep all of the nested tubes inside the plunger head you will need a fender washer on the back kept on with a nut.
Front of the plunger head
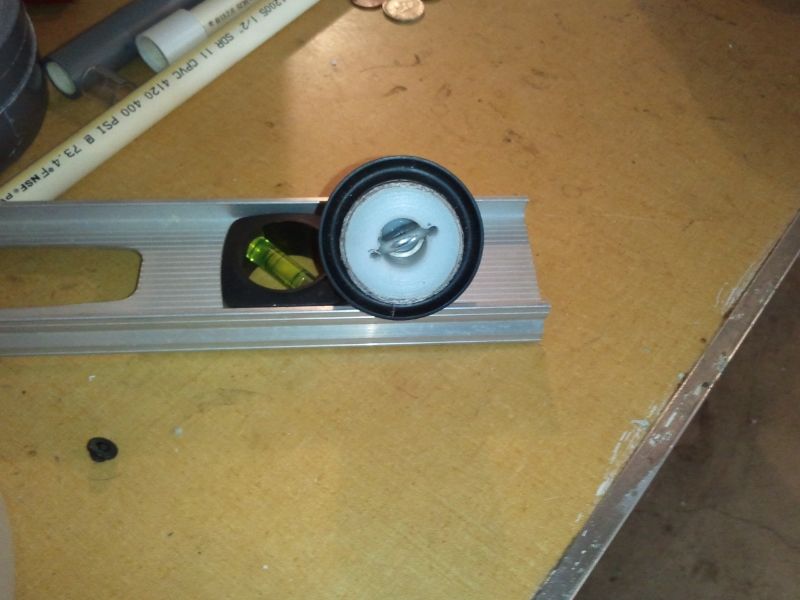
Back of the plunger head
Priming Plate
This part's purpose is to push back the plunger head and seal against the front bushing to reduce air loss. I made mine out of PVC, but a wide variety of materials could be used as well.
I would highly recommend aluminum if you have access to a lathe. With the plastics, the plate can be turned down on a drill press with a metal lathe cutting tool mounted to the table.
It's 2" wide with a .25" thick chunk turned down to 1.375" for a second u-cup to seal against the plunger tube. The middle hole is drilled out to .75" to allow proper clearance for the spring.
It also has 2 .25" holes for the aluminum rods to sit in. There are no real dimensions for the spacing or placement. The rods are held in place with a set screw on each side.
Both sides have a 1.875" x .75" rubber washer glued on to act as padding and to help seal against the front bushing.
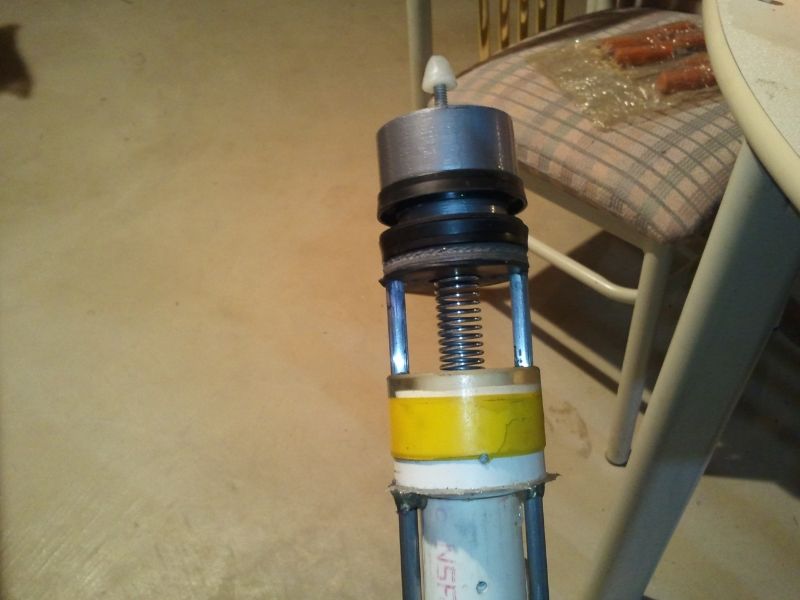
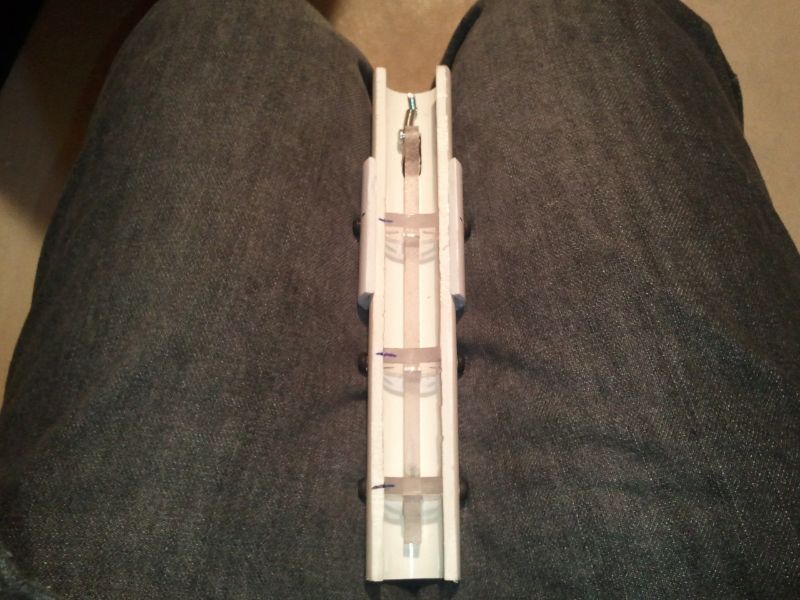
Priming Rods
The rods are 2 .25" aluminum rods cut to 9.5" long. They have holes drilled in the sides on both ends to attach to the priming handle and priming plate.
The rods should be placed as close to the 1" thinwall PVC as possible without touching to give more material on the edge of the priming plate for set screws to drill in.
The extra holes and screws in the PVC are what I'd like to call fuck up holes. Just ignore them.
Priming Handle
The priming handle is just a 1.25" tee with 1.25" PVC inside. It has holes drilled in it for the aluminum rods to slide in (.5" deep minimum any less and it cracks).
Main body, Stock, and Catch
Main body is 7.75" long of 2" PVC.
The Catch is a standard 2" Rainbow catch.
The stock is a 2" PVC tee with a 1.25" x 1" slot cut out to allow clearance for the handle & trigger assembly.
Handle and Trigger
The handle is a walnut Rainbow handle attached to 1" PVC using half of a coupler.
The trigger assembly is a LouieC3 "Revshot" trigger shortened to 6" trigger and 7.875" 1" PVC cover.
For the trigger spring I just used a spare stock nerf gun extension spring.
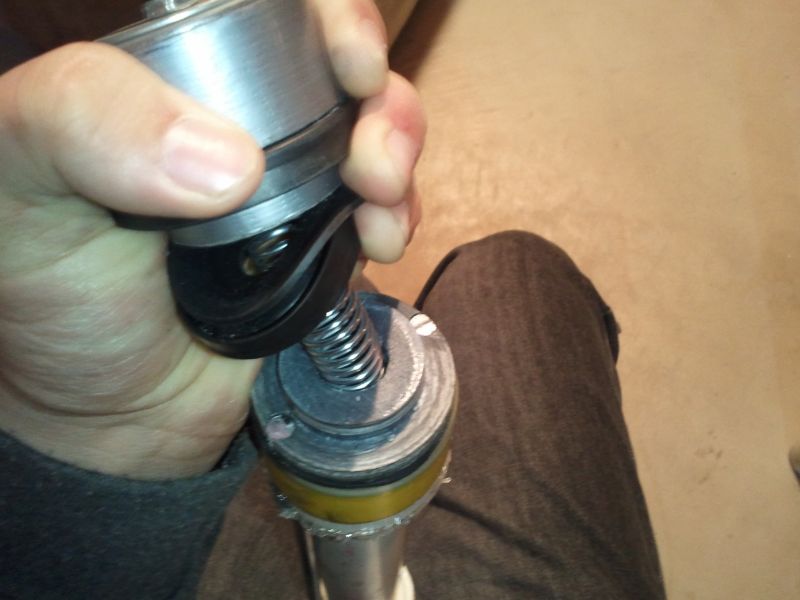
Additional notes
The spring gets attached to the eyebolt and the screw running through the wye and .5" PVC. If you use Sch. 40 PVC you'll have to ream out the PVC for the spring to fit freely.
In the future I'll use an aluminum priming plate.
The next one (if there is a next one) will have a 3d printed bushing with spaces for o-rings so I don't have to use hot glue for sealing the front.
I'll use 1.25" PVC couplers for the priming handle in the next one or replace the current one.
It is able to fire out of a 10 dart hopper with no feeding problems. 3.5" of draw is plenty, no need for 7" draw blasters.
And Ranges, it is way too cold and snowy to actually measure. But in the fall it was shooting high 80's to low 90's with a 4.5" CPVC to 5" sch 80 barrel and silicone domes.
Edited by Aeromech, 23 November 2015 - 03:17 AM.


