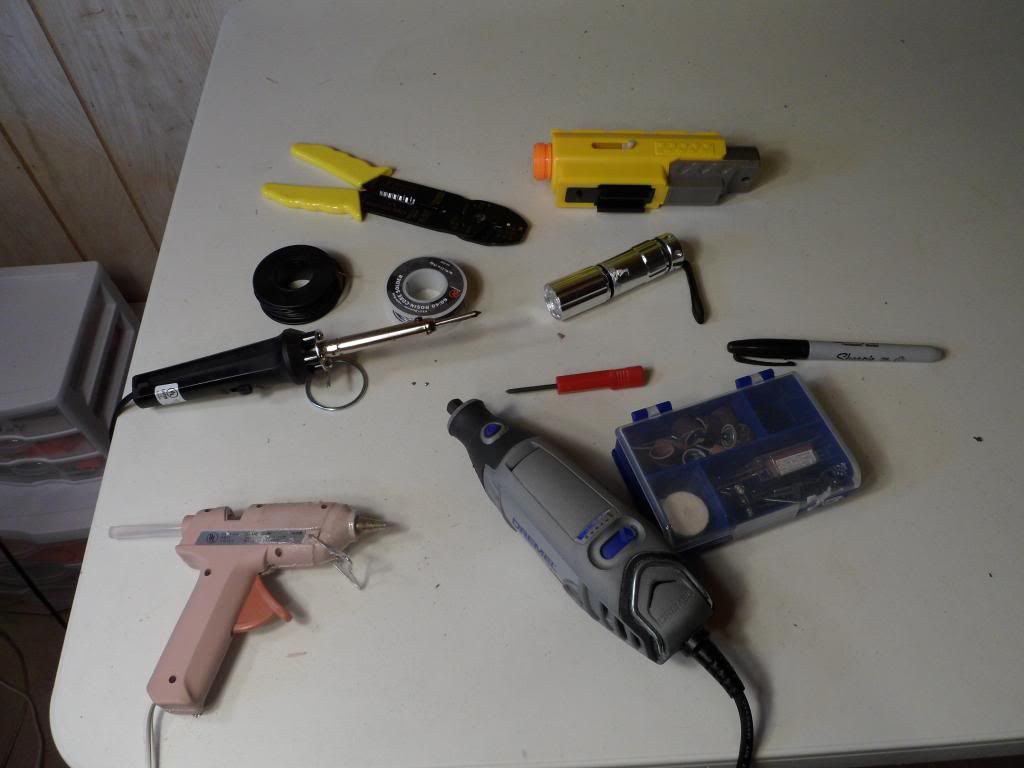
What you'll need:
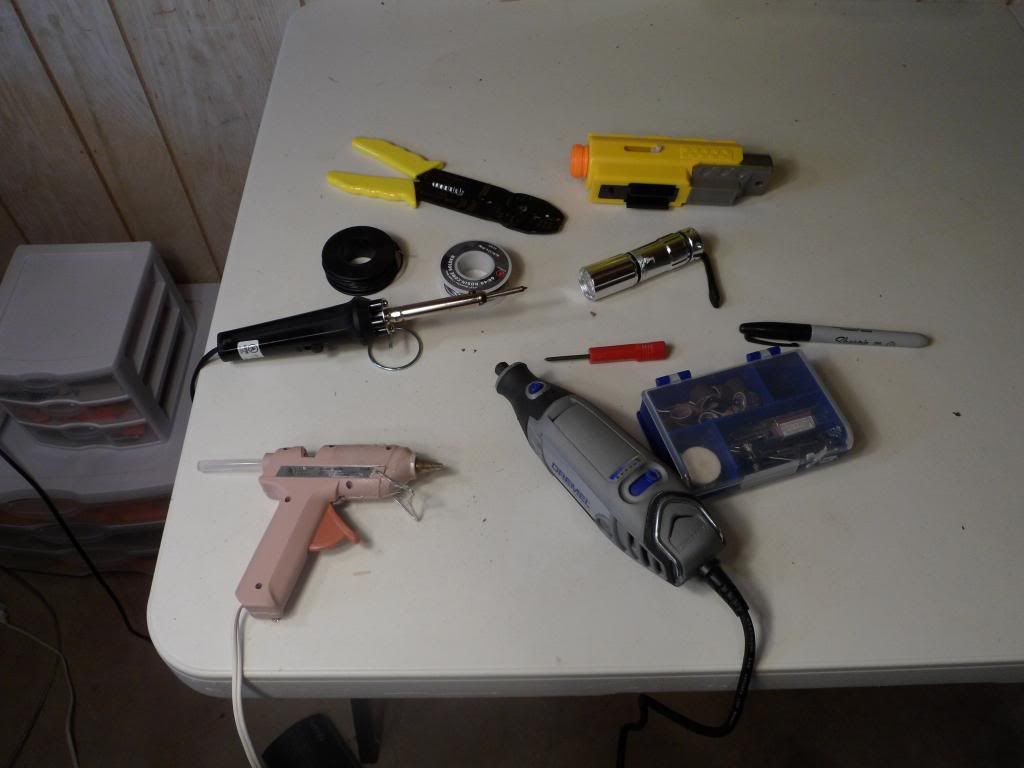
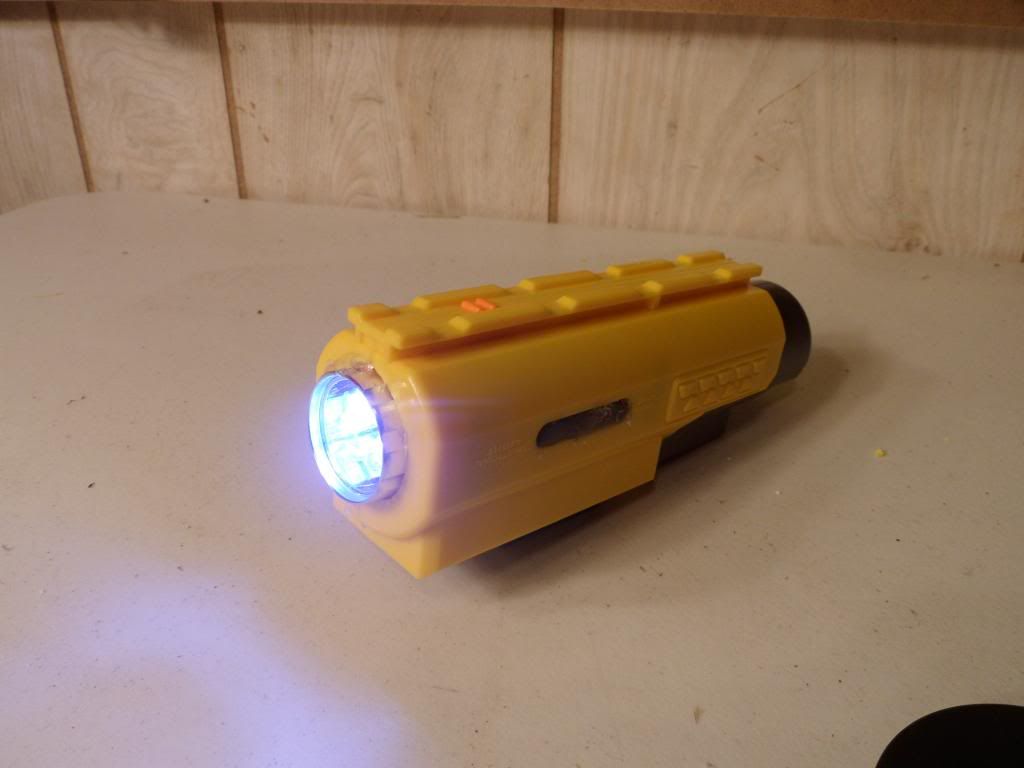
-Your tactical light
-Wire cutters
-Wire
-Soldering Iron
-Solder
-Small flashlight
-Small Scredriver
-Hot glue gun
-Hot glue
-Dremmel
-Dremmel Bits
-Sharpie (Optional)

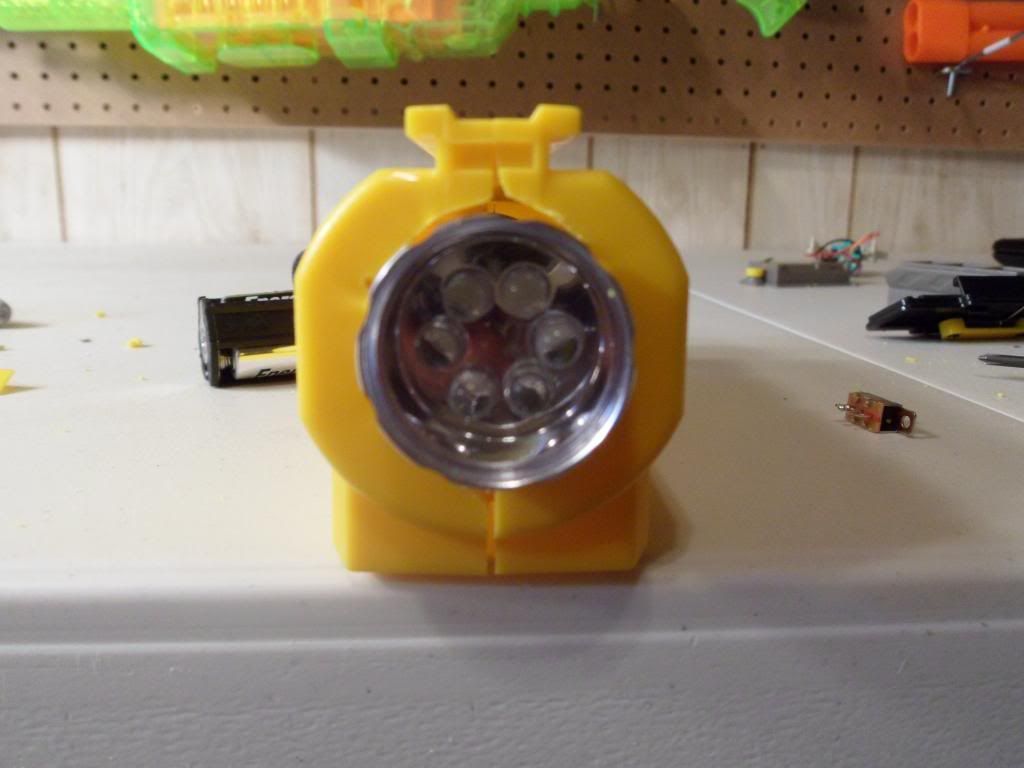
Take all the screws out and this is what is should look like.
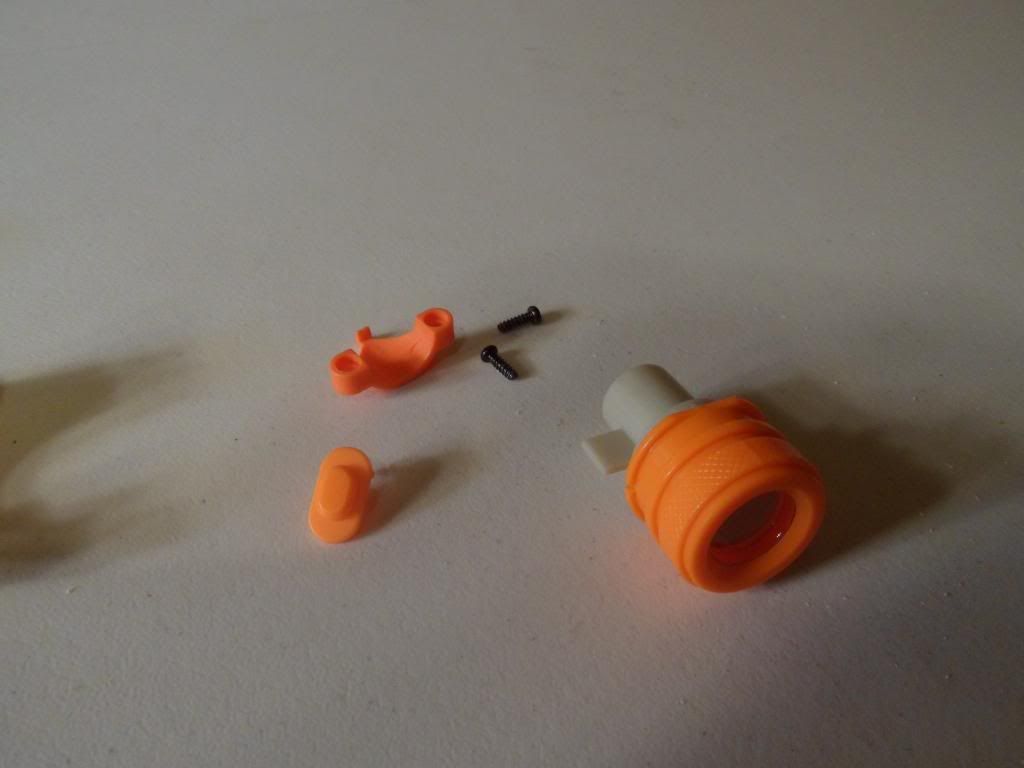
These are the parts you won't need.
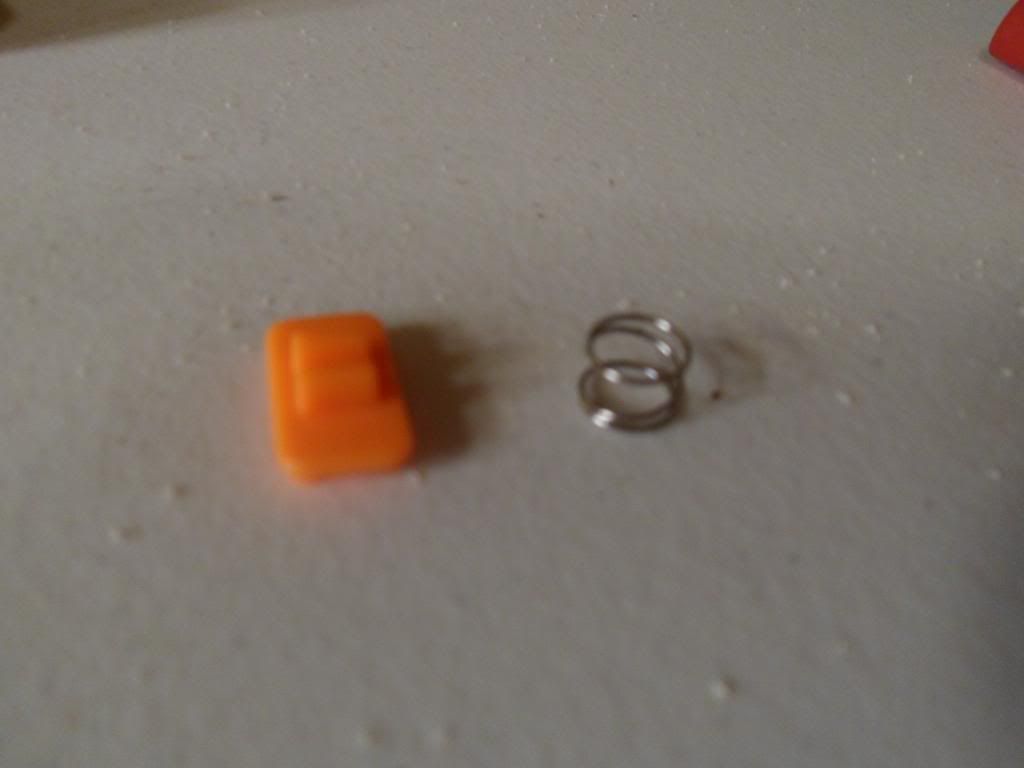
Make sure not to lose these.
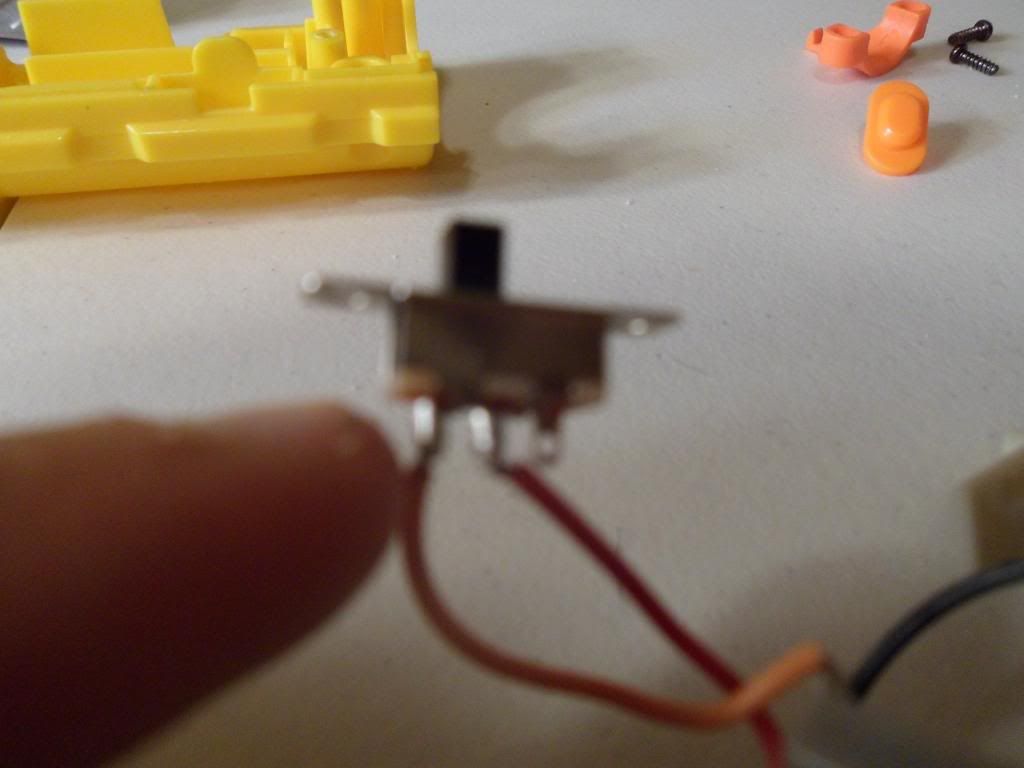
Take all the parts out and locate this switch.
Unsolder or cut the wires off.
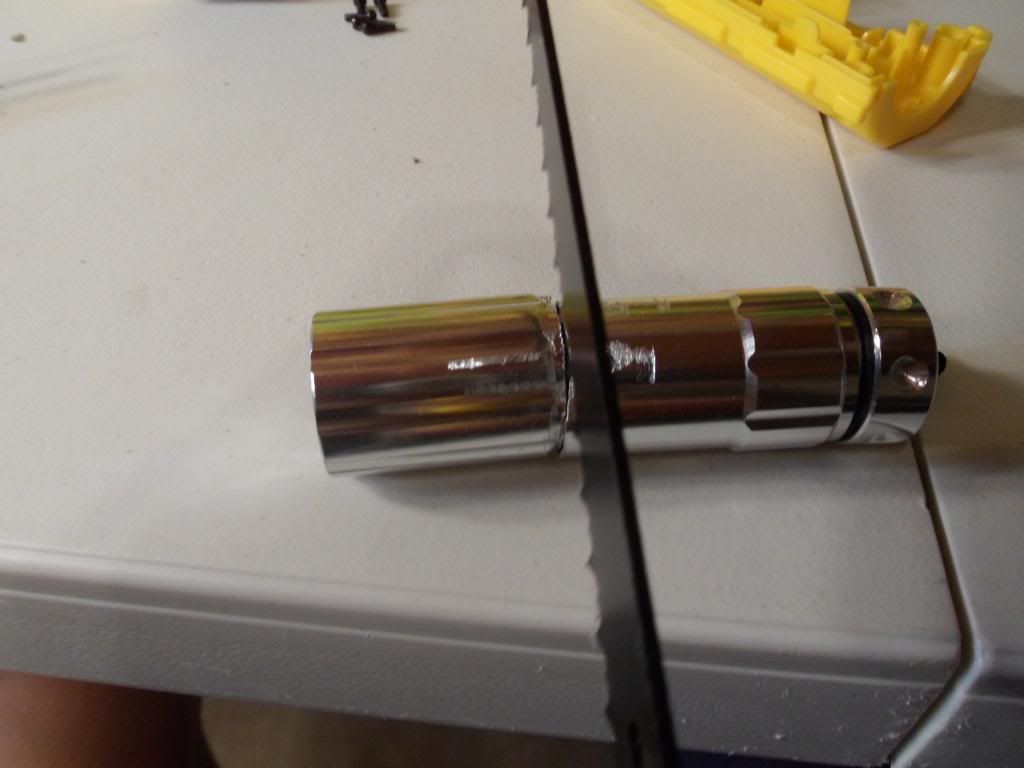
Then saw your flashlight down to size to fit in the body. (About 2.5 Inches)

Keep these parts from the flashlight.
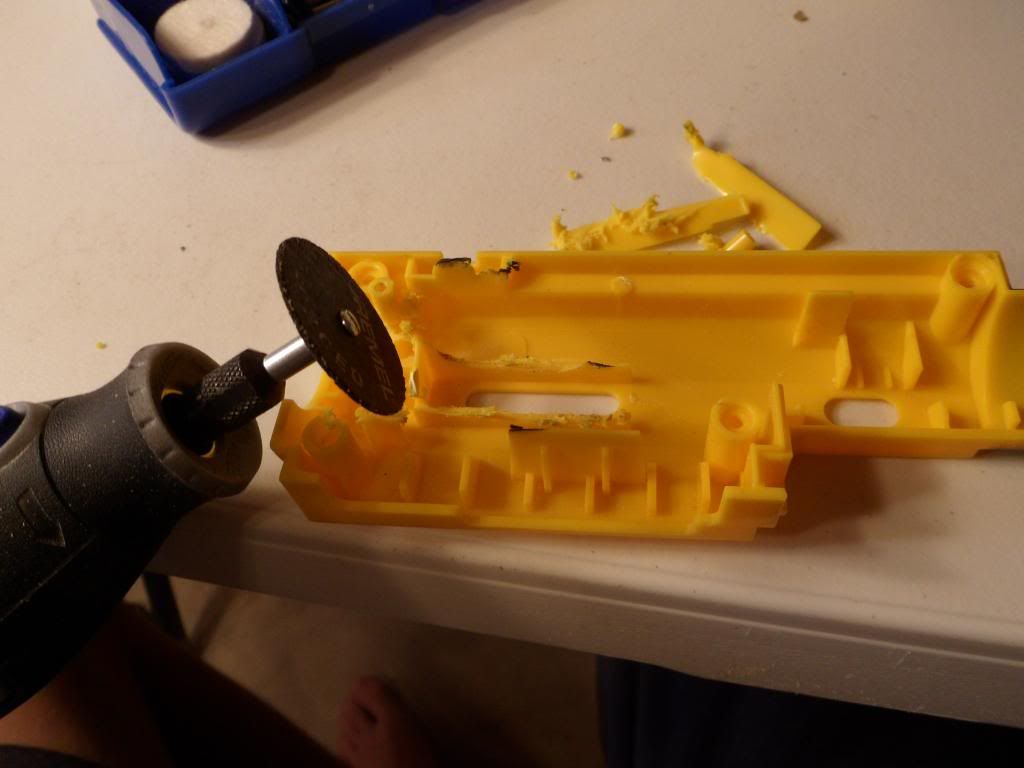
Cut out the unneccessary guides on both sides of the shell of the tac light so that the flashlight fits fulsh in the body.
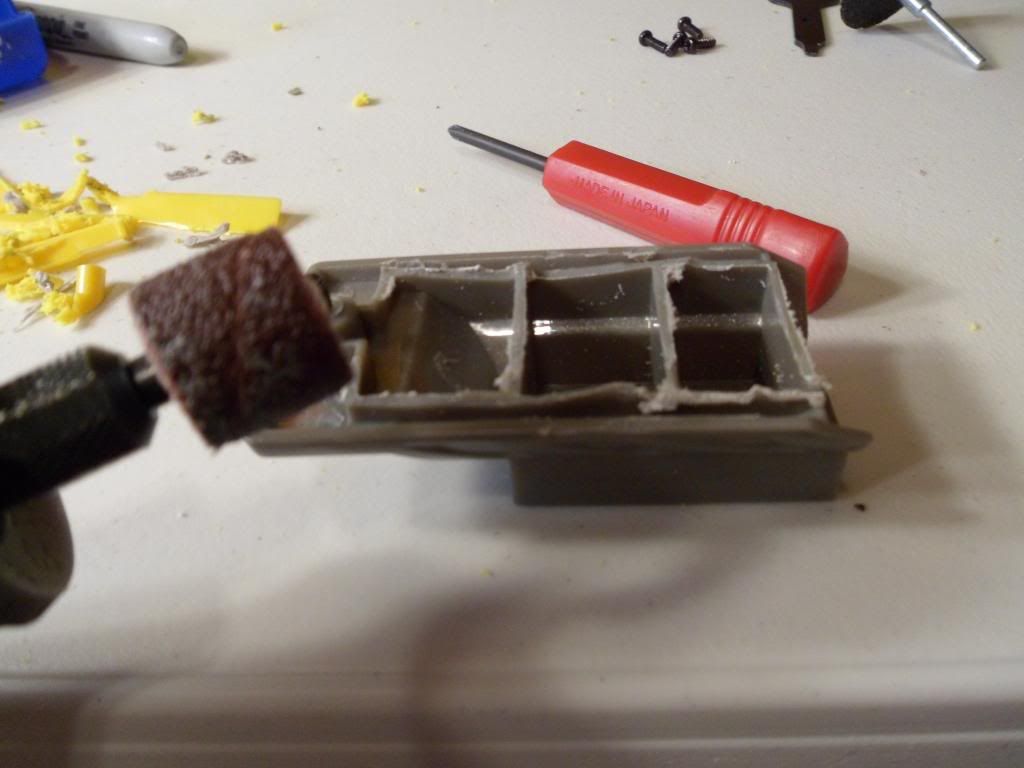
Sand down the battery hatch for the bigger battery cell.
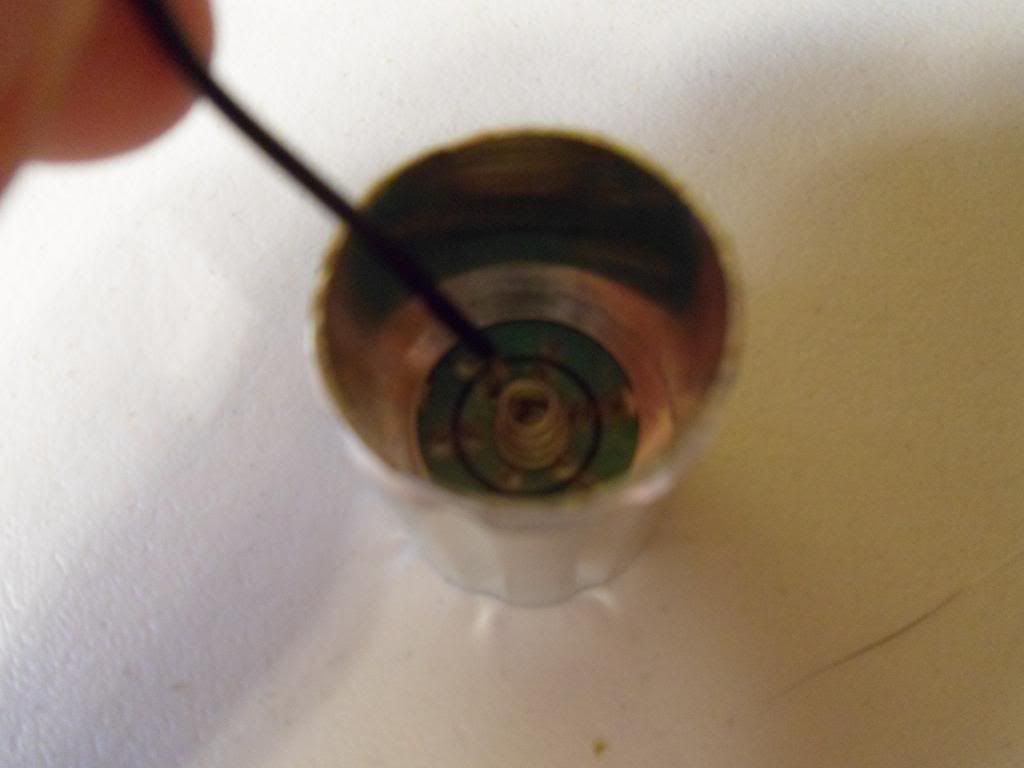
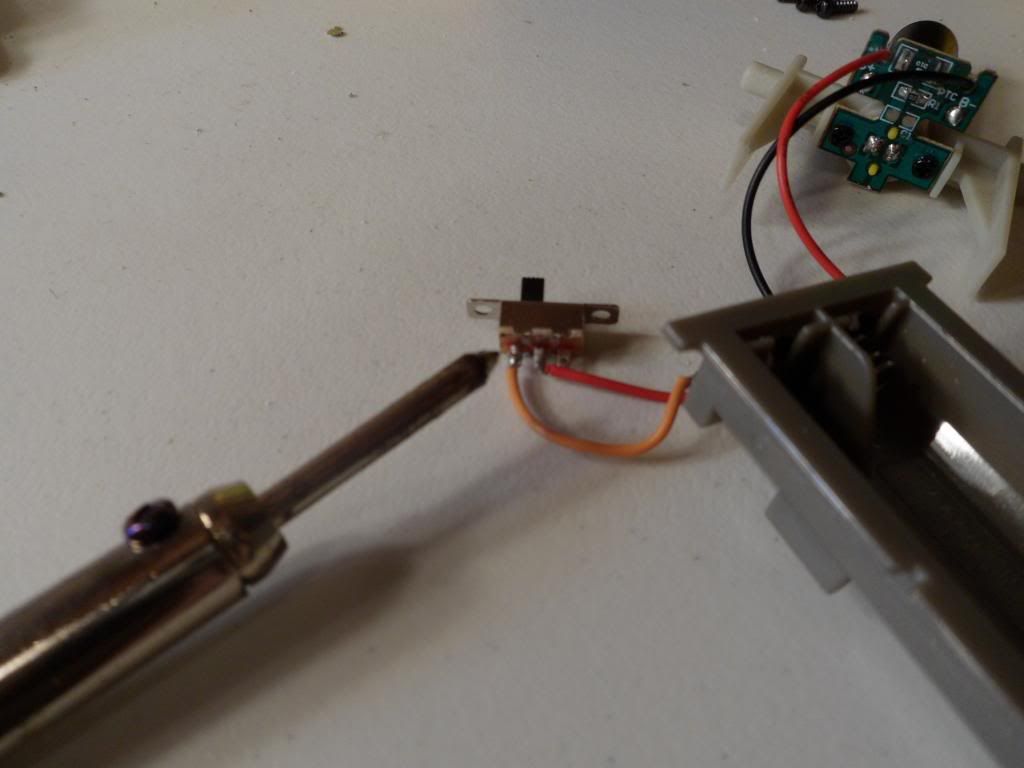
Solder about a 2.5 inch wire to the coil on the inside housing of the flashlight.
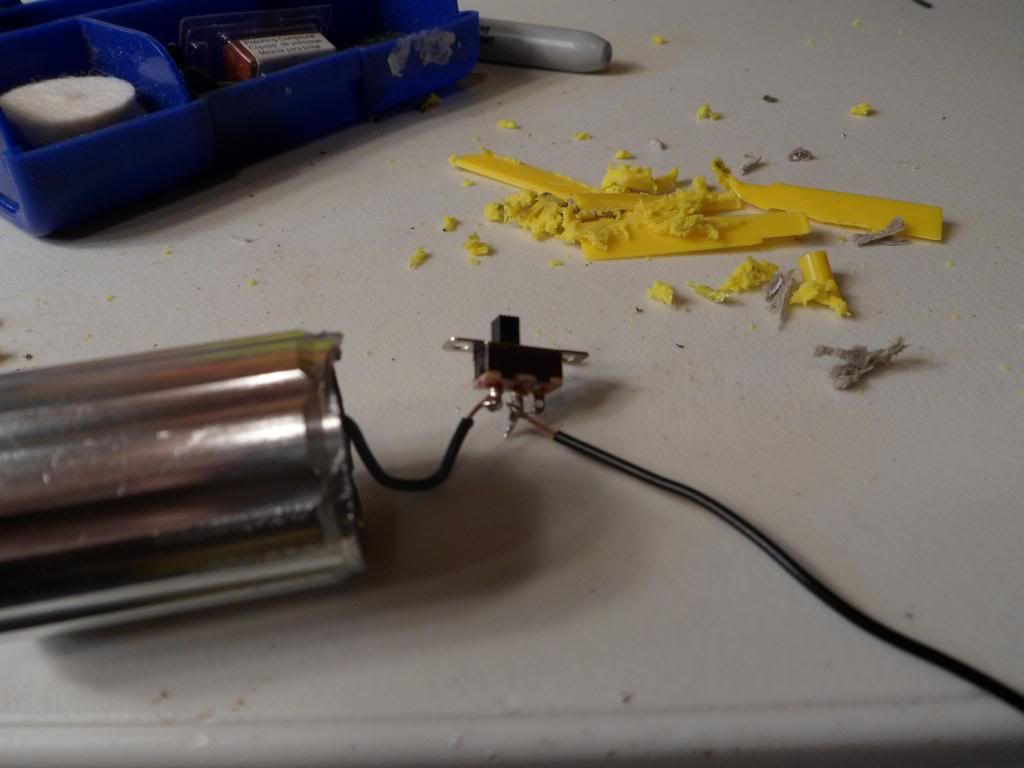
Solder the switch to that wire and then solder about a 3 inch wire to the corresponding prong on the switch.
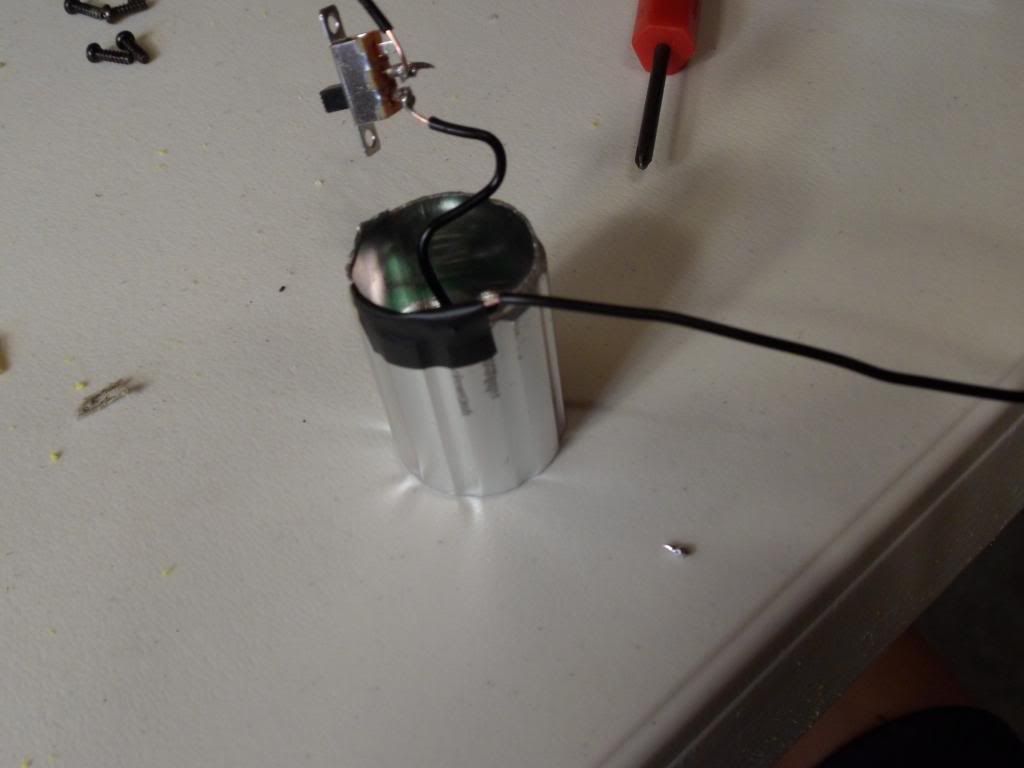
Solder about a 4 inch wire to where the other terminal is on the flashlight. (Mine's terminal was the inner wall)


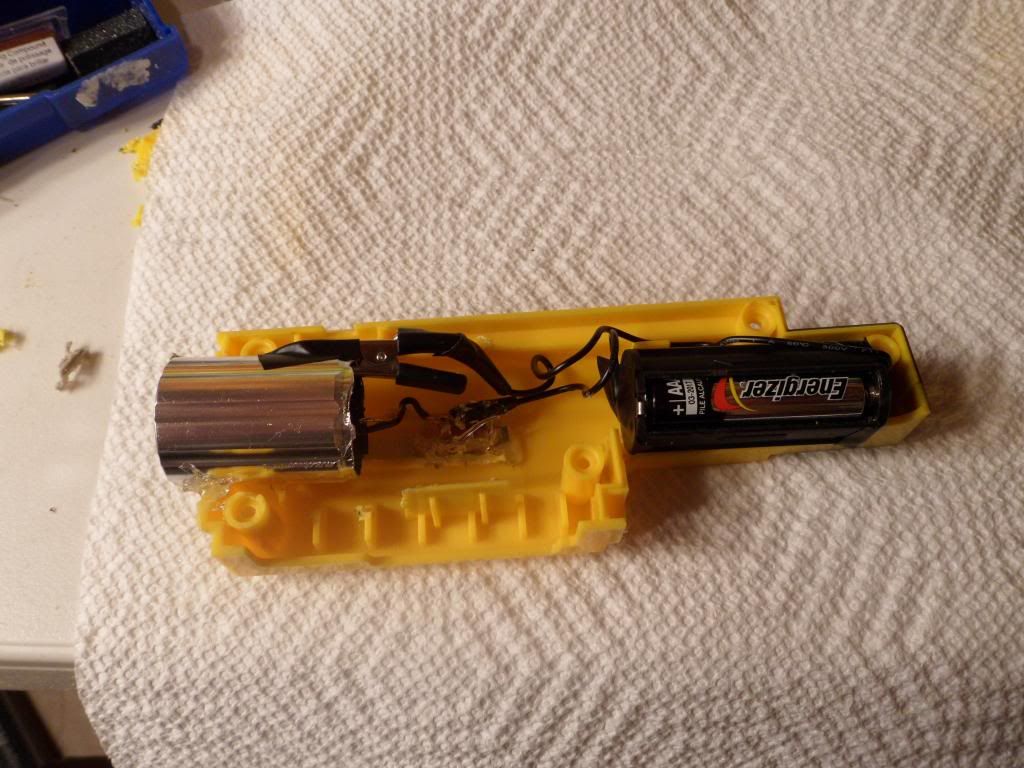
Solder the battery cell to the correct wires and you have a complete circuit. The light should turn on now. The reason there is an alligator clip where the wire was soldered is because I am lazy and have an abundance of alligator clips! So sue me!

Glue the switch and light in the positions you want. DO NOT glue the battery cell in of you will not be able to change the batteries.
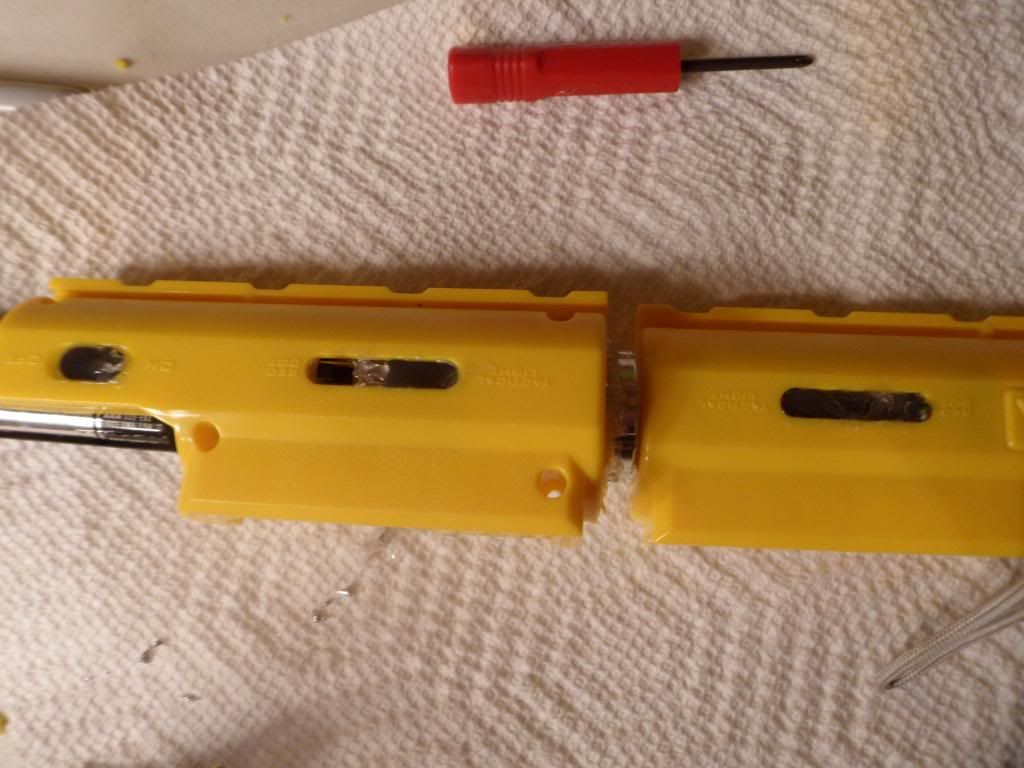
I put E-tape where there where places to see into the shell and then I covered them with hot glue.

Lastly, cut off the screw port for the battery hatch.
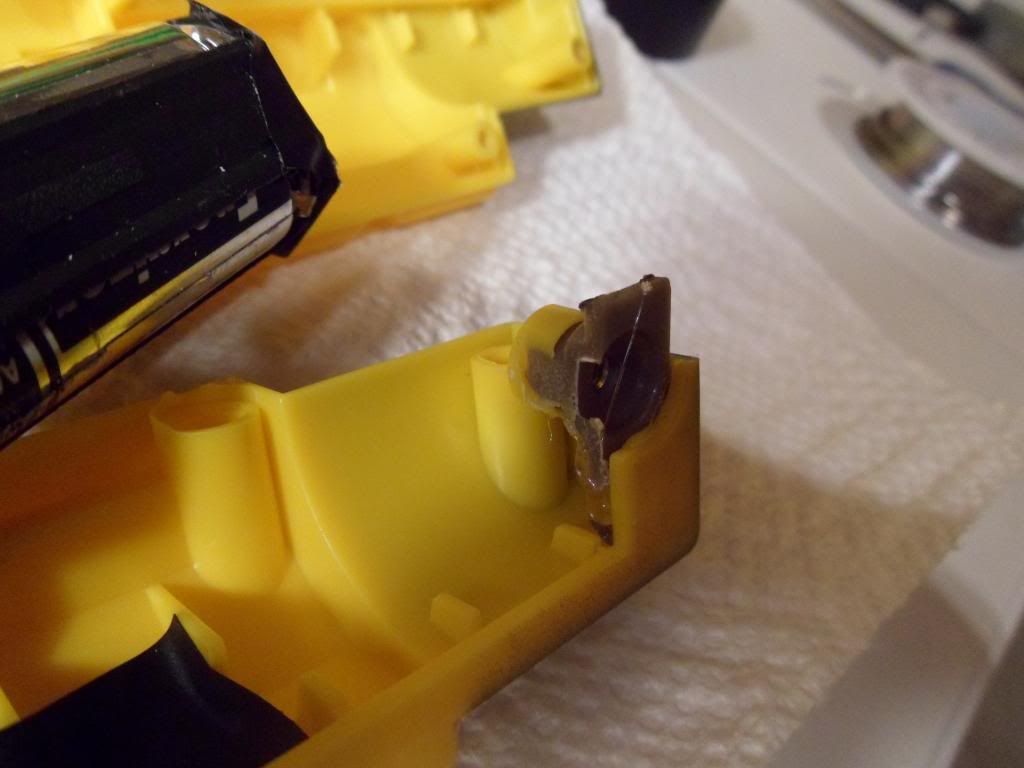
Glue it to one side of the shell.
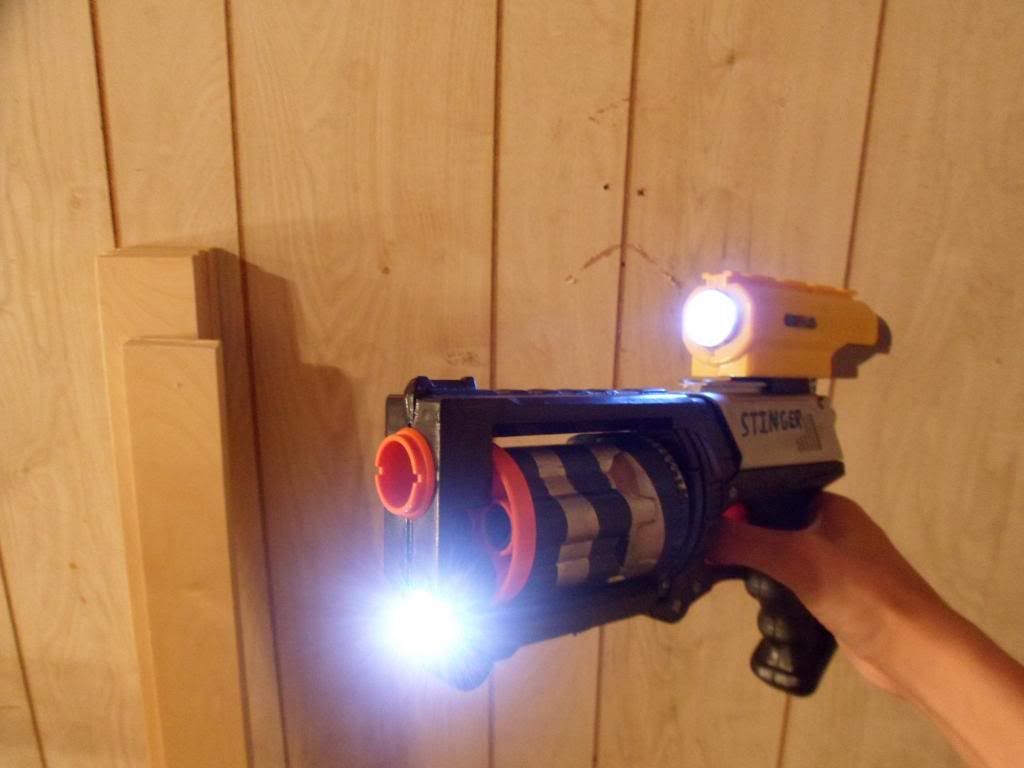
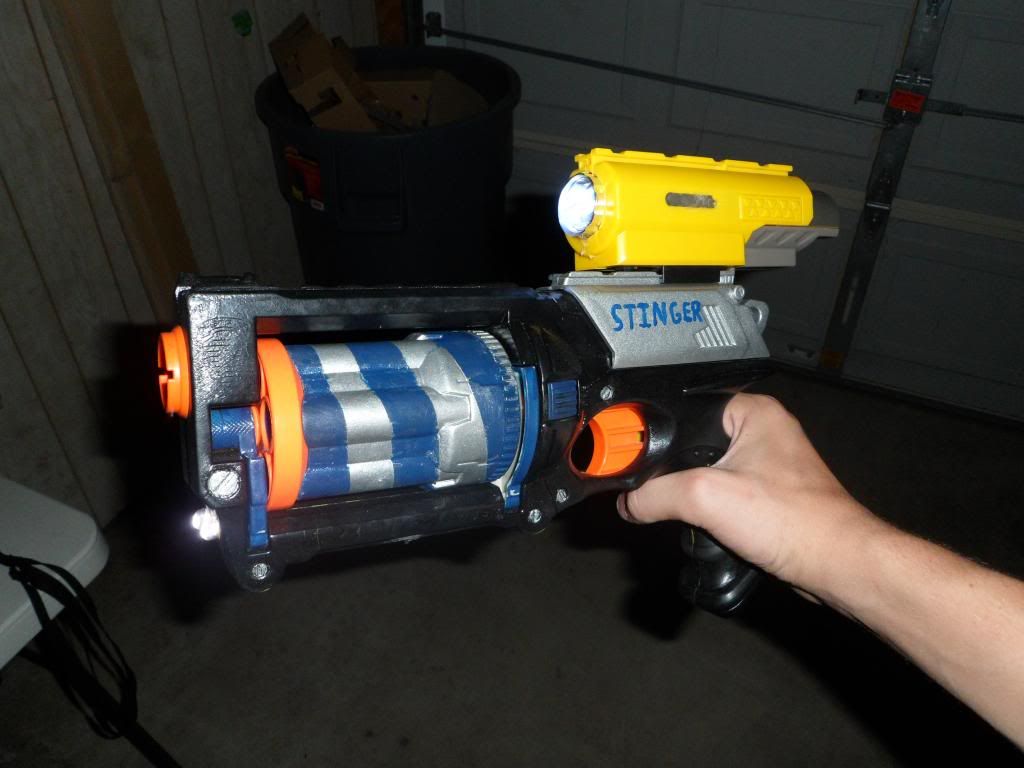
Close it all up and your done!
Edited by Silent Sniper 529, 25 September 2012 - 09:19 PM.