________________________________________________________________________
Tools/Materials required...
Phillips head screwdriver
Pliers
Soldering iron + solder
________________________________________________________________________
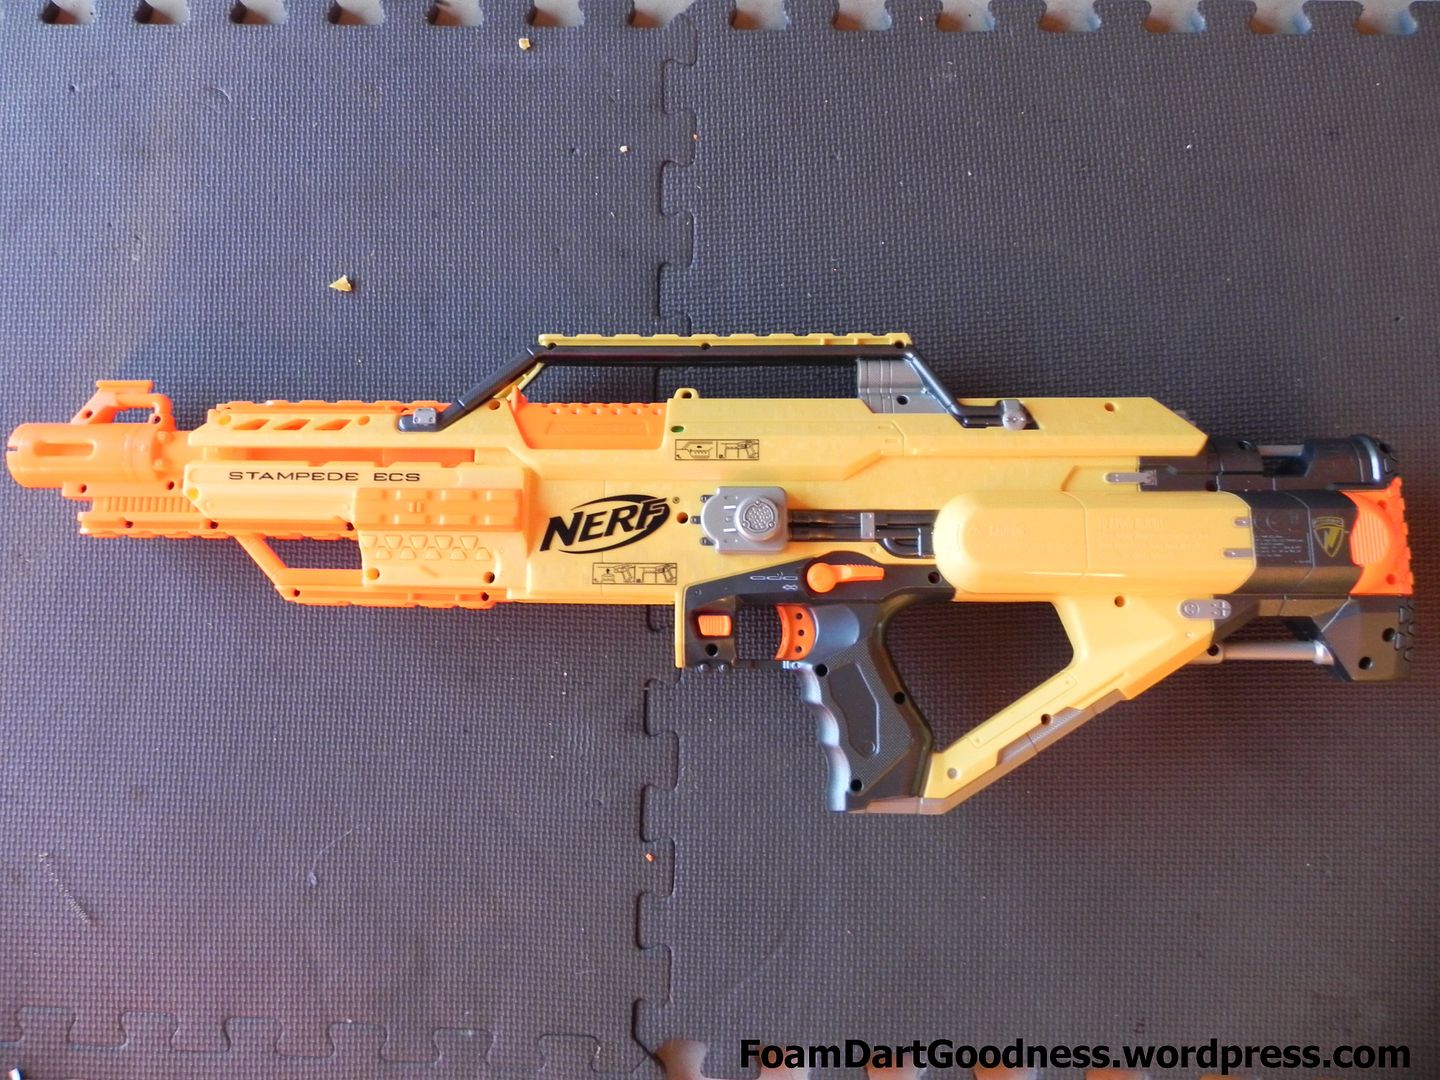
As always, we'll kick off with the blaster in question.
Remove the battery tray, then what seems like an endless supply of screws holding the shell together.
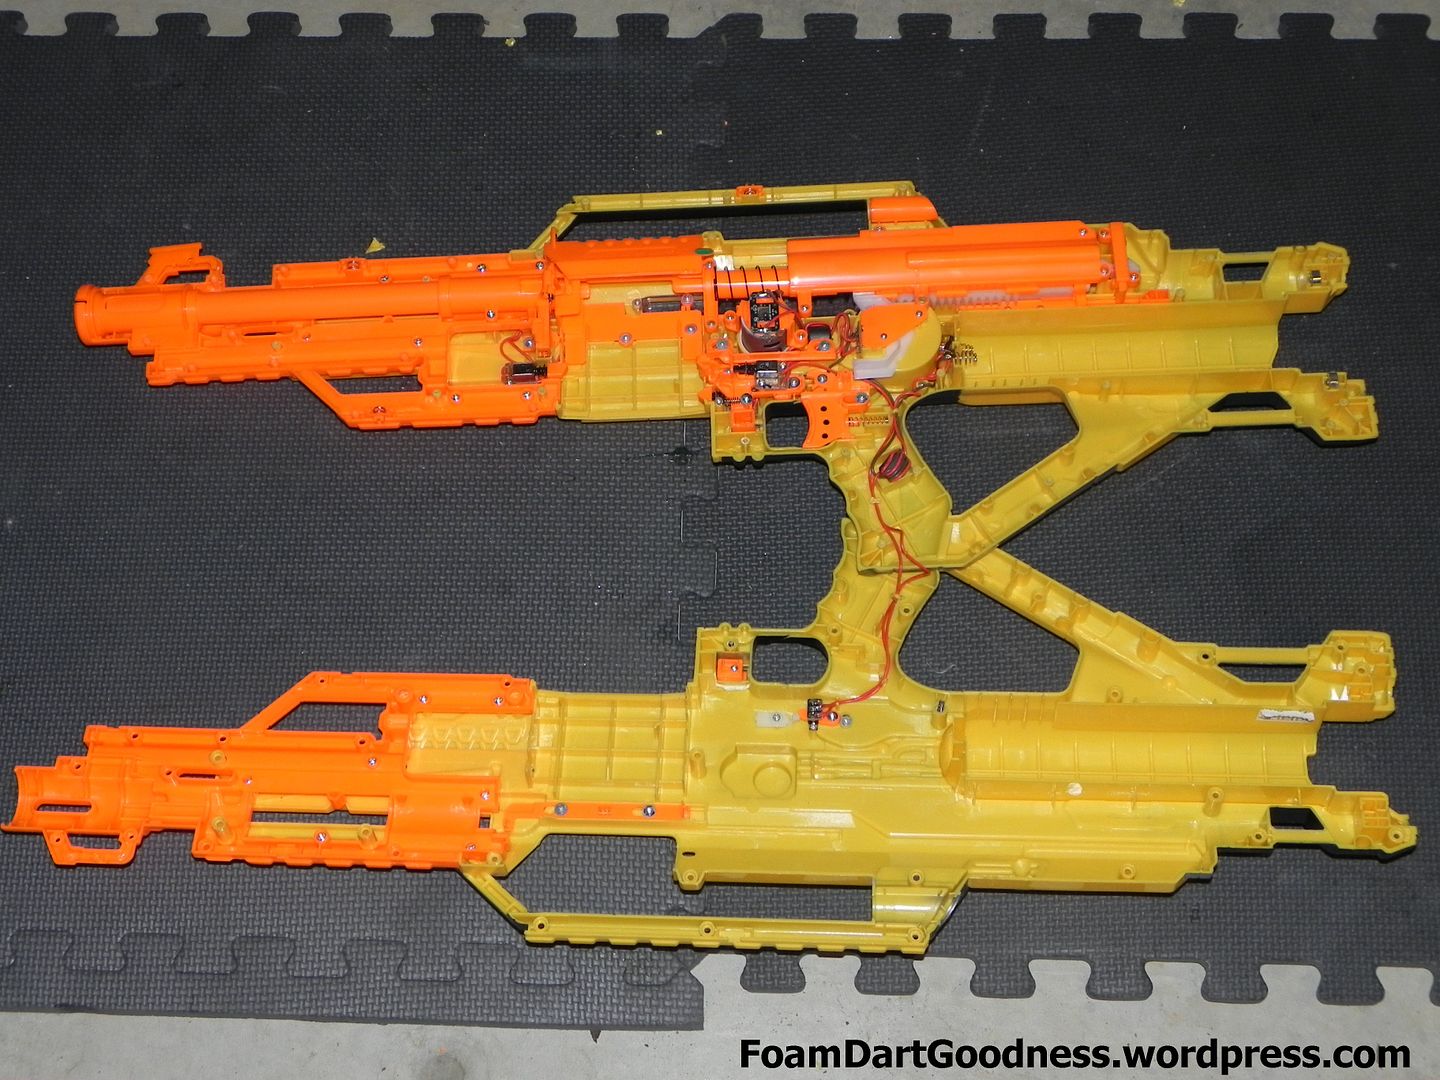
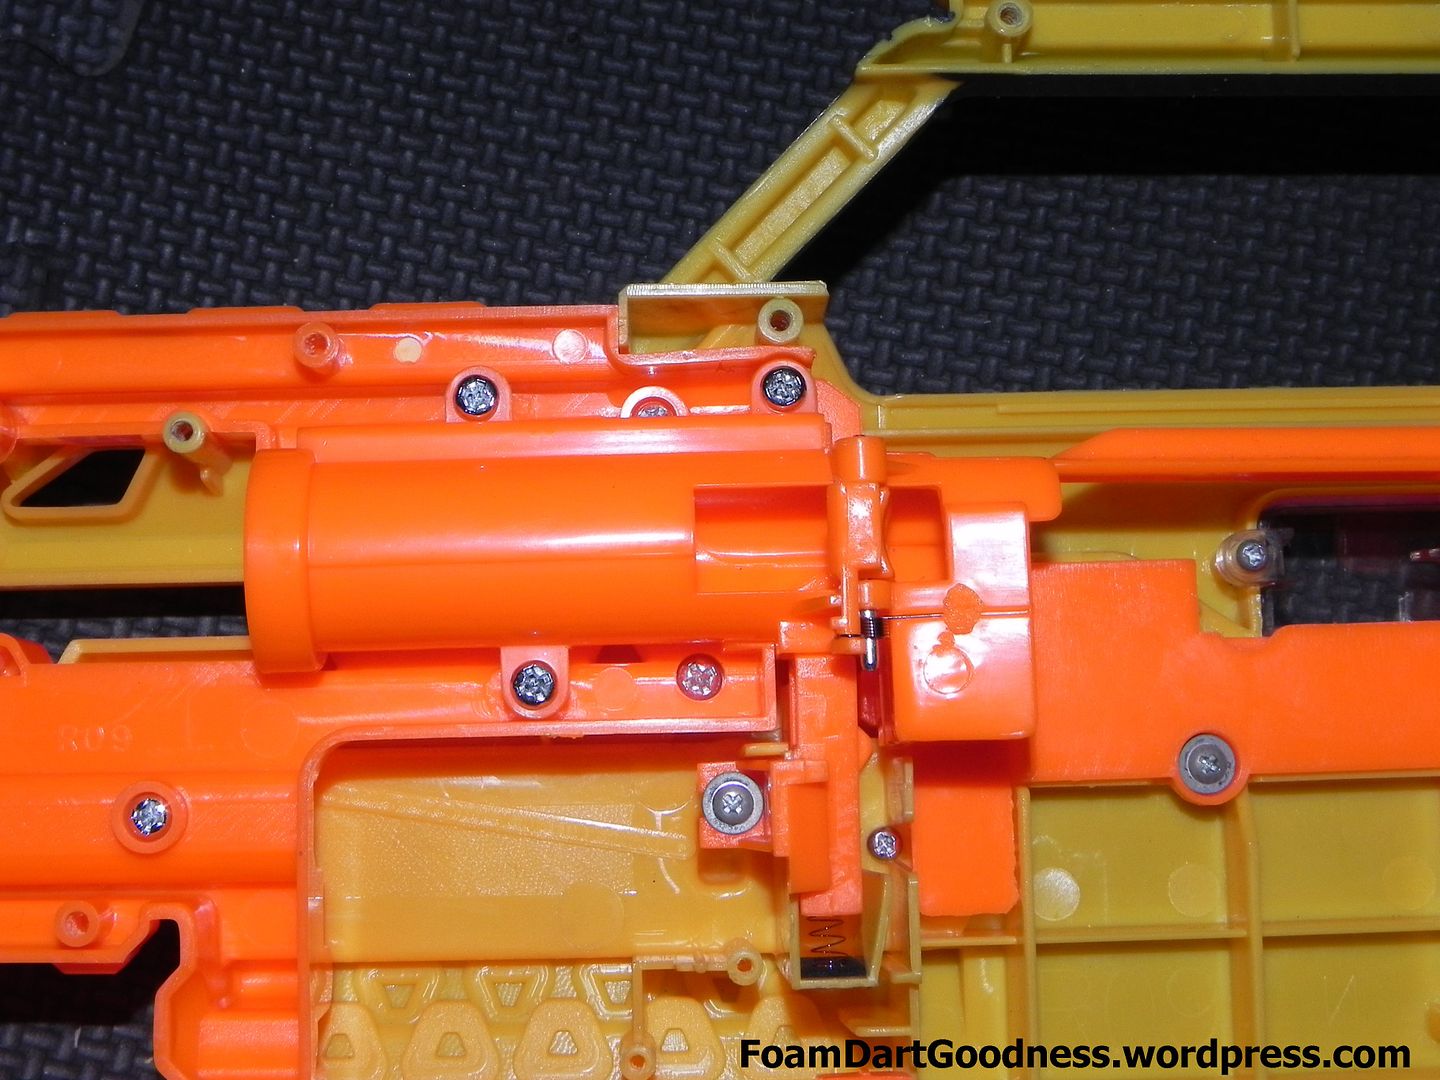
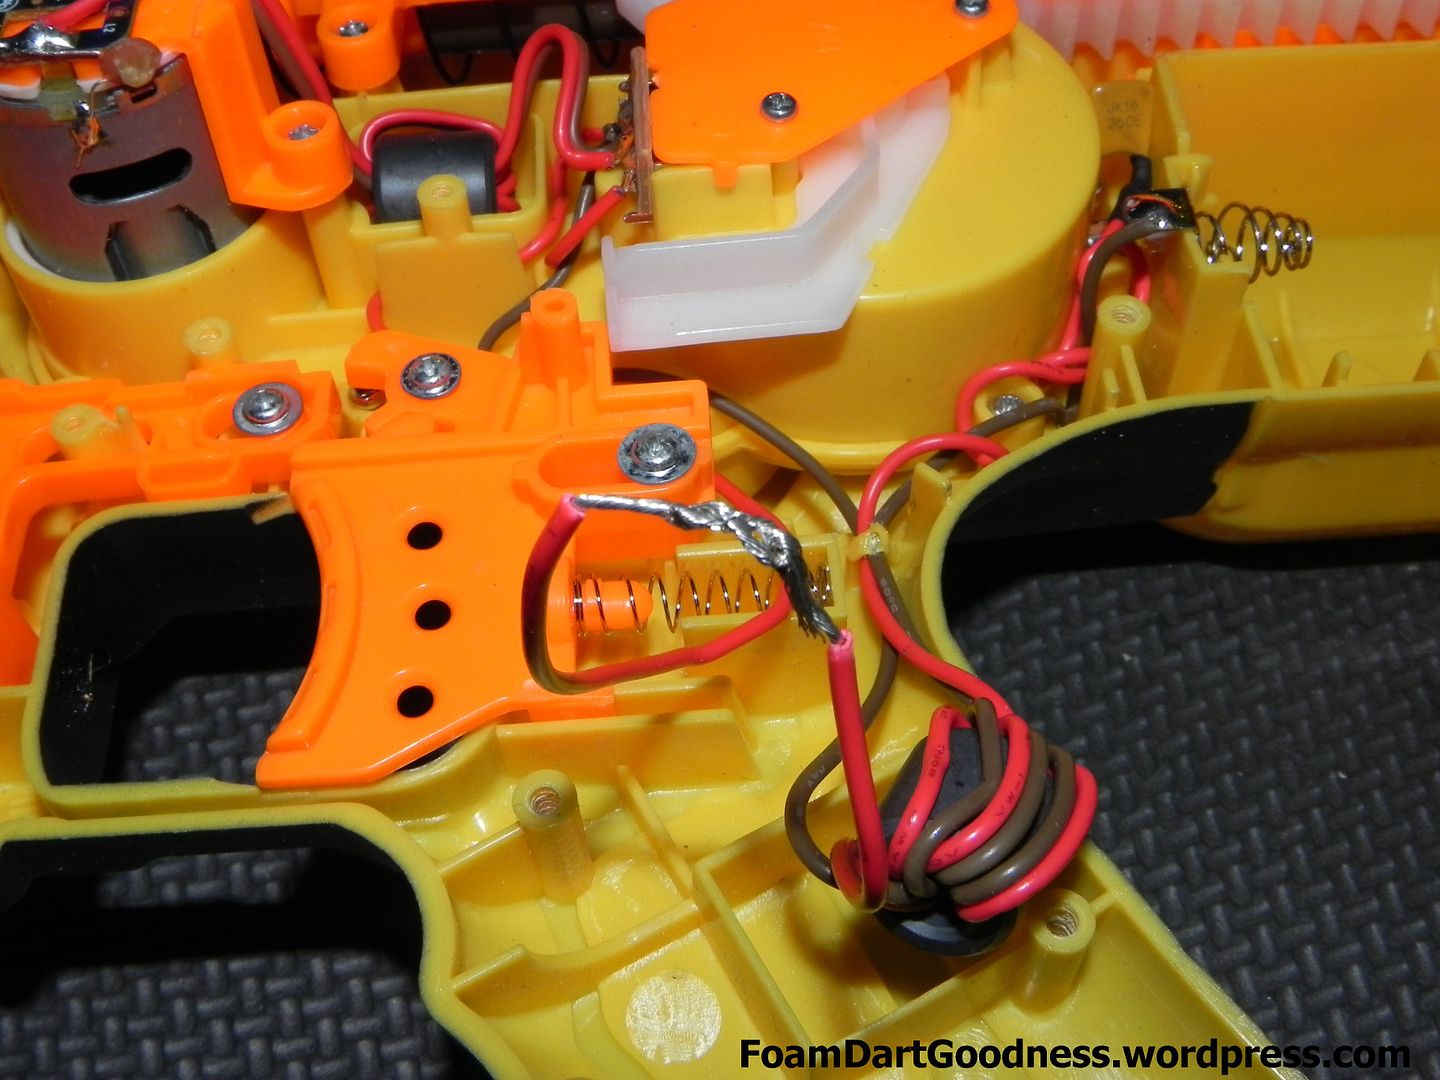
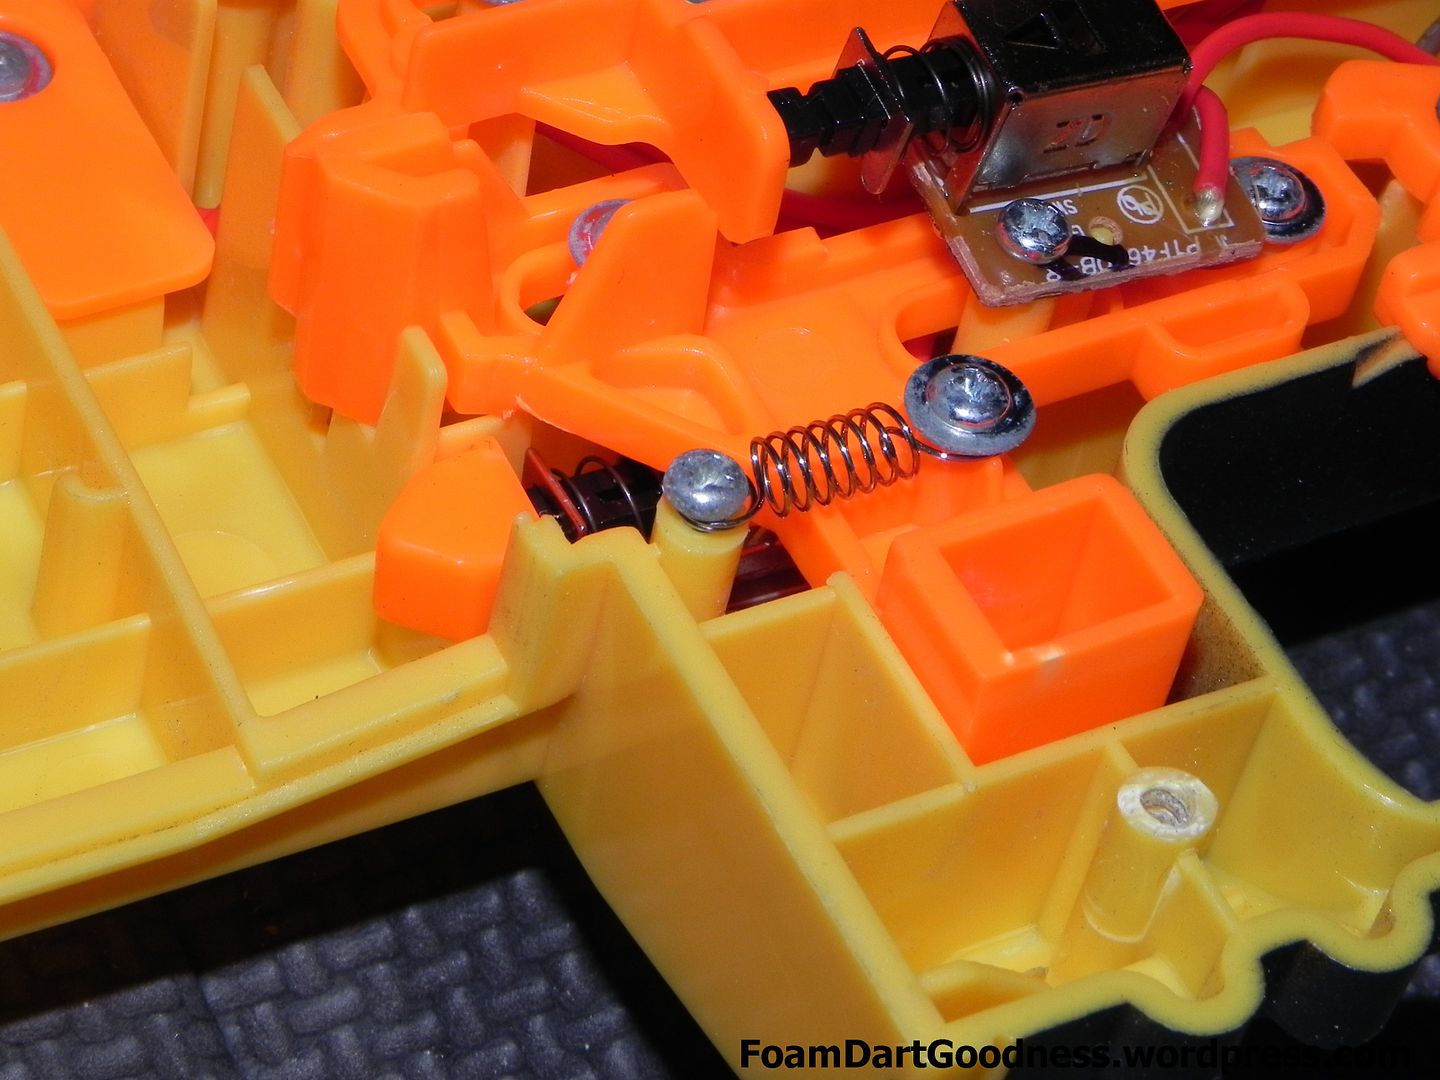
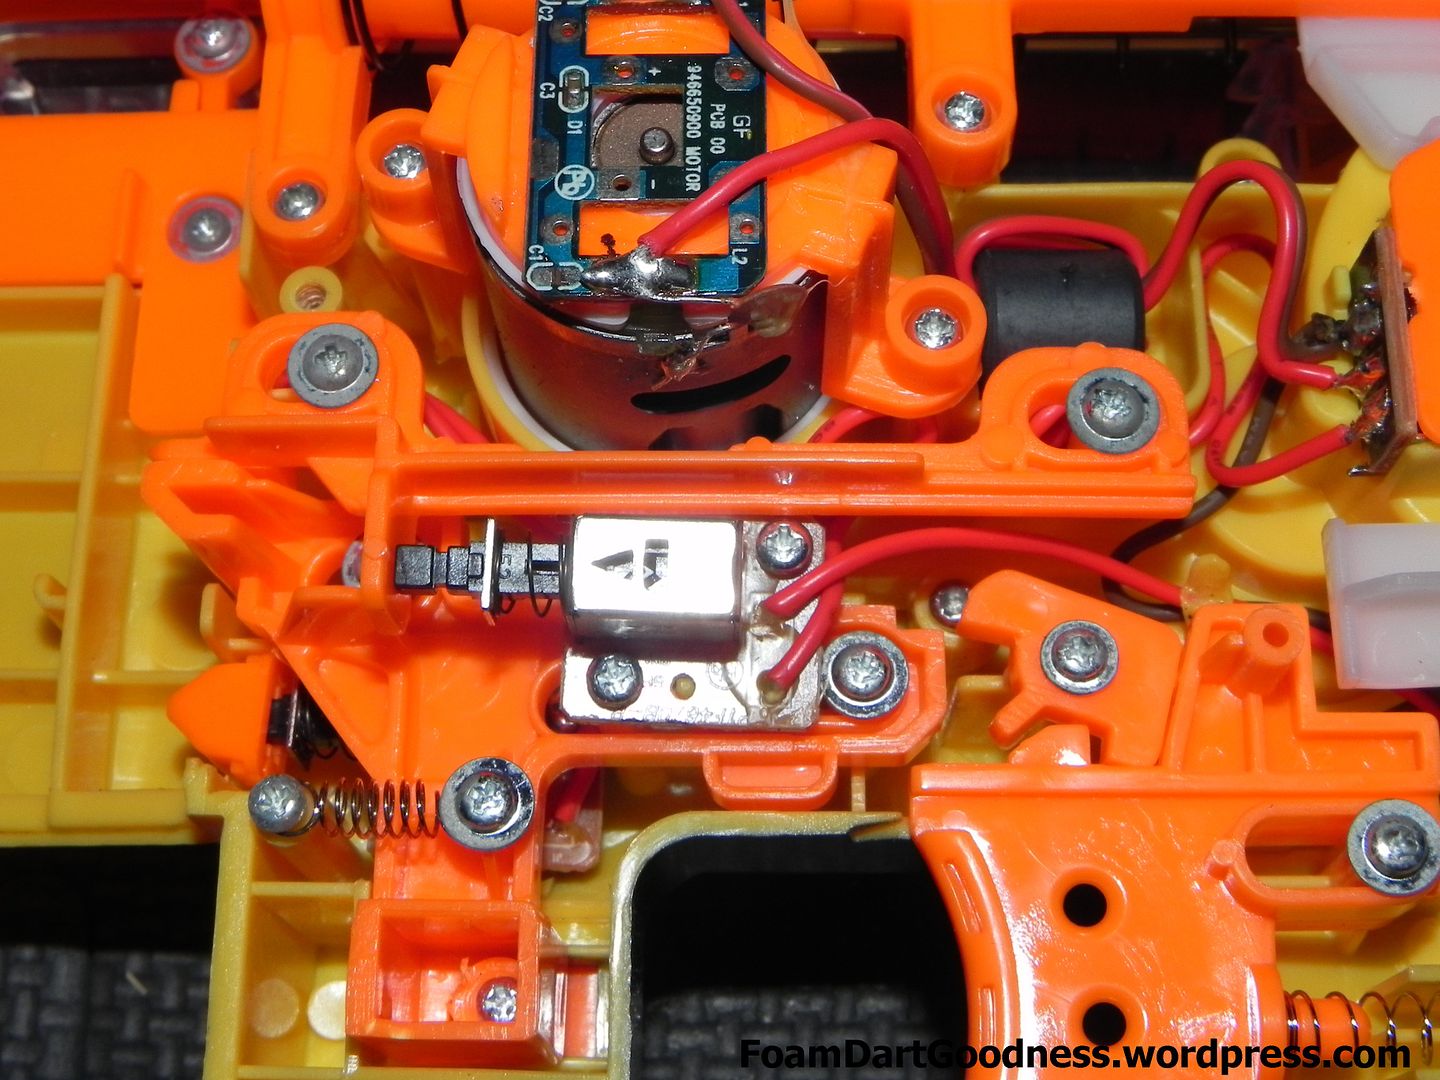
Take a good look at the internals, understand how they work.
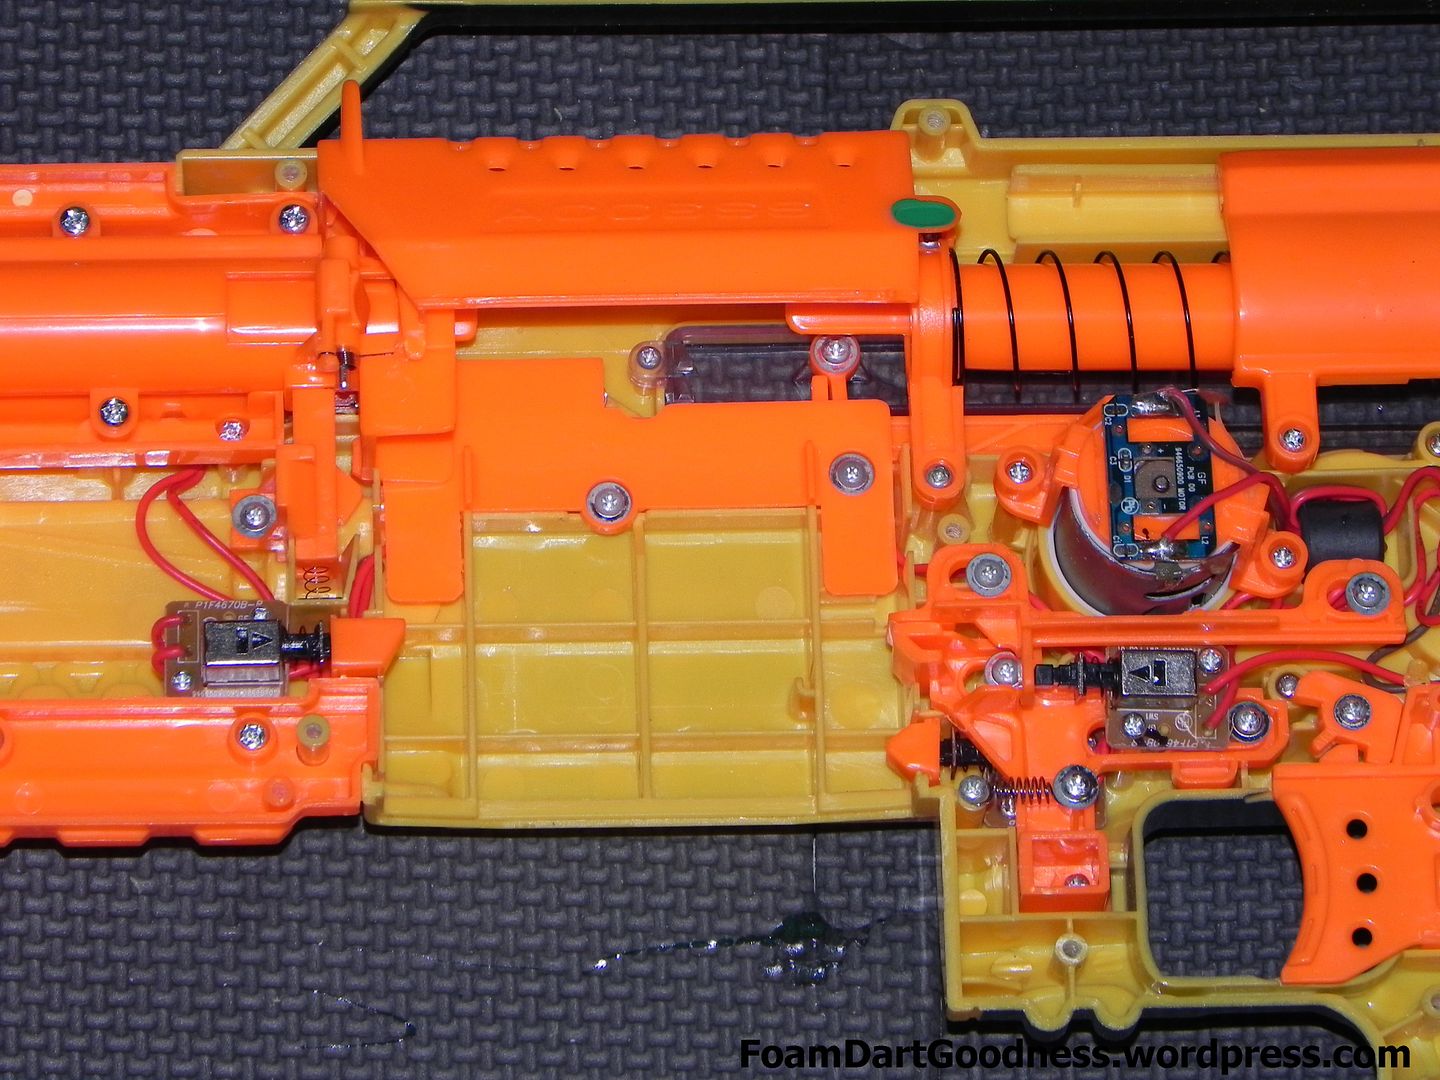
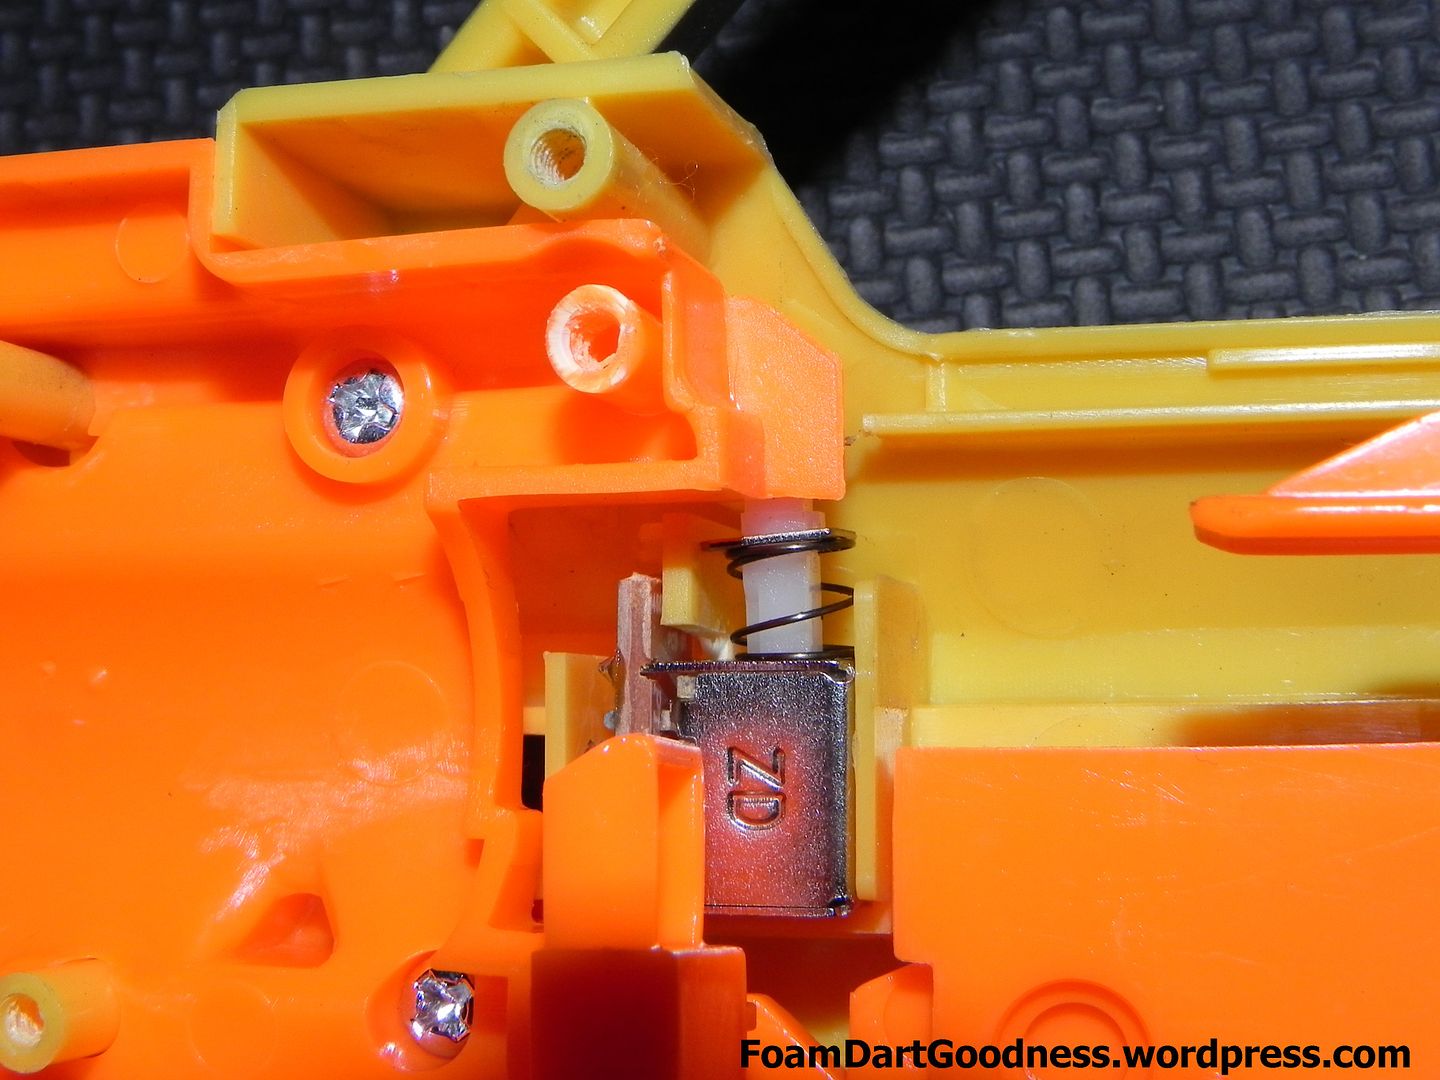
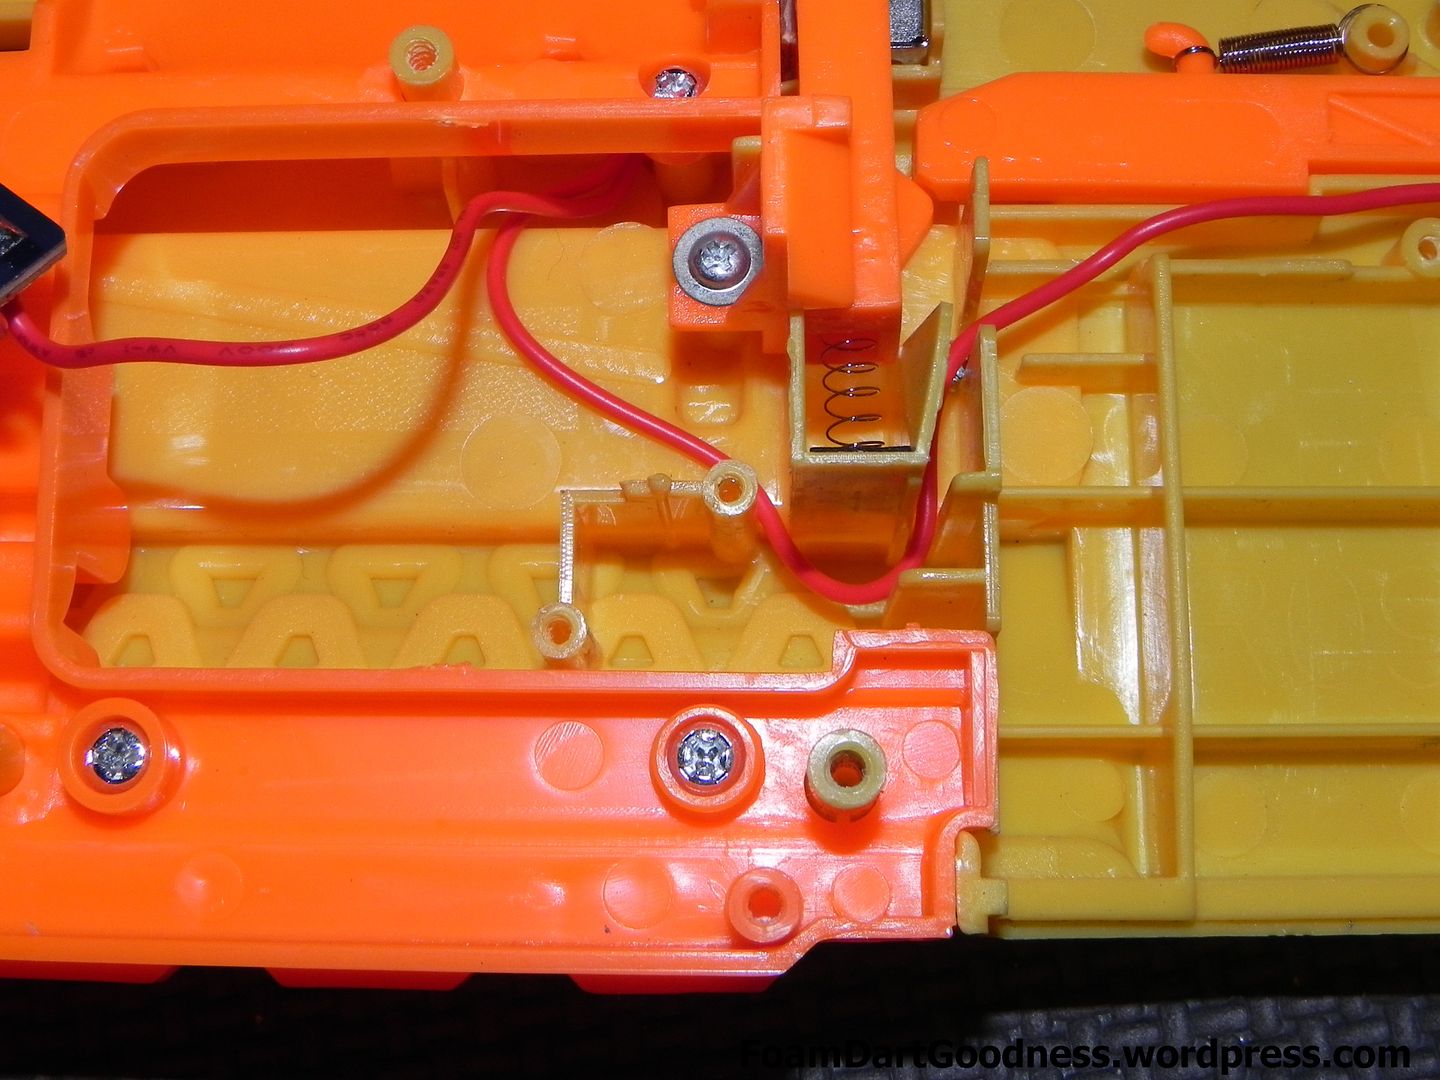
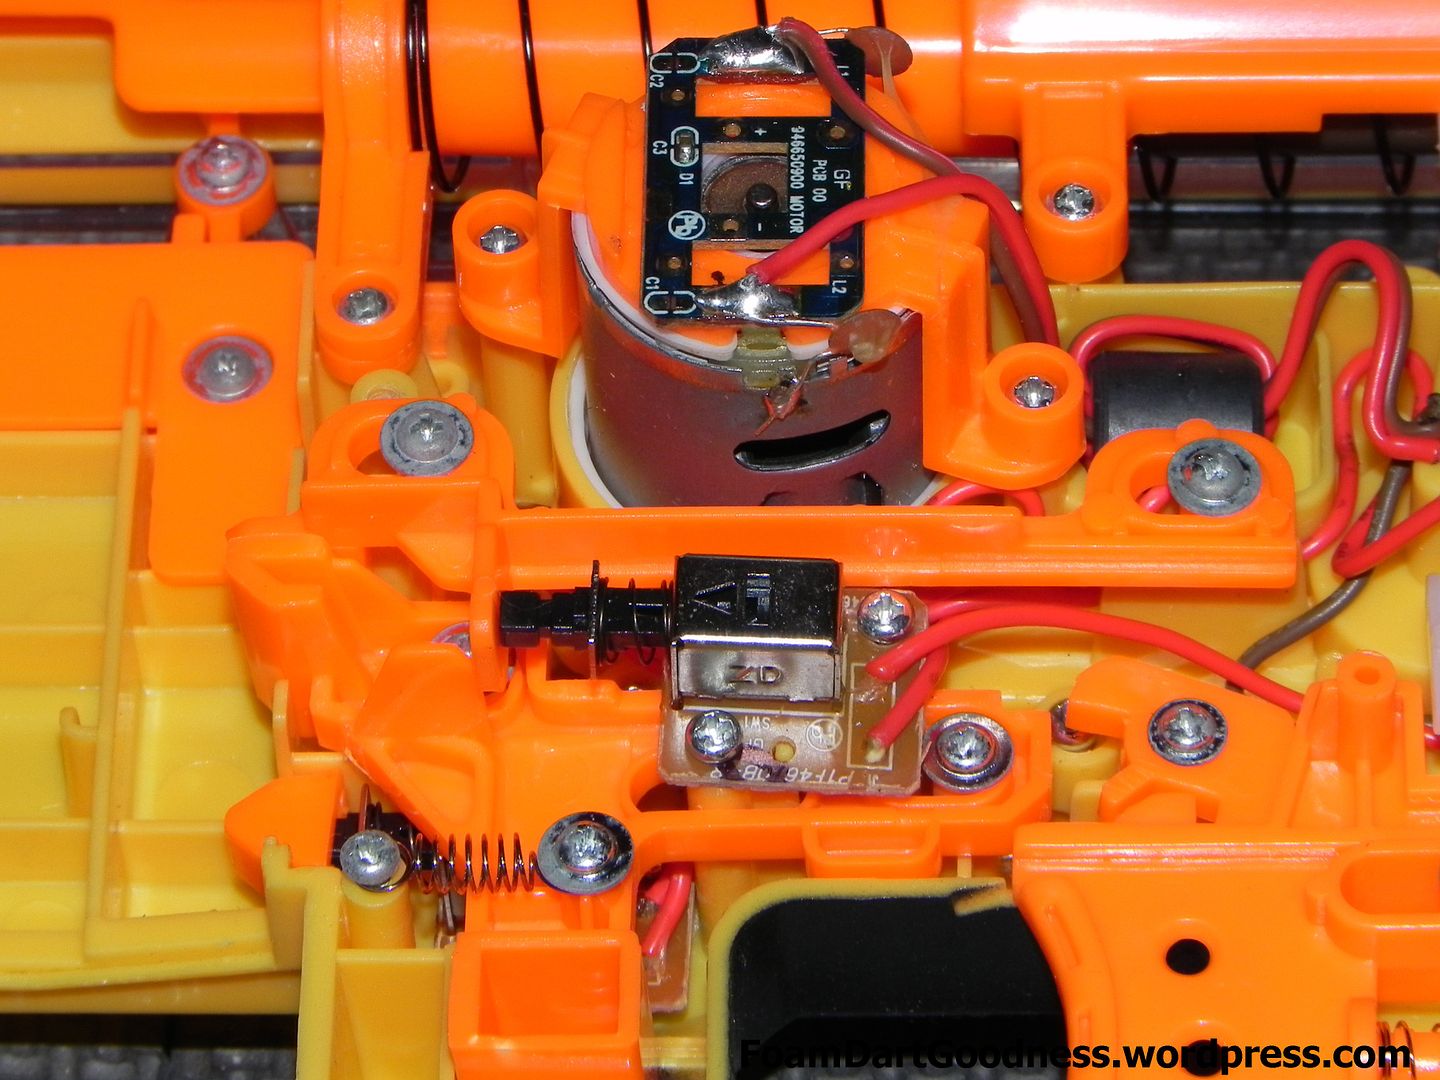
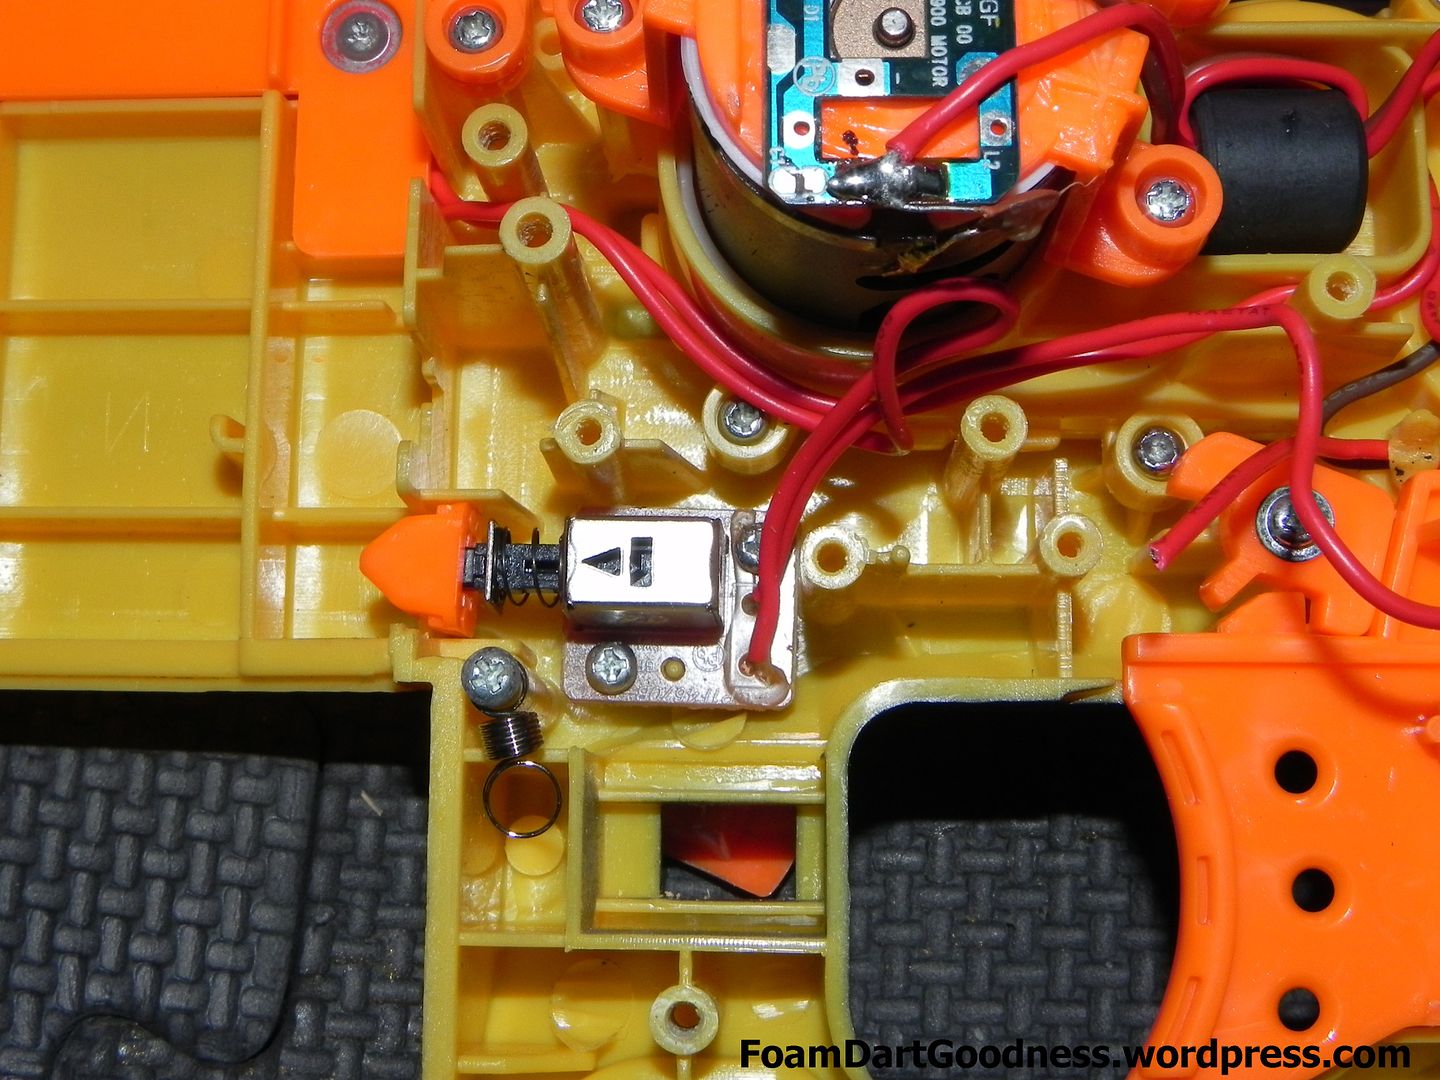
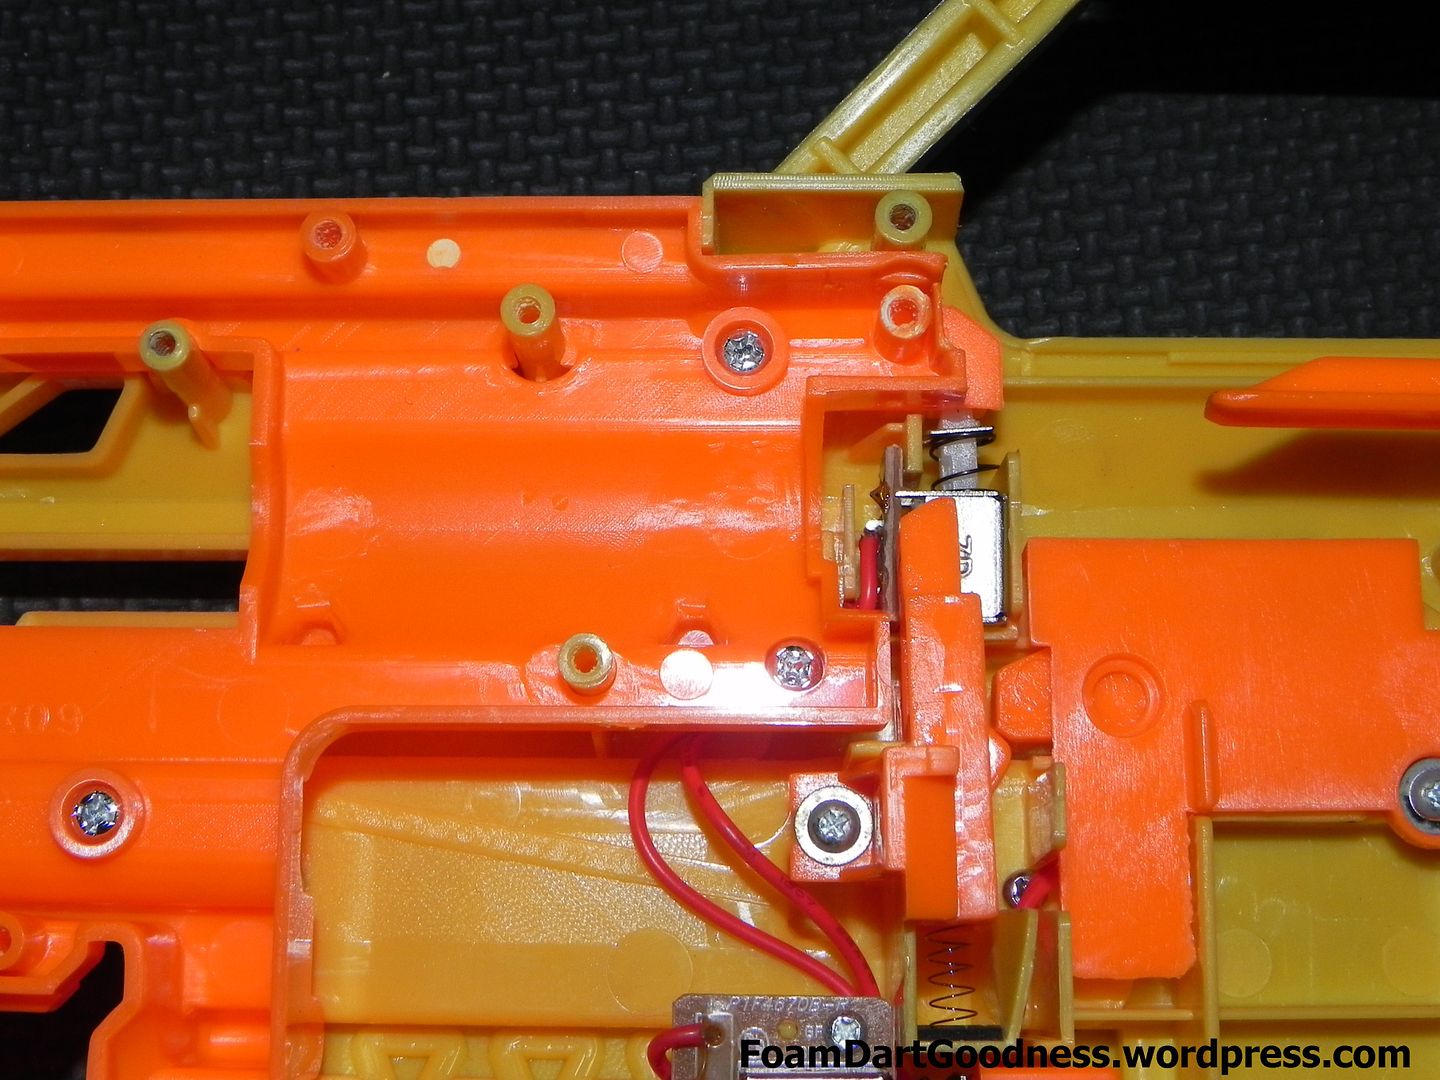
You can see here one of the micro-switches that acts as a safety here. This one in particular is one of the three that checks to see if there's a clip in the blaster.
There's another one on the opposite side of the clip well.
And the third hides under the first one we looked at.
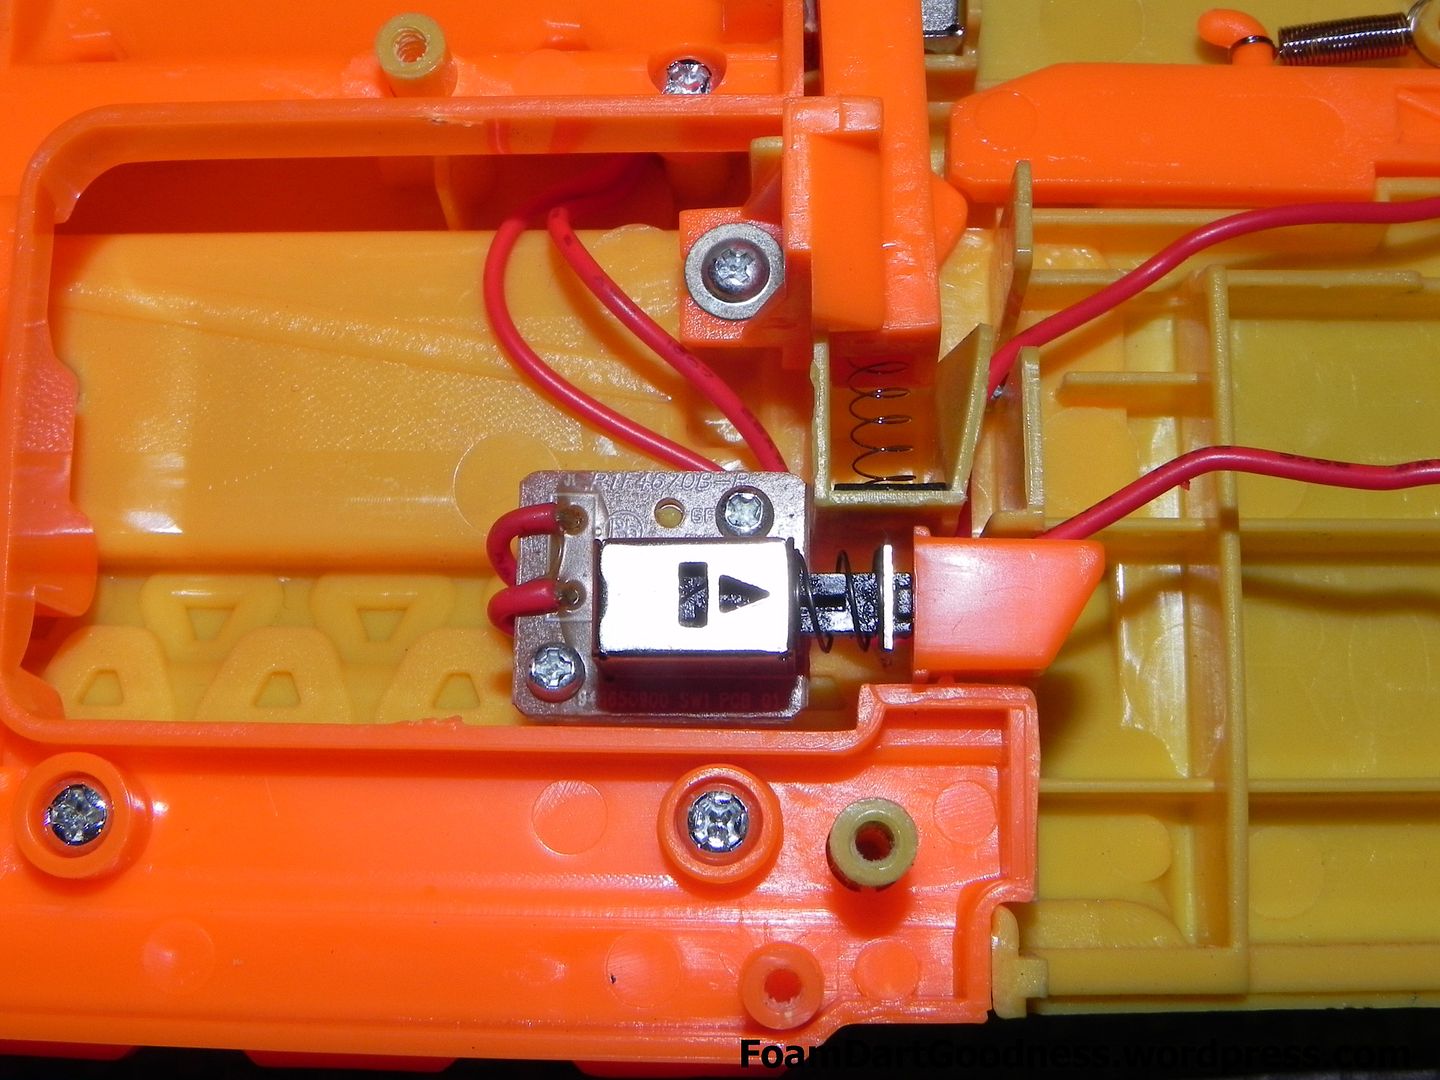
You can't really see this one, but there's another micro-switch under here that checks to see if the jam door is closed.

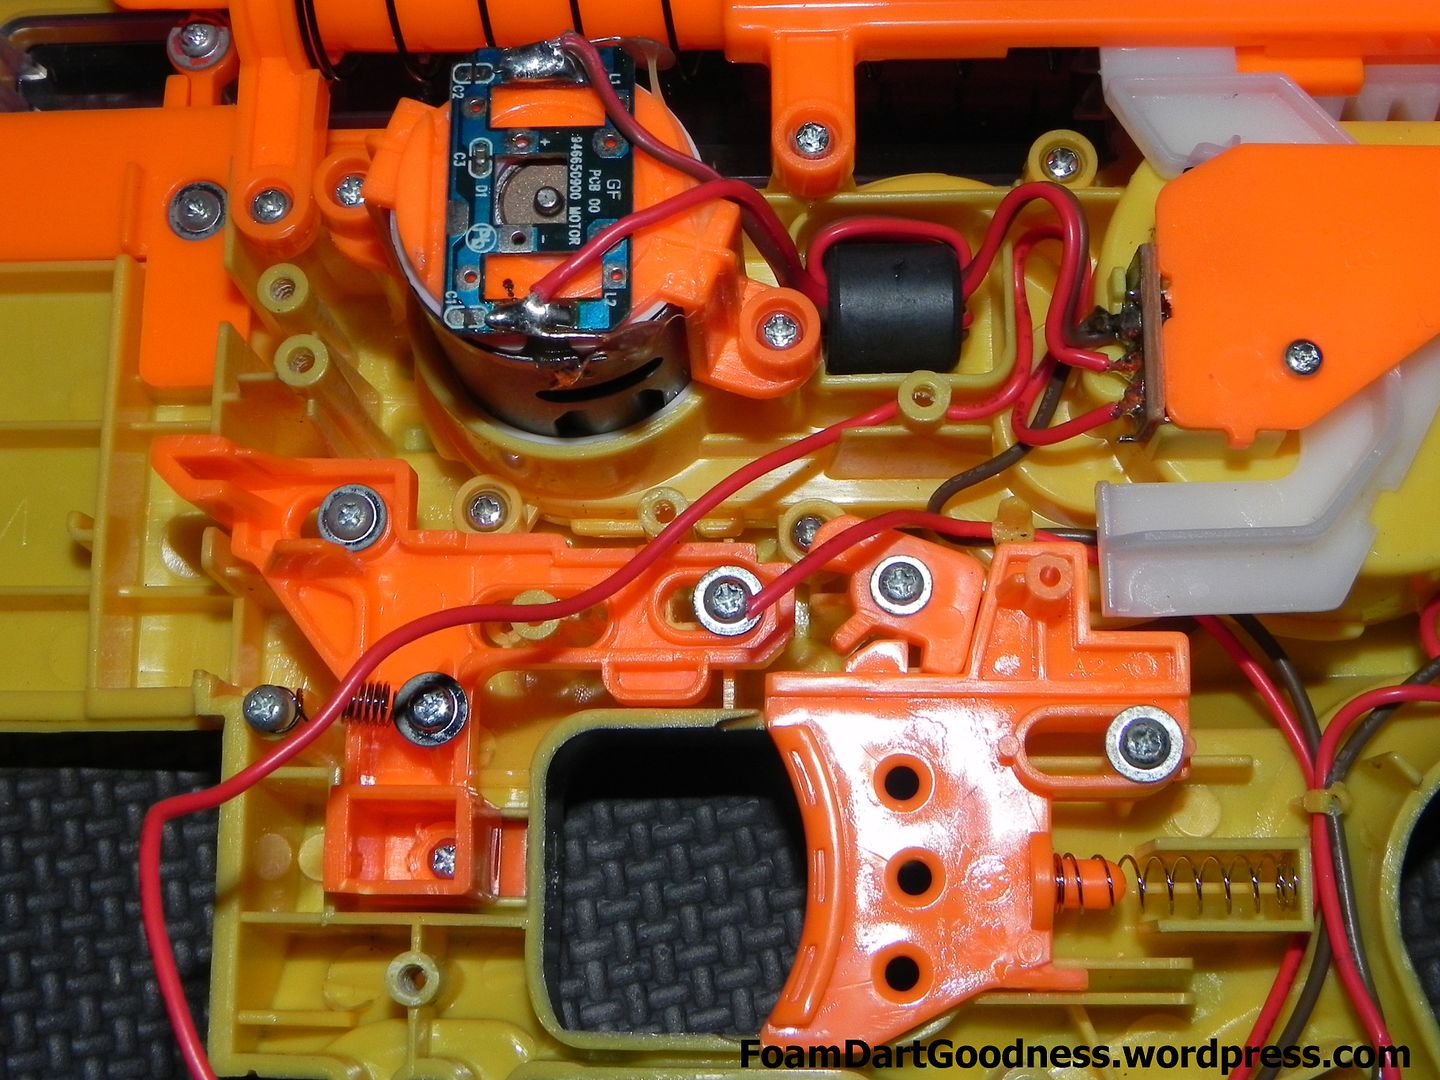
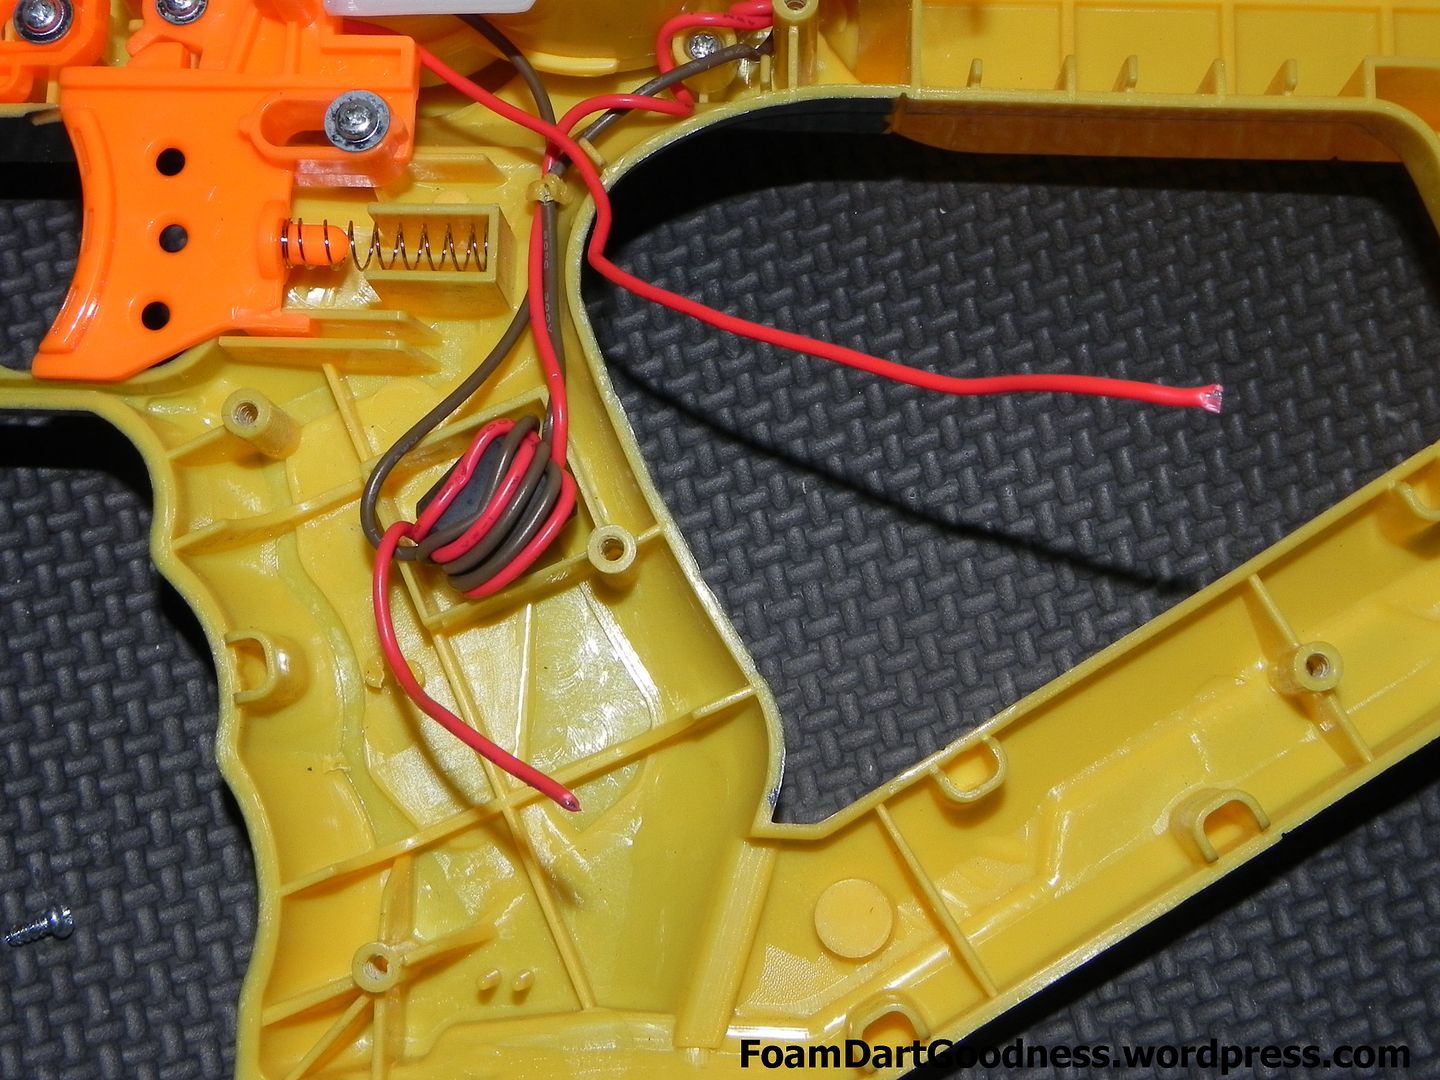
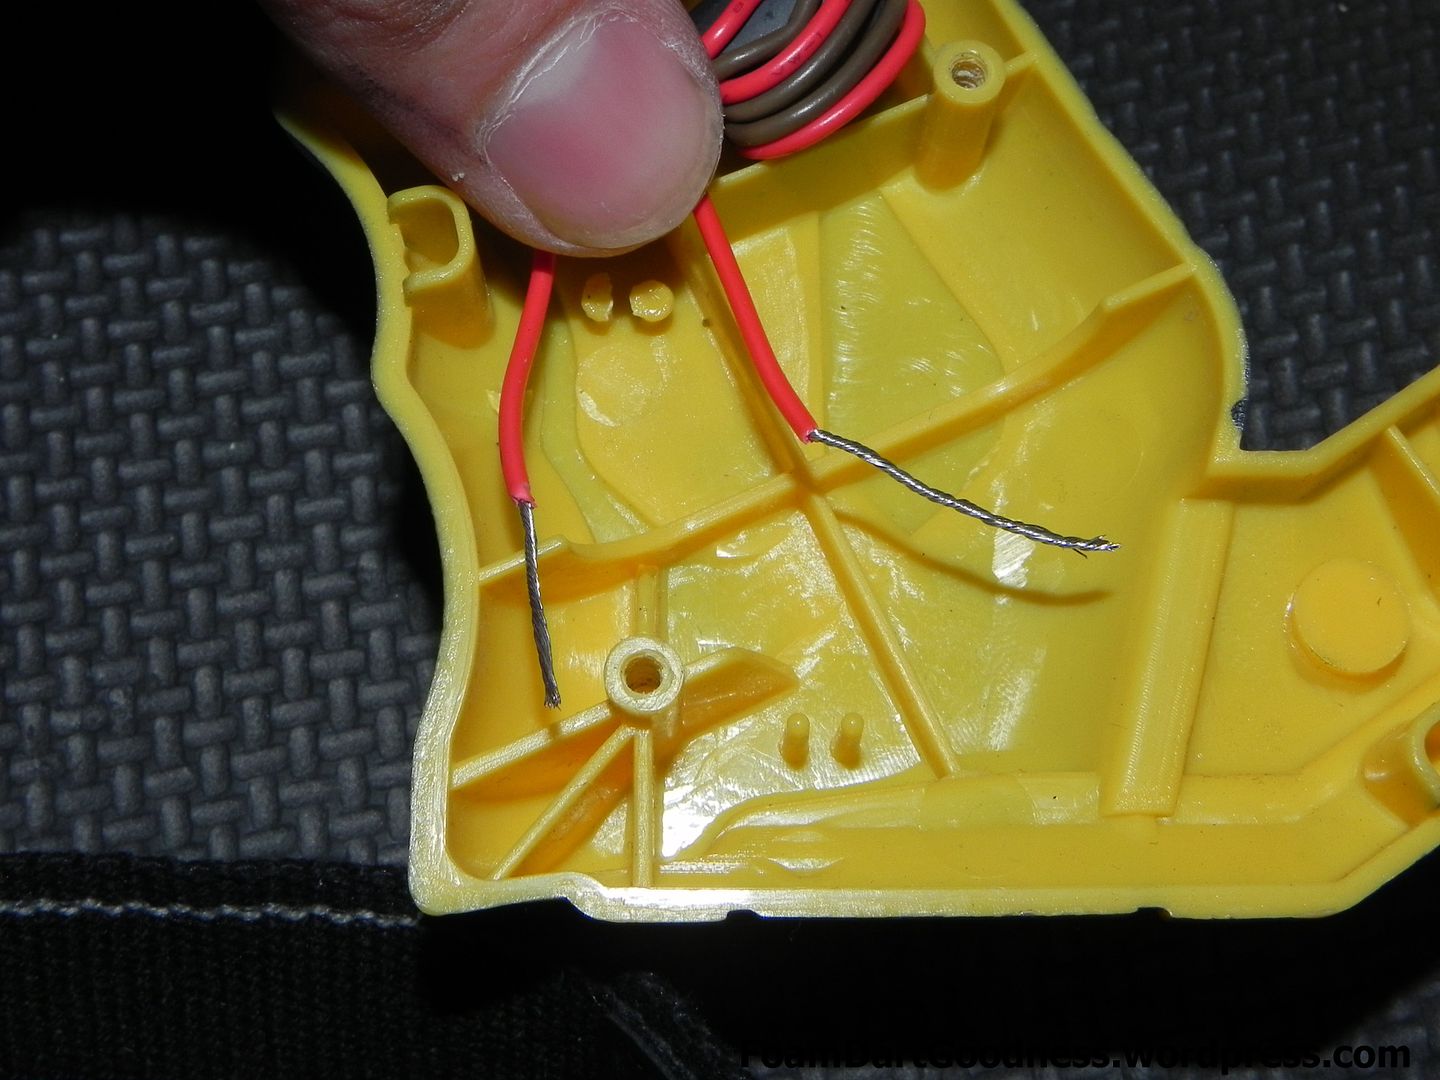
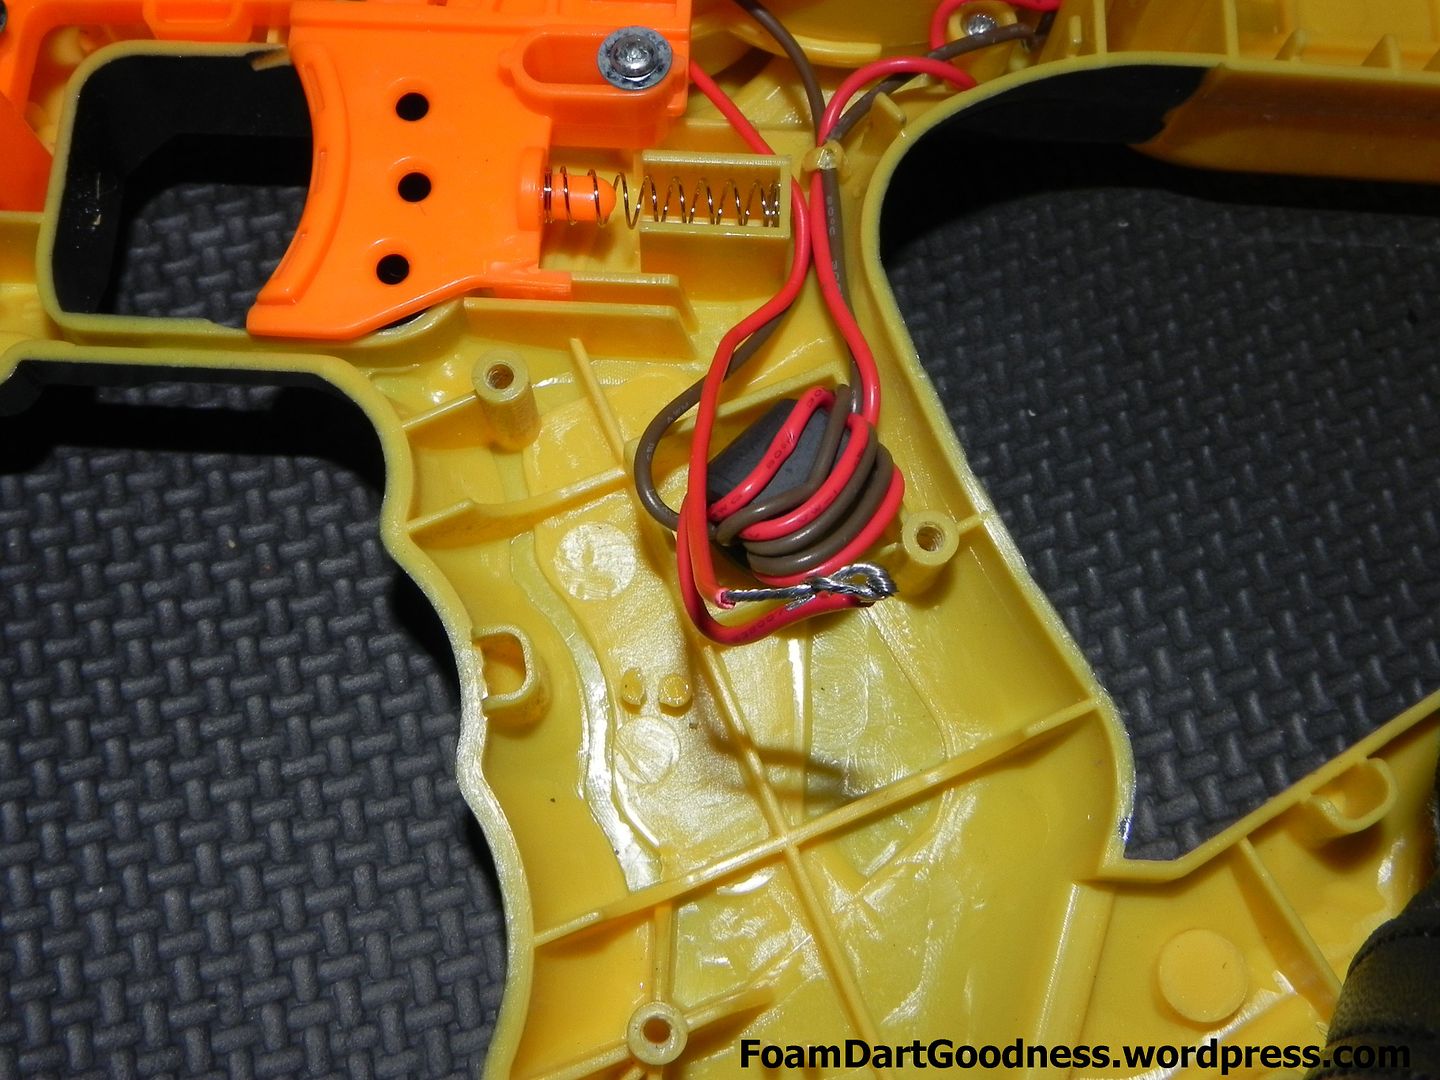
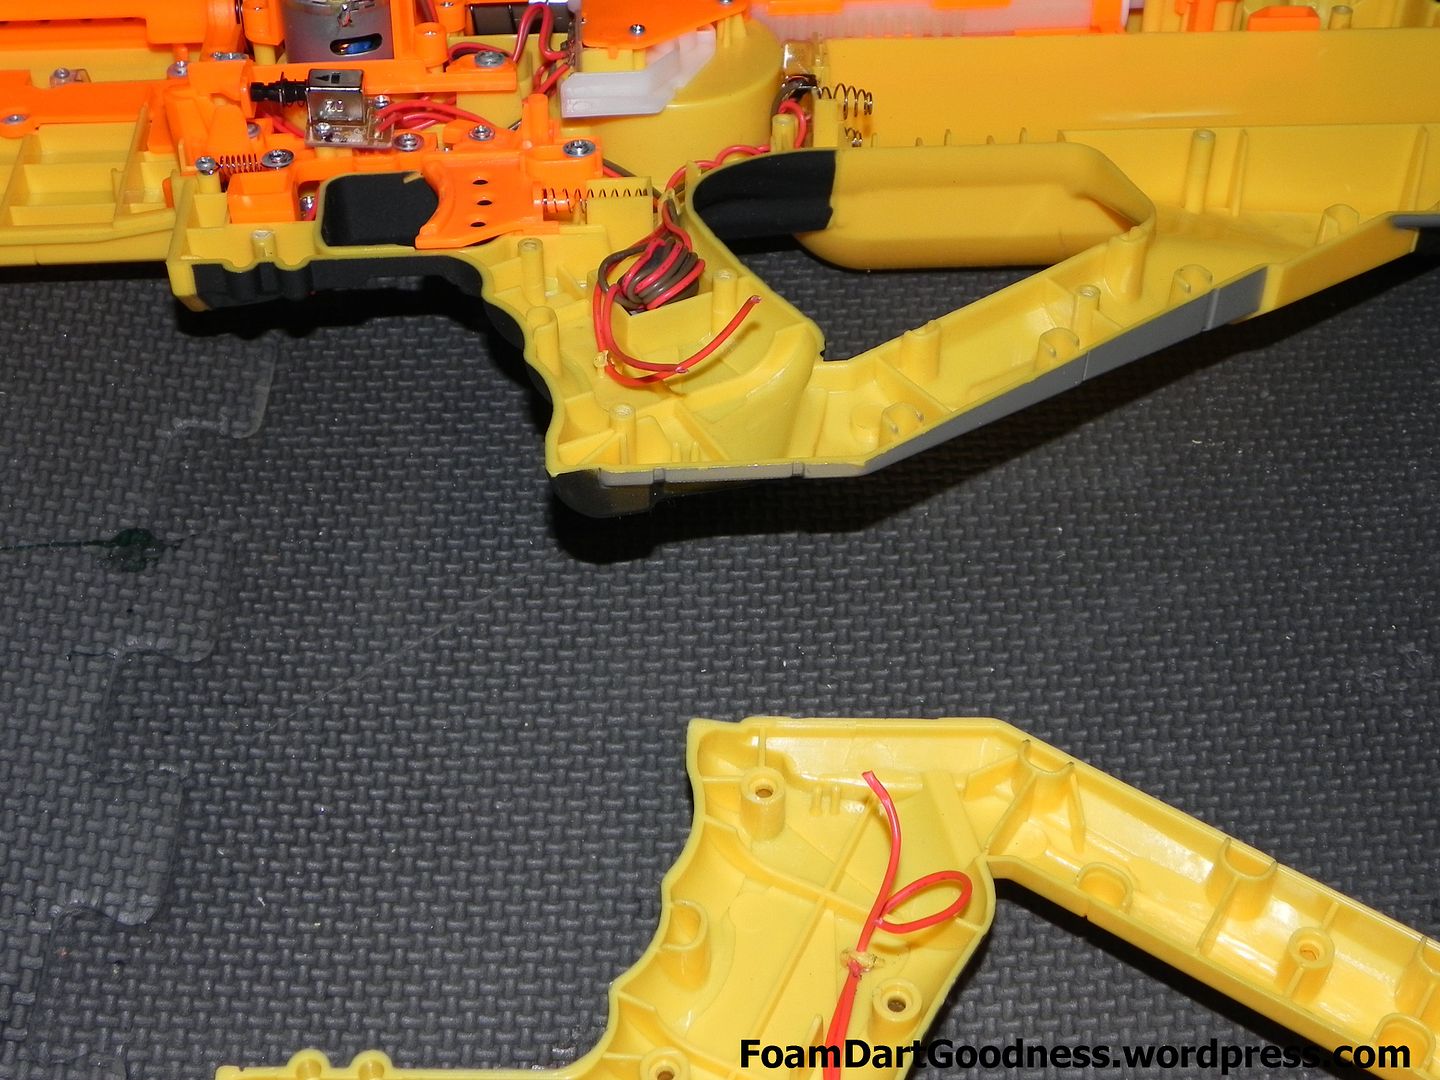
I hadn't mentioned this above but I also decided to remove the power switch on this blaster too. Again, I didn't want to accidentally knock it mid-game and turn the blaster off.
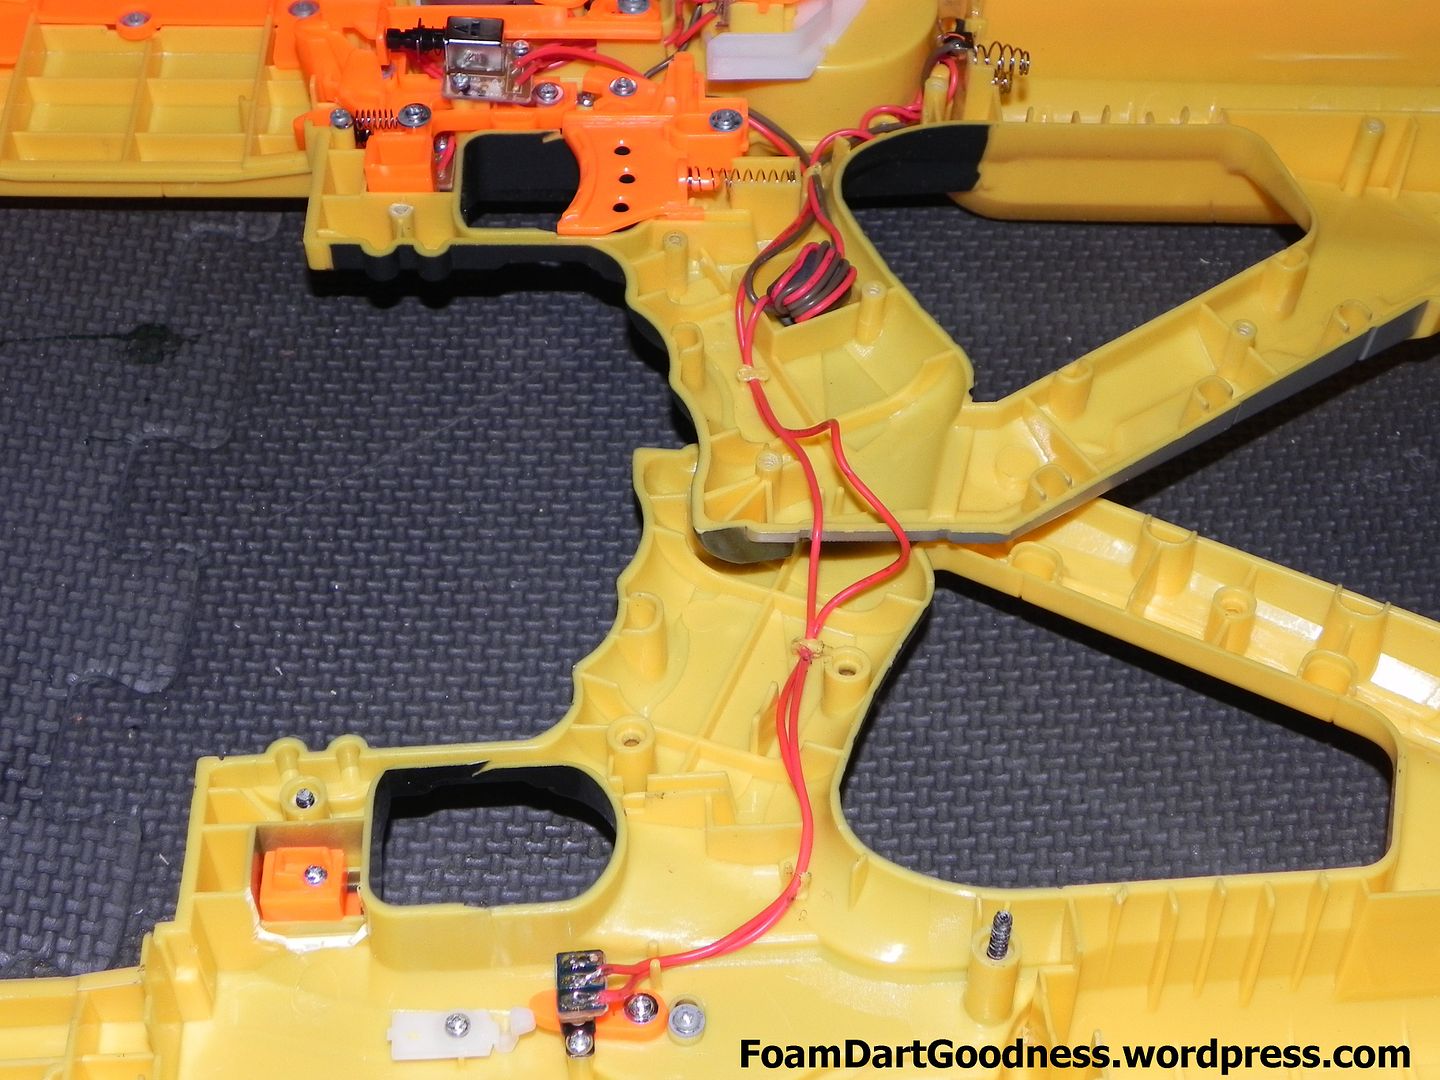
Simply cut the wires to the switch.
Ok, time to starts on the micro-switches!
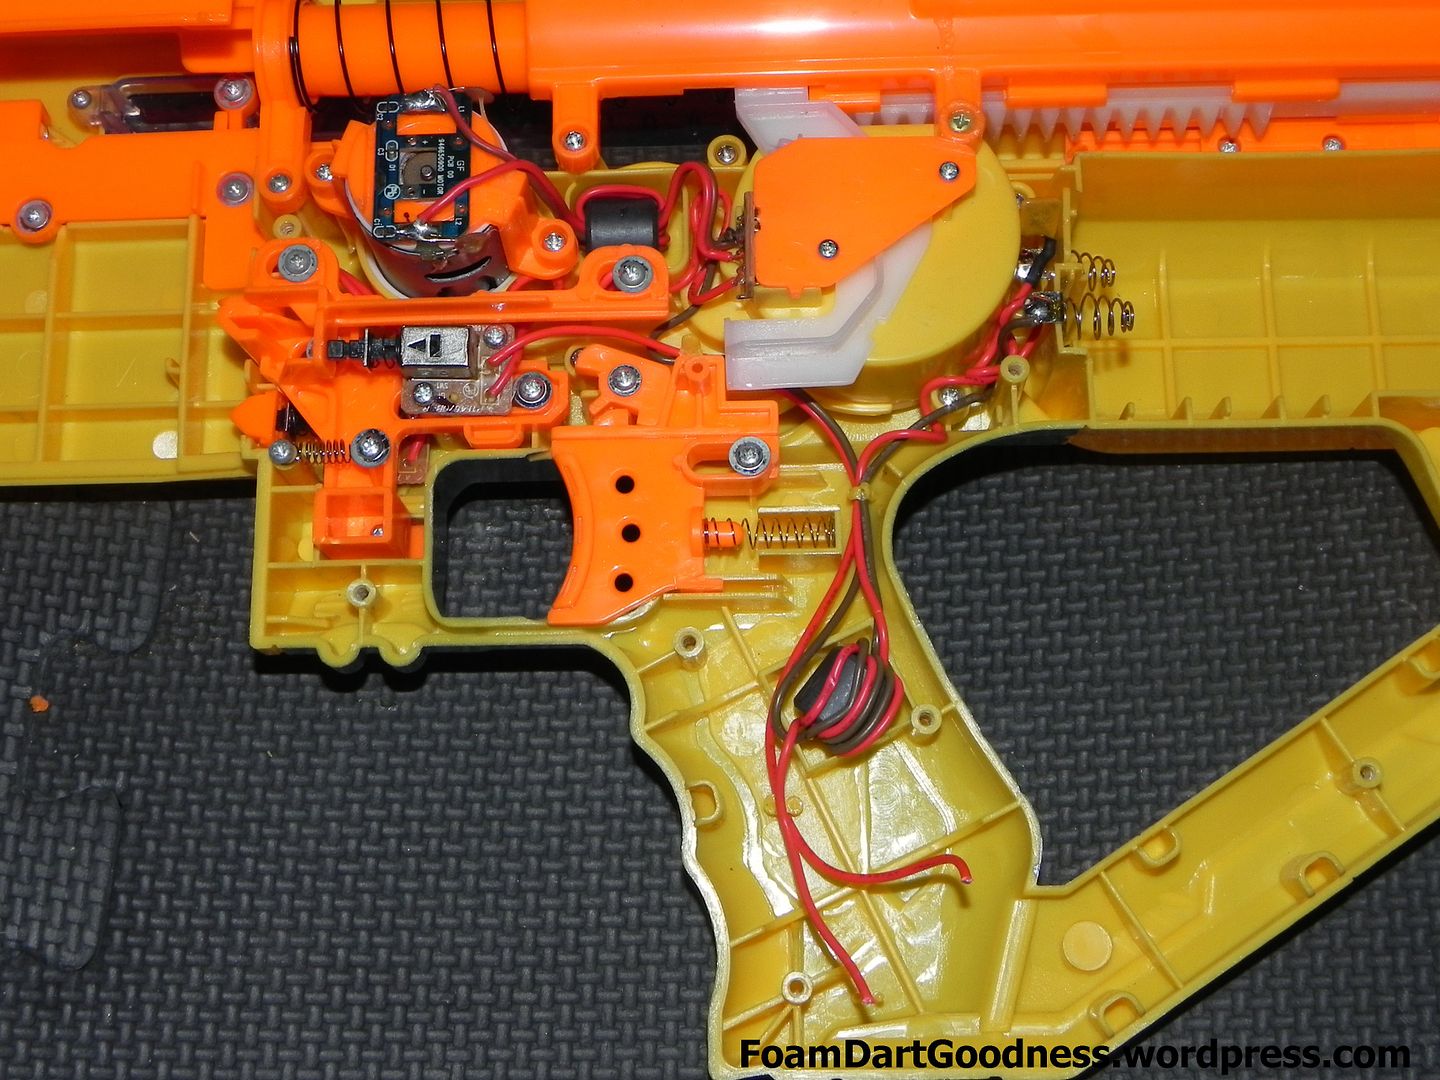
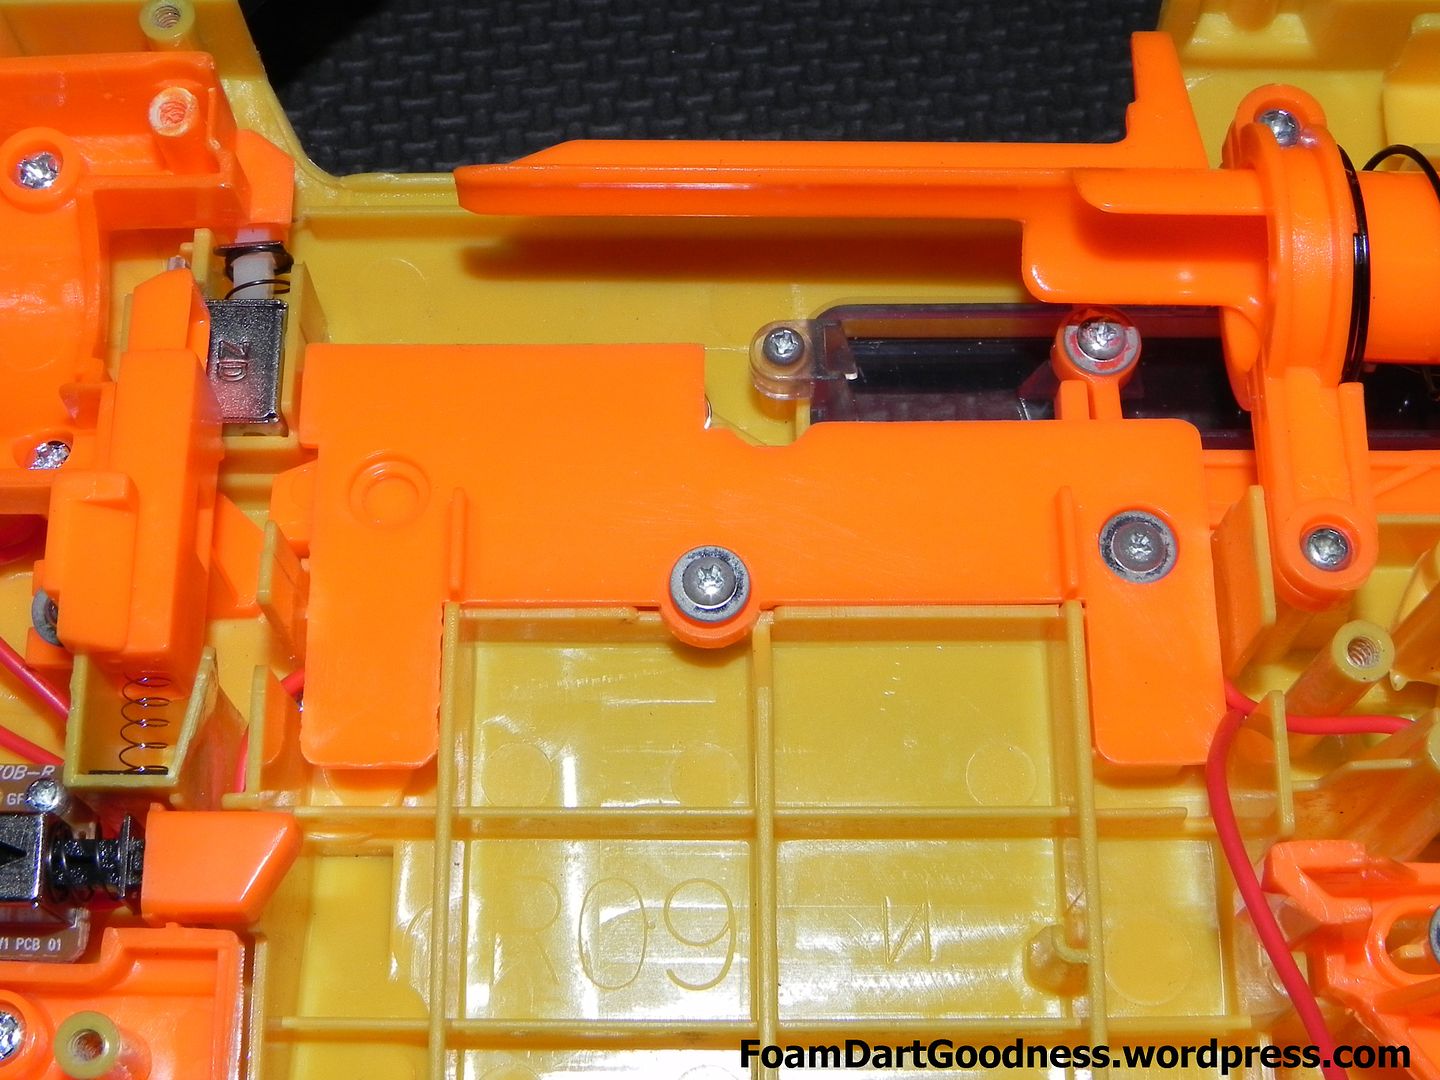
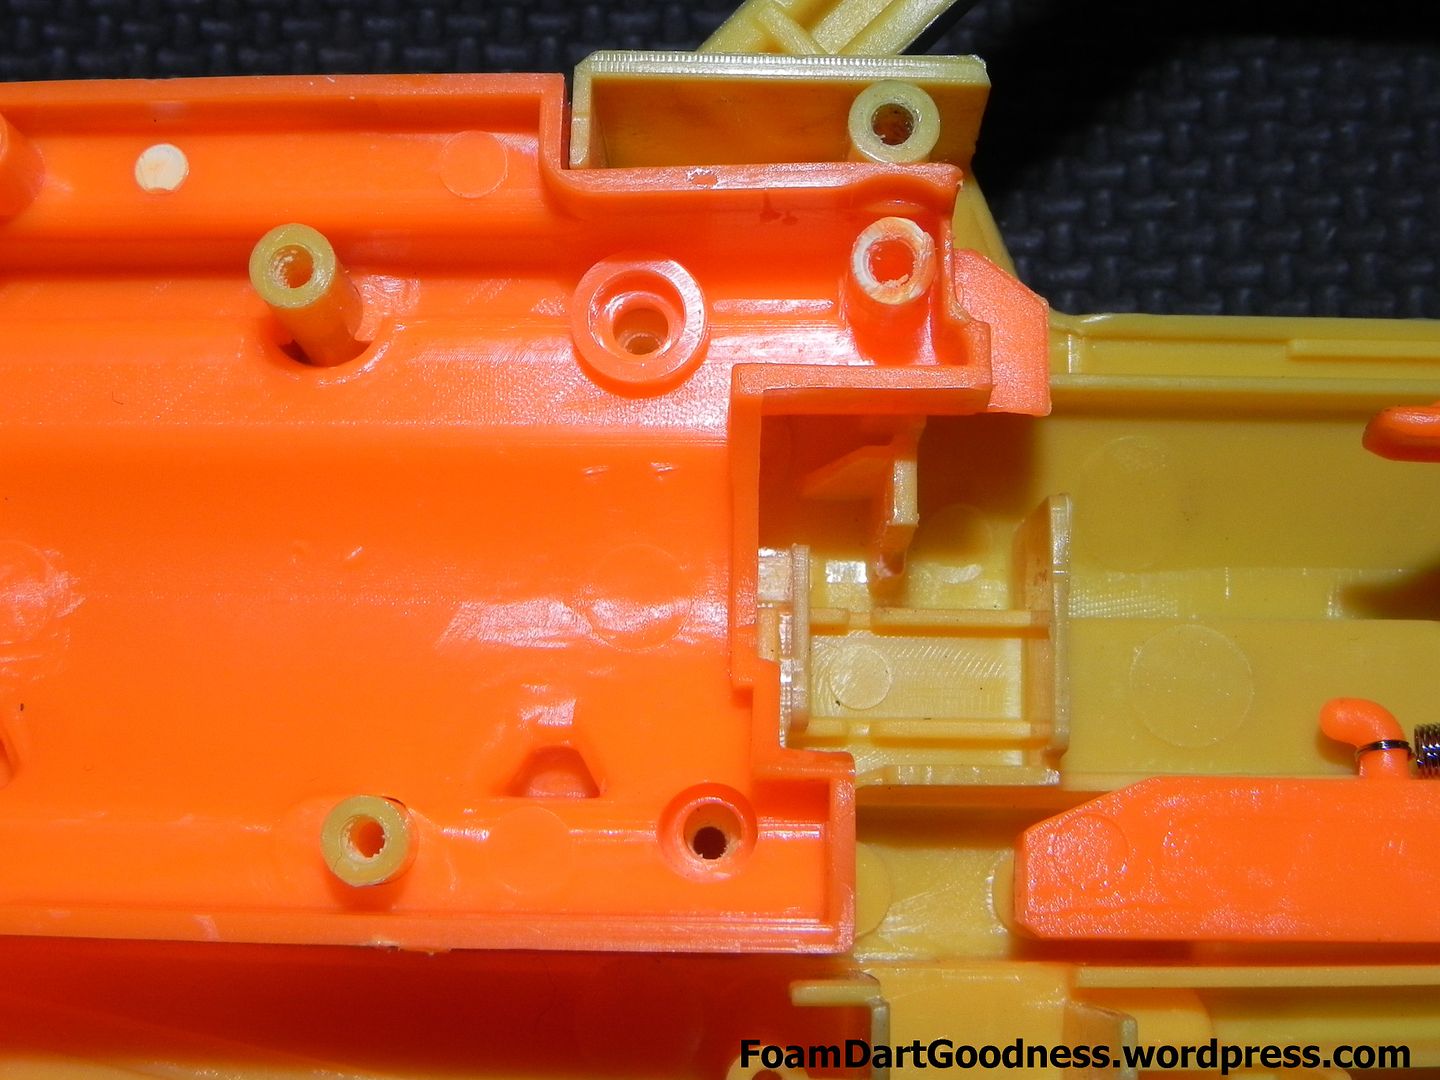
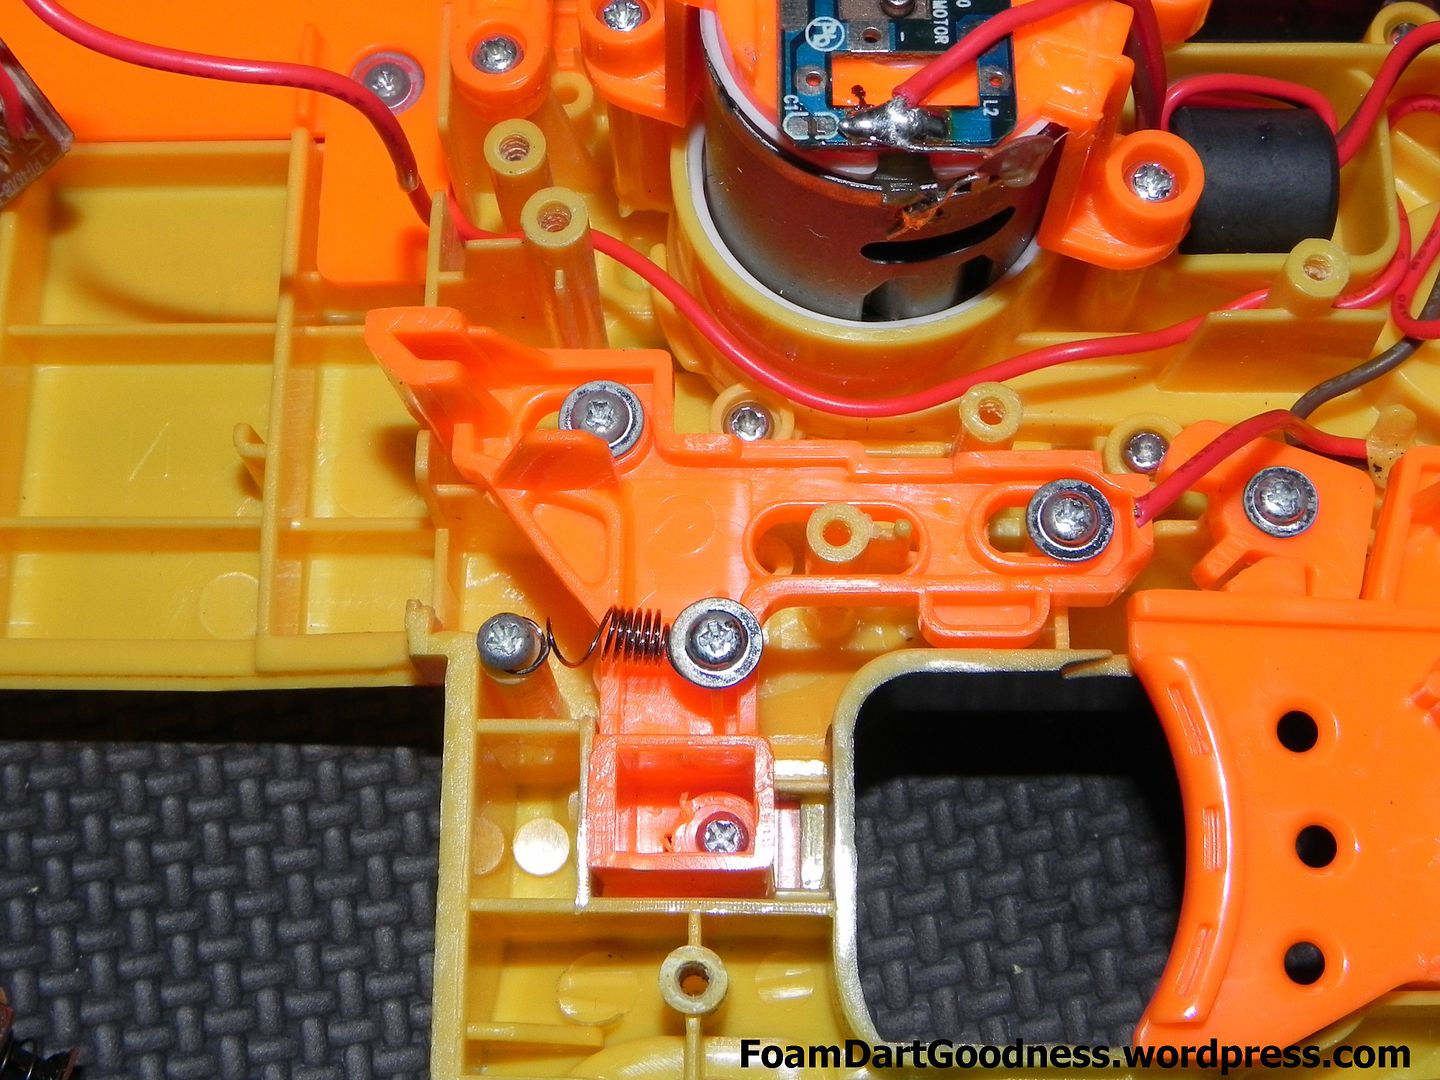
First up, remove the two screws holding this bar immediately above the micro-switch here.
Allowing us to then remove said bar.
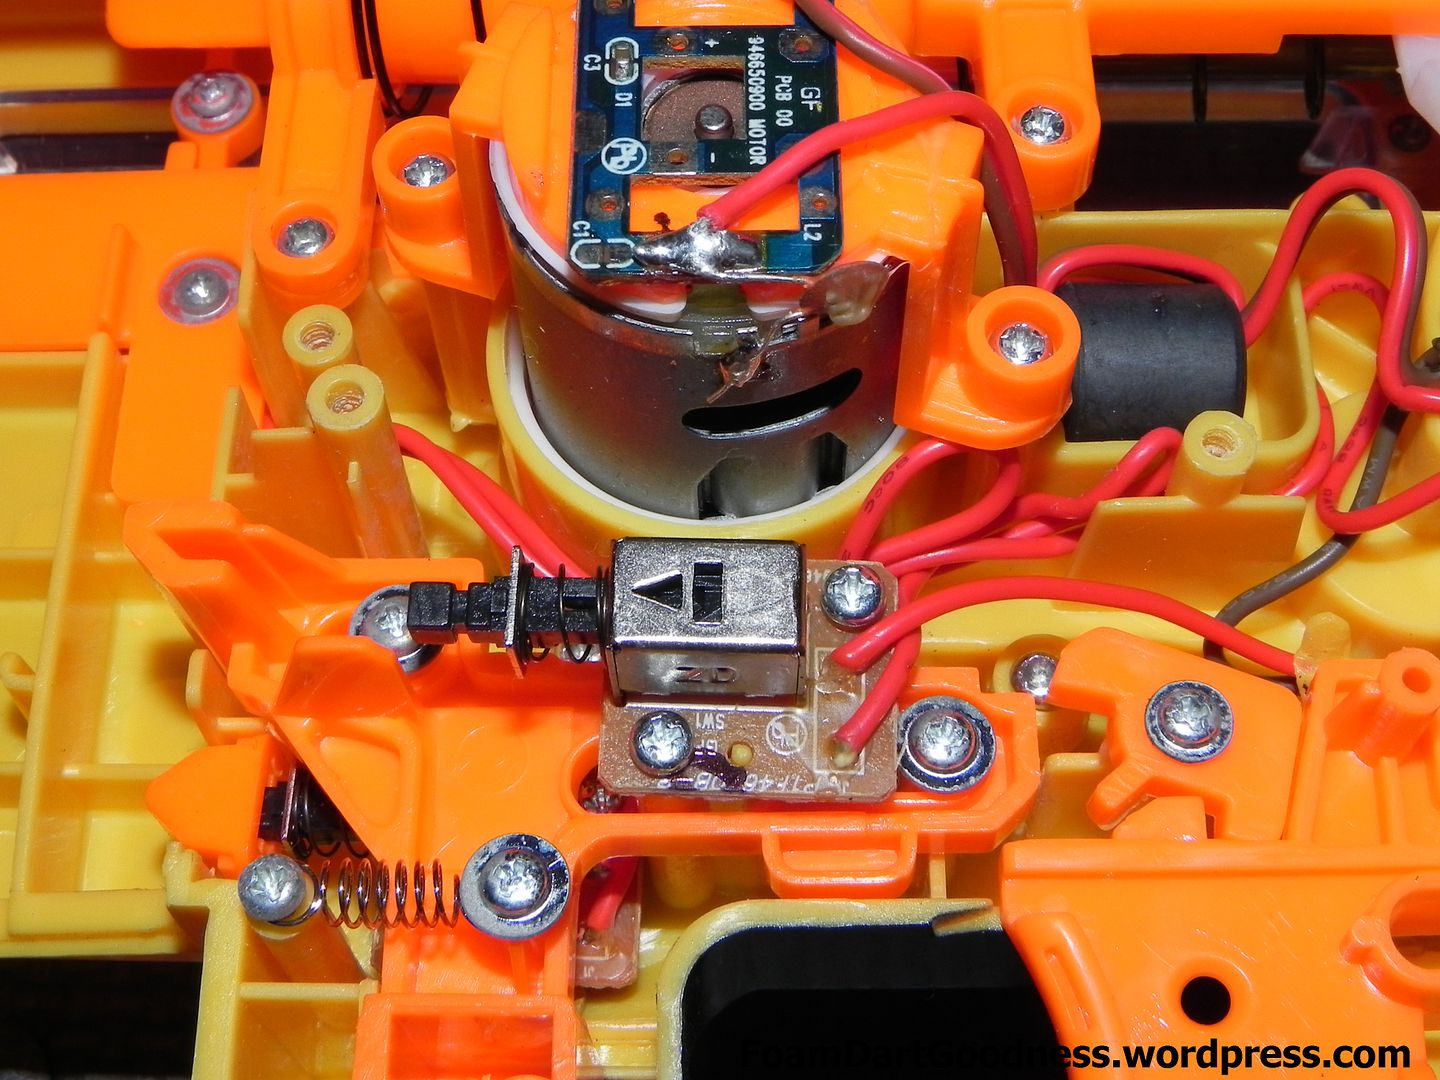
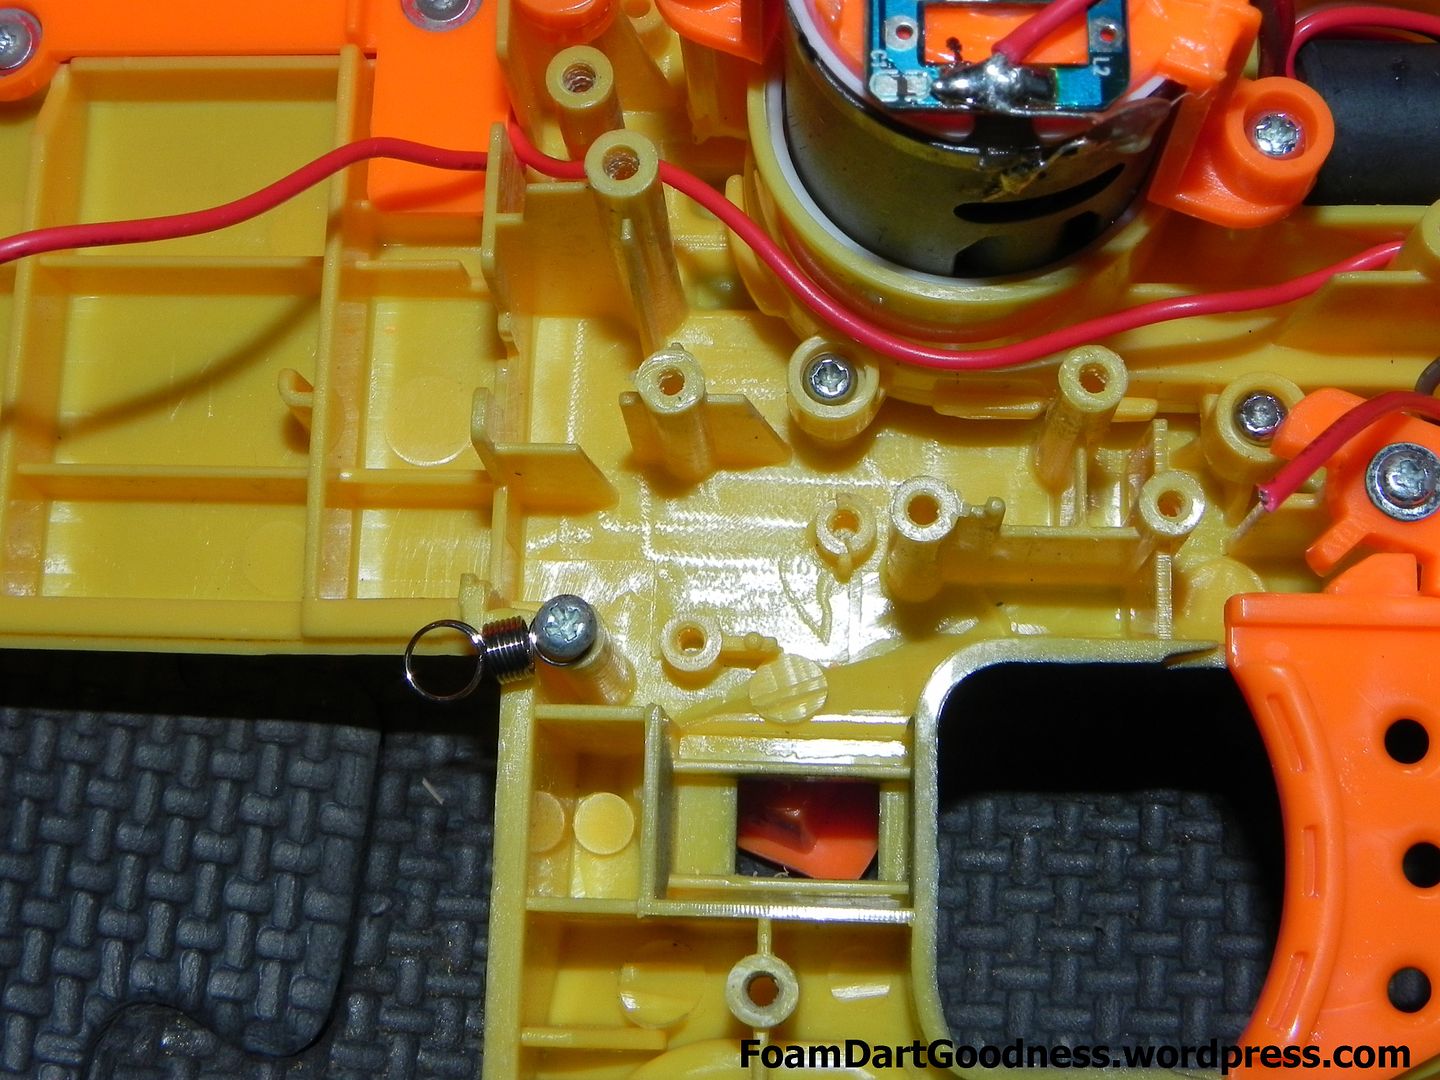
The remove the two screws holding the switch itself in.
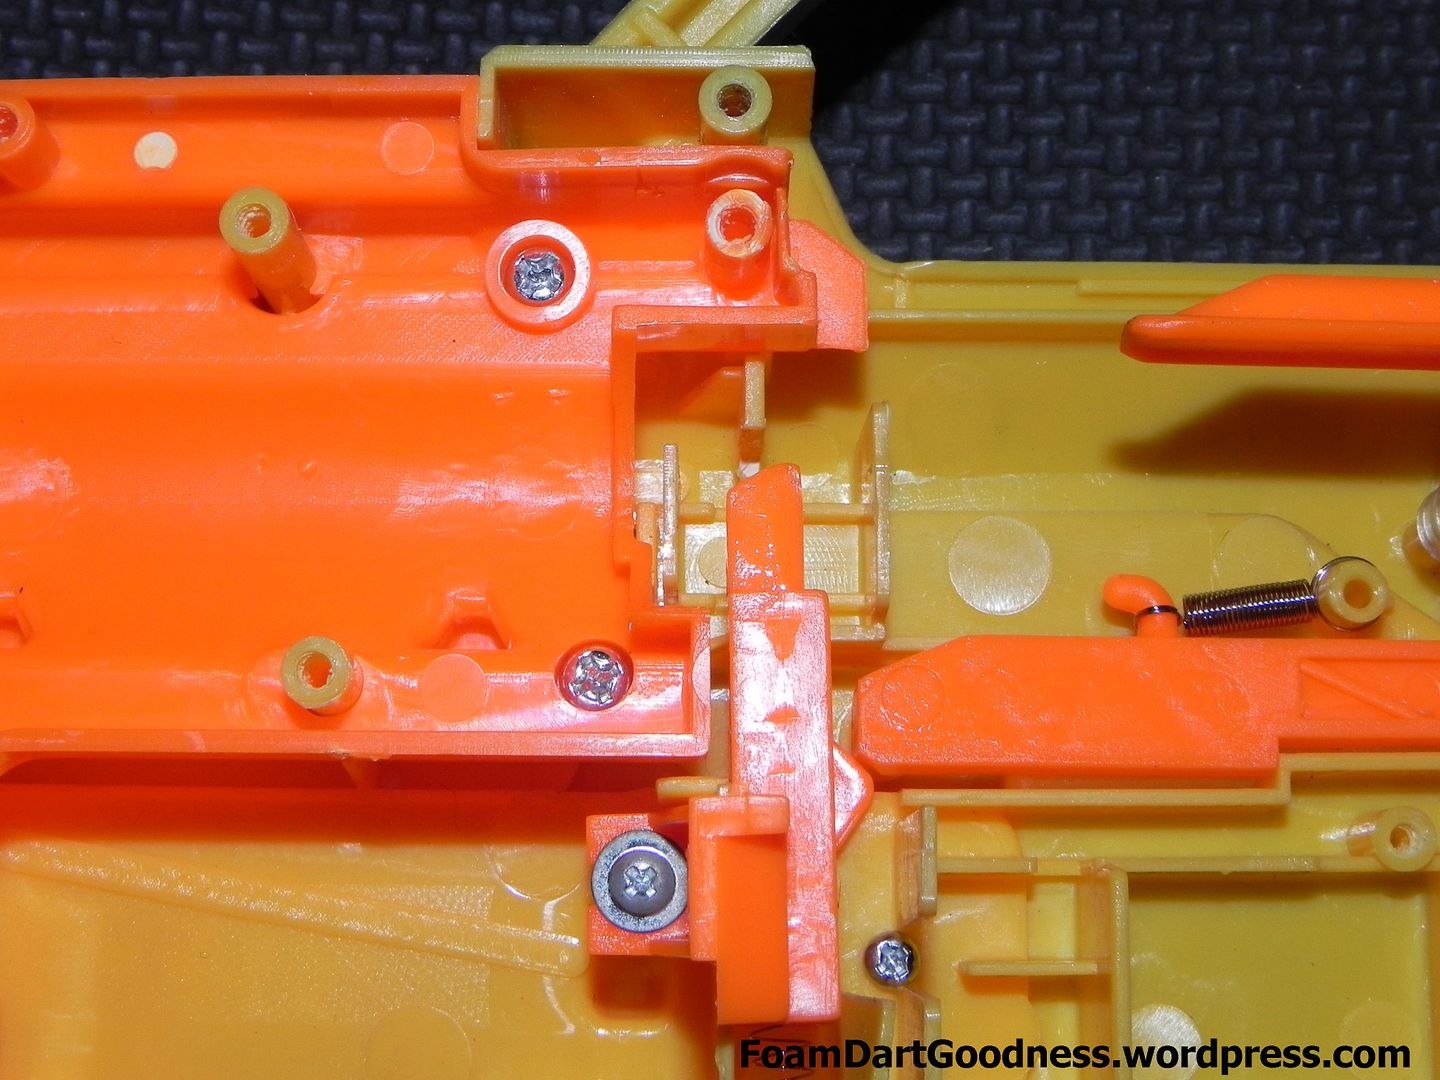
Cut the wires to it so you can move it to one side, then remove the three screws holding the now exposed clip release catch. Then remove said catch. The clip release button will fall off at this stage, don't lose it.
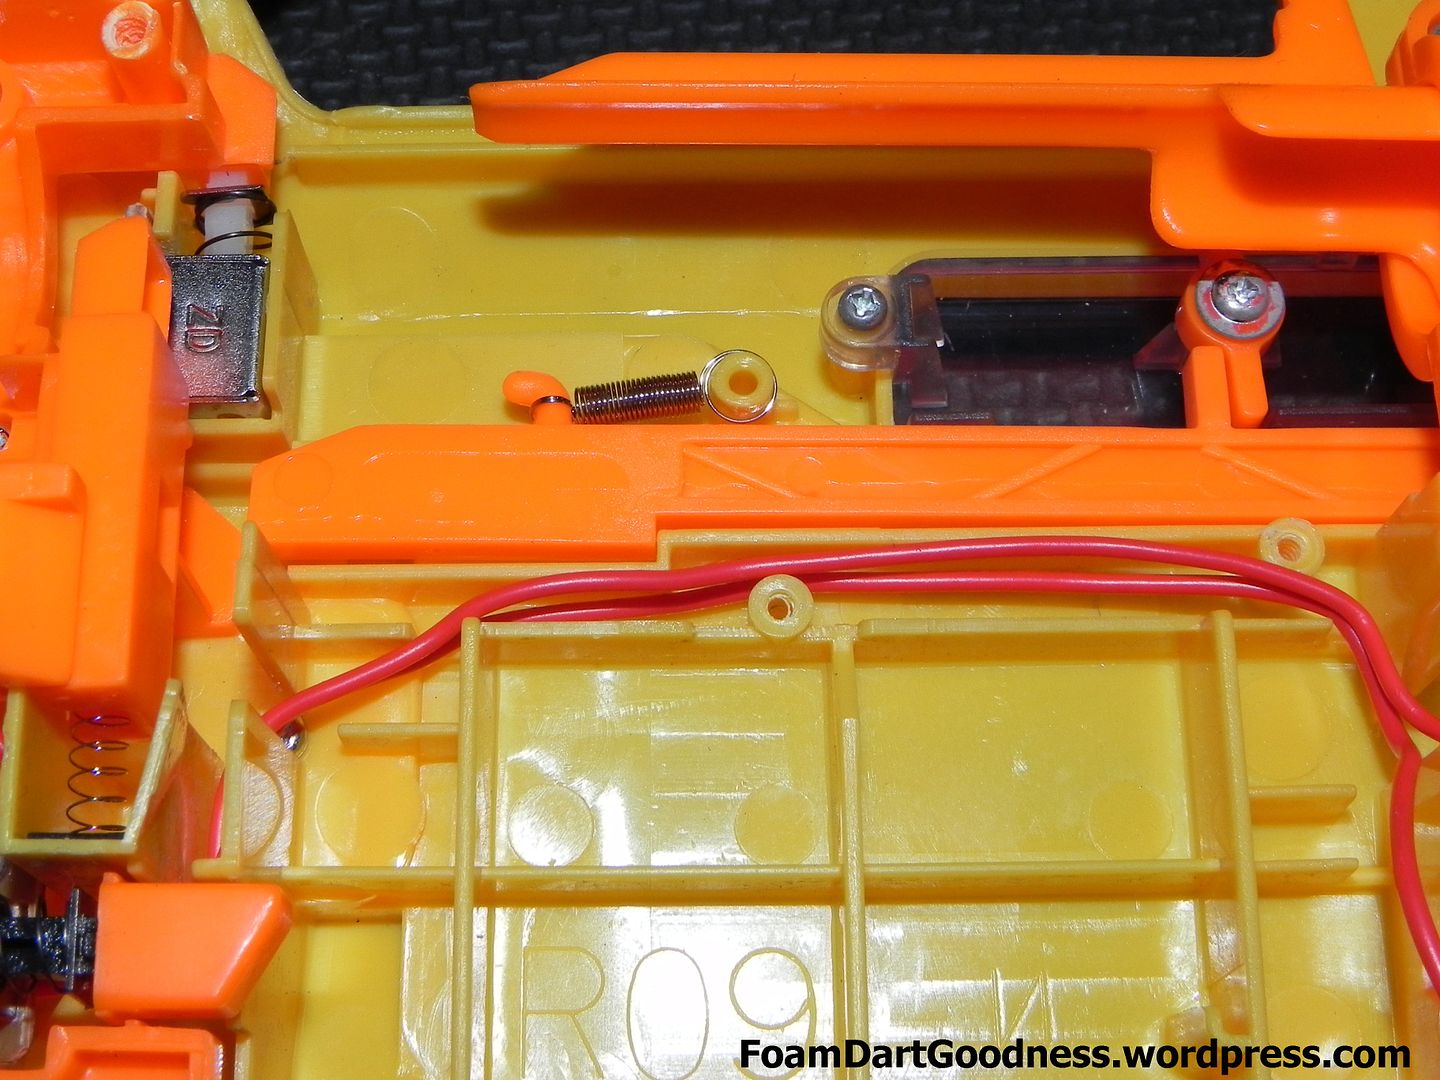
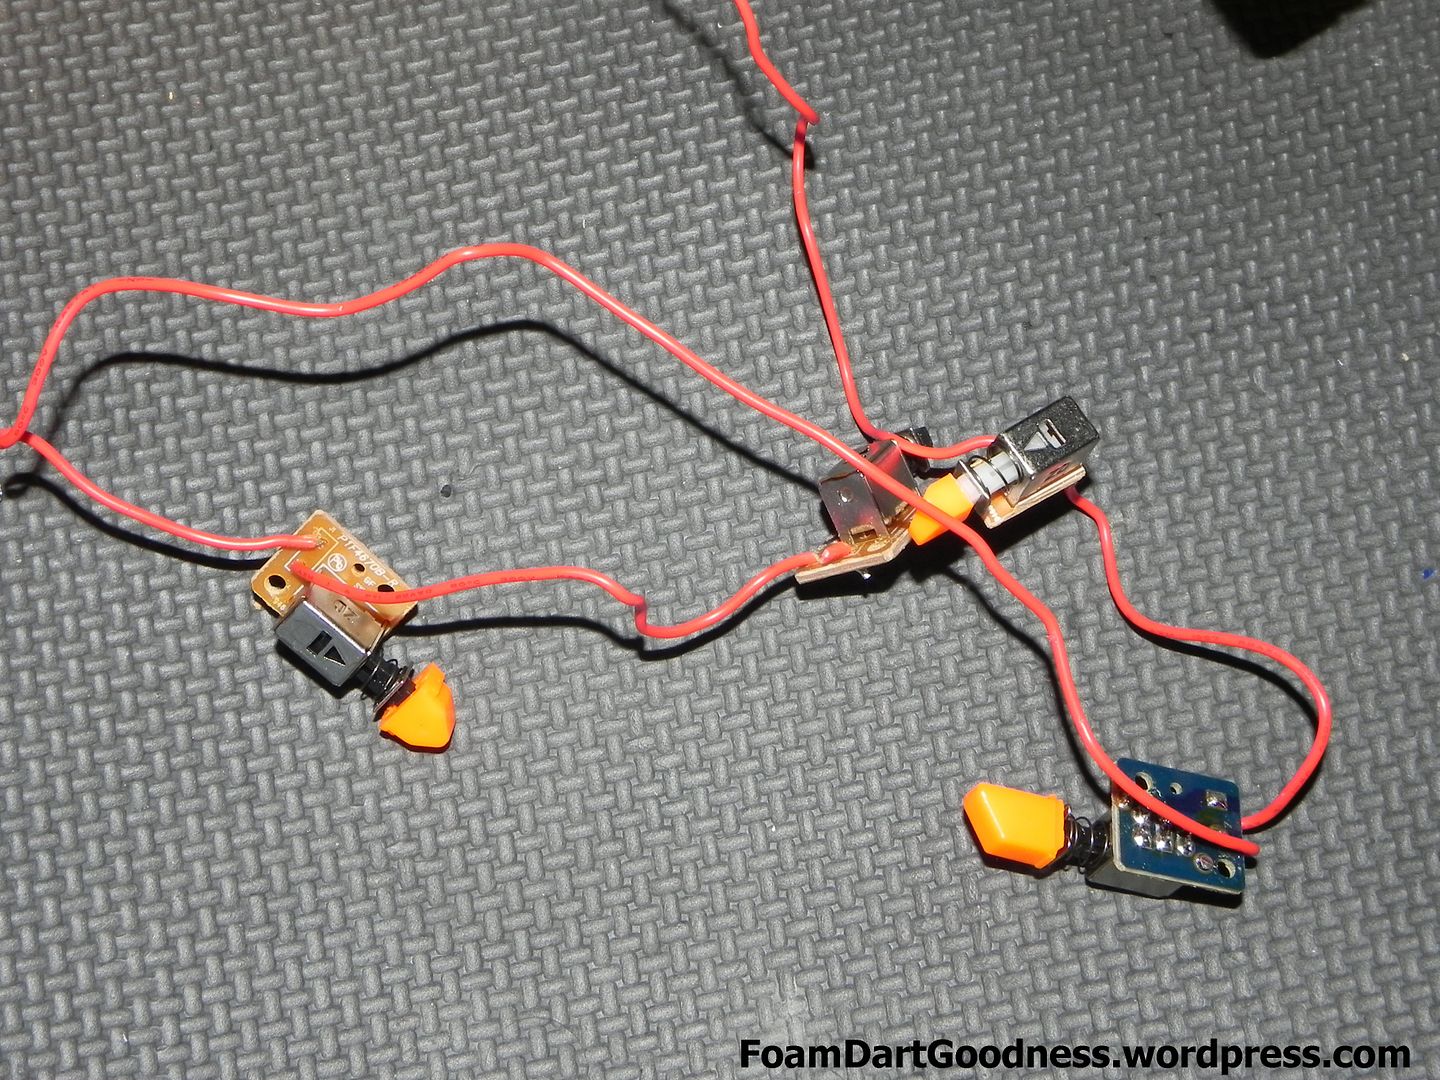
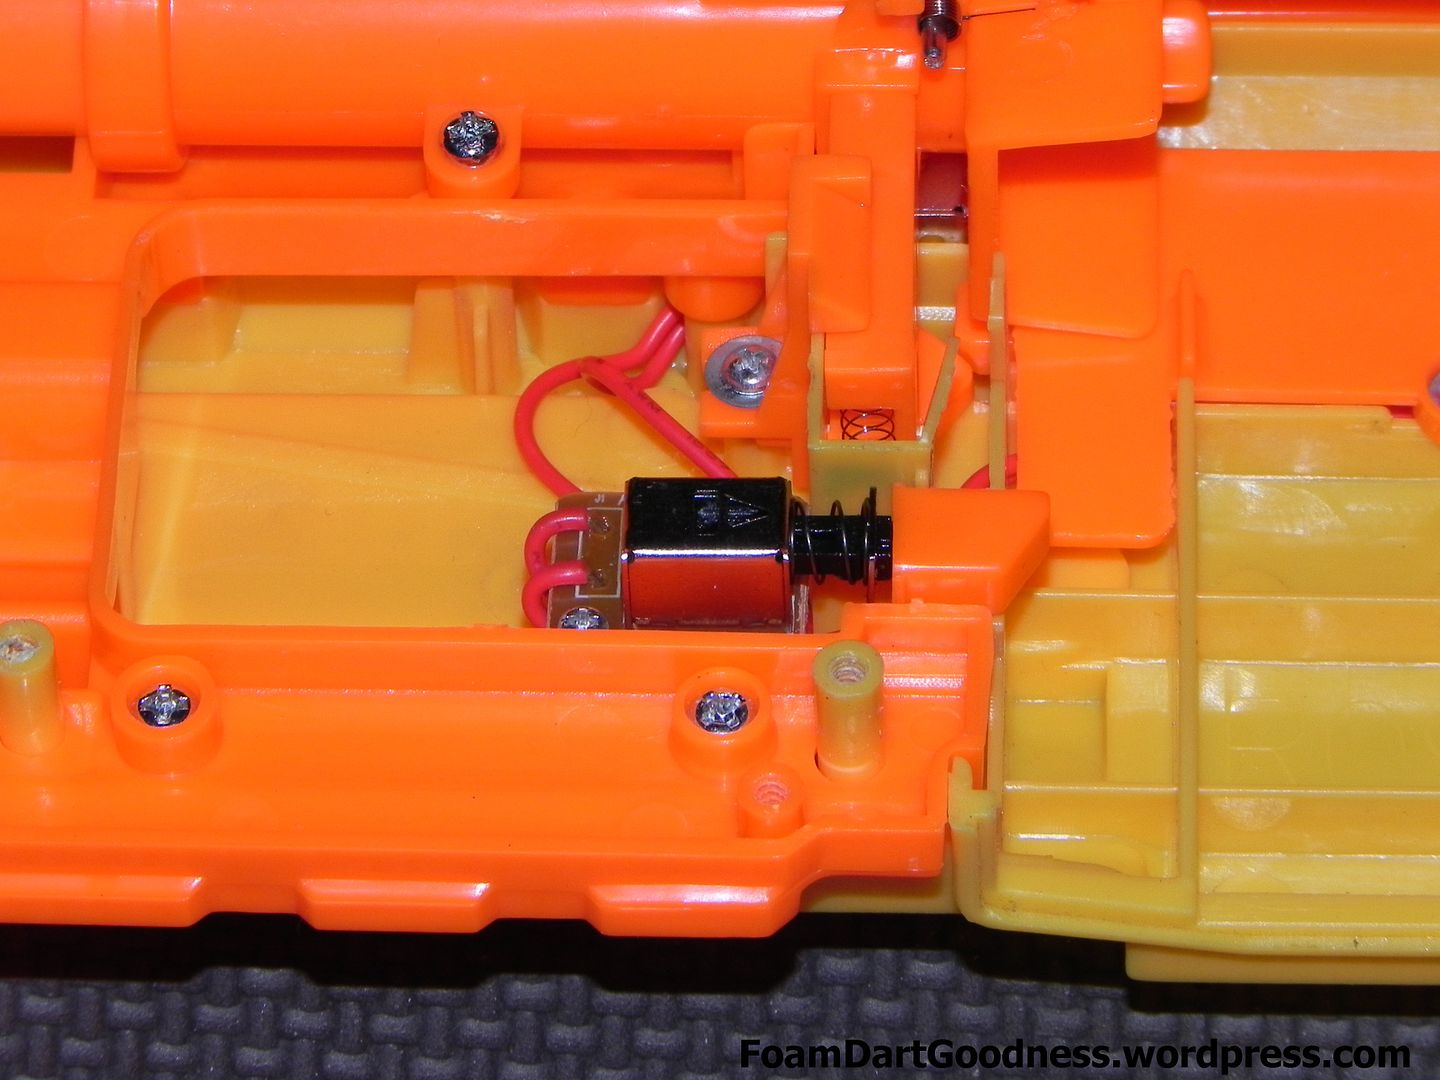
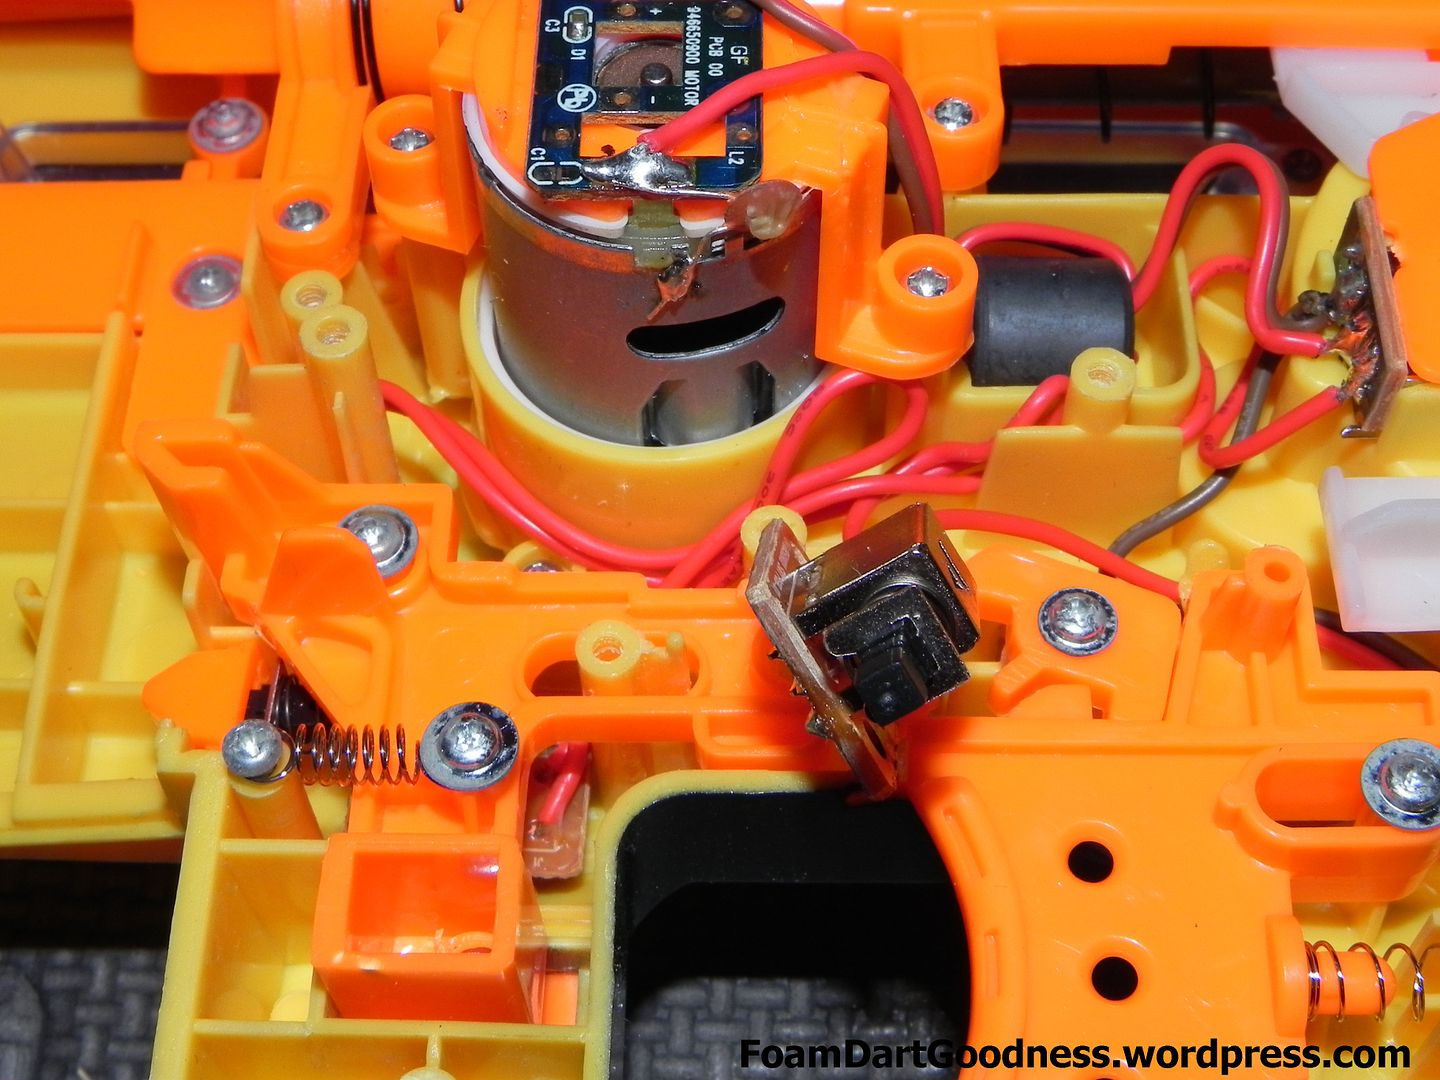
Next, remove the two screws holding the next micro-switch in.
Then remove the switch itself.
Replace the clip release button and catch.
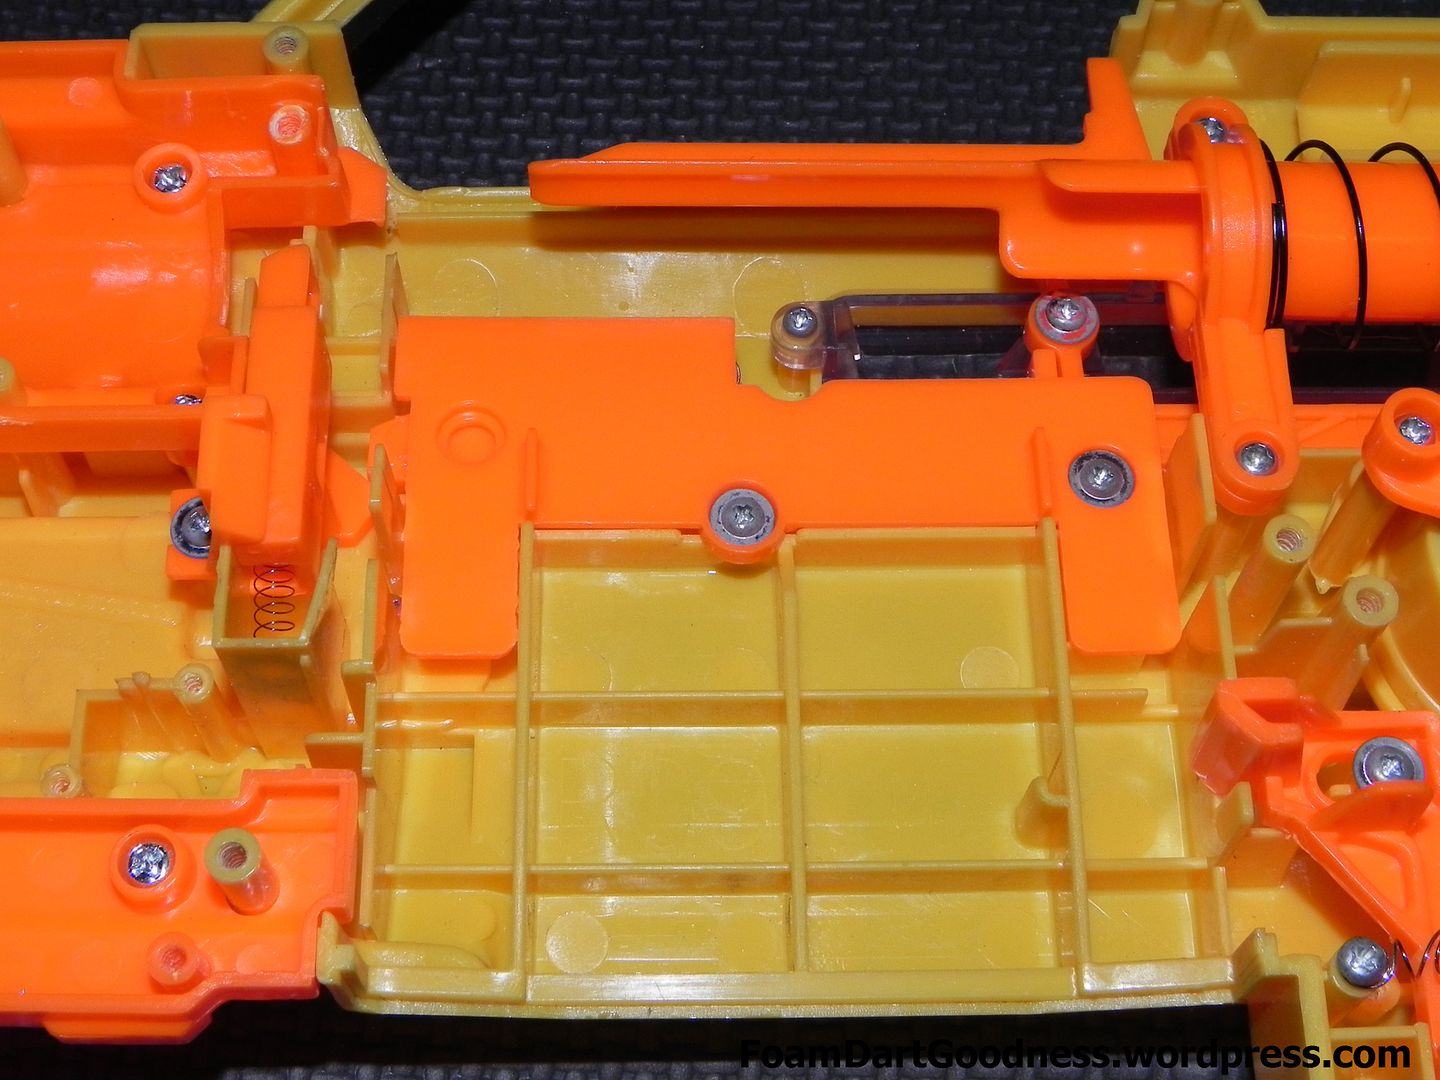
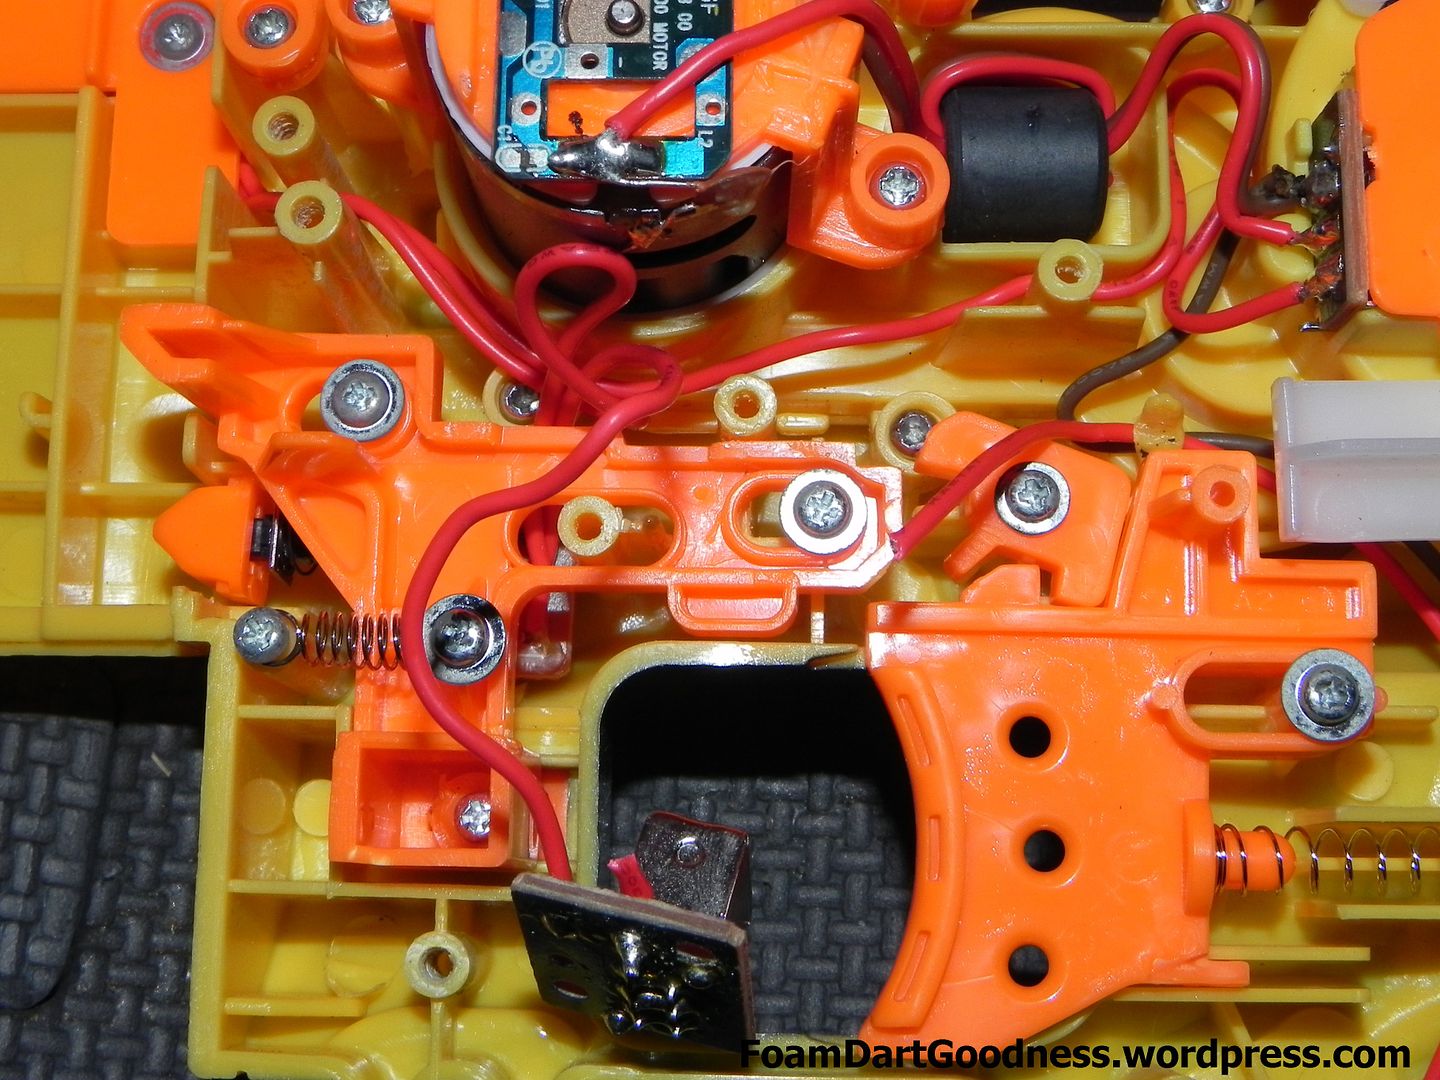
Now move to the left side of the clip well and remove the front part of the breech.
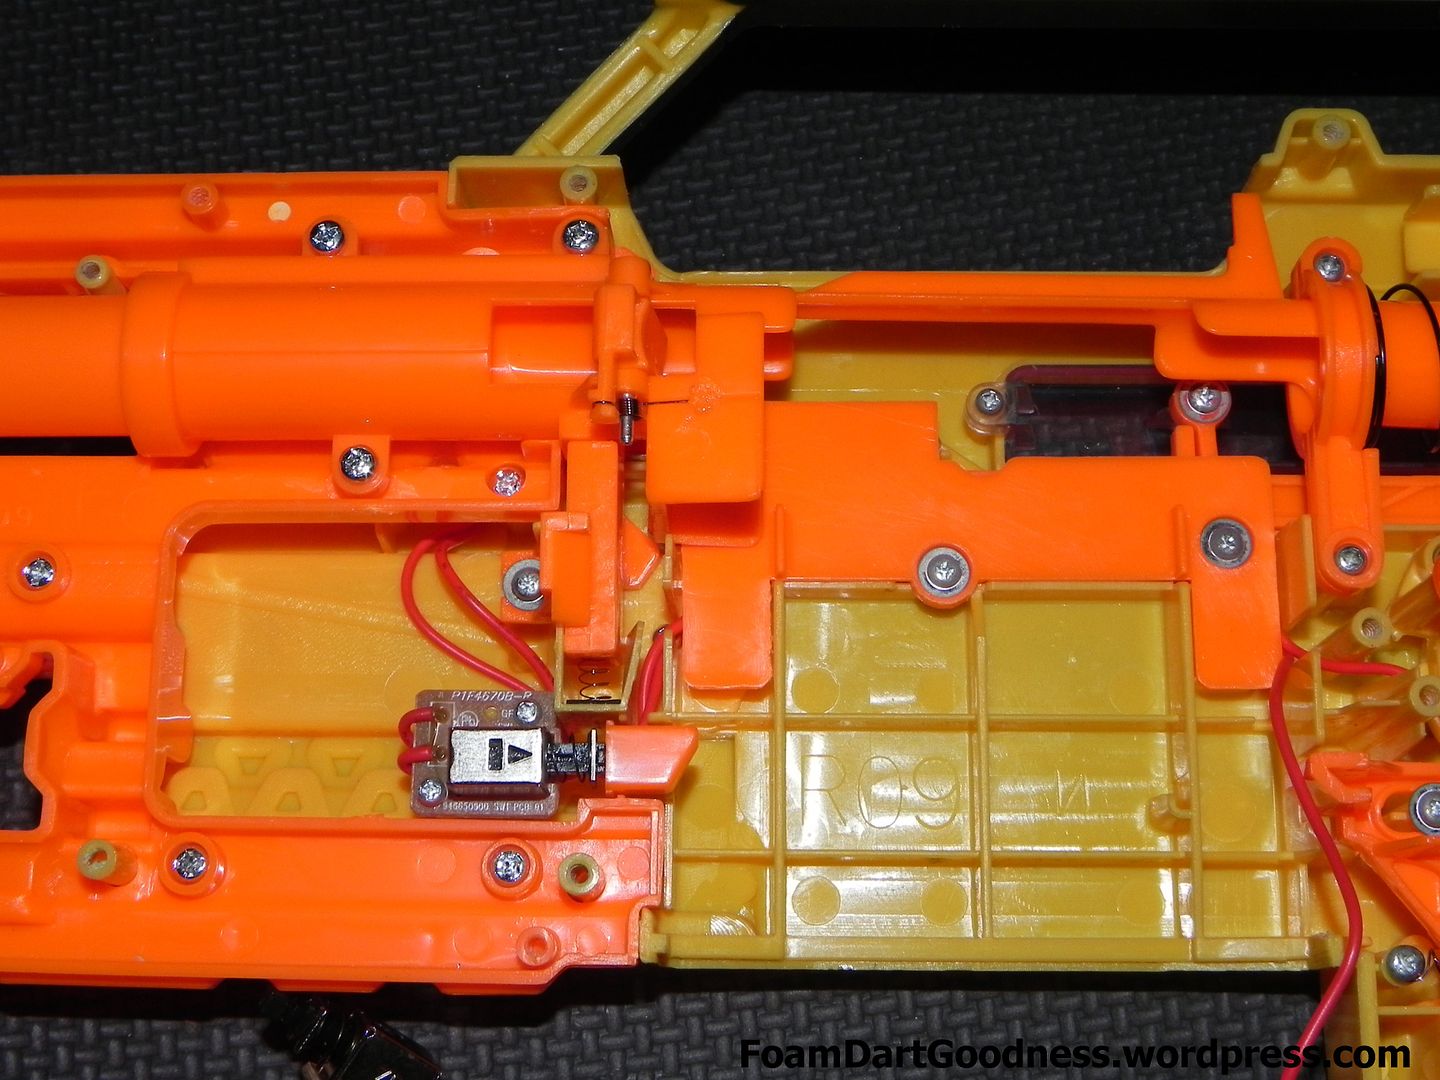
Like so.
We can now see the jam door micro-switch hiding under here.