
Step 1: Making space
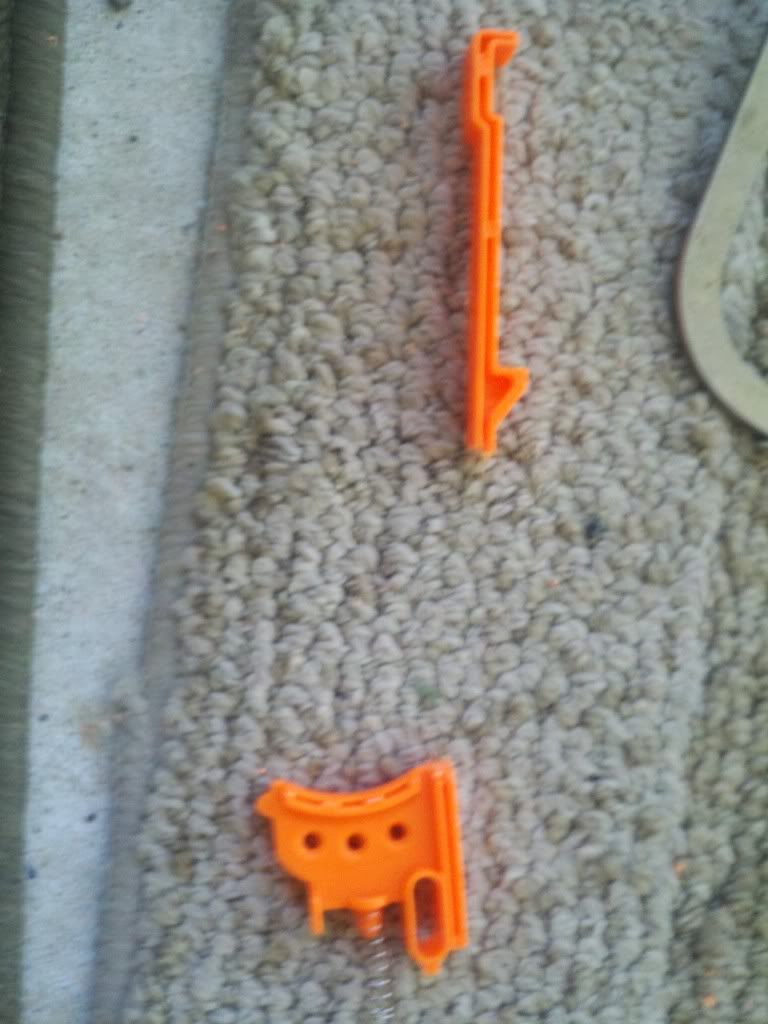
-Remove all of the internals, but keep the piece near the end of the gun, the trigger, and the lower stock lock (found in the handle)
-Do what you want with them. We won't be needing any of it except for the trigger, the lower stock lock, and the orange tip thing at the front.
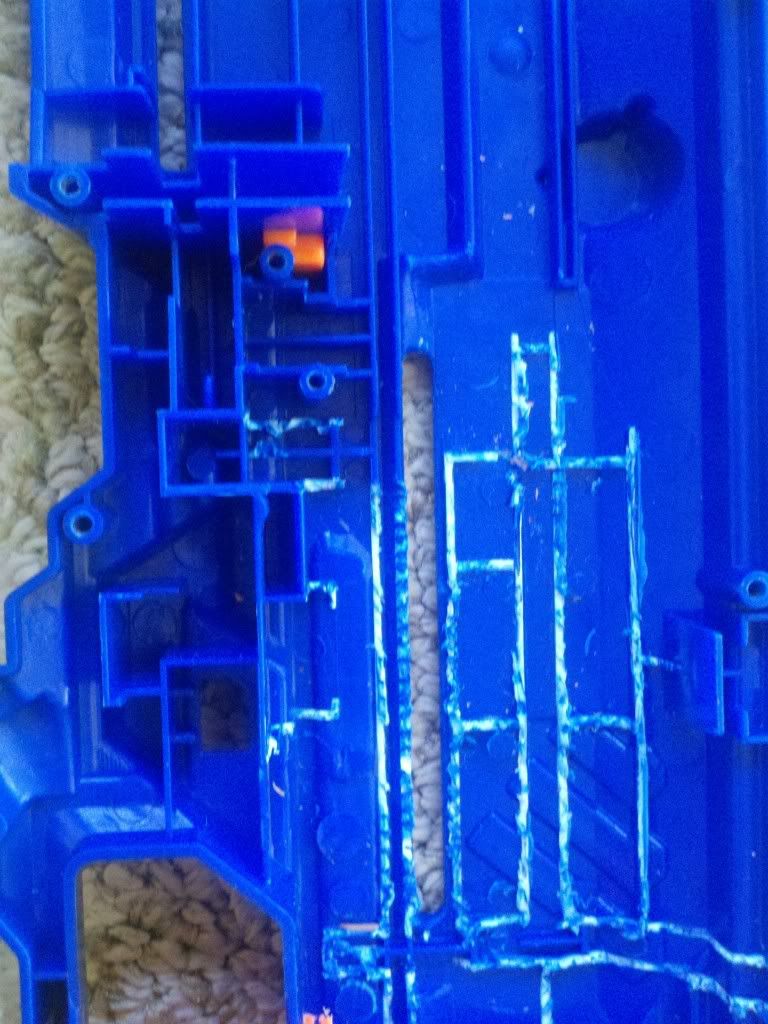
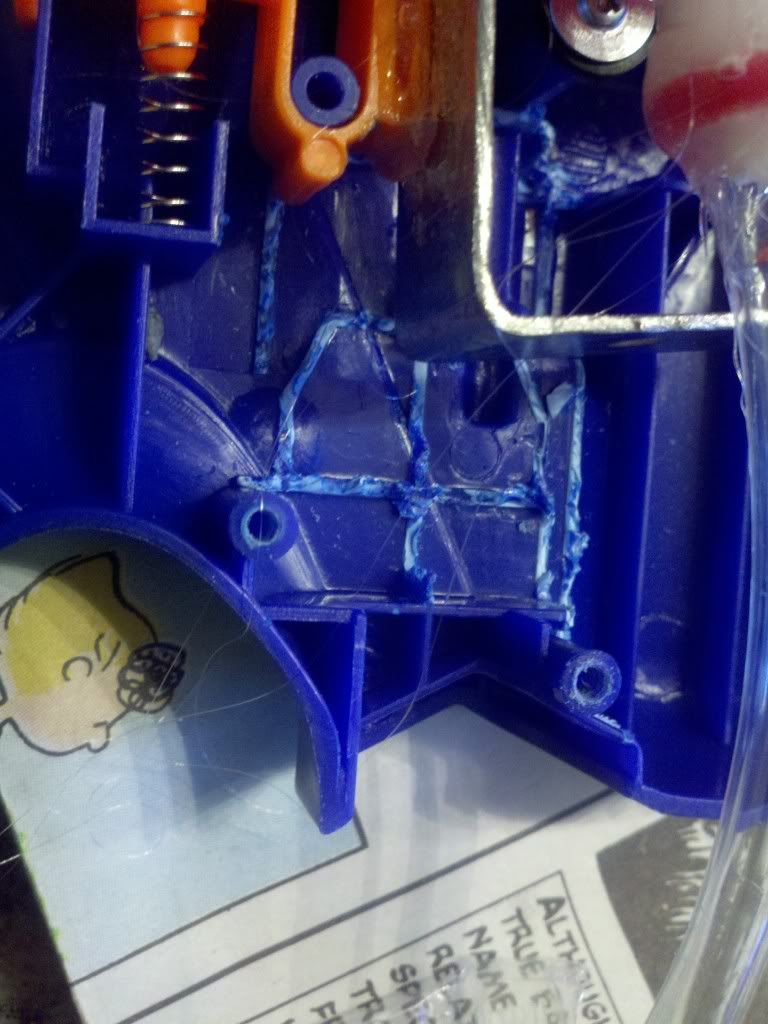
Step 2: Cutting the shell
-Cut out all of the ridges inside of the blaster except for the part at the end that holds the orange tip (for barrel extension), the pieces that hold the trigger in place, and the pieces that hold the lower stock lock. Be sure to cut the same things on both halves of the shell.
-You can leave the really low ones...
-Mine is messy because I do not have access to expensive tools and had to rely on using pliers to twist and bend out the pieces.
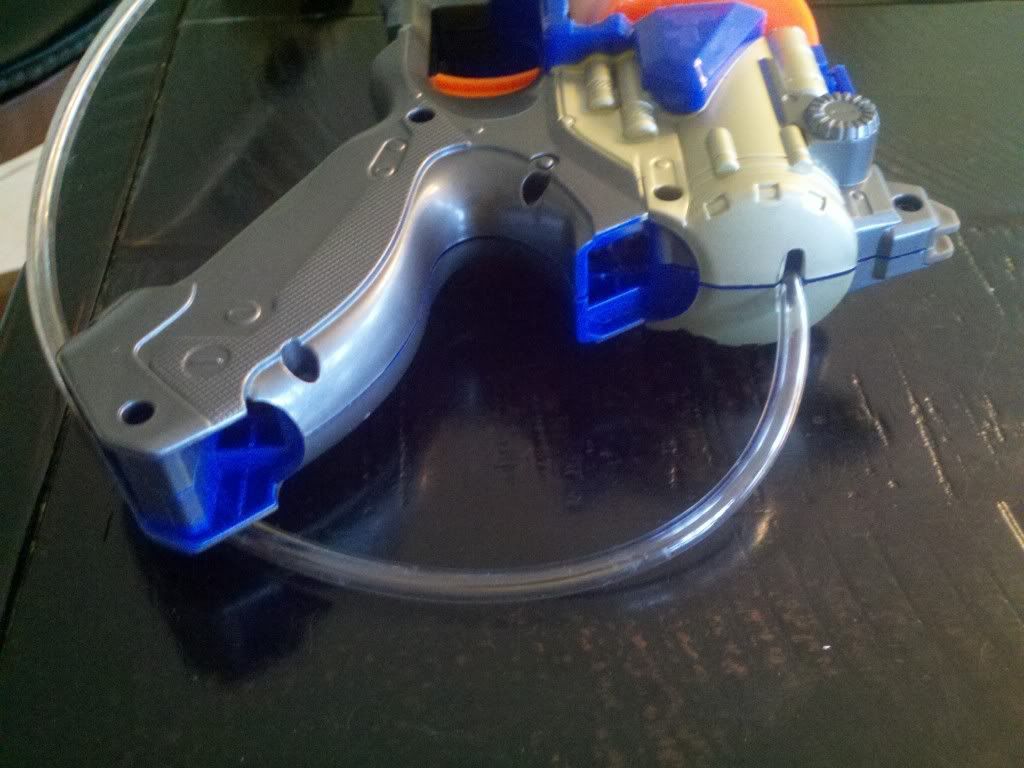
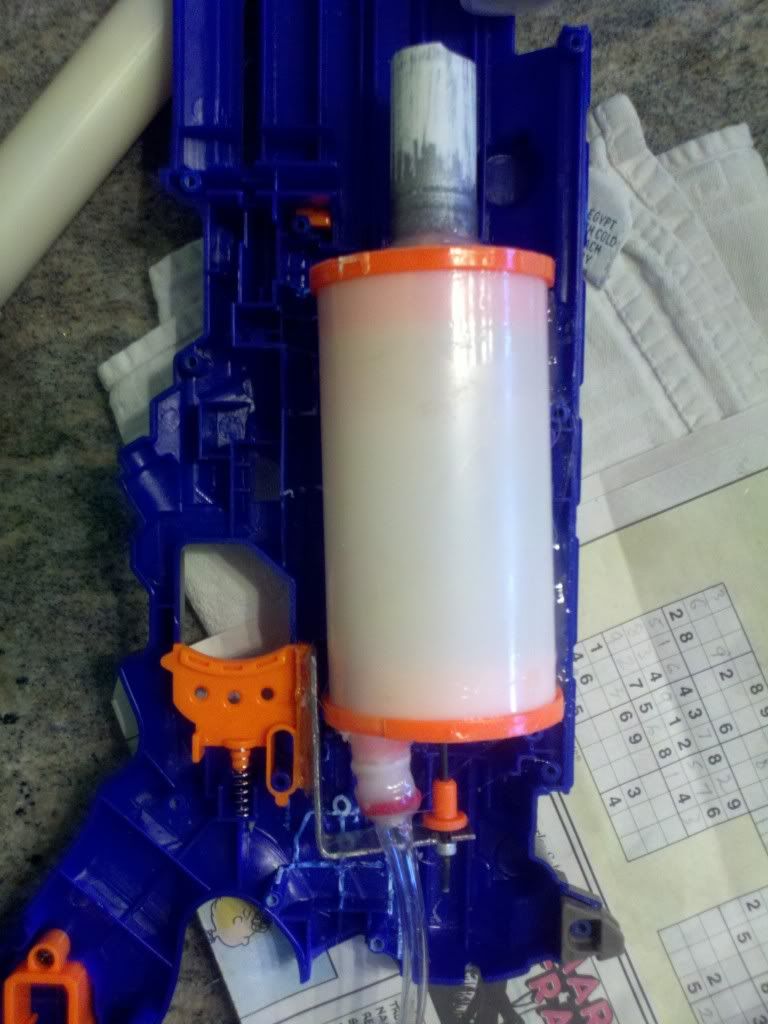
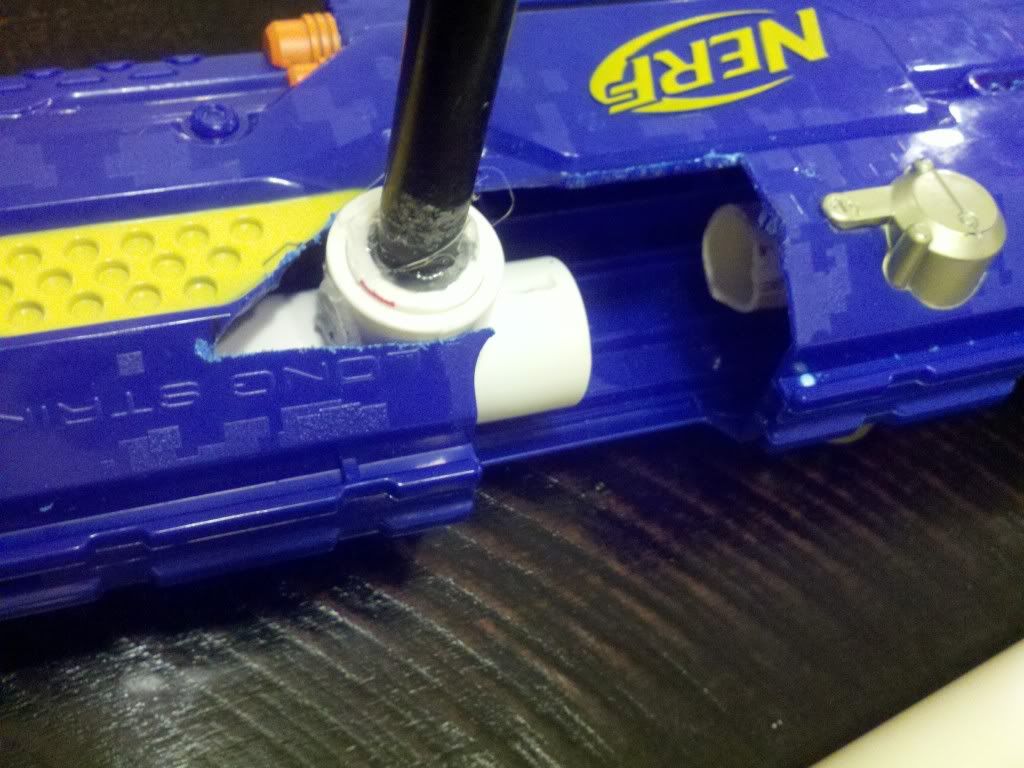
Step 3: Finding a place for the air-tank
-I wanted to put the tank as far back as I could in order to make the trigger system easier. Yes, I realize that hotglue isn't the best solution for securing things, but I didn't have anything else.
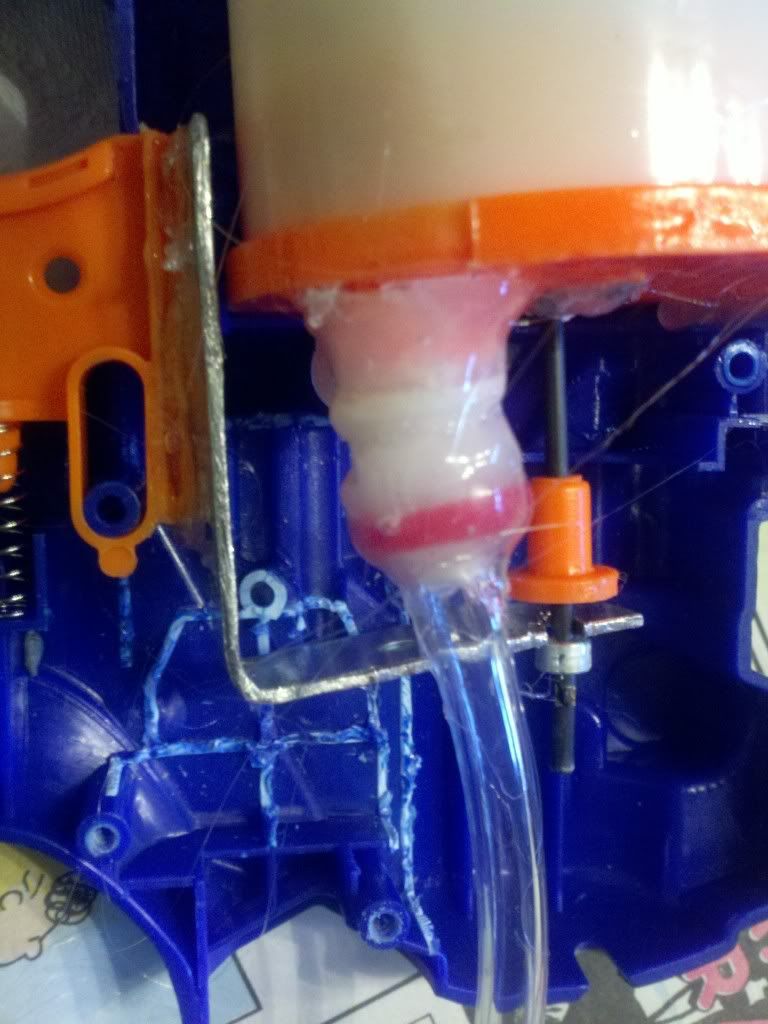
-You can see the firing mechanism that I used. It's a simple L-bracket fastened to the trigger with a cut near the top to slide onto the pin of the tank.
-Due to space constraints, I had to cut the rest of my trigger.
-BE SURE TO PLUG THE HOLE THAT LEADS TO THE BLAST BUTTON. Leave only the pump hole, and the part where air comes out.
-Plug the OPV on the pump, and plug the pressure gauge hole.
Step 4: Making more room...
After trying to put the darned thing back together, I realized that the tank was too large to fit in the stock shell. So I cut the shell (on the opposite side, of course. It makes it easier when dry fitting.)
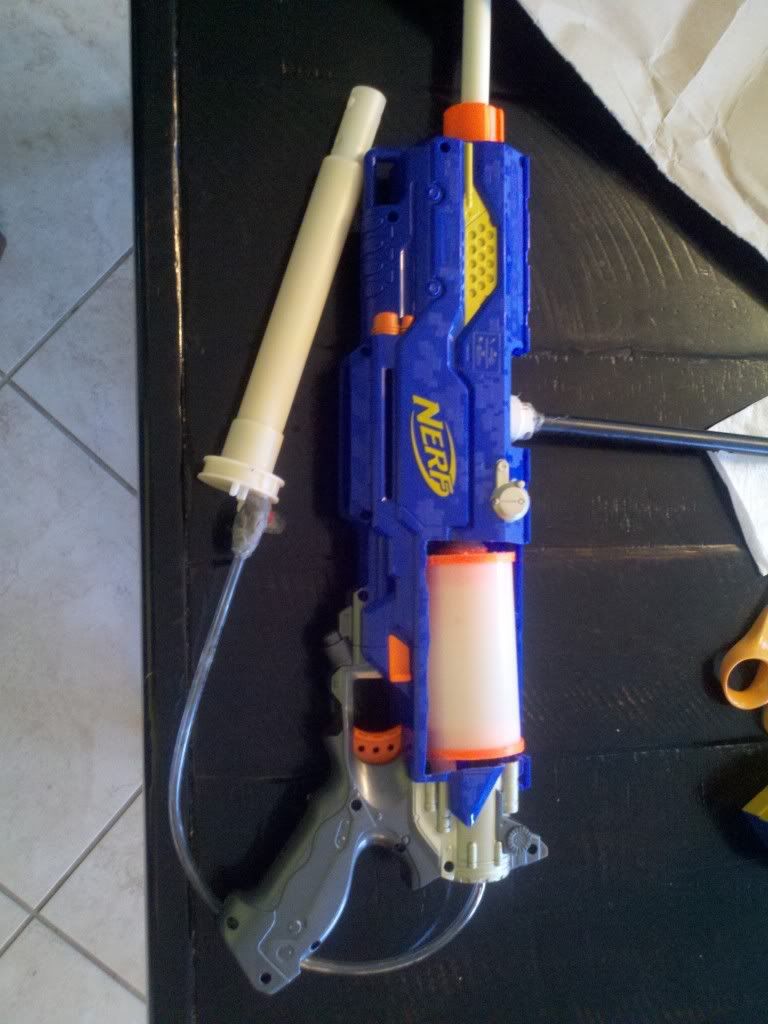
Step 5: Glue in the tank
-Exactly what it says. Glue in the tank, while making sure that the trigger still works. Also, make sure that the other half of the shell still fits without any problems.
-You can run the tube to the pump through the priming indicator hole in the back.
-Do what you want with the pump. I'm going to put it near the front.
-Yep. I used a hacksaw. Fehh...
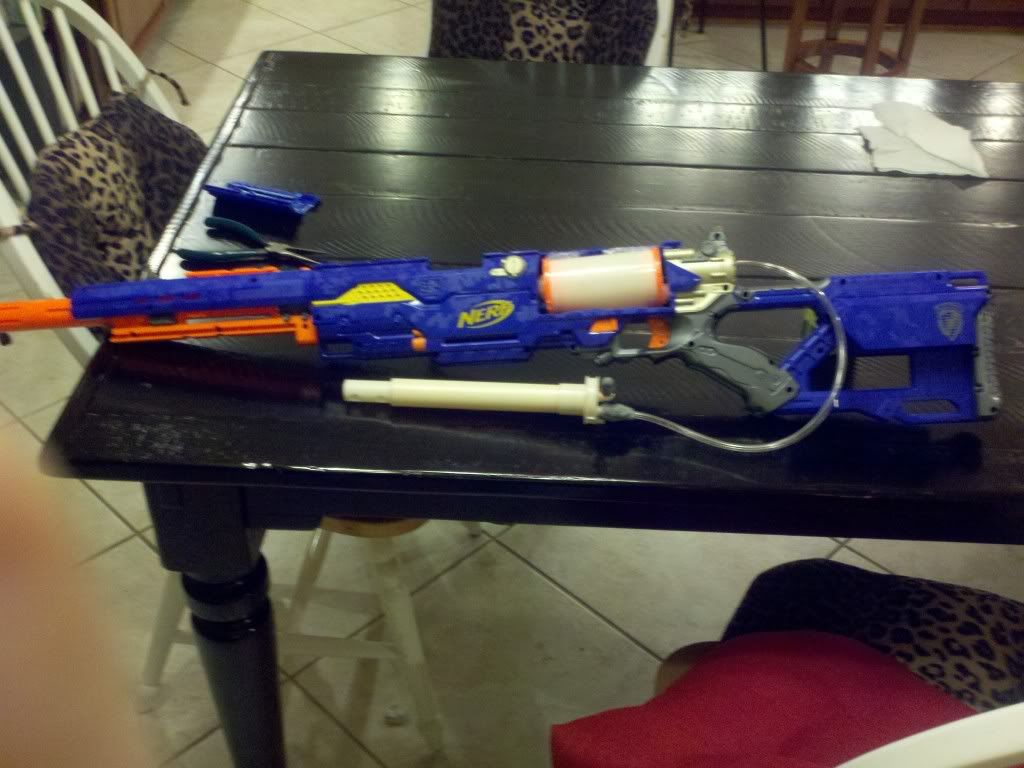
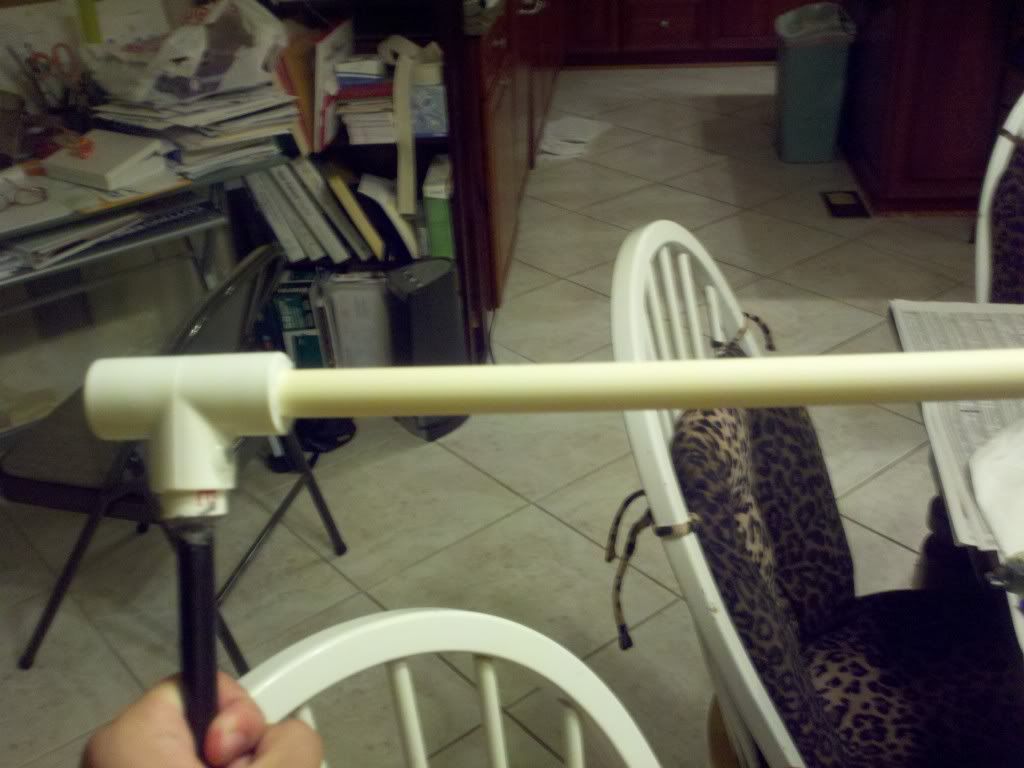
Step 6: Barrel and priming bar
-I guess it isn't really a priming bar anymore.. but whatever. Call it what you want.
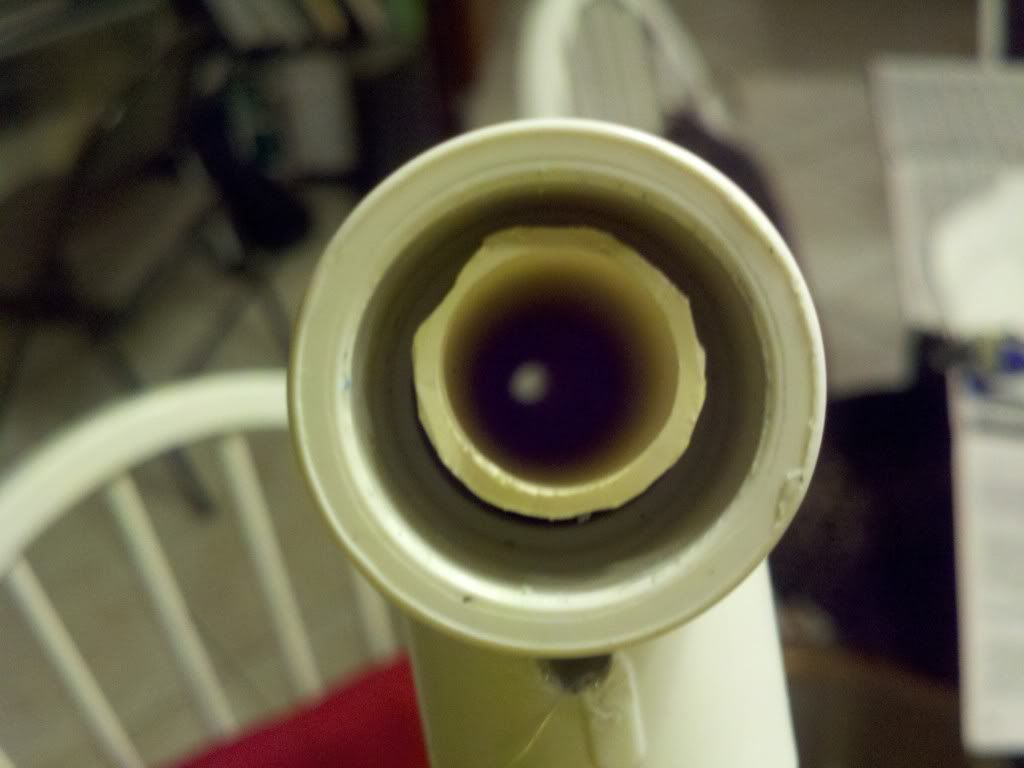
-I used a 1/2" PVC tee, Sch 40 1/2" PVC pipe, Sch 80 1/2" PVC, and 1/2" CPVC for a barrel. Oh, and I also used a black nylon rod (same kind that was used in +bows) as my grip.
-The Sch 80 PVC is glued onto the end of the airtank. That is the only place where you will need it.
Step 7: Stock modification
-I don't have pictures for it, but you need to cut off the top part of the stock that goes into the blaster (it interferes with the firing mech) and if you want it to be removable.... perform the removable stock mod.....
Step 8: Assembly
-Just reassemble your blaster. I'm not going to post barrel length, as I am still experimenting with it, but if you have a singled Titan, it should be able the same length.
-No, I am not going to post ranges. It should be fairly obvious that I get Titan ranges. And I don't have the tape measure required to measure it. :/
-At some point, I will use epoxy putty to attach the piece of shell that I cut off to make space for the airtank. THEN, maybe I will paint it.
Final Notes
Ugh, this project was pretty frustrating. The tank that I used was missing the connectors and such, so I had to fiddle around with hotglue and epoxy 'till it worked. Even now, I'm worried that
it won't hold. If you have any suggestions on how to fix this, do share. In the future, I'll be sure to get better tools. Quite frankly, I'm not patient enough to sit and make perfect cuts with a
hacksaw. Using a bandsaw would be easier. Although I wrote this as somewhat of a how-to, I feel that I wanted to show others what I had done and how I did it, as opposed to being a complete and
detailed guide on how to create something (yup, if you've somehow been so ignorant as to not notice it, I HAVE NO MEASUREMENTS POSTED). This project took me about 10 hours to finish (I'm new at this, cut me some slack).
Again, this is my first post, so if I'm doing anything wrong, please let me know how I can fix it in the future. My blaster is still working well, and has gone through some abuse.
If you want to see more random pics, go to my photobucket.
If you have any questions, feel free to post it here or PM me.
~Eggroll